|
|
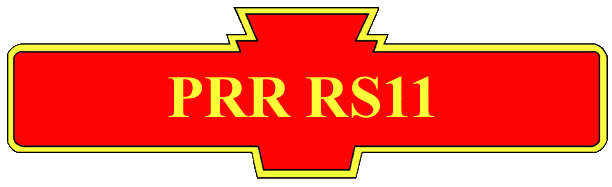
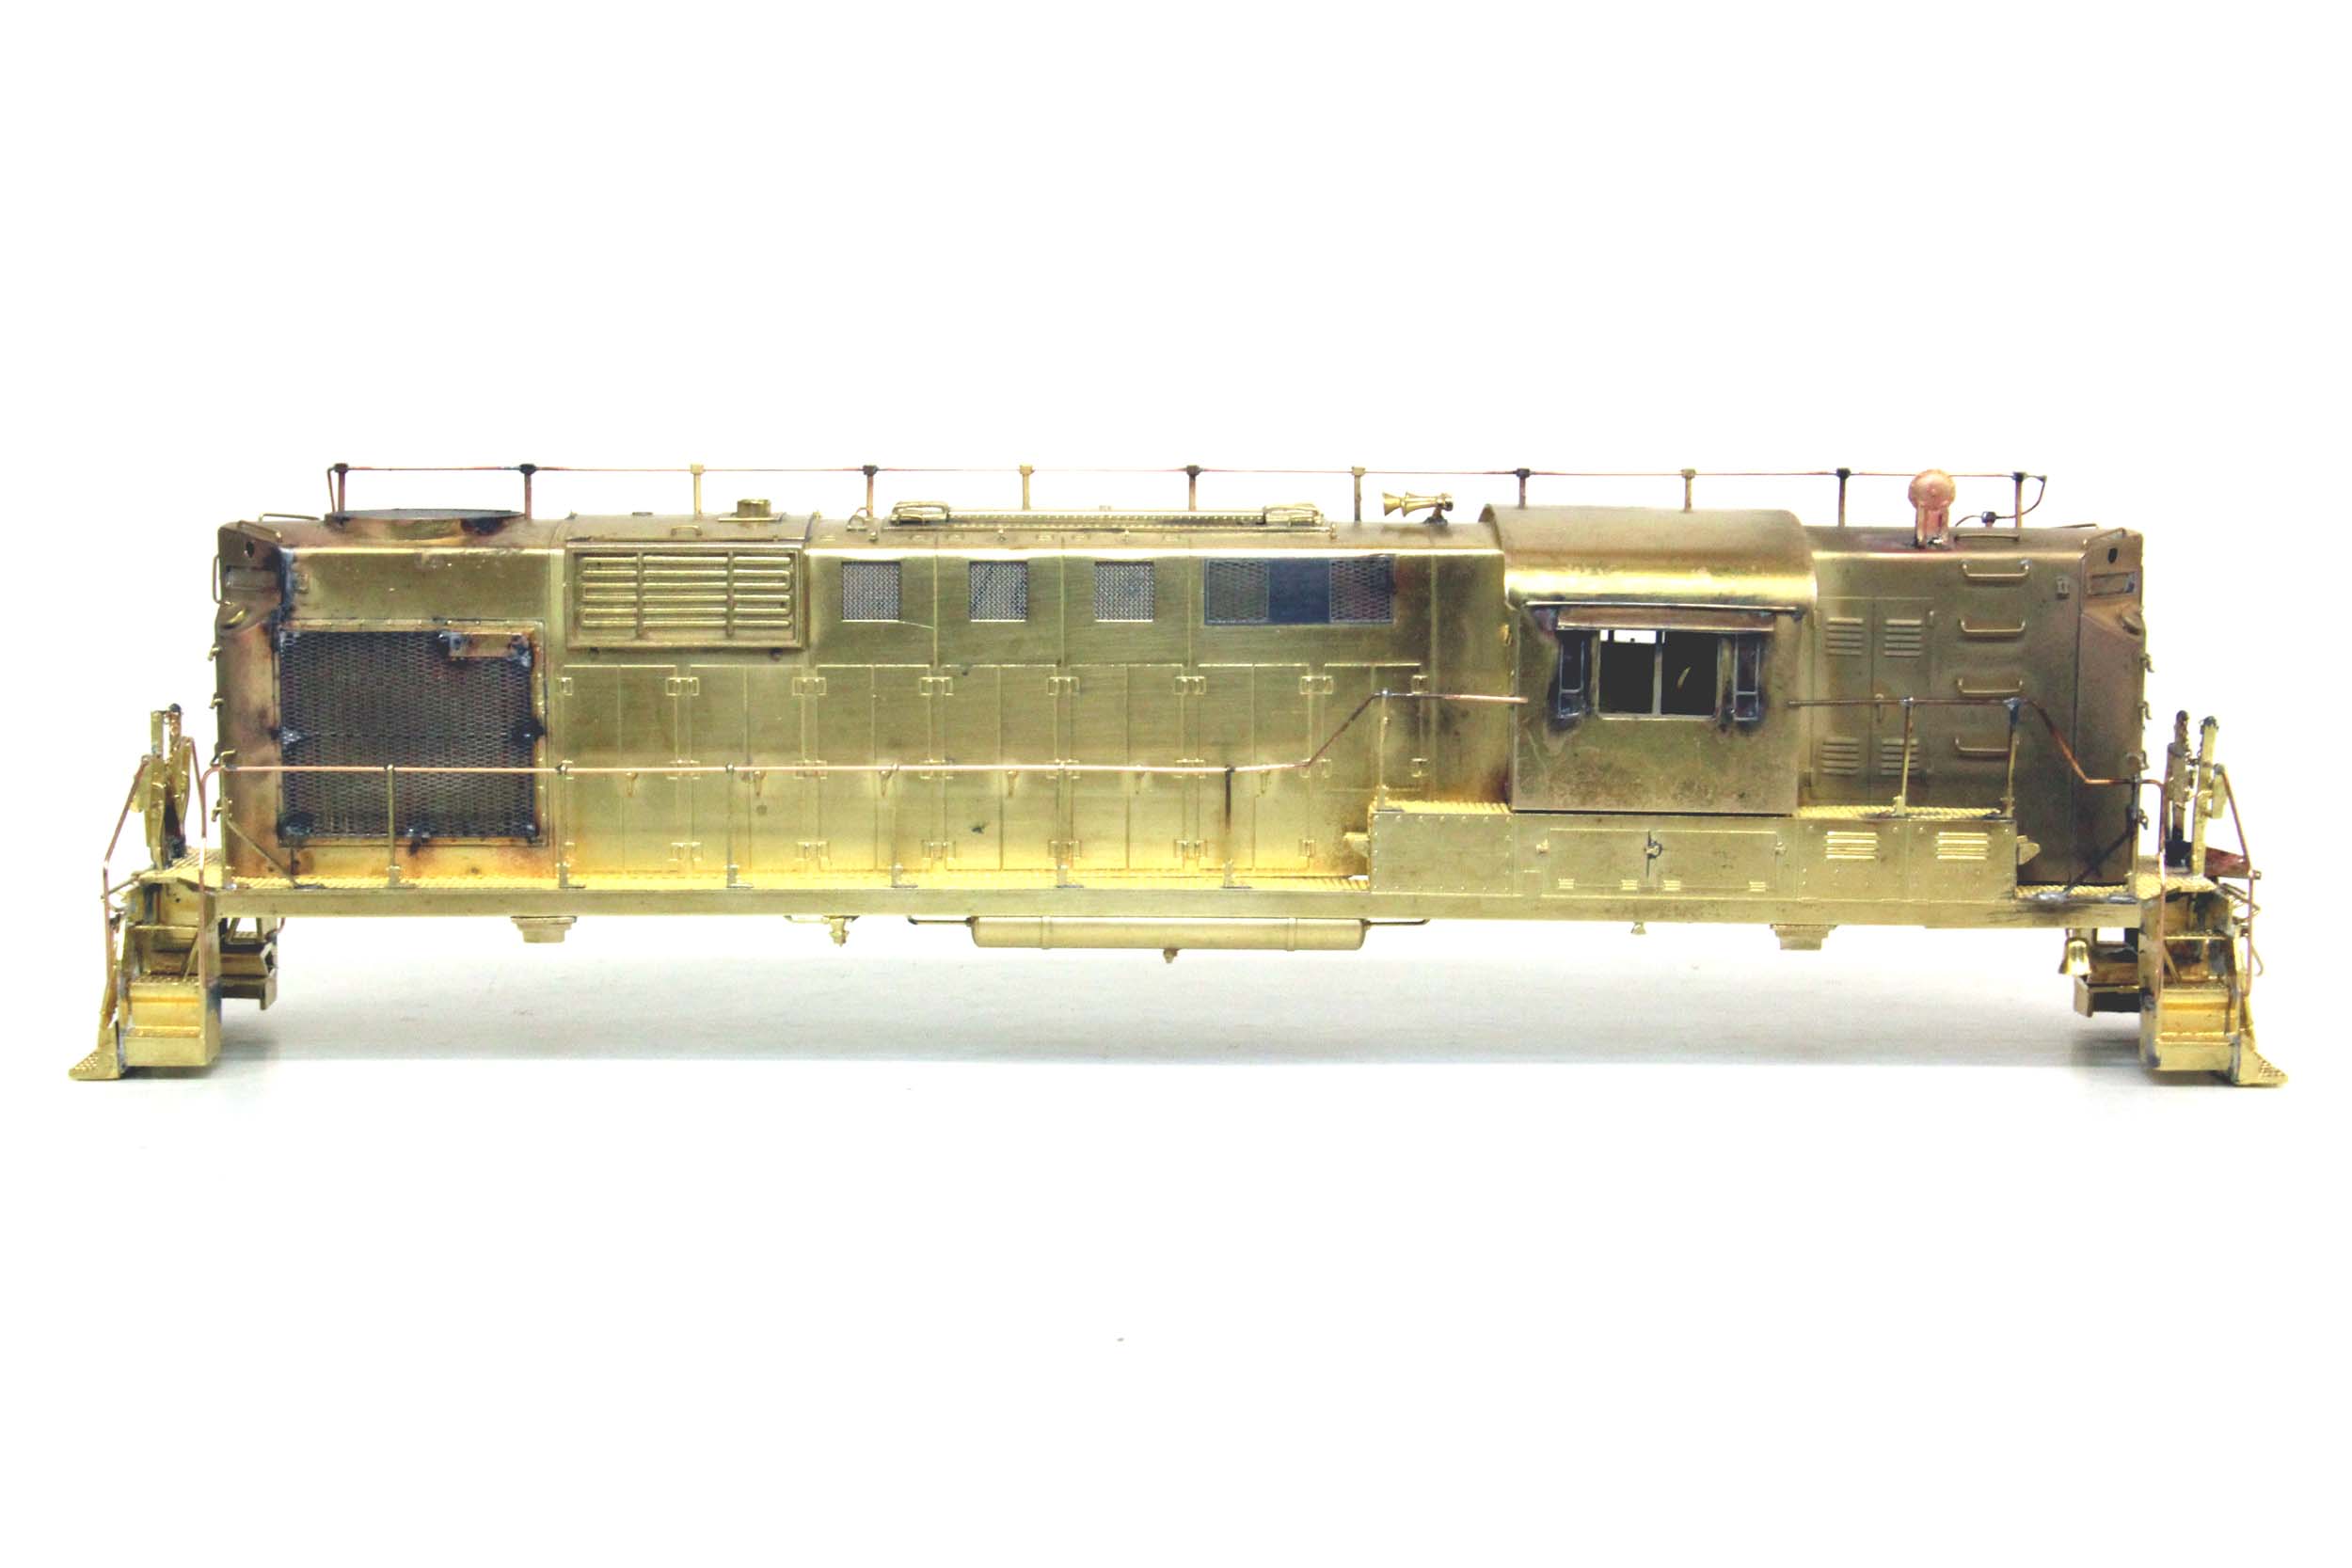
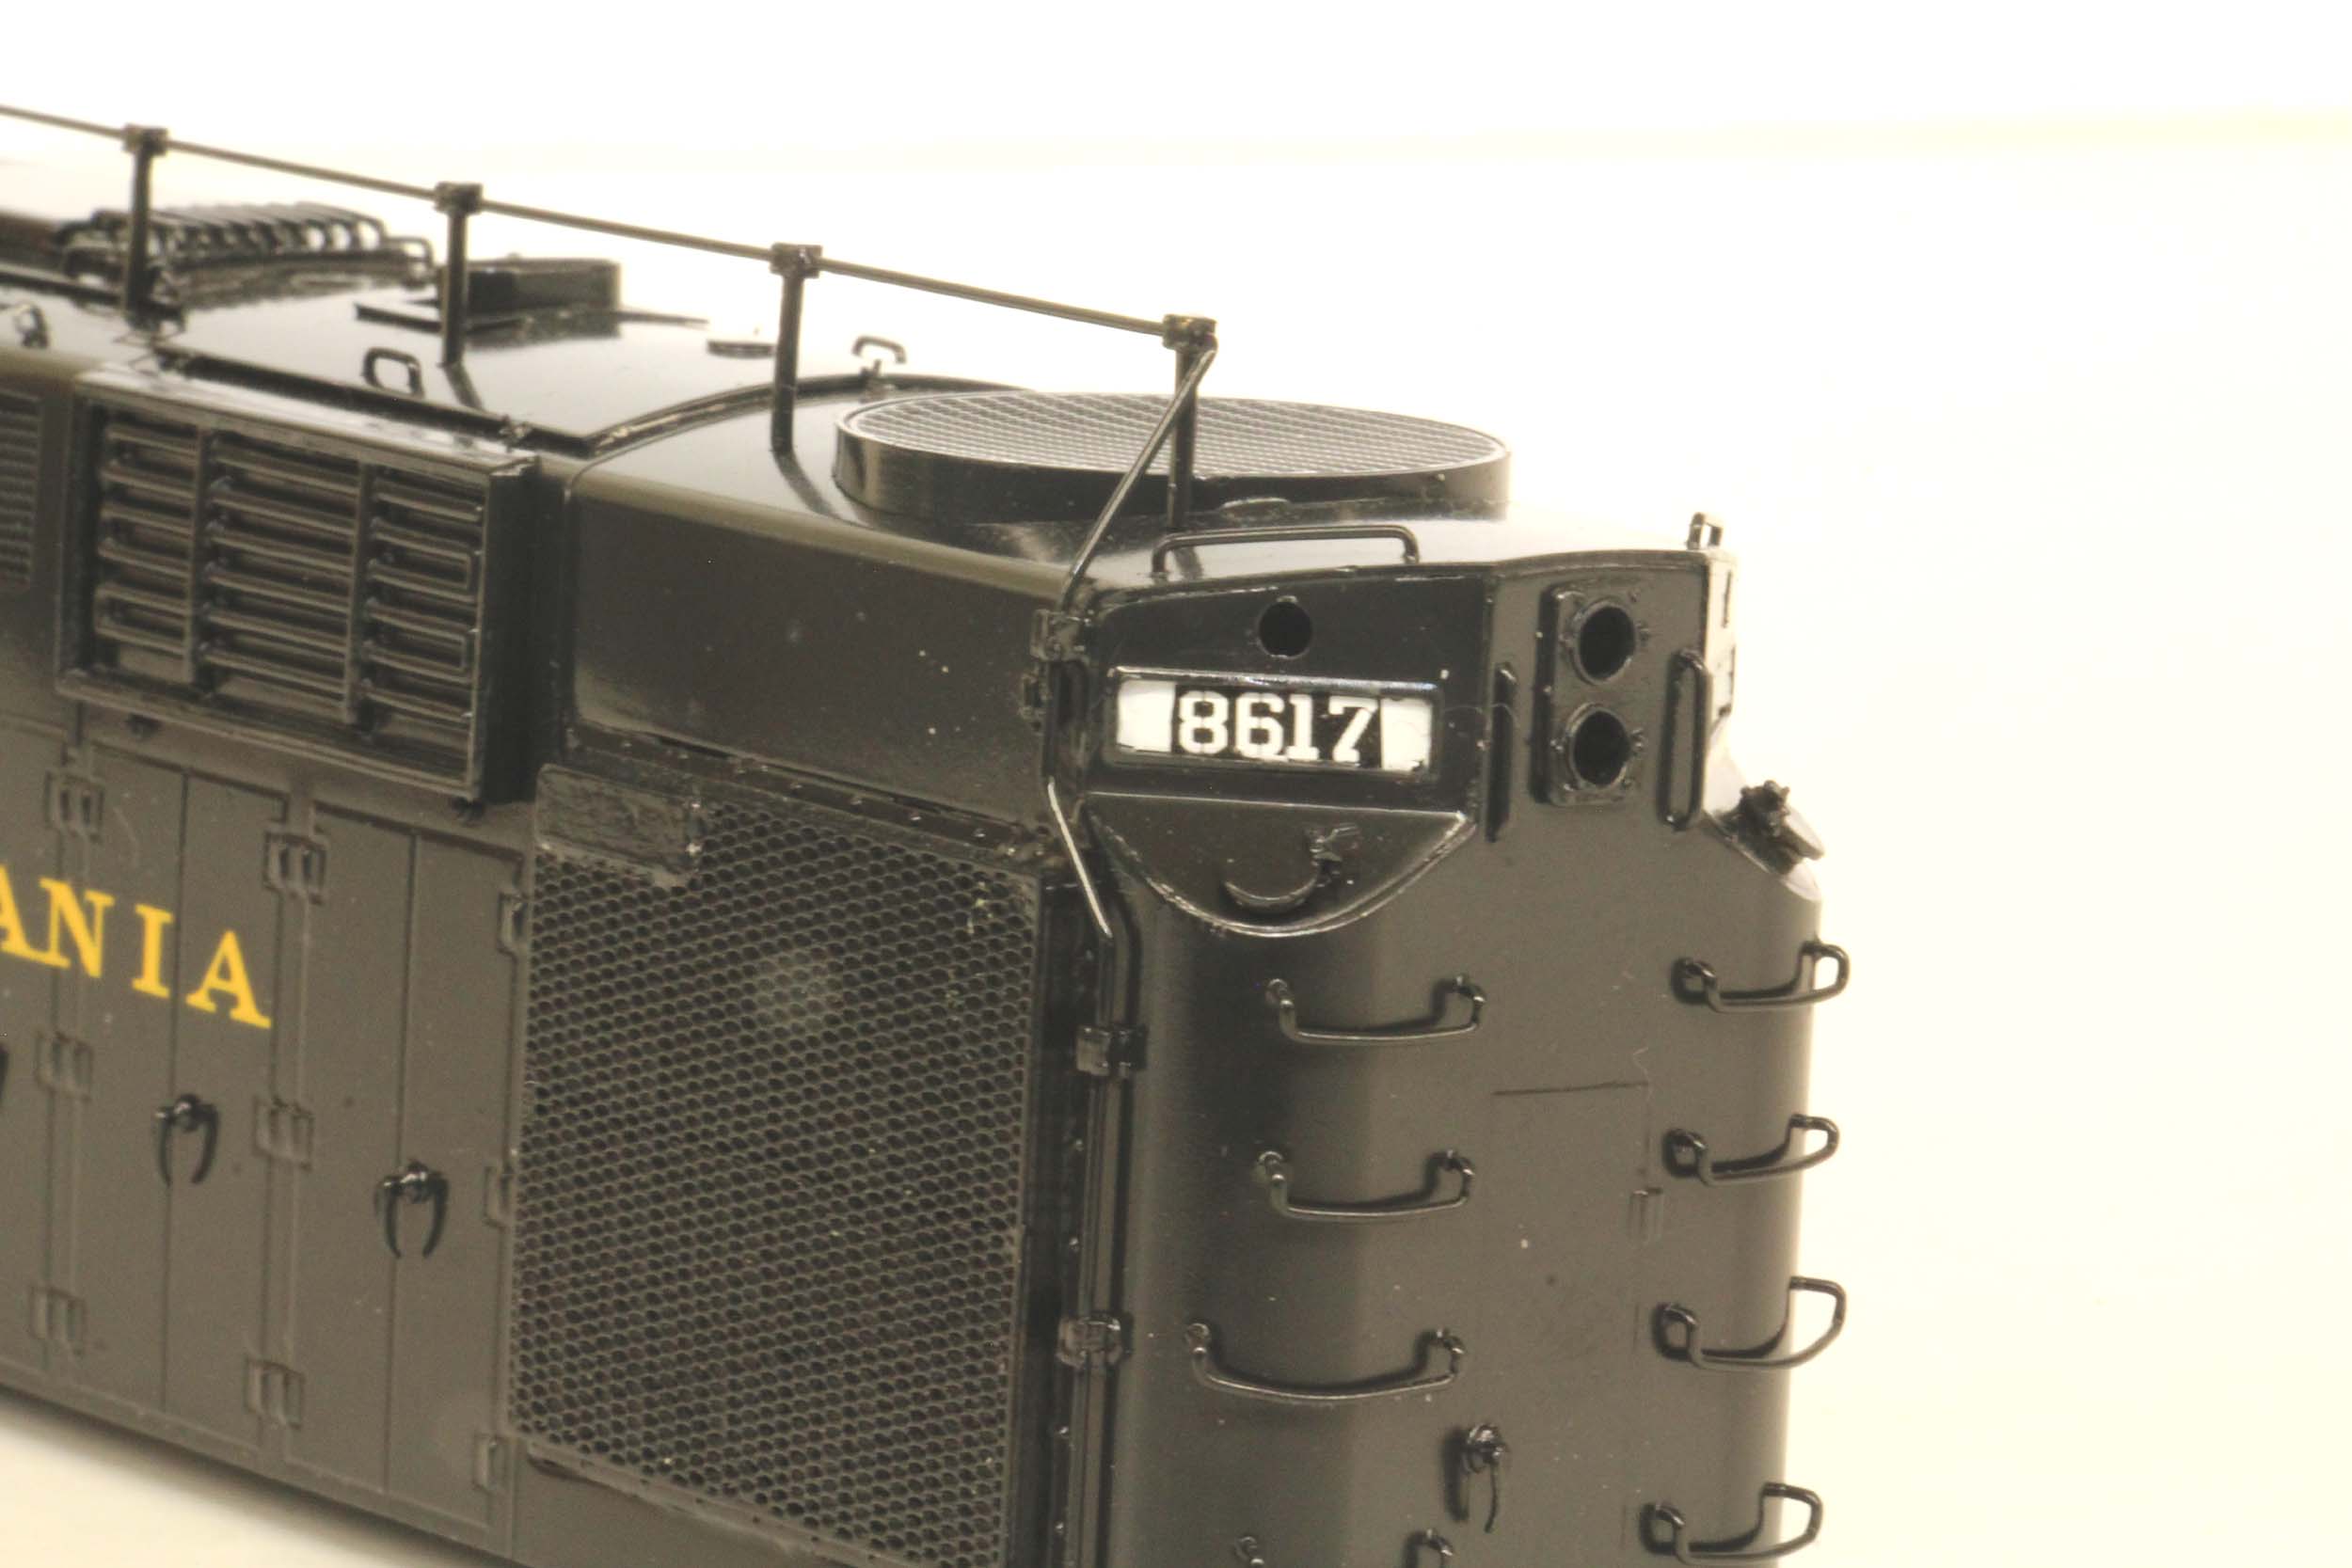
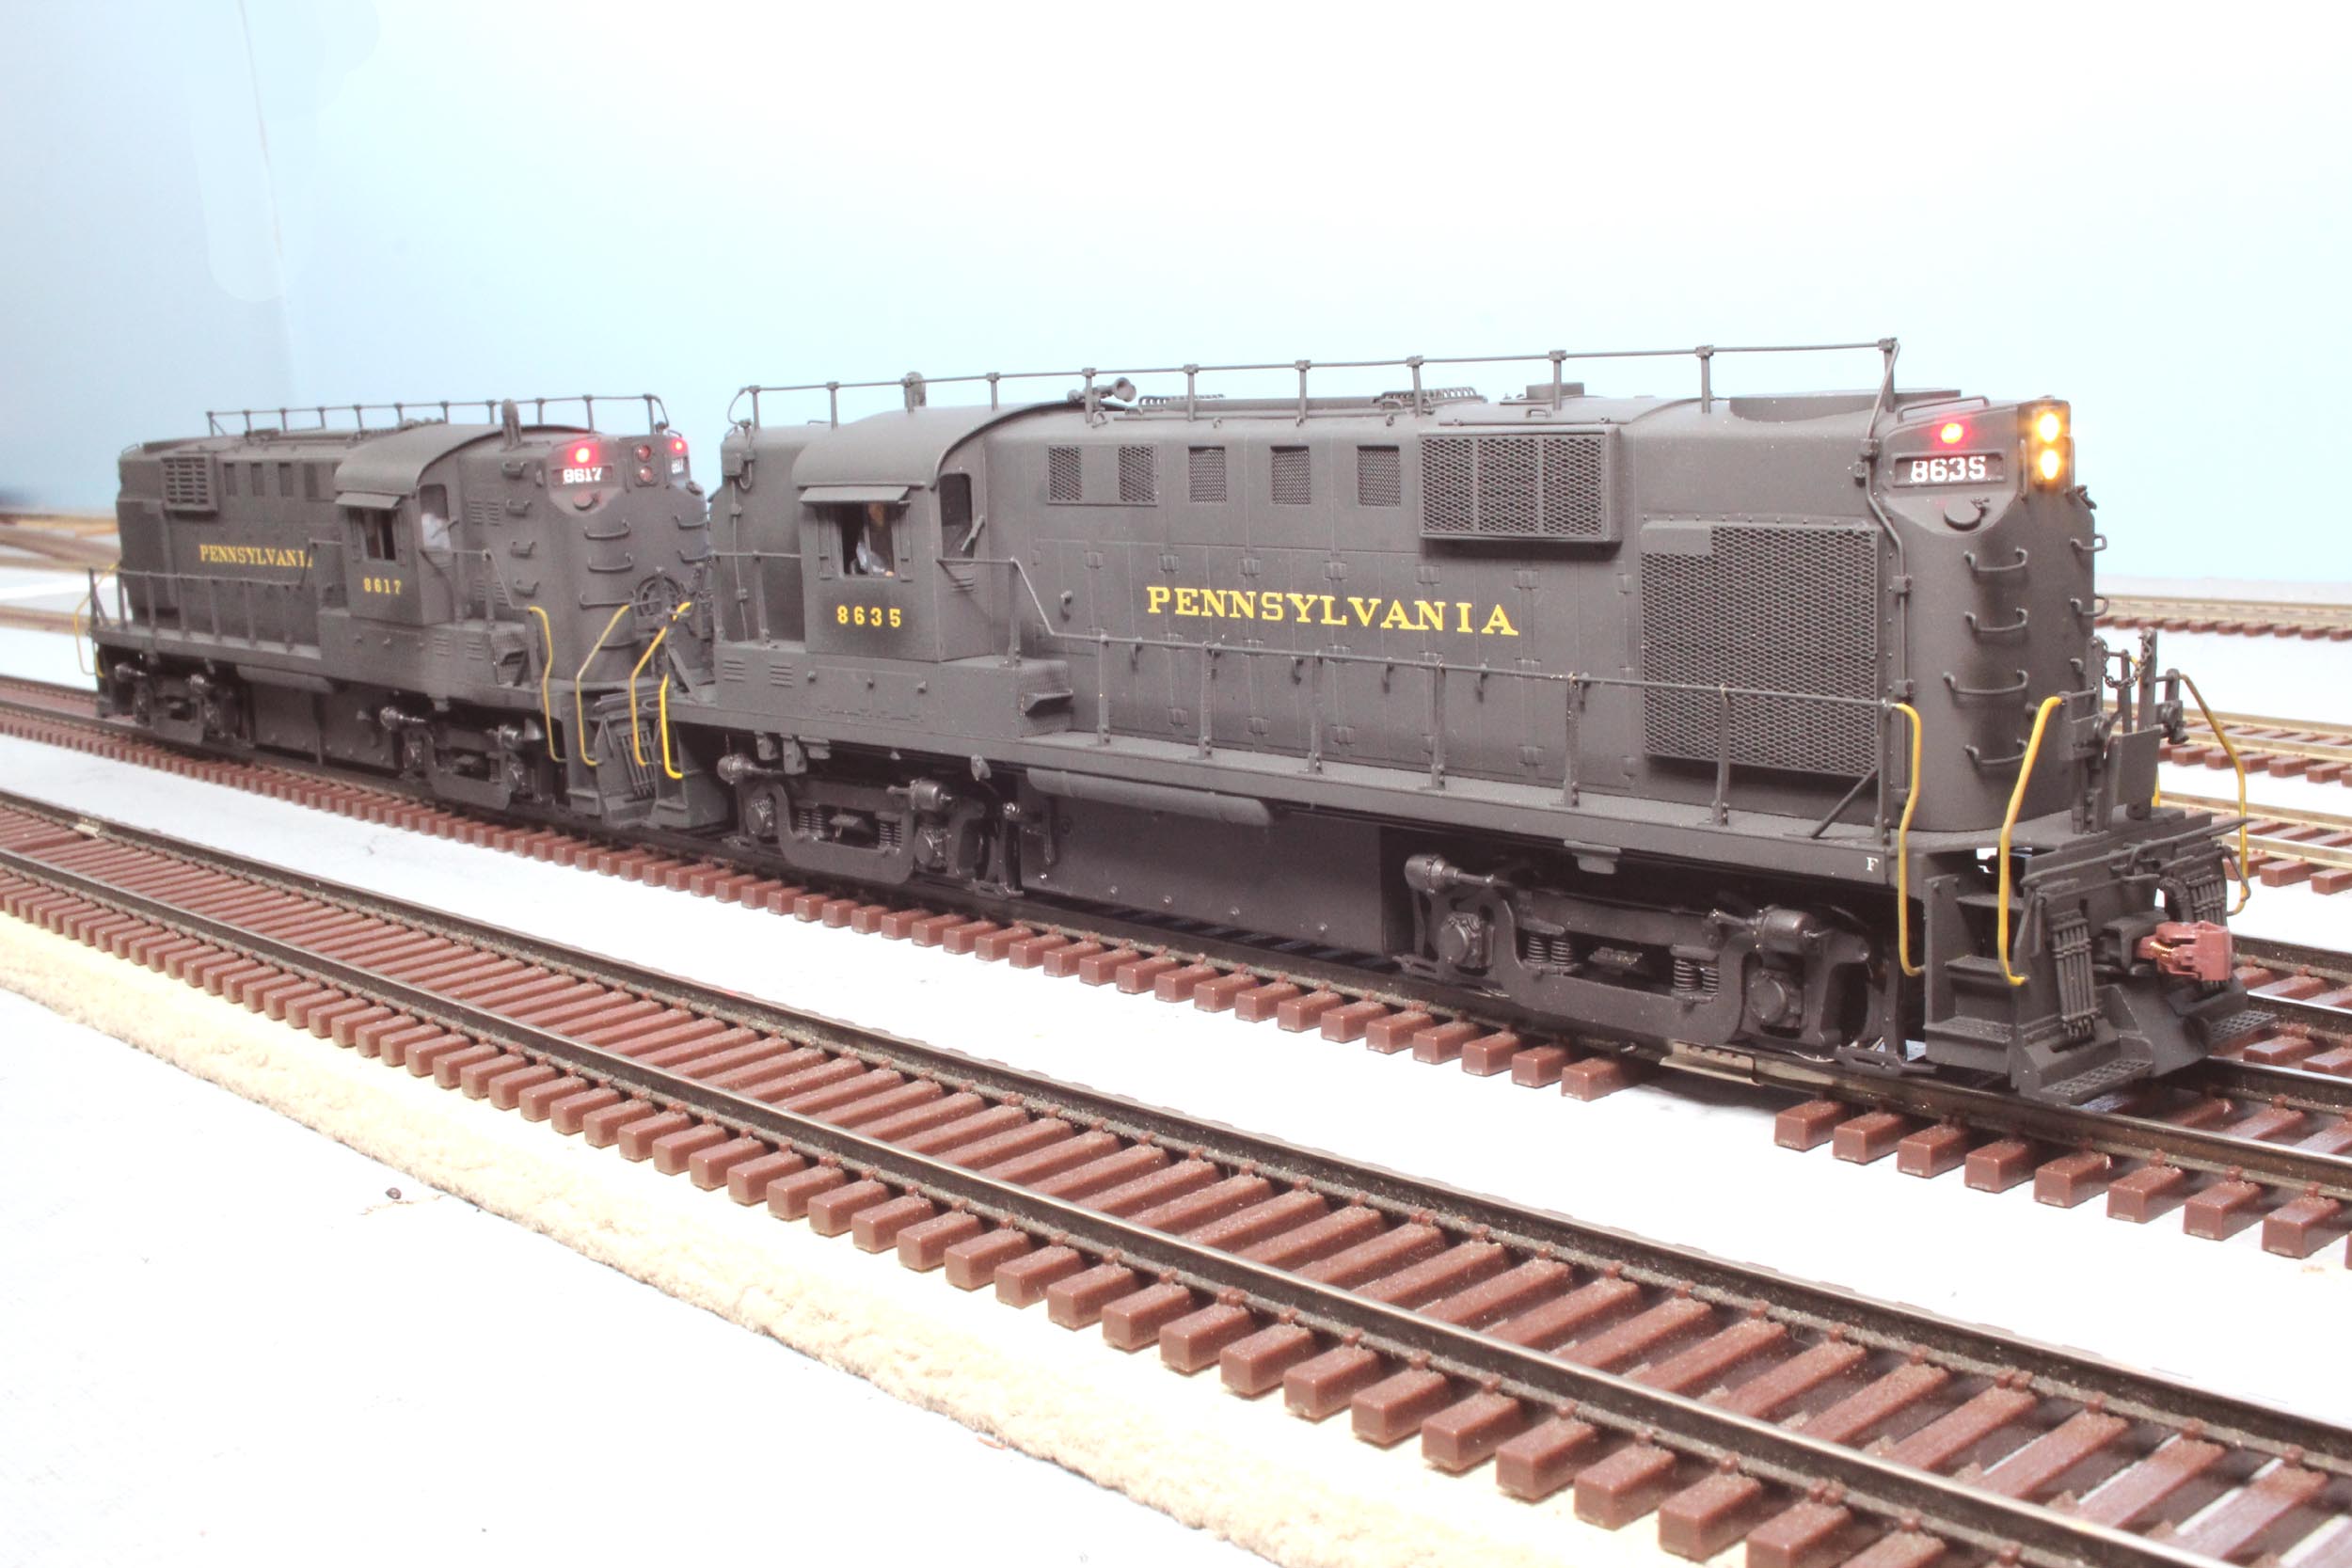
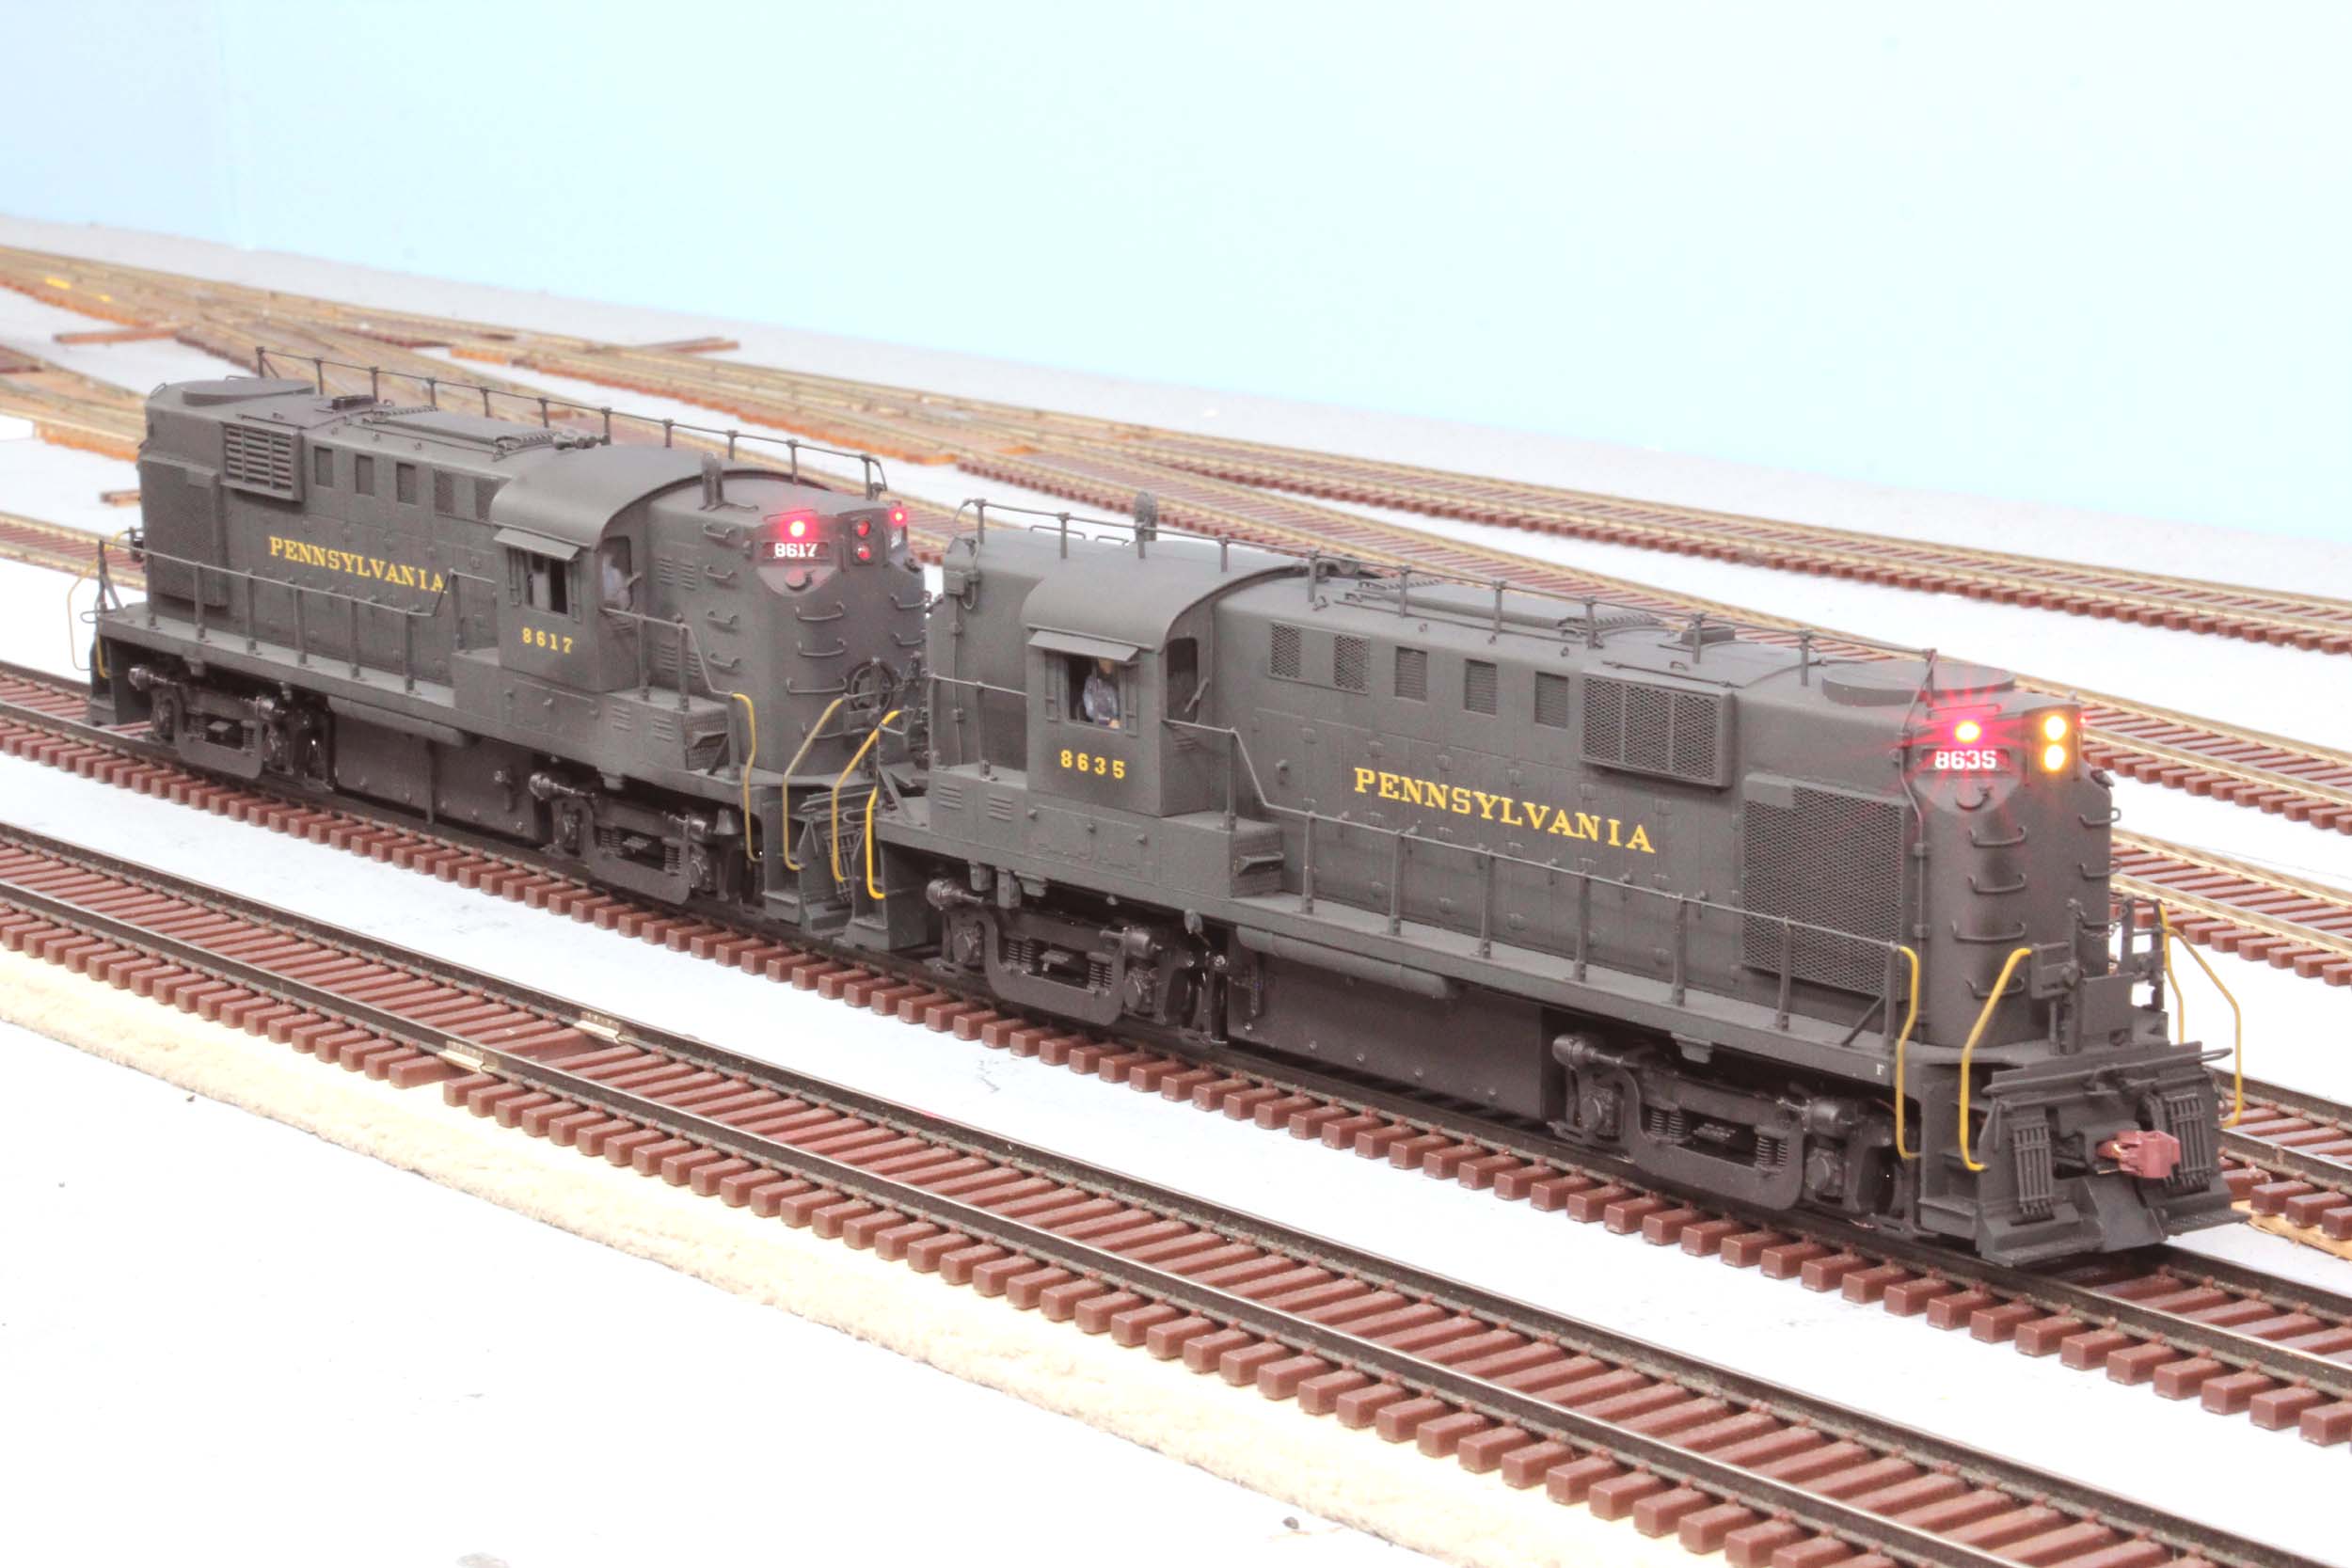
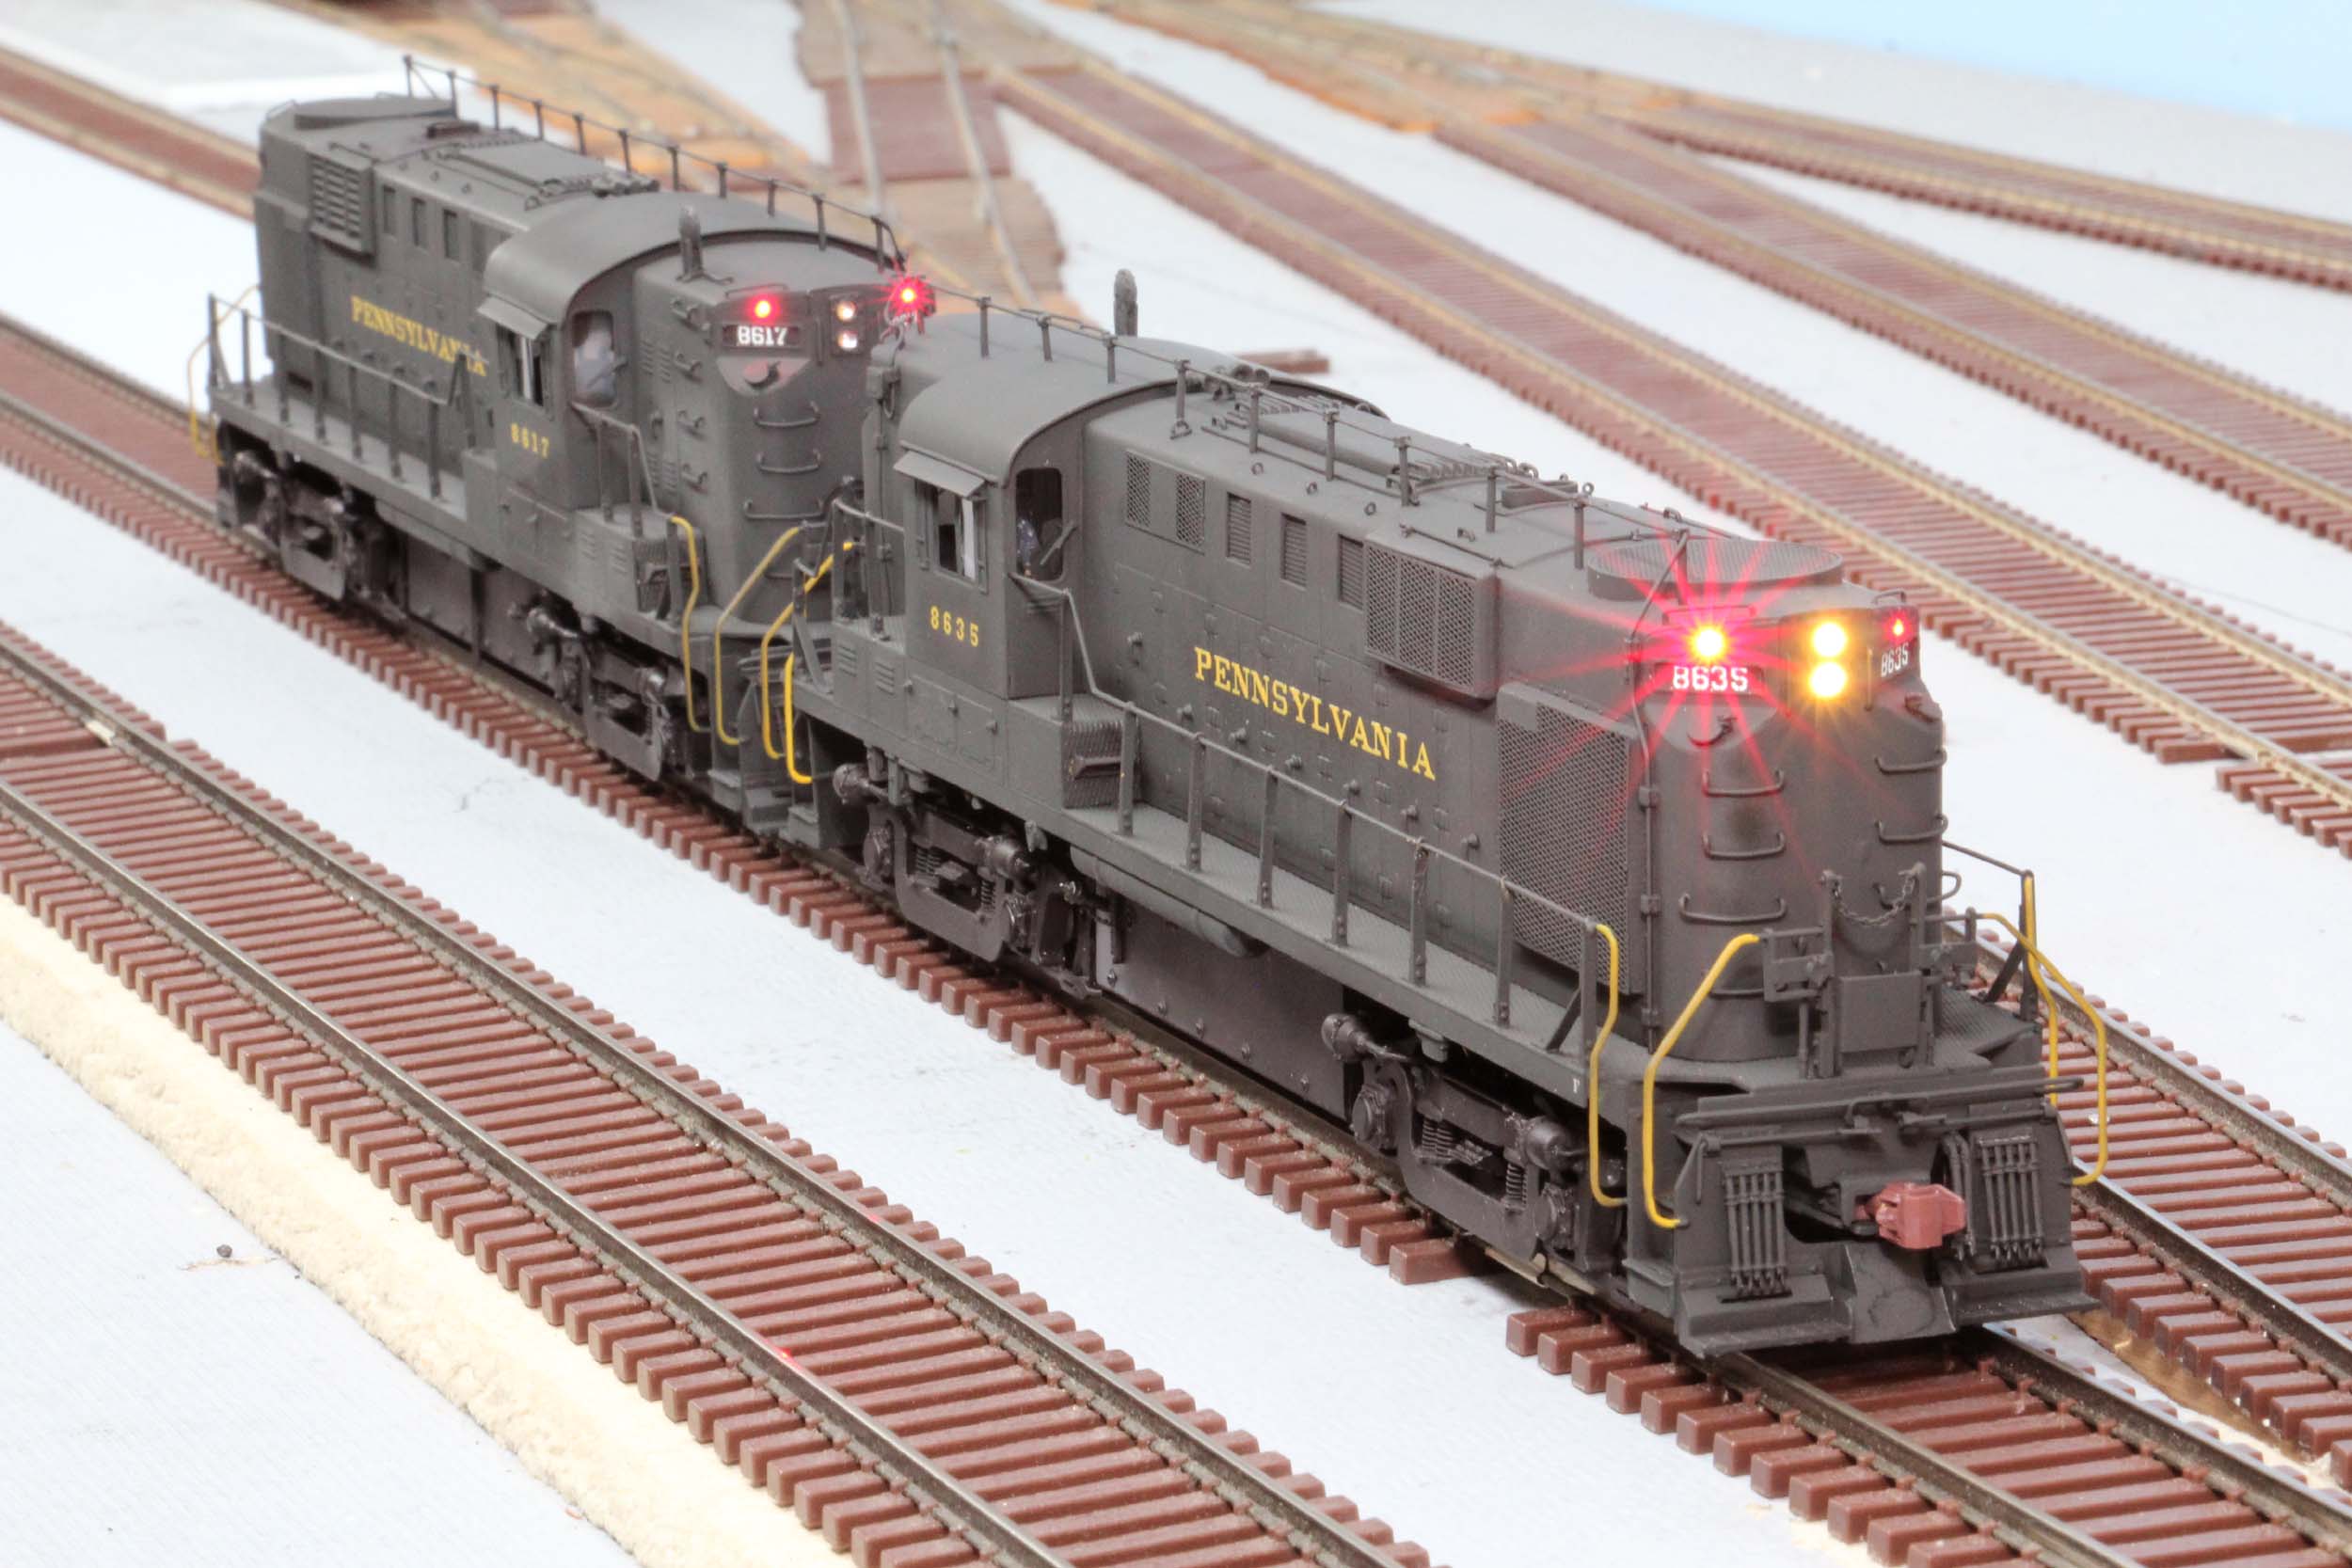
PRR 8617 & 8635
These
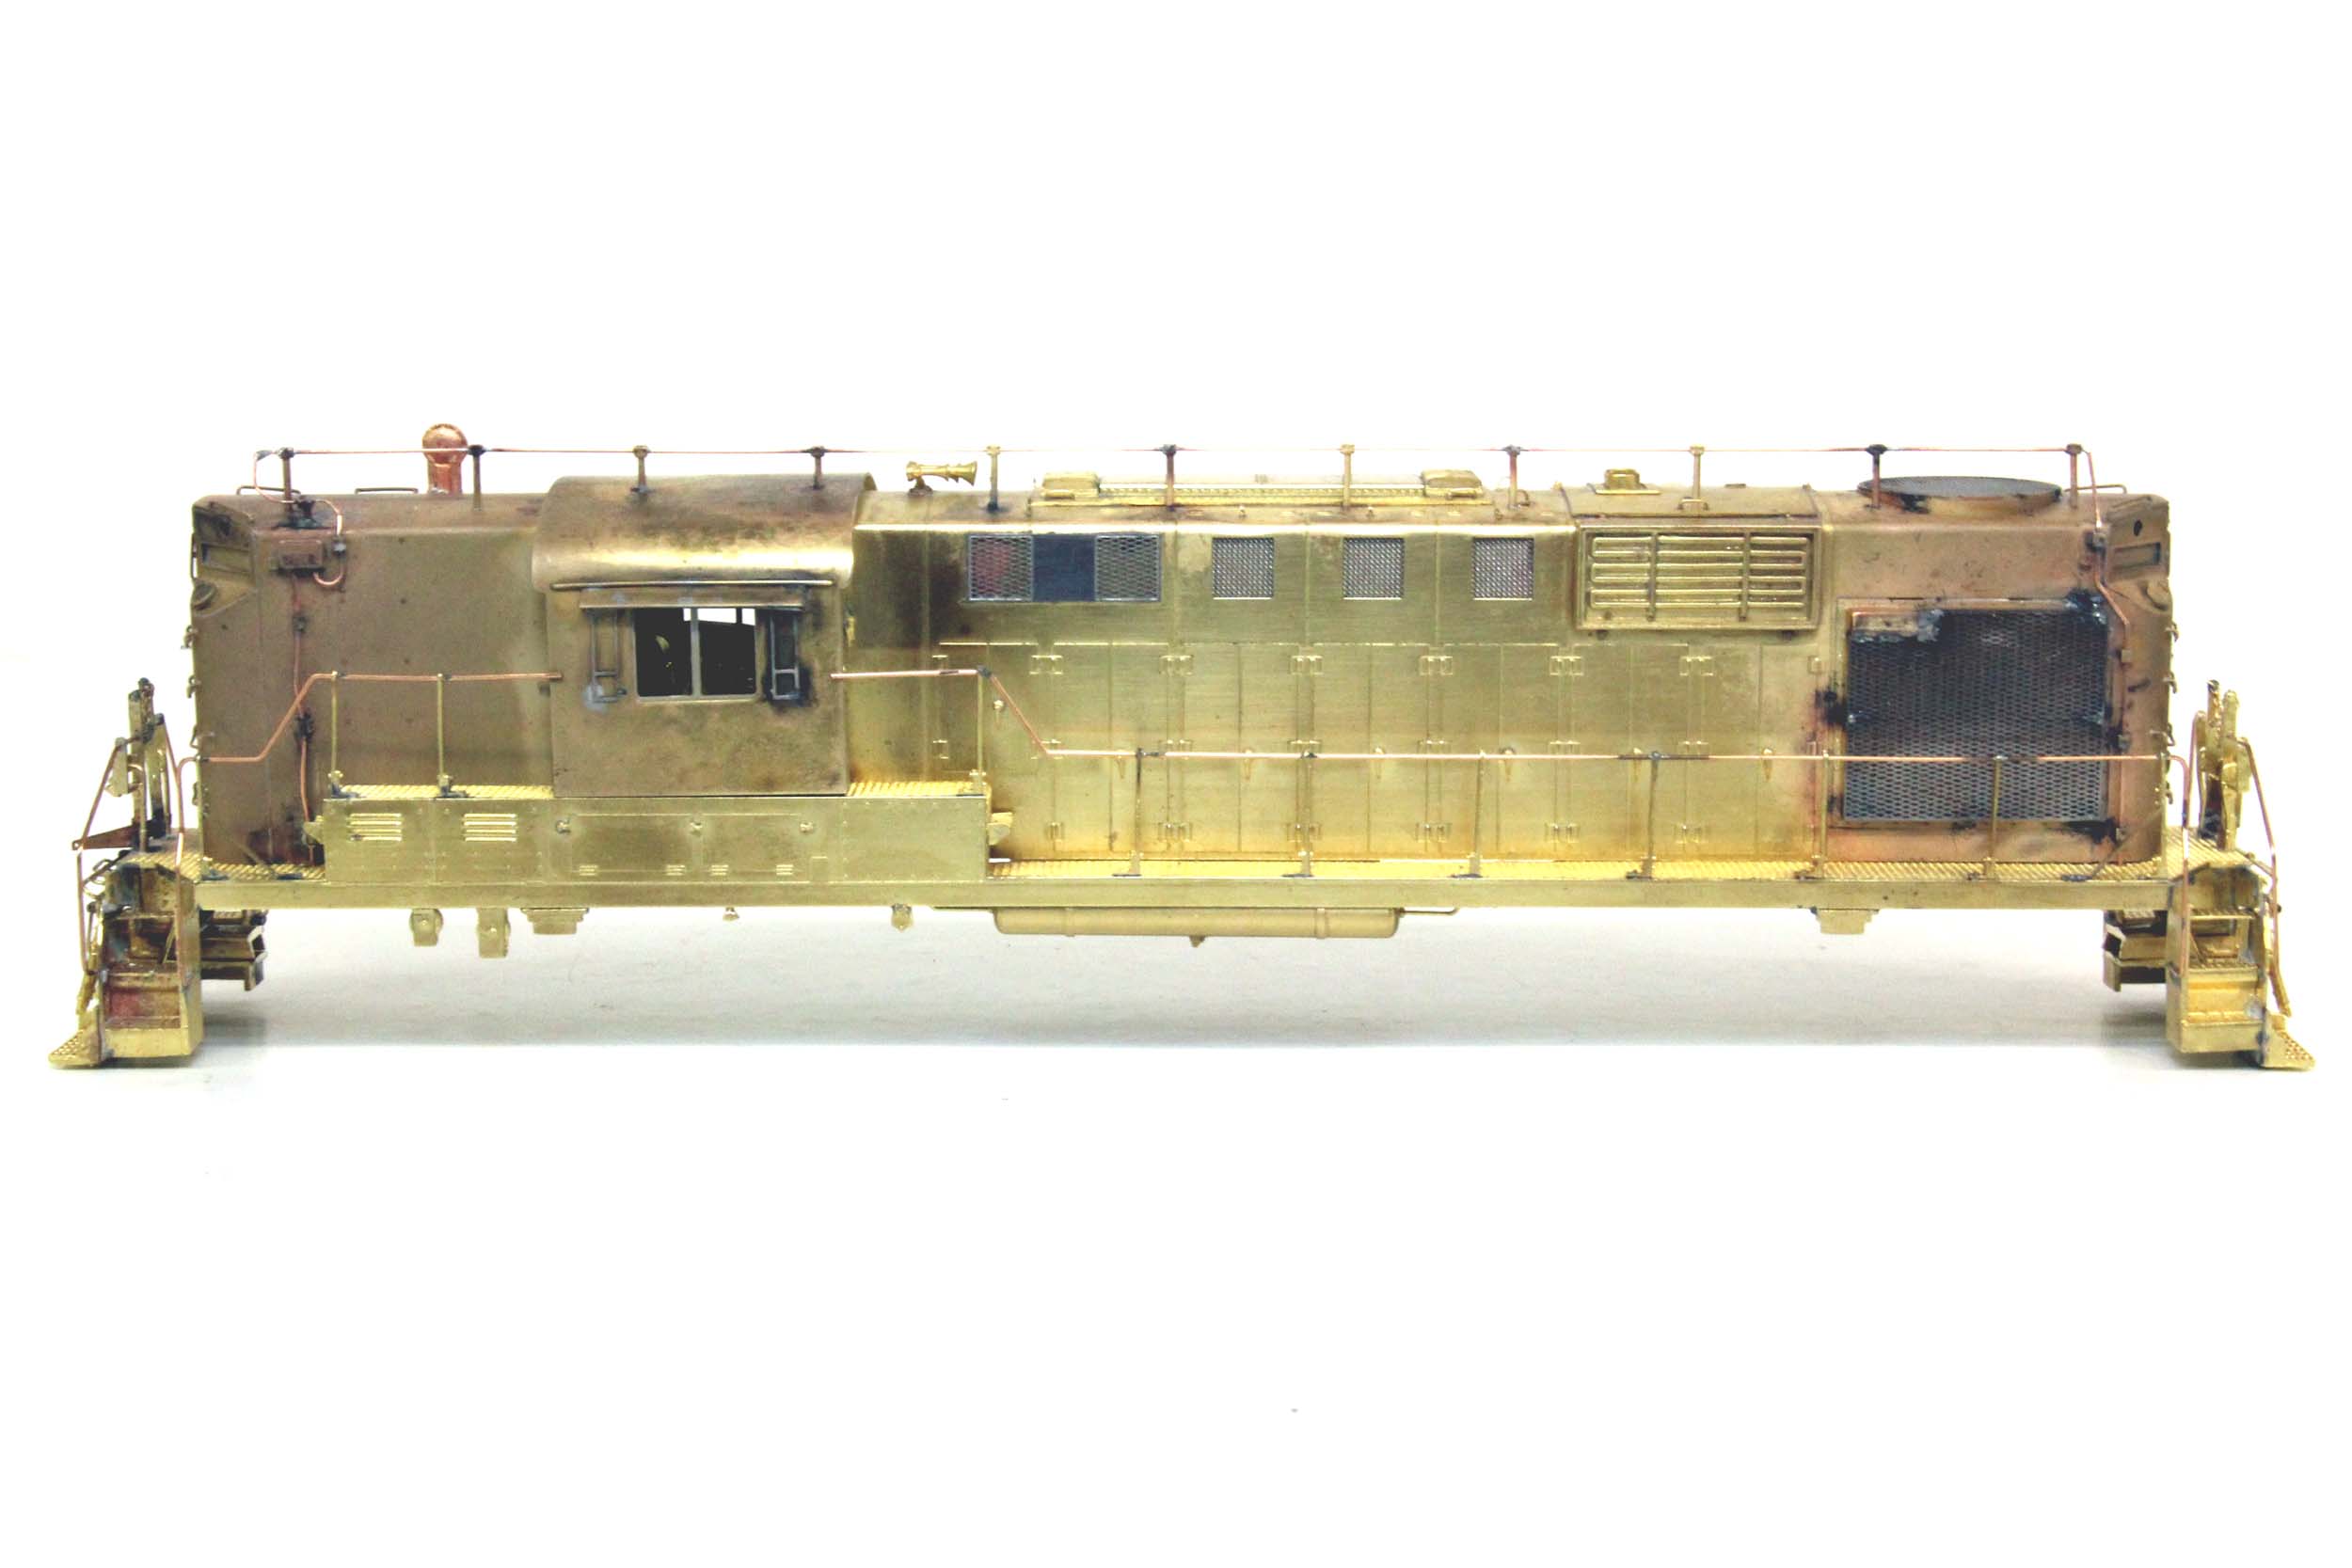
PRR RS11 were built by Overland/Ajin in 1989. This
is yet another long “Back In The Box” project. The last time I did any work
to them was in 2009. I did not take any photos of the locos as built by
Overland. This photo was taken from an eBay ad.
|
|


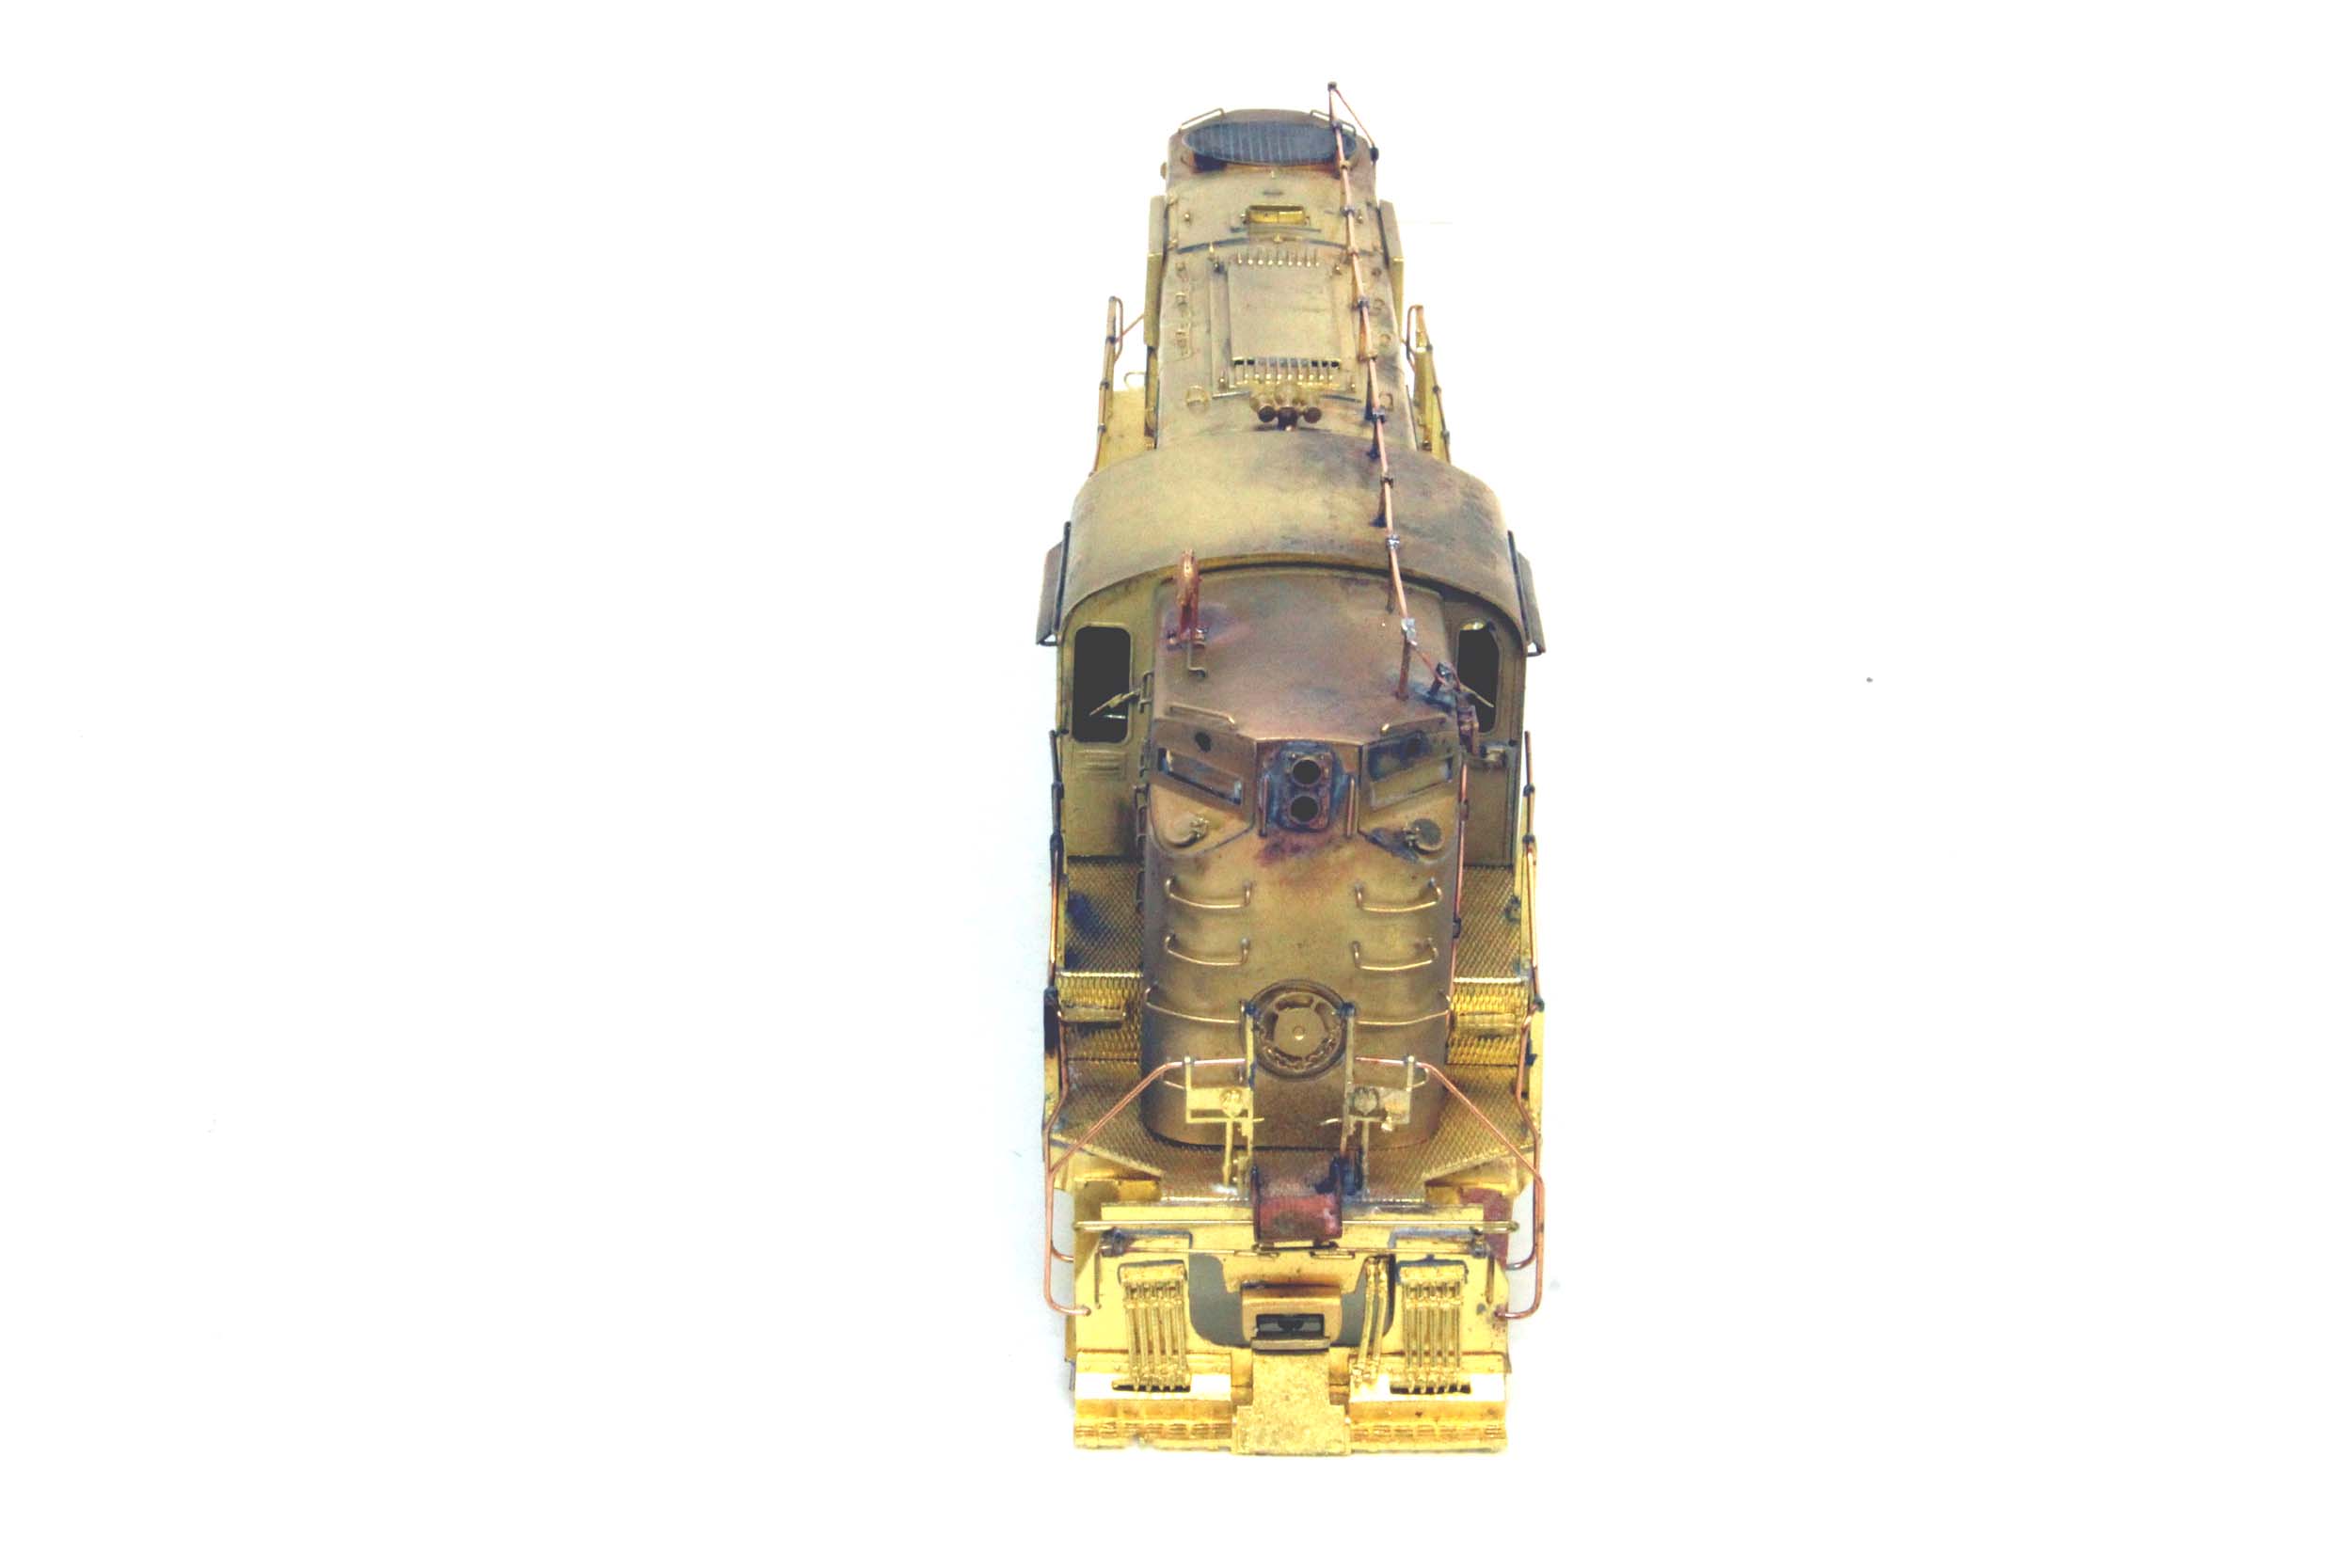
This photo was taken 6-10-17 as I restarted working on them. It
took 6 months in 2017 and wound up being a project I worked on while I was not
working on other projects.

I
had 3 big issues with this loco I had to change. I did not like the as built
drive, and the PRR antenna stanchions were very small and fragile. I made new
antenna stanchions and completely reworked the antennas. Overland did not even
have the receiver disc included. Overland obviously did not look at photos of
the PRR RS11. There is a grab iron ladder on the short hood that has to be
moved to the other side.
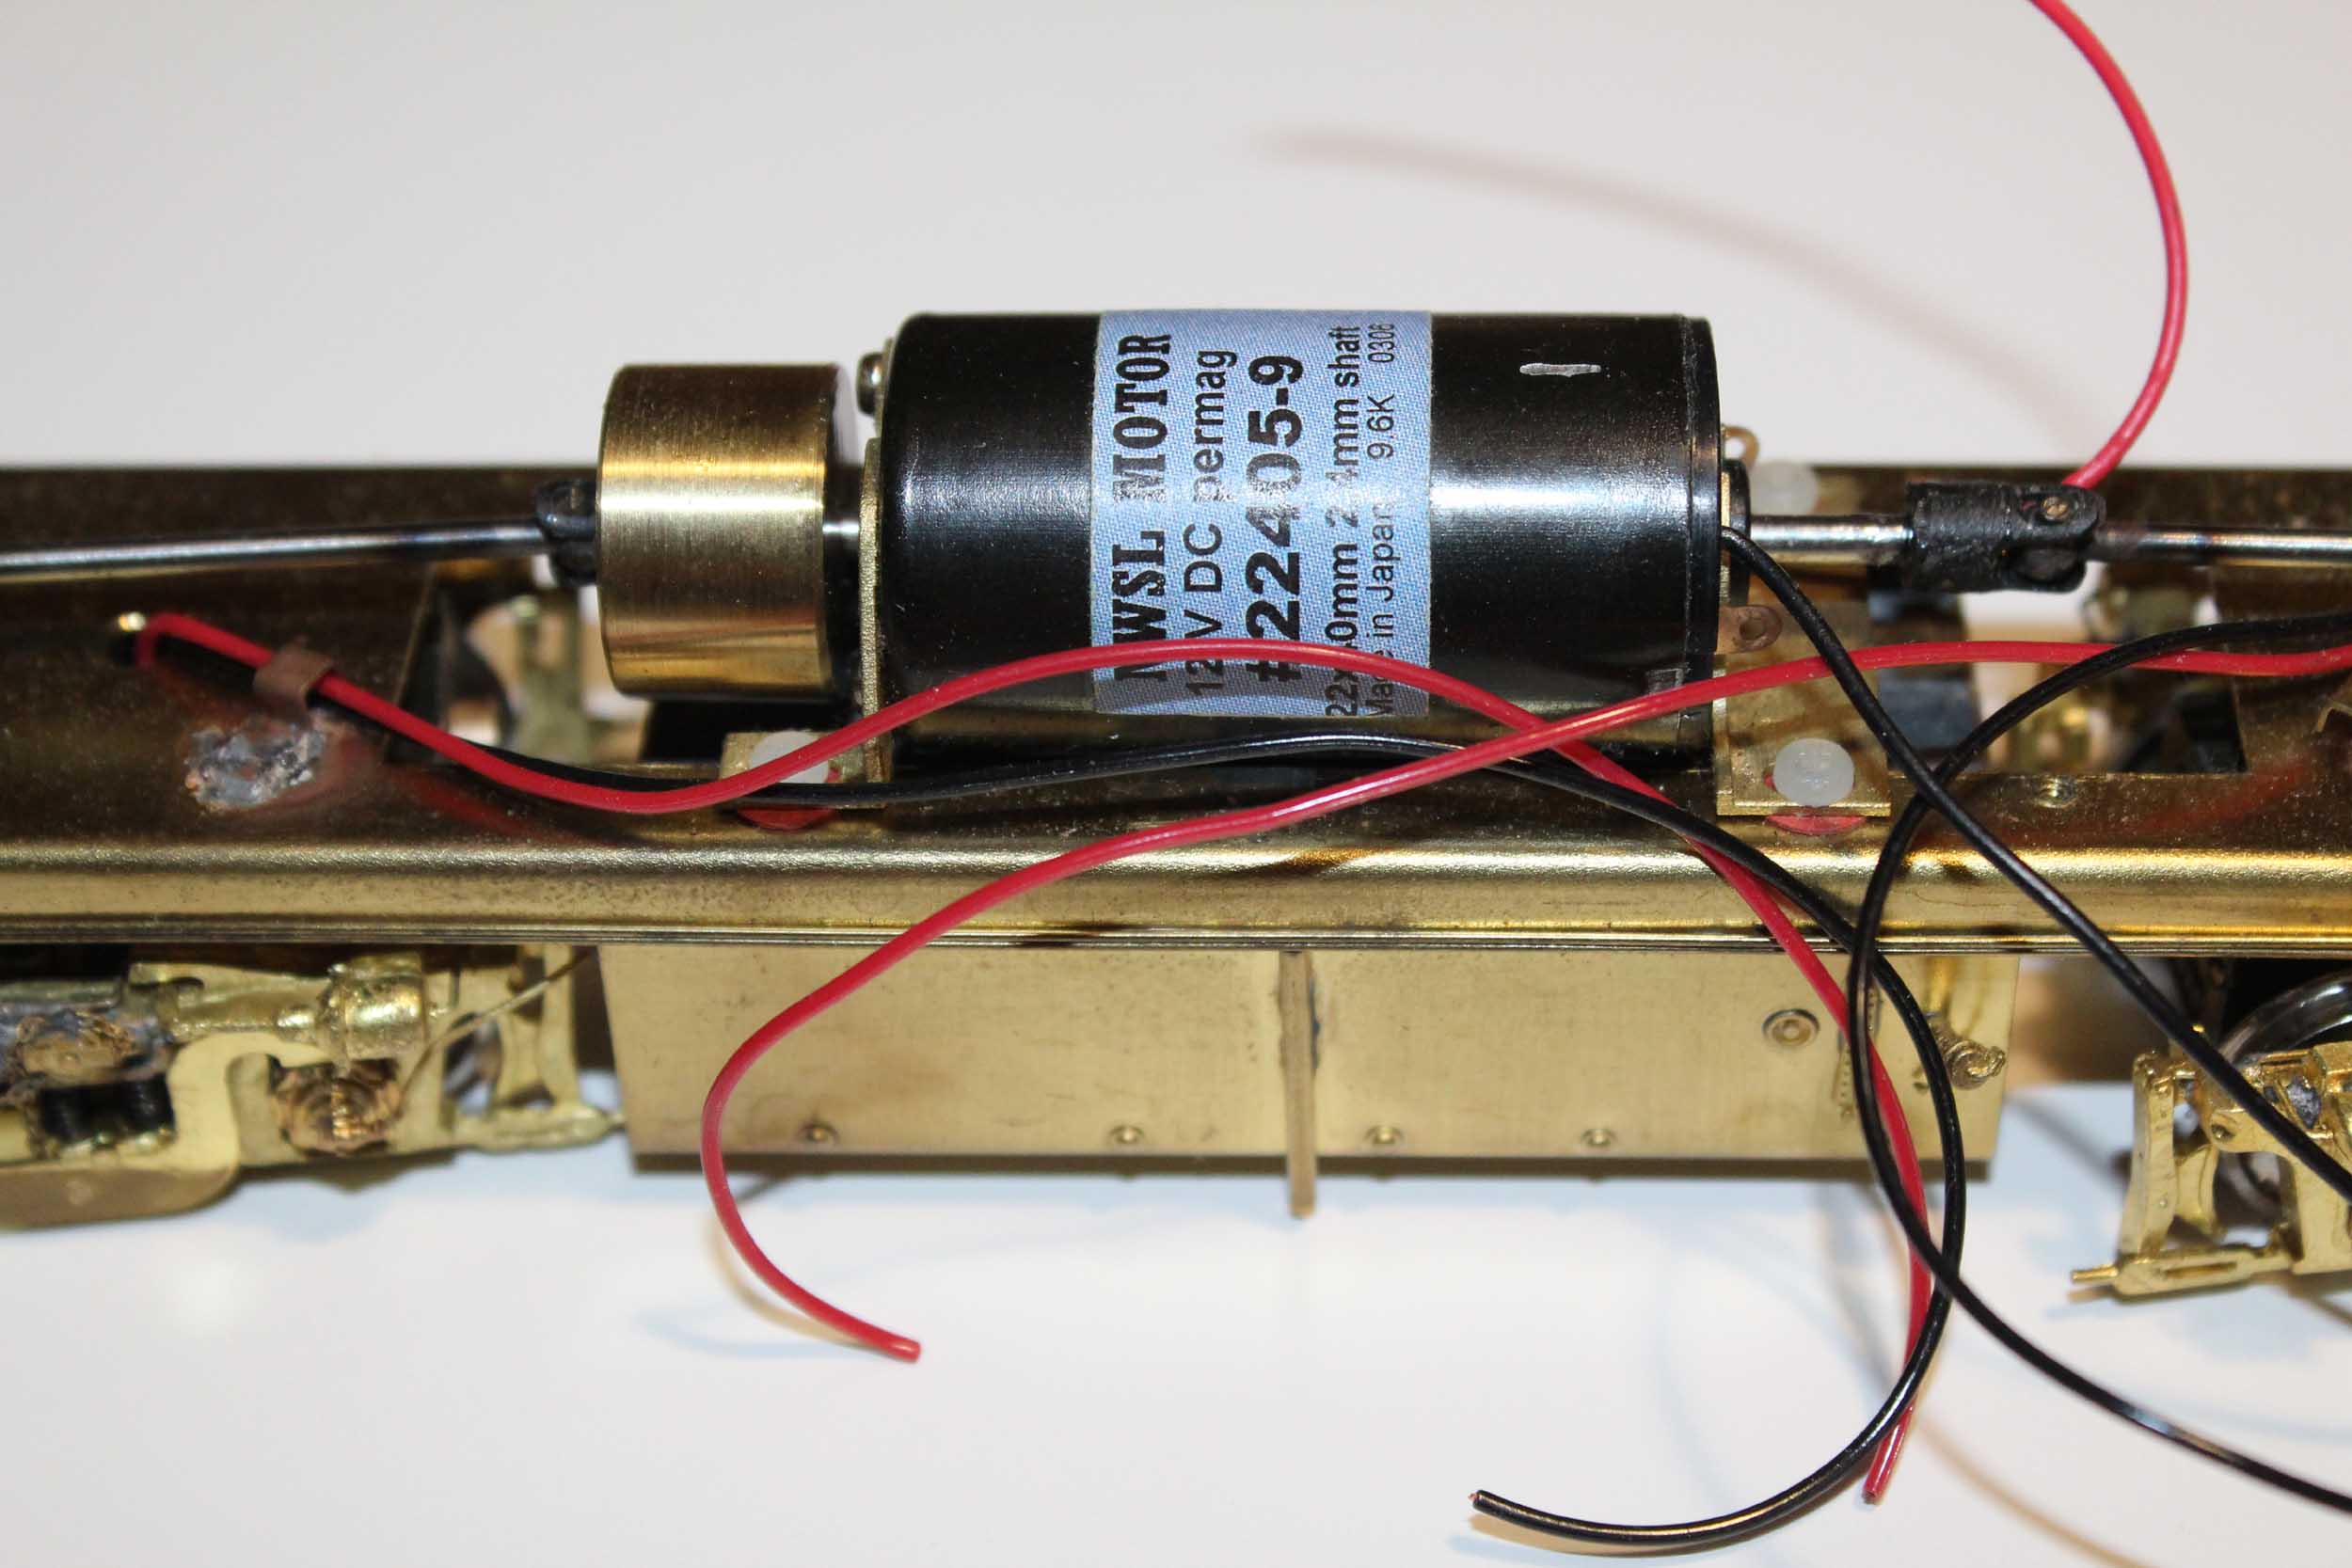
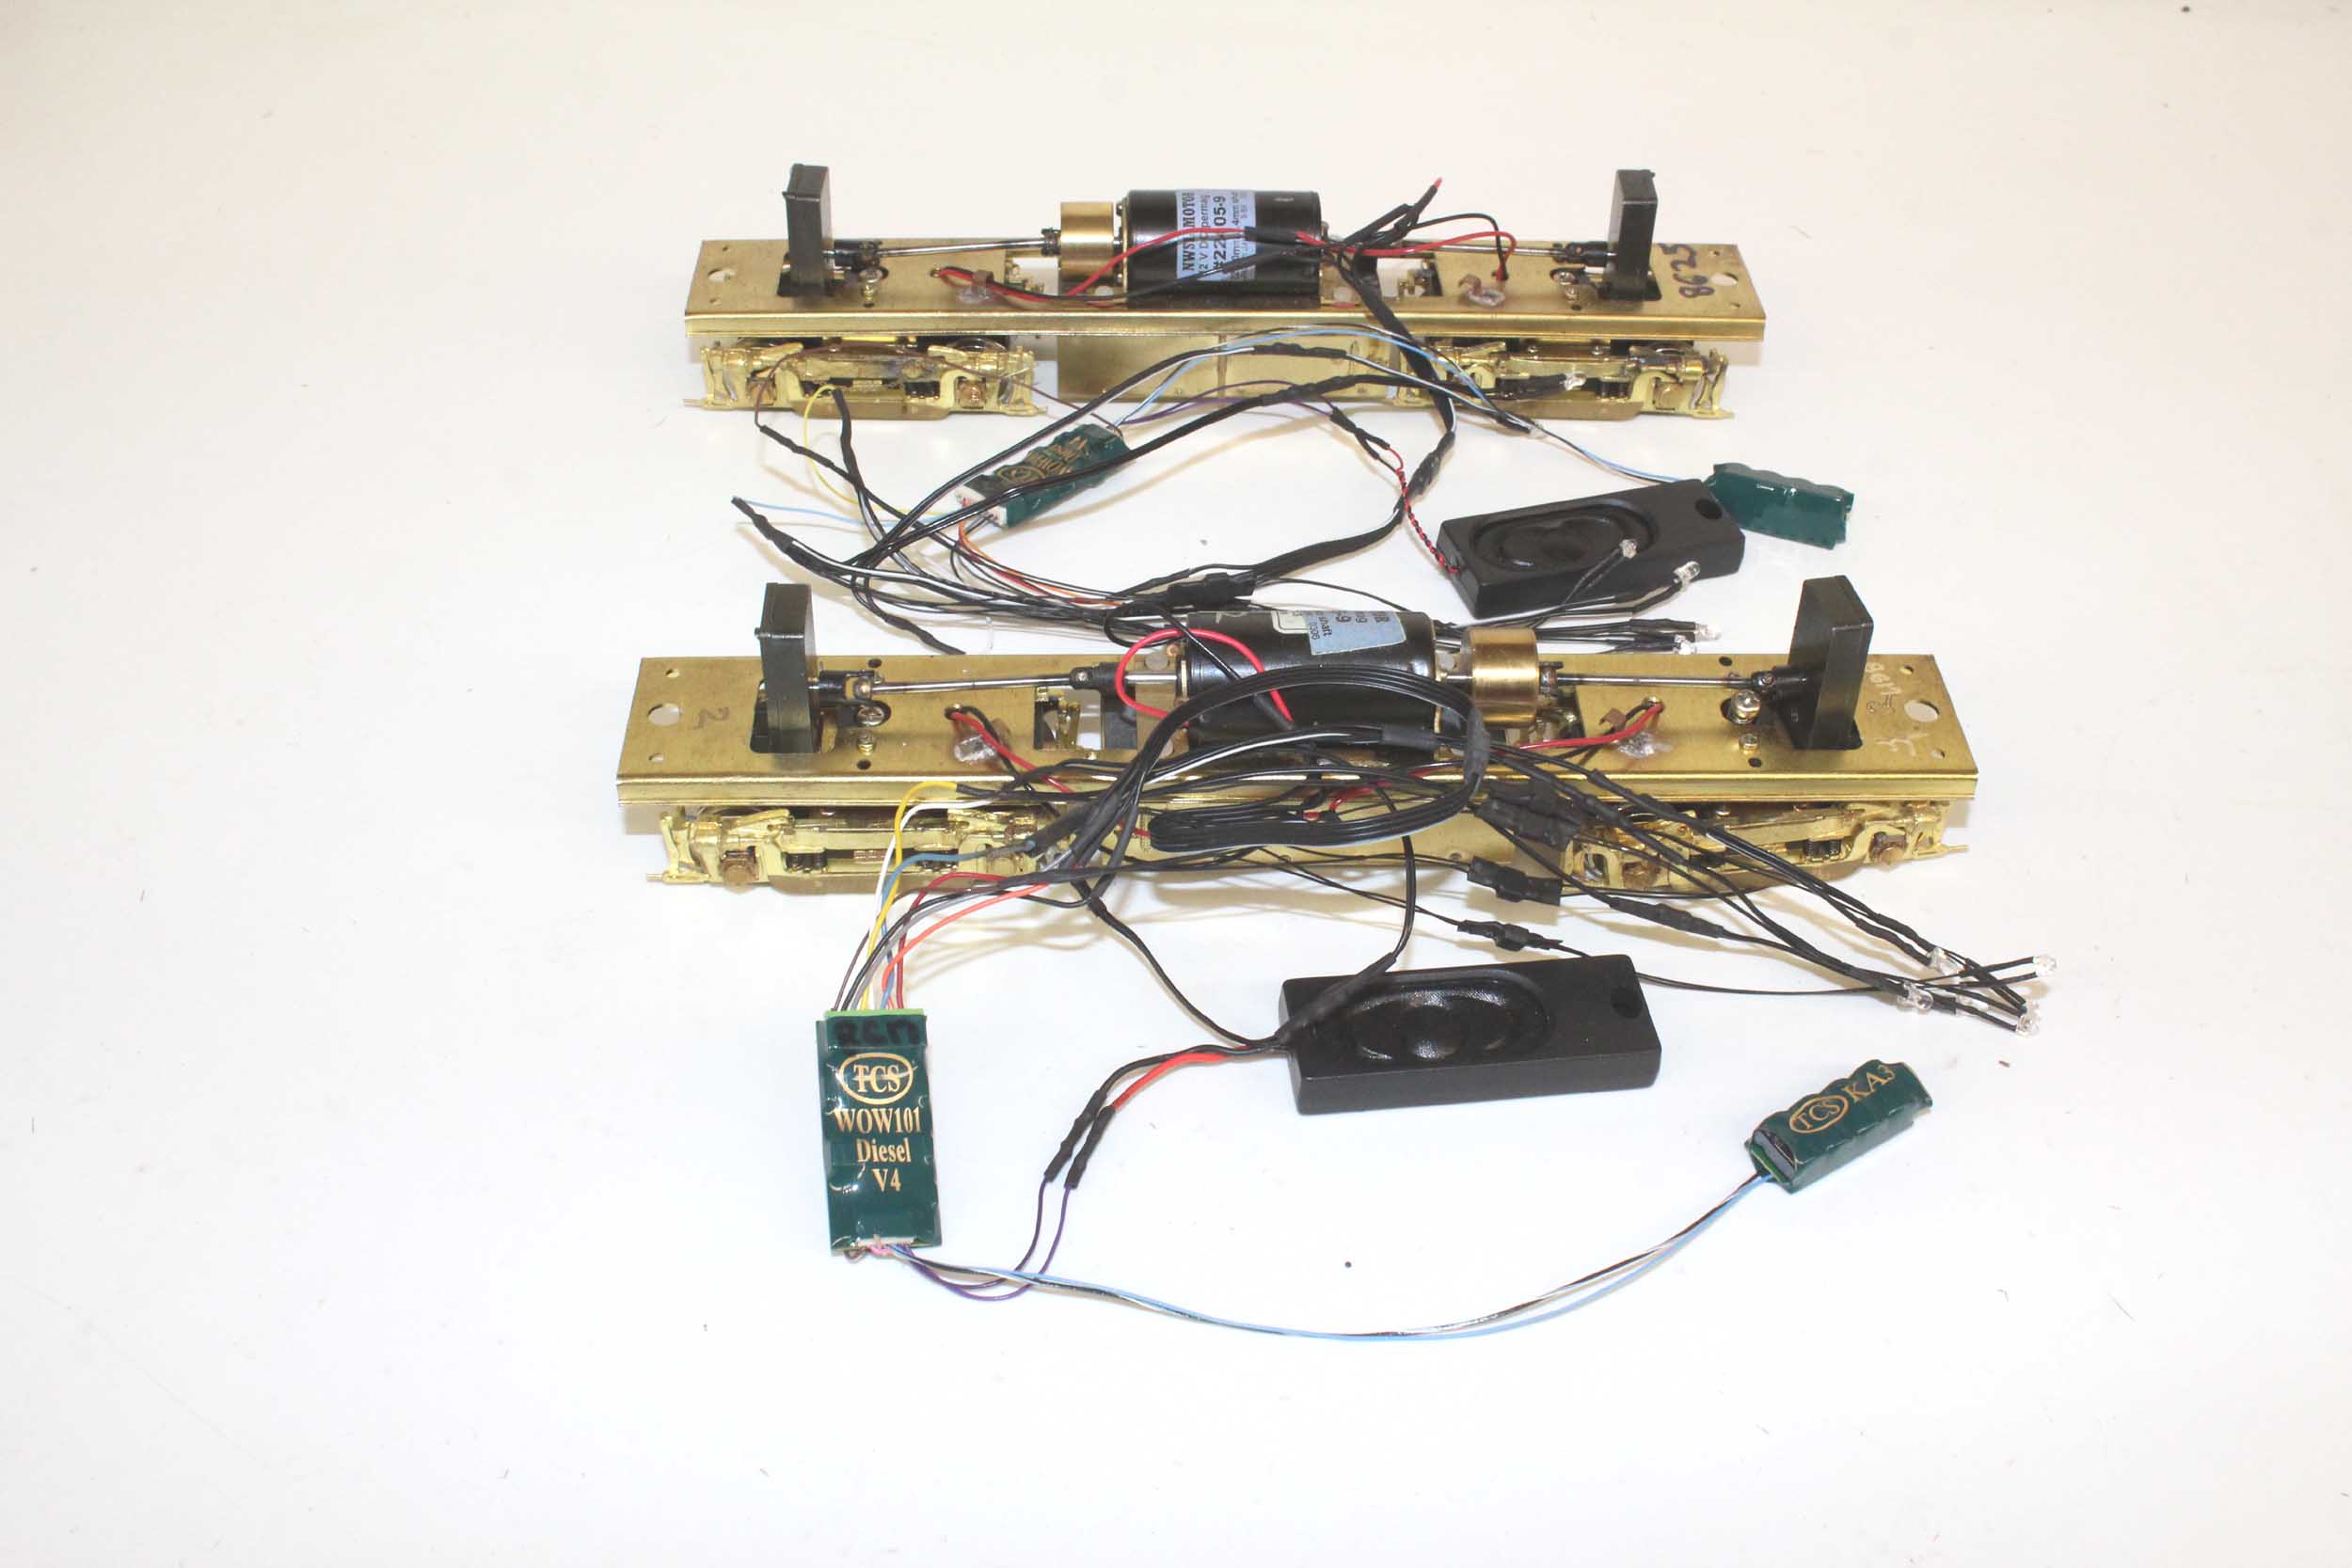
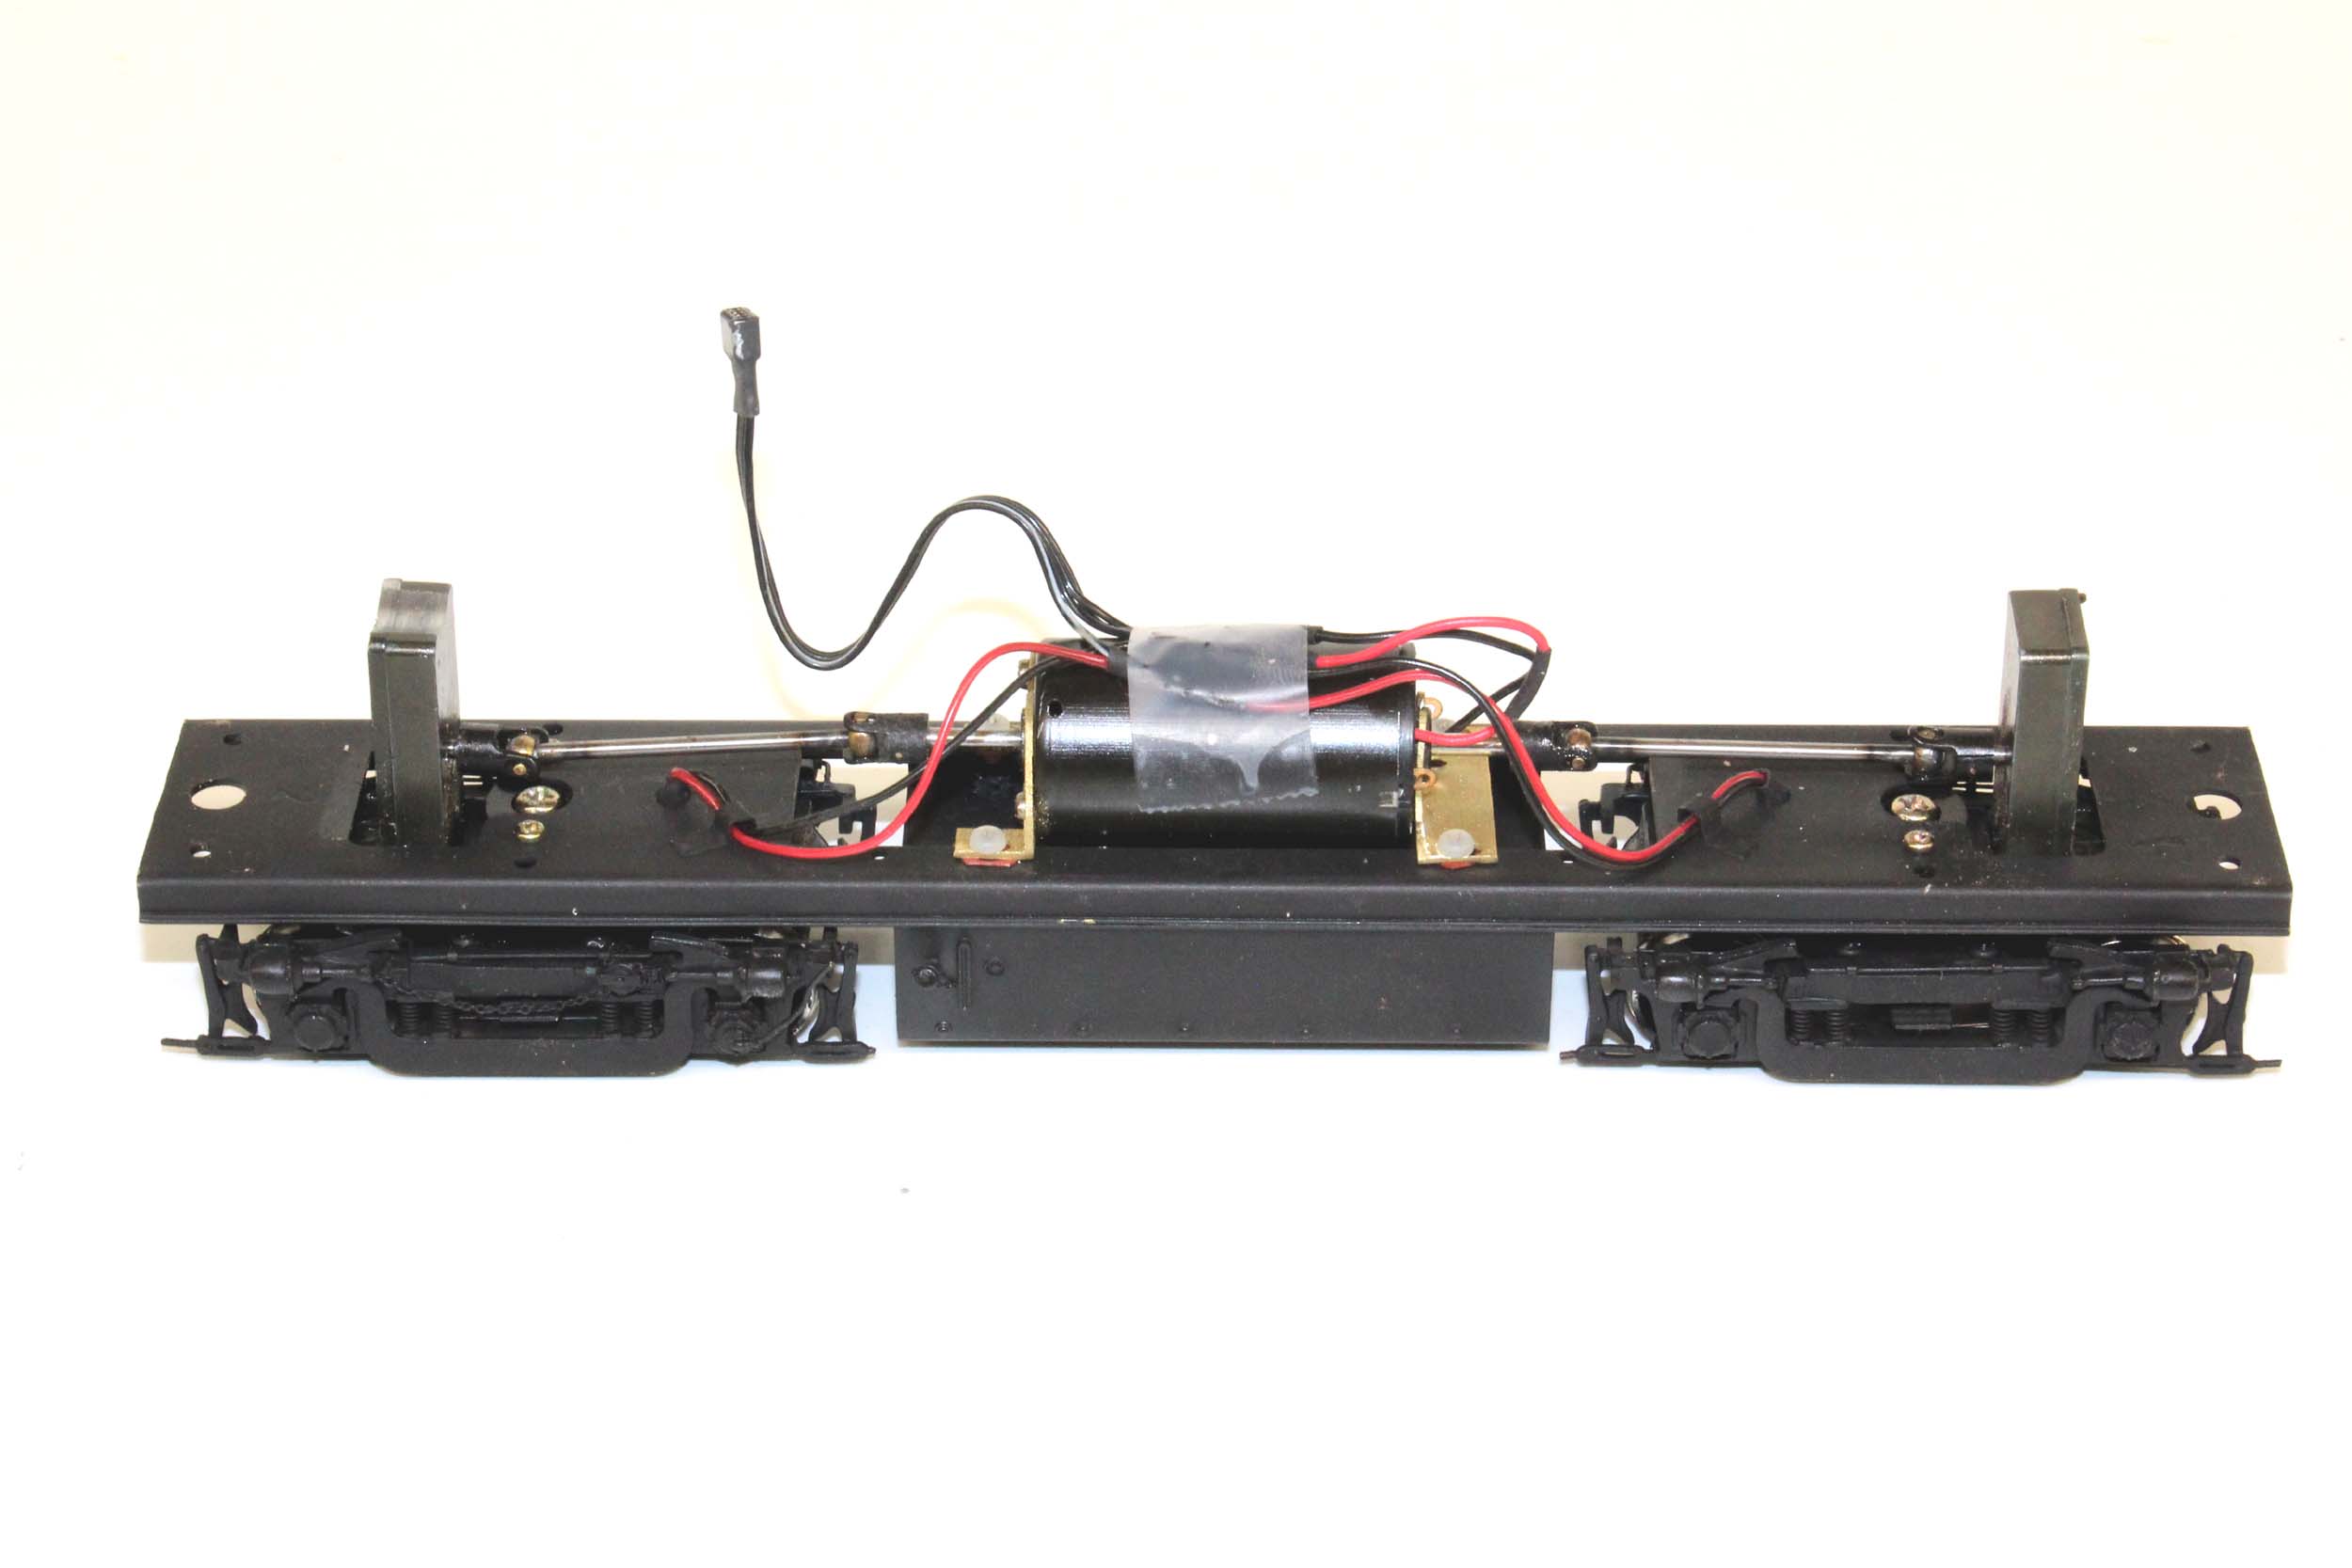
New Motor
In
the previous drive design that was in Ajin GP38-2, SD40-2, FA, E7 and E8, was 1
motor connected to a center gearbox, down into the fuel tank, and out through the
fuel tank to the trucks with driveshafts – typically called the “tank drive”.
The River Raisin E8 and Overland RS11 had 2 “HO” sized motors, not connected to
each other straight out to driveshafts and the trucks. It made for a lot of
interior space but I thought the motors were too small for S Scale. I also
thought 2 motors not connected to each other with a coupling could not be
synchronized to each other creating a performance issue. I replaced the 2 motors
with 1 motor that will fix the problem, and that is what I did.
In
2008 I was on a Solidworks designing binge like I have never done since, making
truly 100s of wanted parts. I designed motor mounts for a NWSL 22363-9 motor,
but it worked as well for the 22405-9 motor that I used on the RS11.


If
I did this motor conversion today I would probably not use flywheels. They are
mostly not needed now with DCC.

Just for a goof on 6-15-17 I hooked up the decoder and took one for a test run. This is the first time a RS11 ran on my layout. The Tsunami will become a TSC WOW4 with LEDS instead of bulbs.
Added 7-23-17
Photos taken 7-2-17
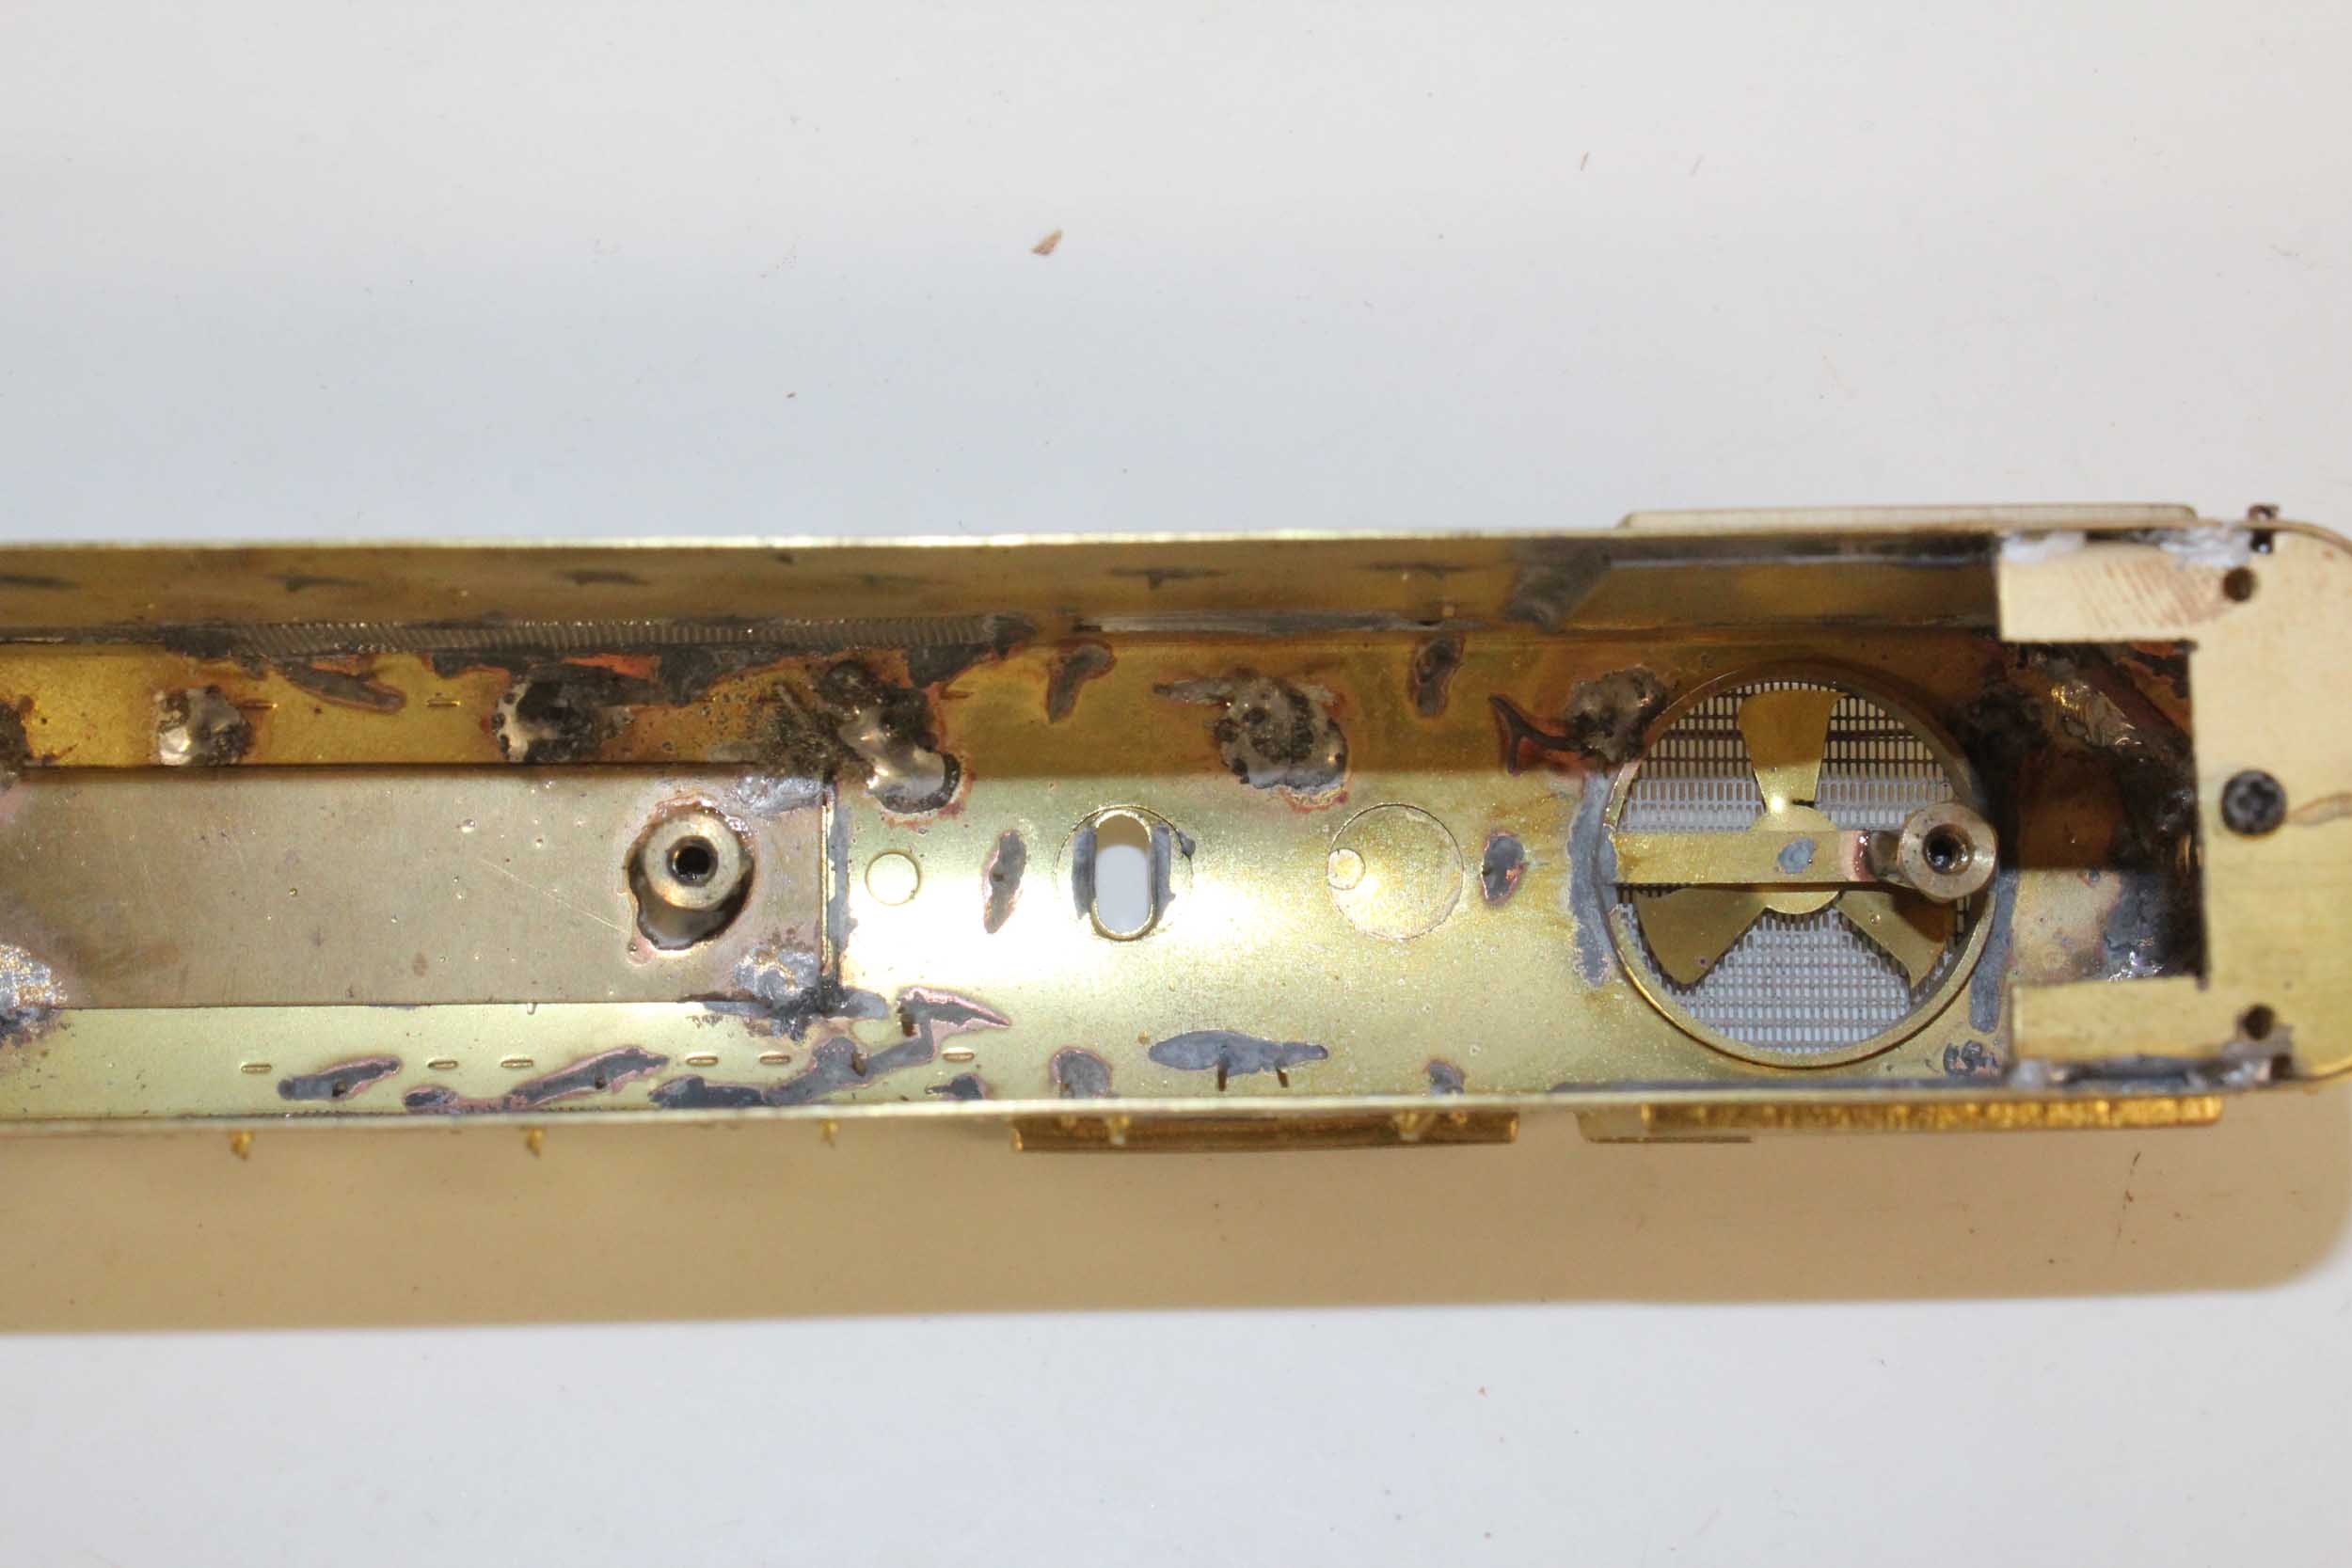
The
grab iron ladder was on the wrong side of the short hood so it had to be moved.
It was a bit intimidating but I got it done. One hole drilled in the wrong
place would be very noticeable. The original holes were filed with .025 wire
and solder. They are only roughed in at this point. Final body work will come
later just before painting.

Photos taken 7-23-17
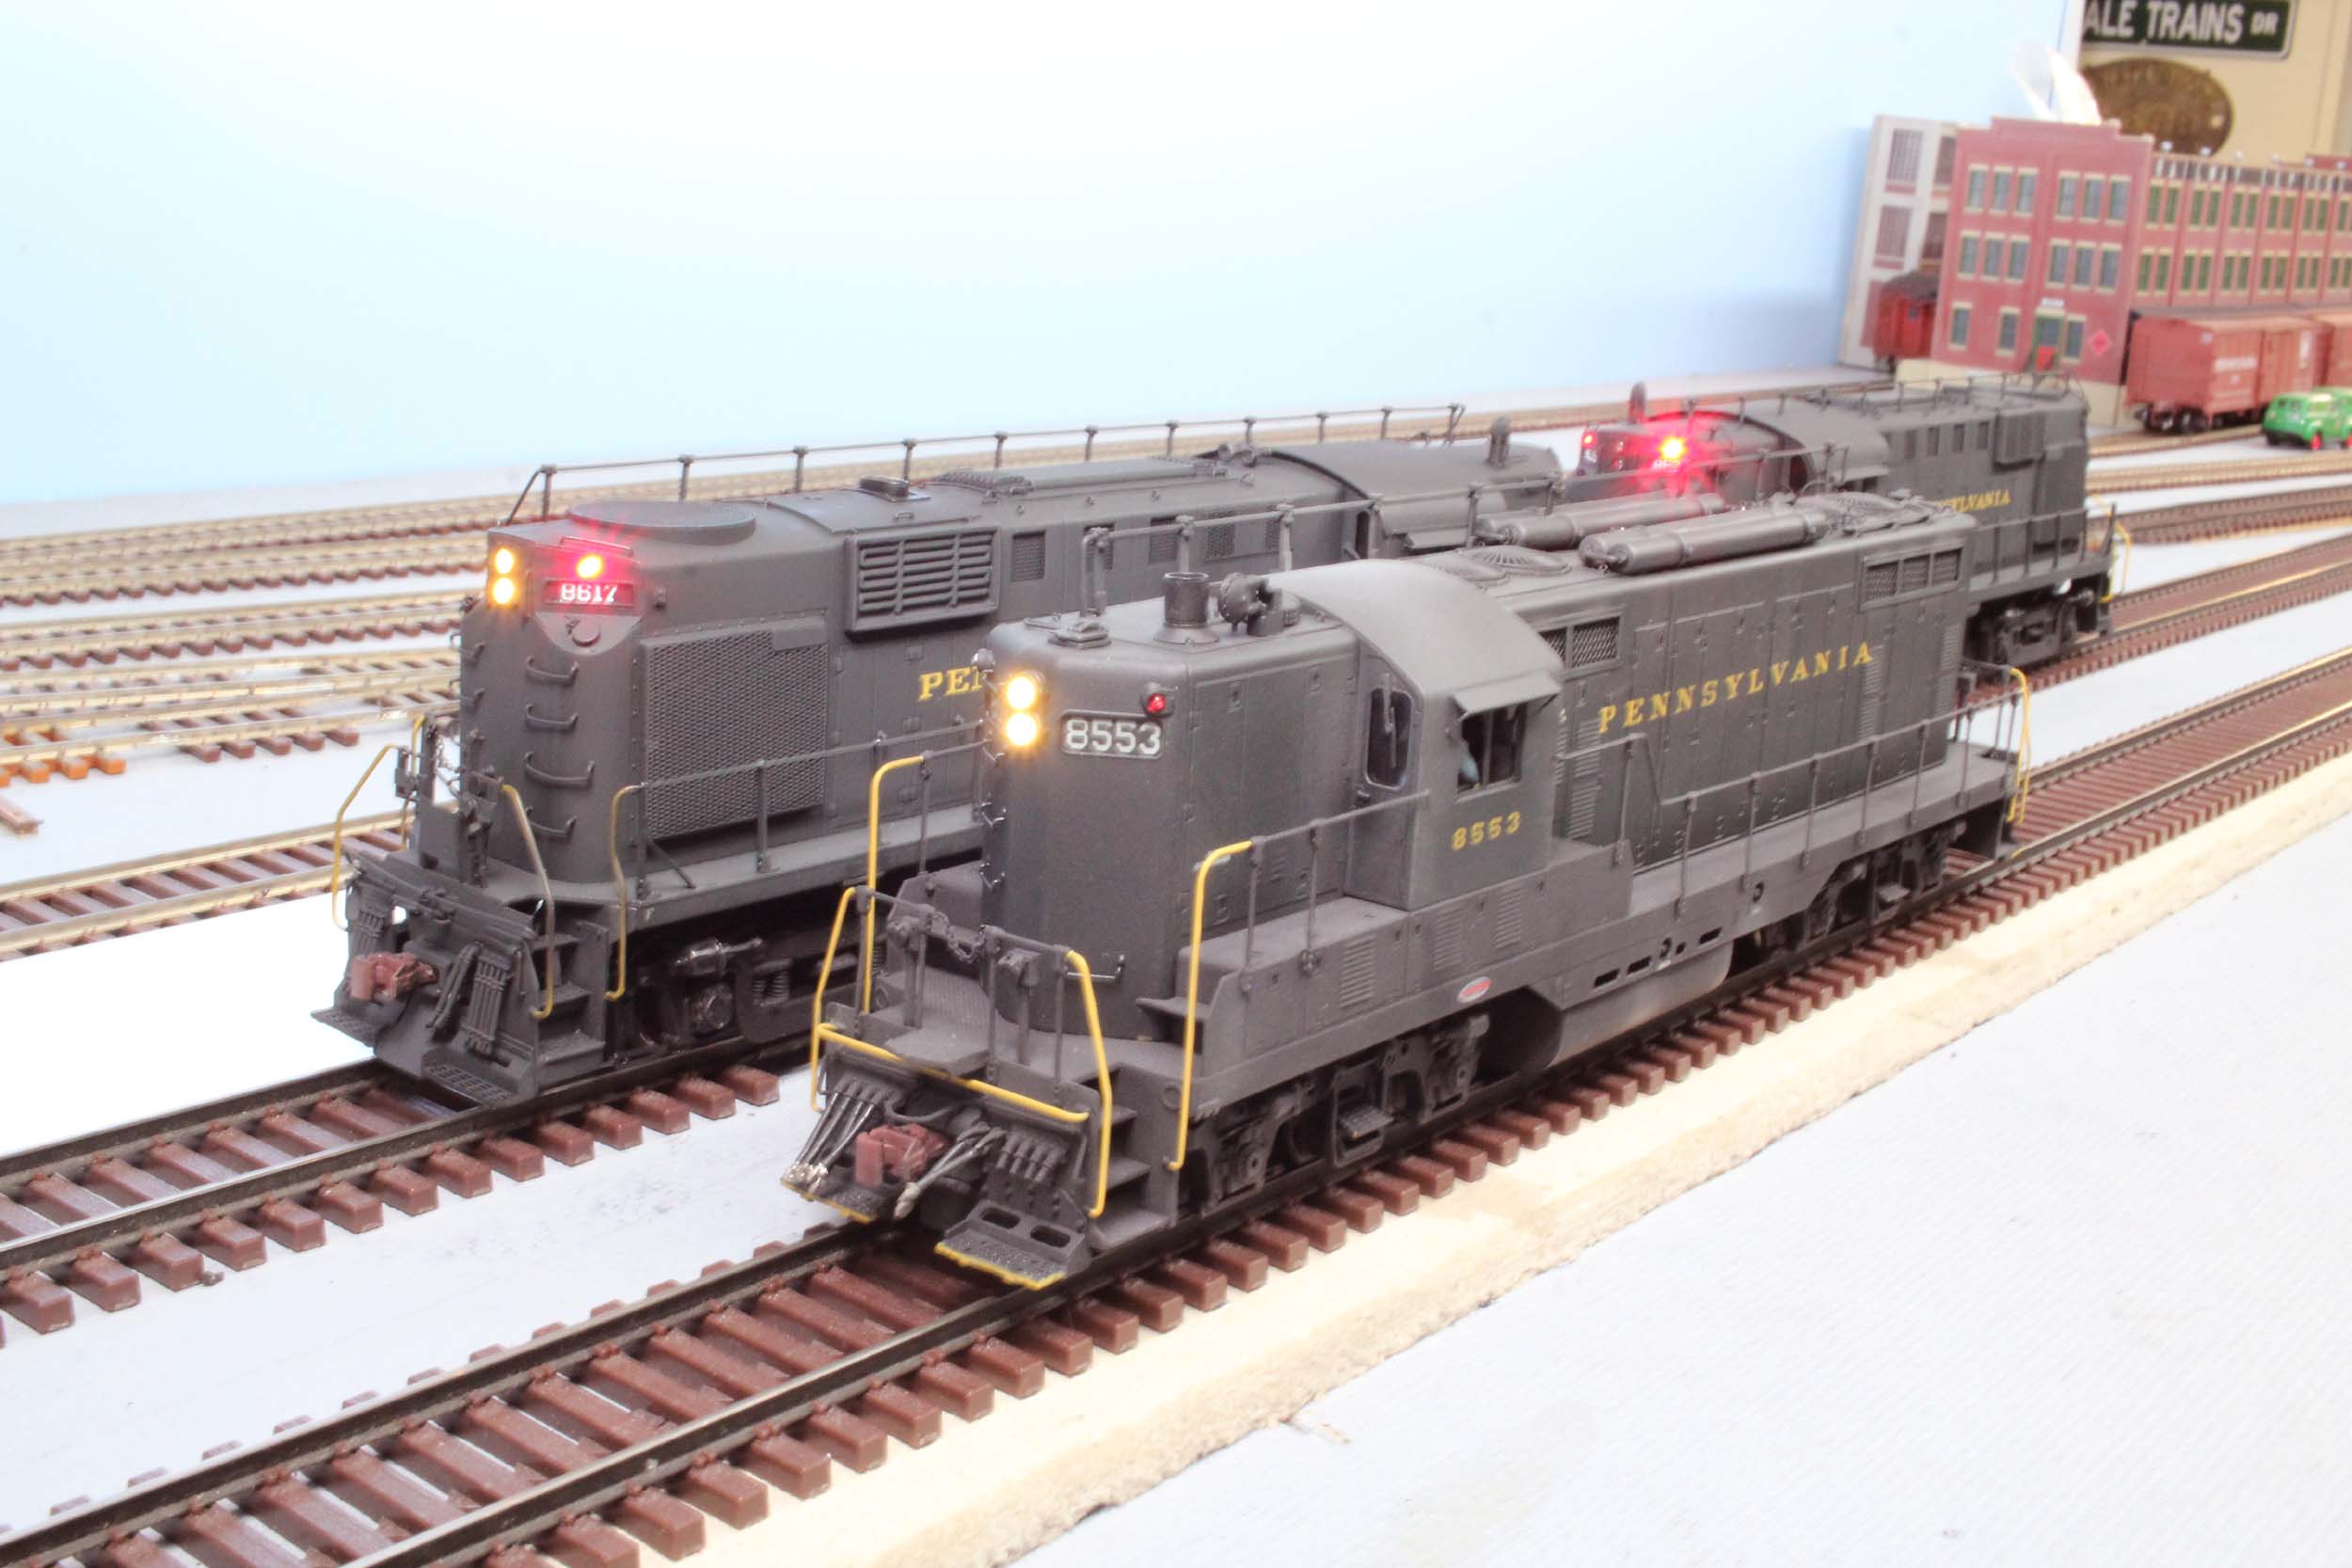
I
got the WOW4 decoders and LEDs wired. It is 8 LEDs per loco. 4 are 3mm for the
headlights and 4 are 2mm red for the corner markers. I remapped F6 to run the
marker lights. F6 previously was a sound function. Progress is slow going in
the summer.
Mounting
the speaker turned out to be significantly simpler than I expected. I like to
challenge myself sometimes just for a goof to see what the end results are.
They are almost all different from the project before or after. No complex bent
brackets needed. It is just 2-56 Tee nuts soldered to the roof and a piece of
brass flat stock. Done! Oh well. It is a RailMaster DLG8 speaker.

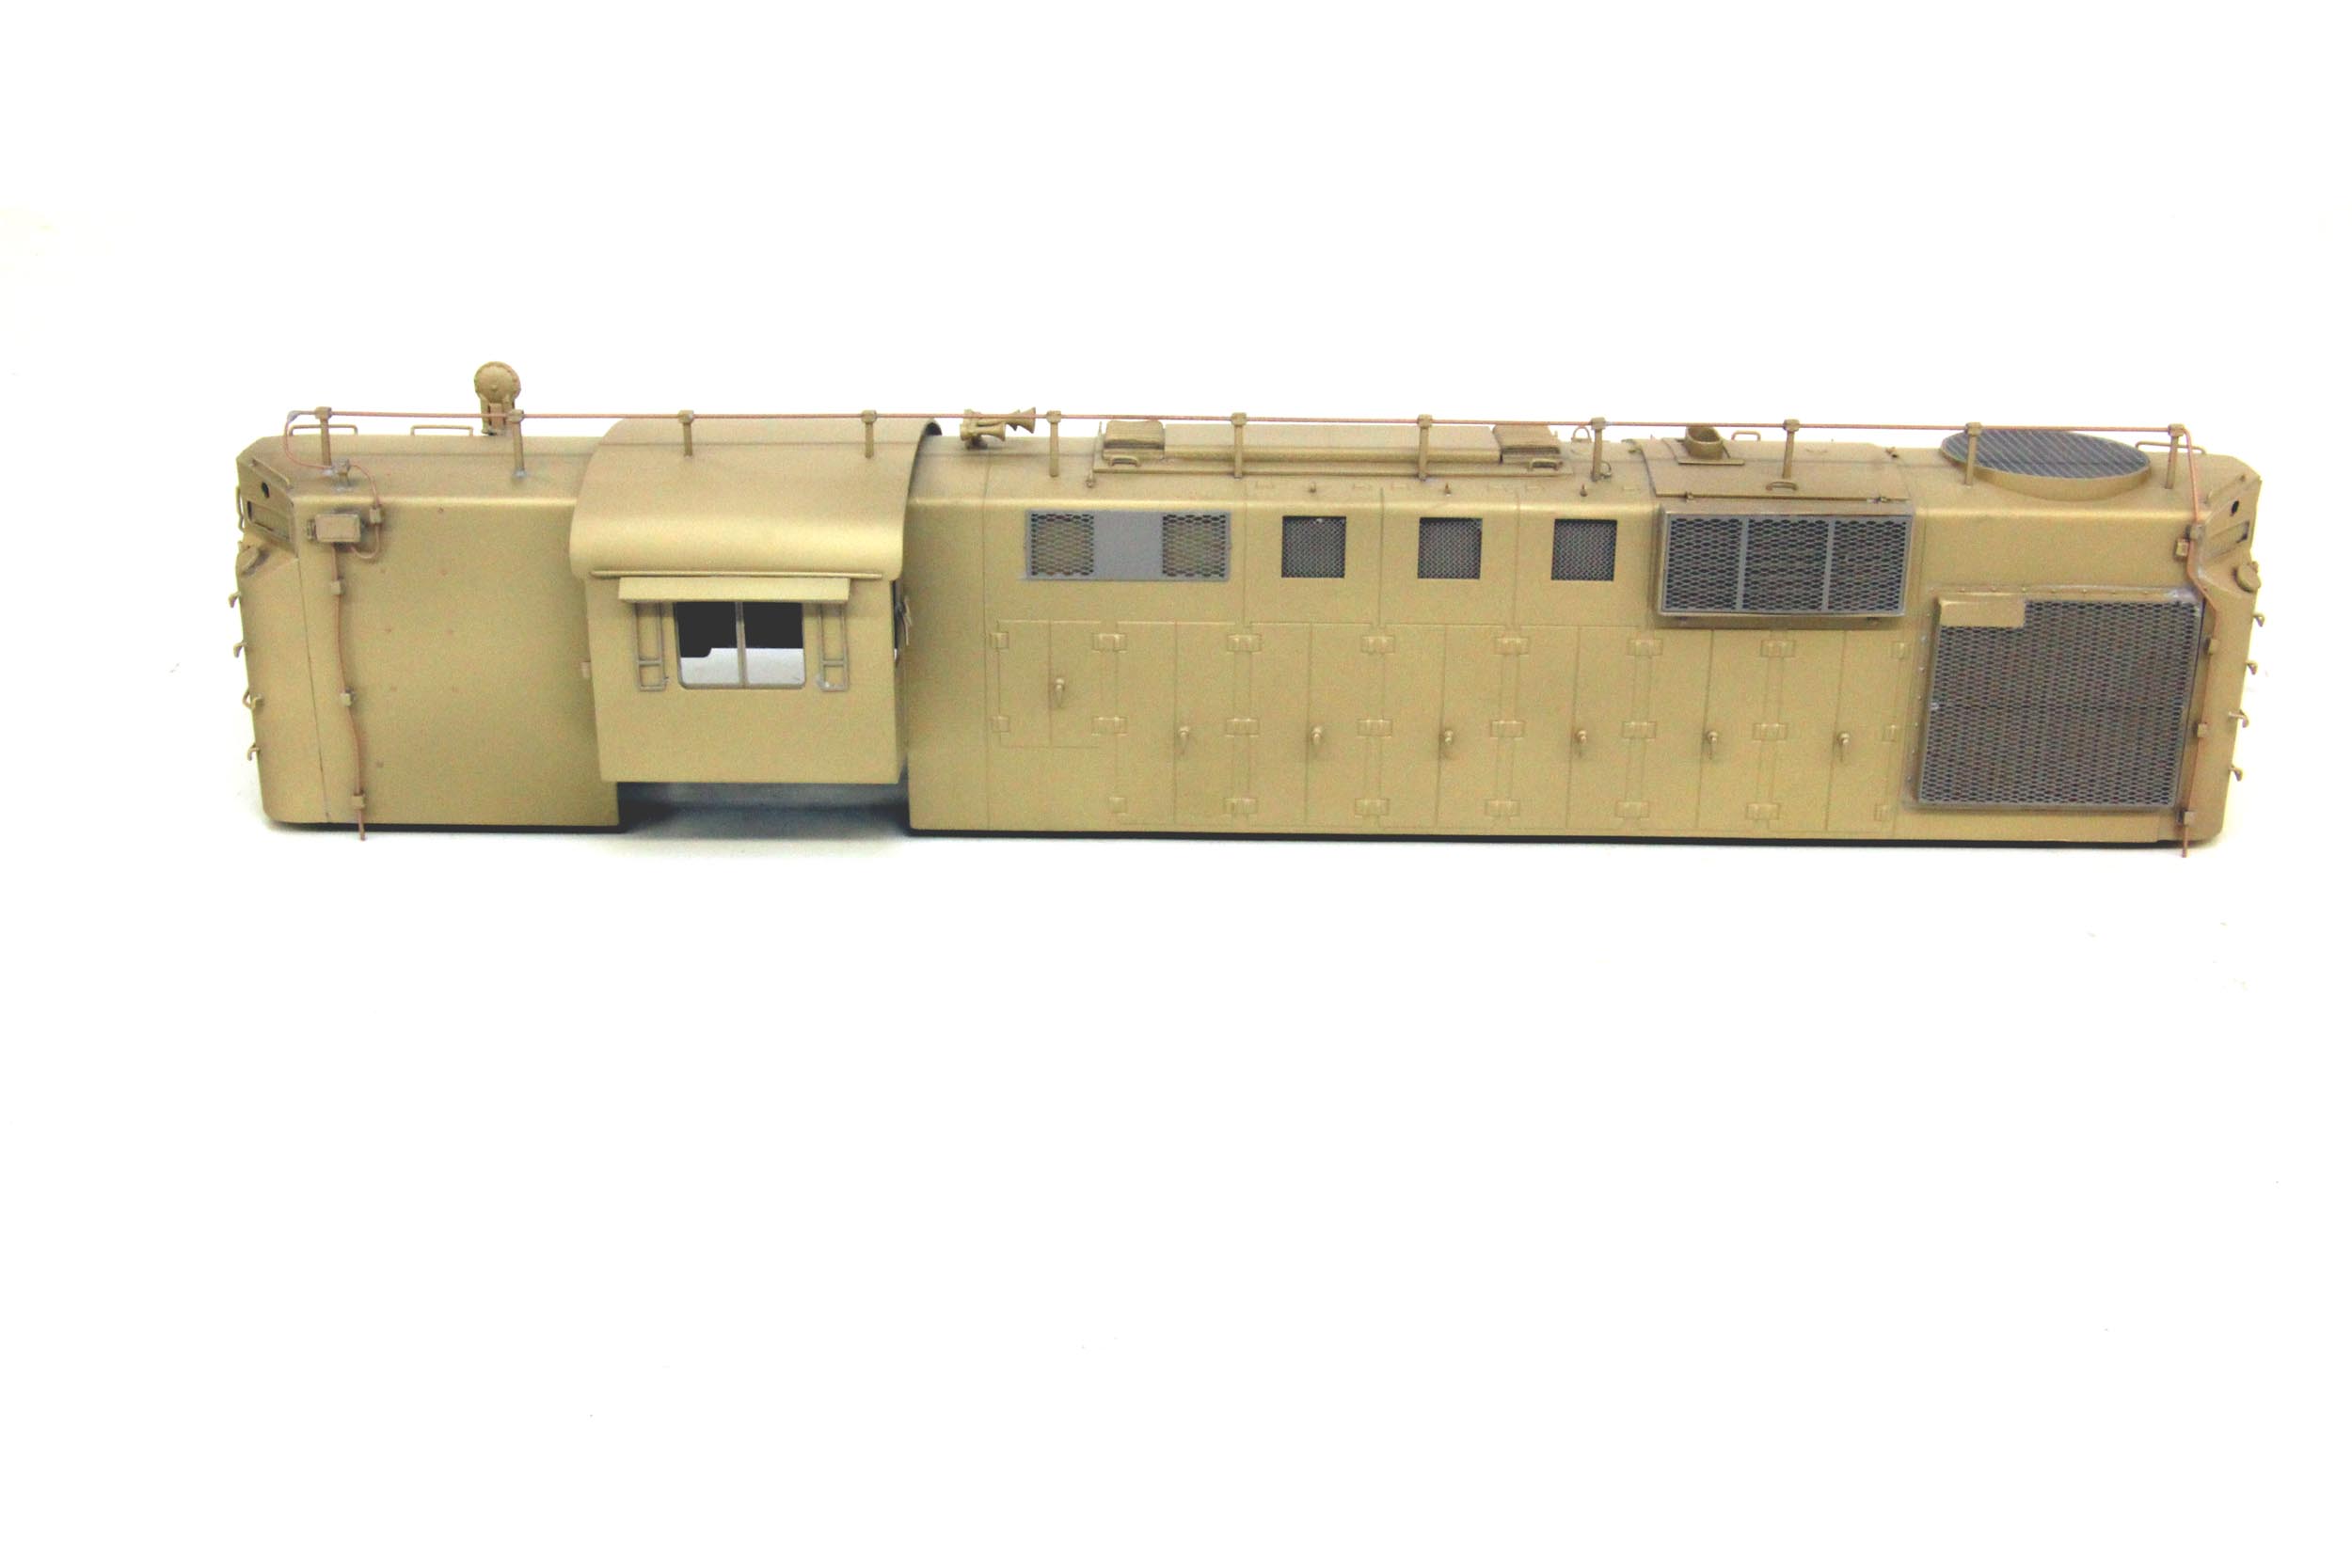
Added 11-24-17
I
took yet another side trip for 4 months. I had to change the draft gear casting
because the first 1 I tried coupled too close and hit the footboards. In that
time I completed 3 of my PRSL “HOT” P70,
a Logging Bobber Caboose, PRSL N5 Cabin and changed the motor and added a
sound unit to my new Reading M-1sa.
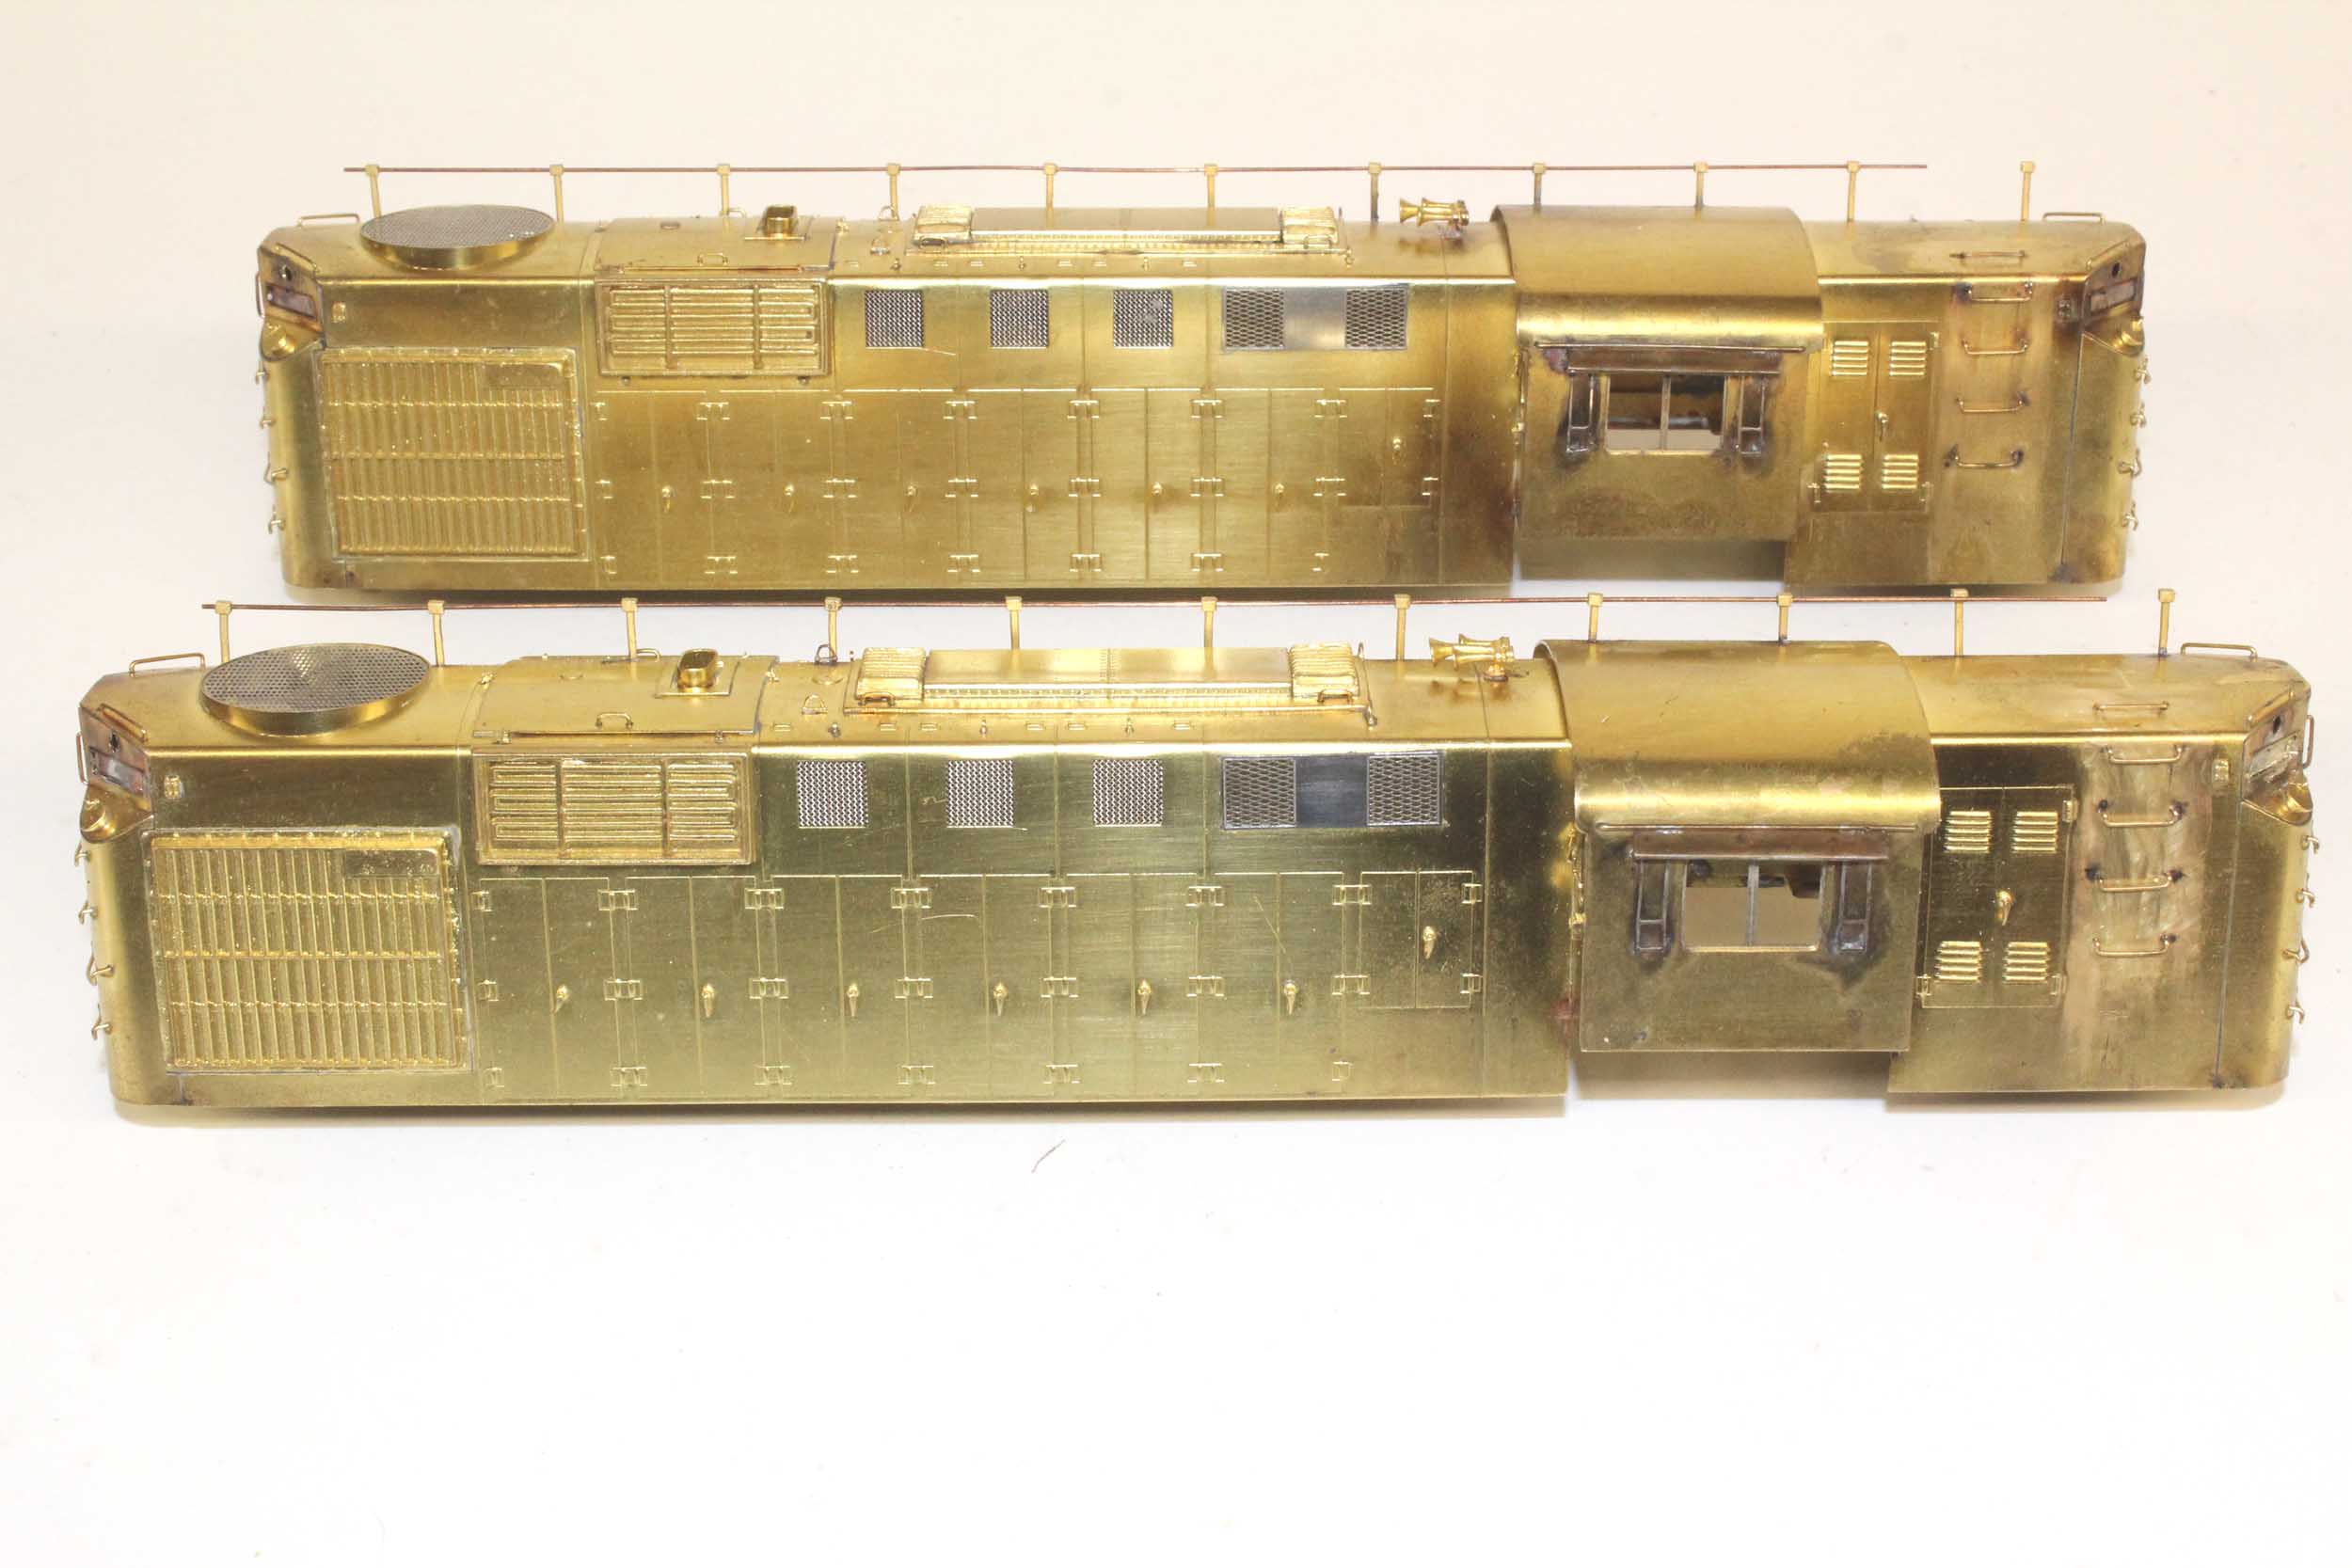
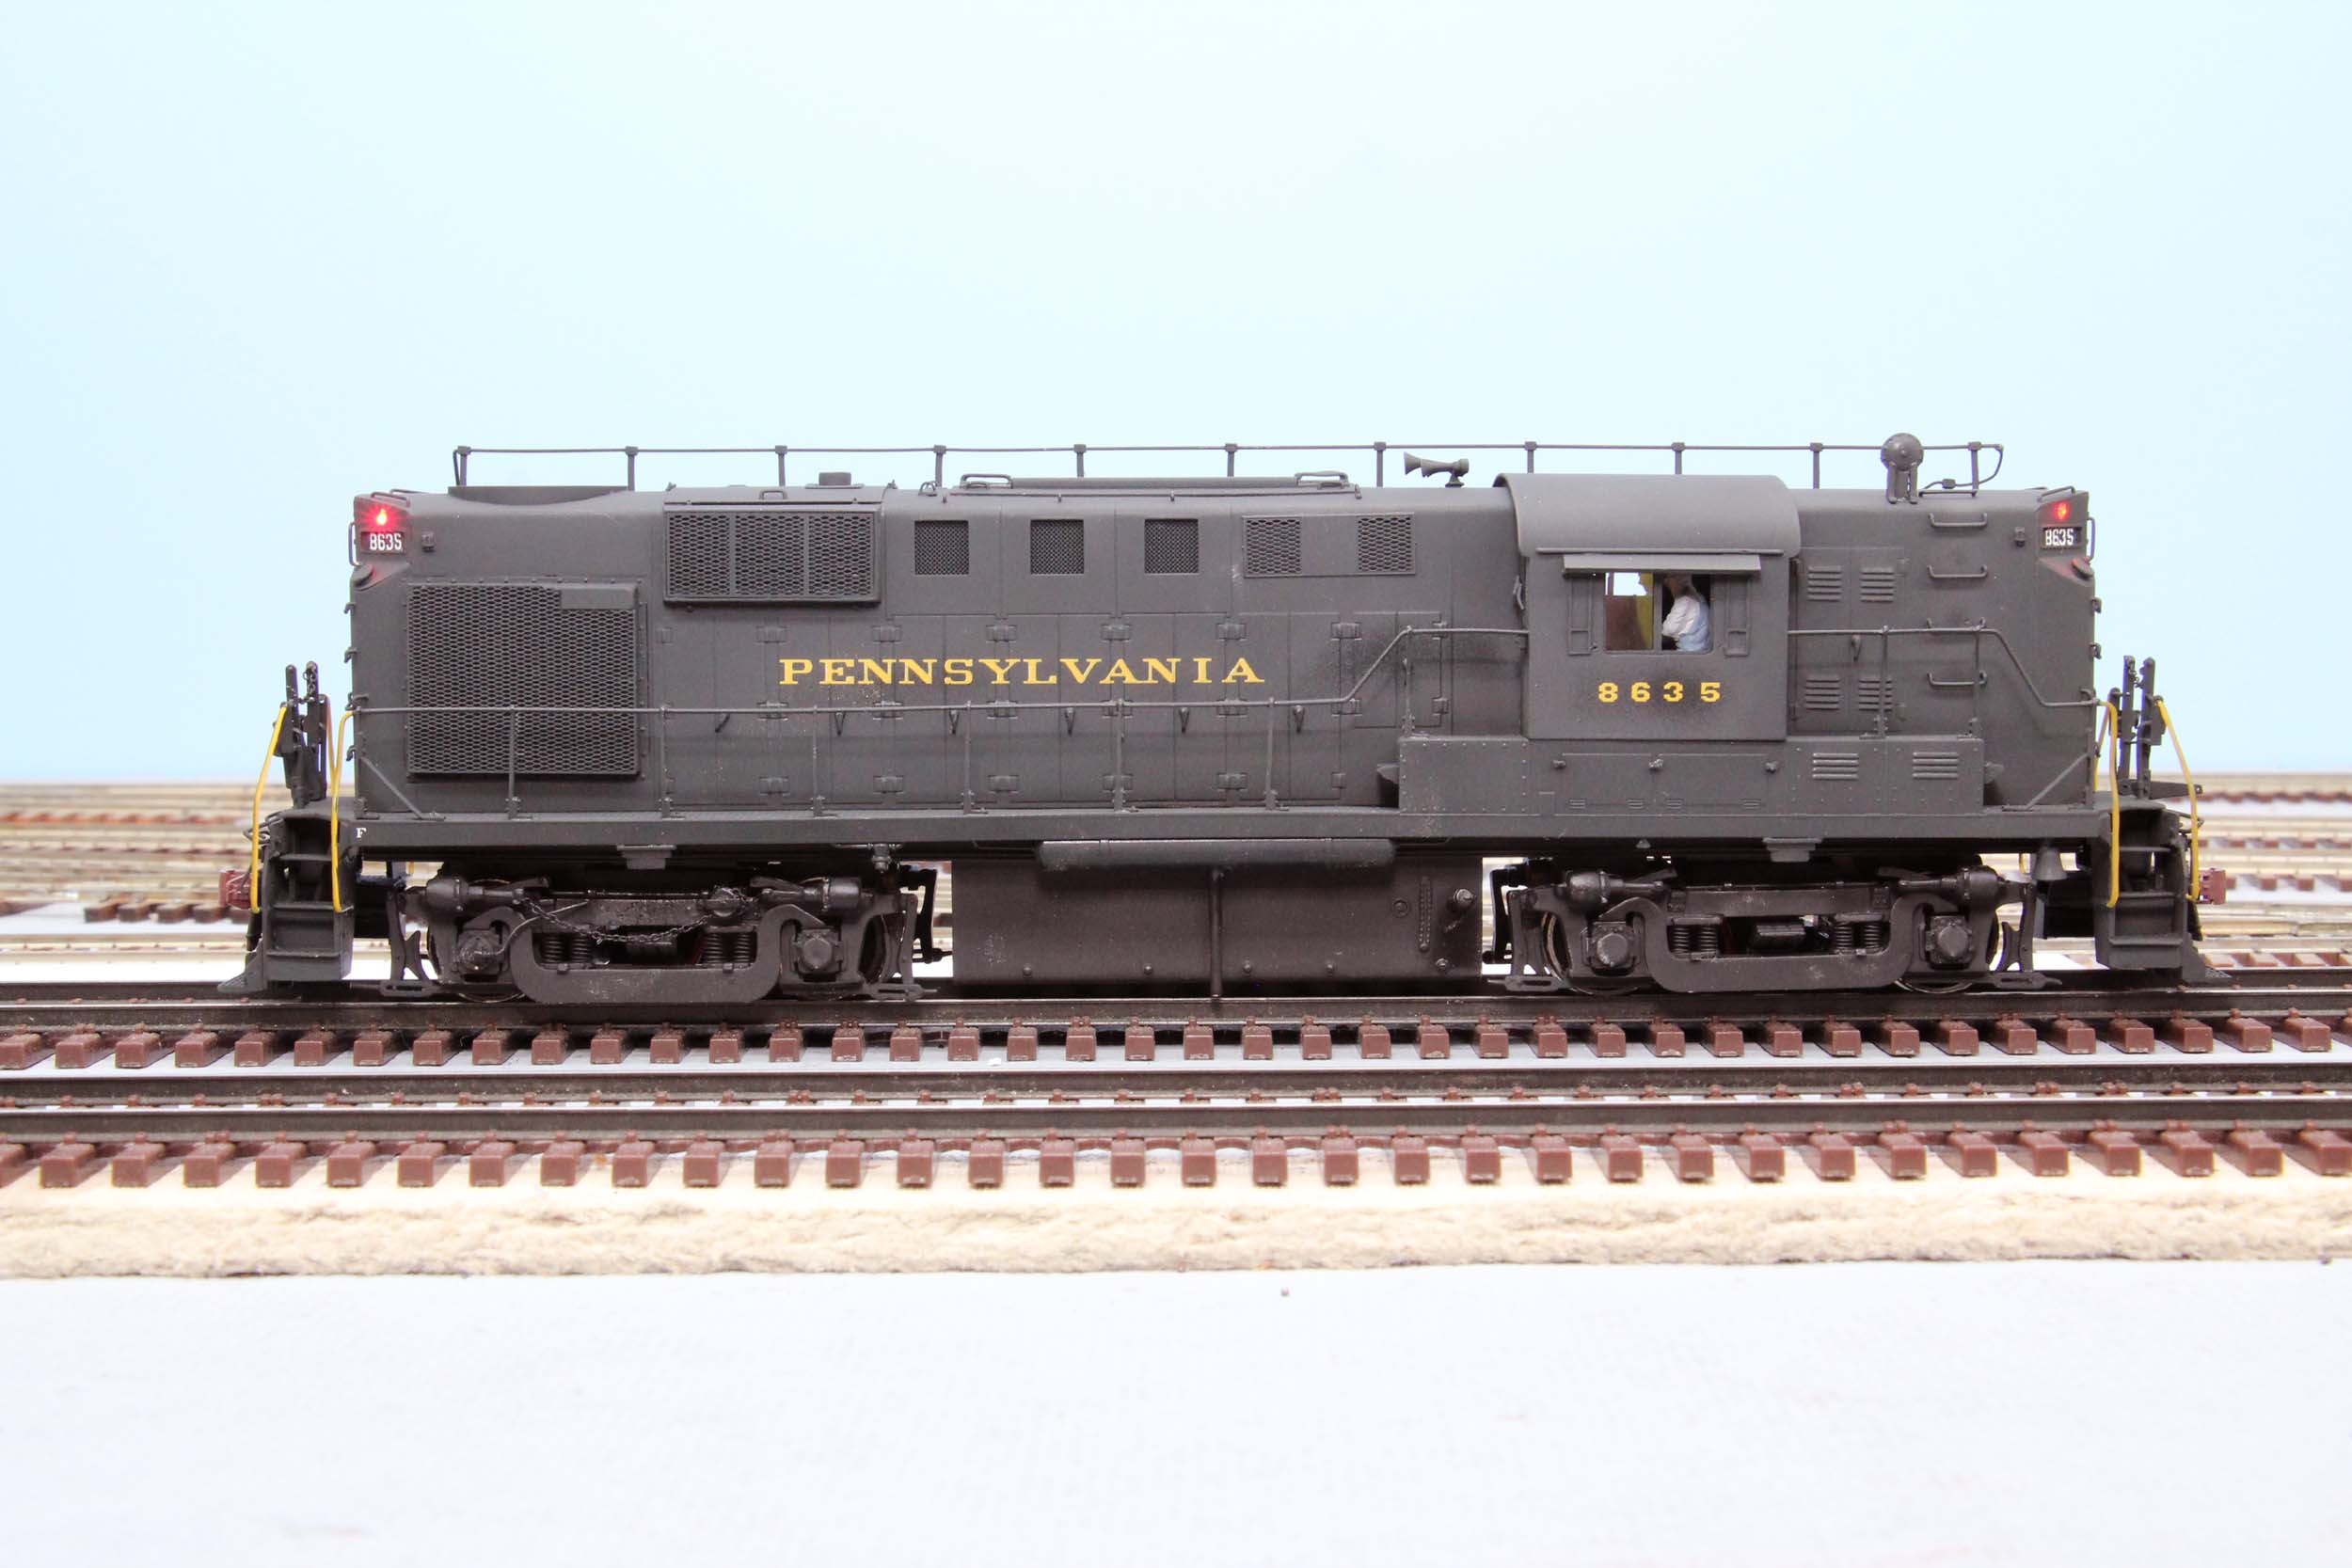
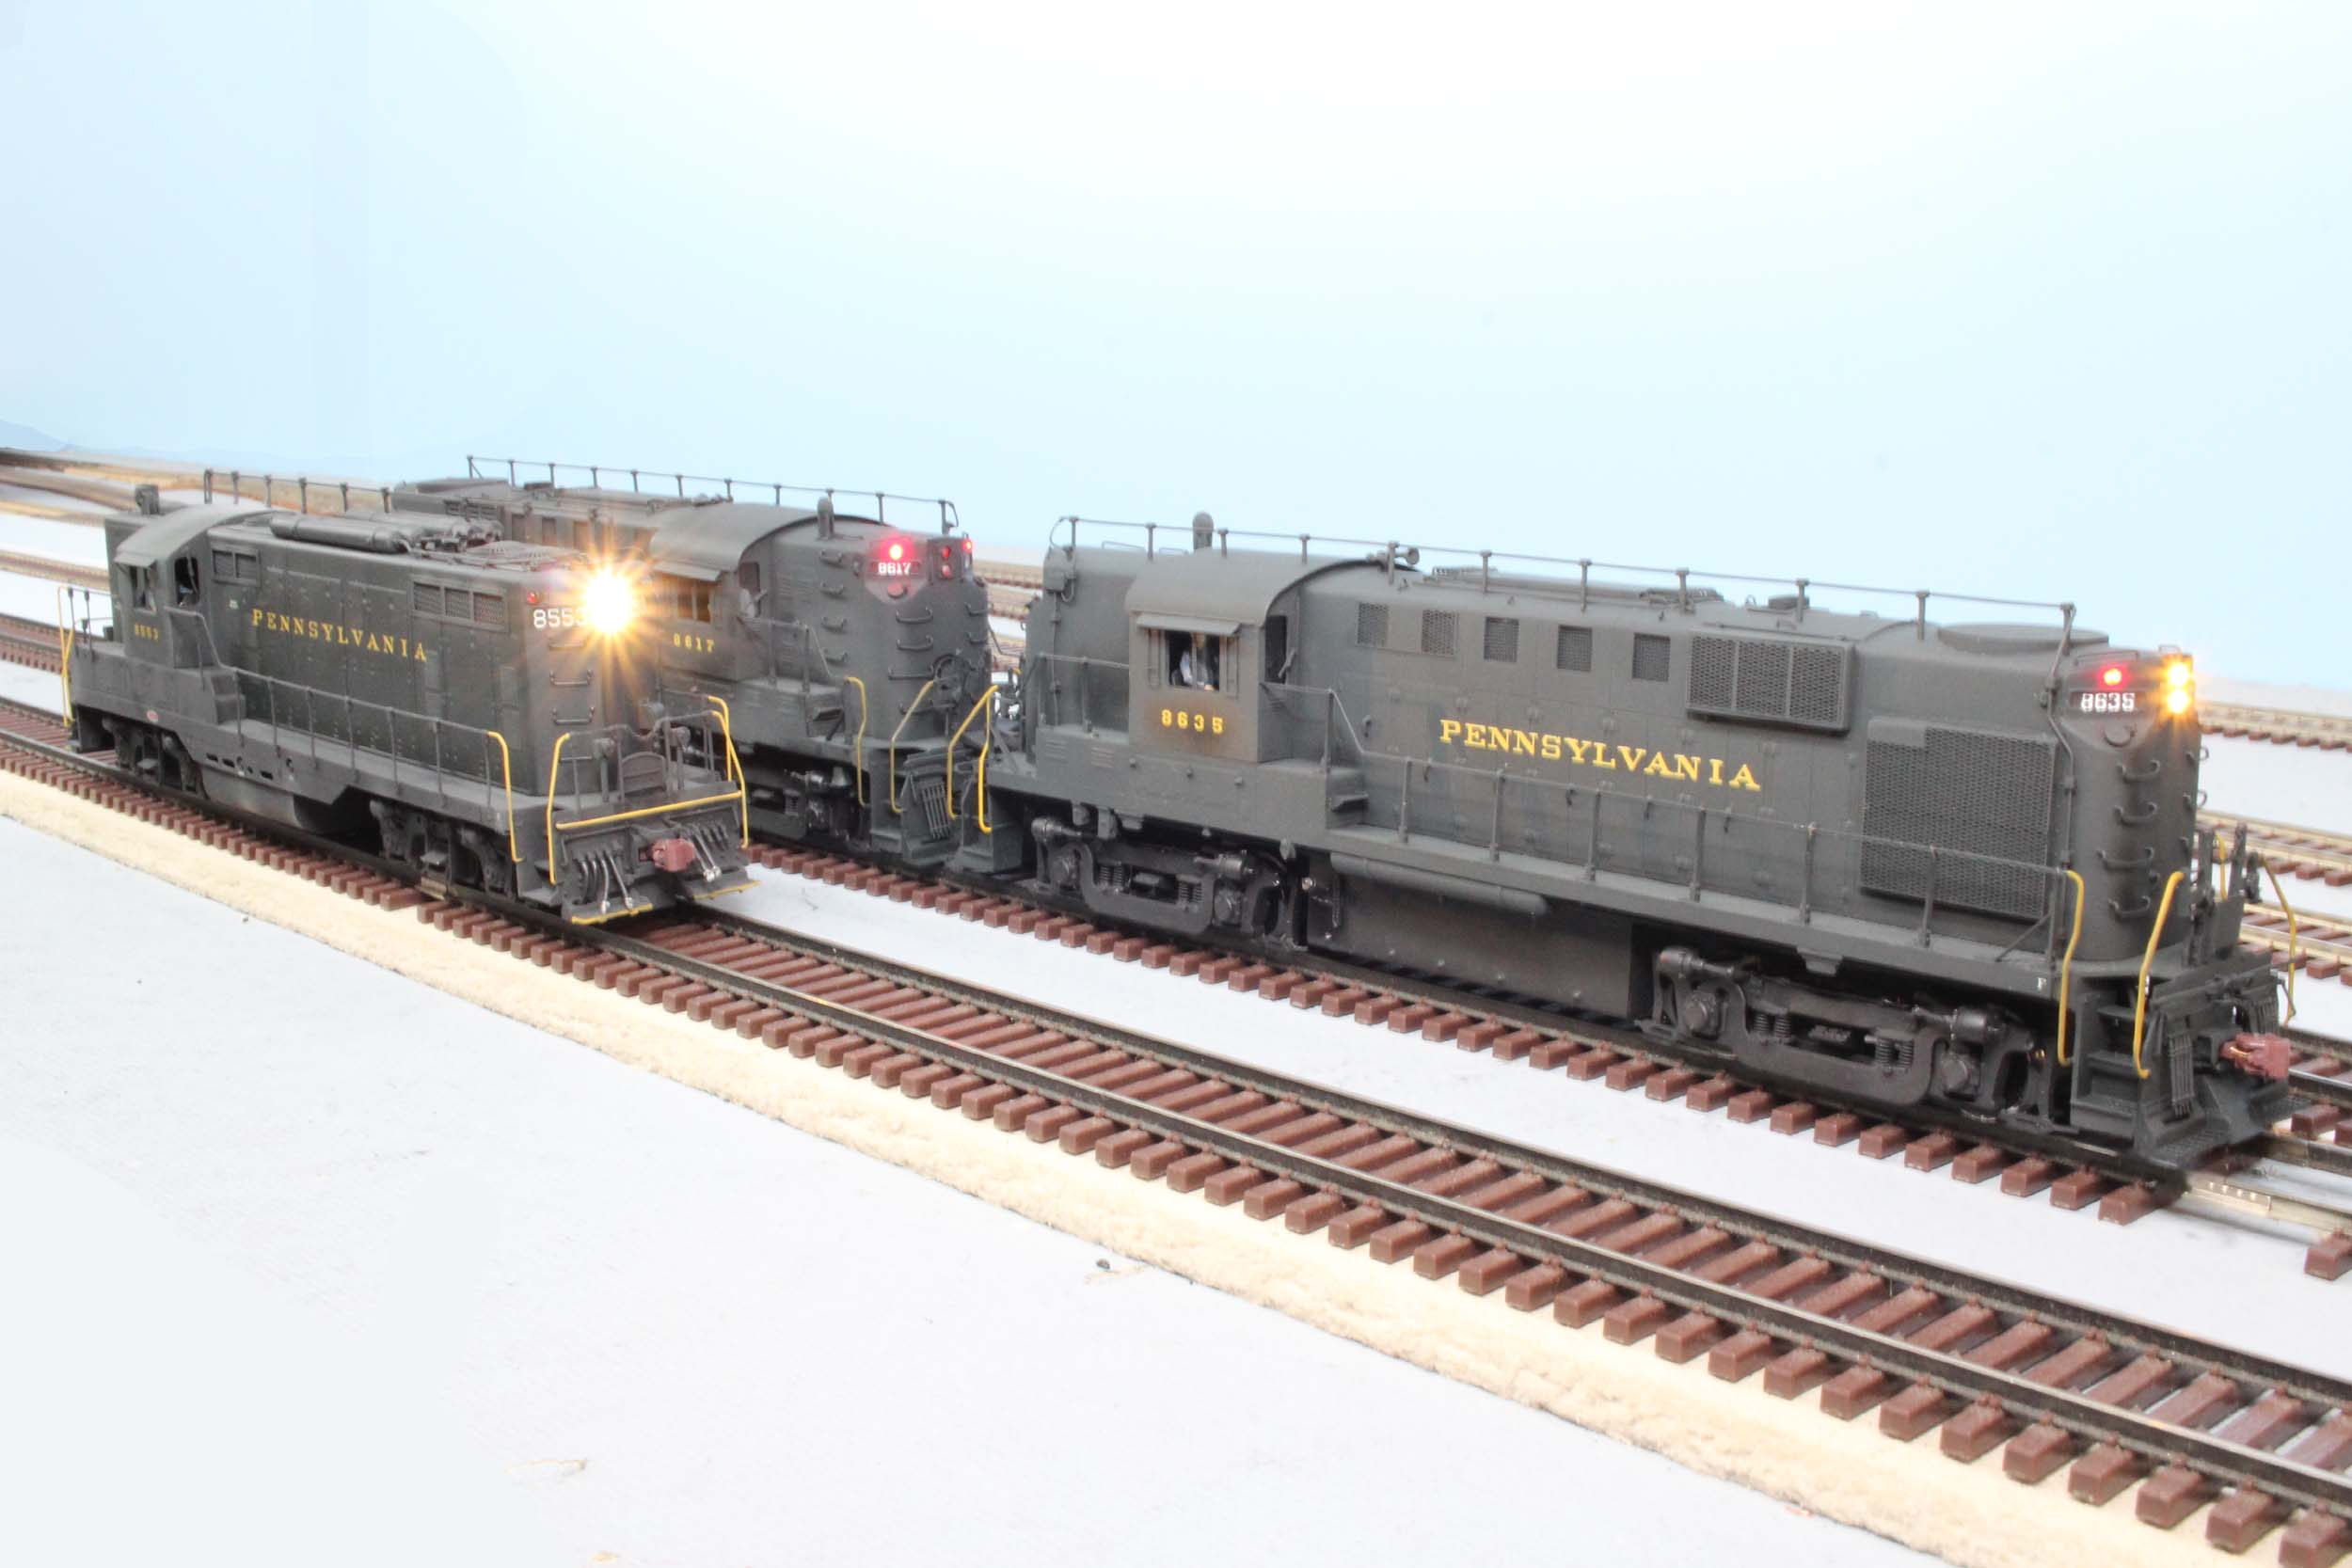
Photo taken 11-23-17
On 11-23-17 I gave them both 1 final test run before painting.
They are perfectly matched running together.
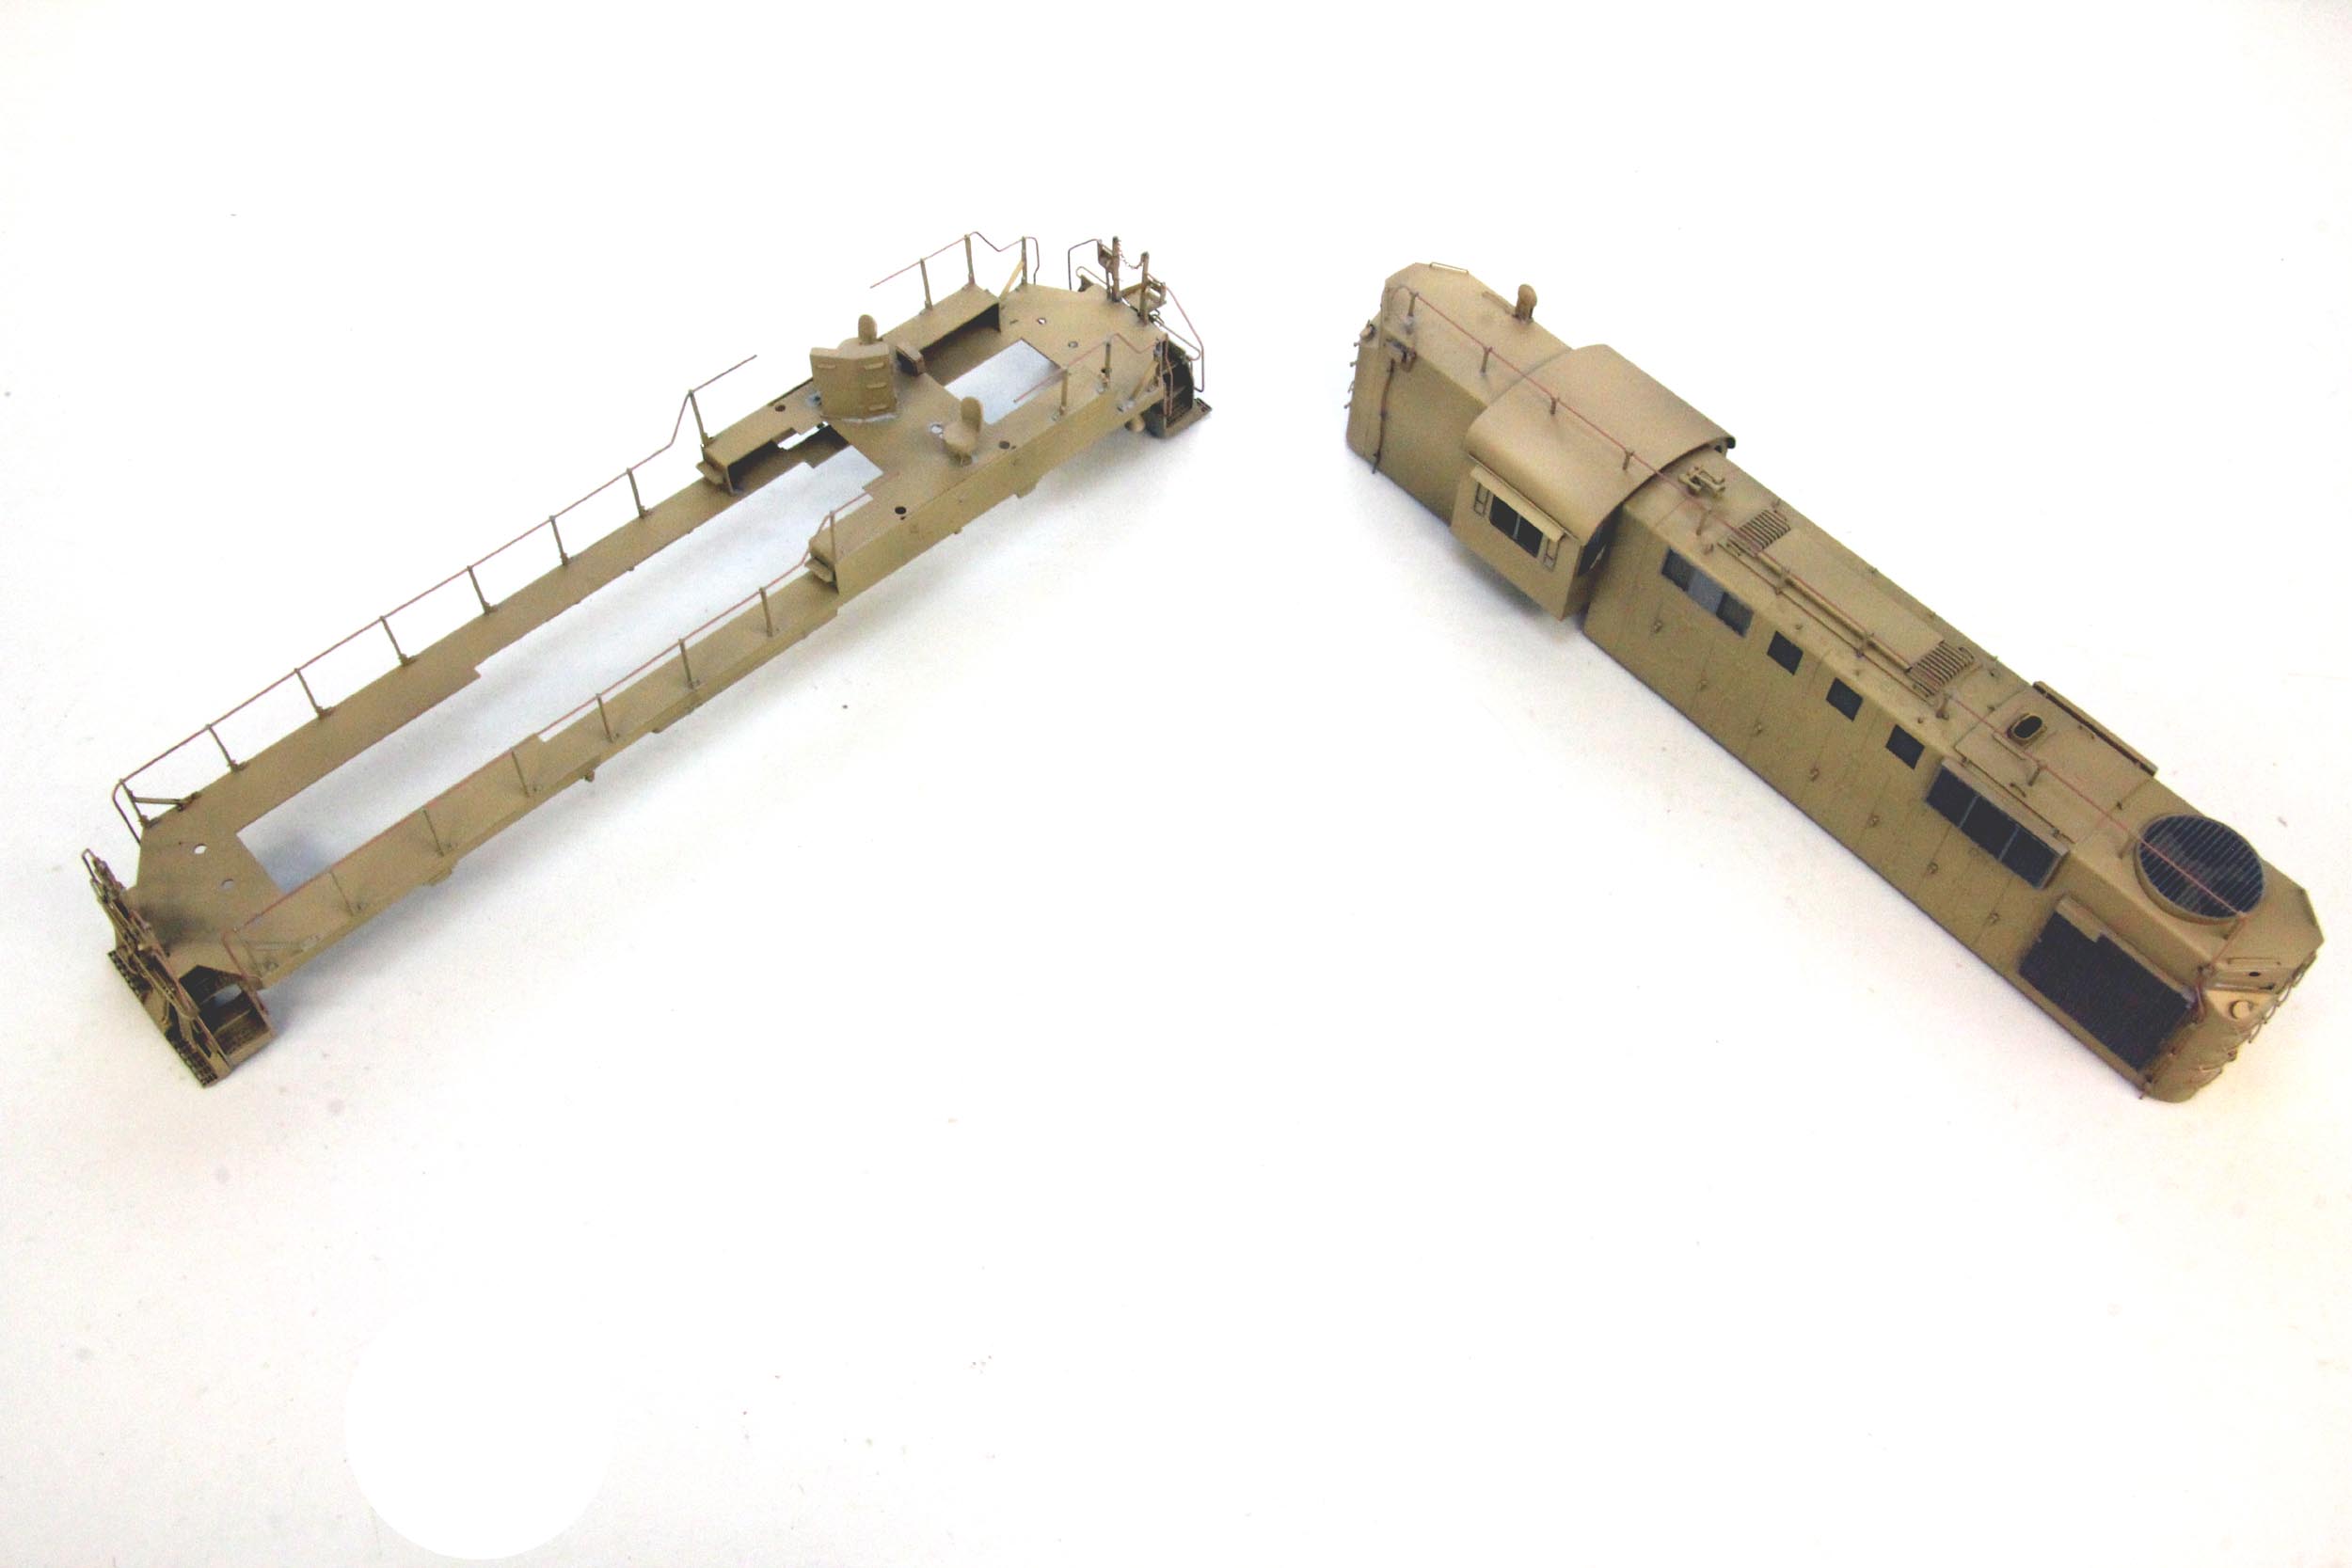
I changed from 8625 to 8635 just before painting because 8635
does not have an equipment box in the walkway like 8625. Hopefully I don’t ever
see a photo of the other side of 8617 and that has the equipment box! 8635 was
the later built group but was assigned to Philadelphia in 1957.
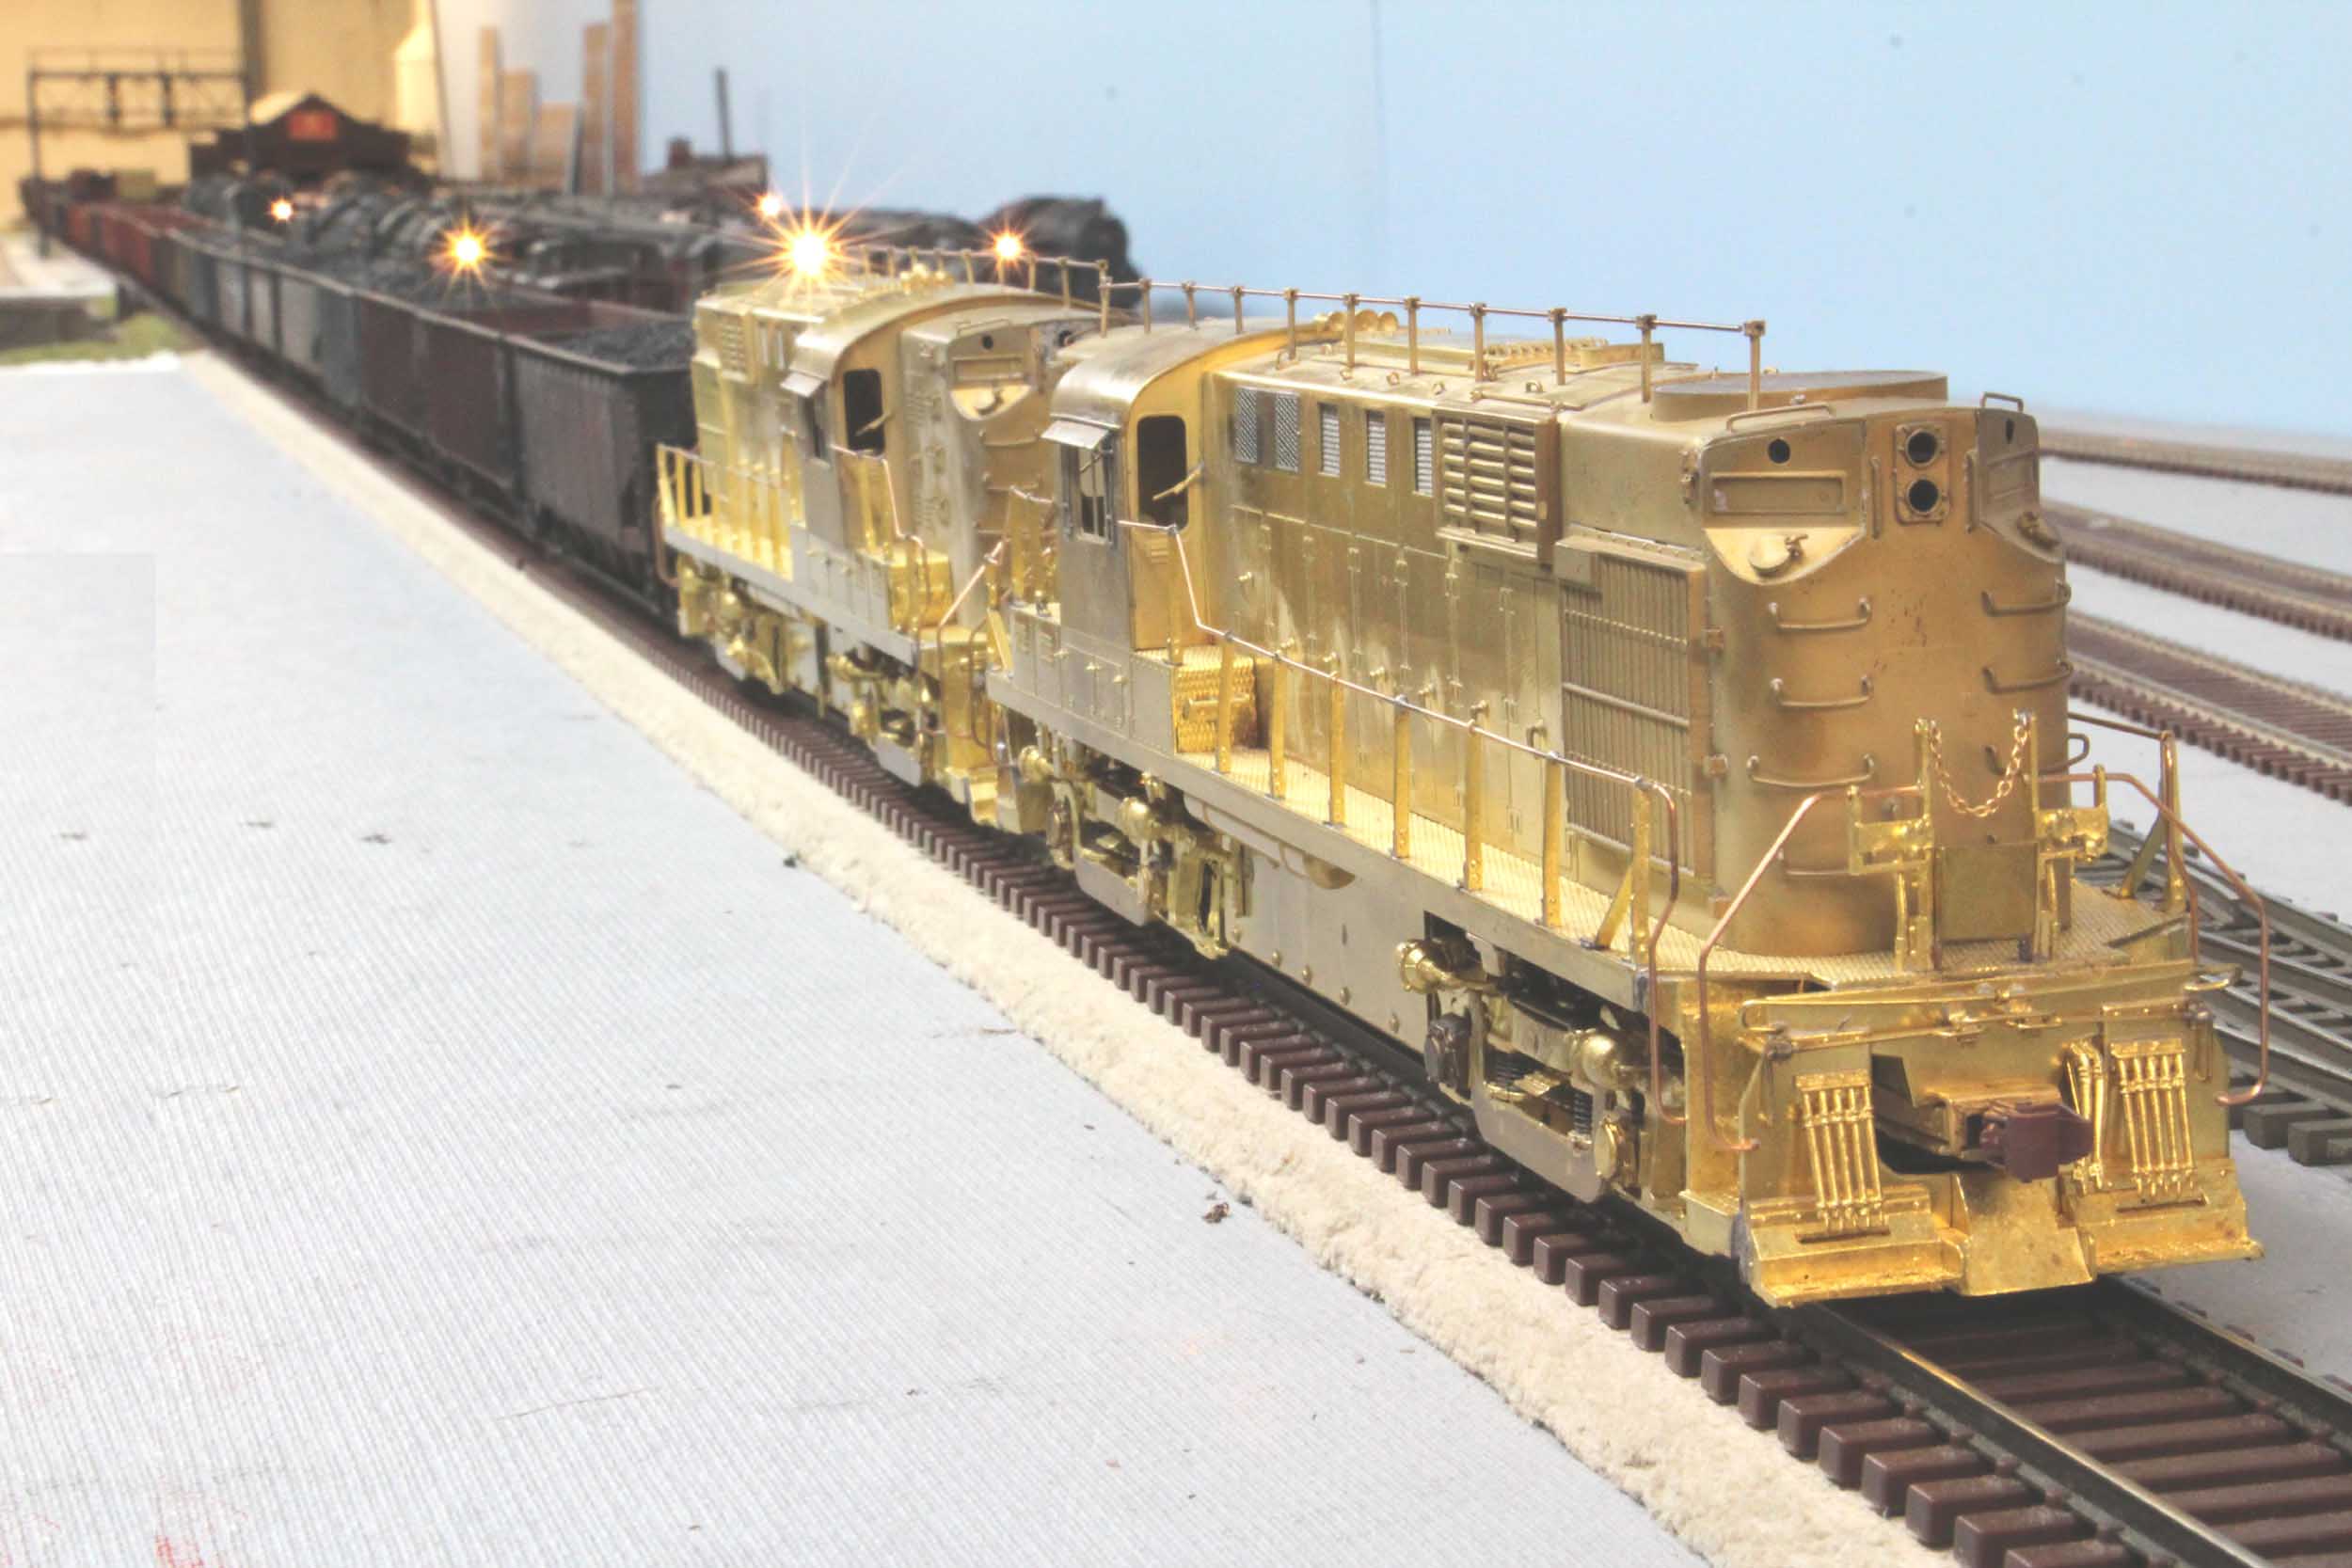
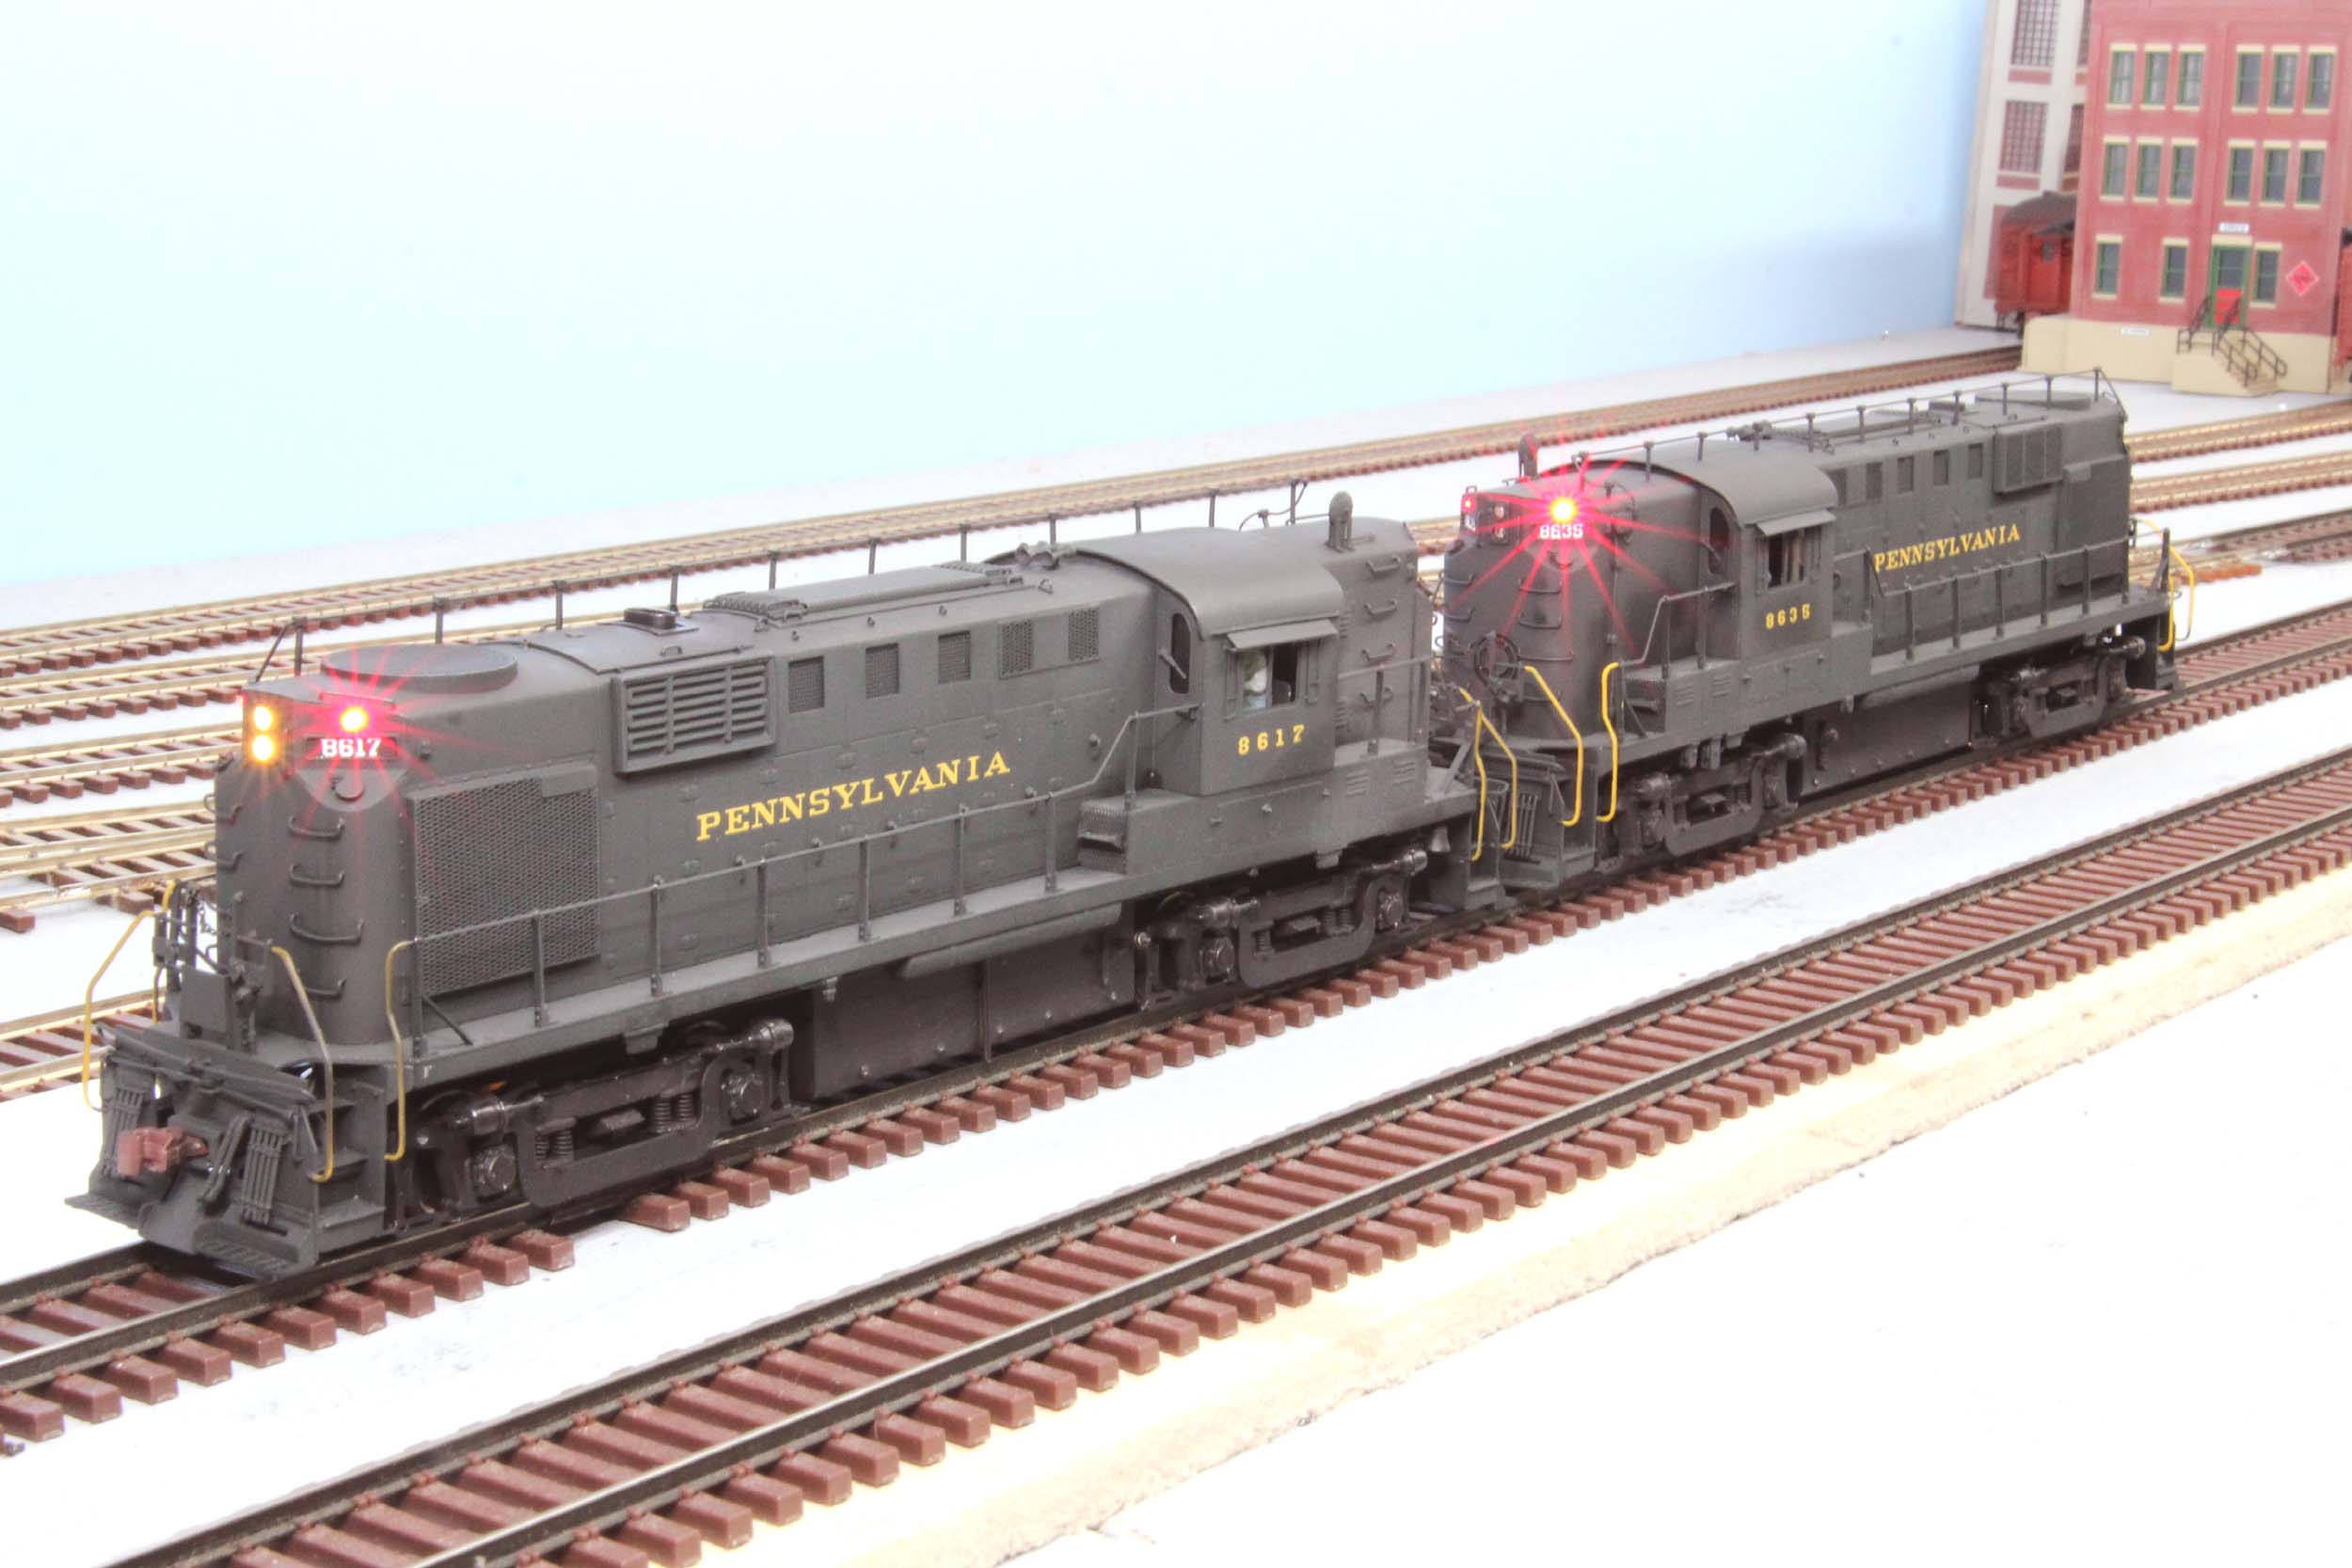
Photo taken 11-25-17
Ready For Paint
I
finished the antennas. I realized I was missing 2 radiator screens which I
should be able to get from a friend. I painted anyway without them. Soldering
stainless grills is difficult, and impossible without liquid flux.

Added 12-20-17
Numberboards
For
recent past projects I had decals custom made just for that loco but did not do
that for the RS11. I was going to decal bash from various sources, mostly my
PRR steam set. The numberboards have proven to be a real challenge even though
I decided to not light them. I thought it would be simple, but NO. They are an
odd size; making specific S Scale numberboard decals I have not usable. I
painted the numberboard areas black over the Brunswick Green. I tested Roman
alphabet set on 2 numberboards realizing that was wrong. They got painted over
black. The Microscale decals I had that fit and was for numberboards were CLEAR
for the numbers. Even if I were lighting I would NOT want clear where the
numbers are. They would have to be white. I now had to QUICKLY make the black
areas white. Paint would not do it. That would take too many coats. Luckily I
had white decal film. I decaled all the areas white. I put the numberboard
decals (HO diesel) on top on the white decal film, and painted the areas not
covered black again. I will NOT be defeated! What complete insanity. These
numberboards will be the most covered areas of a loco ever.

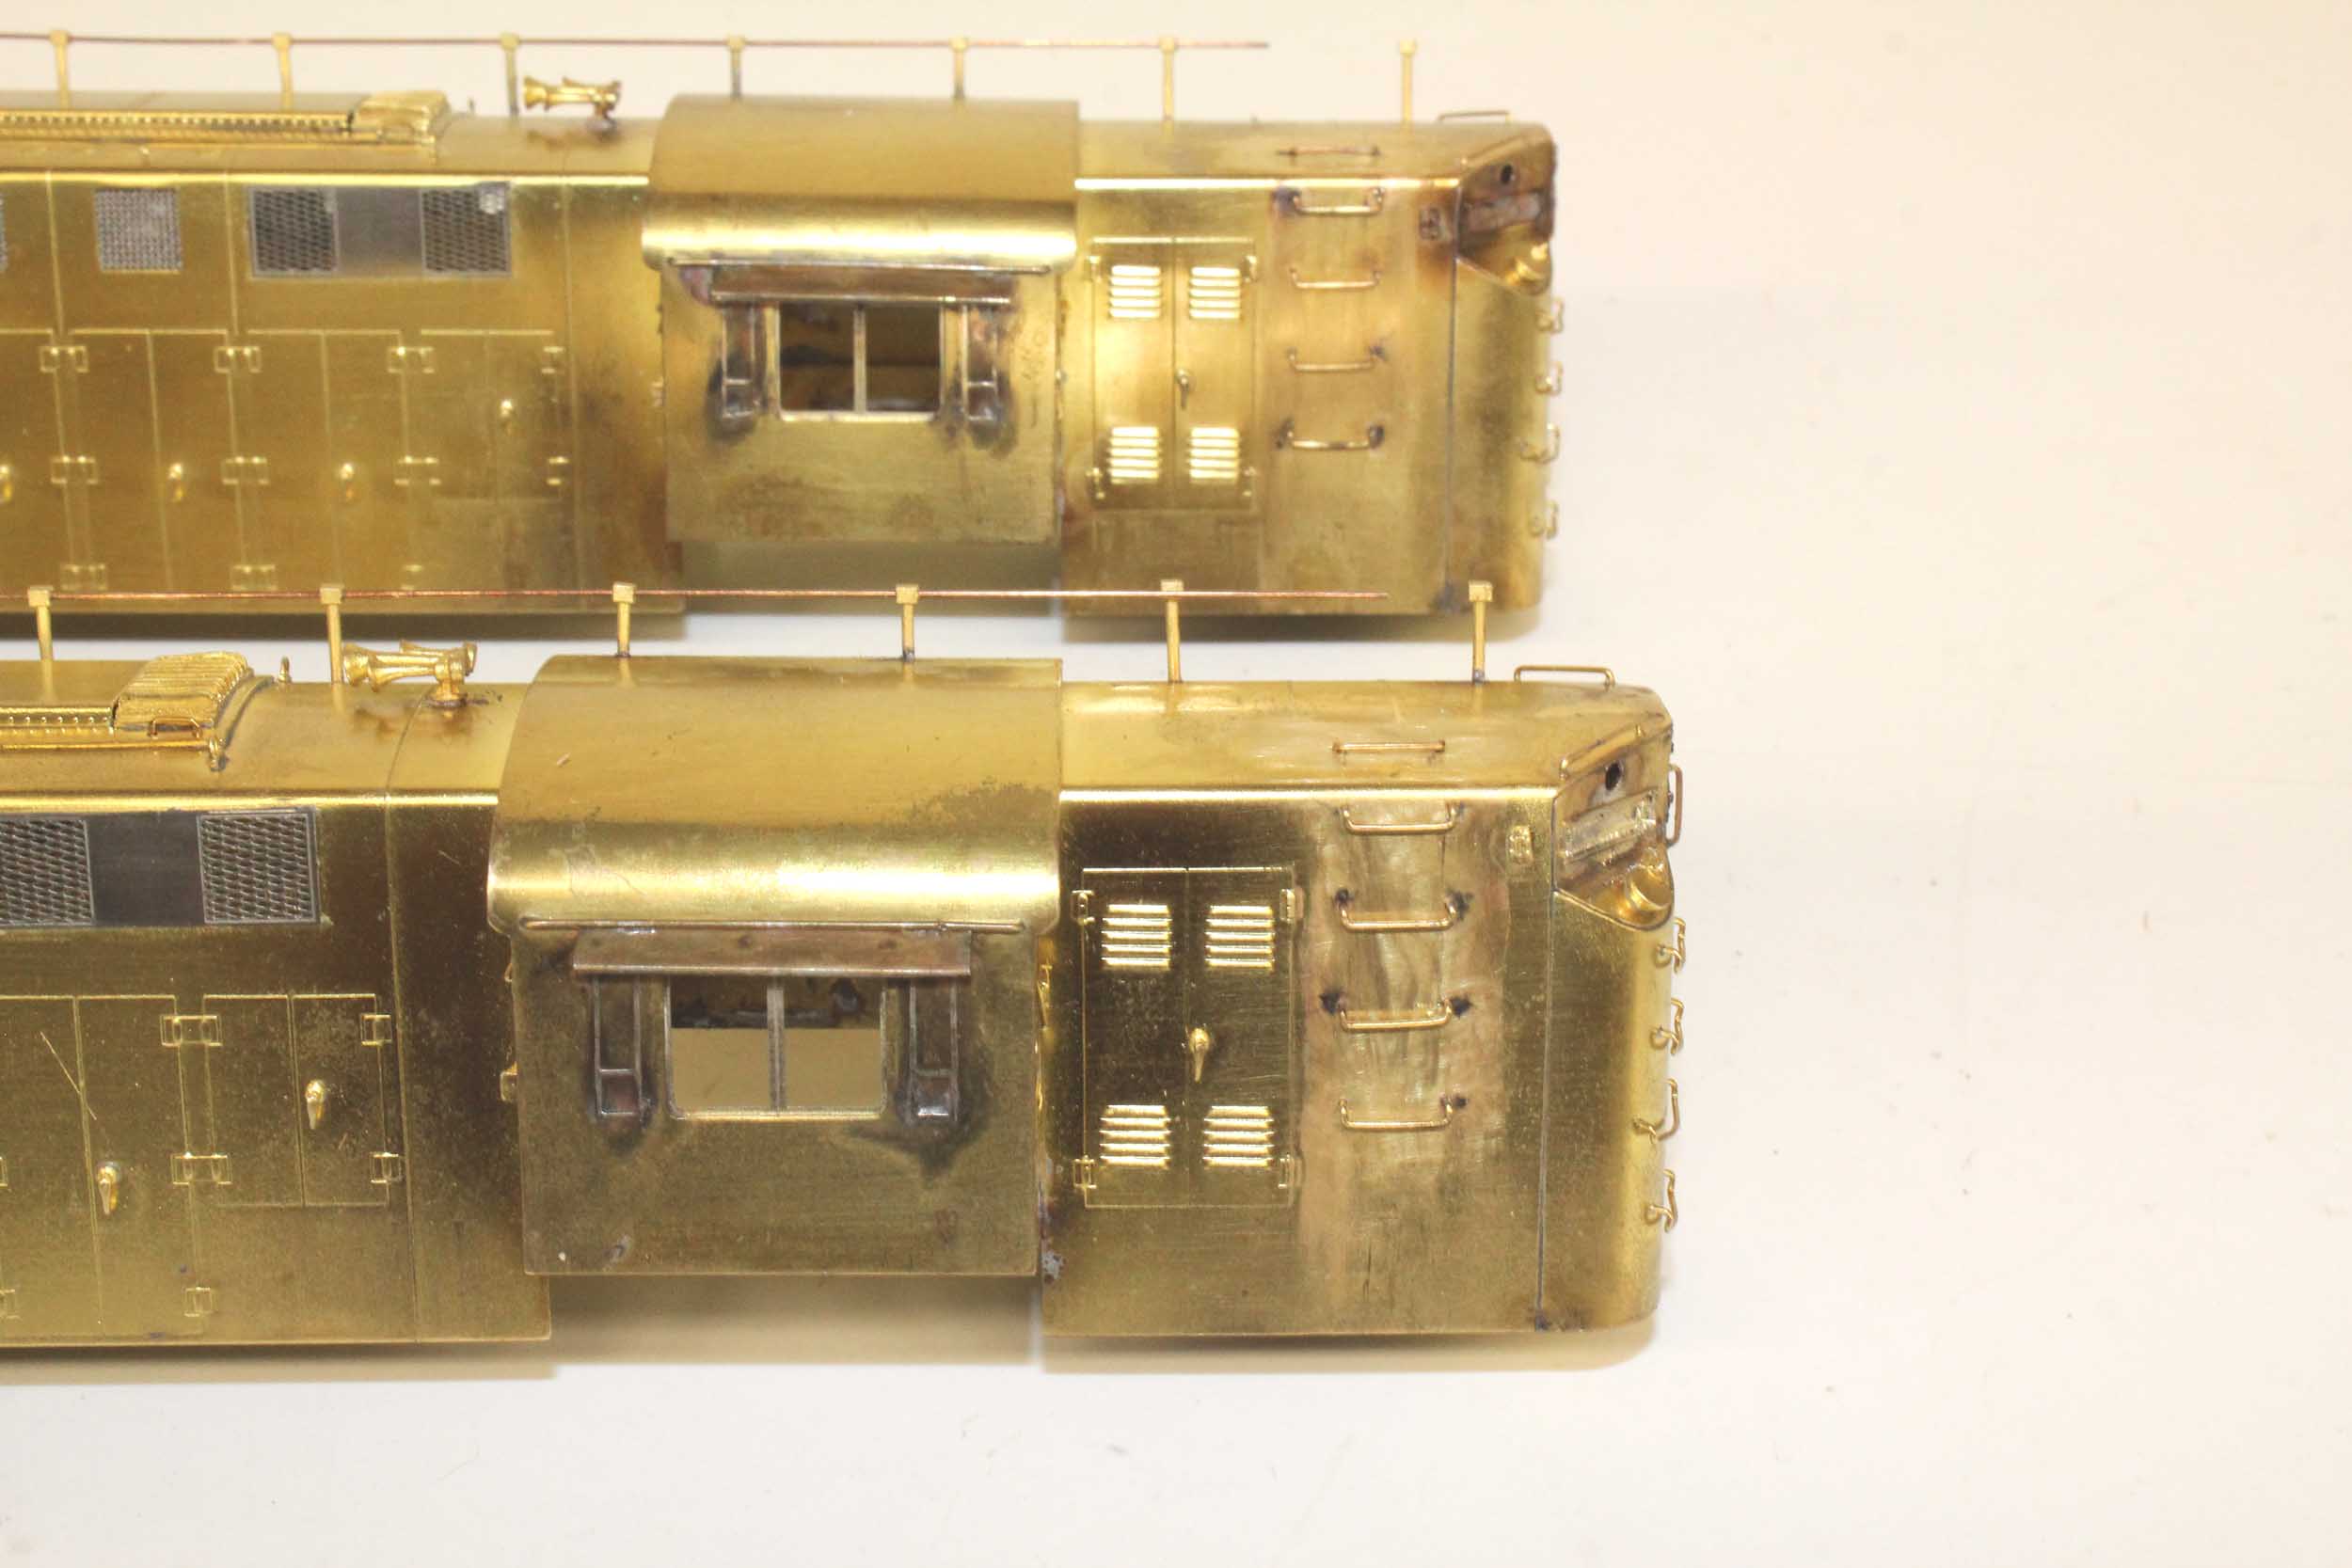
I
chose to not add “detail” decals. I do not have many high resolution RS11 photos
to read the small print. Some can be determined from the shape of the text.
Fire Extinguisher Inside is 1 of them. Fire Extinguisher Inside is on the short
hood behind the engineer. Because of Overland’s wrong body details for a PRR
RS11, there are not even doors on the engineer’s side of the short hood, as can
be seen above.
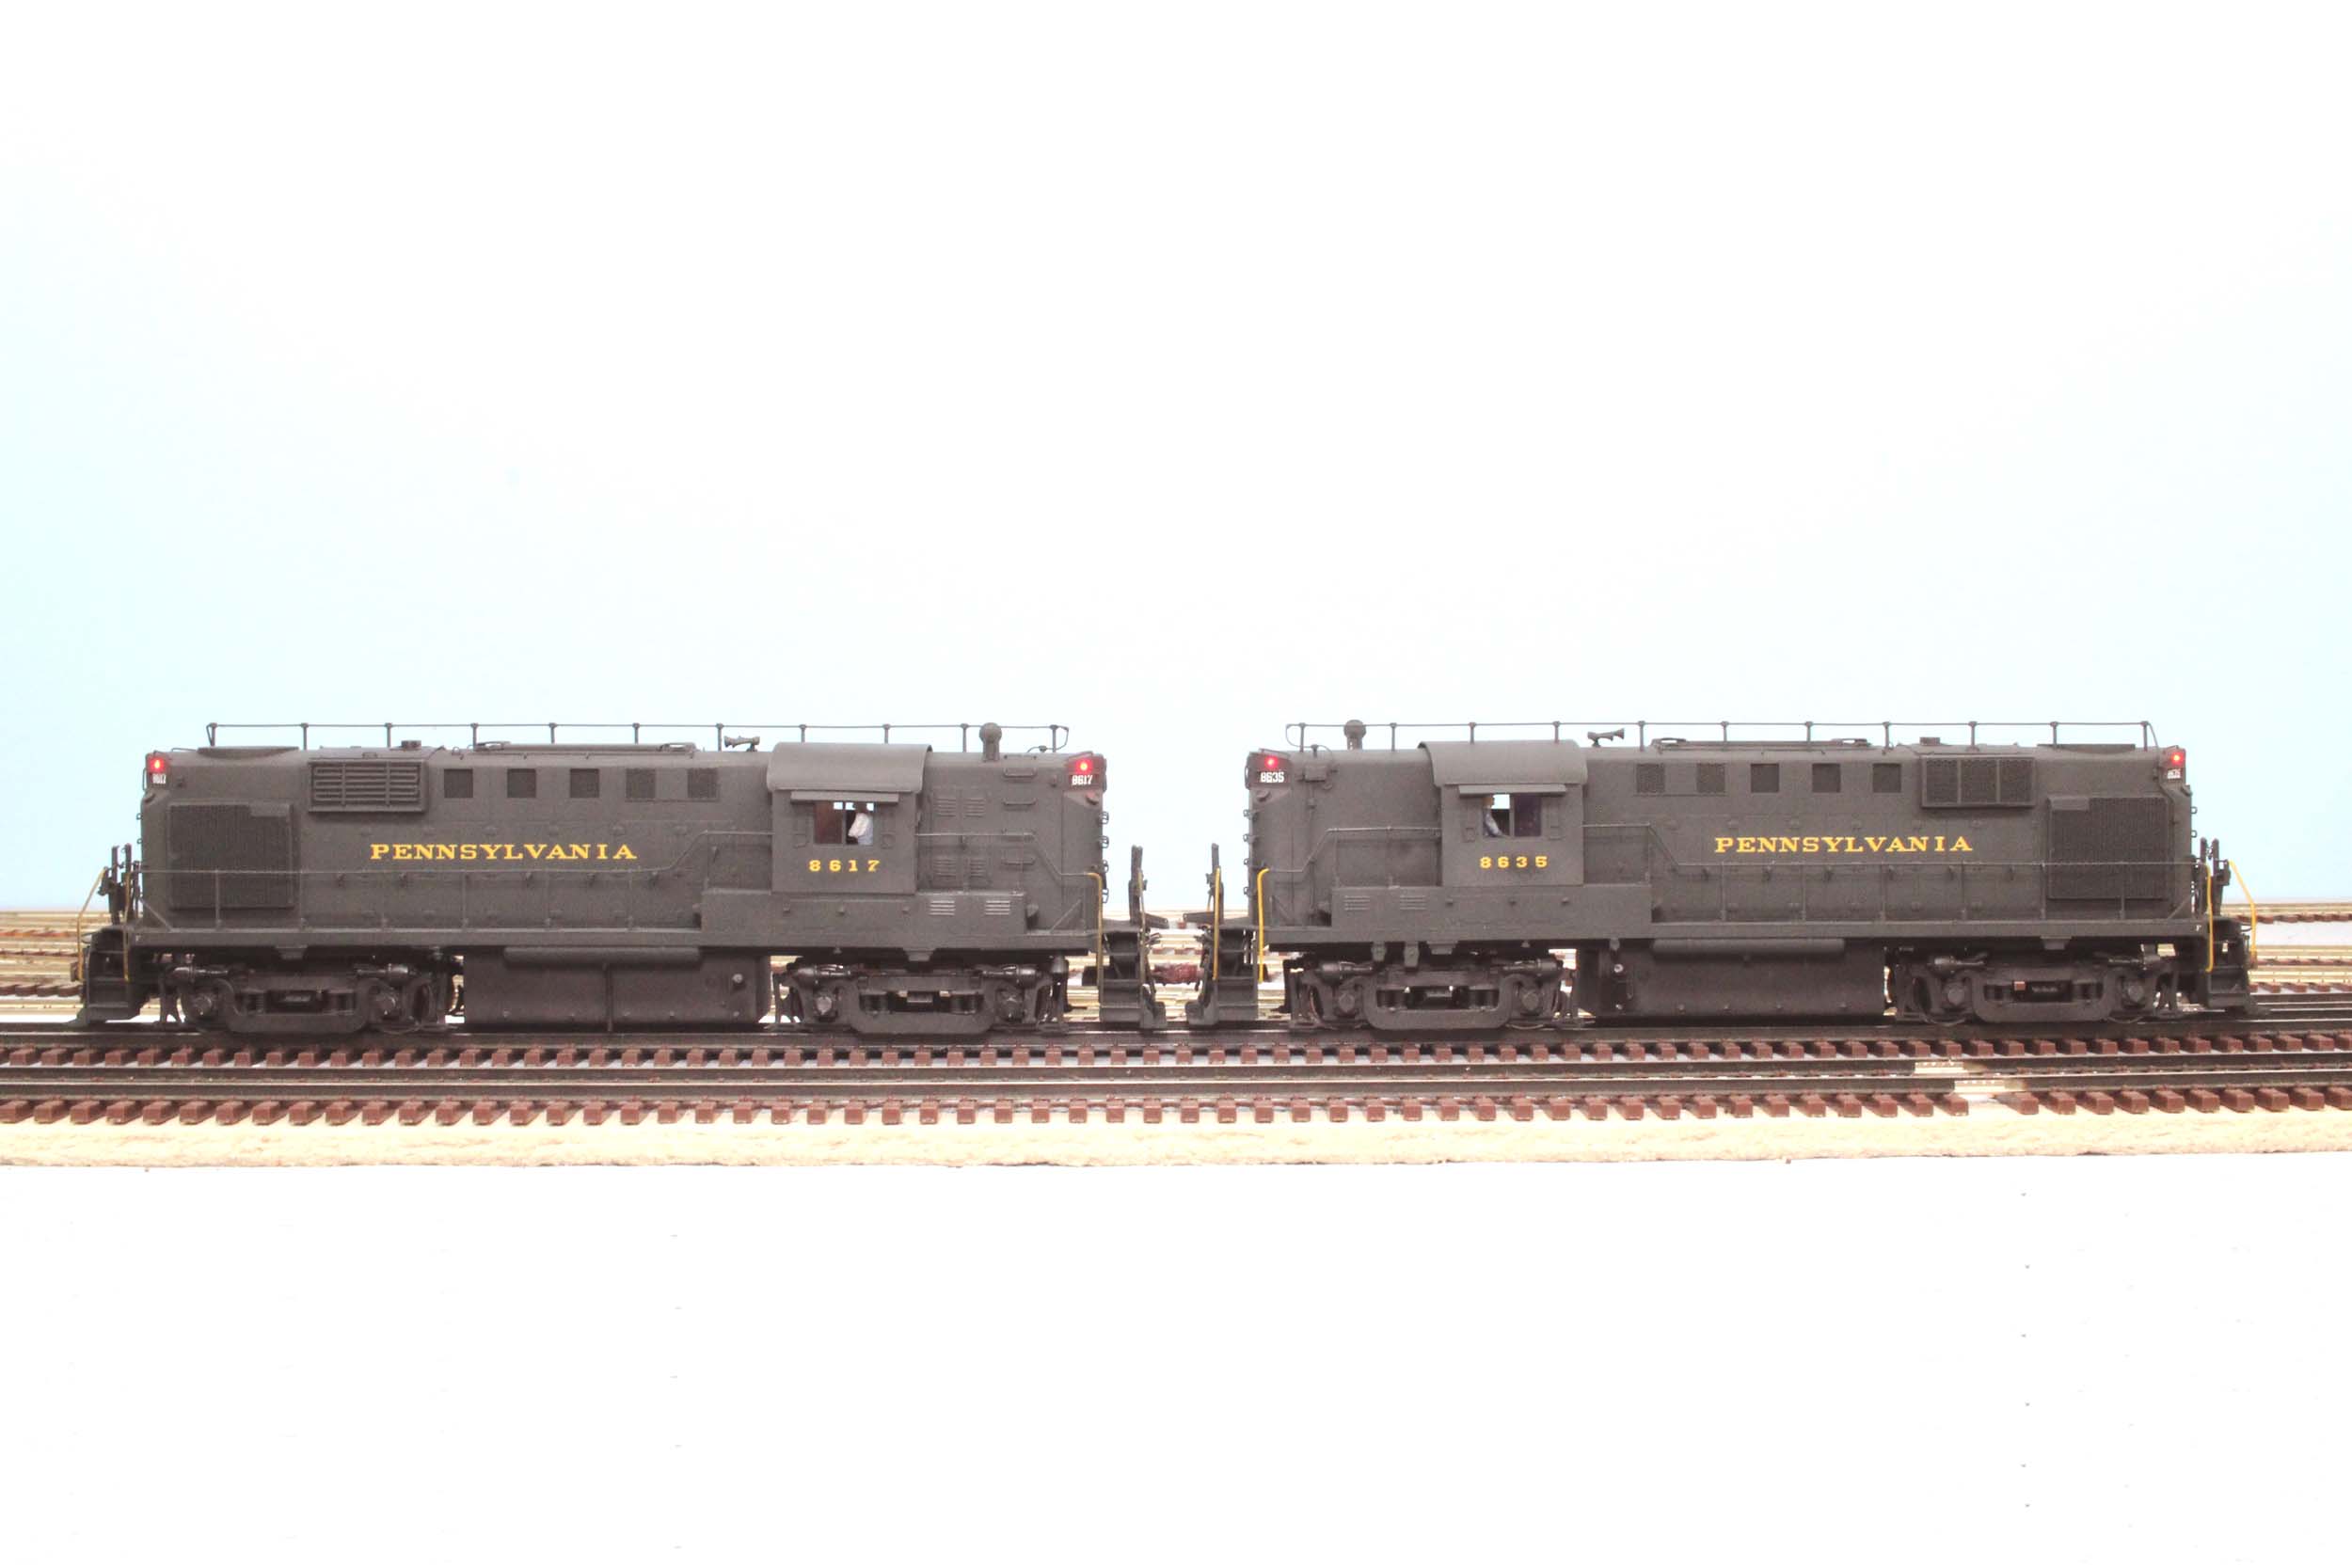
Completed 12-26-17
At
truly the last minute I decided to remove the flywheels. The shells were
completed with glass, crew and electronics. The decoders and capacitor banks
(Keep Alive etc) take care of the momentum now. You could see and watch the
flywheels were not completely balanced making it worse and cause vibration. I
have turned the motor to high and drum sanded the flywheels to better balance
them. Removal was not an easy task. I
had to get medieval chopping them off with a Dremel cutting disc, my milling
machine and the NWSL gear/wheel puller.
These locos turned out to be 1 of the most annoying “nothing went
right” projects in a very long time. I test run everything before painting.
They both ran fine. 8617 fried the decoder. A Miniatronics 4 pin plug shorted
for the first time ever in 20+ years of using them, making the decoder burn out
and fail. Finding the shorted plug was very frustrating. Further I was hitting
my attention span wall so close to completion.
So…
8635 was completed and got photos taken first.


8617
was completed 12-26-17 after a new decoder was bought.
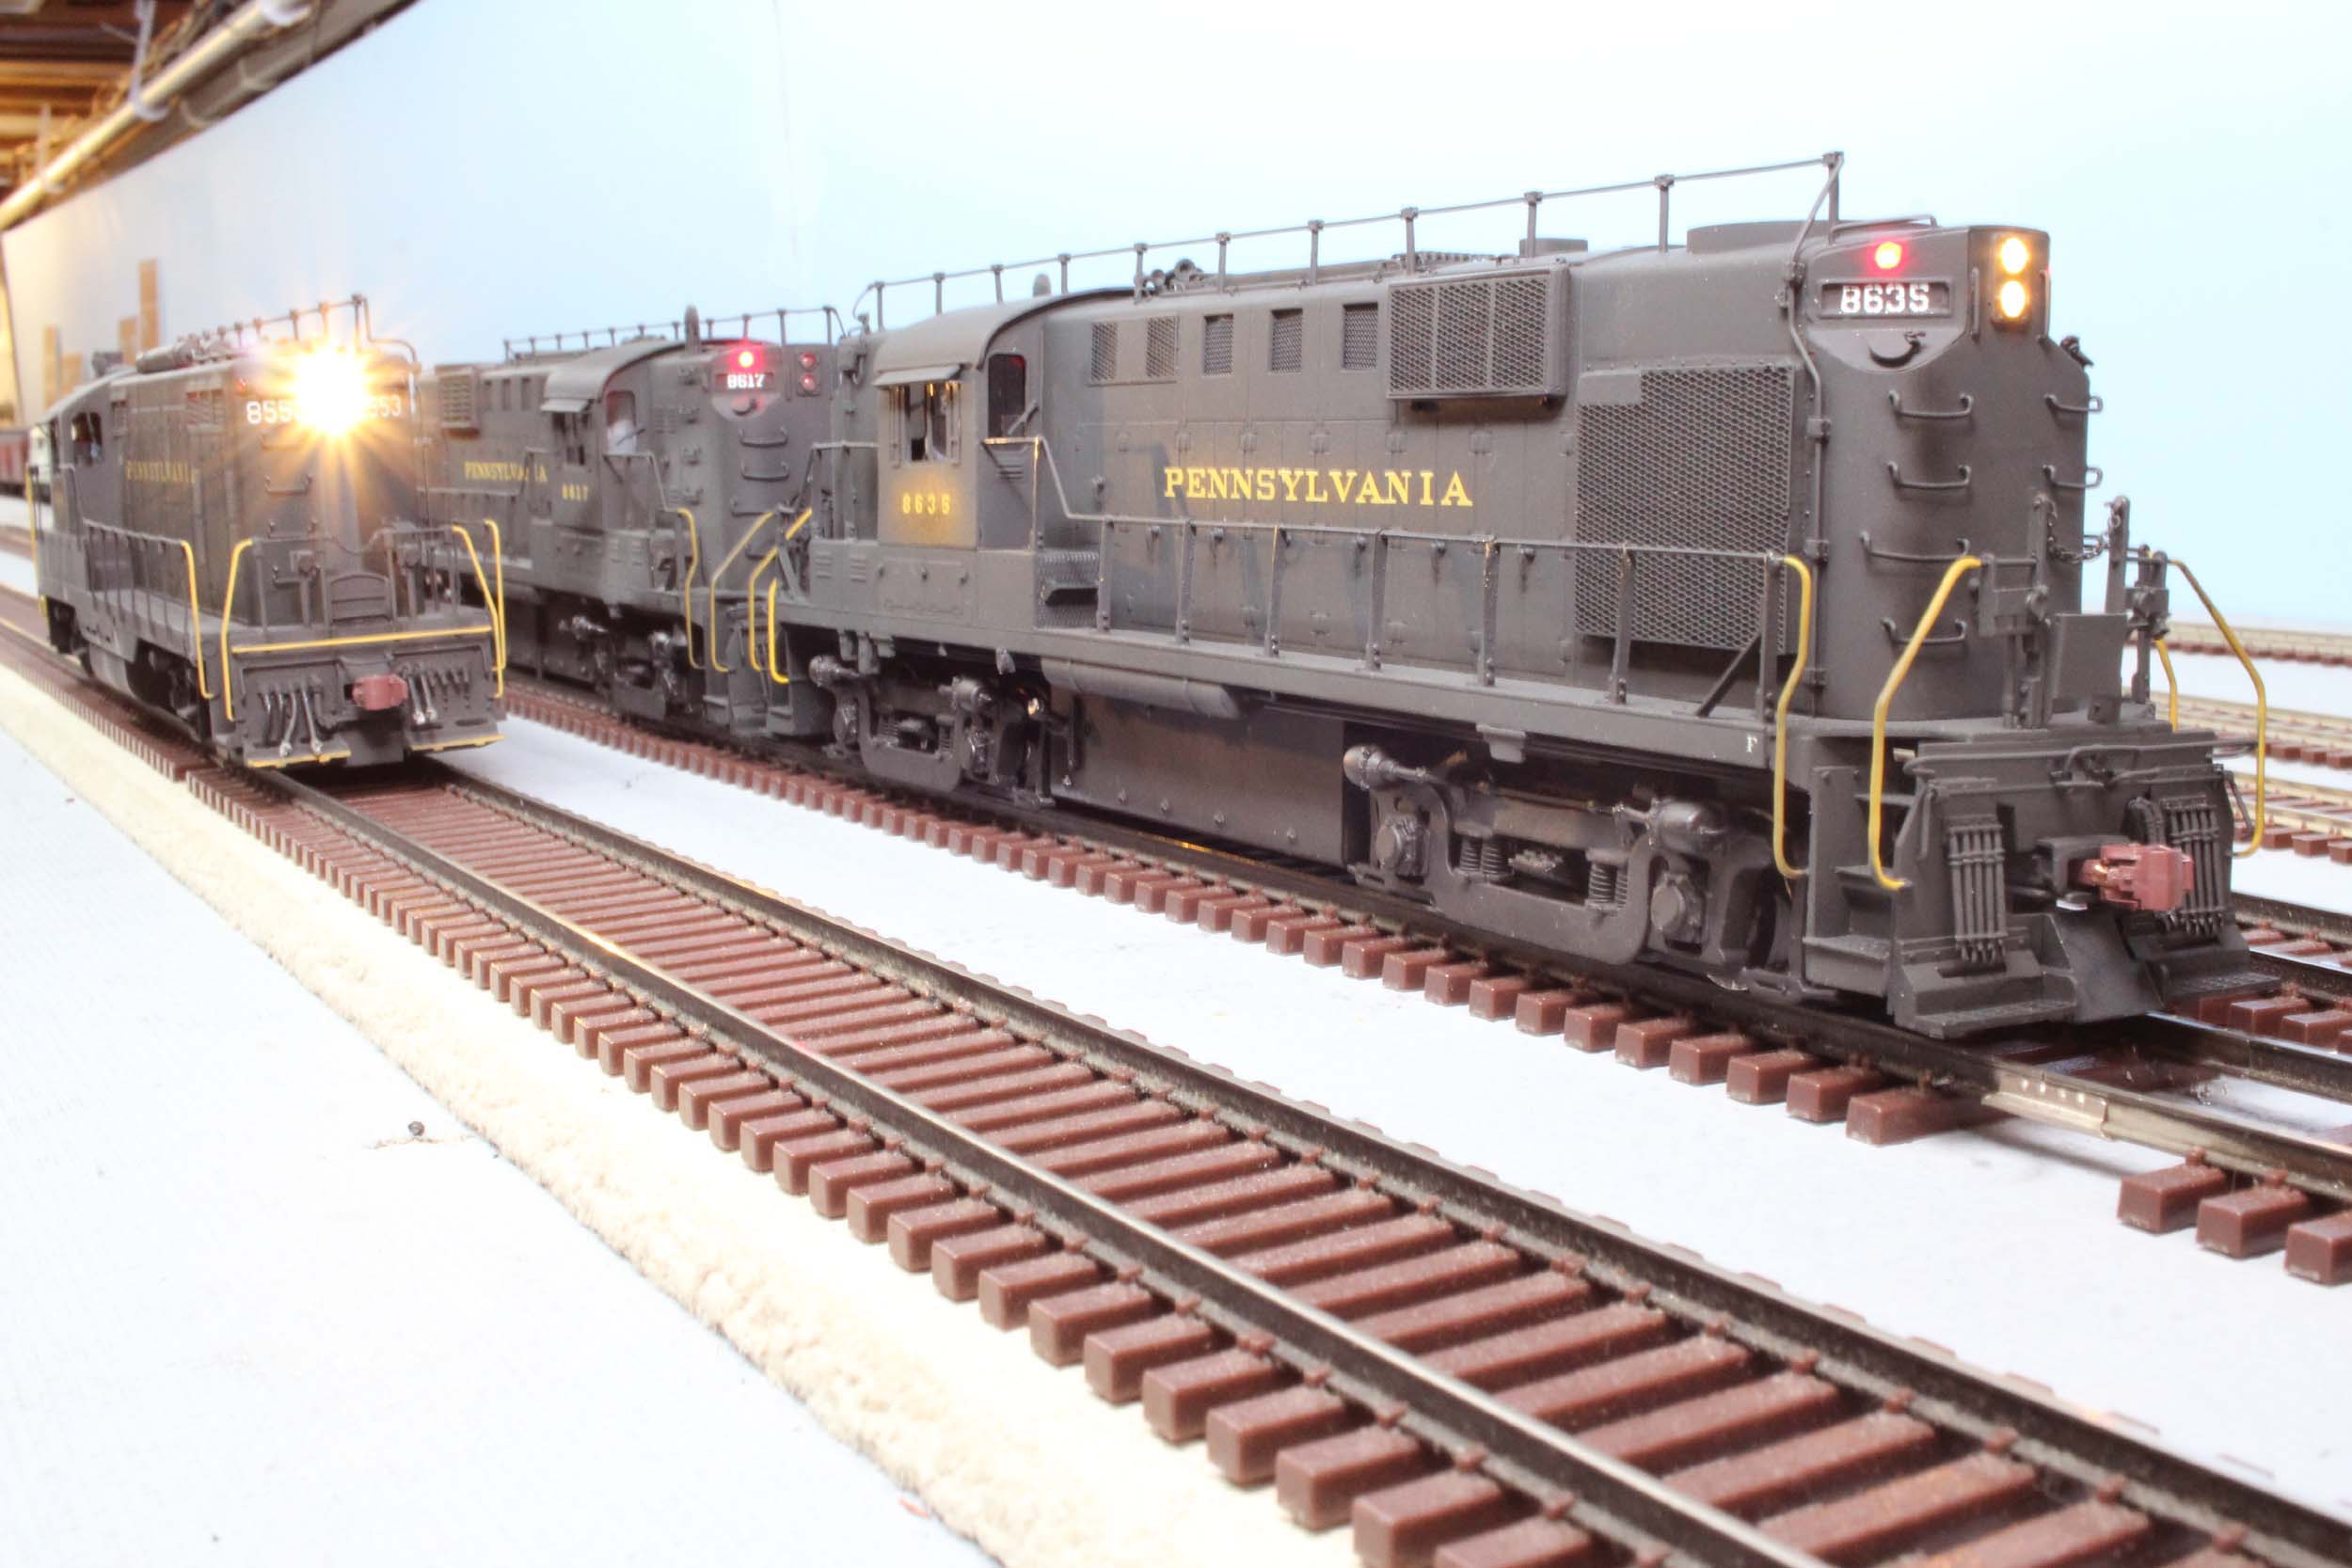
Brothers From another Mother
Posed
with my GP7. It is very similar in size to the RS11
Updated
2-25-18
All photos and content © Lanes Trains 2005-2021