|
|
Page
6 The progress to the layout was so great I filled page 5 in
about a month. I am now doing things for ***SCENERY***
I never thought I would do. It is fun because it is different and noticeable
immediately. Not that I am copying what Don DeWitt did but I was looking at
old photos of the engine service area and decided I needed a diesel fuel
storage tank. Diesel
Fuel Storage Tank Added
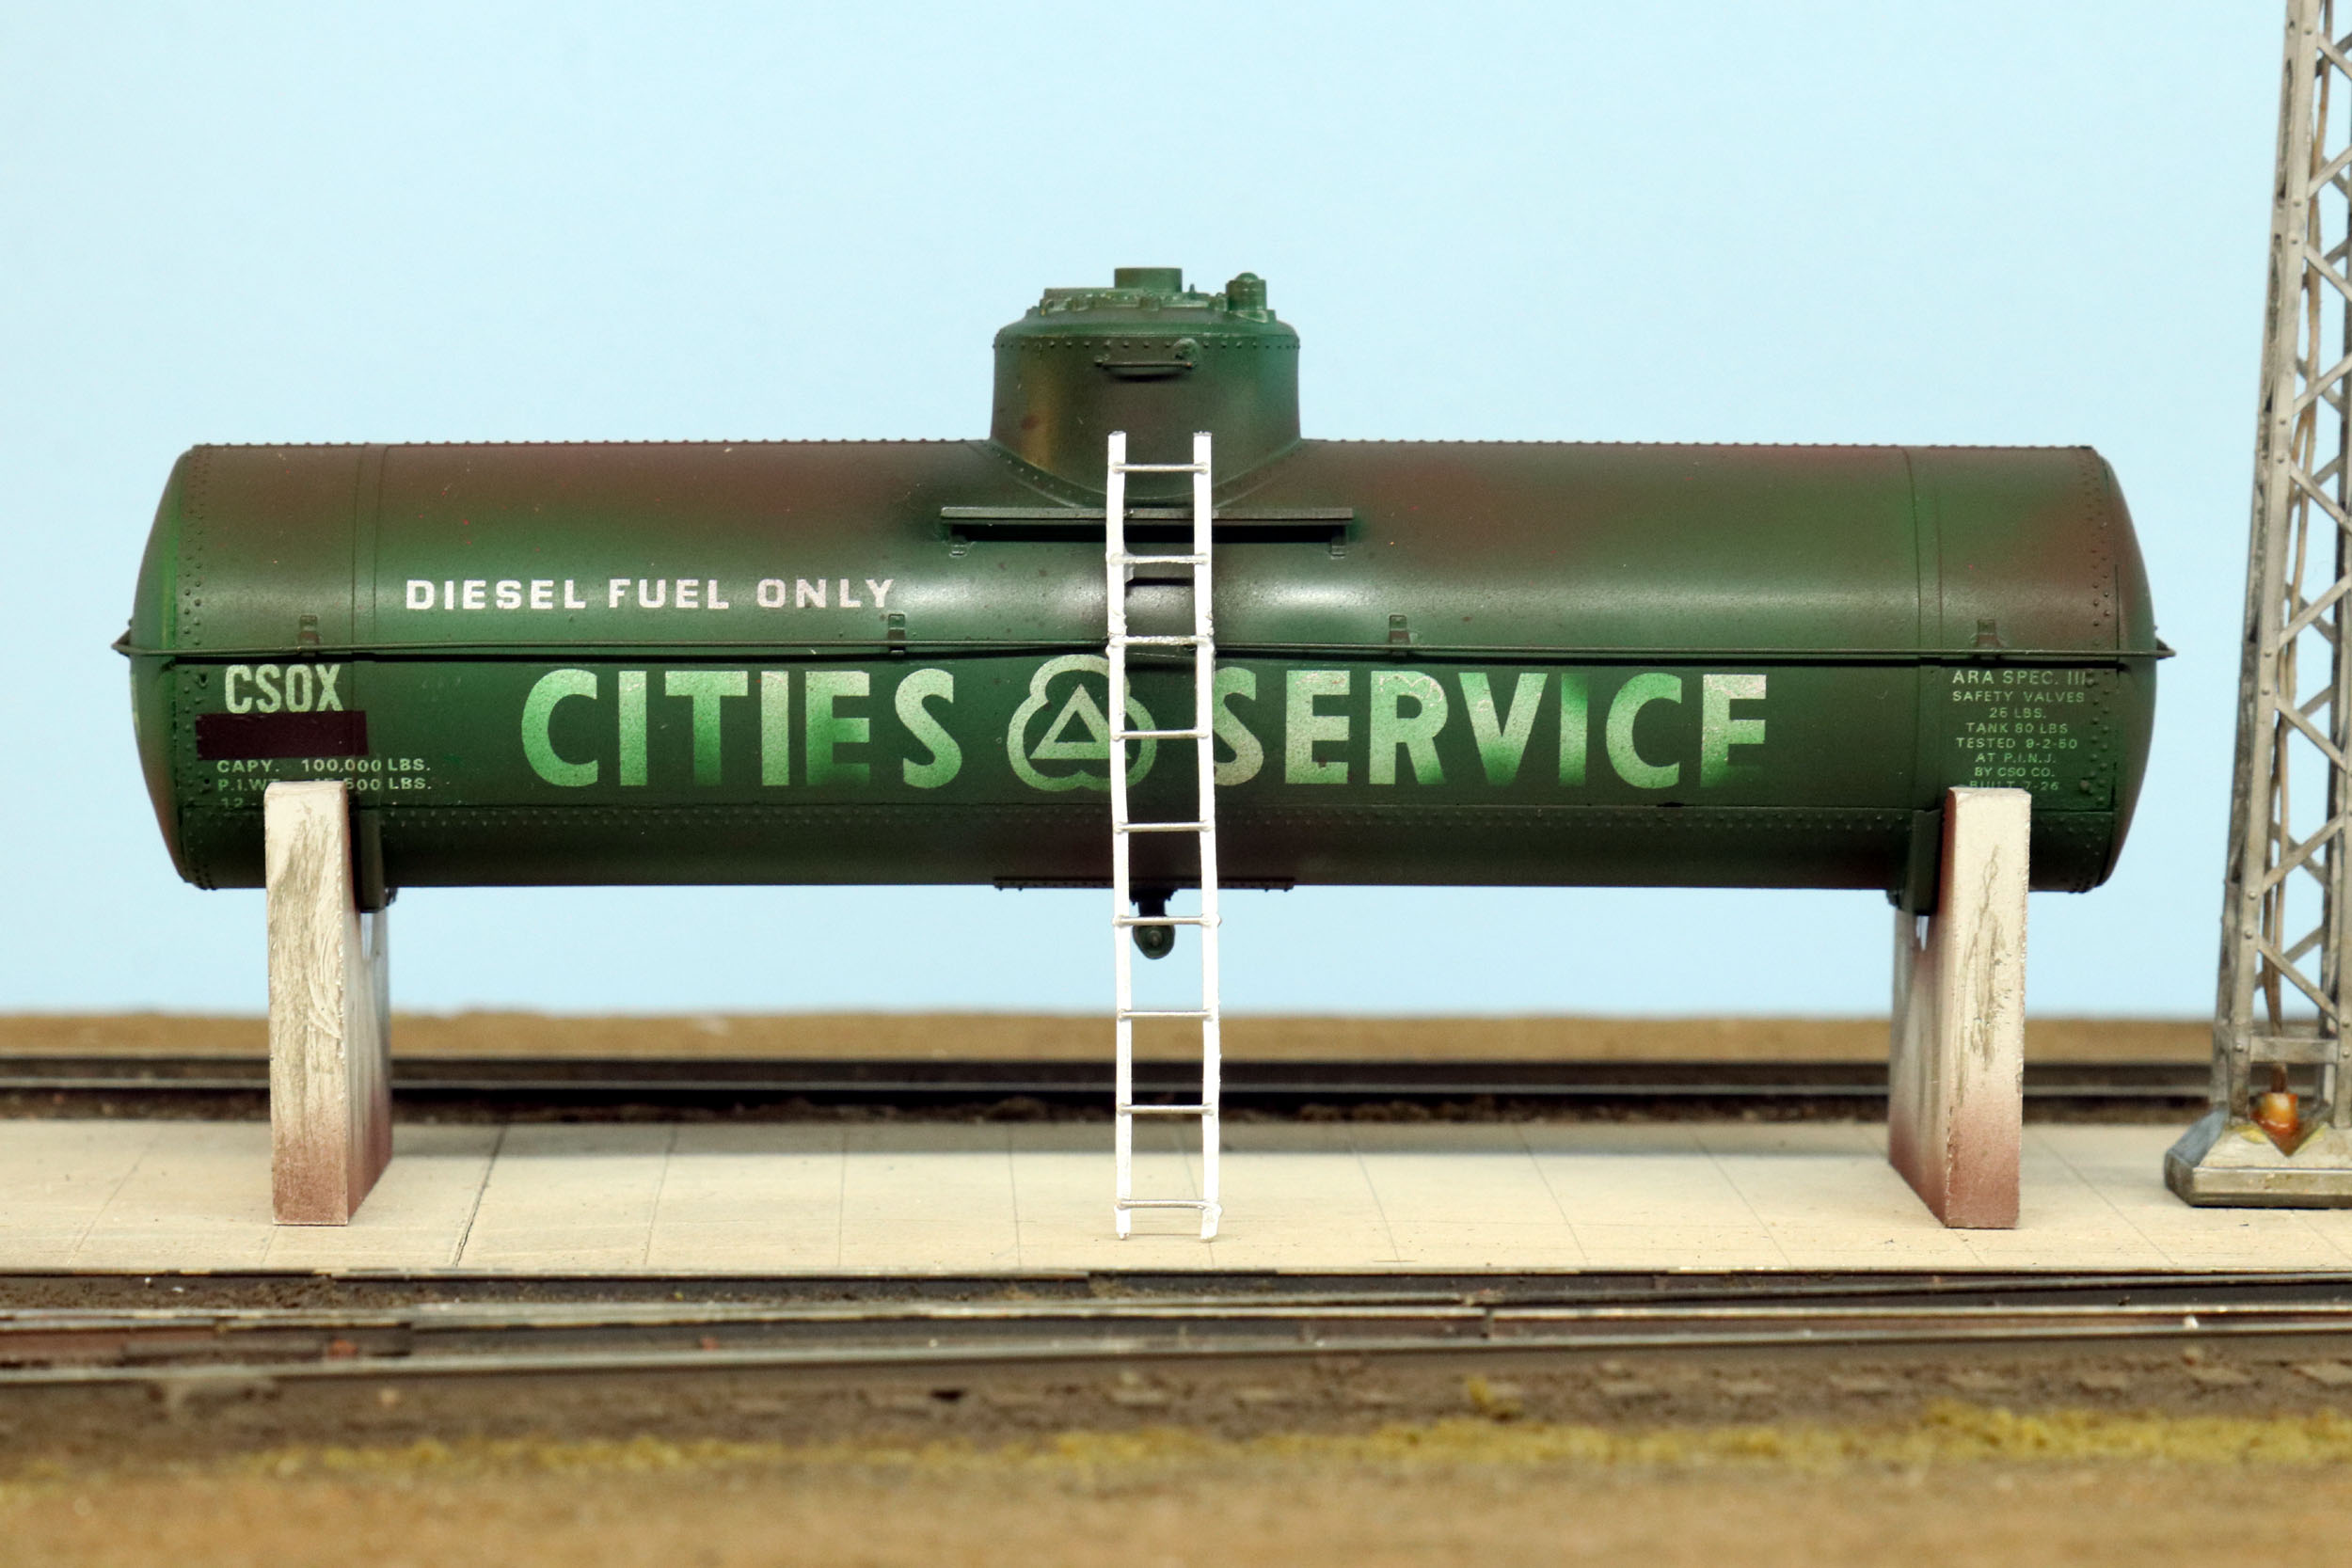
11-30-20 Whether it really could have happened or not did not matter
much to me - but I envisioned a tank car was salvaged from a wreck and put
into use as a diesel oil storage tank. It is not meant to be an award winning
model just a prop detail in a scene. The best part when making things like
this is there are mostly no plans and I usually have everything I needed from
many years of buying and parts hoarding. It is almost “put a happy tree
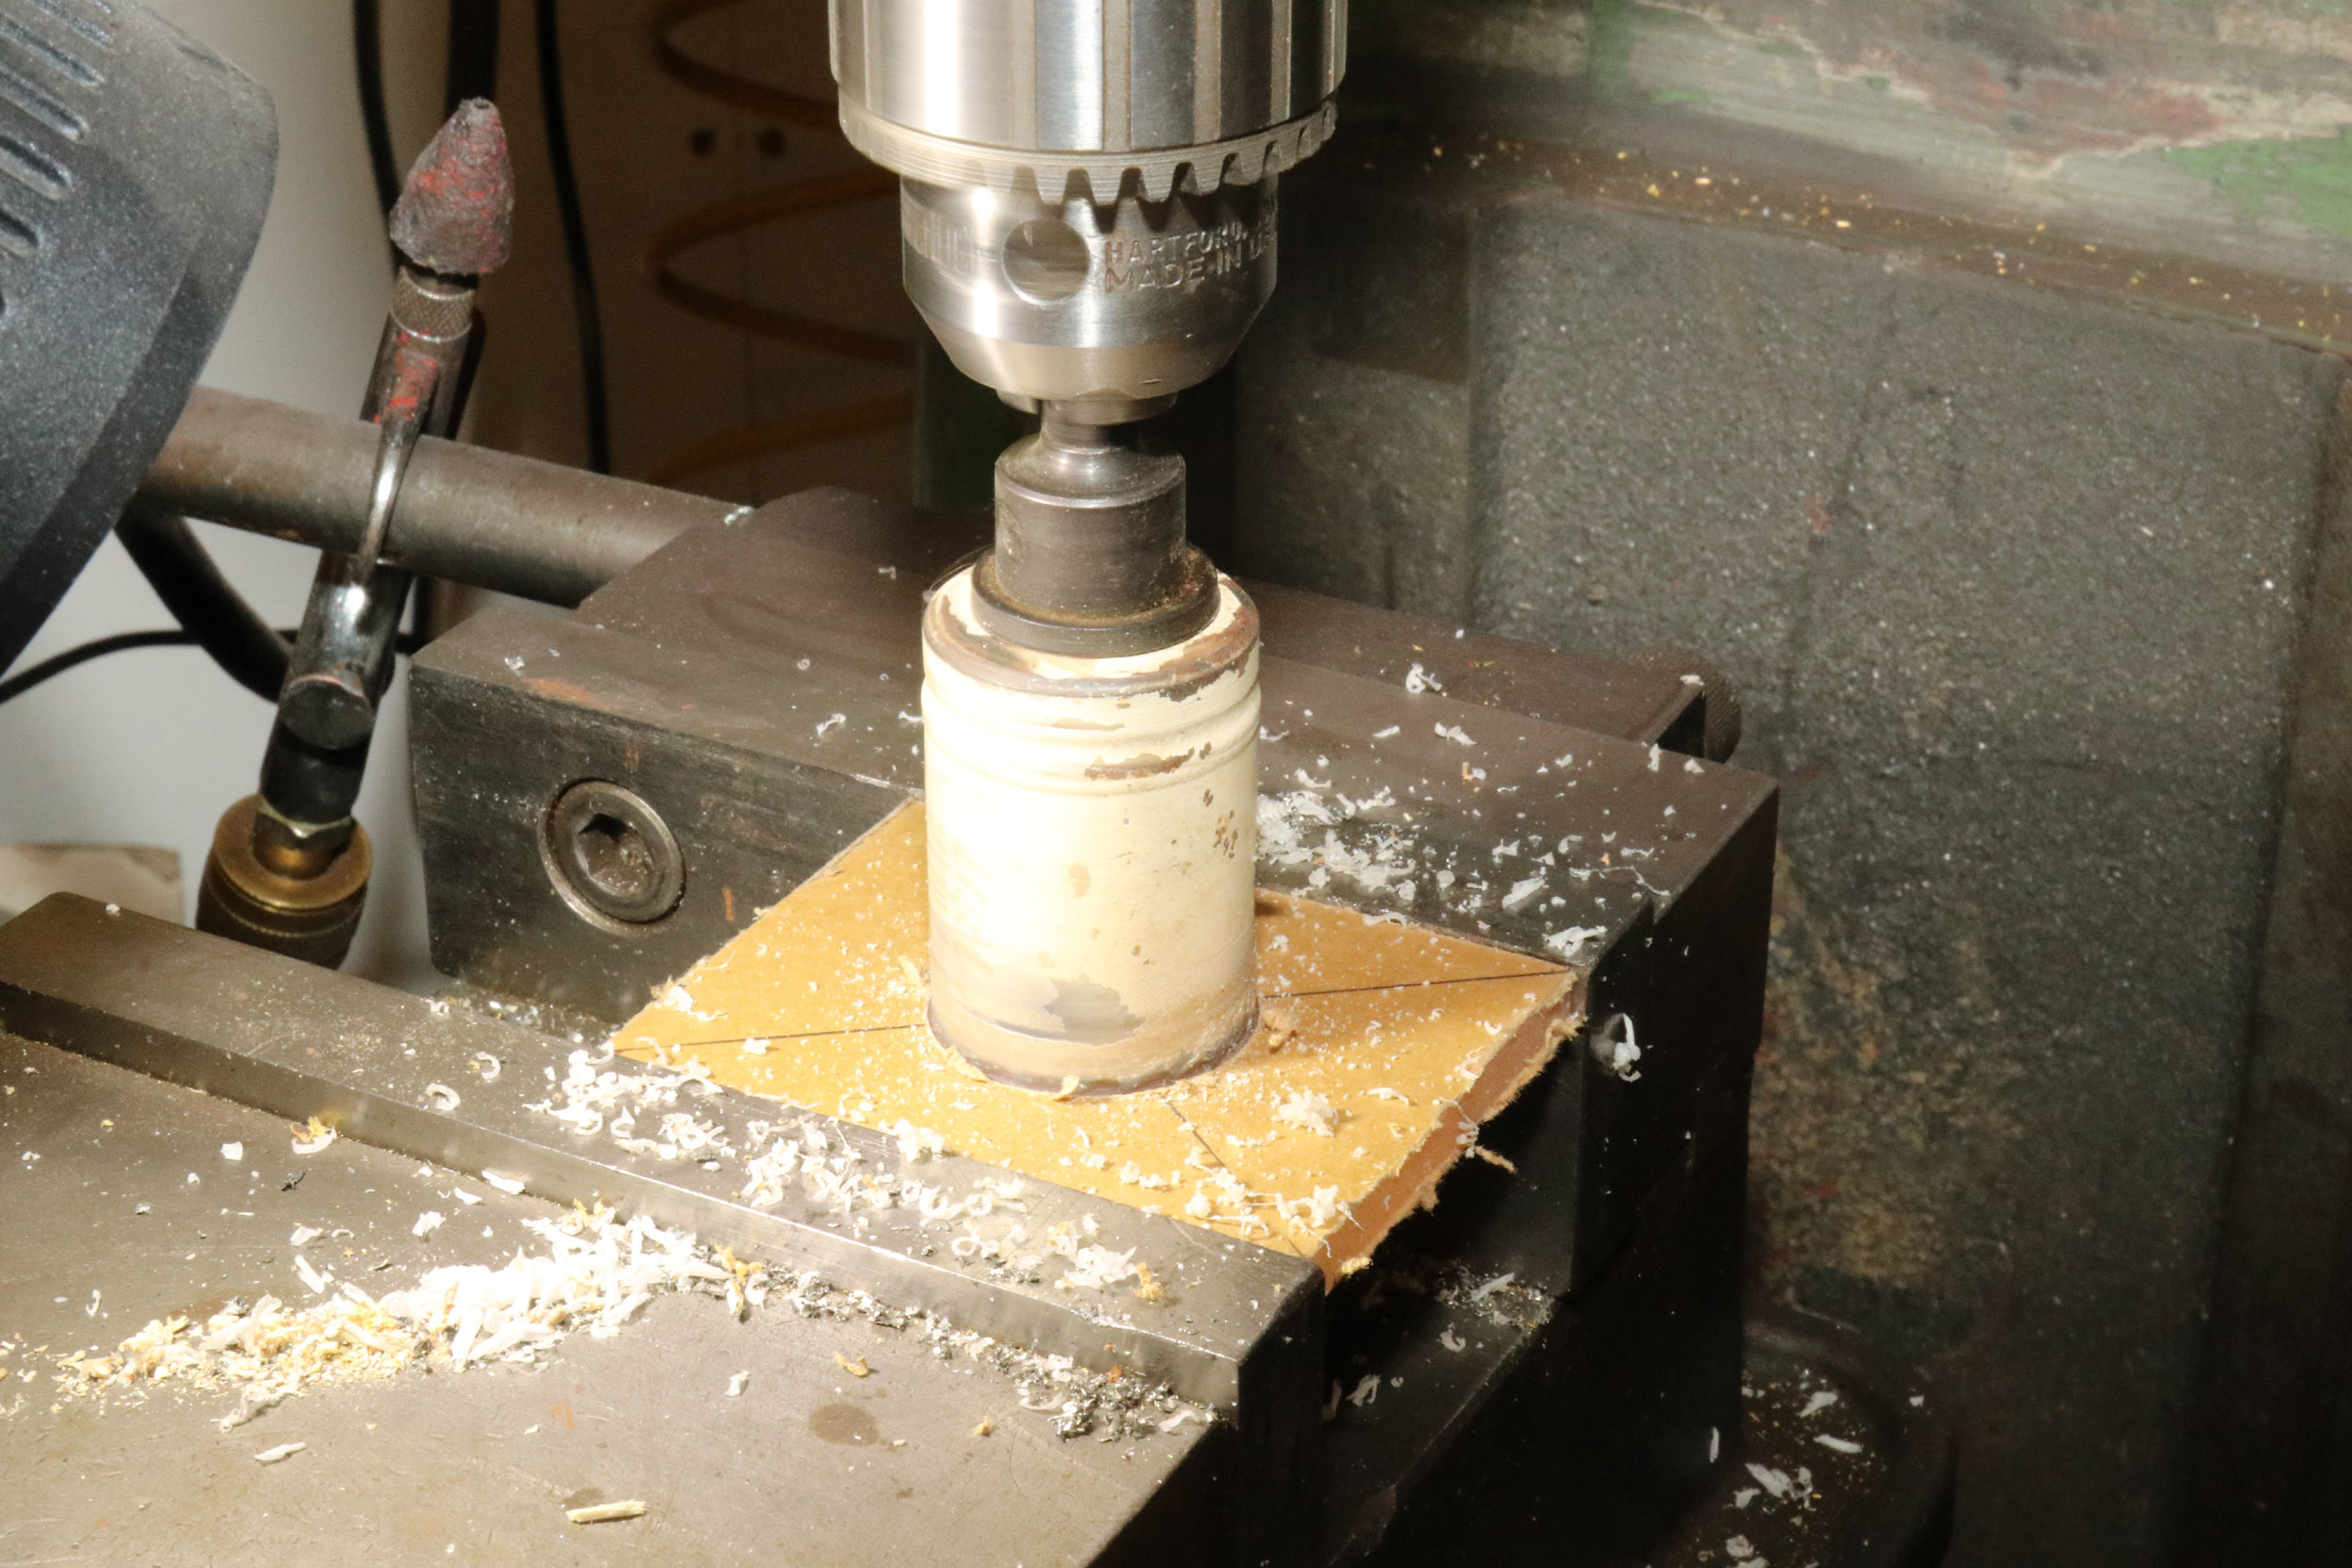
there” stream of consciousness at work. I used an S Scale America tank car
body and some Plexiglas for the “concrete” supports. I painted the tank car
body with Tru Color REA Green. The decals were made by Don DeWitt and a
Microscale alphabet set. I spliced 2 Pacific Rail Shops ladders together. The
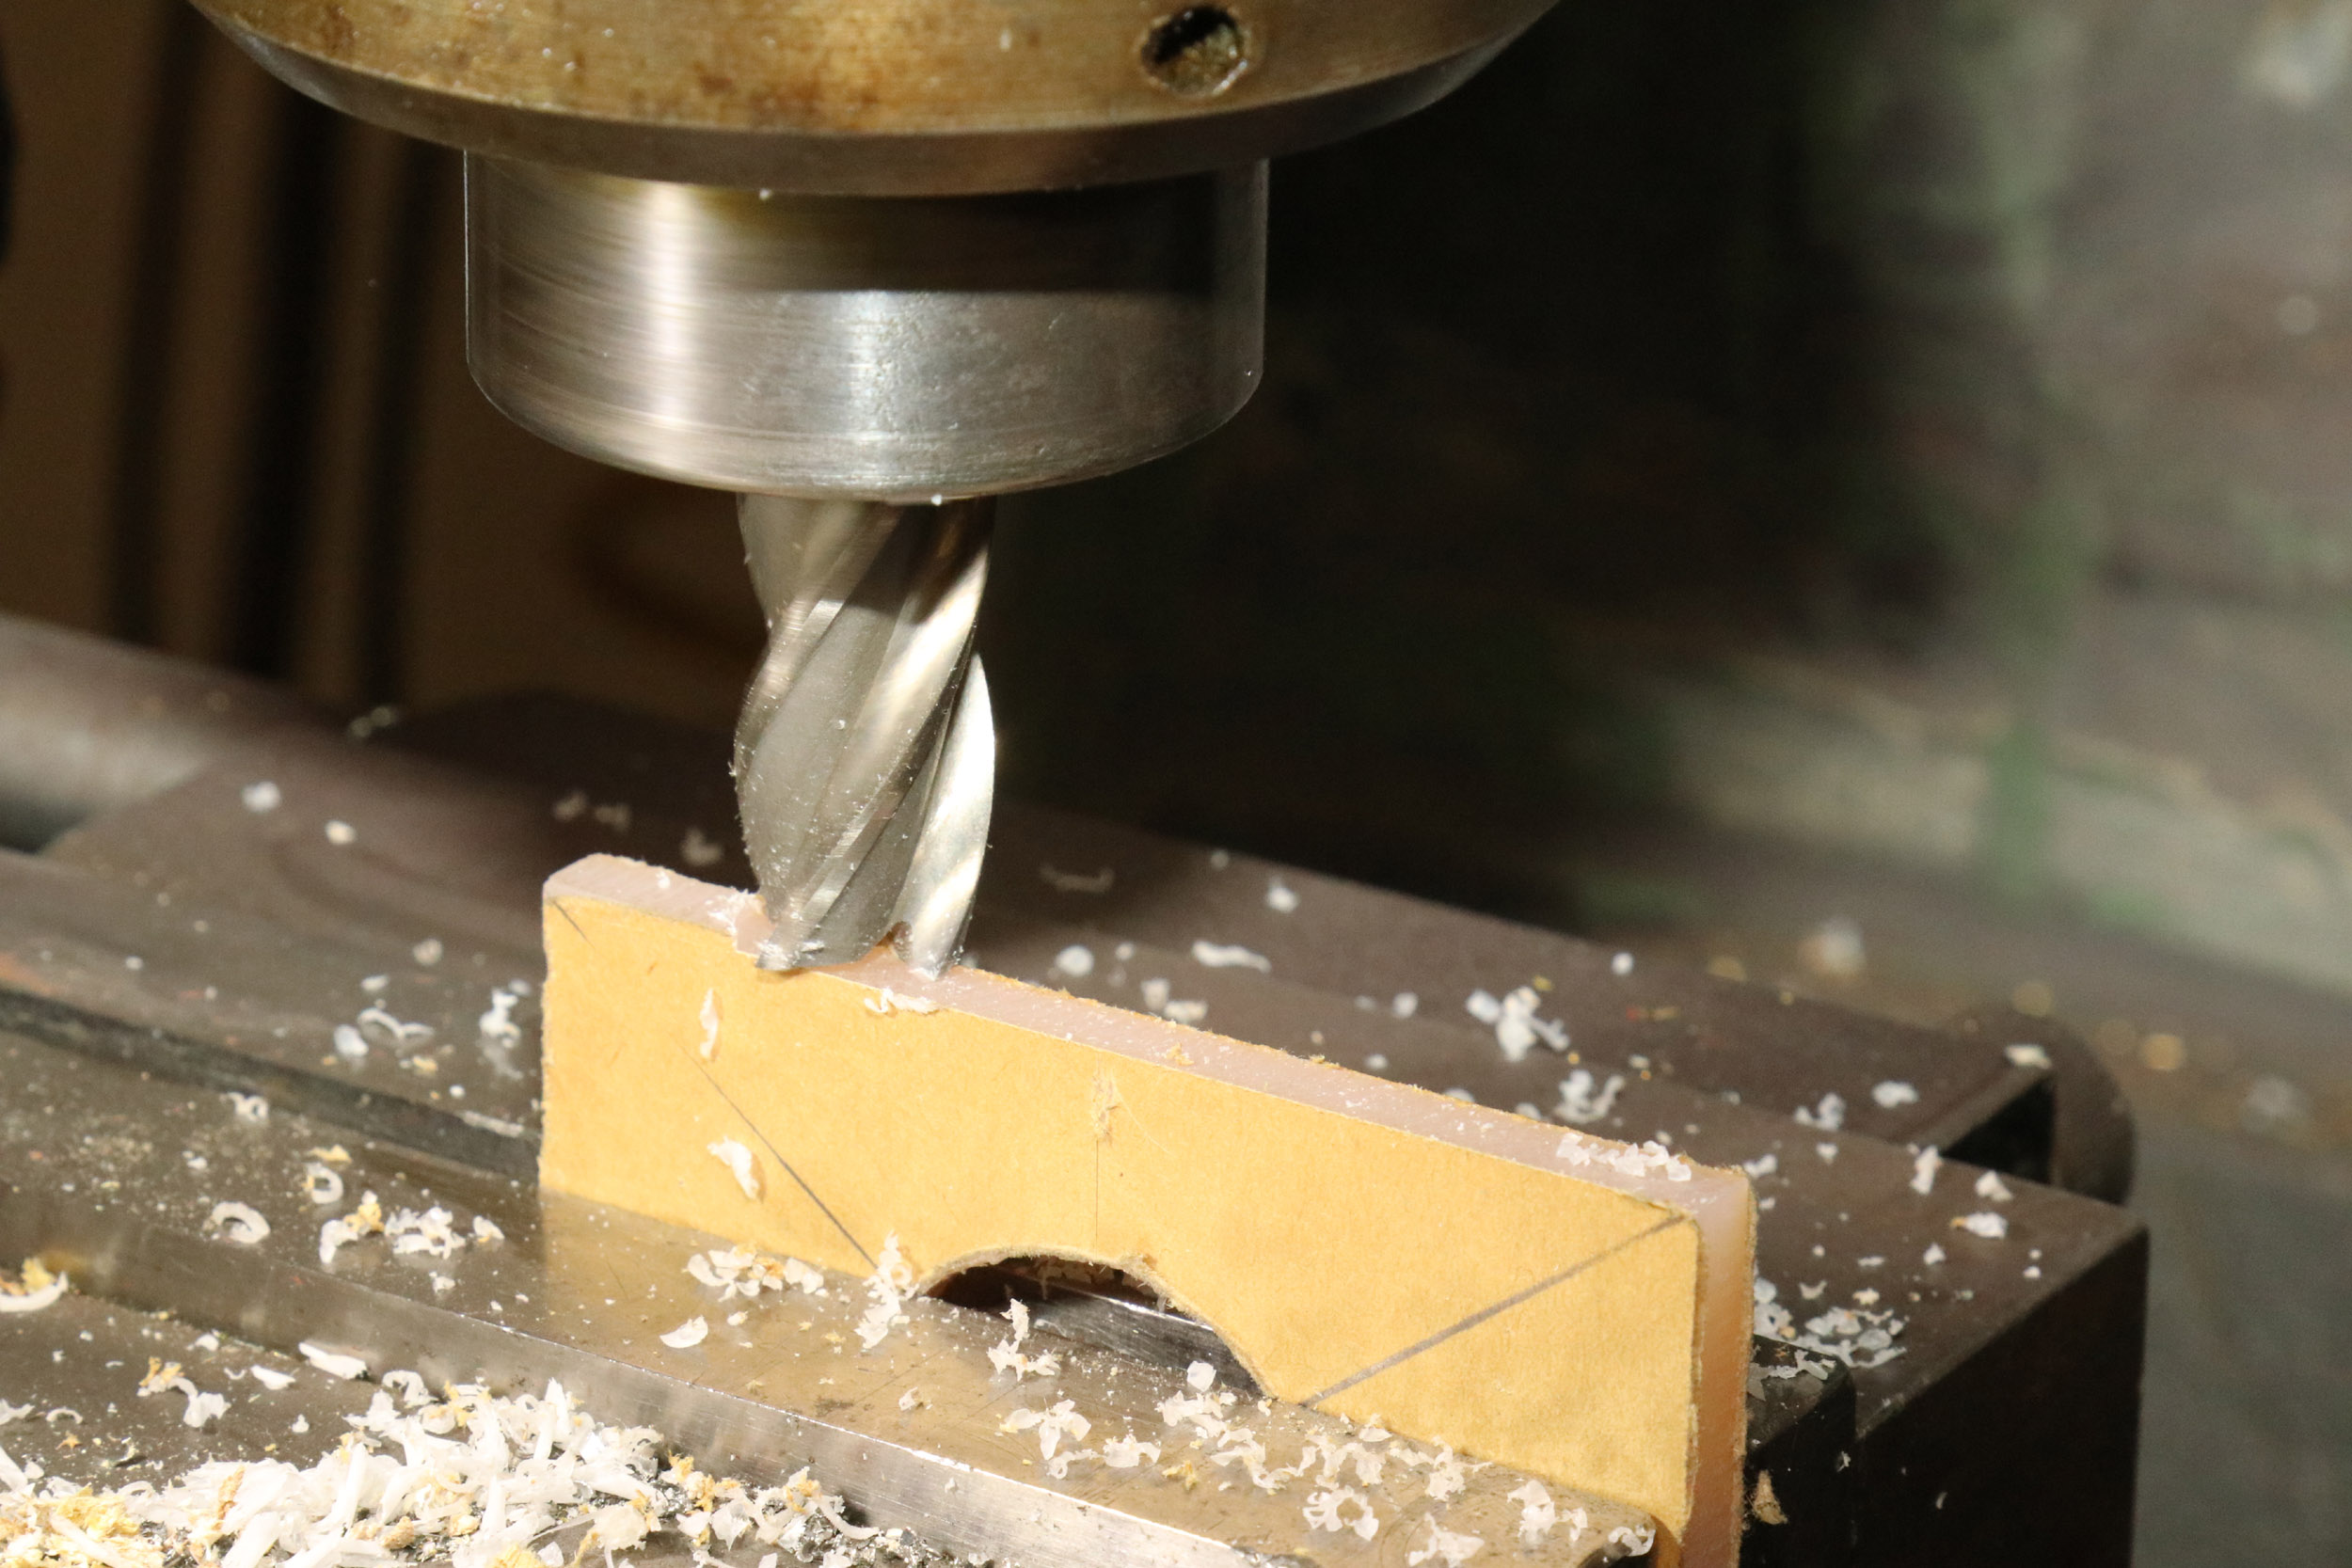
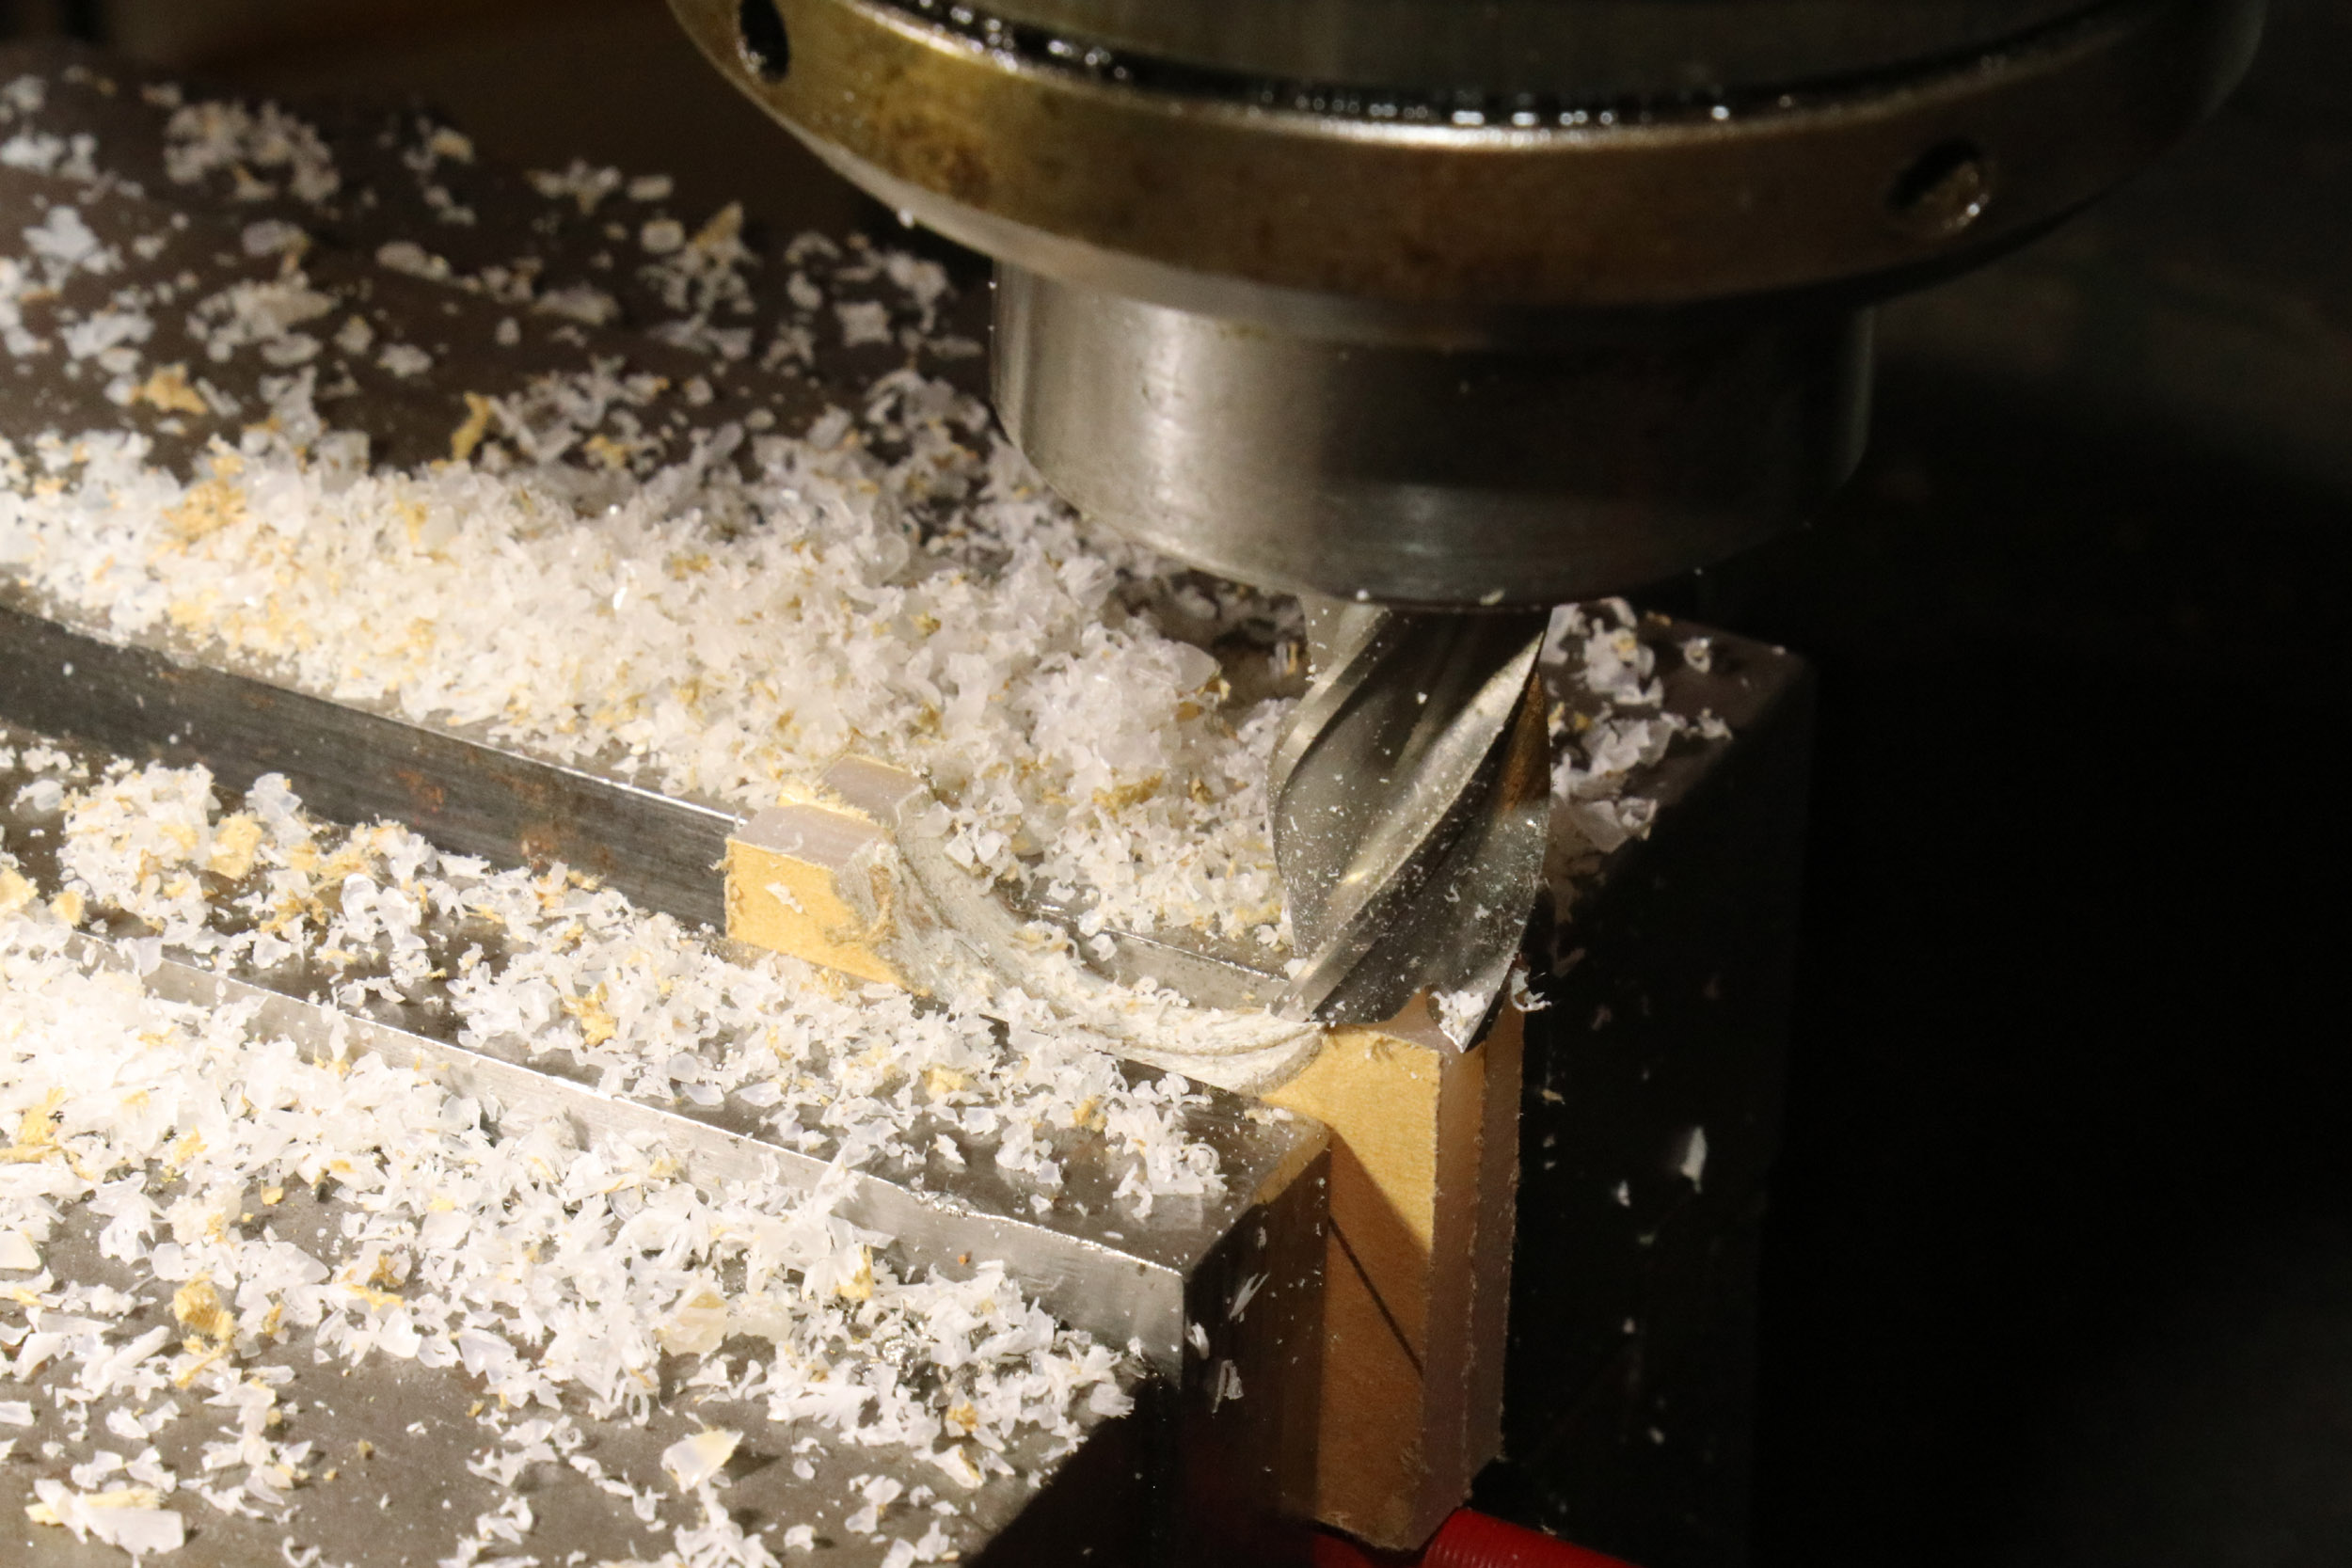
Plexiglas was cut to a rather random size so I had some wiggle room. I have 2
hole saws total. I was well beyond lucky because one hole saw was the perfect
diameter to match the tank car body. The Big Green Milling Machine came to
the rescue. Cutting the radius would have been difficult with Dremel
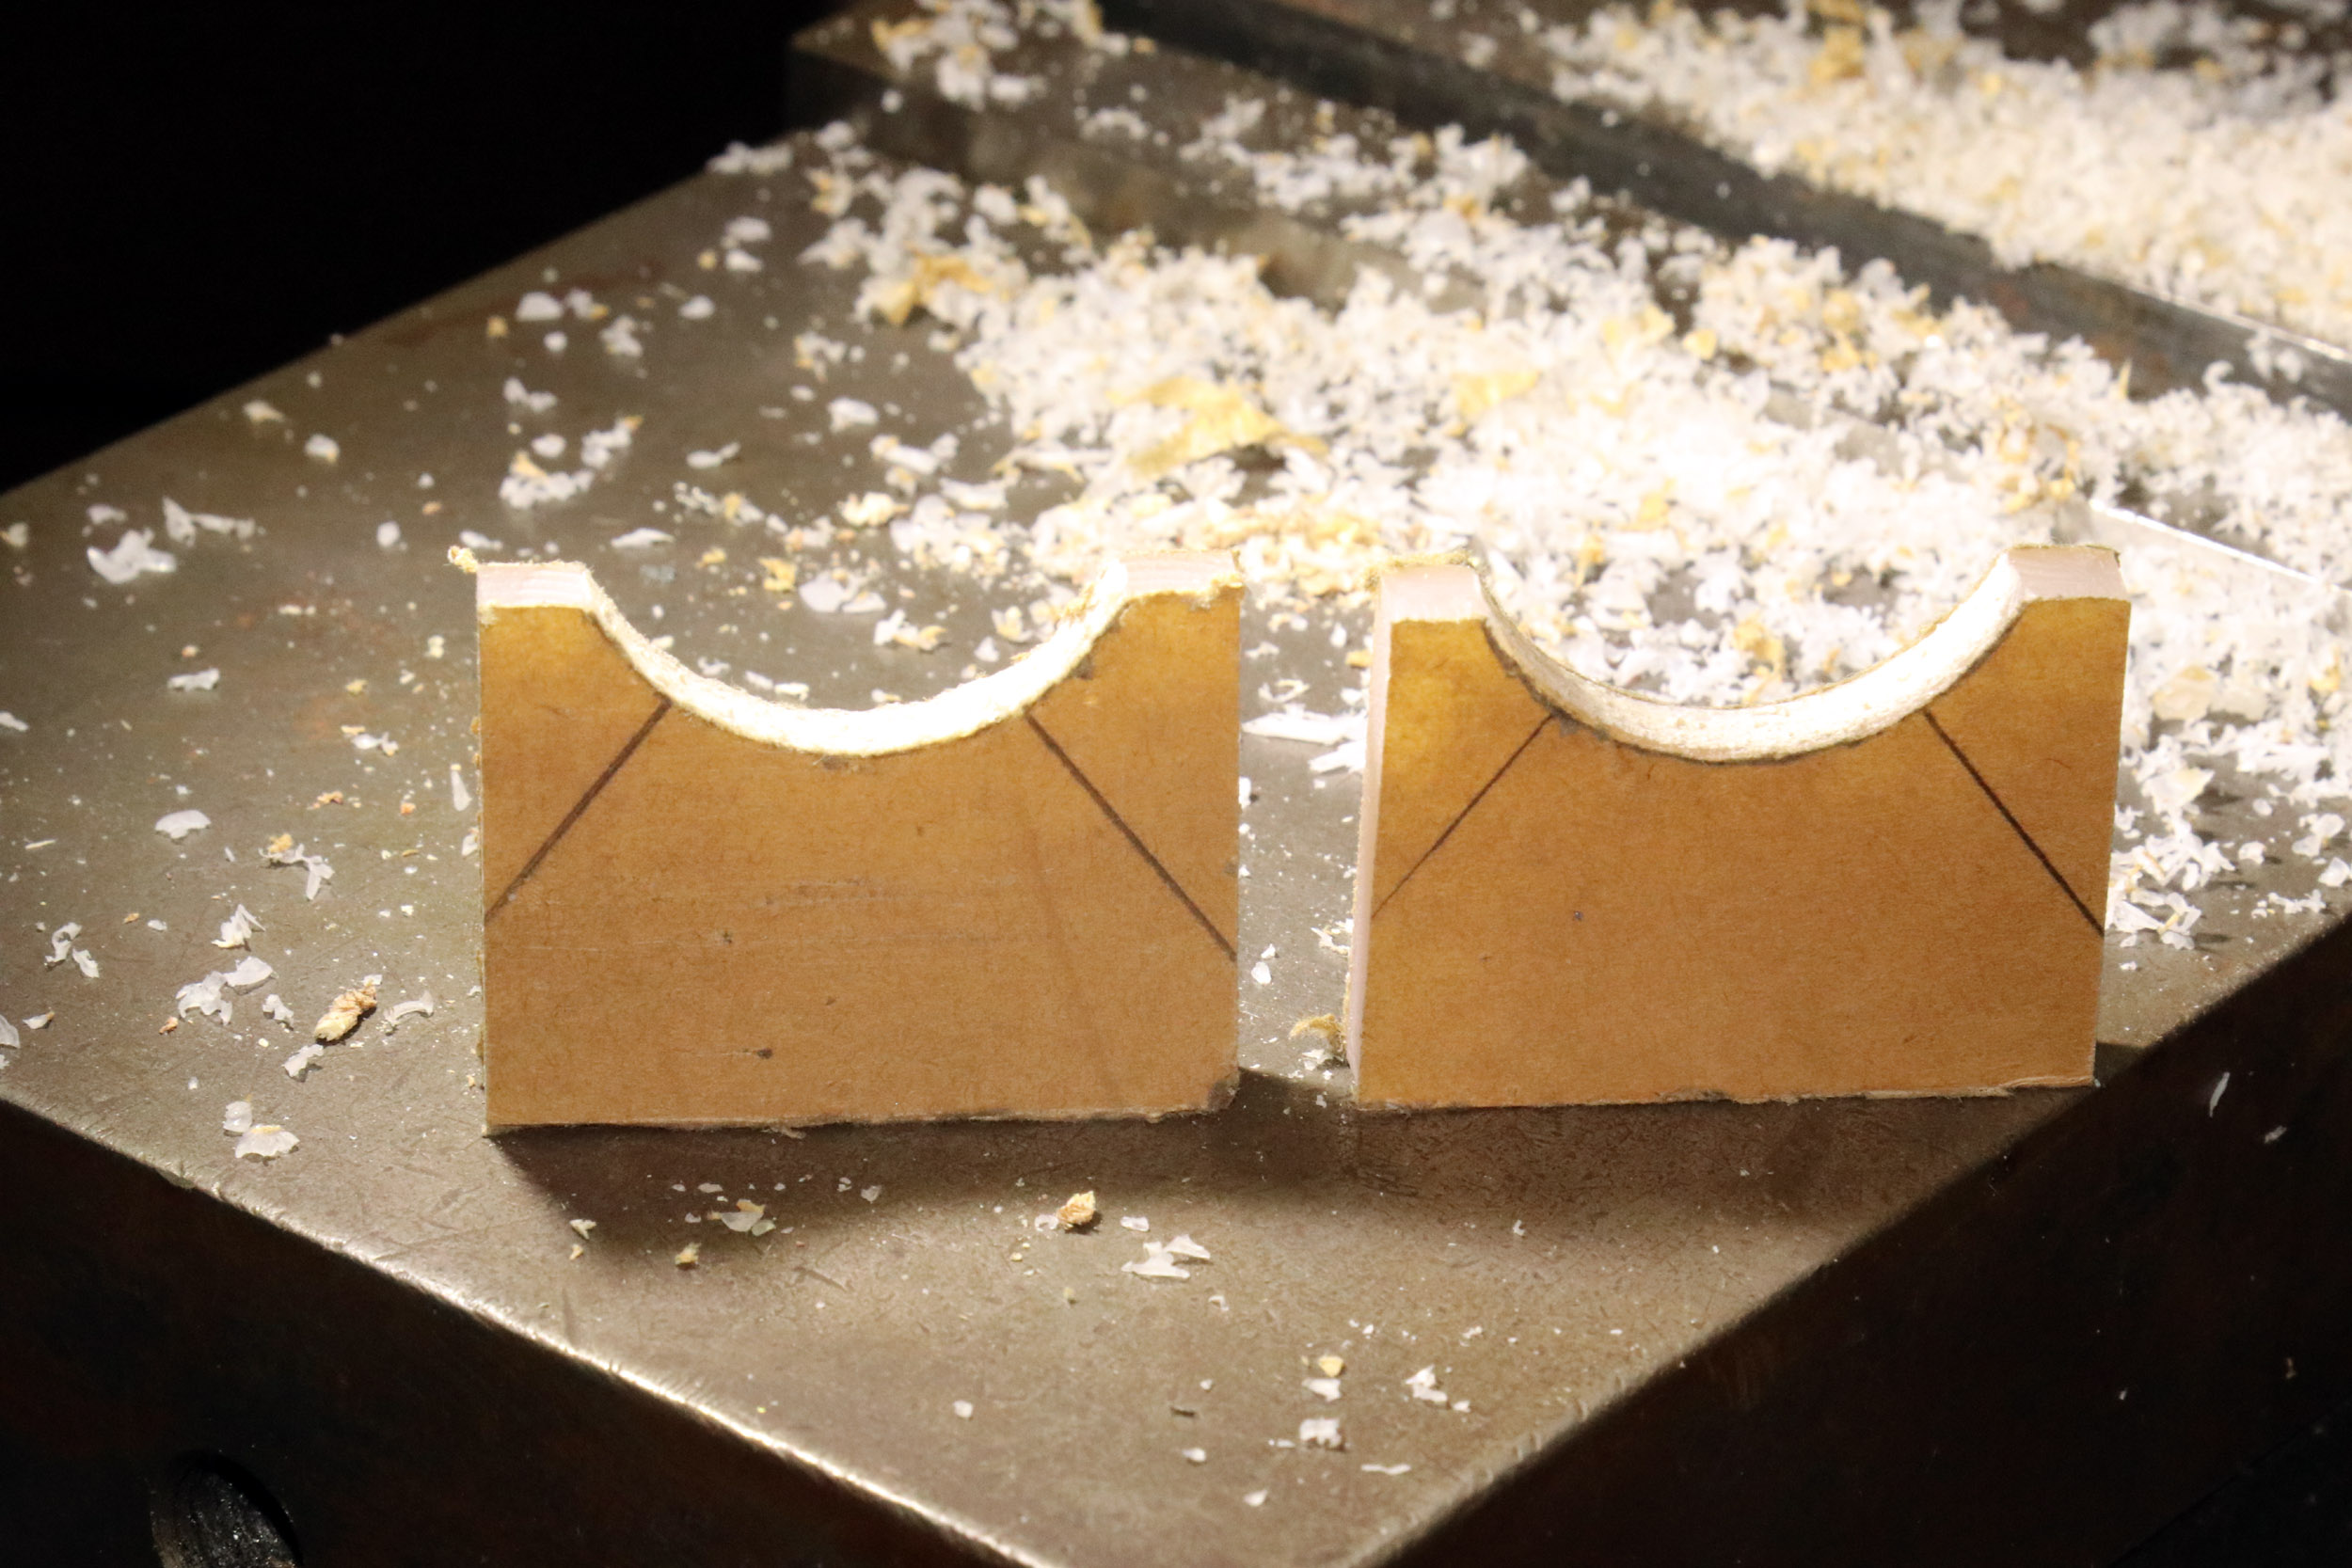
tools. The concrete supports were
roughed out in about ½ hour. They are matched in tank height to .003! Cut
things at the same time to make them match. |
|


The “Diesel Fuel Only” was cut 1 letter at a time from a Microscale alphabet set. The black patches are also Microscale.
It
Is All In The Details
This is all completely new territory for me doing “scenery” and
adding layout details. Some I am making and some I am buying. Some I designed
and had 3D printed. It is all very different because something can take a day,
an hour or a few minutes and it is done. Put it on the layout.
Subway
Platform Entrances
Added
12-1-20
When I got the modules there were a few totes of scenery items
and accessories included that I never really looked at much until now. A large
very elaborate staircase was made to go over the track and access the station
platforms. But it was in need of serious repair. Also with me raising the train
shed to clear the stack cars these stairs would have to be made even higher.
Further the stairs would clutter and block the view to the train shed.
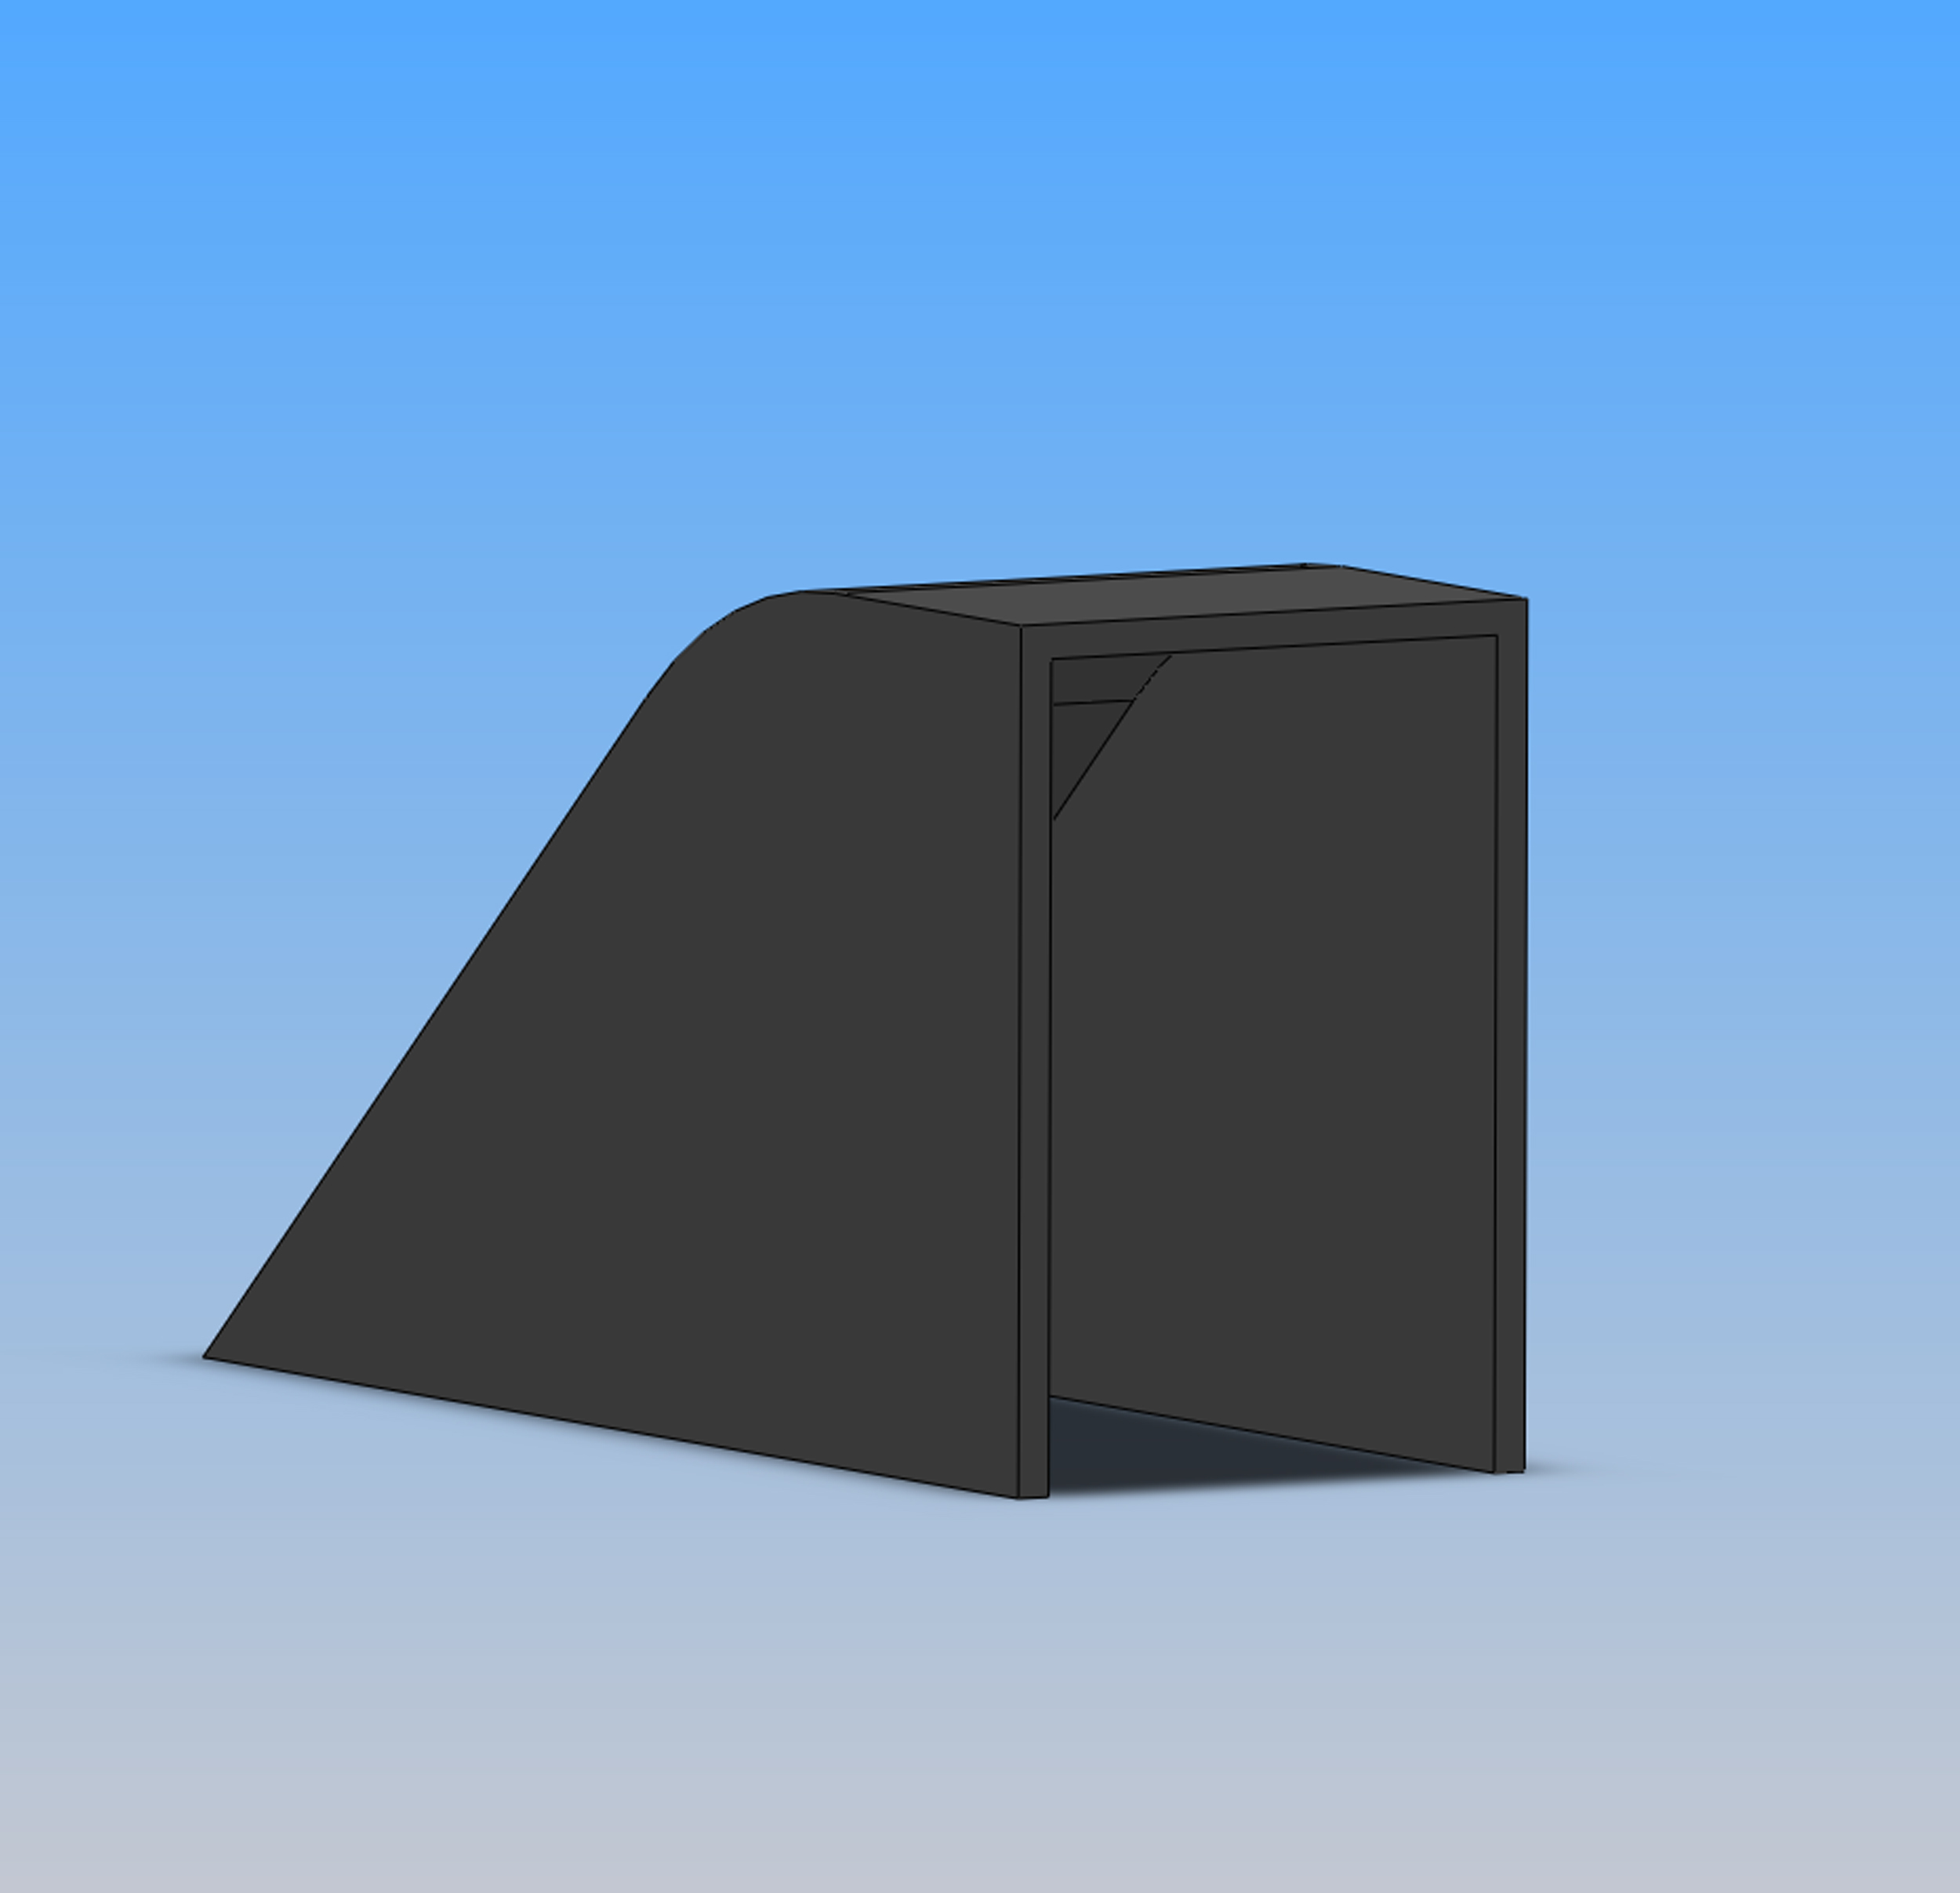
I have had this idea for a while for “subway” entrances to an
assumed tunnel under the station tracks from the street and sidewalks to the
platforms and station – still to be built. It was very simple and easy. They
can be moved around. They are the smallest Solidworks file I possibly have ever
used, only 3 features needed. It made a 10kb STL file!

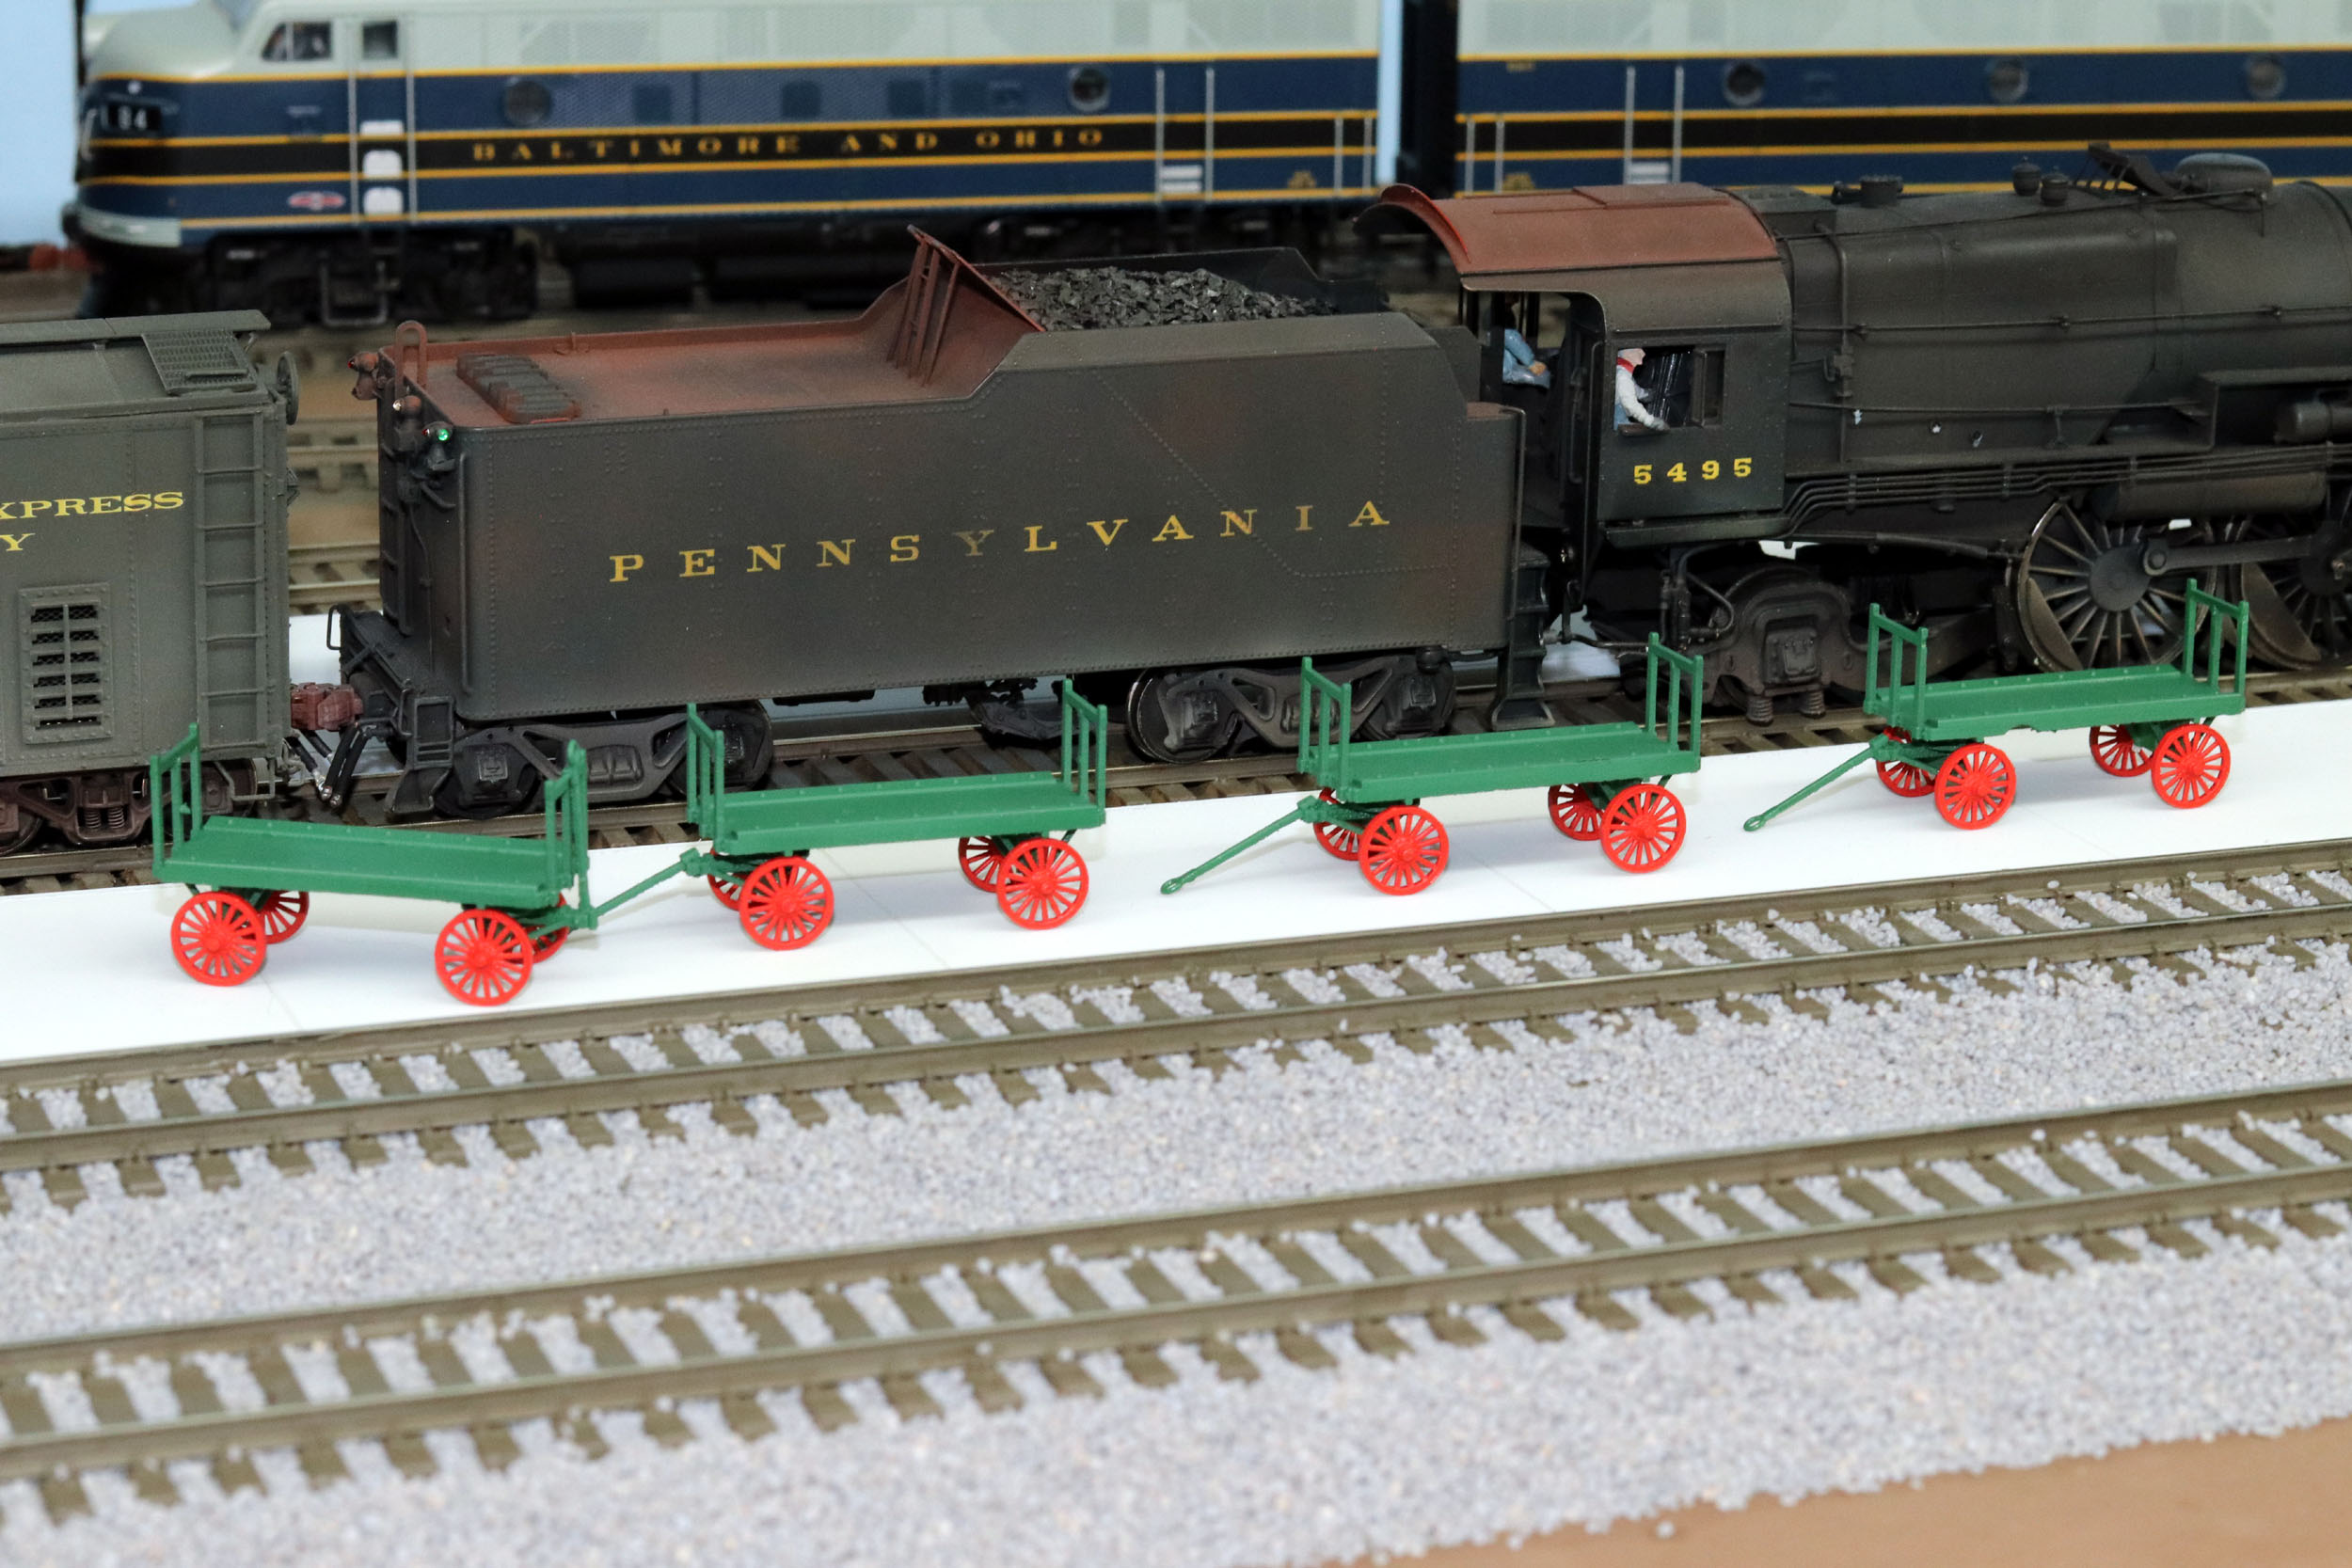
These are both from Shapeways. The wheels were printed on the
deck of the cart. It was a bit tricky getting them cut out. But it is otherwise
a very nice REA cart. I will be adding details as time and money allows. This
phase of layout building can get very expensive.
Stairs
To The Station
Added
12-8-20
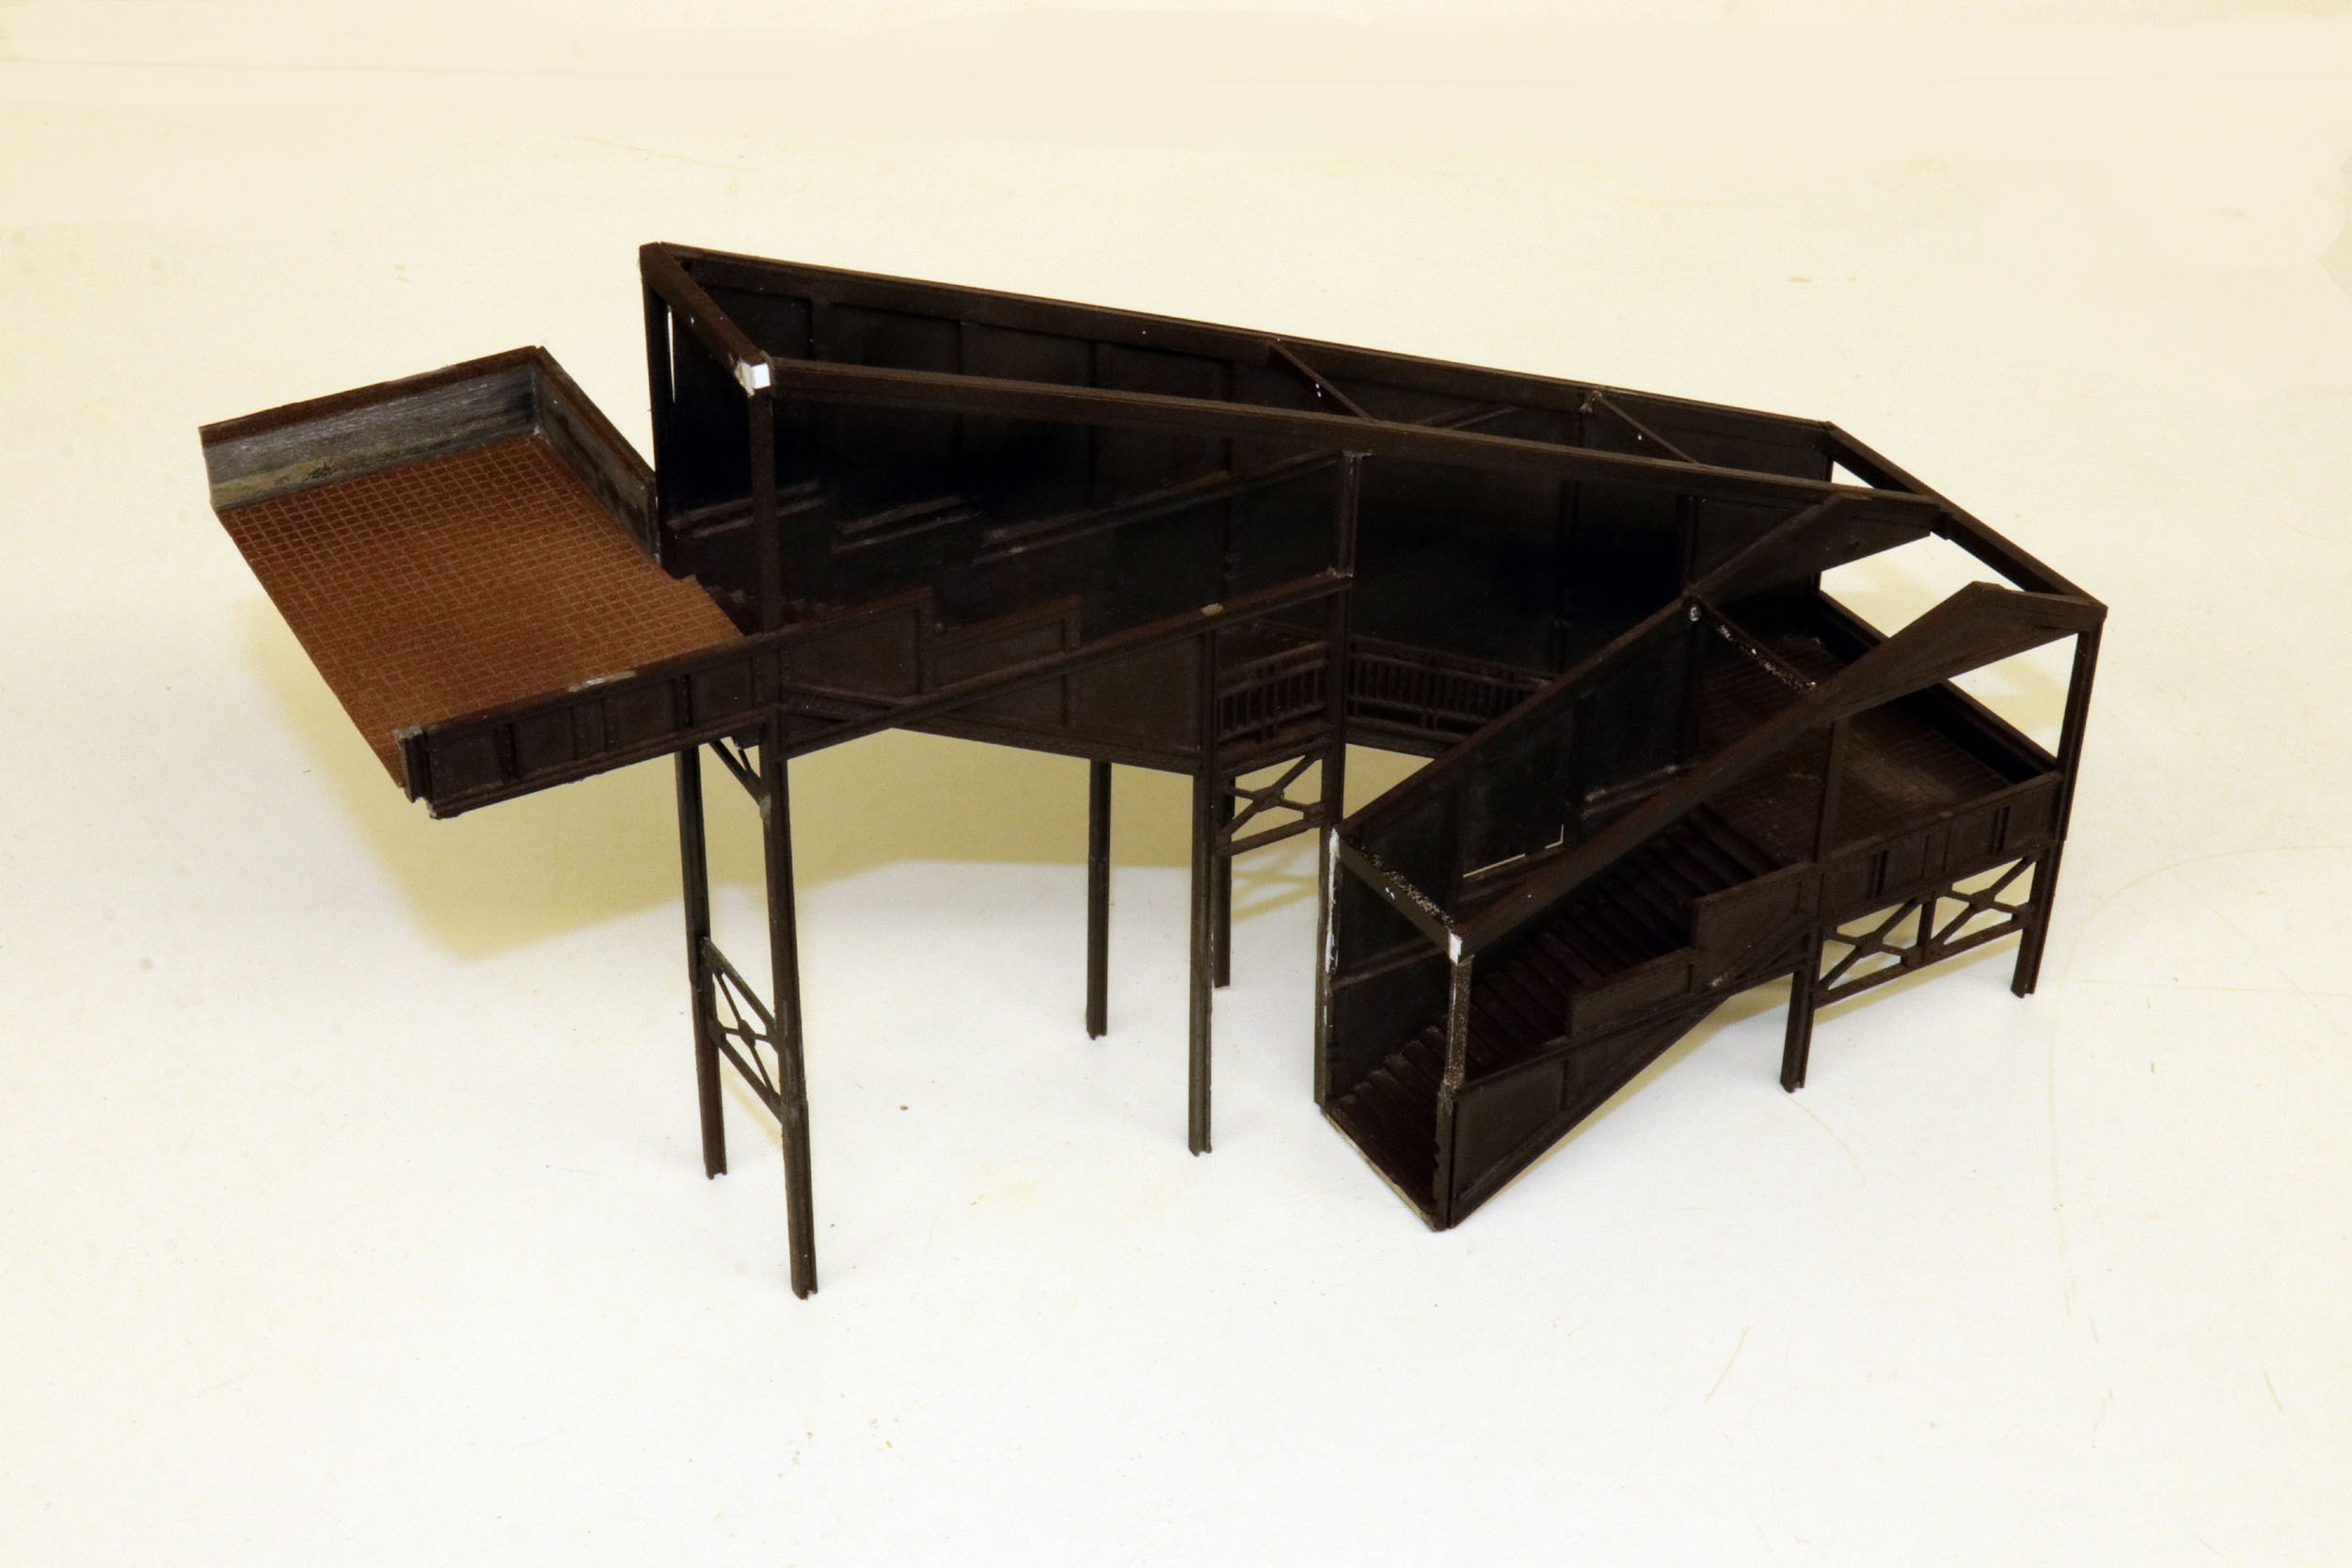
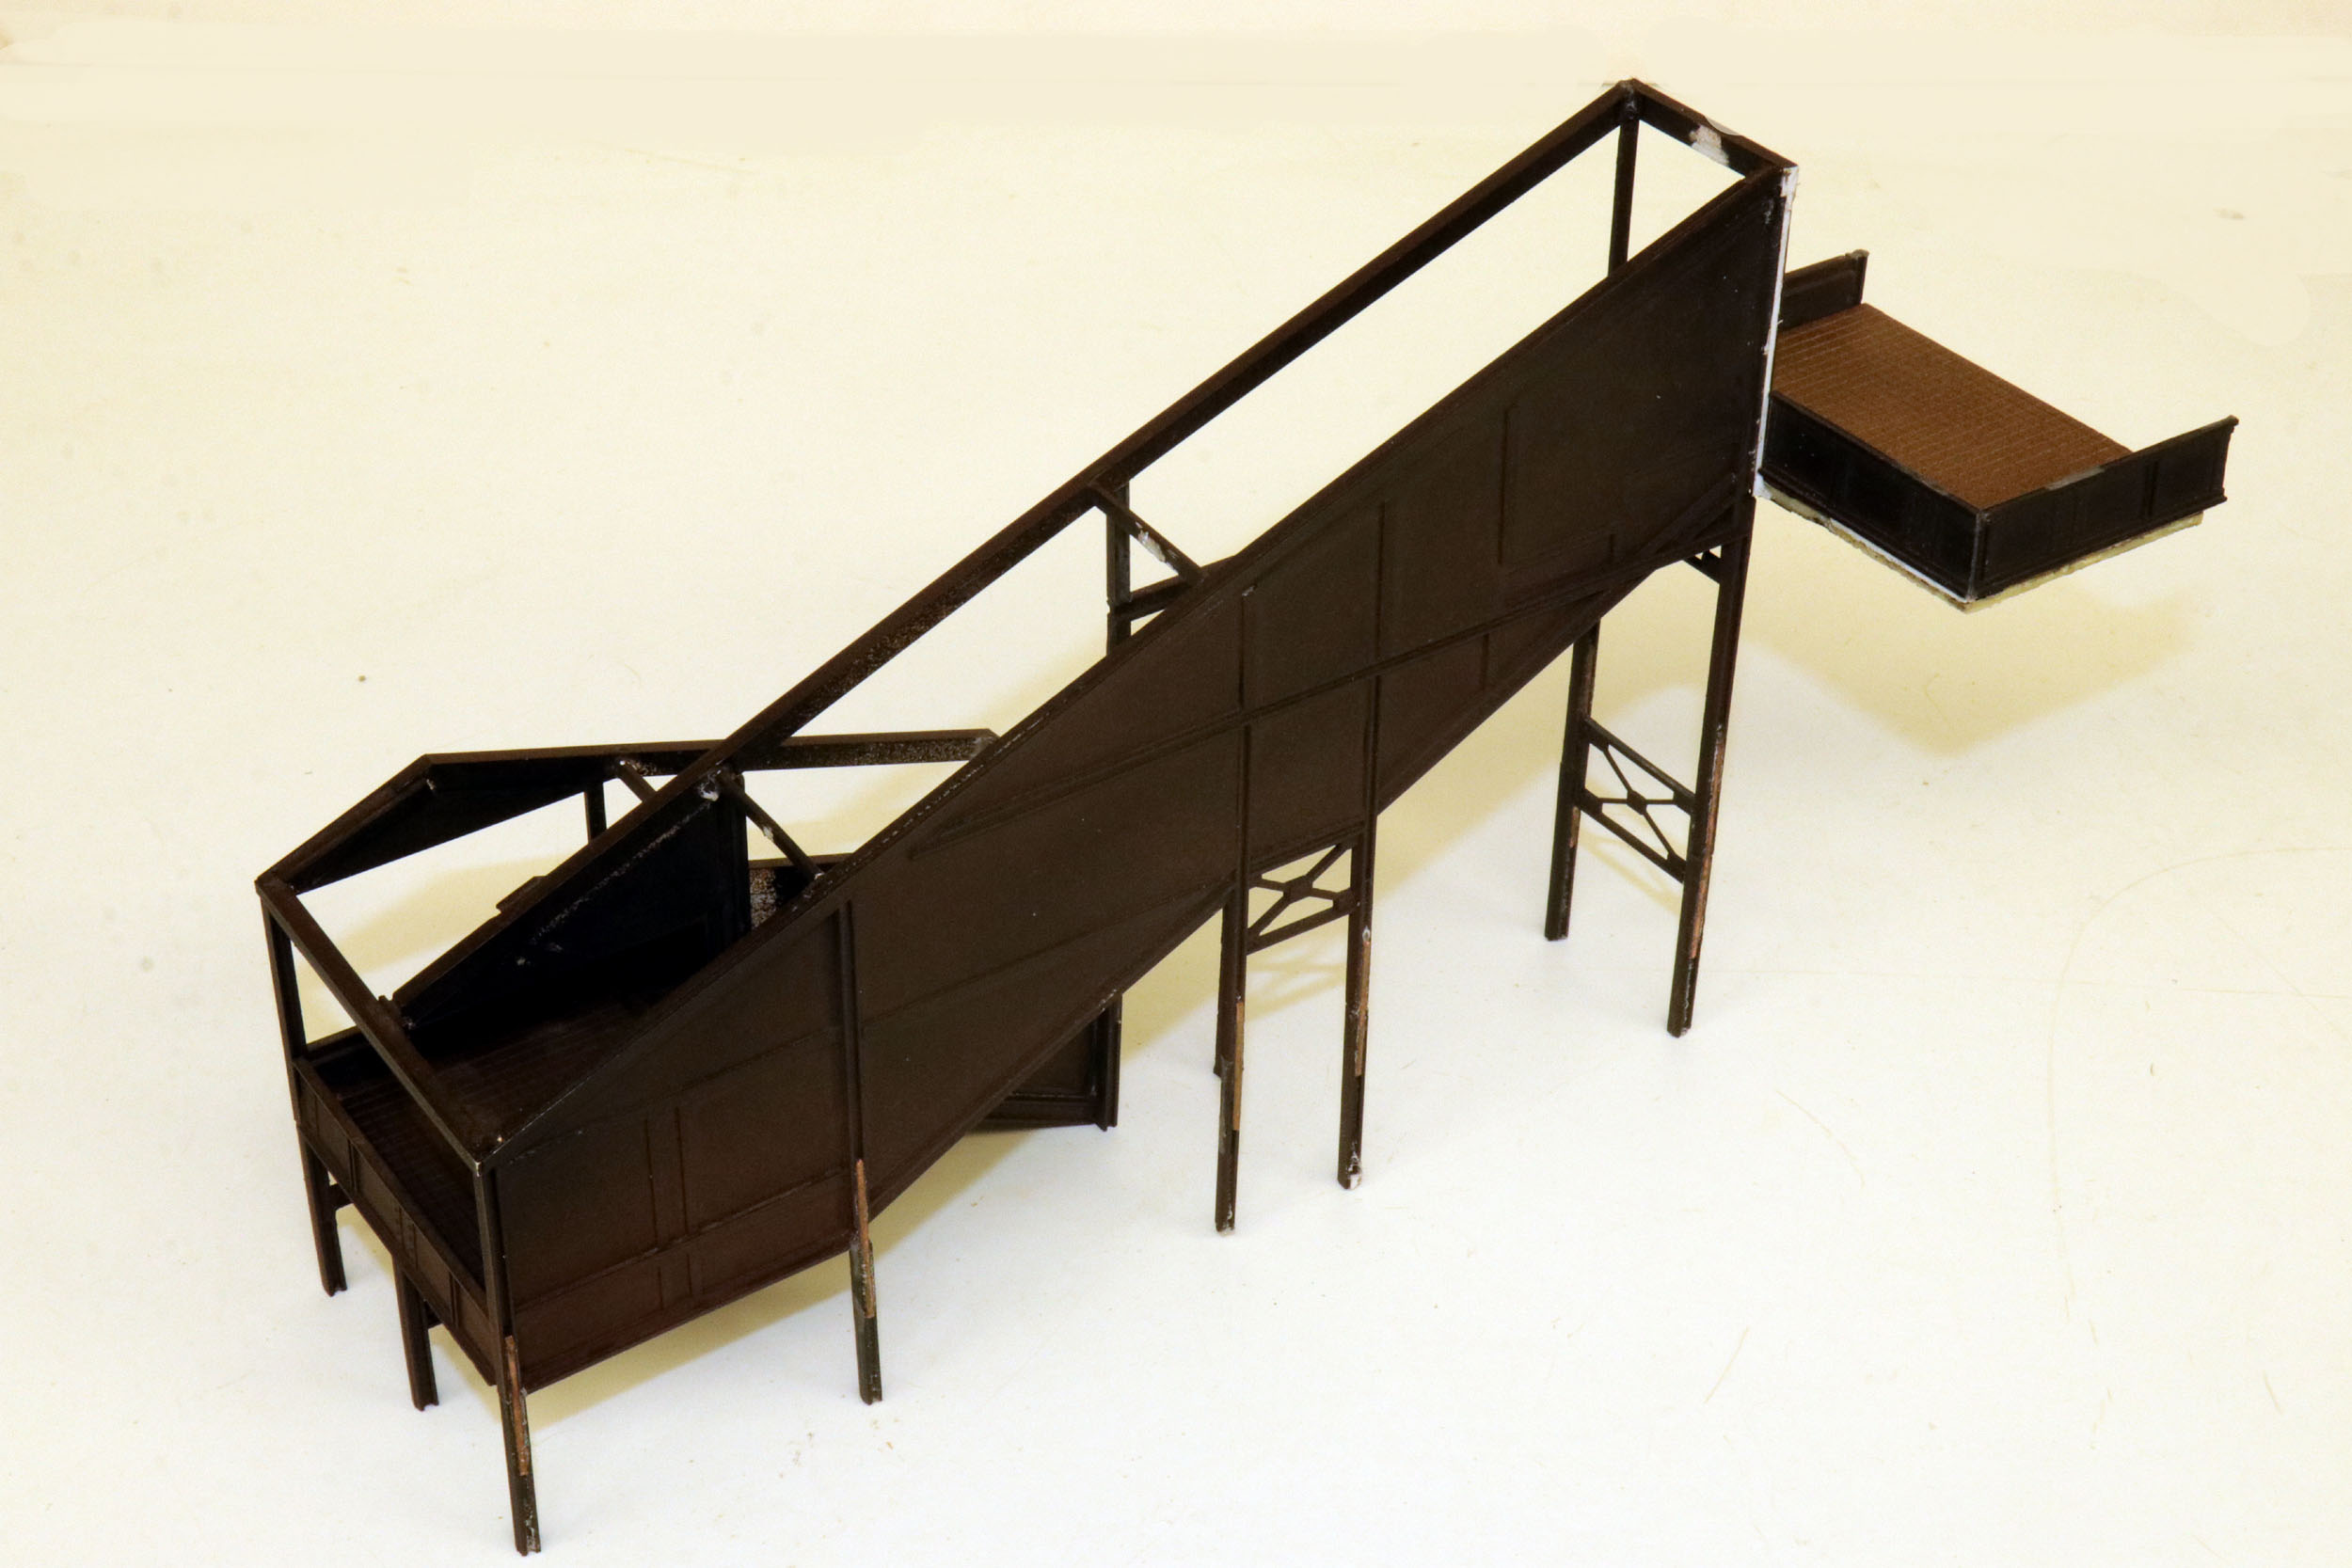
I only have 1 bridge that simulates going across the width of the layout. There was a large elaborate staircase and pedestrian bridge included with the sale of the modules. I think it was many HO kits cobbled together but I do not know the manufacturer – but was told they are Faller HO. I liked it because it reminded me of an ancient steel stairs that could be in New York City someplace. The stairs were in need of significant repairs by the time I got it. It likely would have to be made even higher to clear Stack Container cars that did not exist in S when the stairs were originally made over 30 years ago. I could not figure out how it was used in that space it was built for. Further it would block the photography view into the one end of the train shed. Since I already decided to make the “Subway” access to the station as shown above these stairs could be repurposed and made much smaller. Making it smaller was a challenge as to what could be used and how to cut it apart. I got pretty lucky that where I did it cut matched the needed height very well.
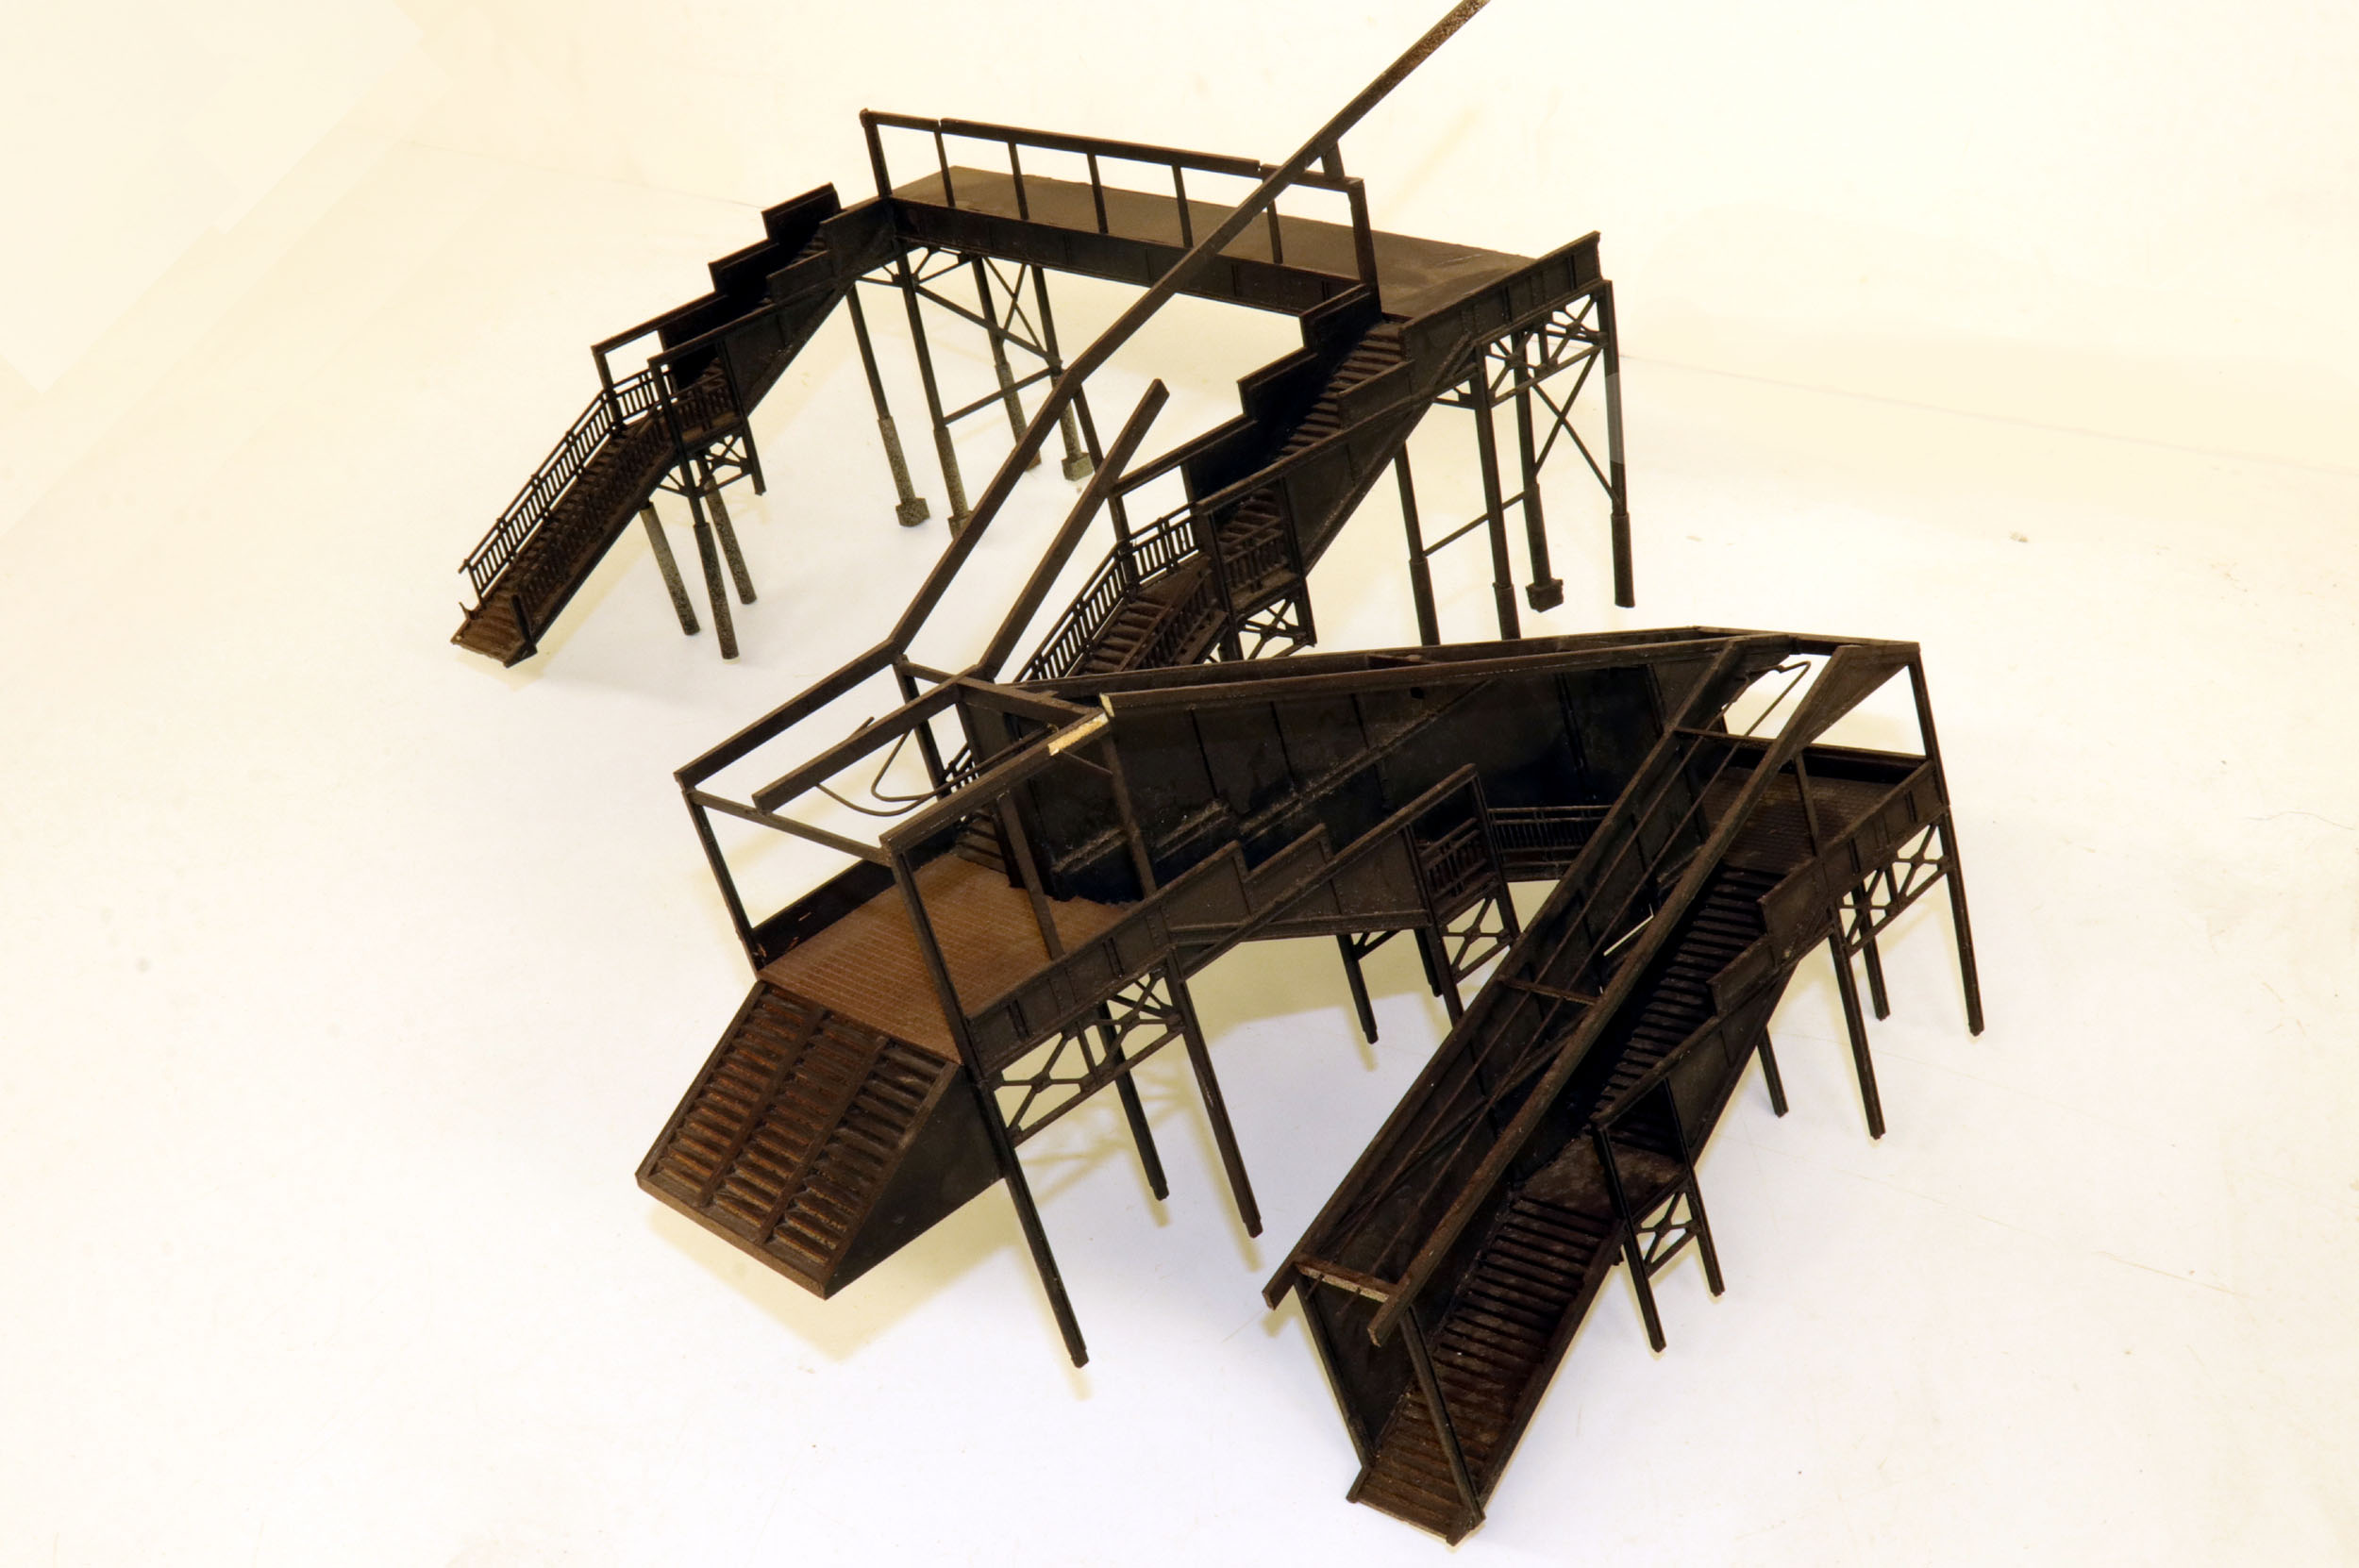
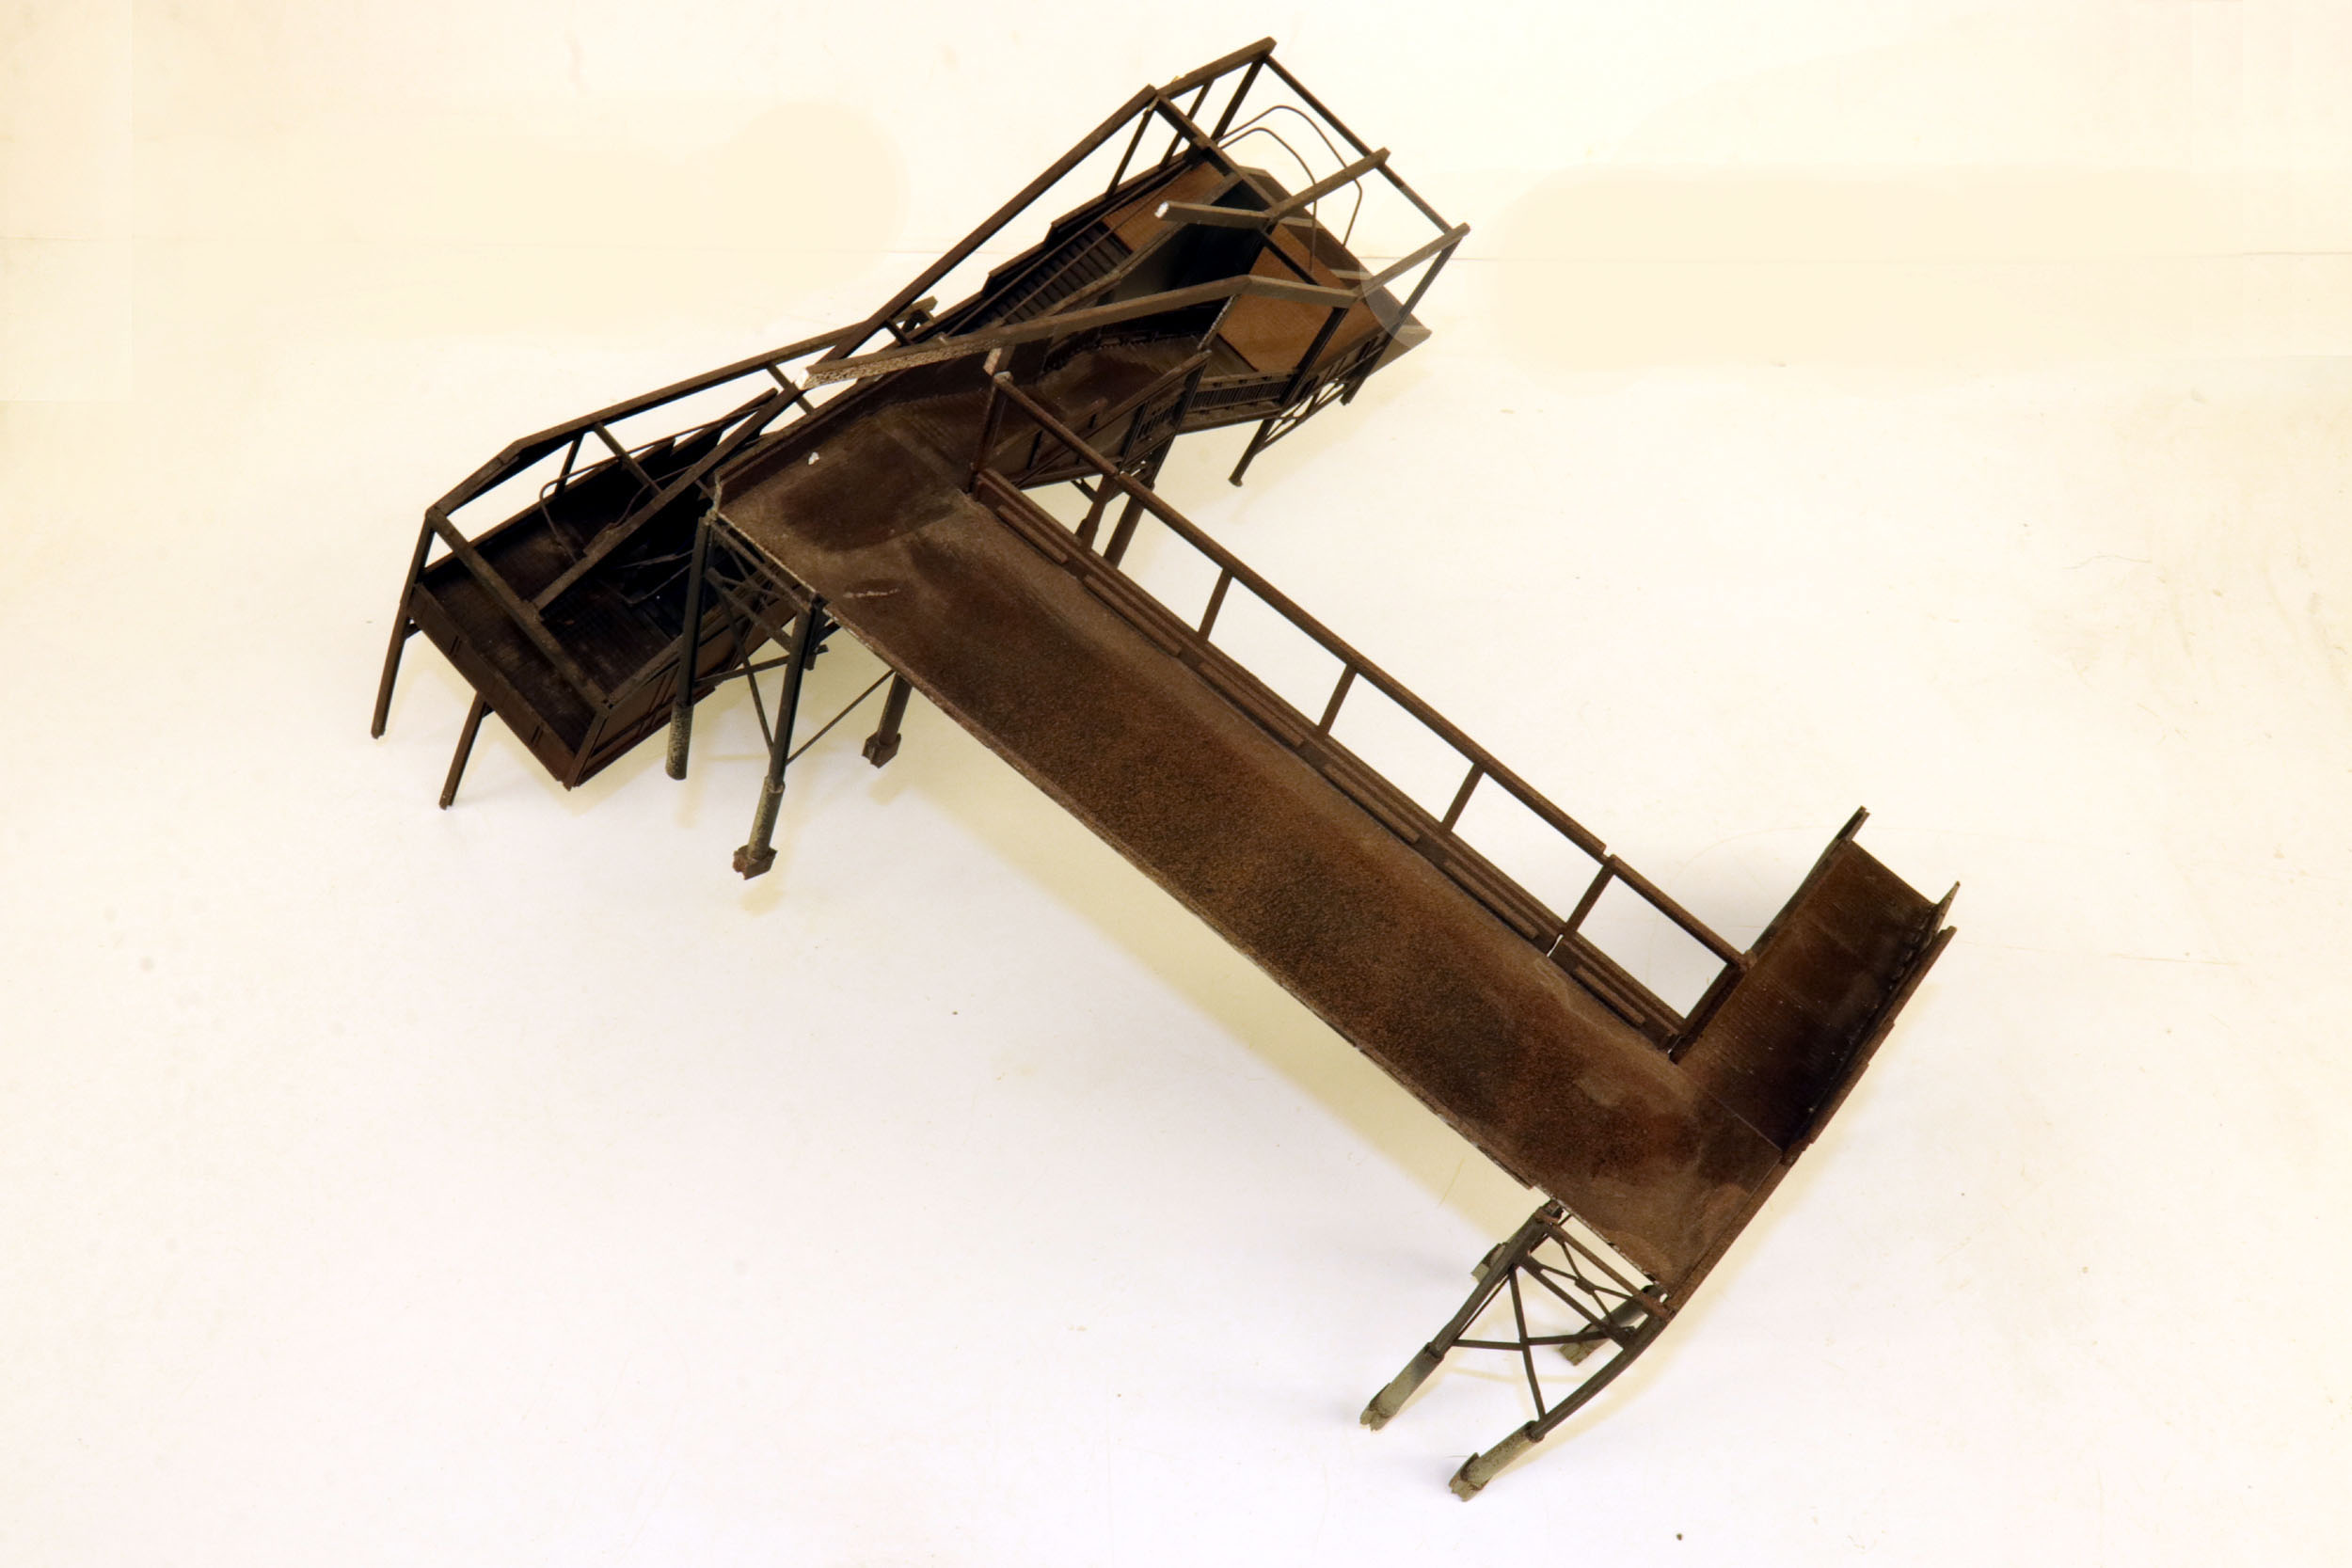
It is roughed out here after cutting apart. You can see I
removed the wide steps and cut about half of the other steps off. There are
plenty of parts leftover for another stairs later. I would like to make a
pedestrian bridge across the main lines just not for here.
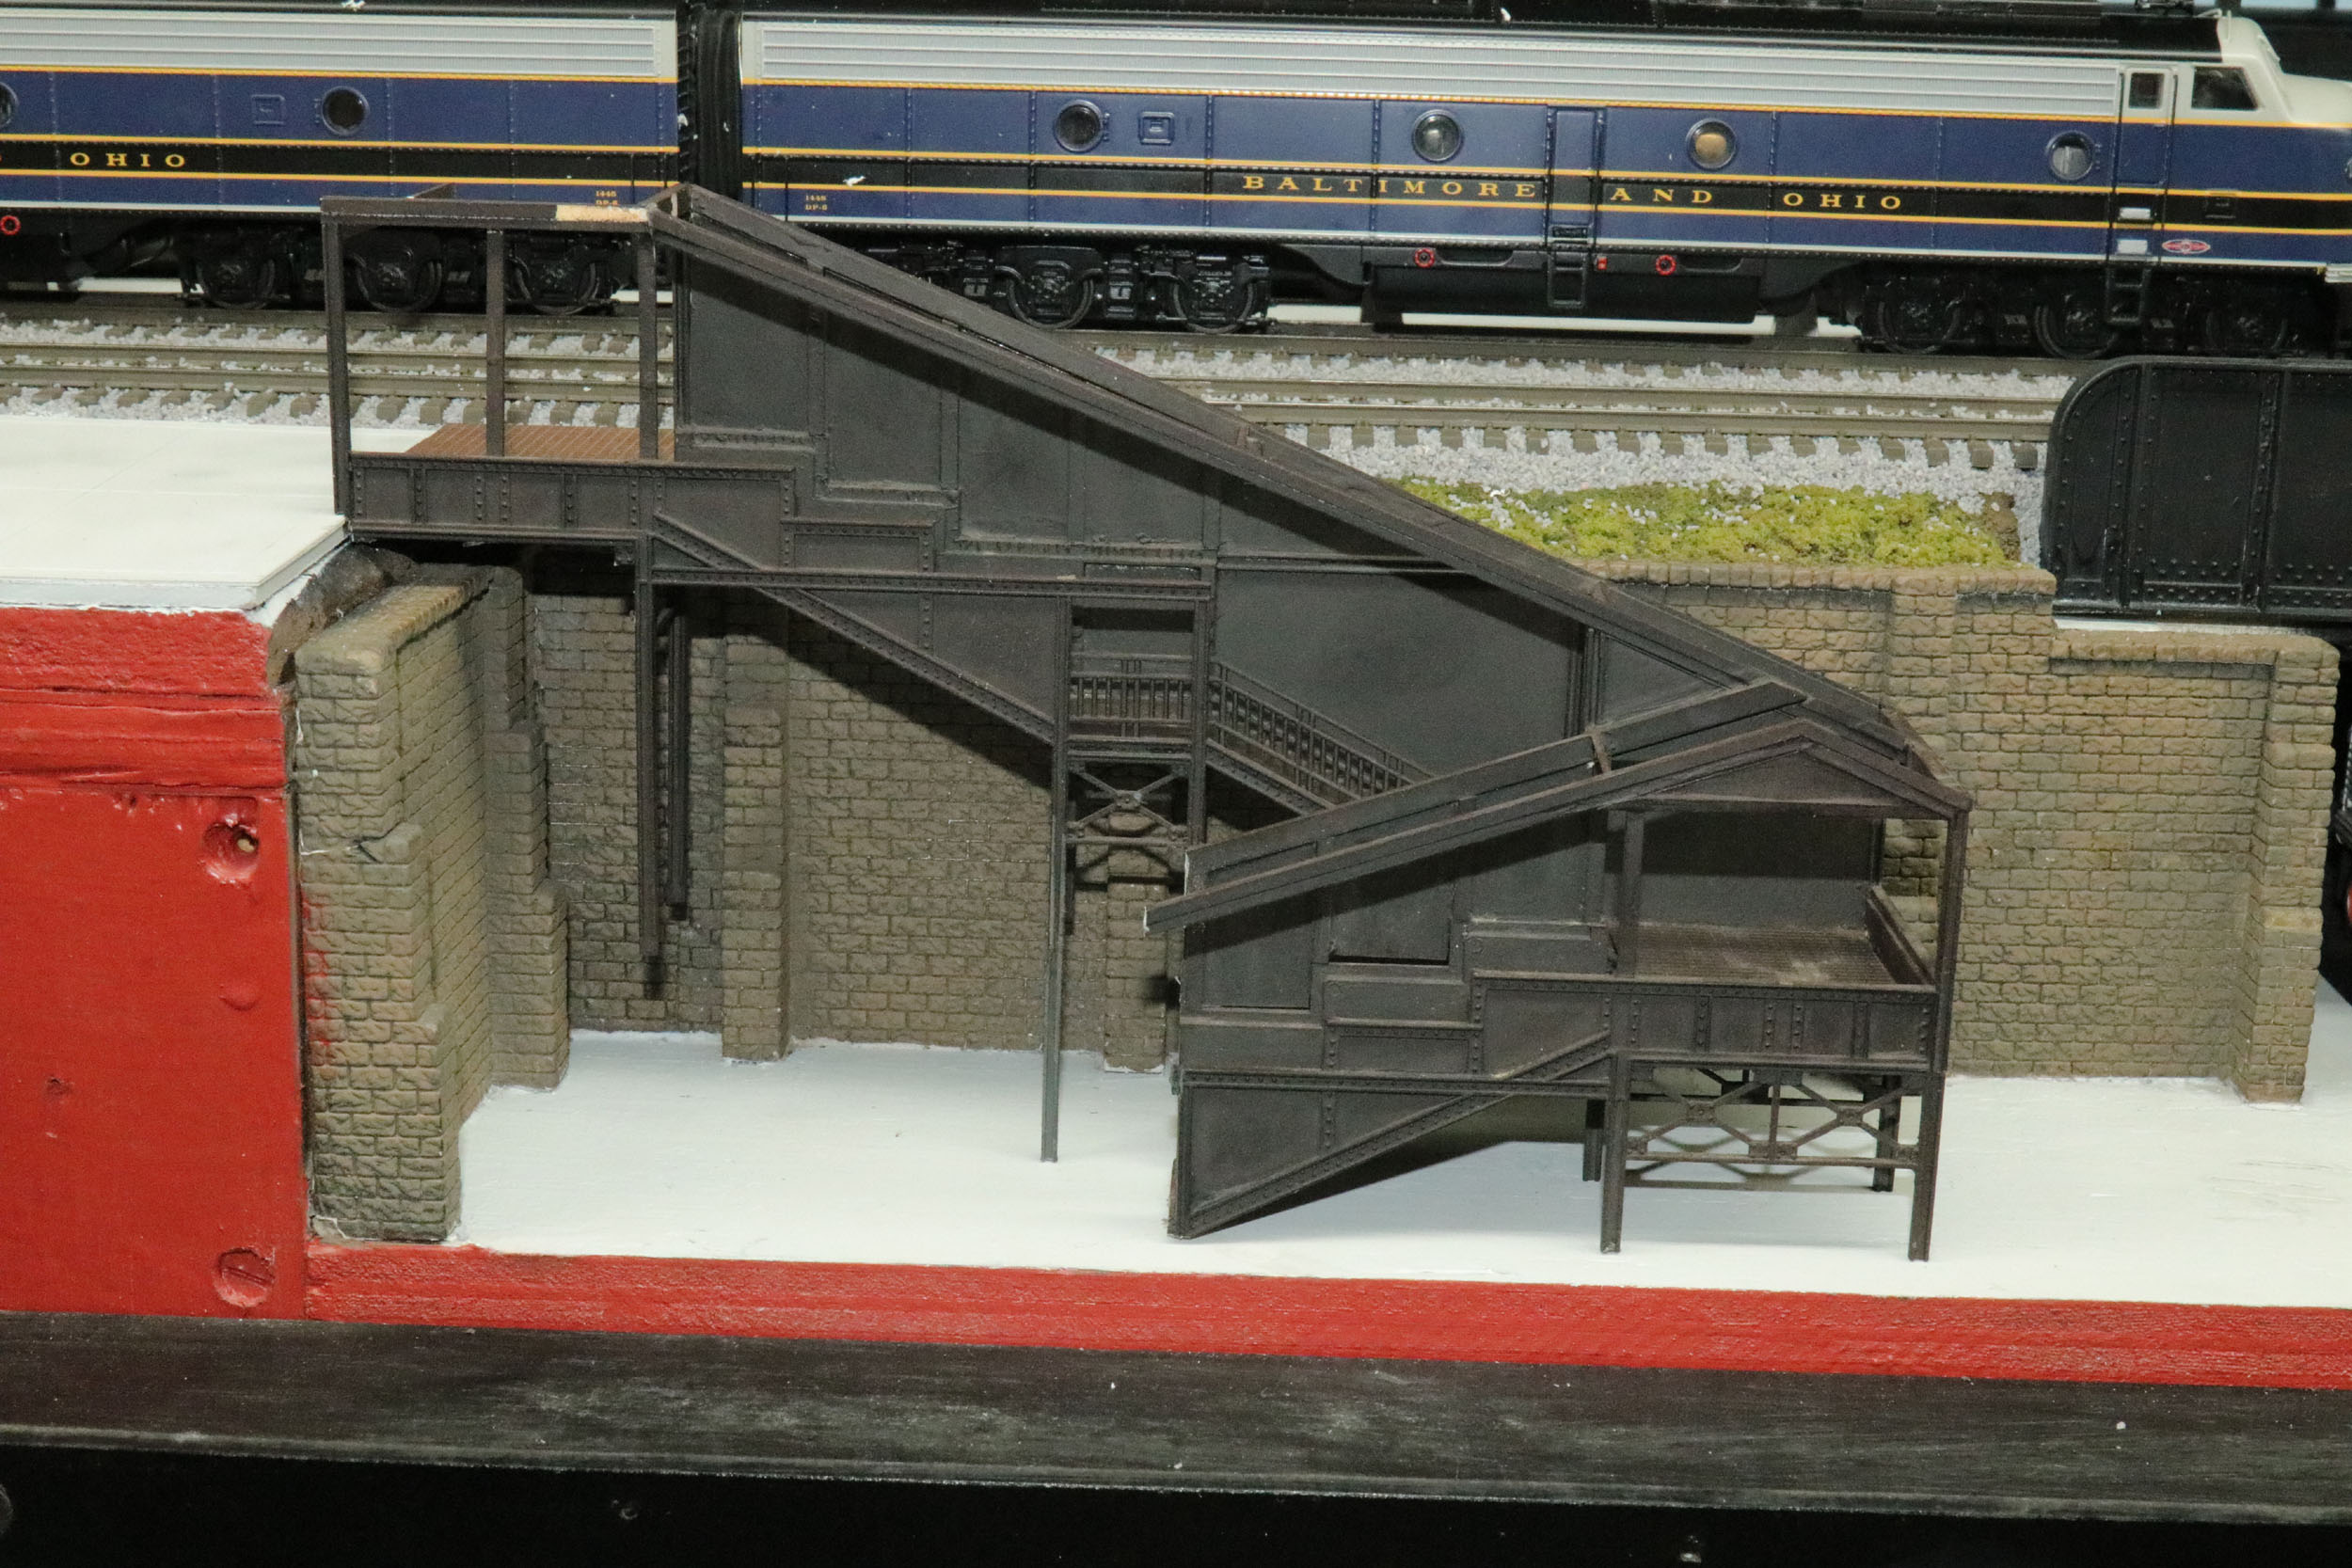
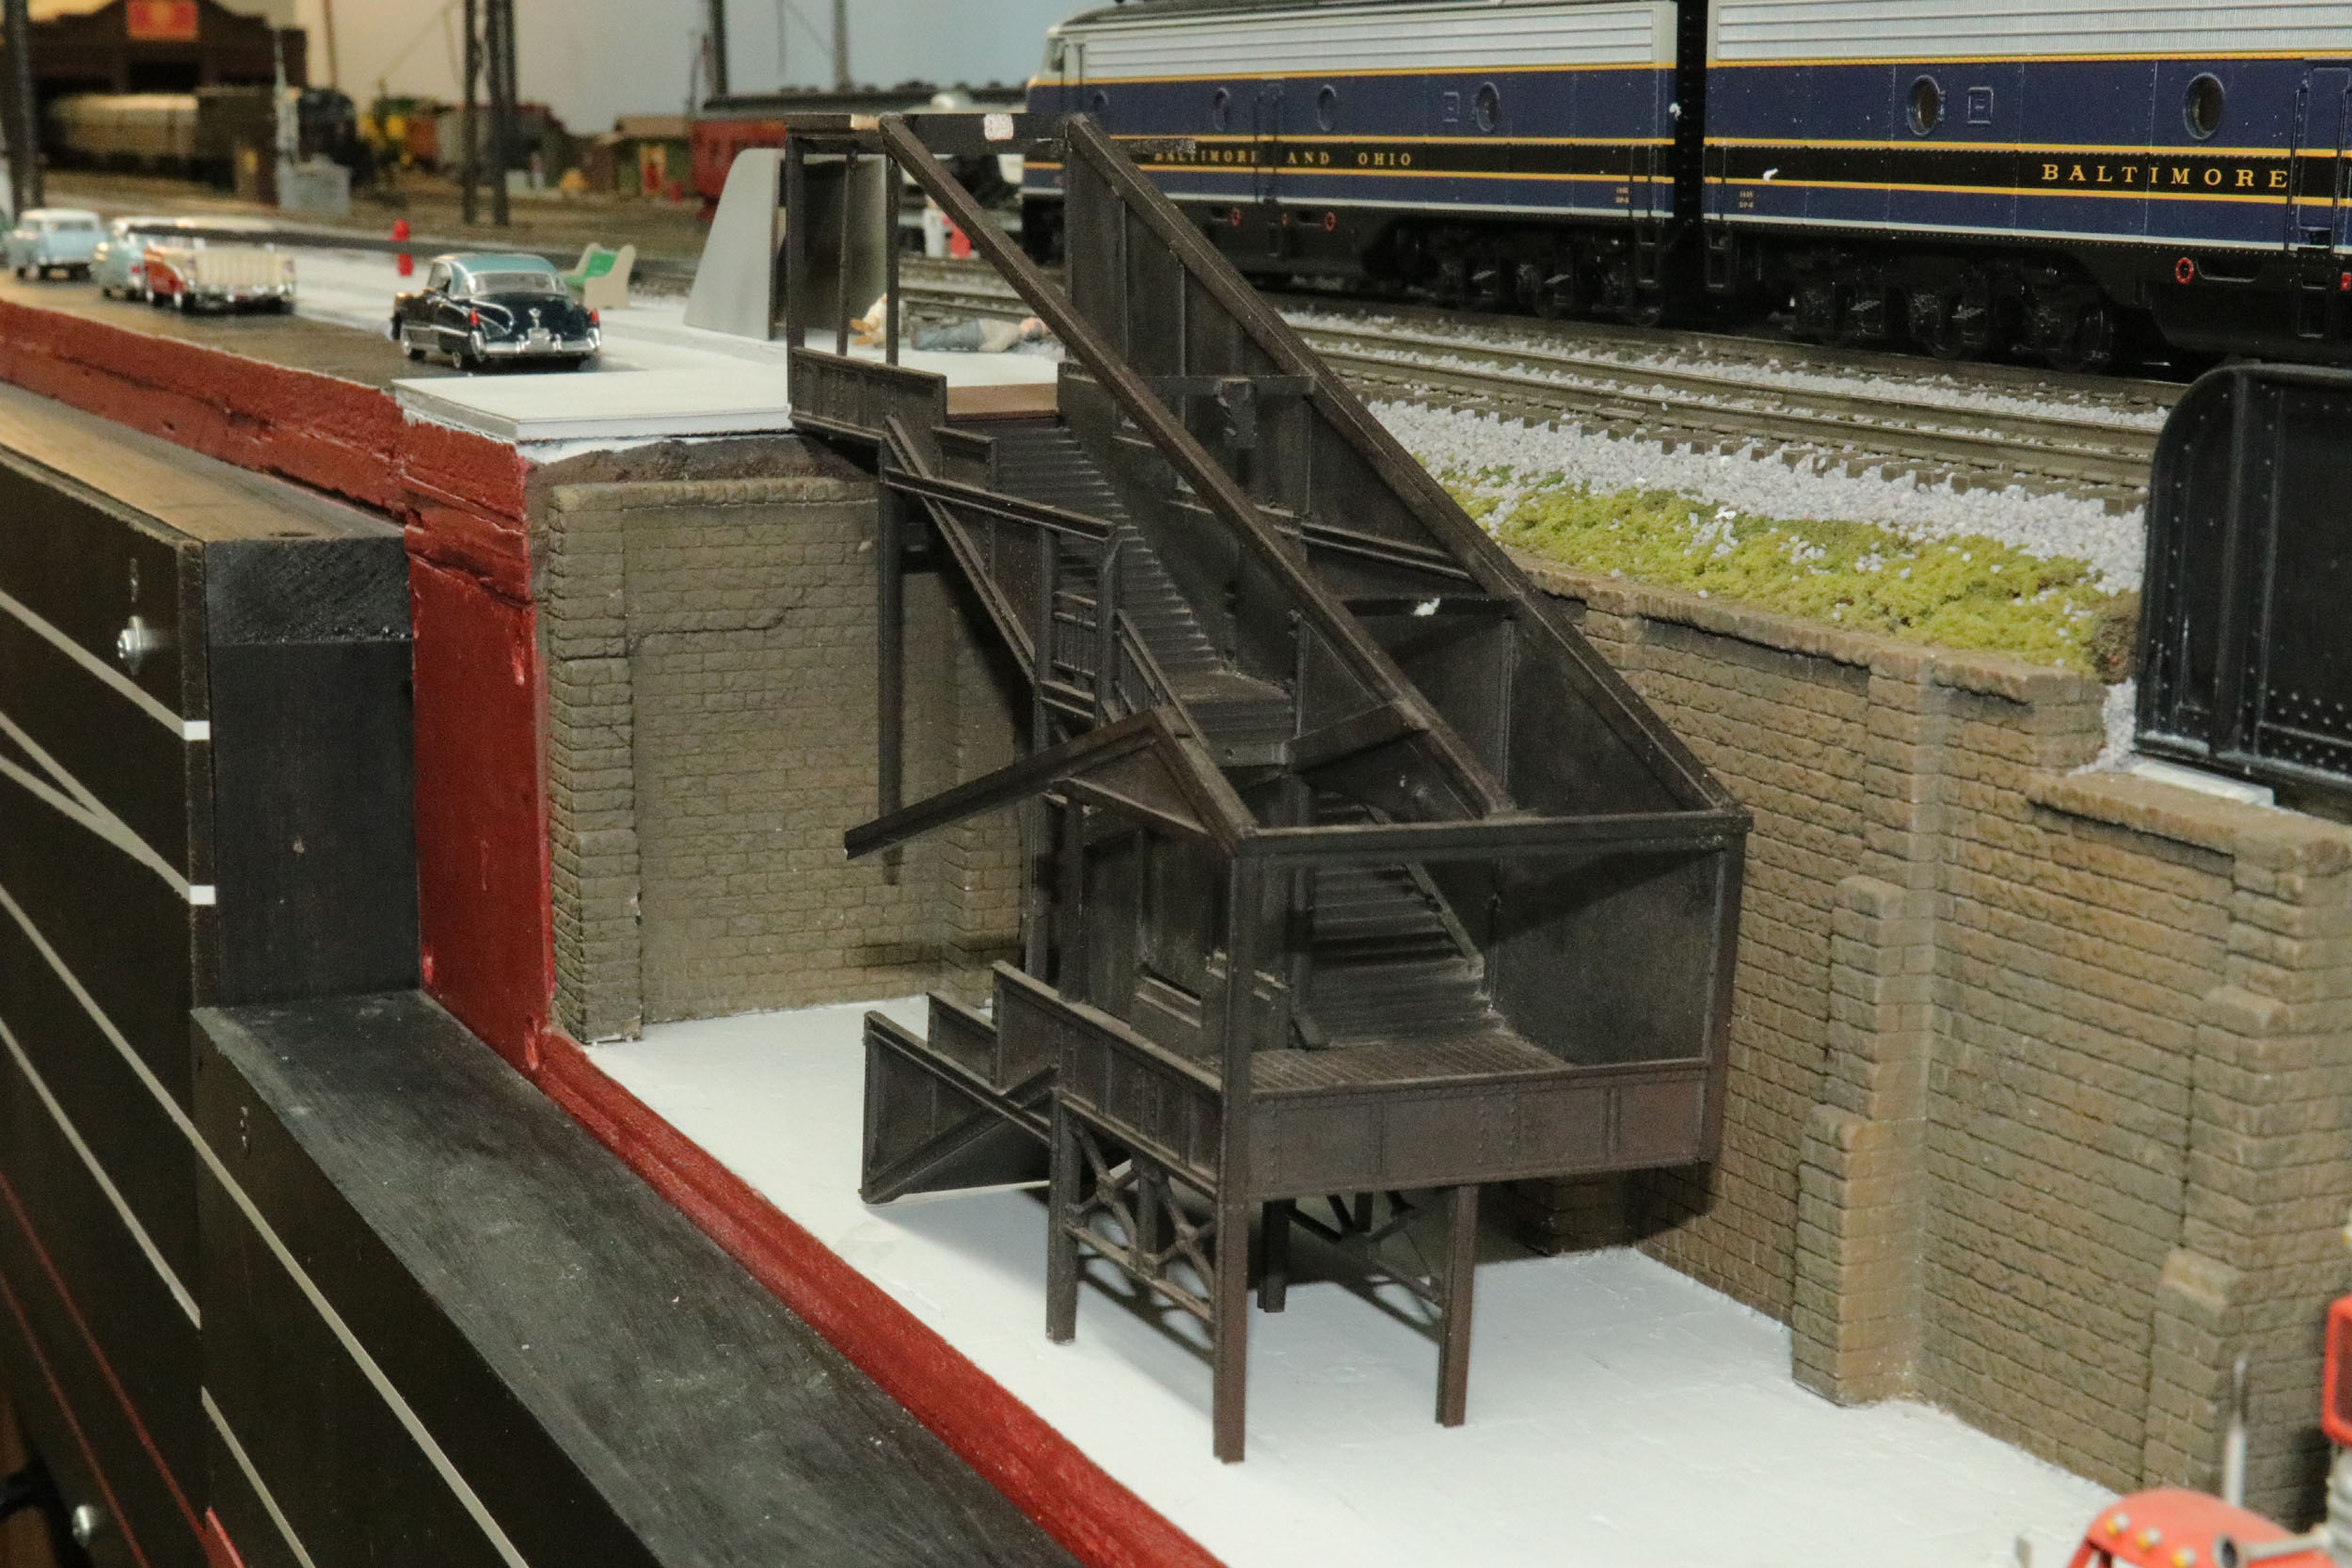
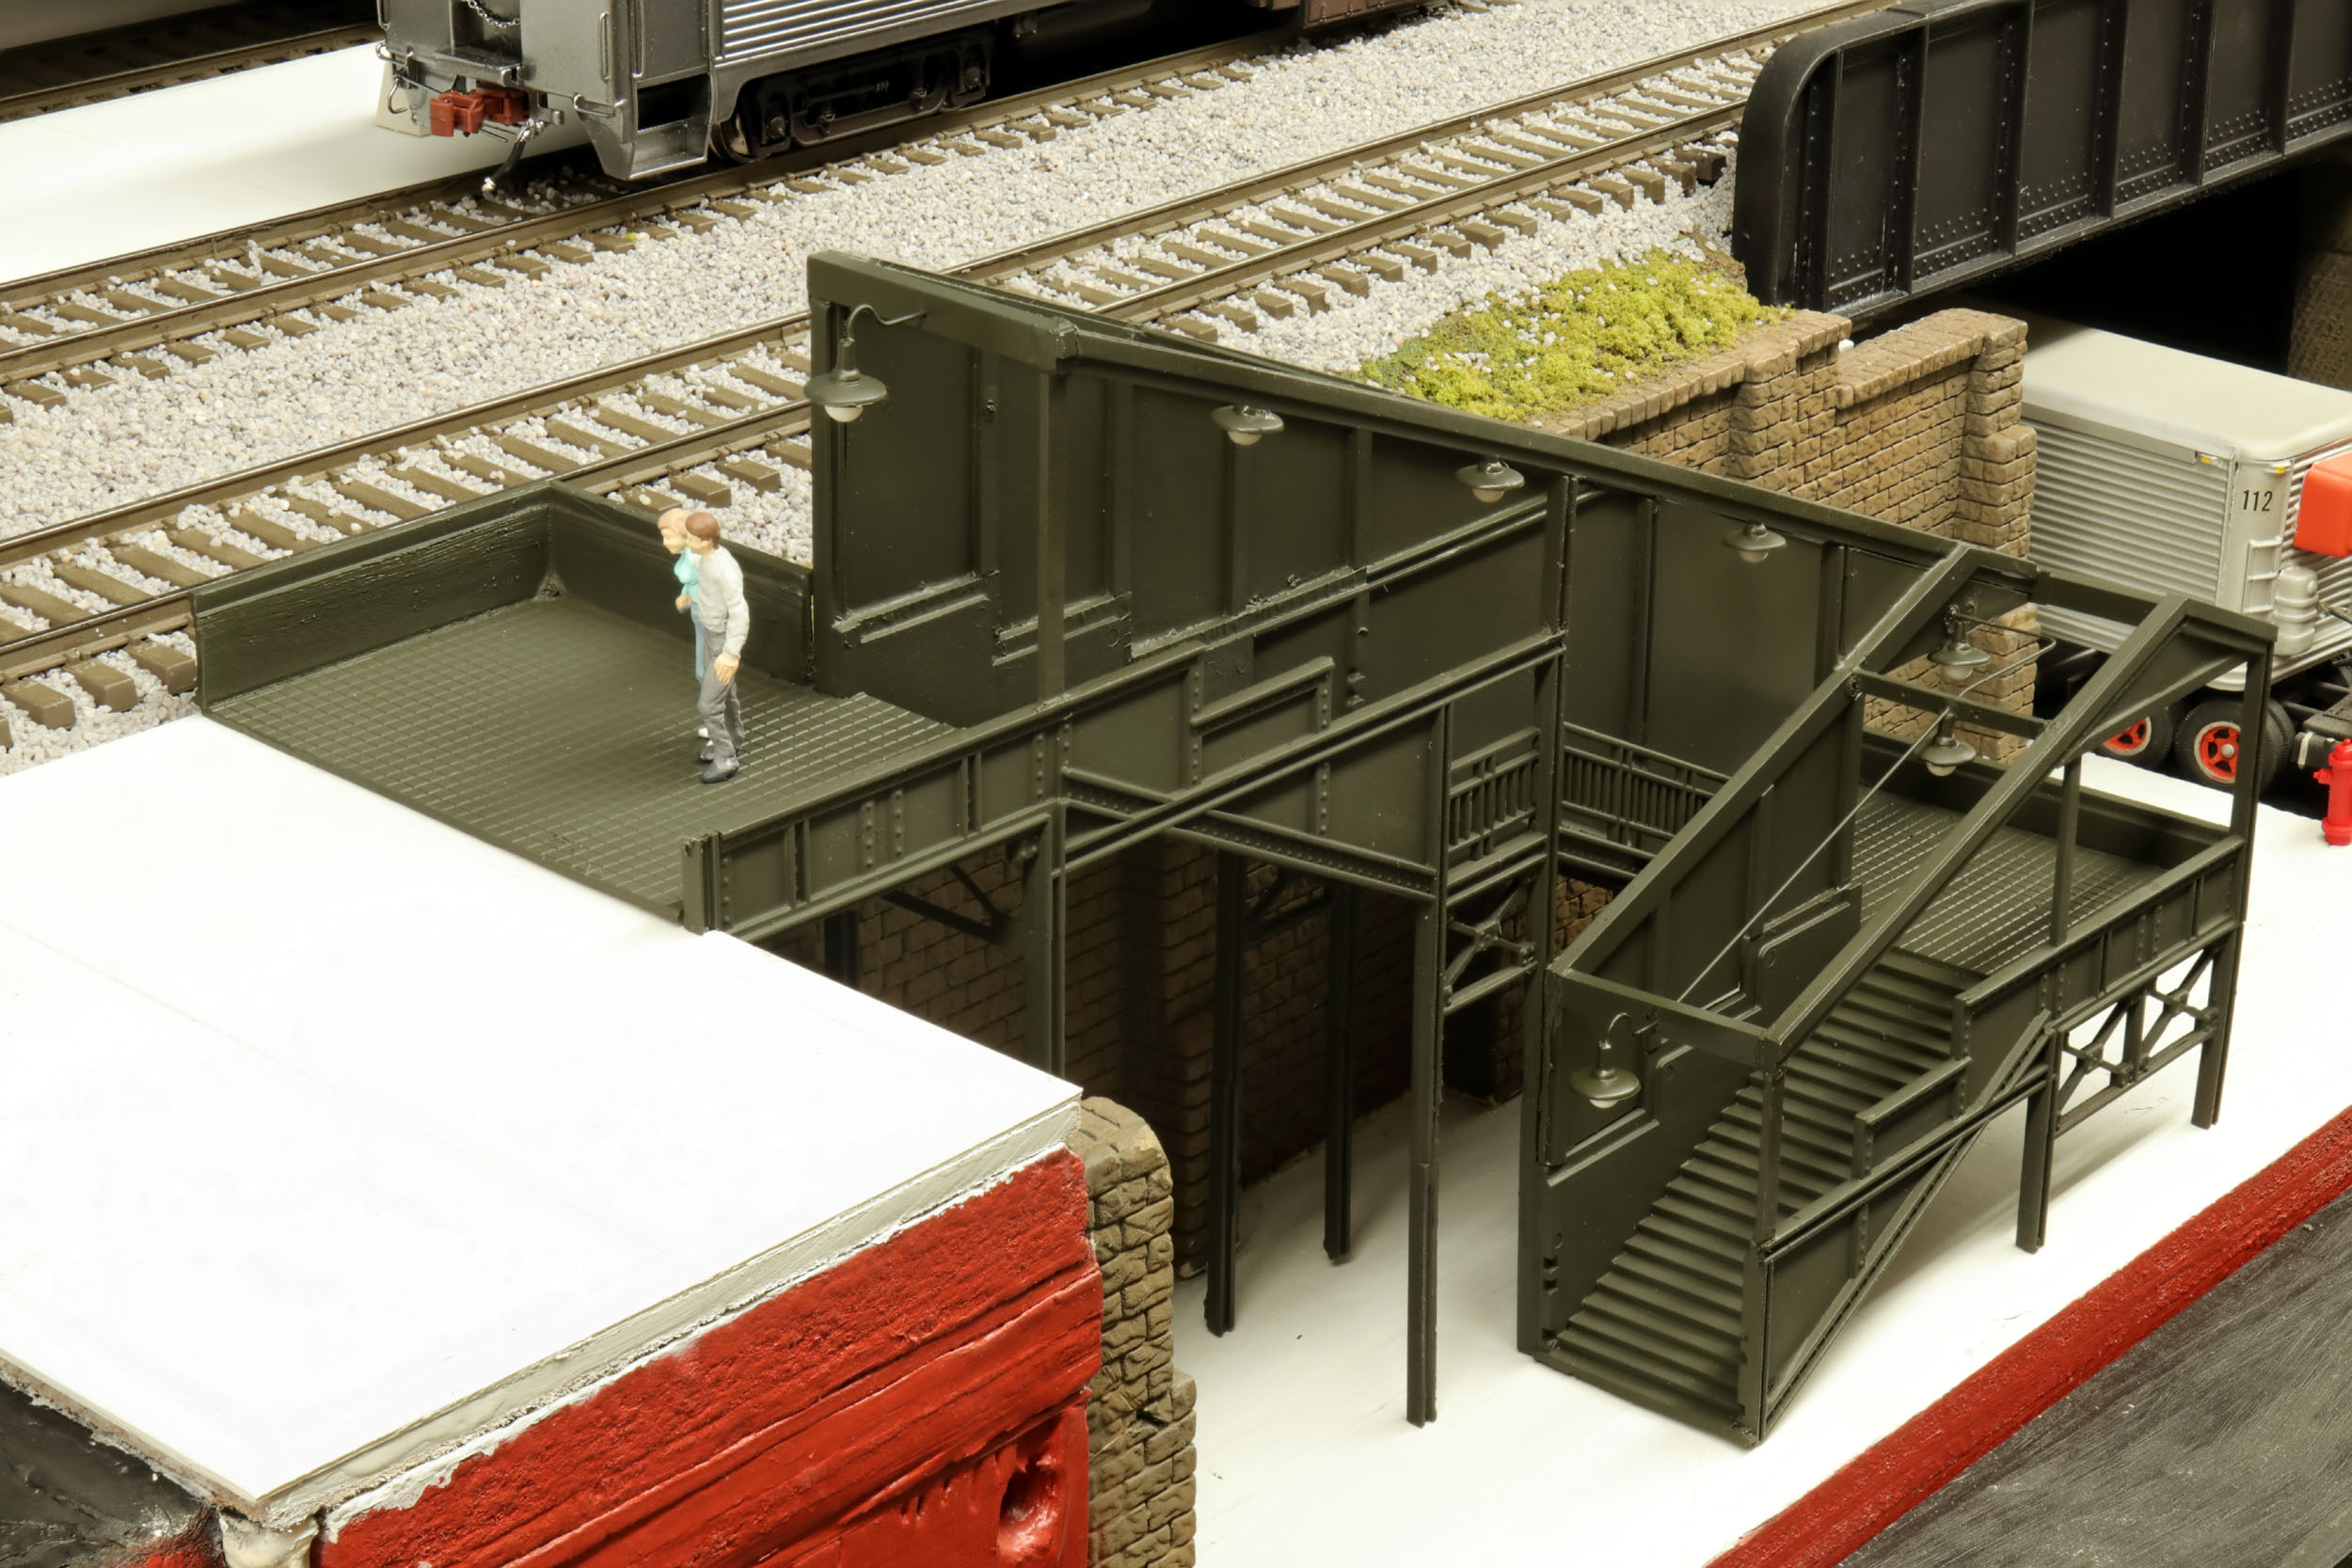
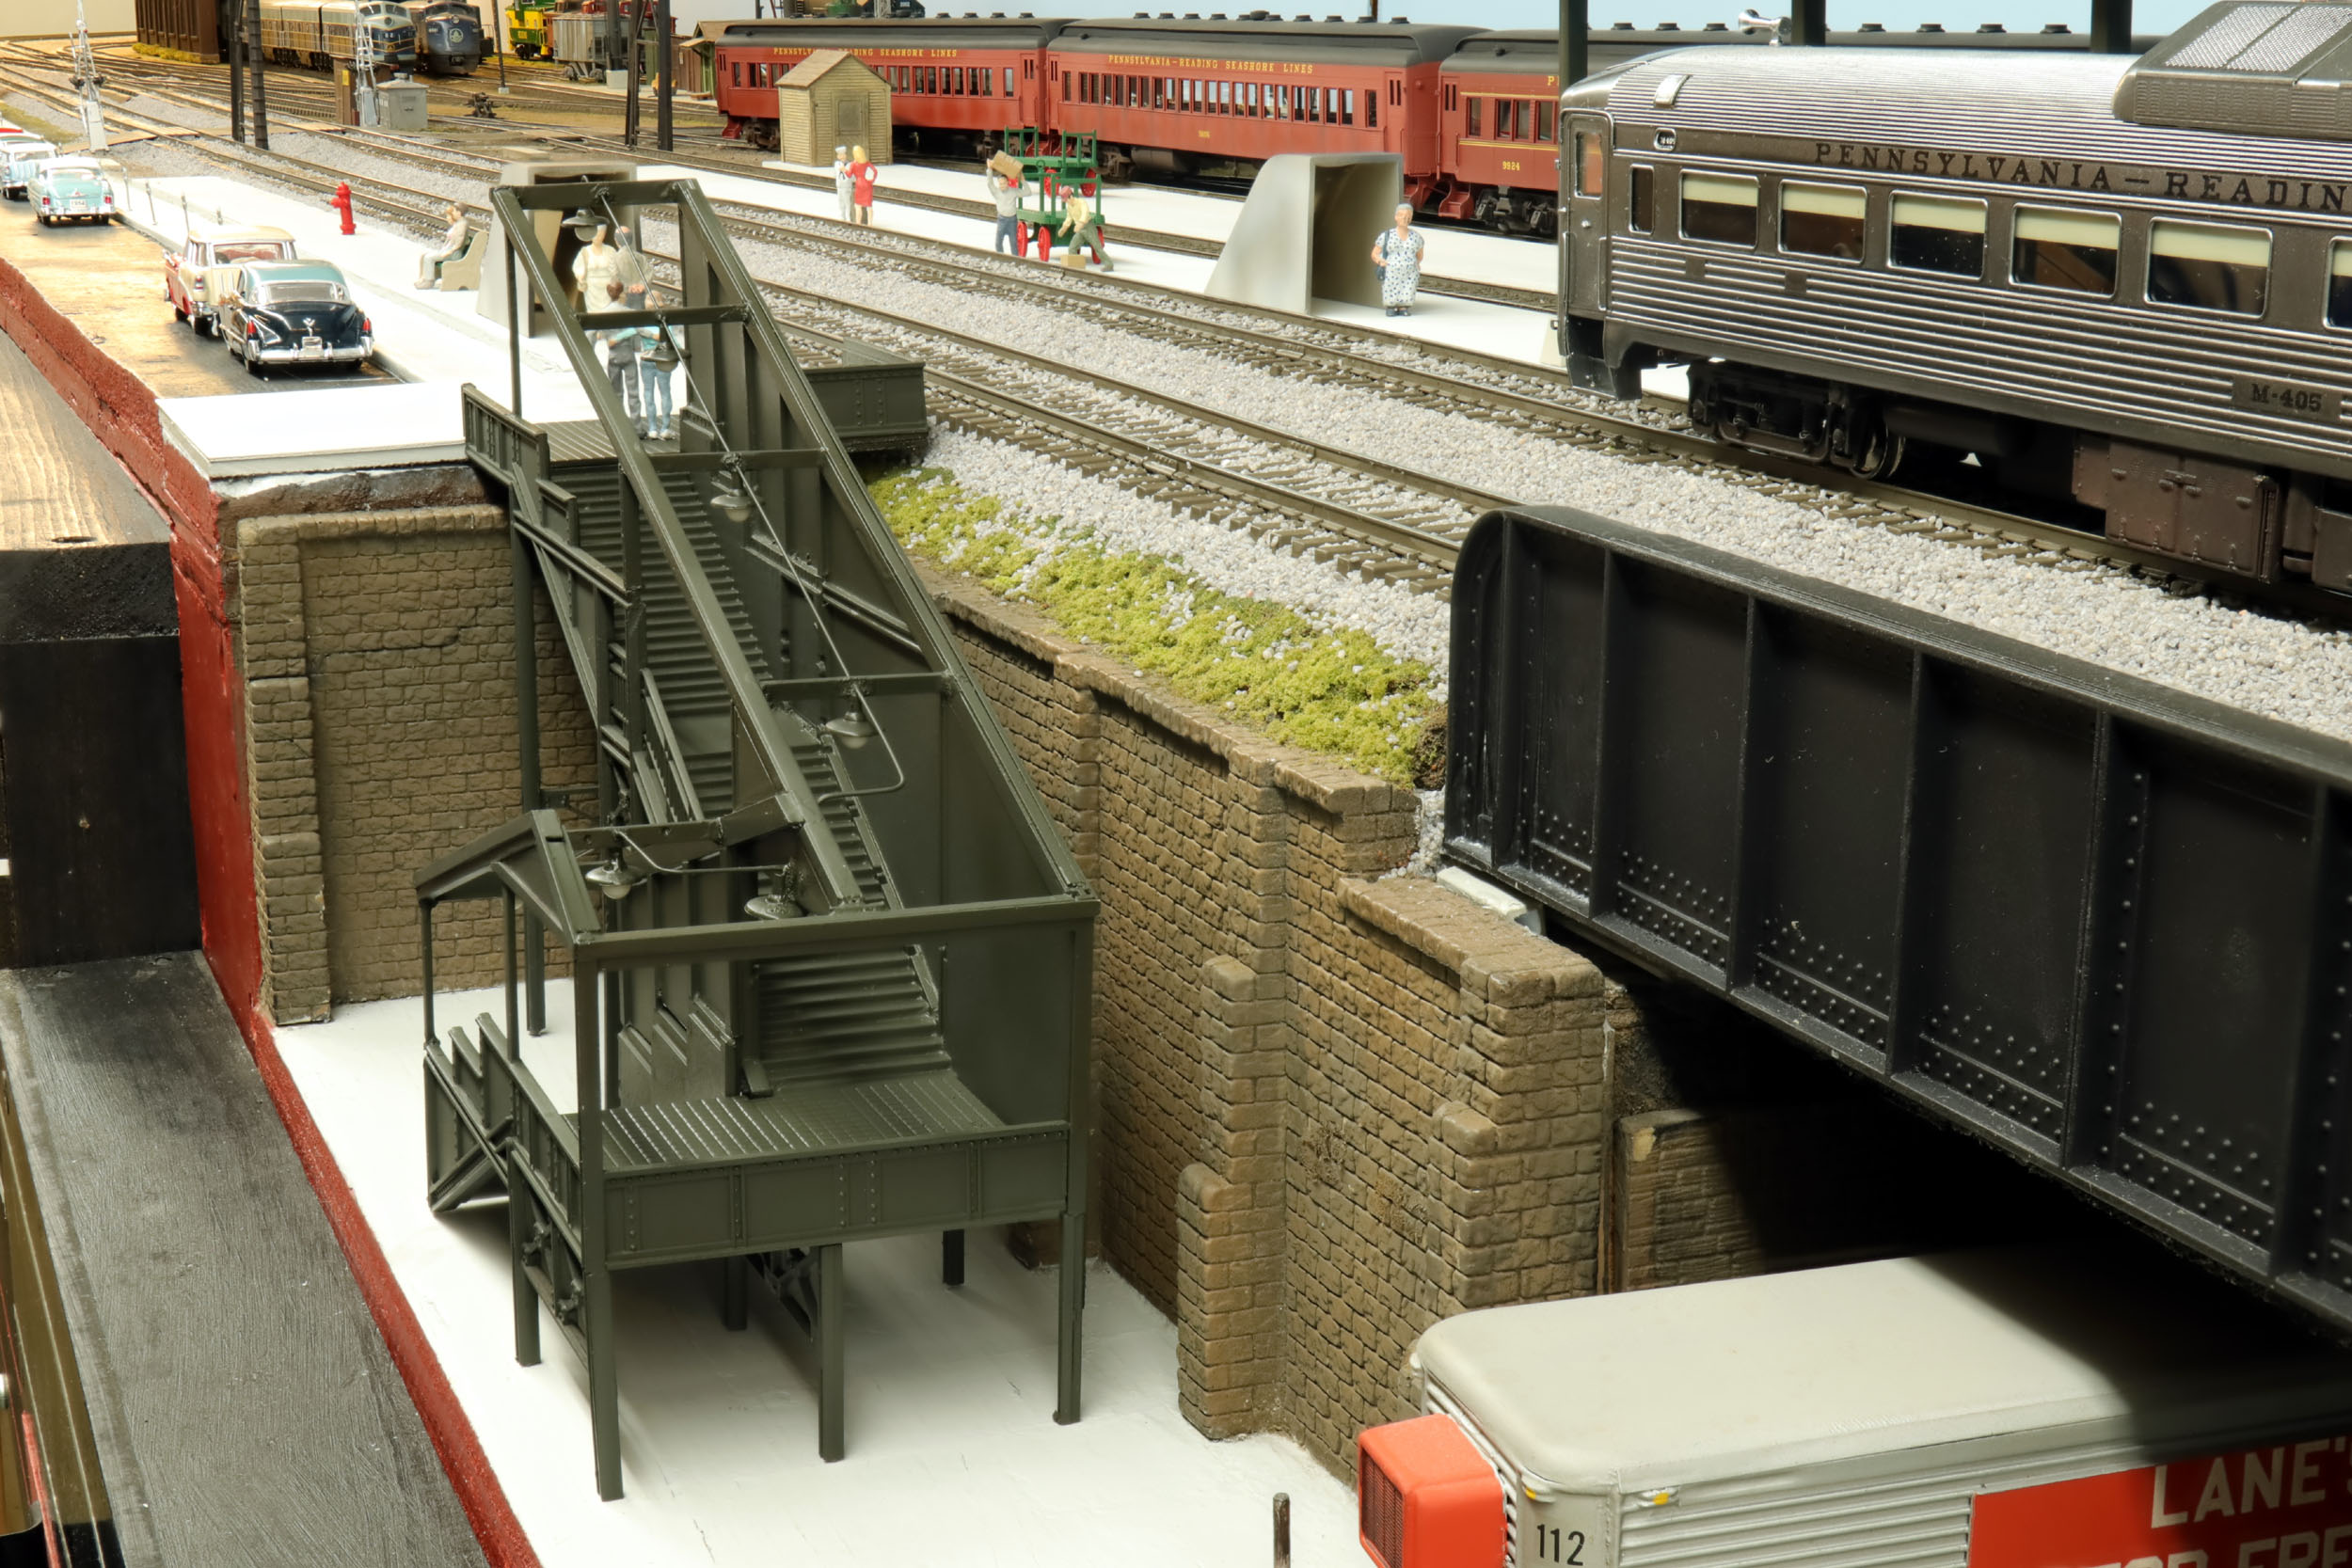
Ready
for paint
I now have a path going from the lower street scene to the upper
street scene and across to the train shed. The train shed trusses are painted
Pullman Green but it is difficult to see so I painted these steps Pullman Green
as well. Everything cannot be black. The light shades are Grandt Line O Scale.
The “lights” are the white ball heads from sewing straight pins. I may weather
the stairs up a bit at some point but it is done for now. At least you can see
it is green.
Plywood
Central No More
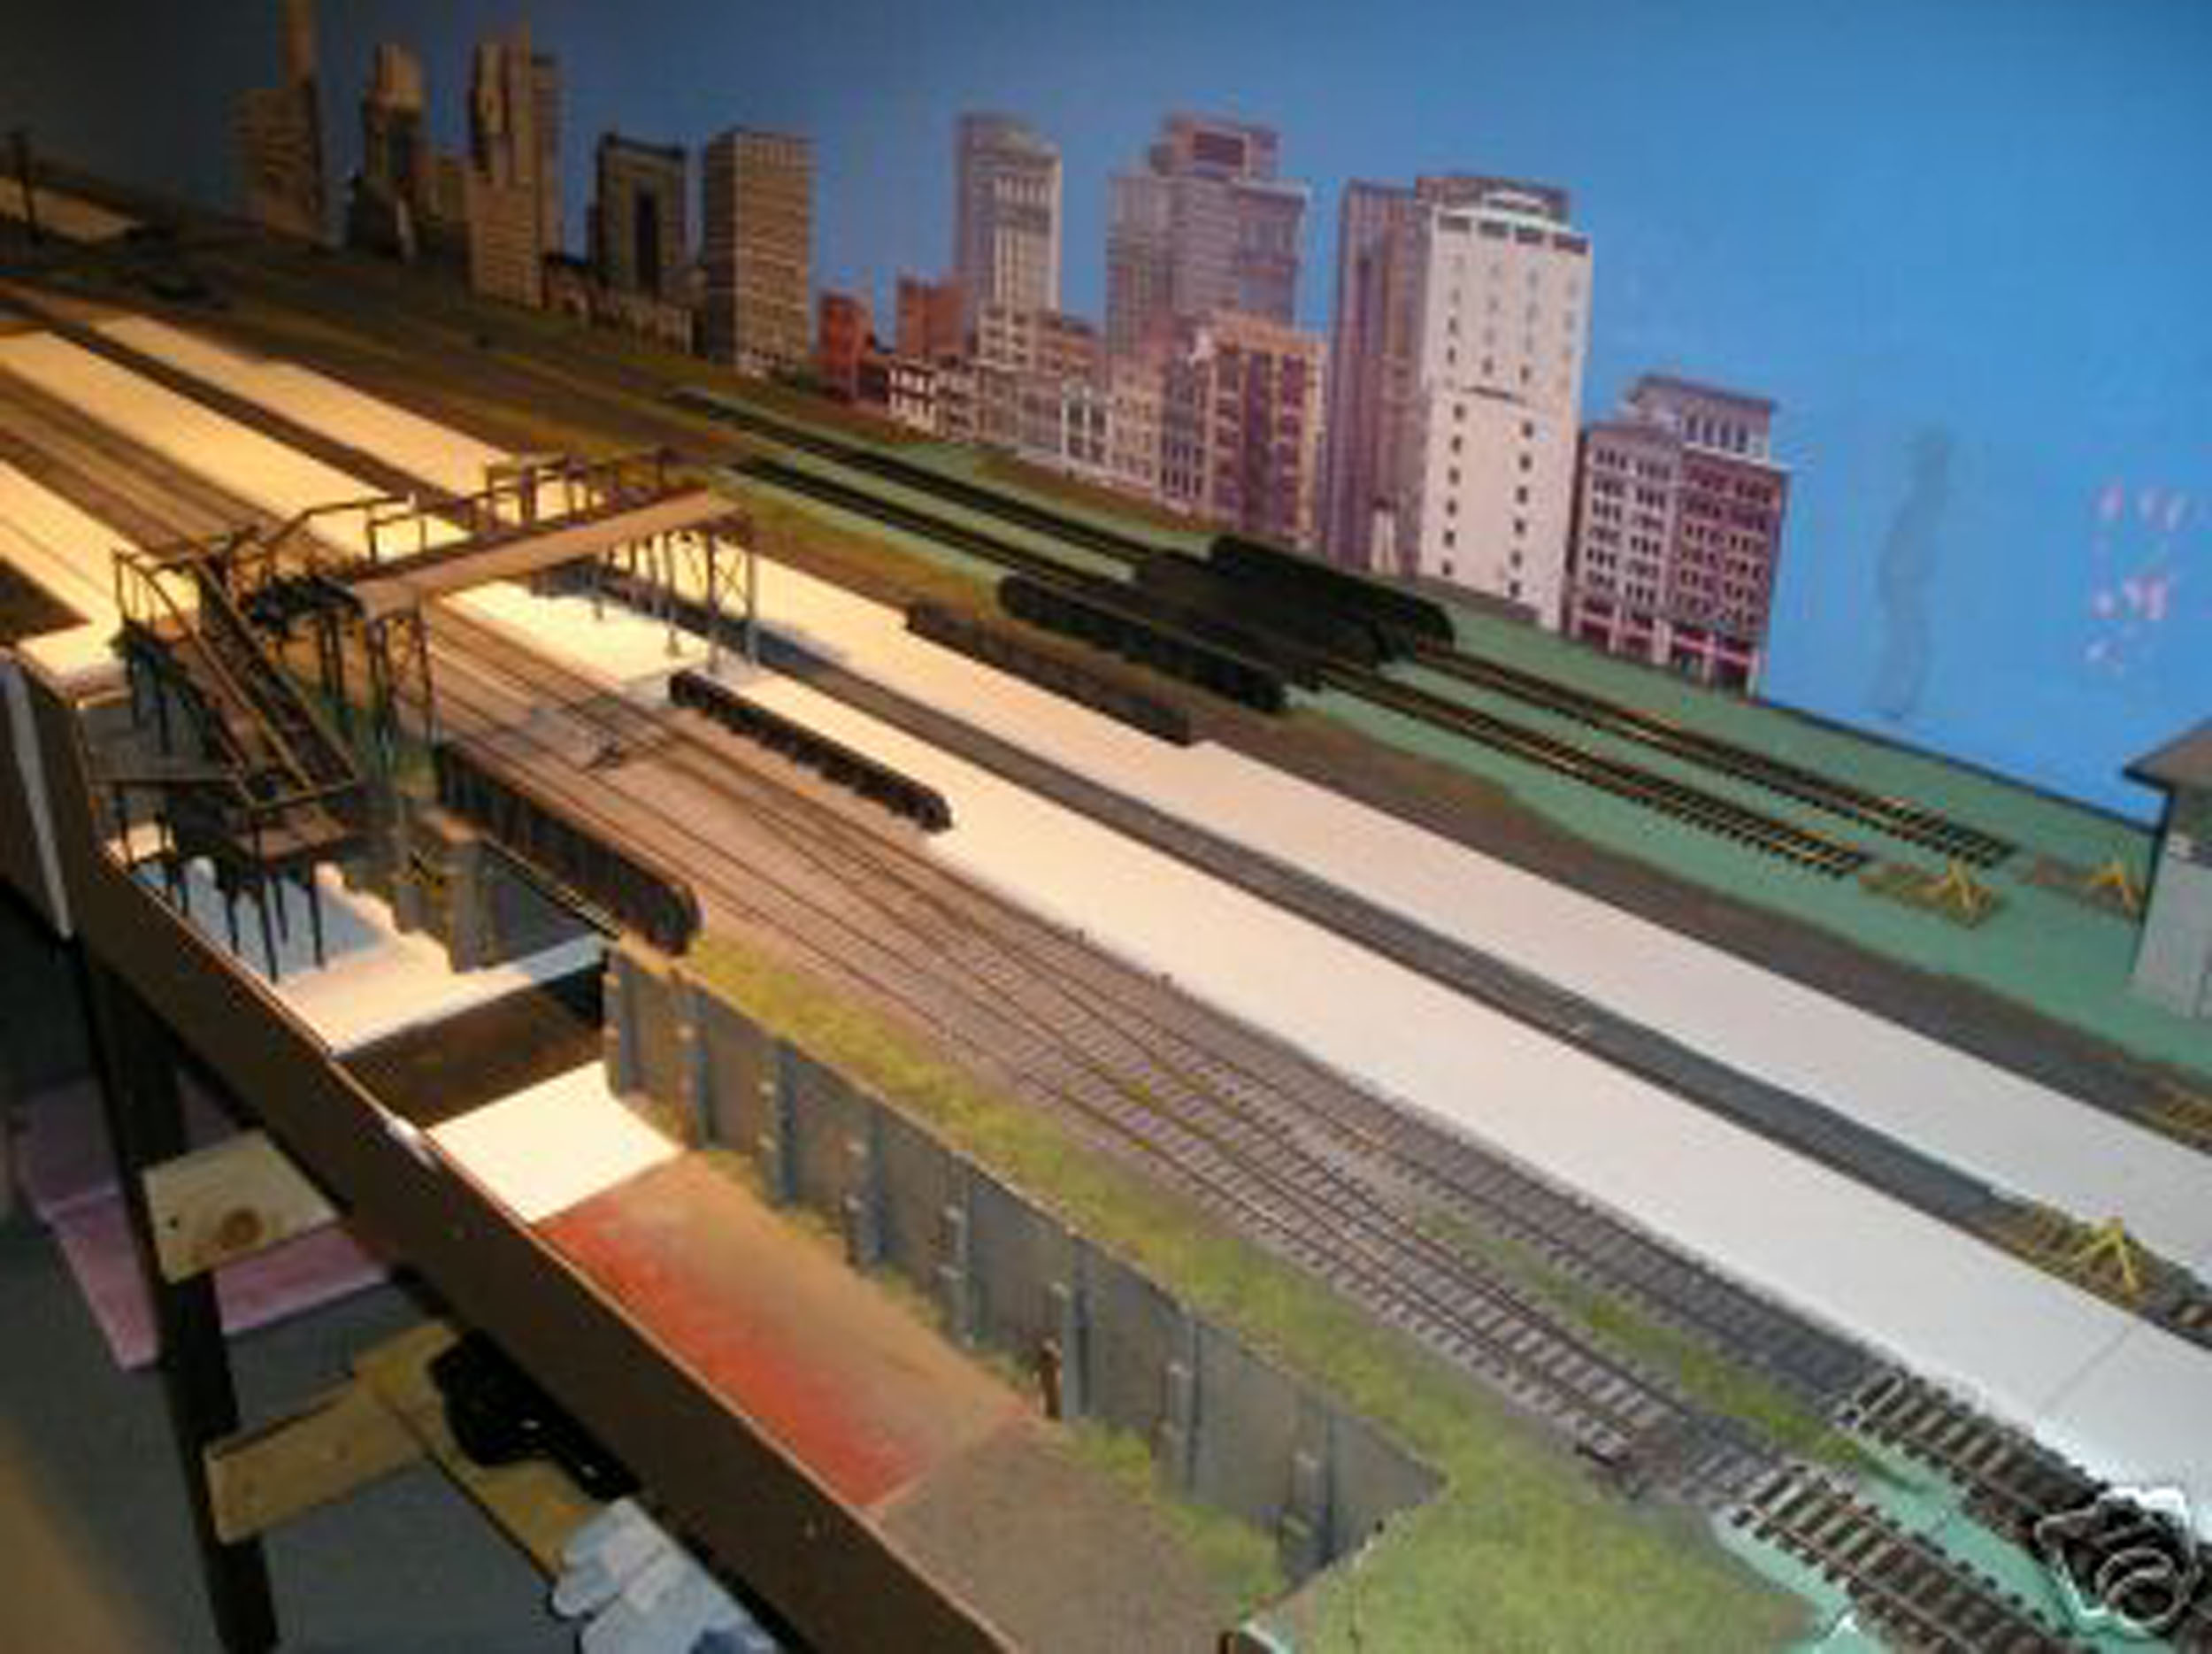
The layout is finally starting to look like something. It is
amazing how ballast, a train shed and figures transformed the layout look. Many
Artista figures and other details have recently been bought and added.
Previously I had 2 figures only for the whole layout on the ice platform.
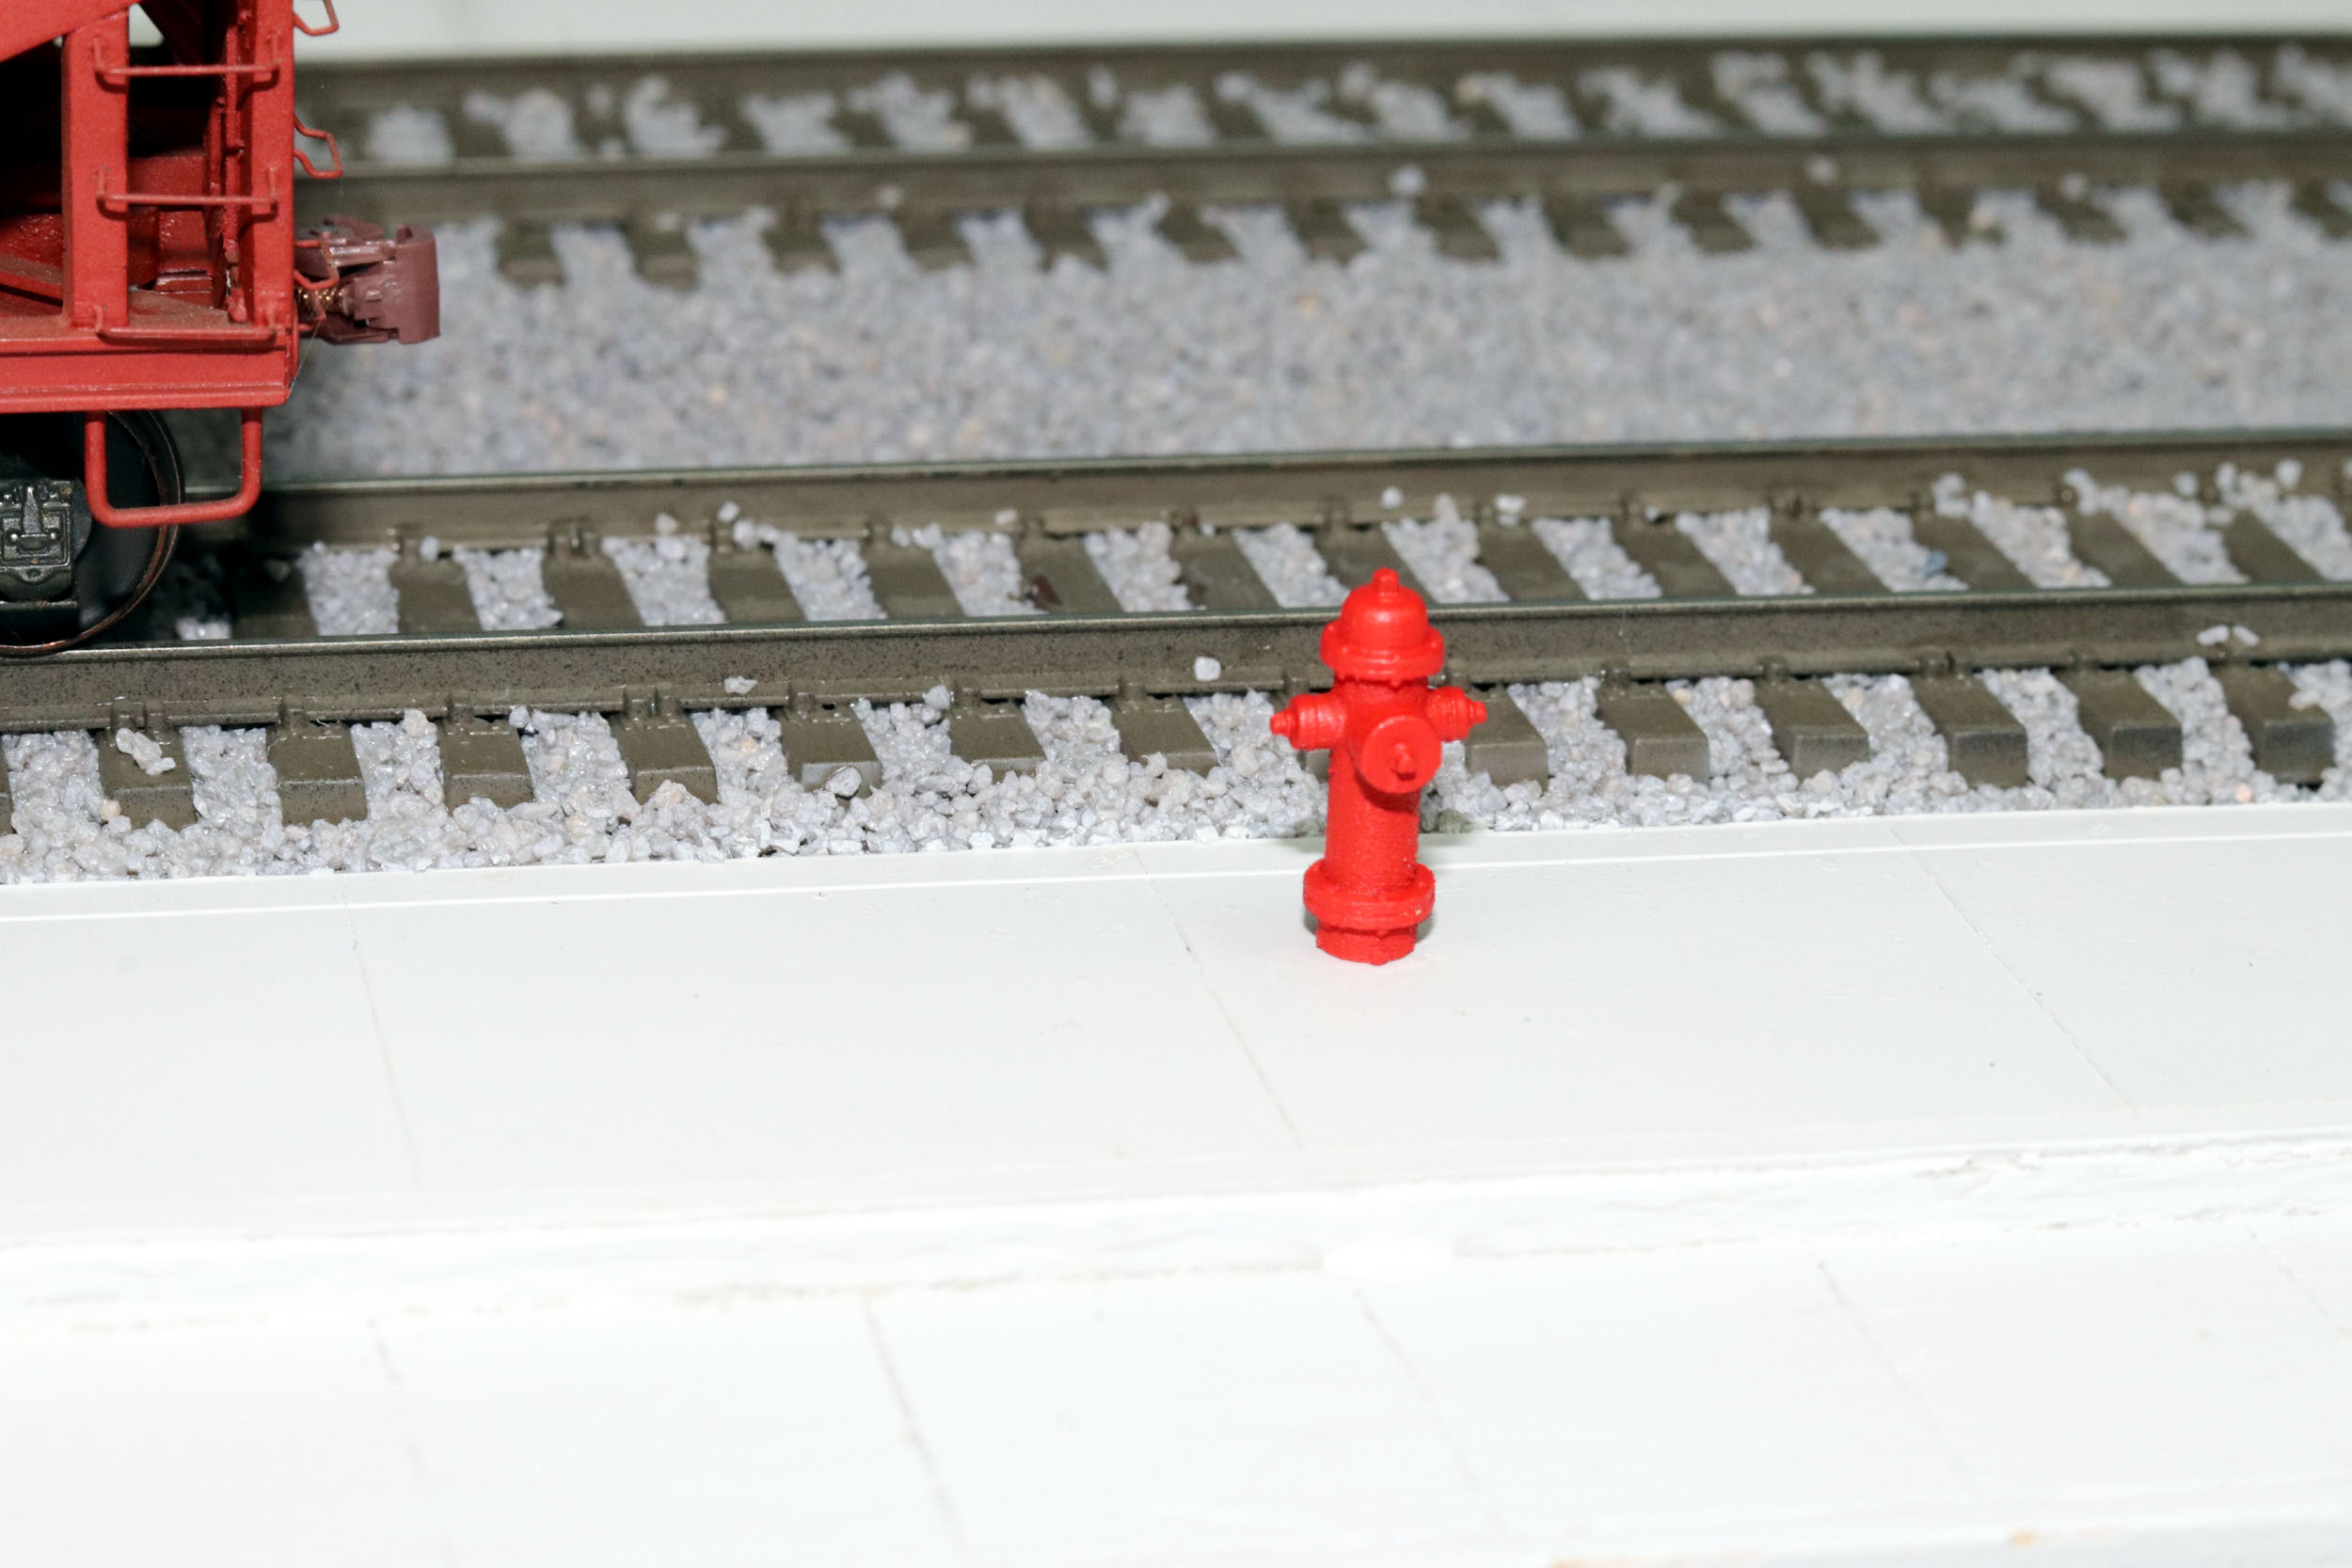
Details that I never thought I would get to like parking meters, REA carts, and
Pullman steps all will be on the layout. What was going to be just a “few days”
work with installing the new ladder turned into 6ish weeks working truly every
day because I have the opportunity now to do so. This all would have taken
years worth of weekends to accomplish.
Added
12-8-20
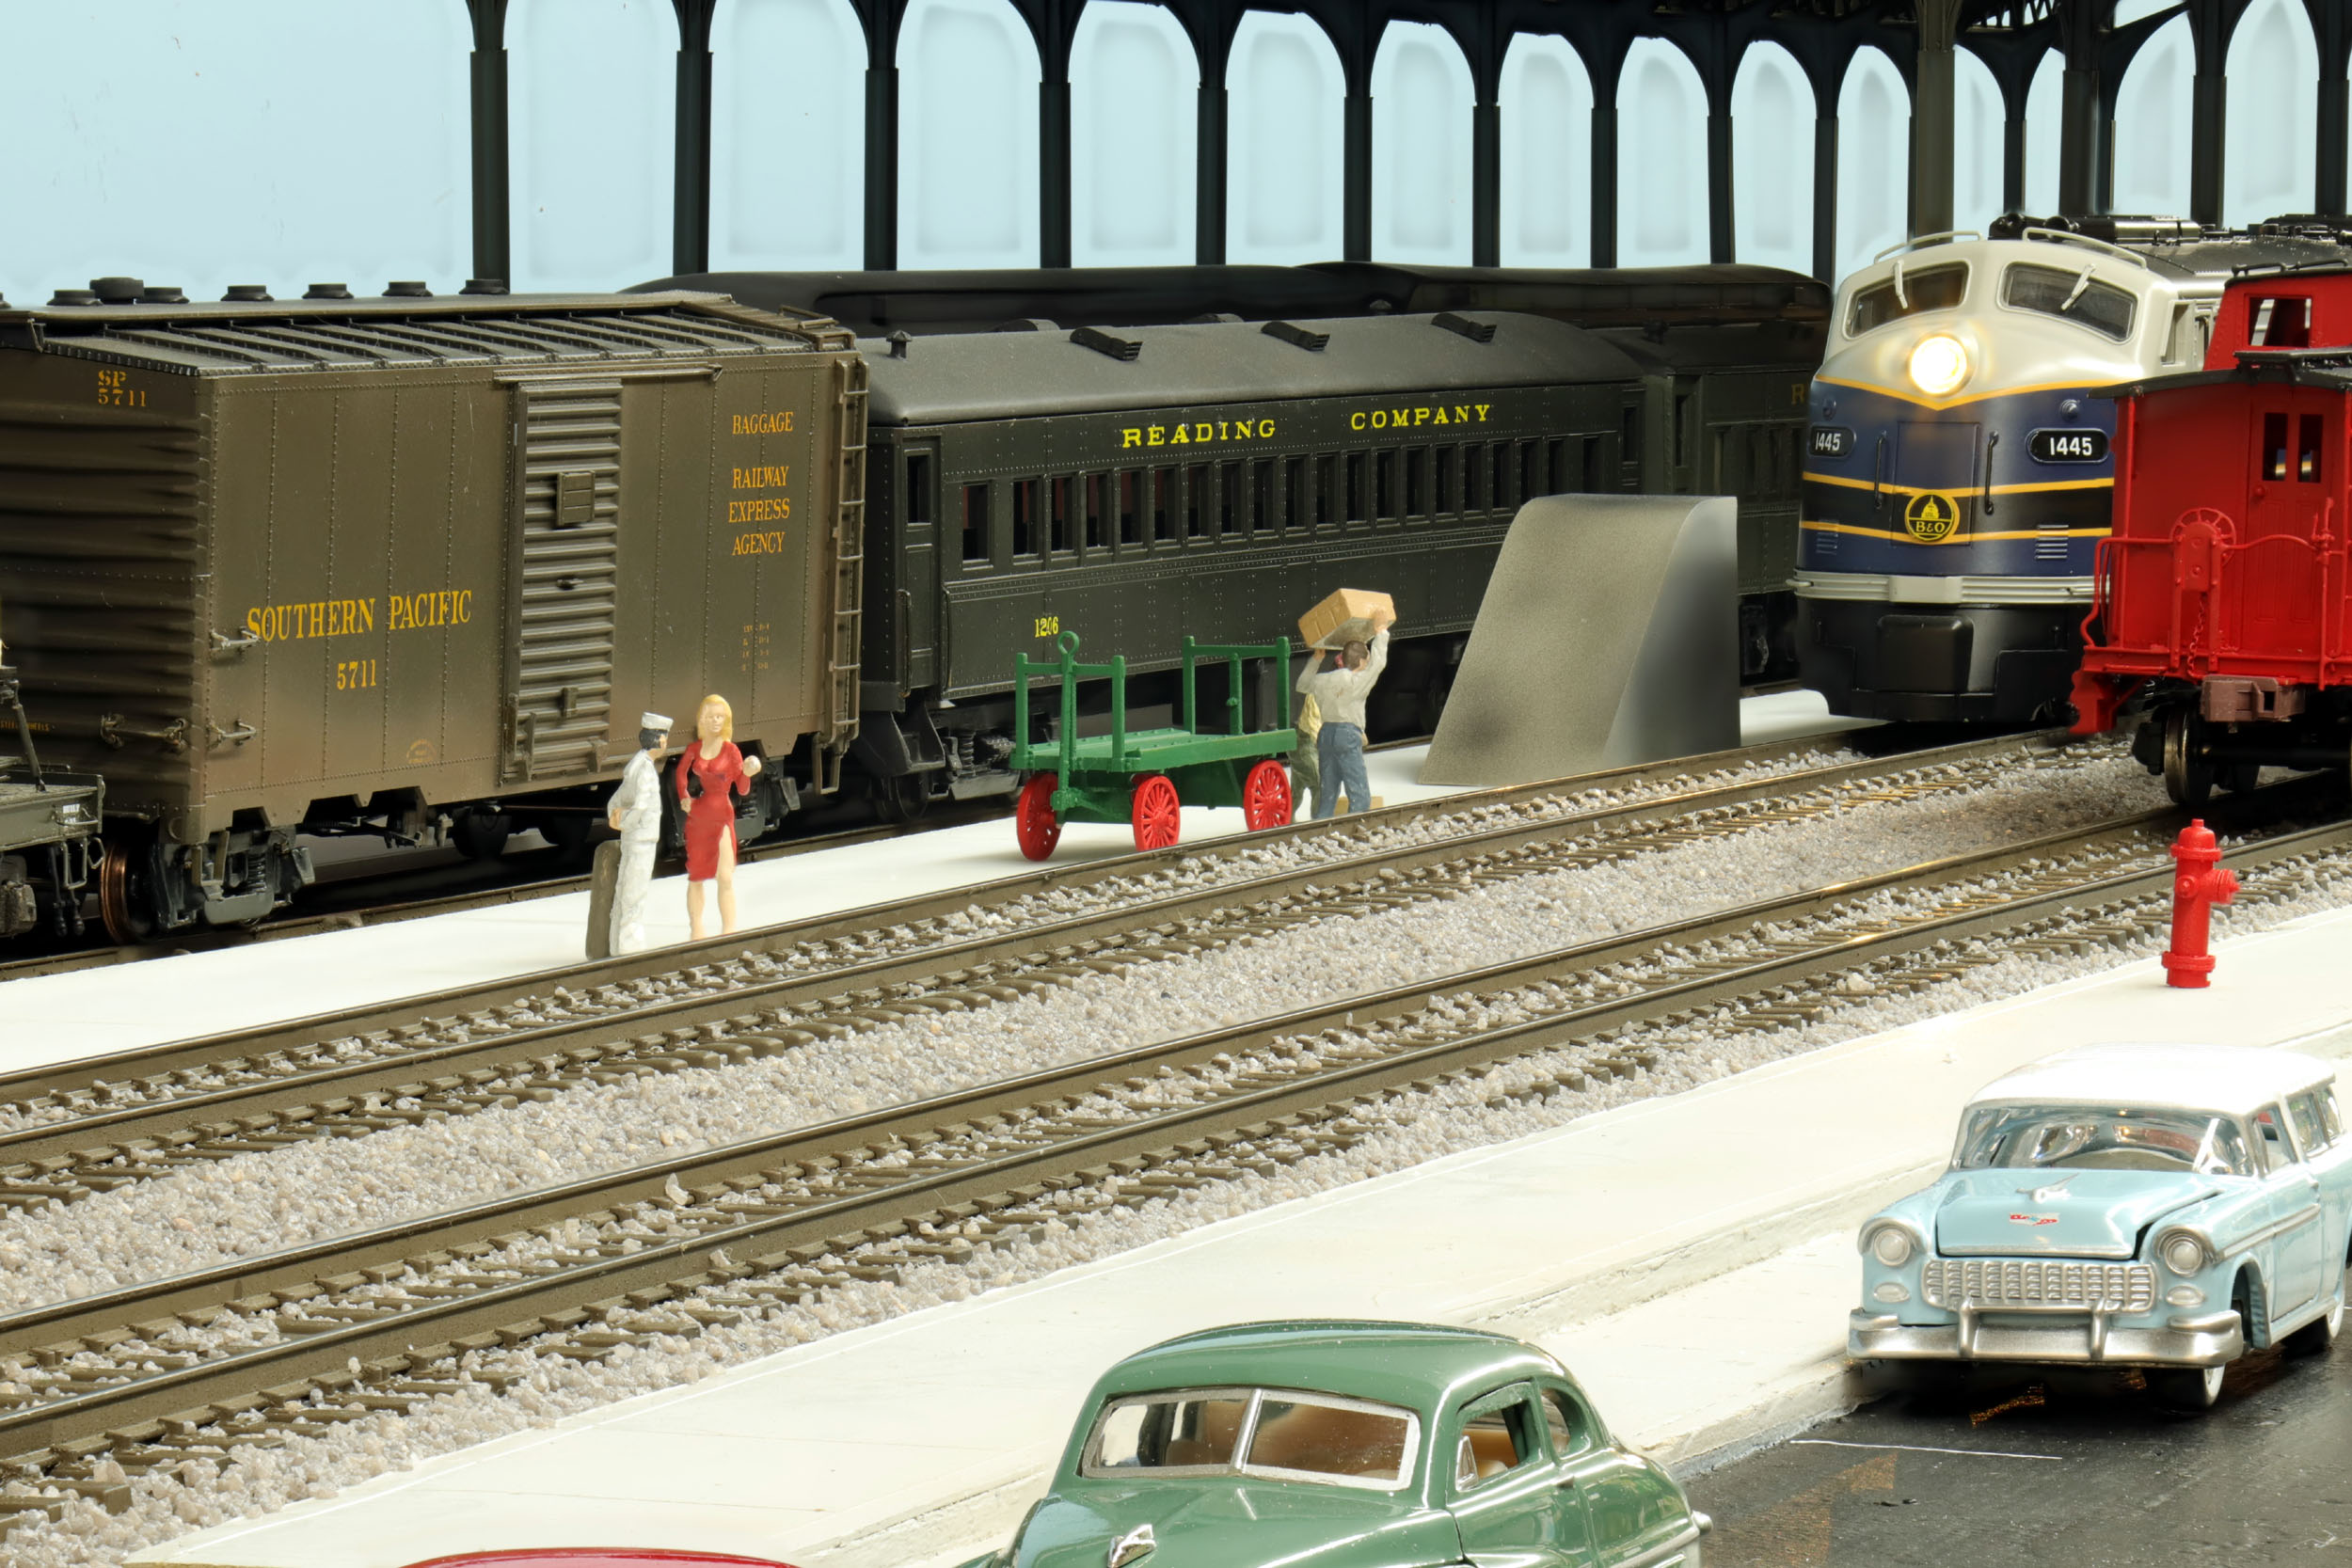
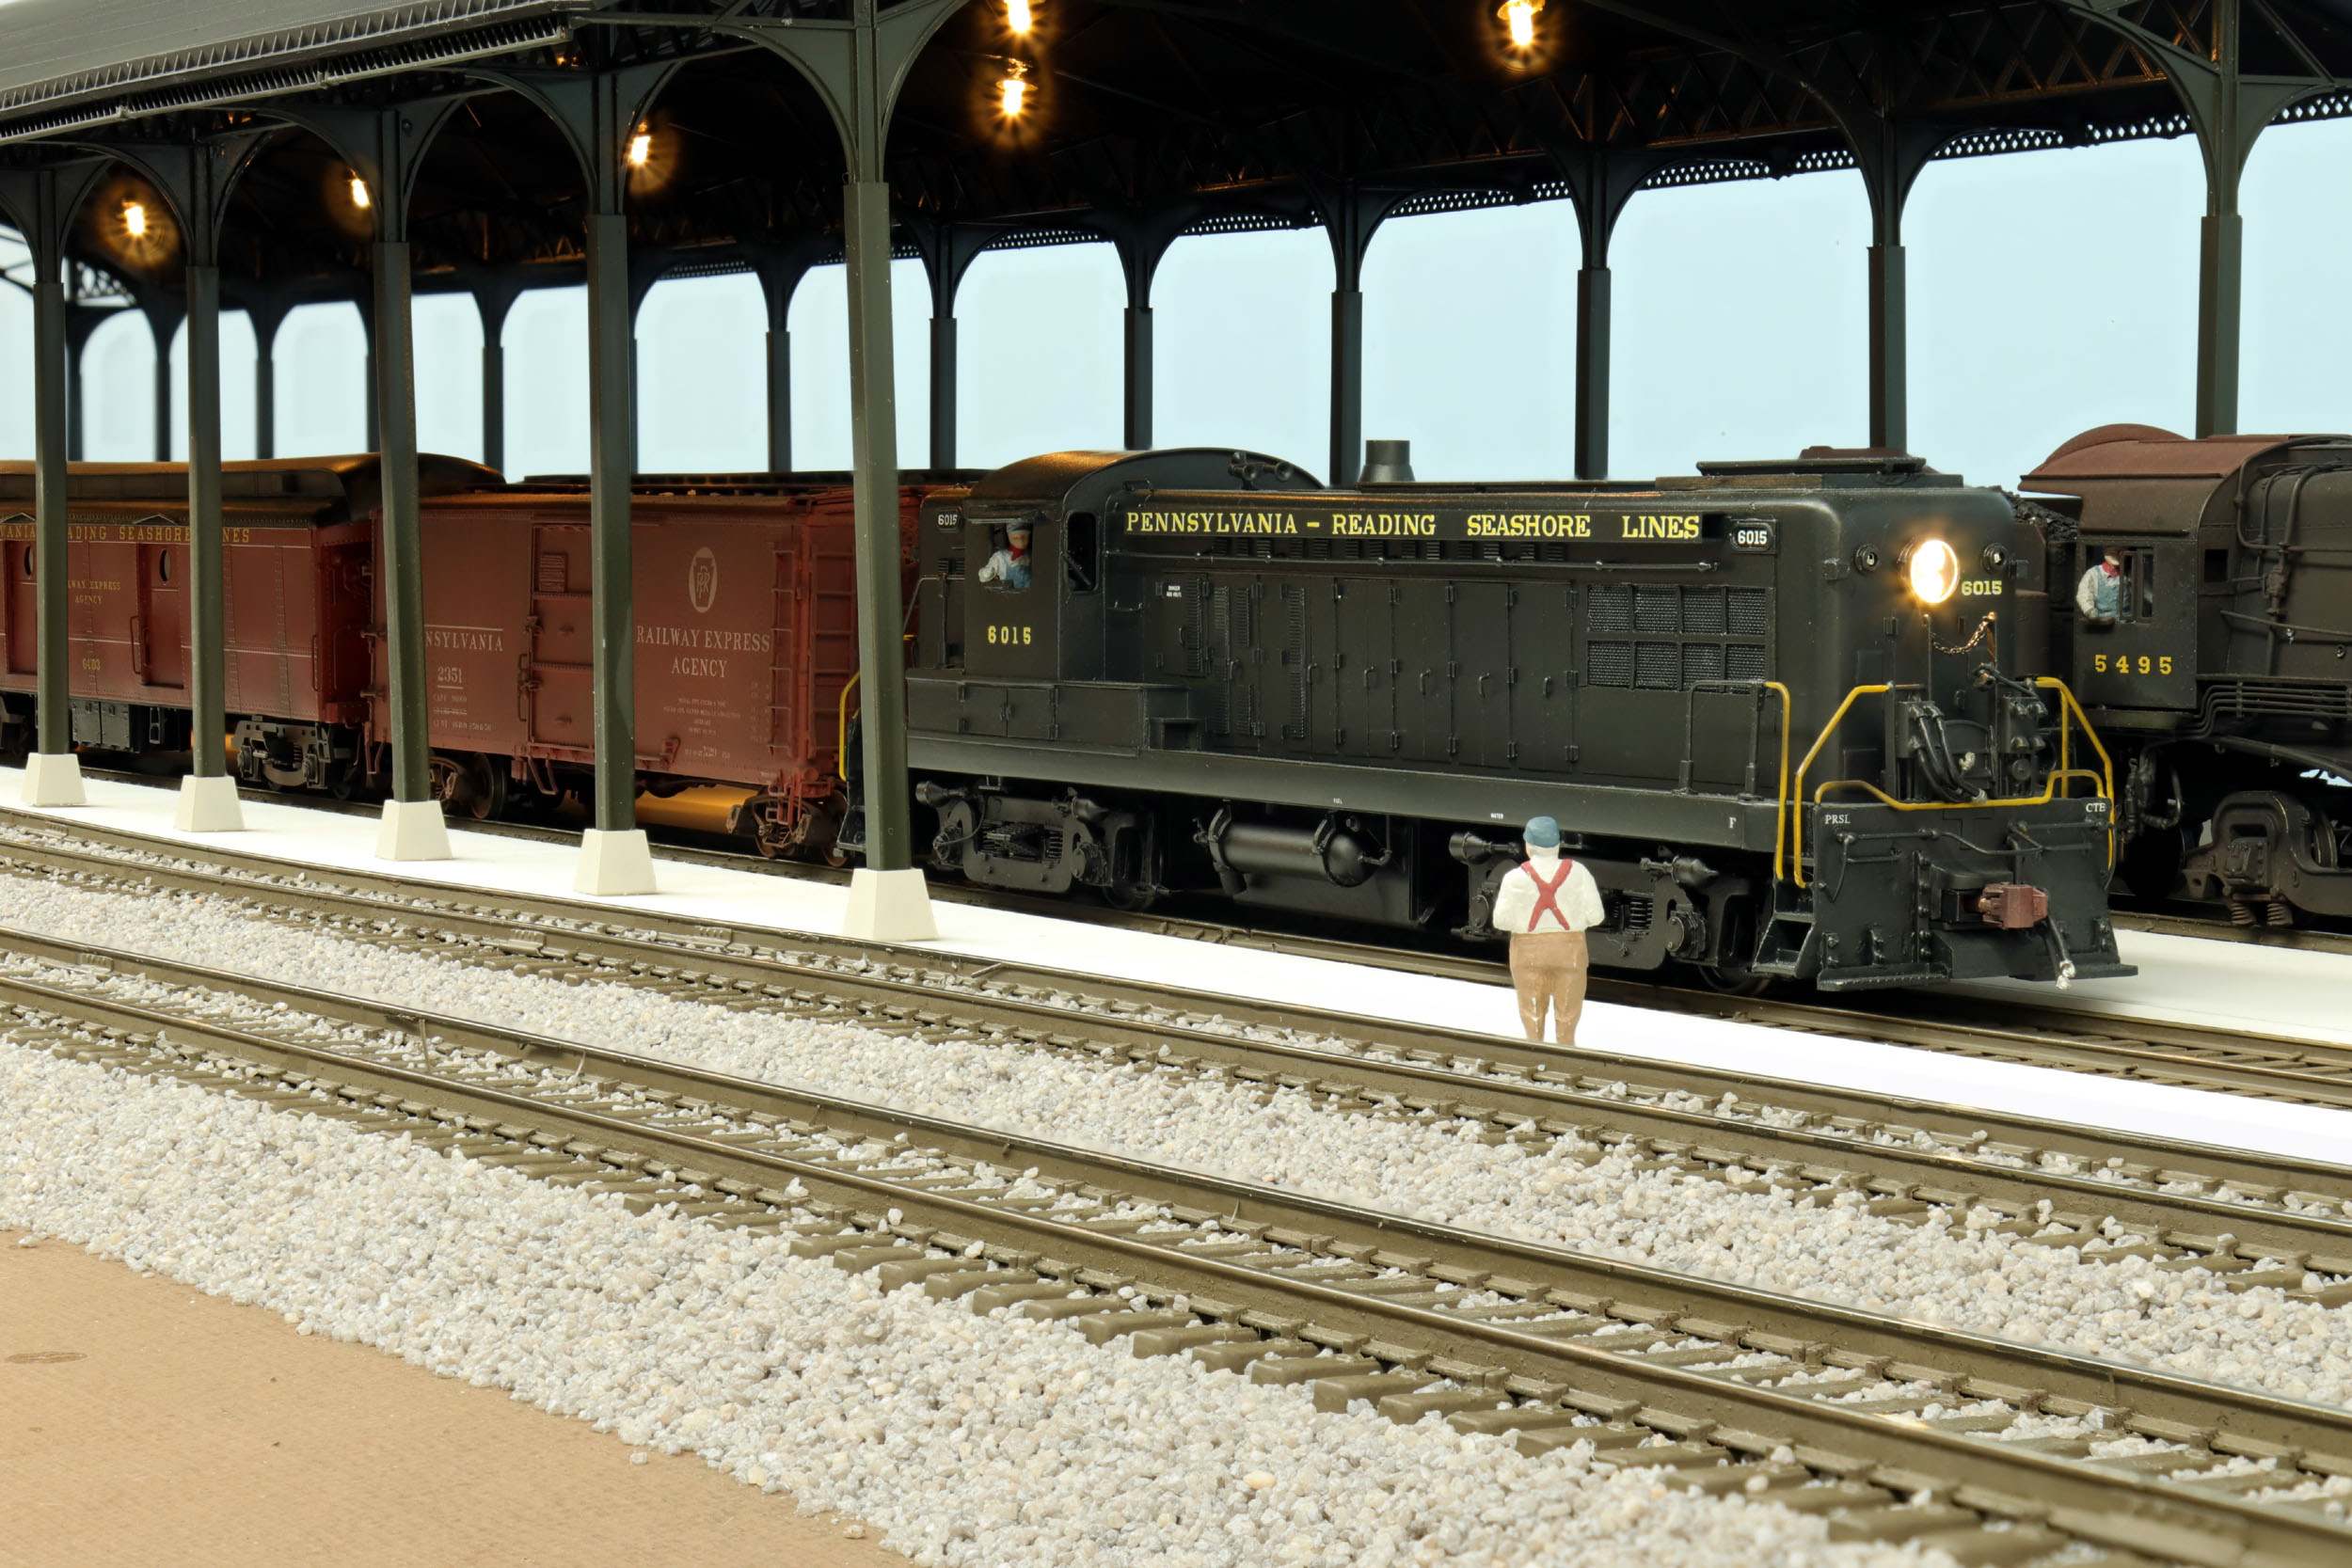
The photo at left features much of my PRSL rolling stock.
Some might wonder what they are talking about – possibly the
price of tomatoes. When I got the sailor and lady in red figures I thought they
should go together just as a goof for at least a little while. Most standing
Artista figures do stand up on their own. Some need a very quick grind of their
feet on a Dremel cutting wheel to make a common plane to stand better. I do not
want to permanently glue any figures in place.

Train
Shed Lights
Added
12-11-20
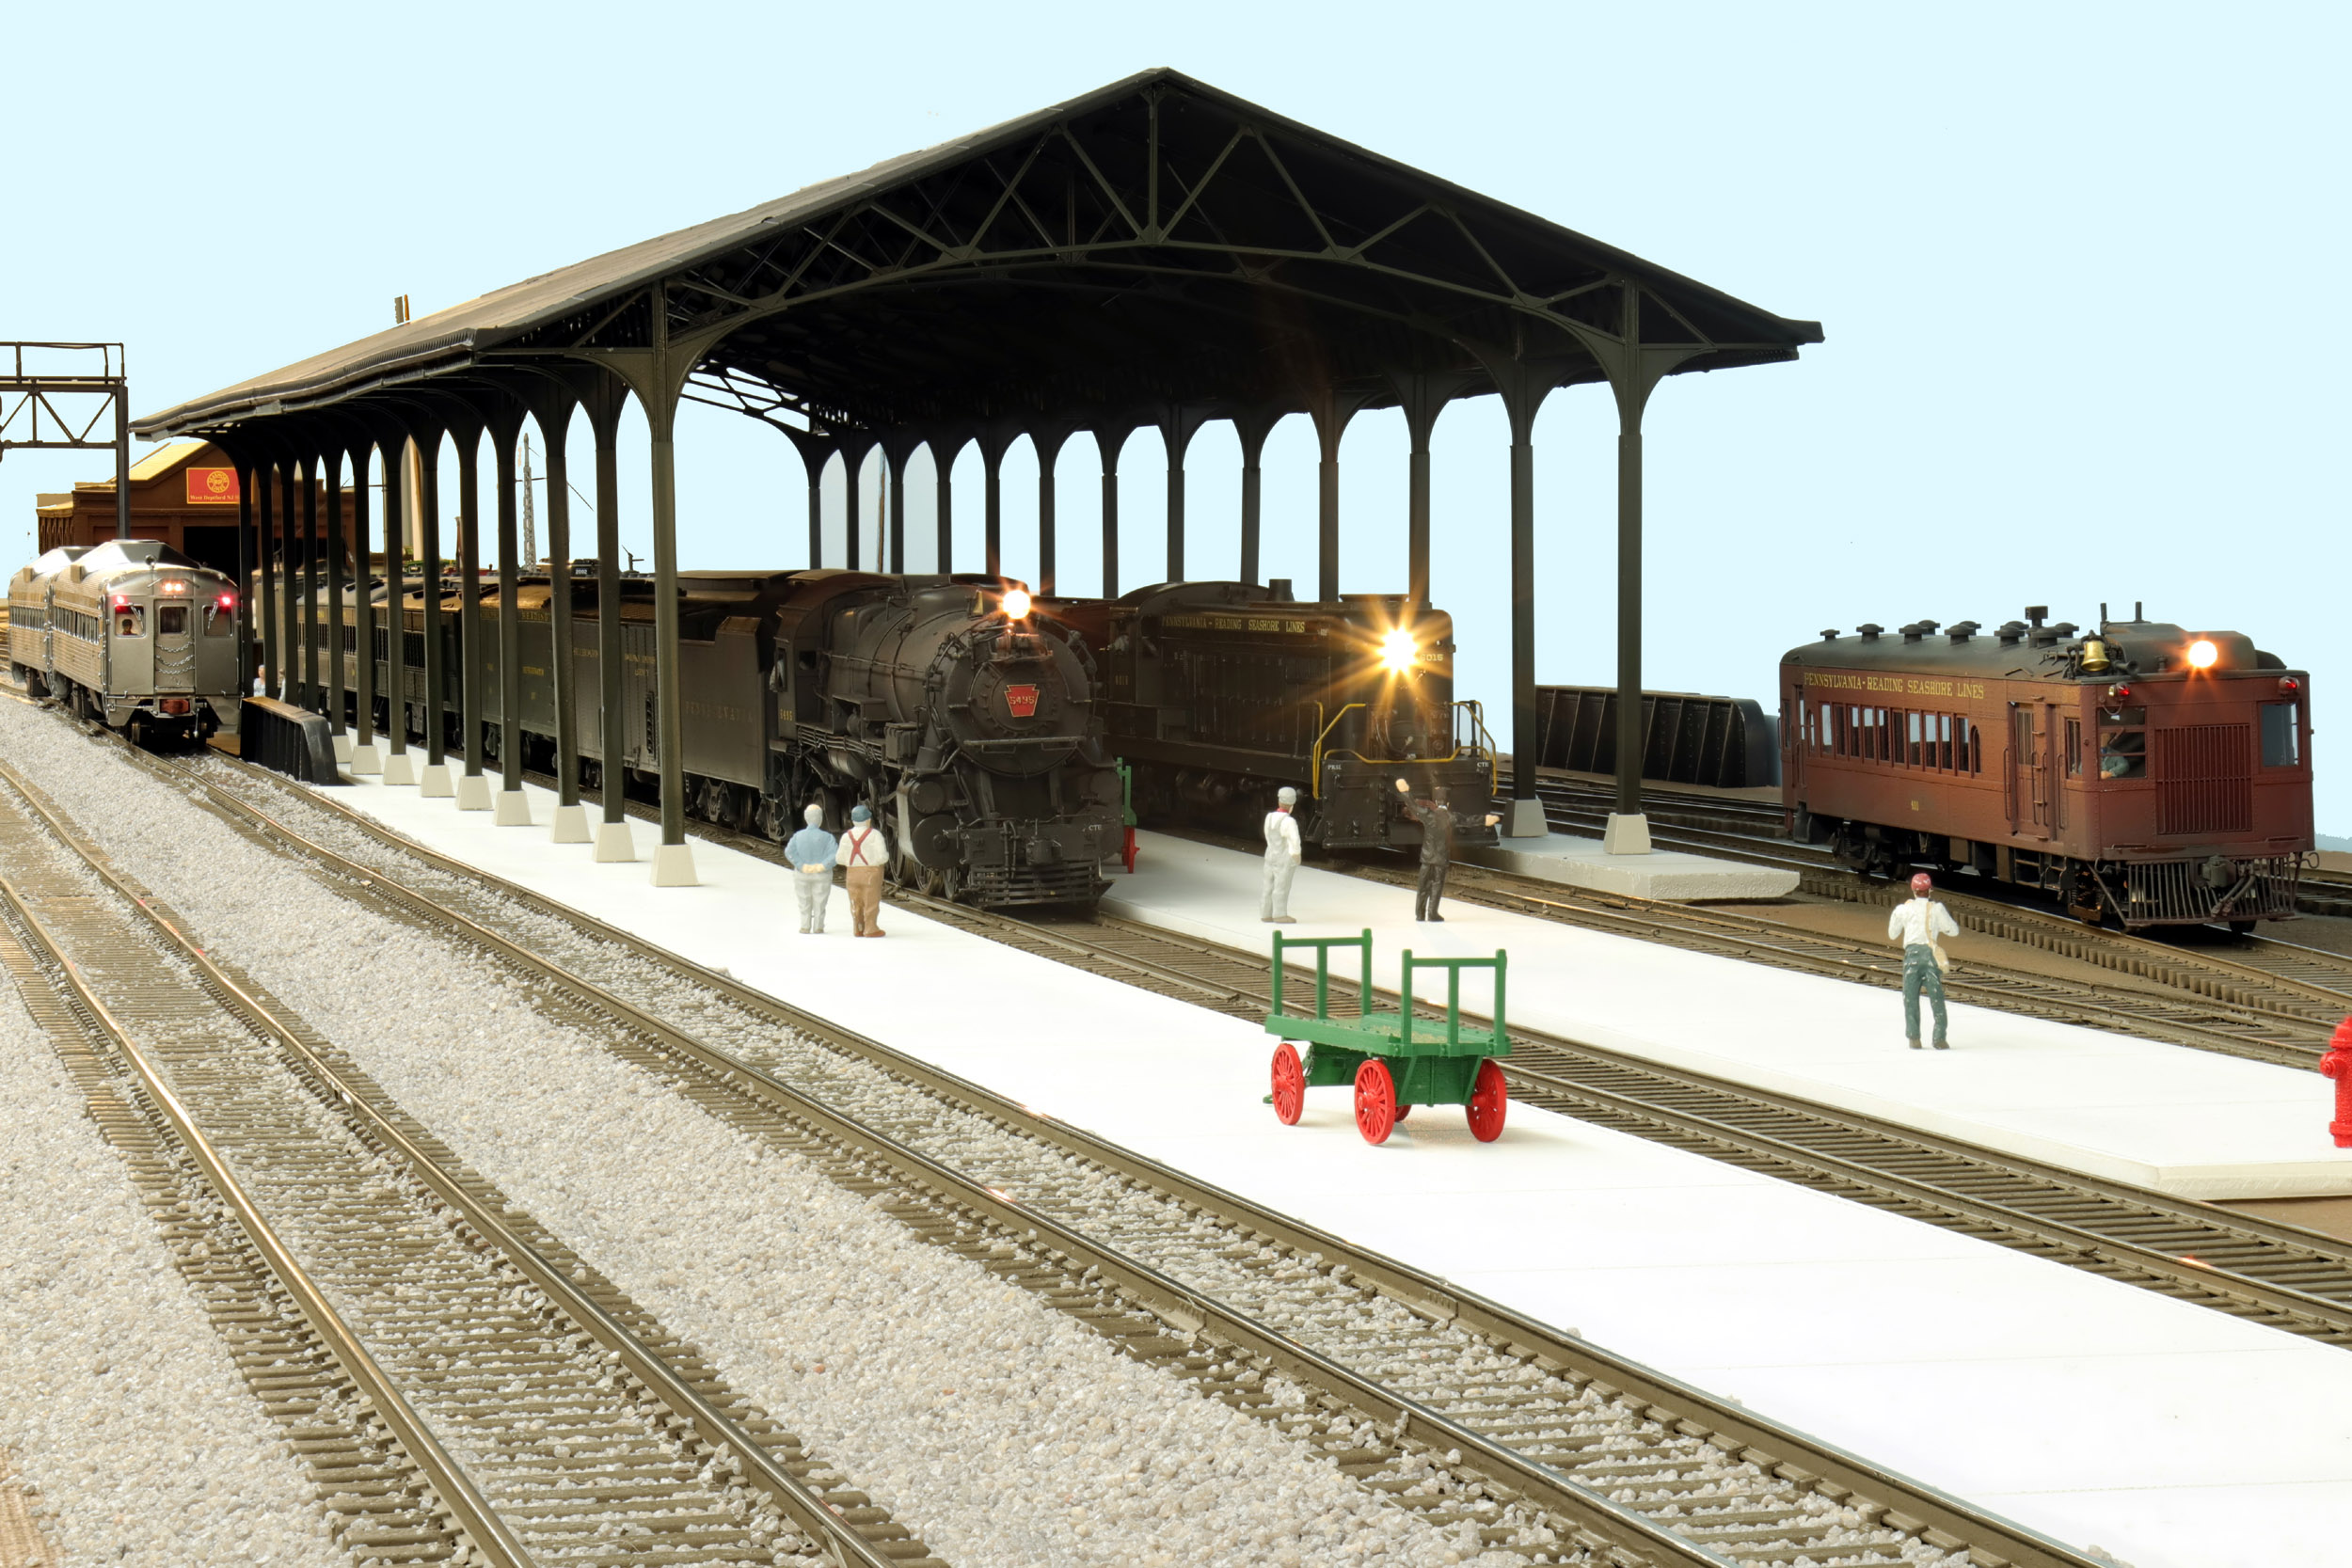
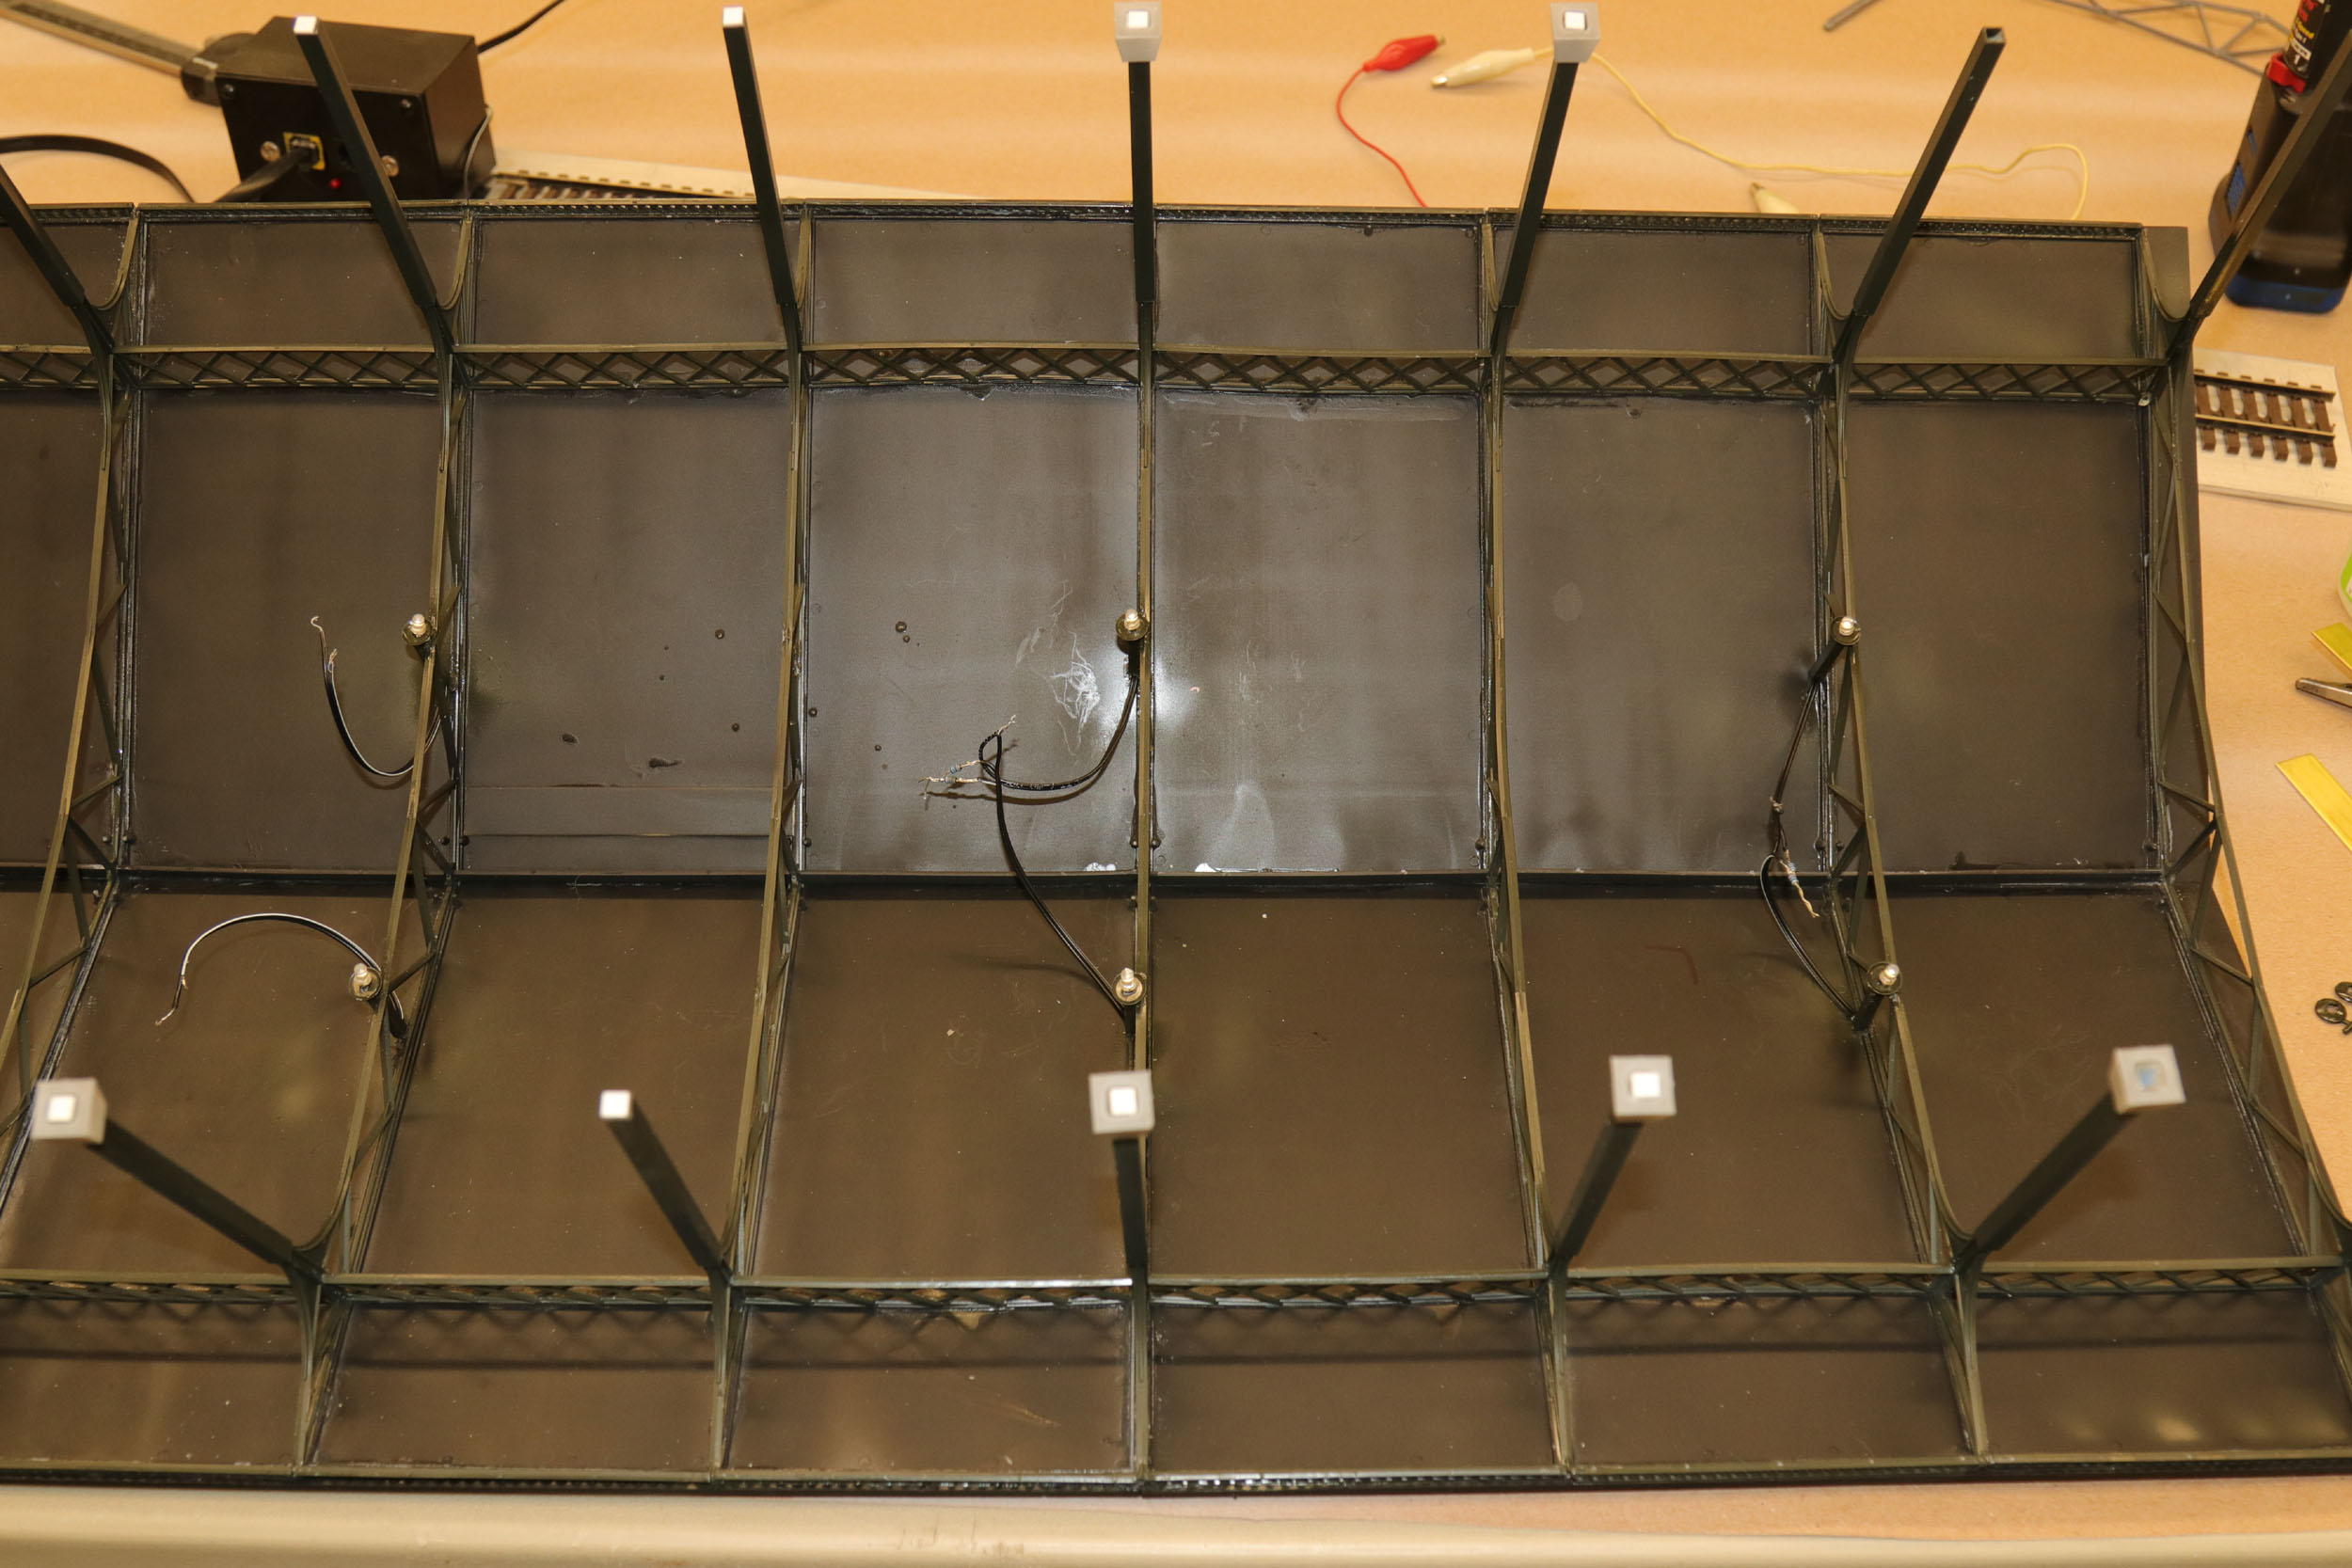
When I first put the train shed on the layout I instantly saw a
large dark space that would be difficult to balance for photography. I knew I
would have to add lights (LEDs) to the underside of the shed. As mentioned the
shed is 48” long. What kind and how many LEDs? My first test was the surface
mount (very small) LEDs I use in steam loco headlights. While very bright for
their small size that was not the answer. I moved up to 3MM LEDs. How many and
where to put them? At first I was going to use the LEDSs without resistors with
a separate transformer just to run the shed lighting. My test at a low voltage
killed a LED. I was not going to guess what the magic setting was on this
transformer for LEDs without a resistor. Plan C was going the known route of
LEDs each with a resistor run by DCC power. I was rather proud of myself when
that idea came to me.
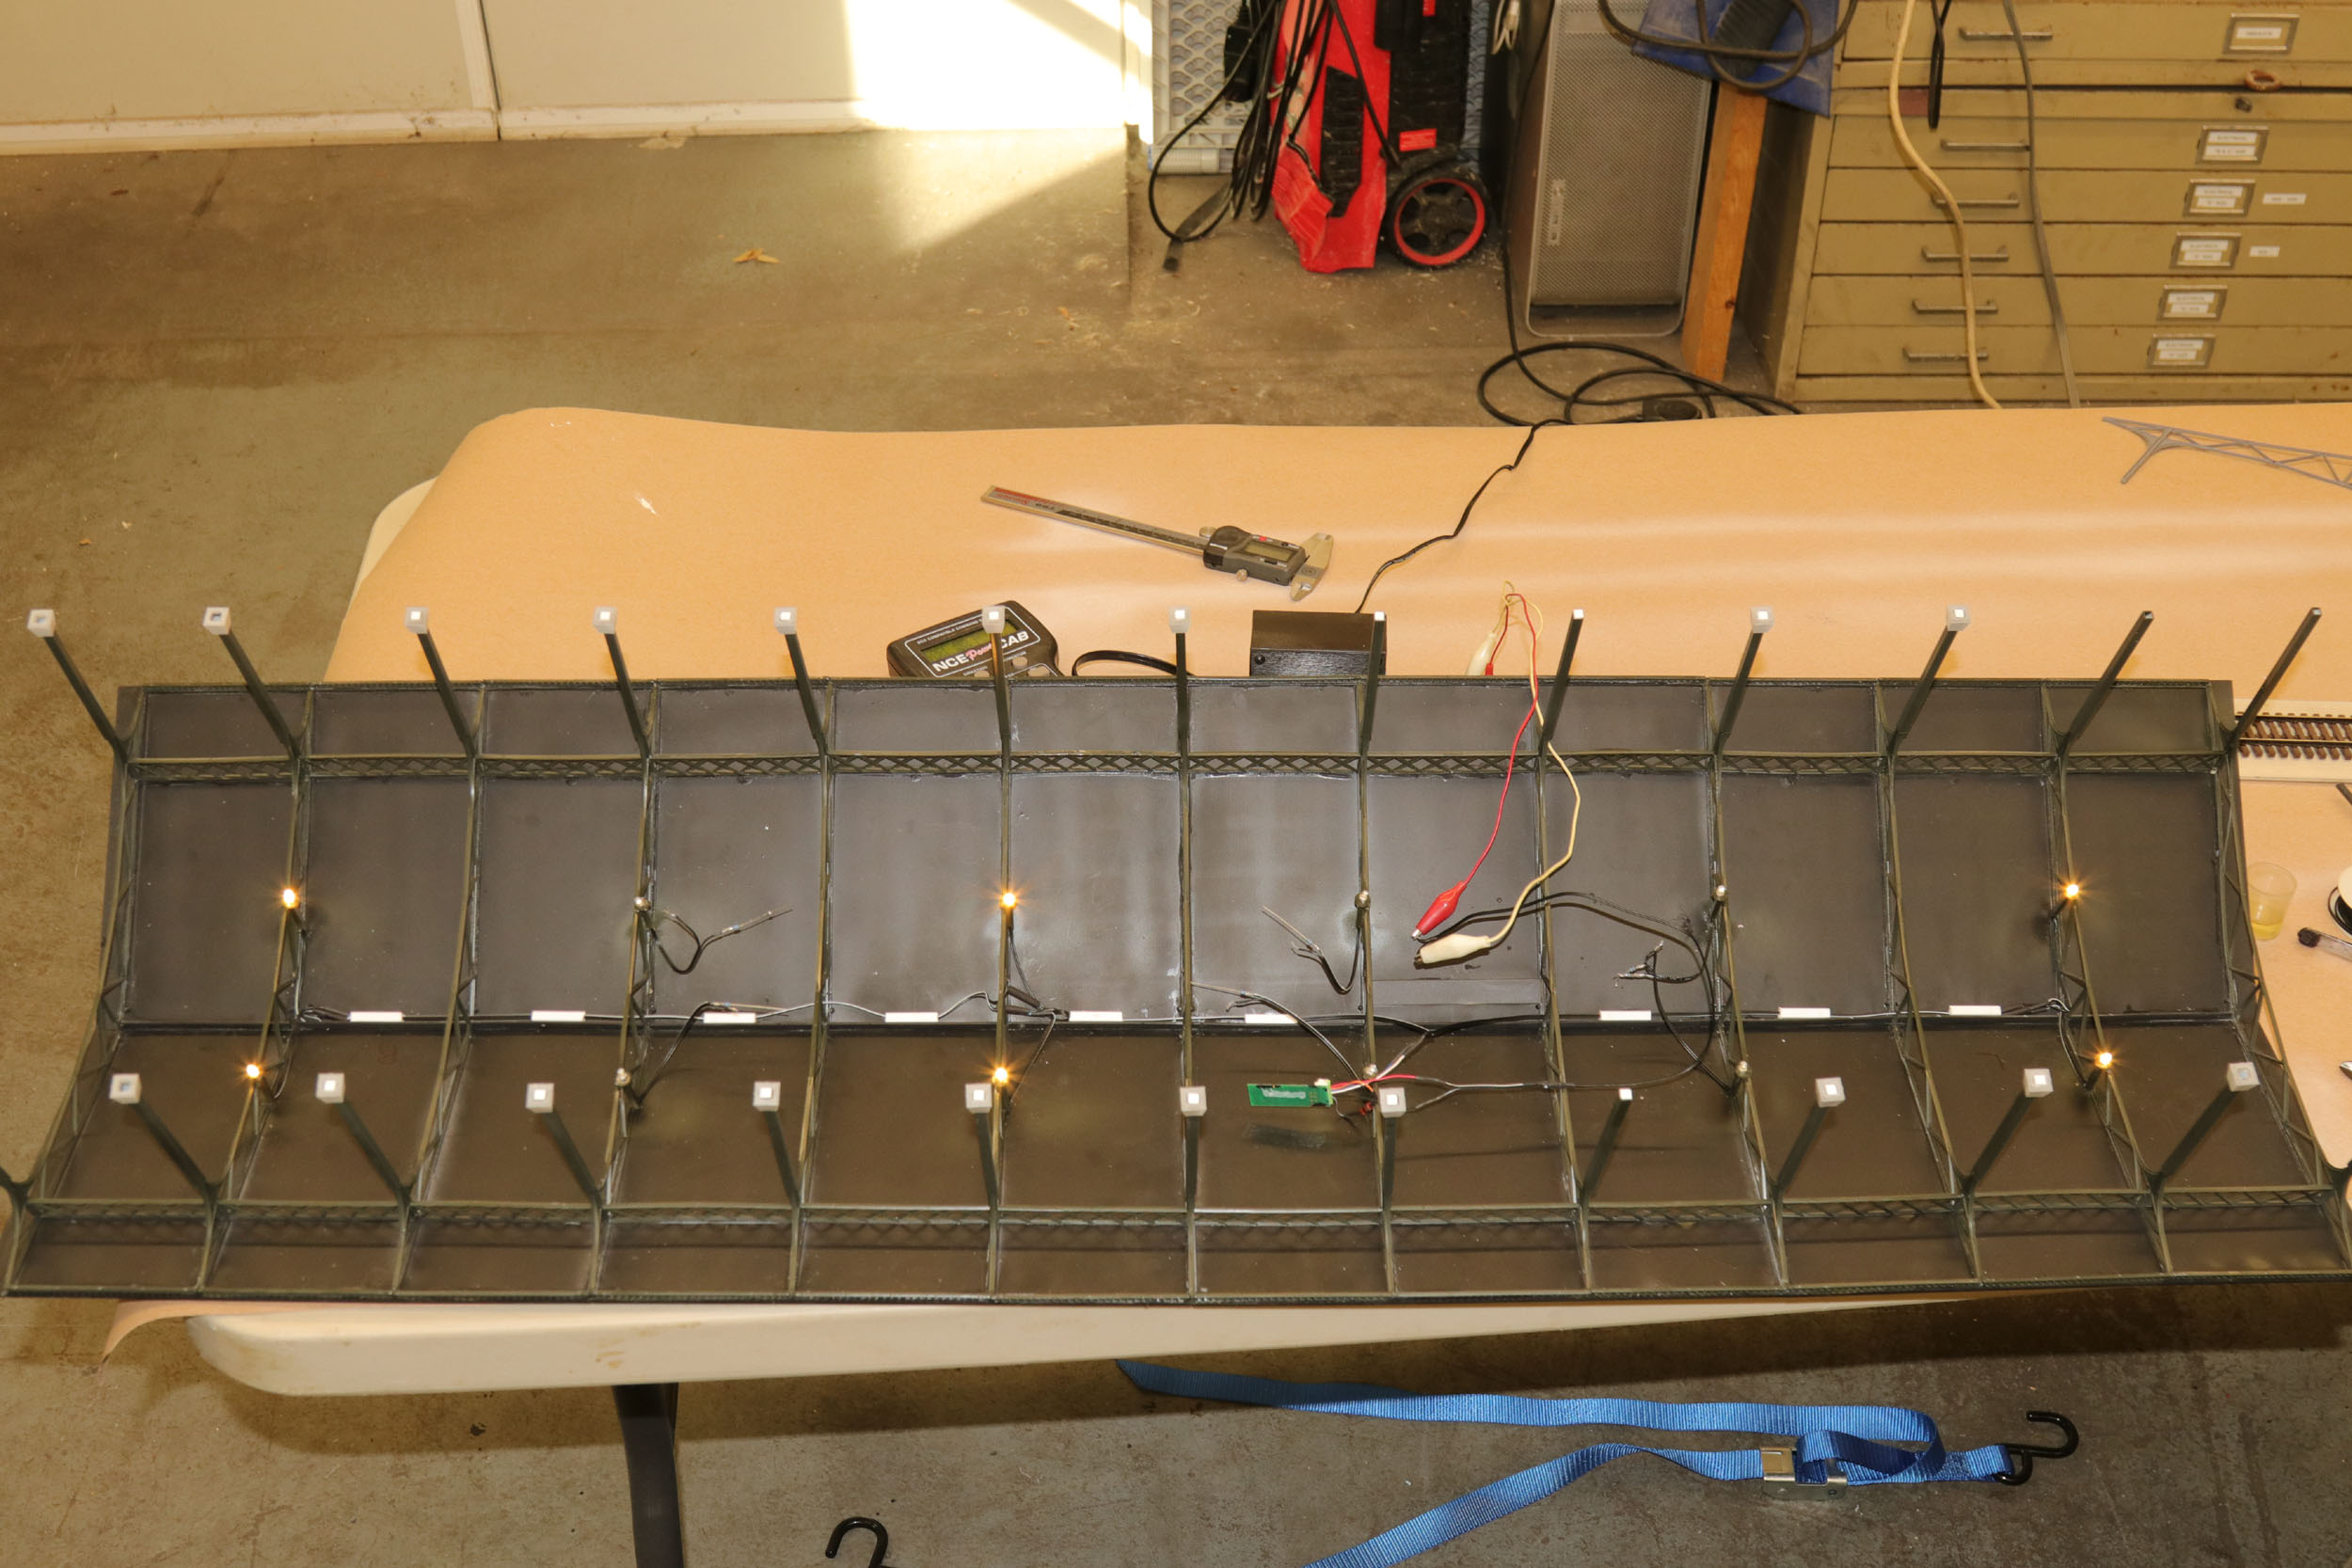
I got a roll of 2 conductor wire from Miniatronics and used
Grandt Line O Scale lamp shades mounted to Evergreen square tubing. I started
at 4, then 6 then 8 and finally settled on 12 LEDs total with 2 each mounted on
every other roof joist. 12 absolutely was the correct number. I did not think 1
decoder could handle running all 12 LEDs without dying so I tested 6 on a
recycled NCE D13SRJ. It worked fine.
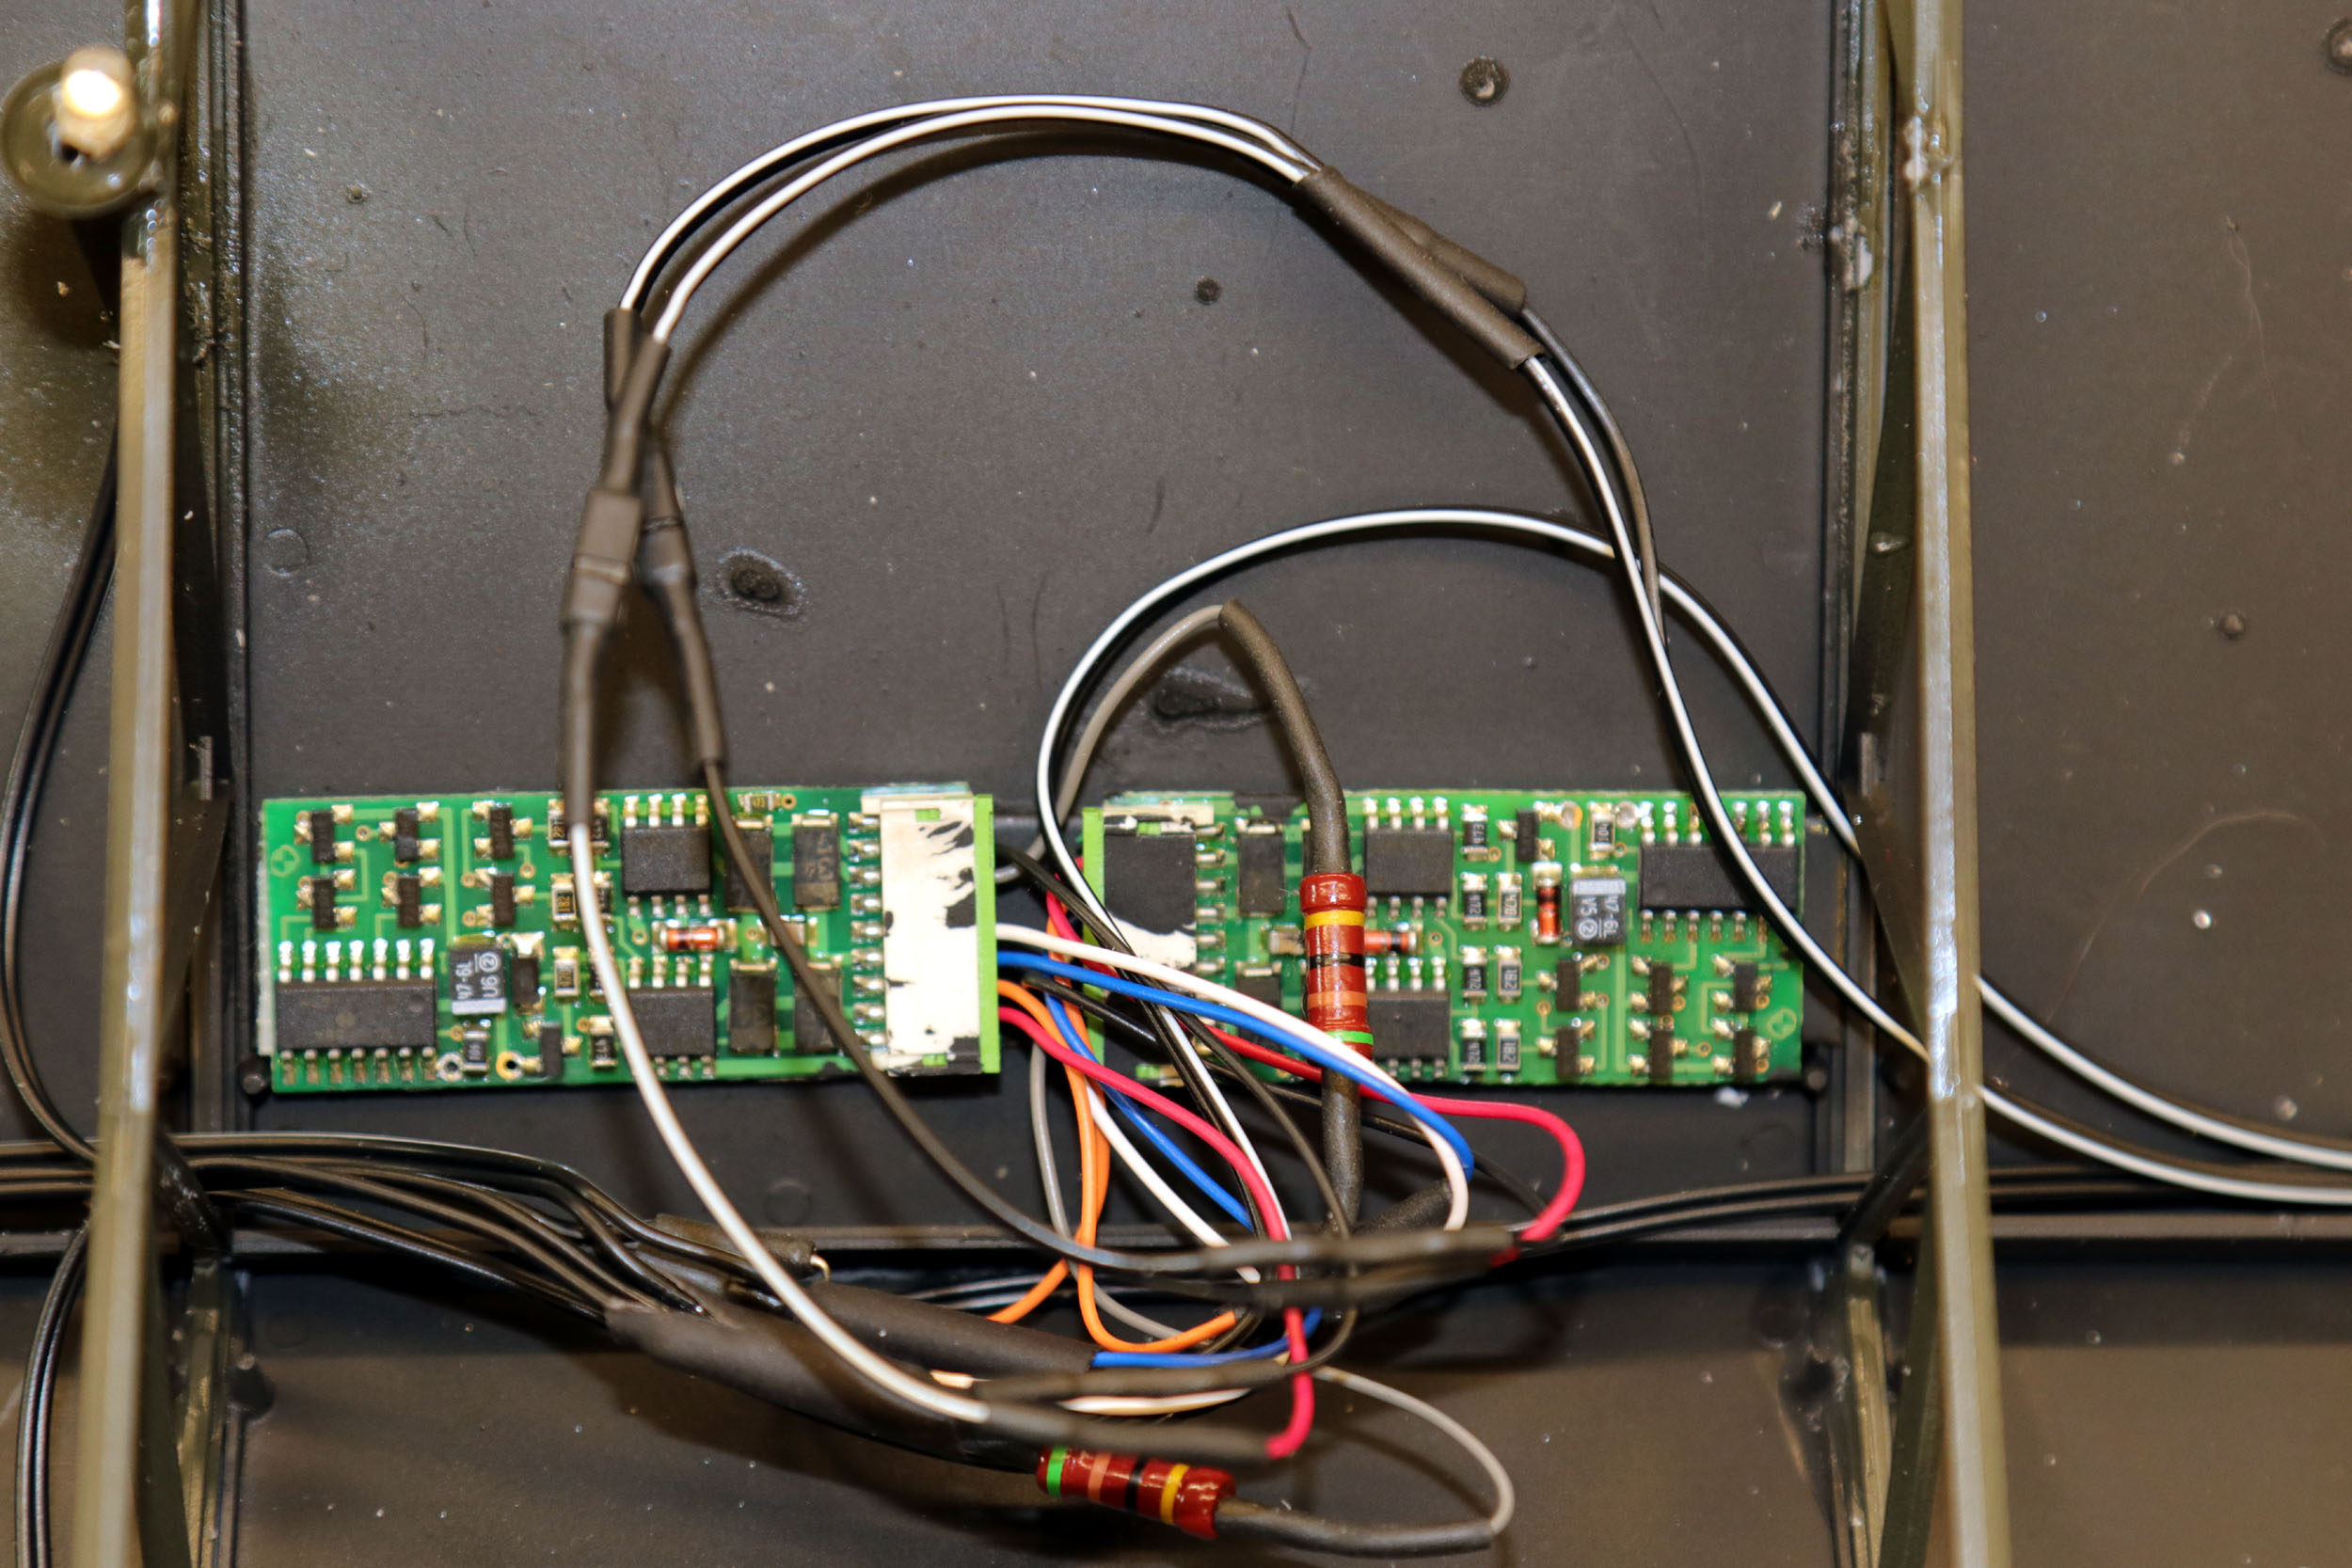
How many decoders does your train shed have? The correct answer
would be 2. I used a 51 ohm resistor across orange and gray to simulate motor
load. There was a LOT of difficult to access soldering working in between the
shed posts. The train shed is programmed on both decoders as loco address 1234
wired to the forward headlight of blue and white. Further getting unnecessarily
tricky just for a goof I enacted Rule 17 light dimming in reverse. So I have
options for full on, dim and off all controlled from any DCC handle. I tapped
the power buss for the outside main line to power the shed lights.
This is not something I am really into - but putting a decoder
in the train shed gave me another idea about a real sound decoder. If you hit
function keys you could fire incoming and outgoing train announcements. It
would probably only be popular if there could be custom announcements per the
layout’s theme. You would have to easily
load your own messages.

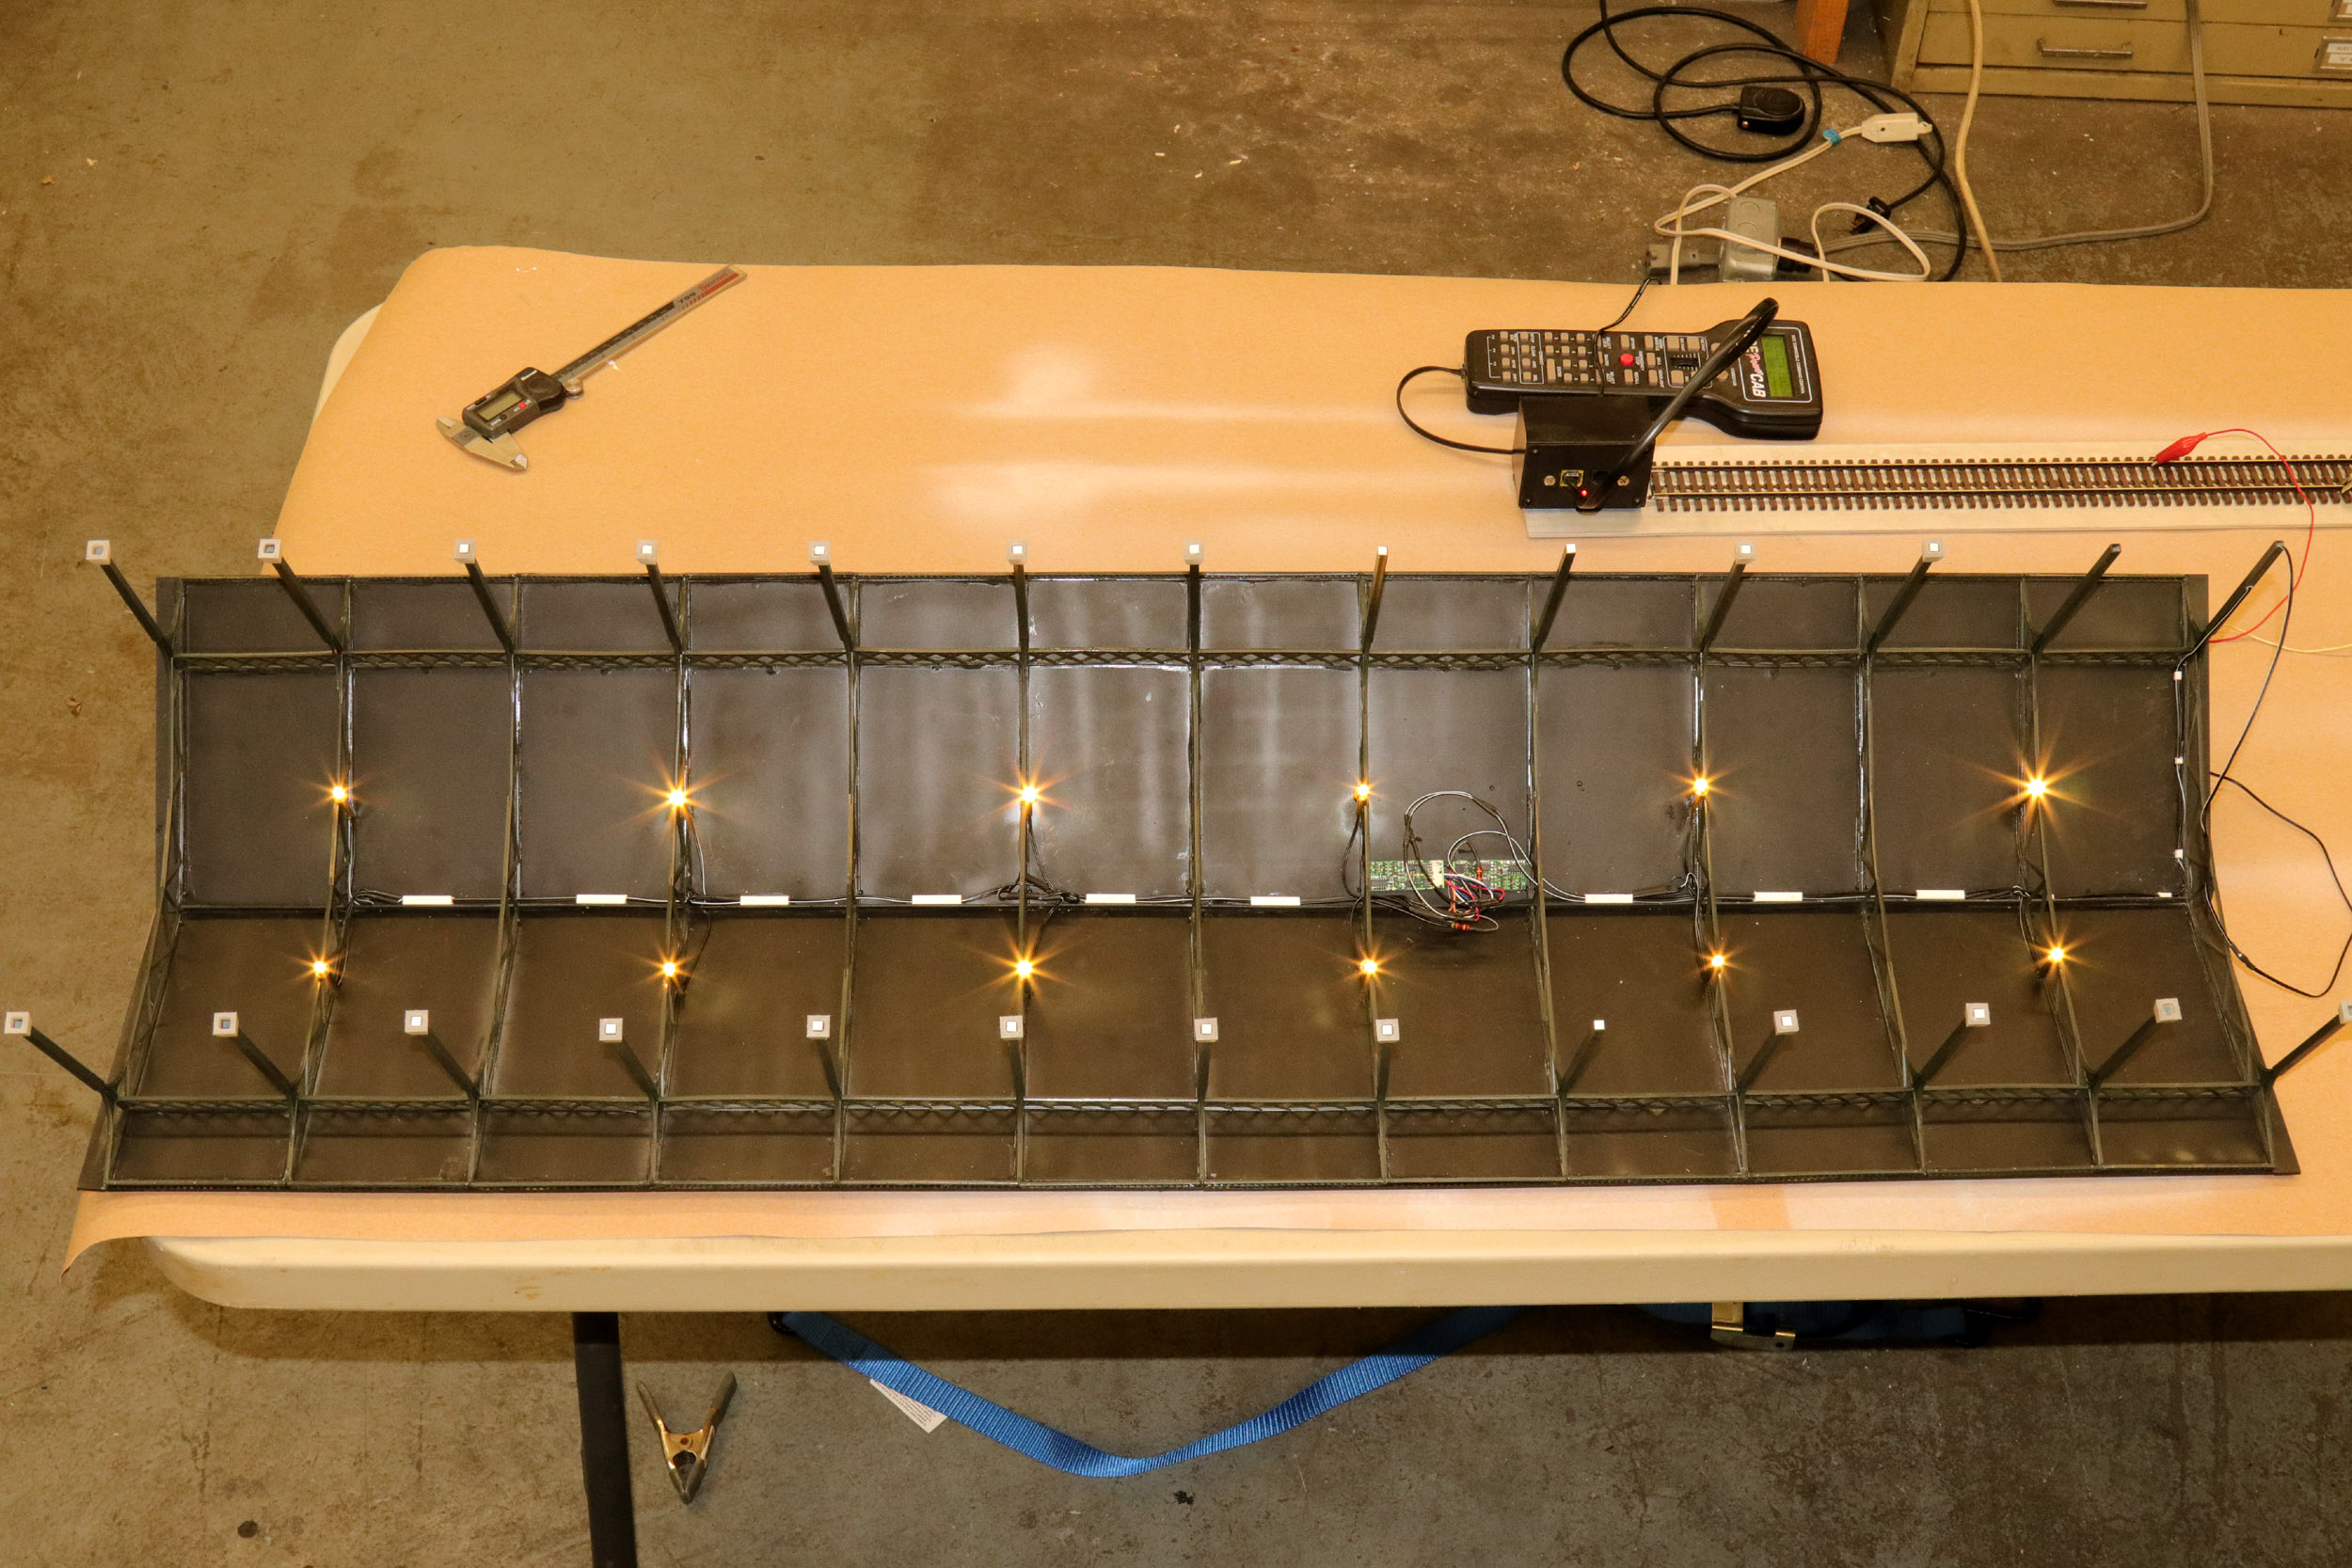
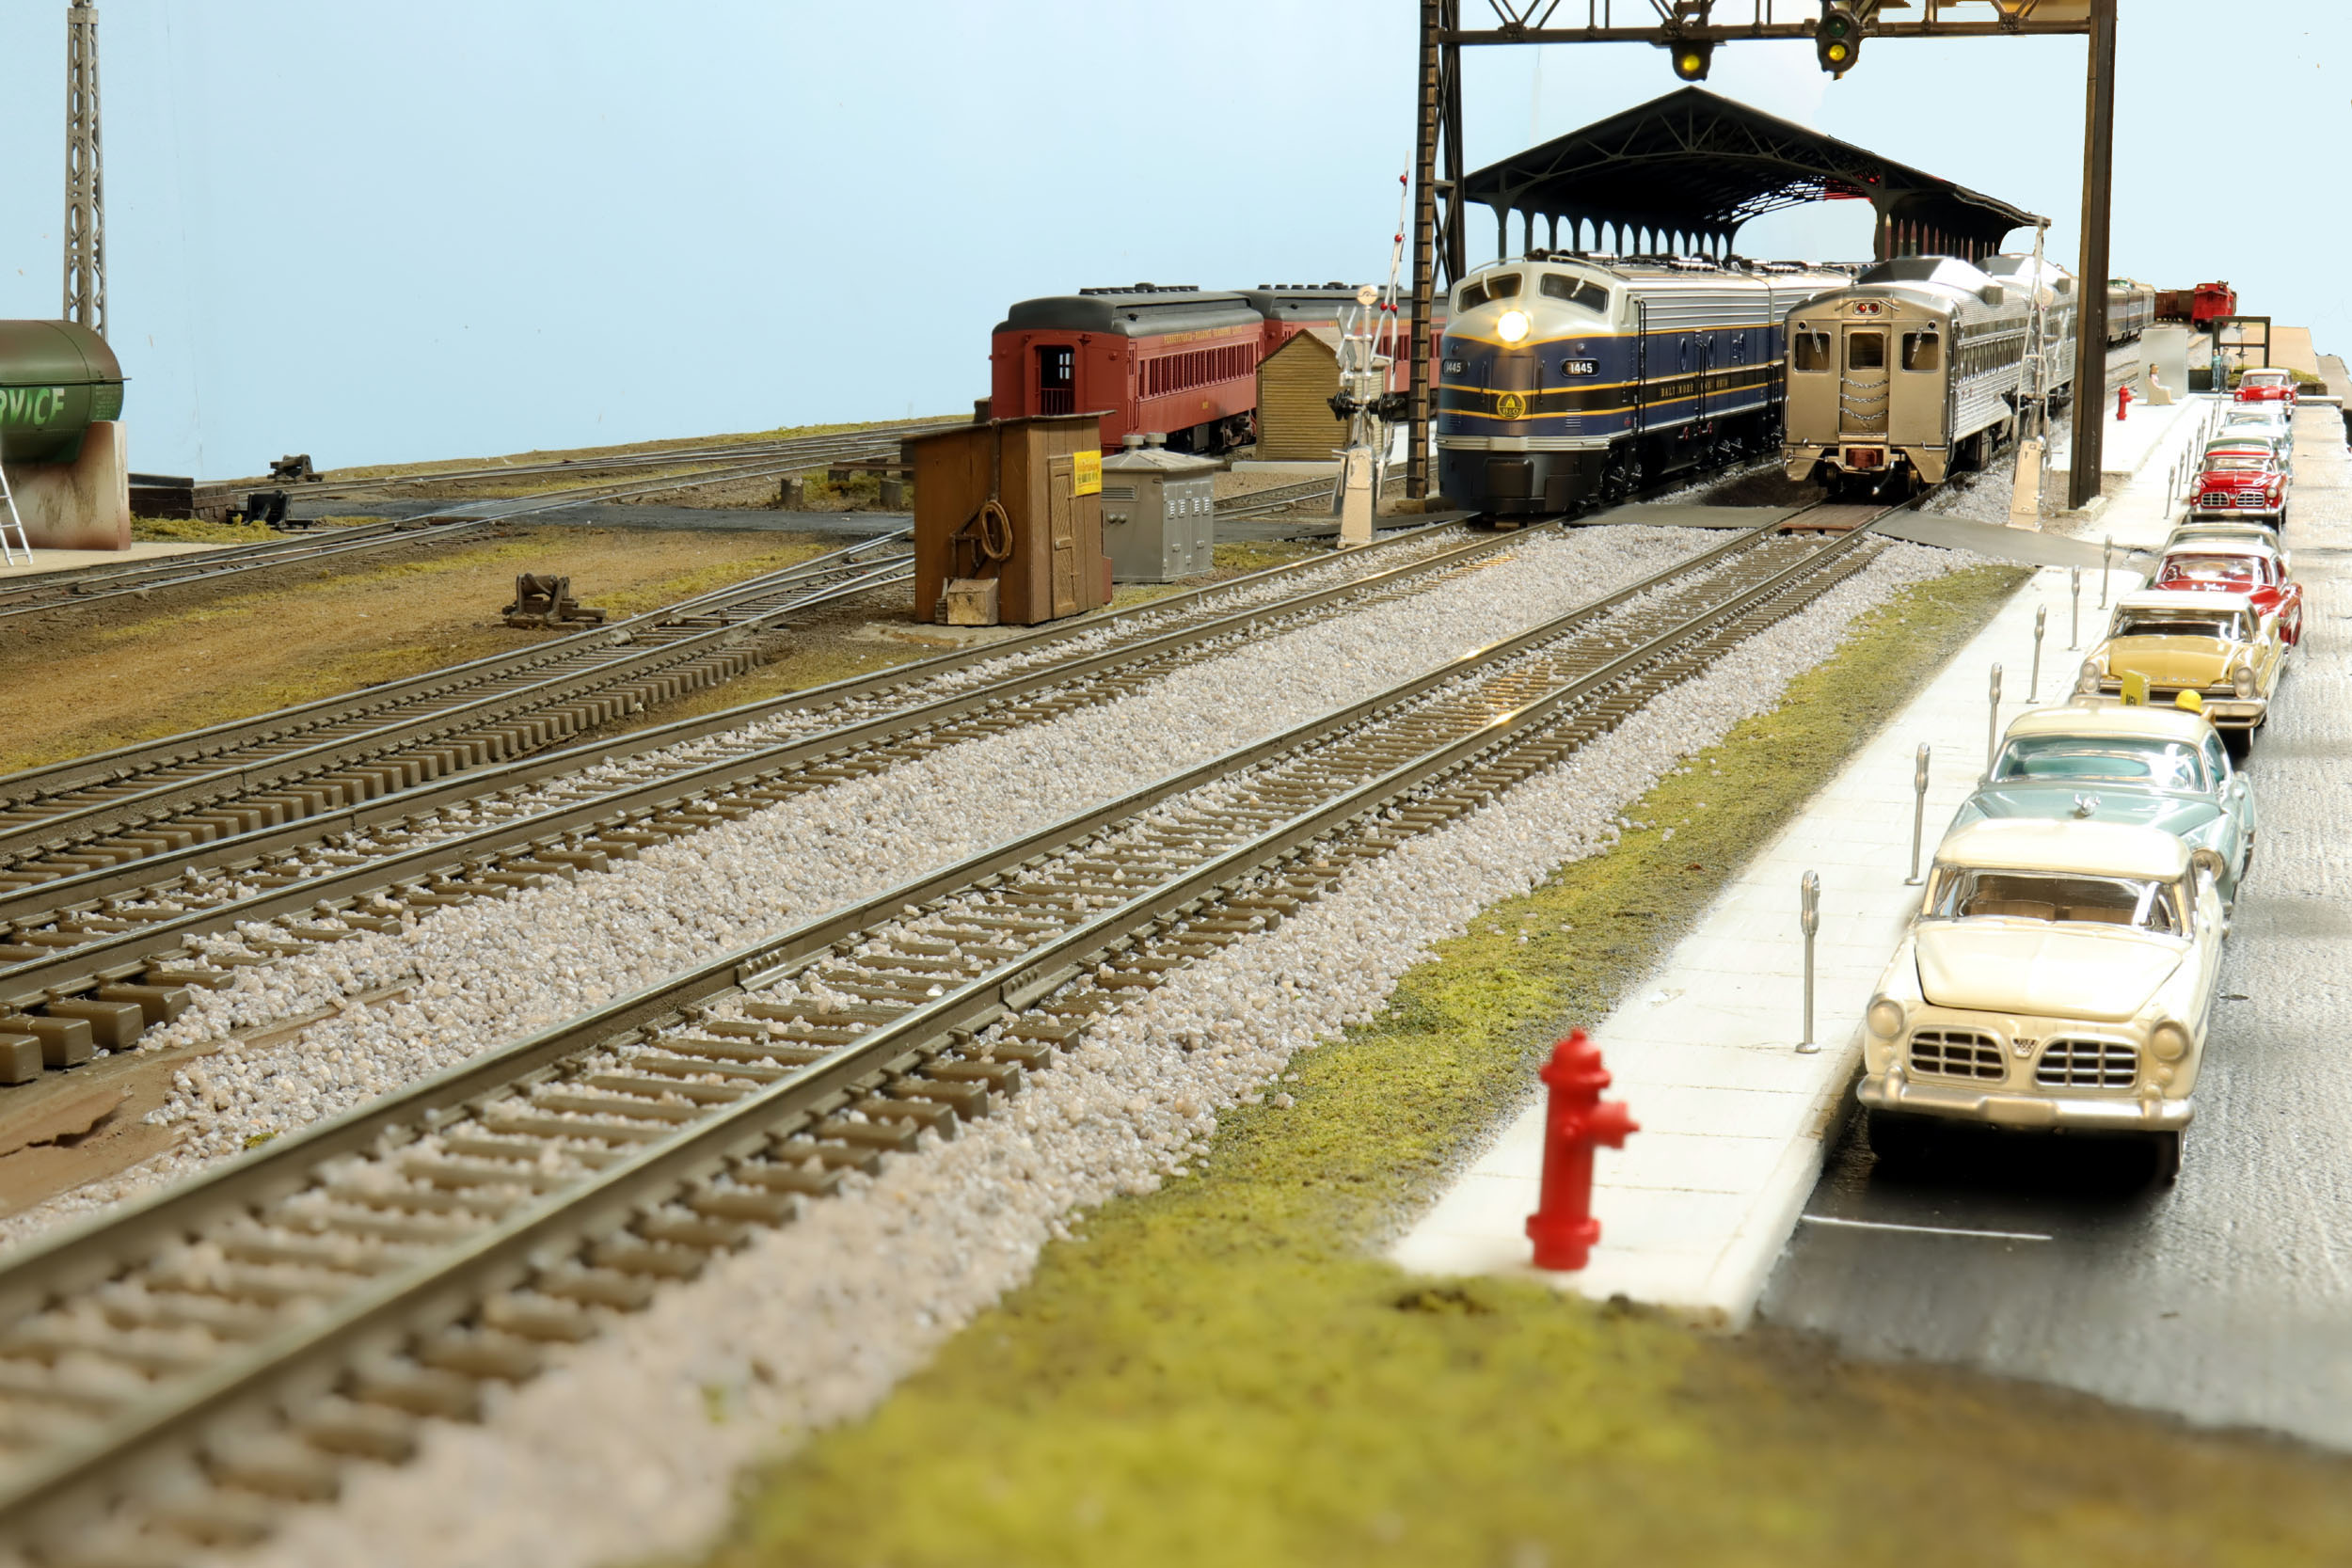
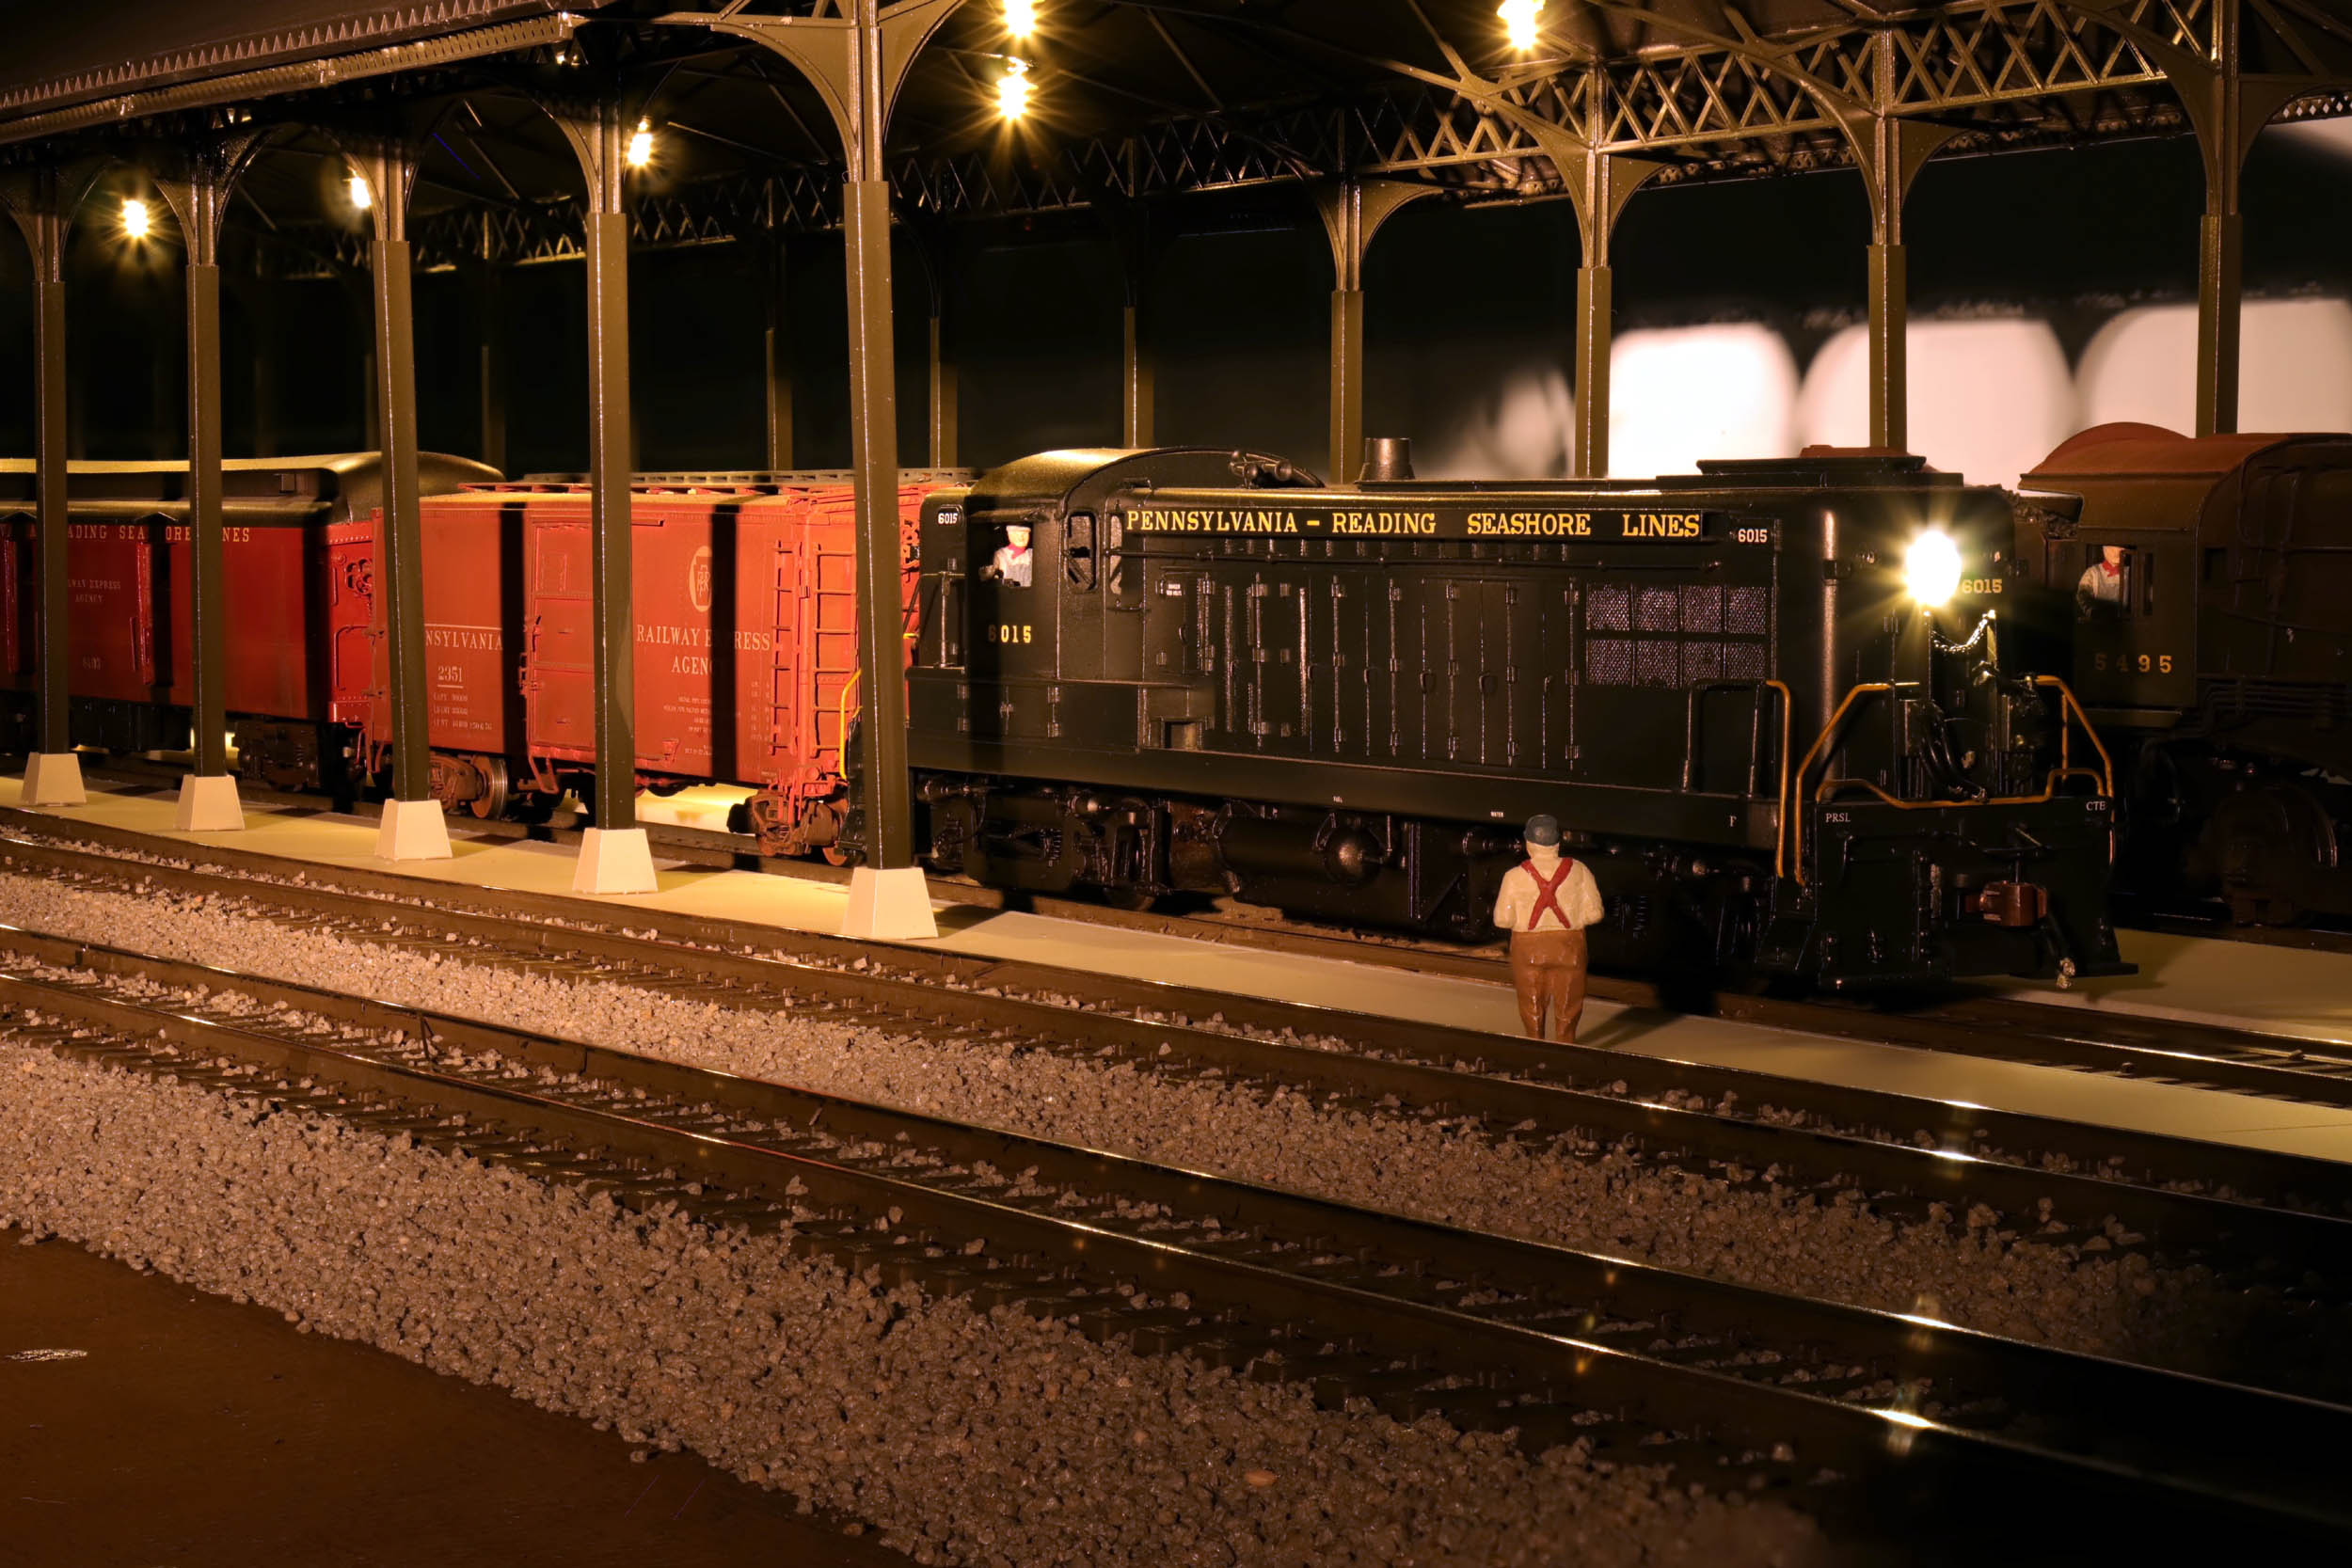
These 2 photos are the same set up with but at right is with
half the basement lights turned off. I am rather happy with them. More “night”
photos are coming.
And so this ends the somewhat obsessive 6 week
layout building binge likely for a while. The backdrops need work and
repainting. The ballast needs to be completed.
I will do small projects like finish a buiding or add other layout
details. But now I go down to run trains and look at the layout almost like
someone else did the work. I can’t believe I DID all that….

Added
4-6-21
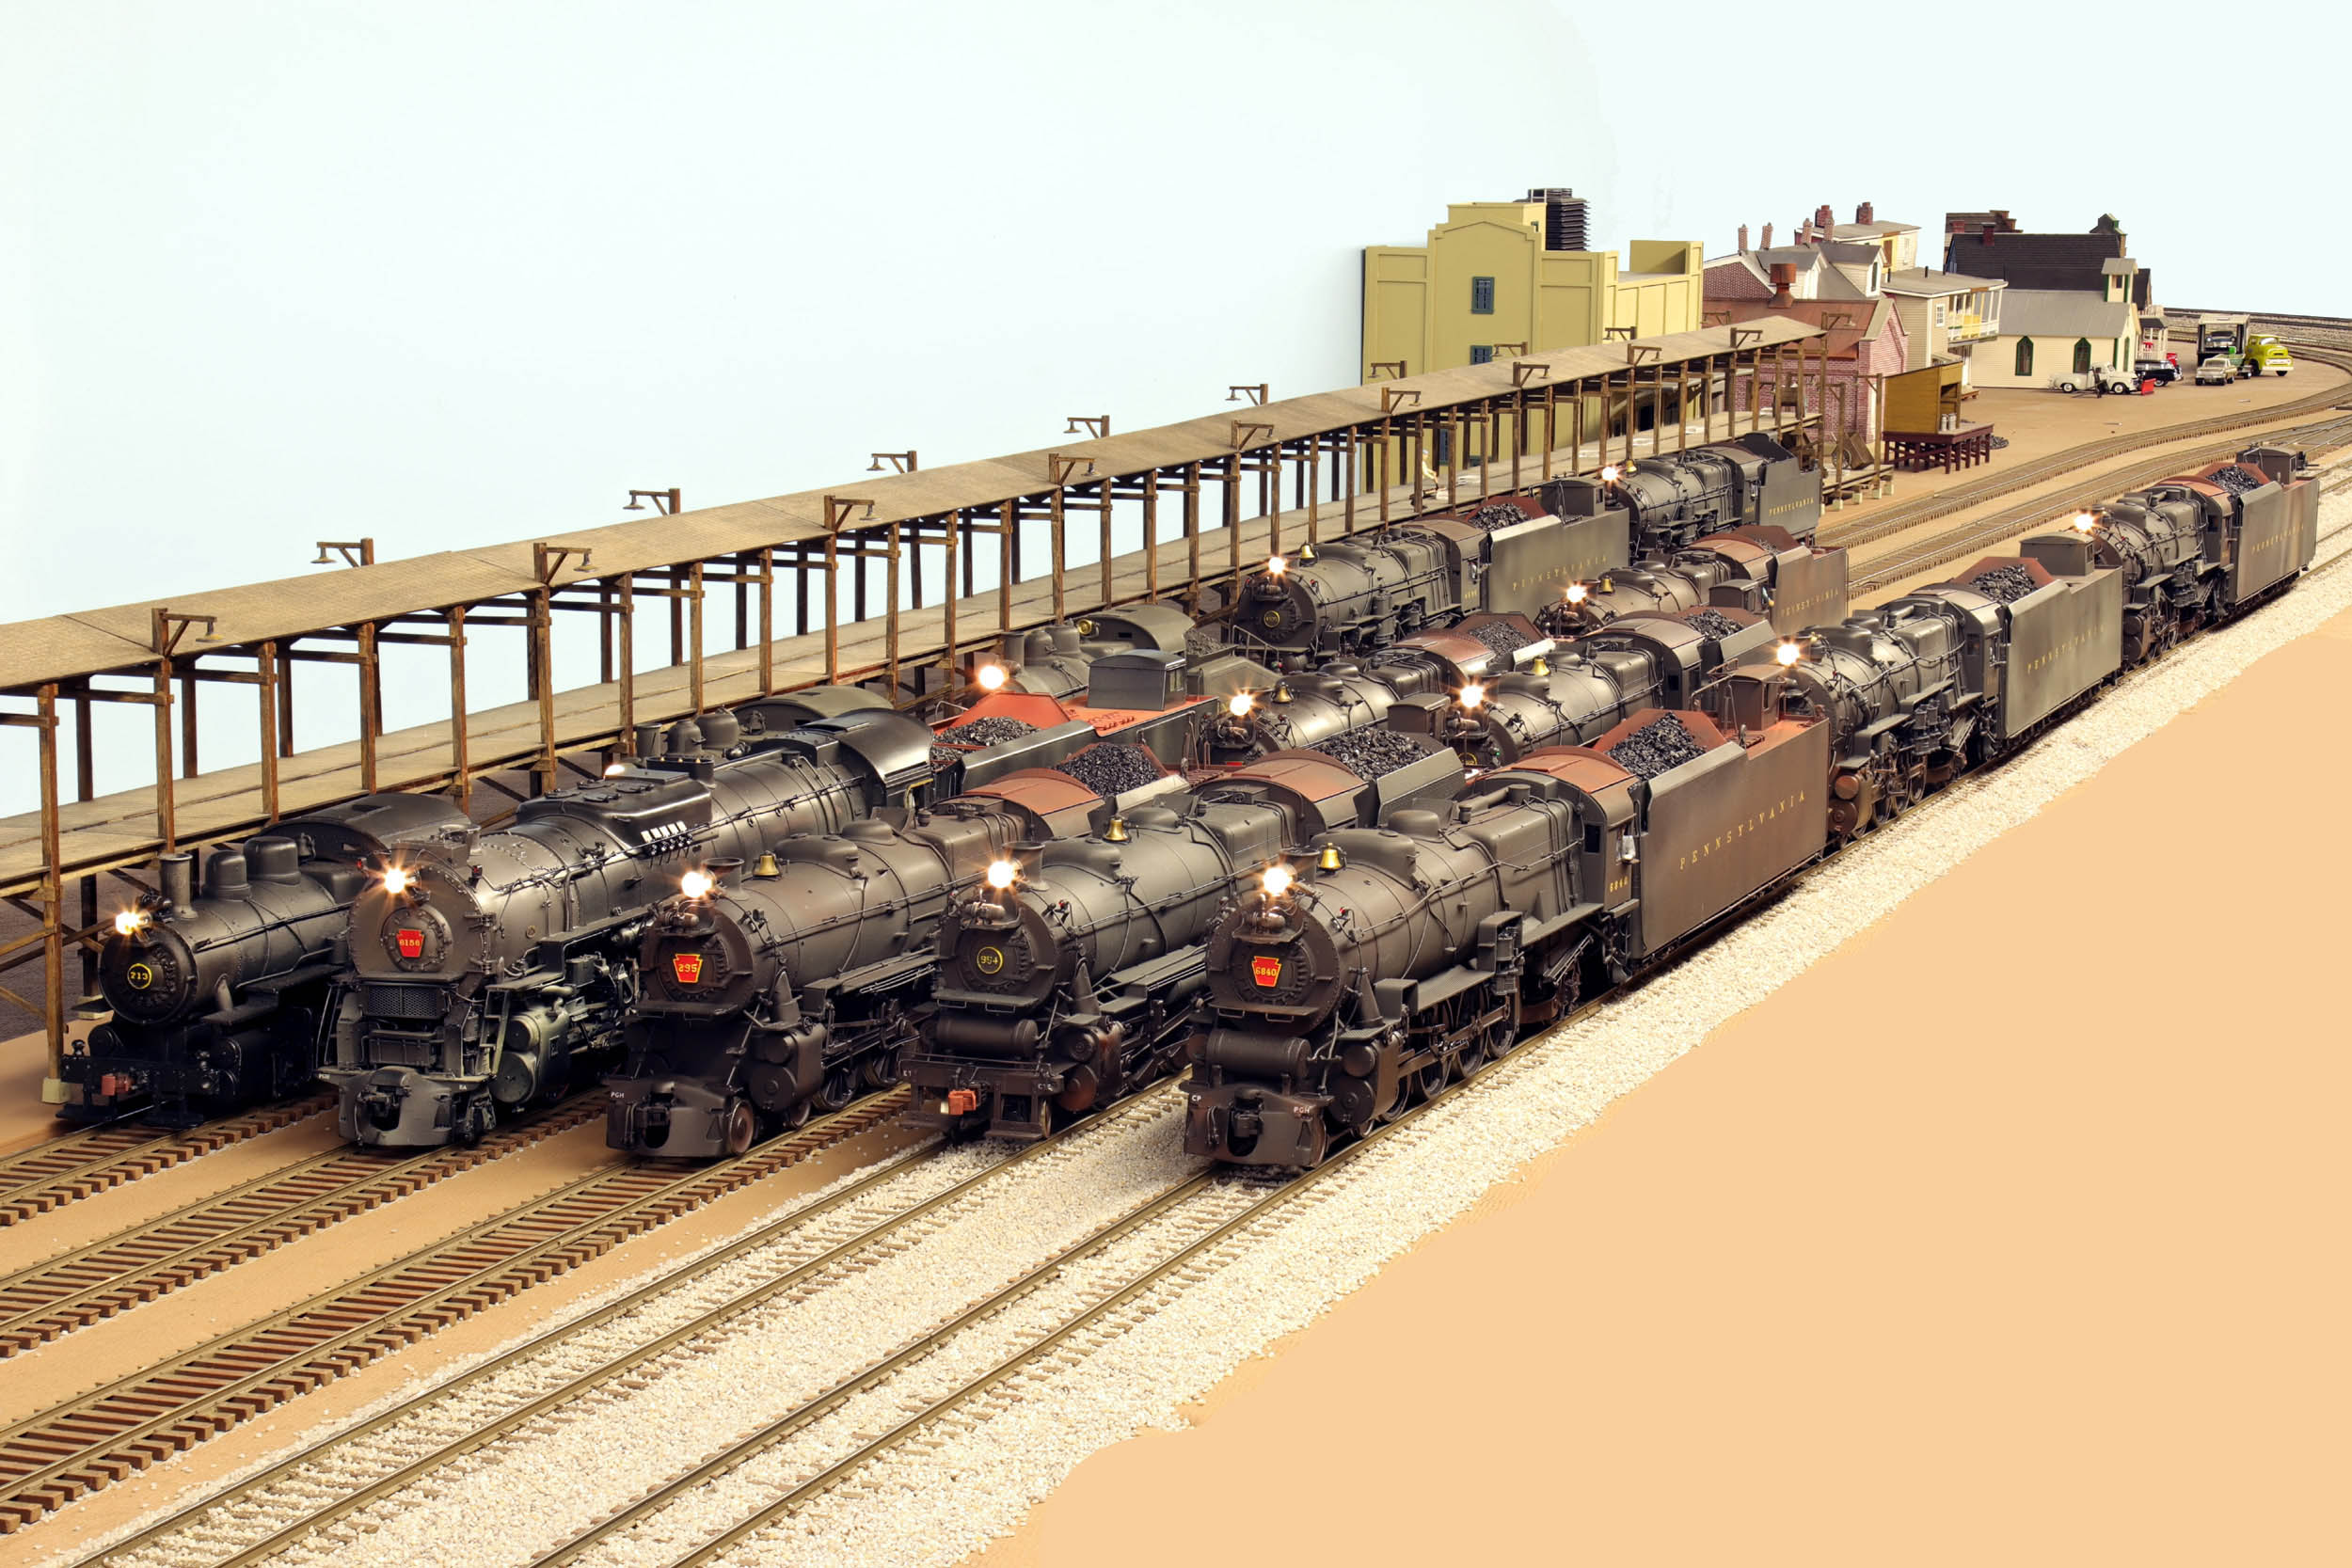
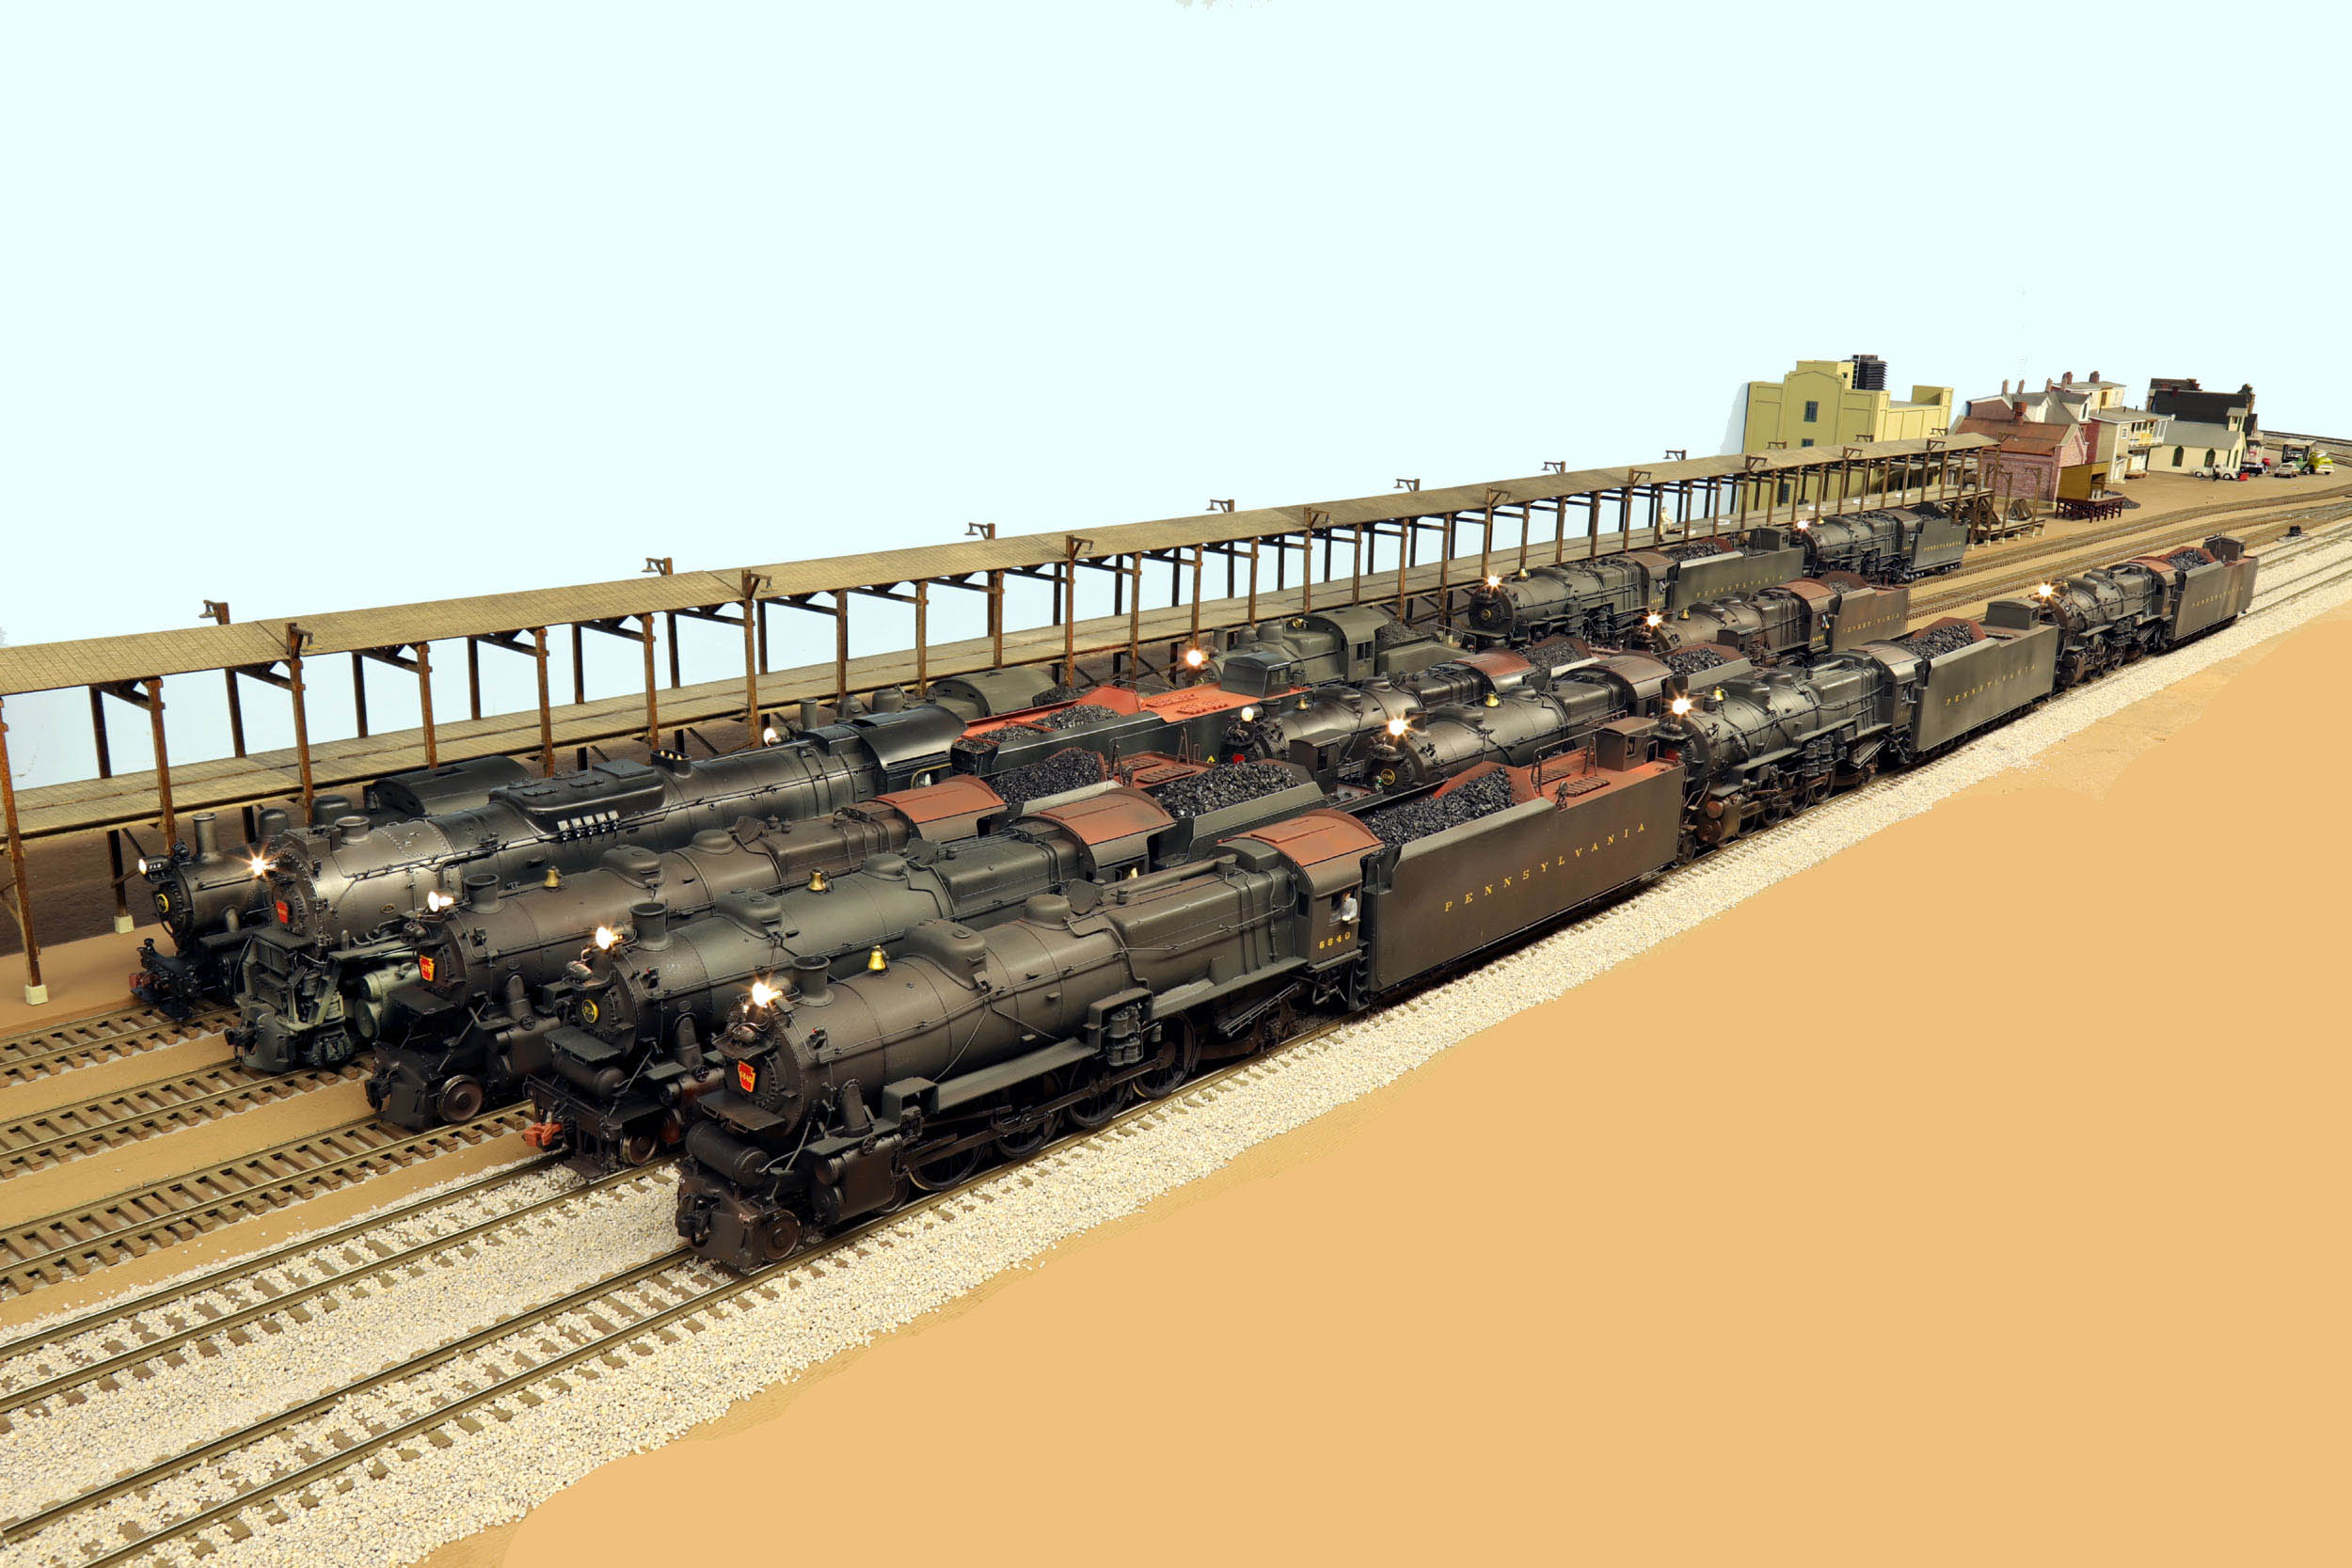
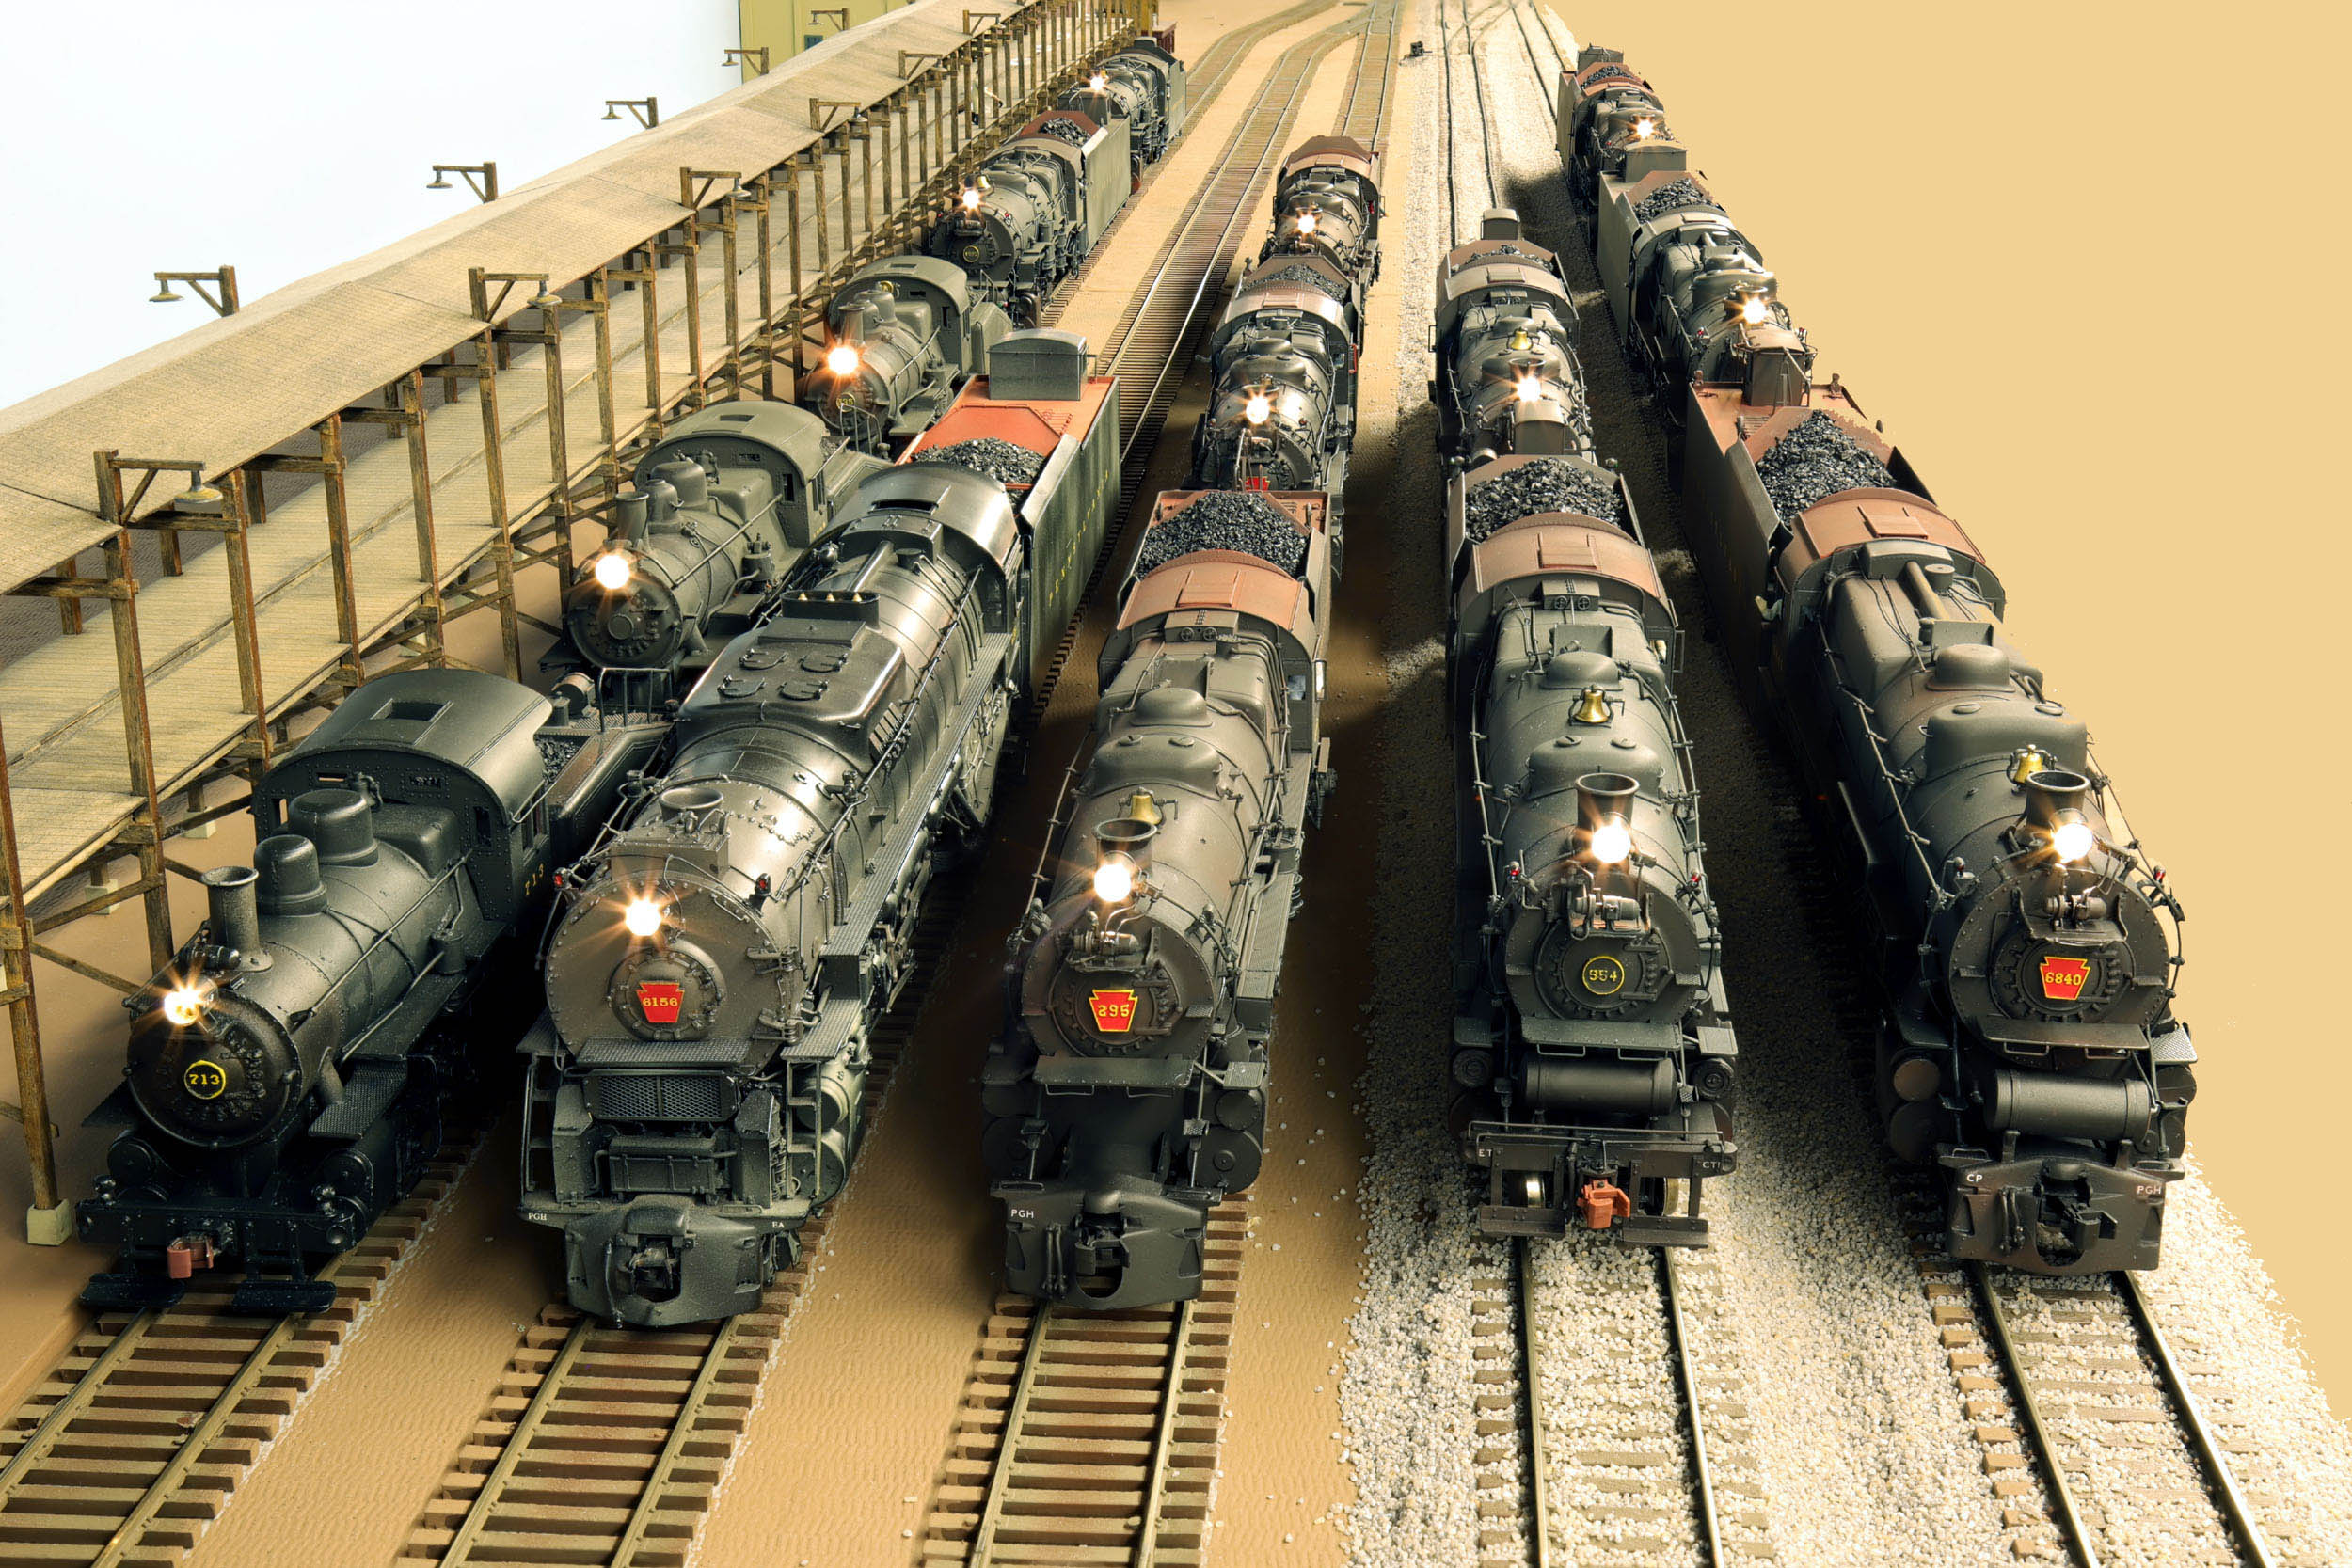
PRR Alphabet 2021 Version
With
the completion of my last 3 brass PRR steam locos, K4 295, M1 6840 and M1b 6717 I got all
the PRR steam locos out for a portrait. One more loco E6 460 will join the
group at some point but that is still in need of lots of work. They are in
alphabetical order in the photos. This is all representing 30ish years of my
modeling work.
1)
A5
2)
B6
2)
I1
1)
J1
3)
K4
2)
L1
3)
M1
The
A5 and B6 locos are diecast. Everything else is brass. I did not paint 3 locos
pictured but 2 of the 3 could get repainted in the future.

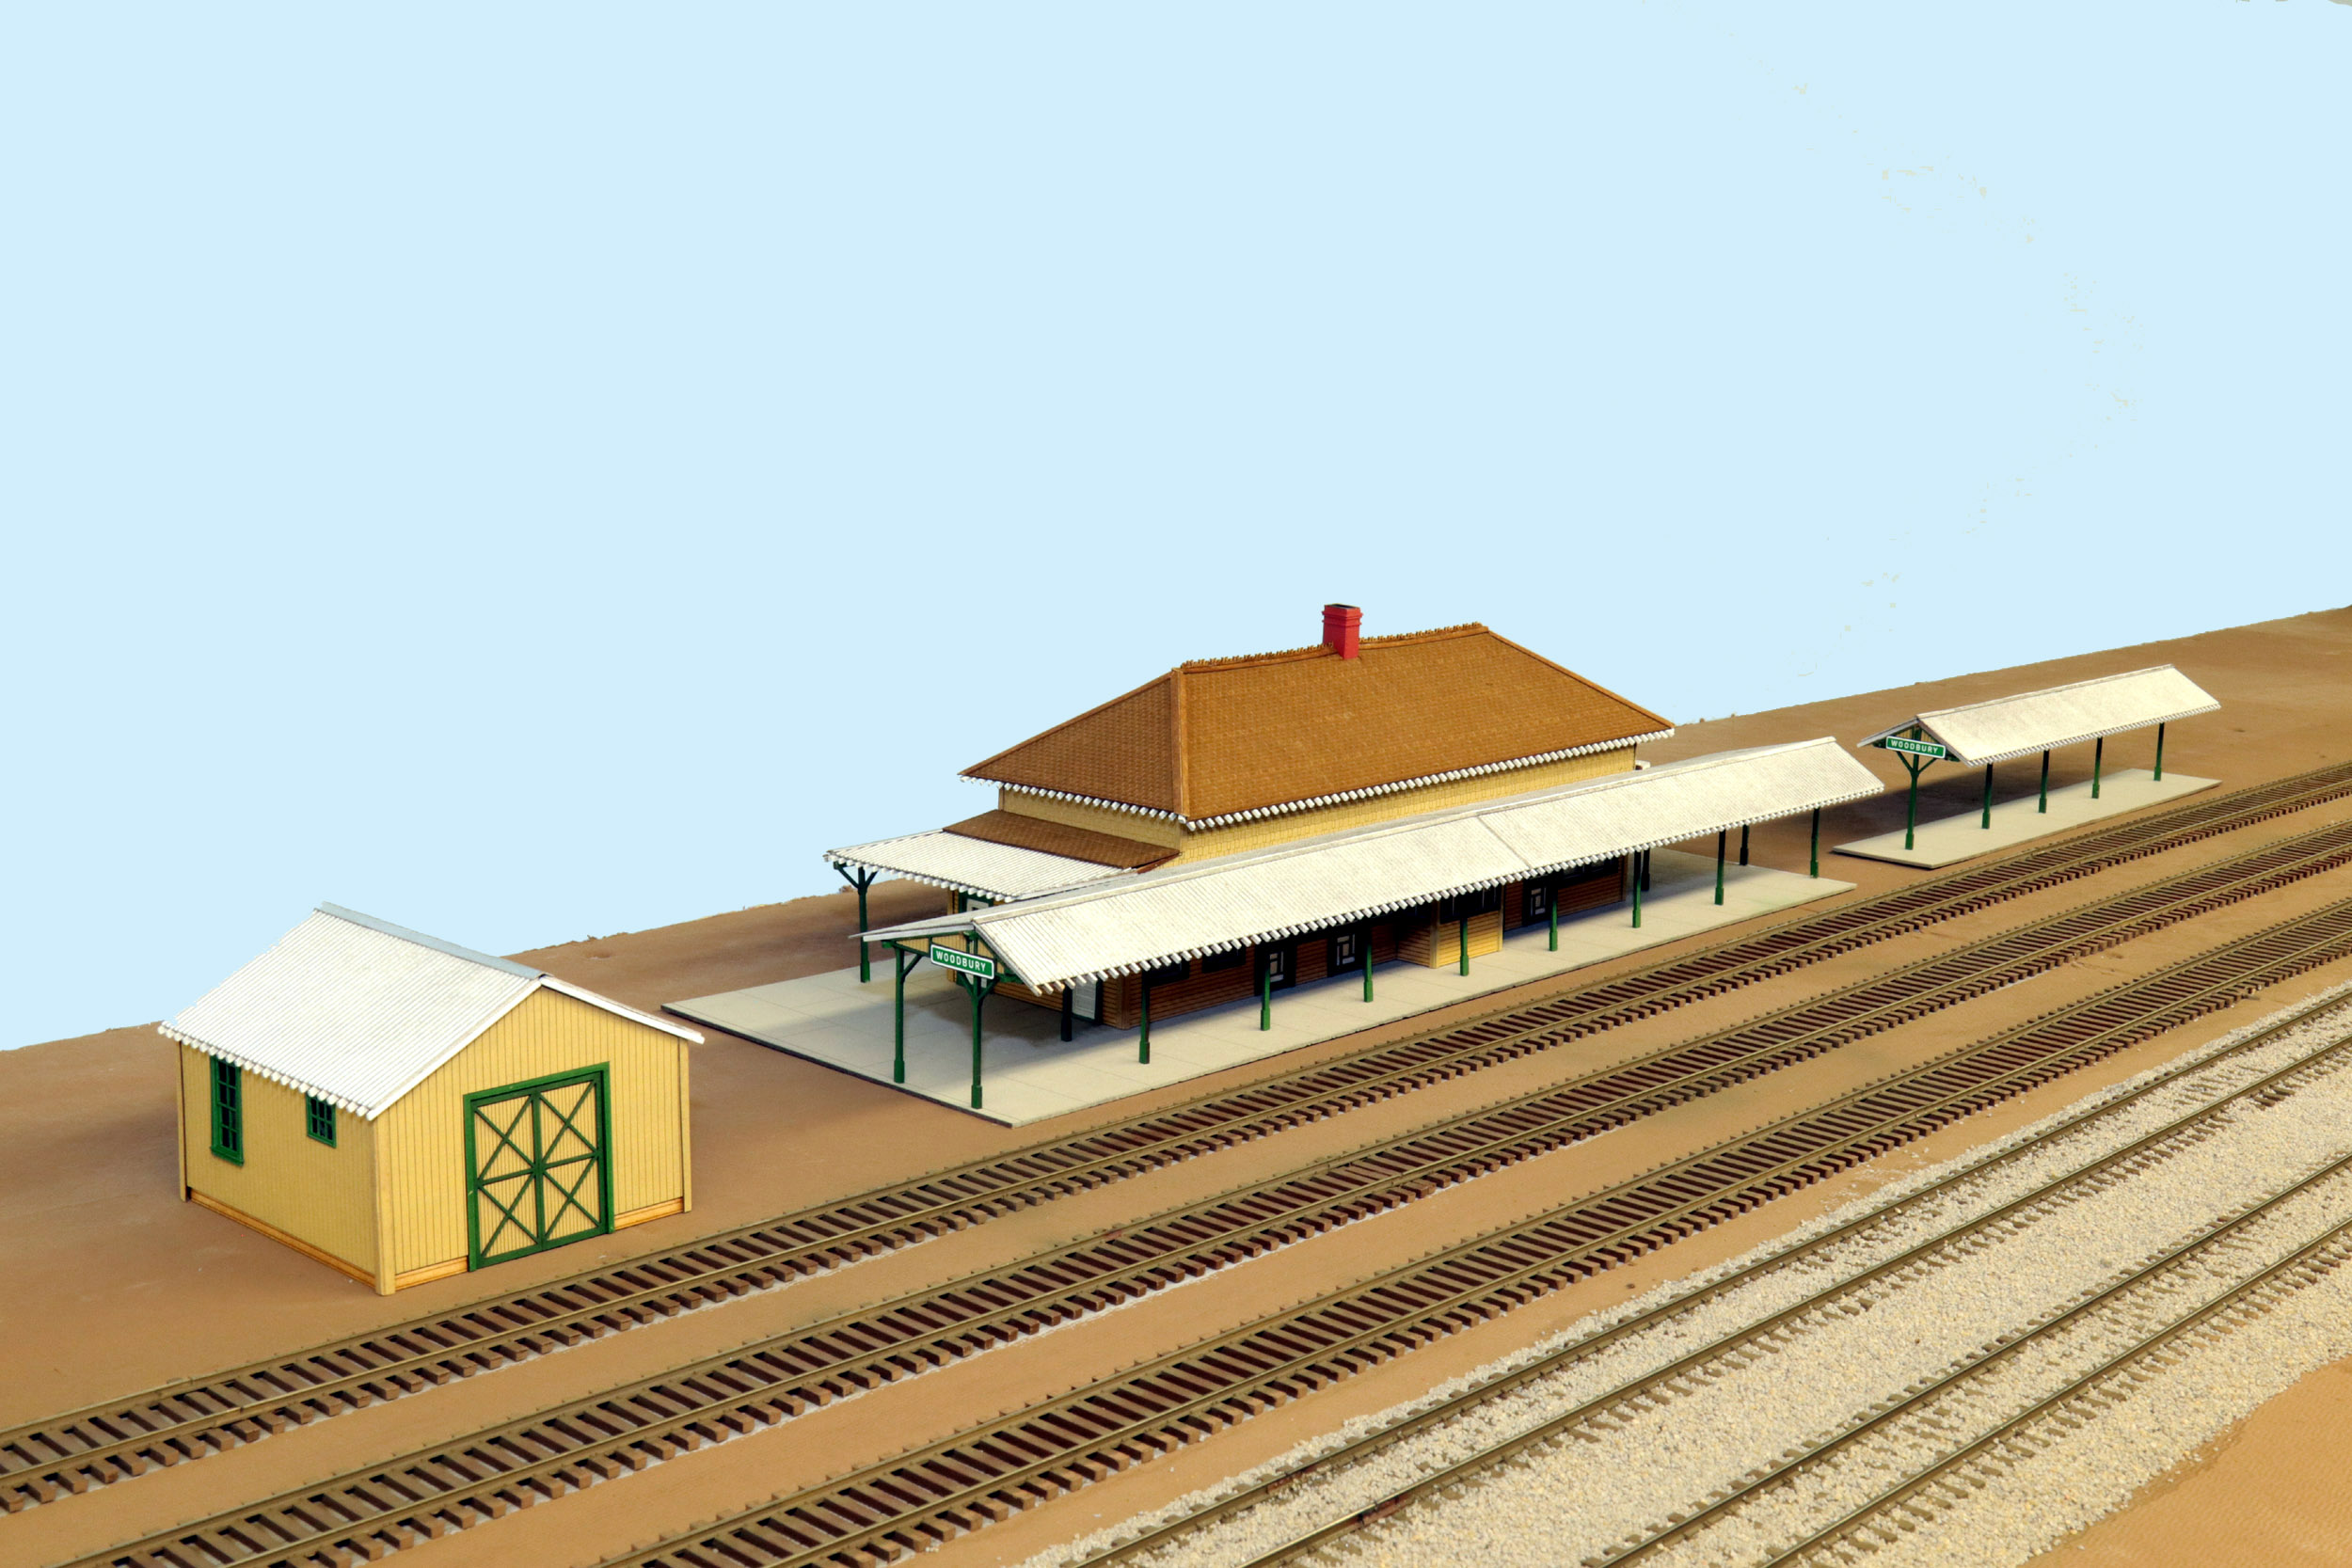
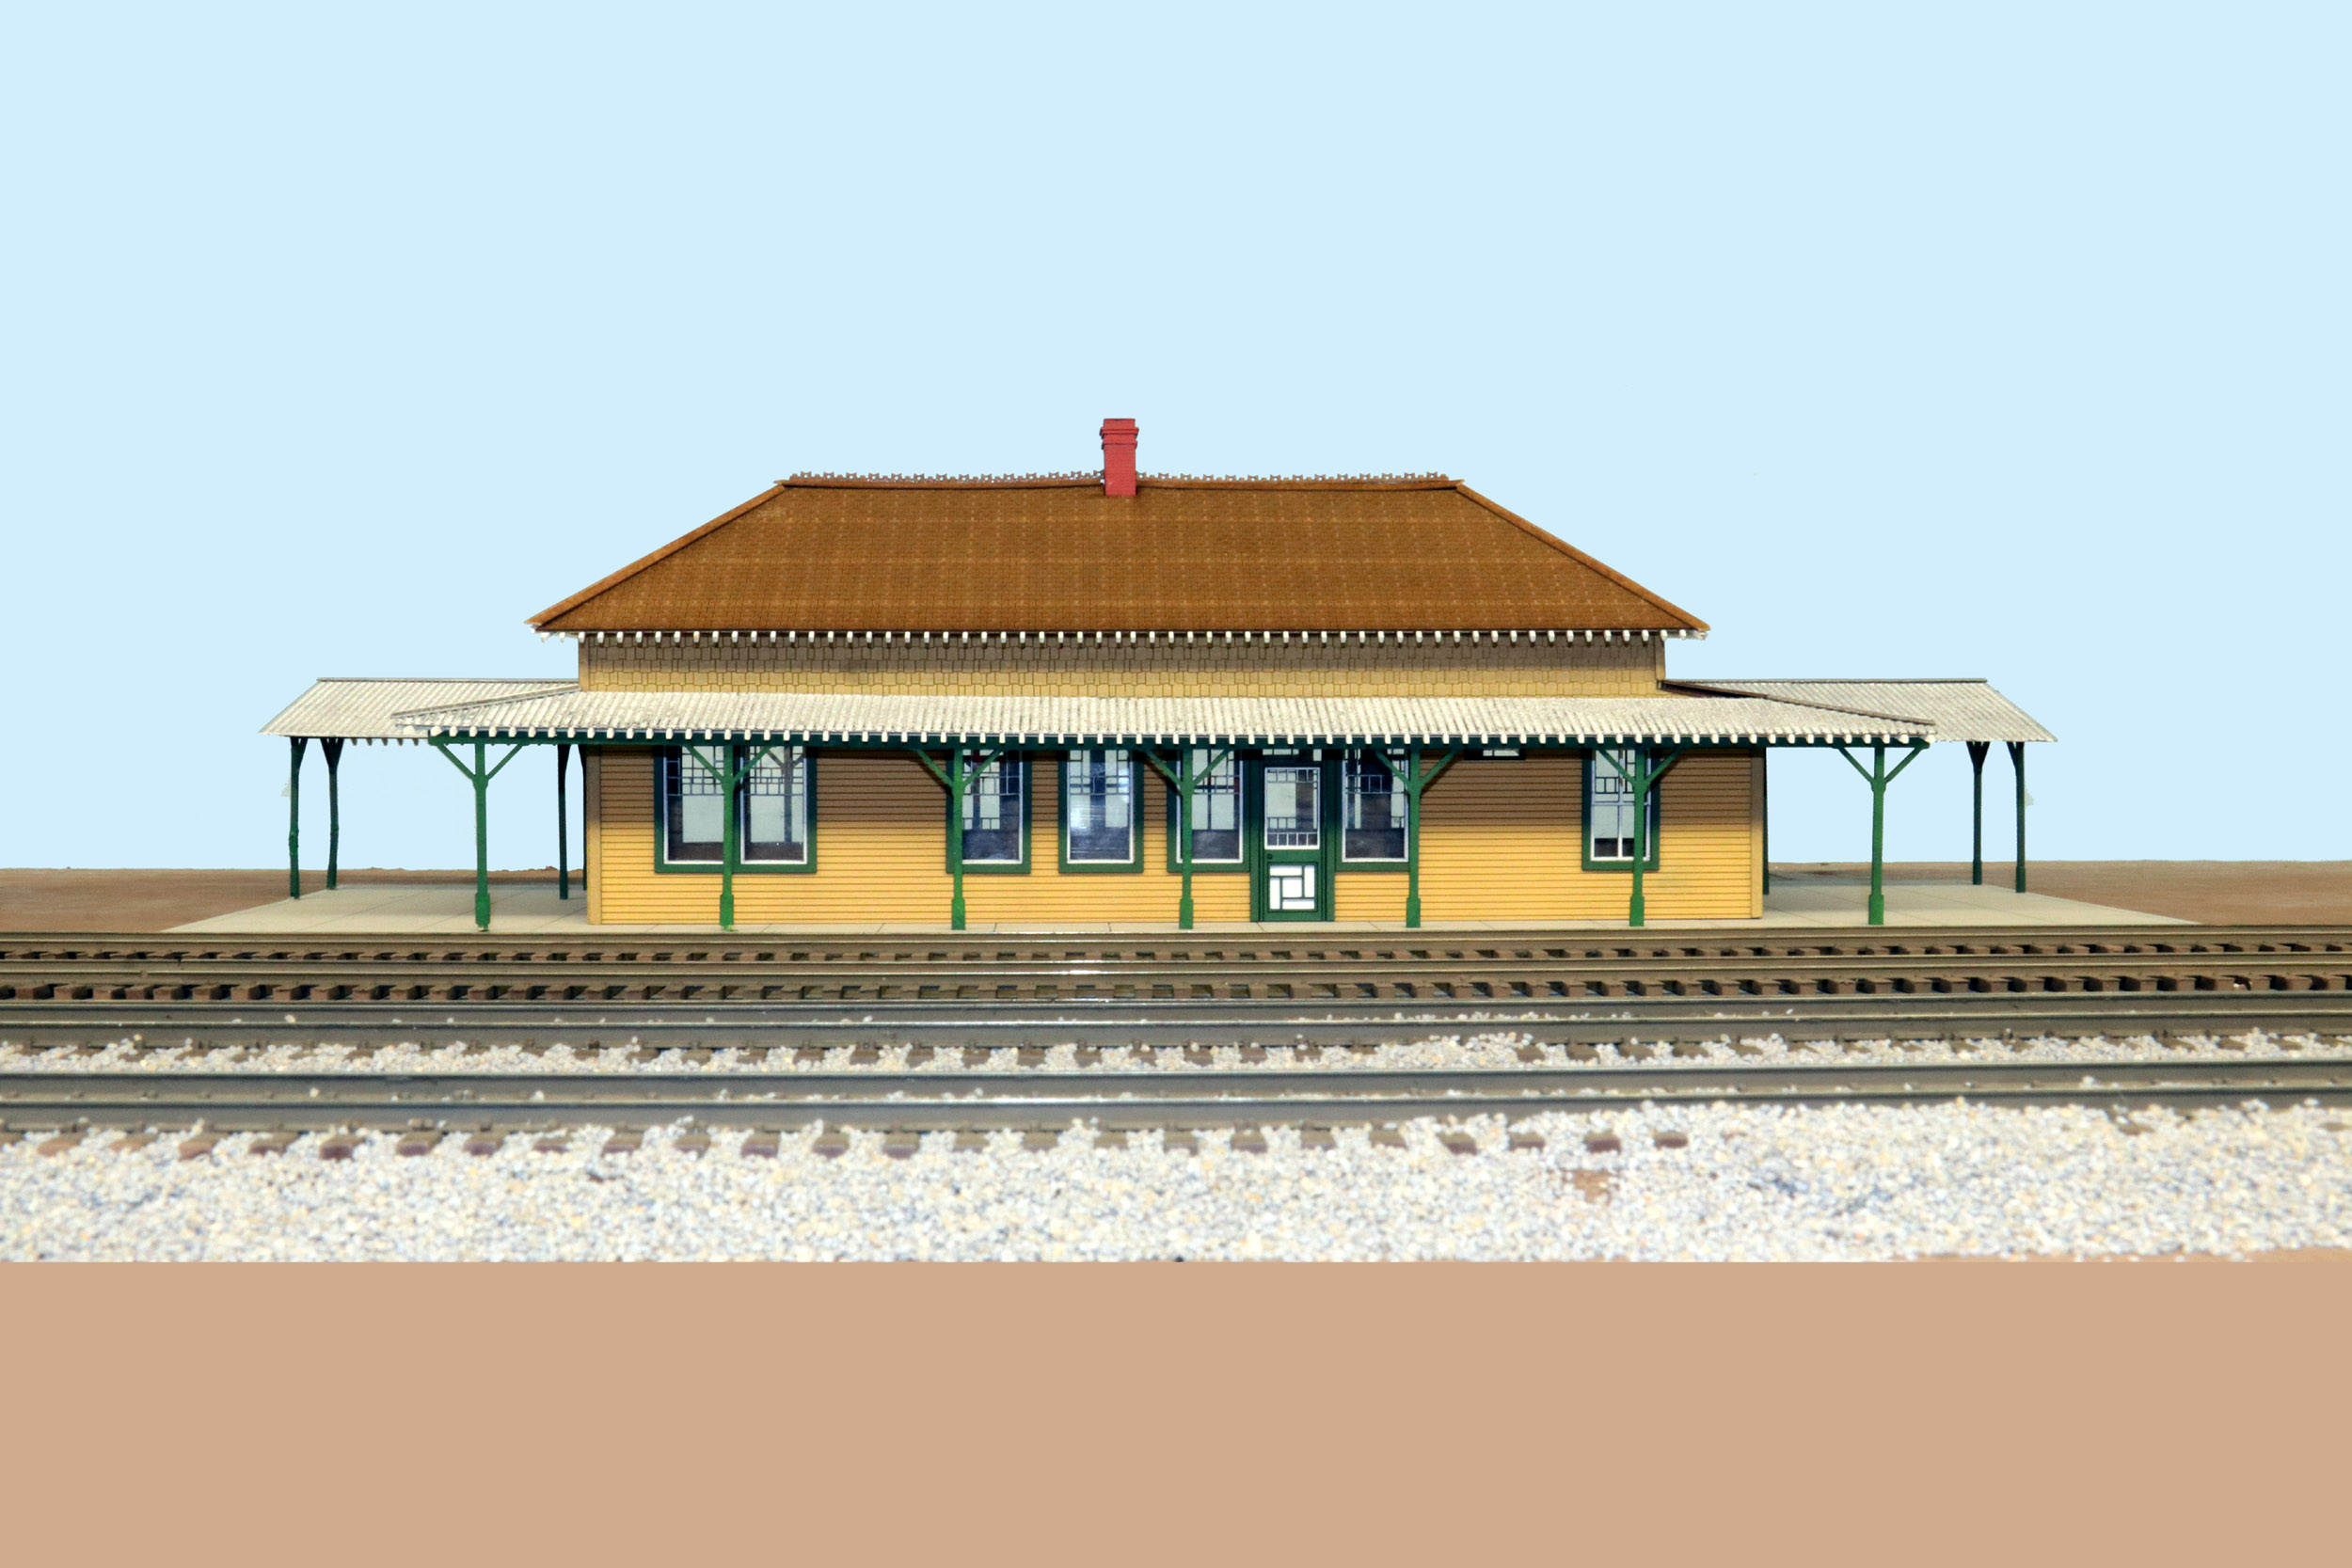
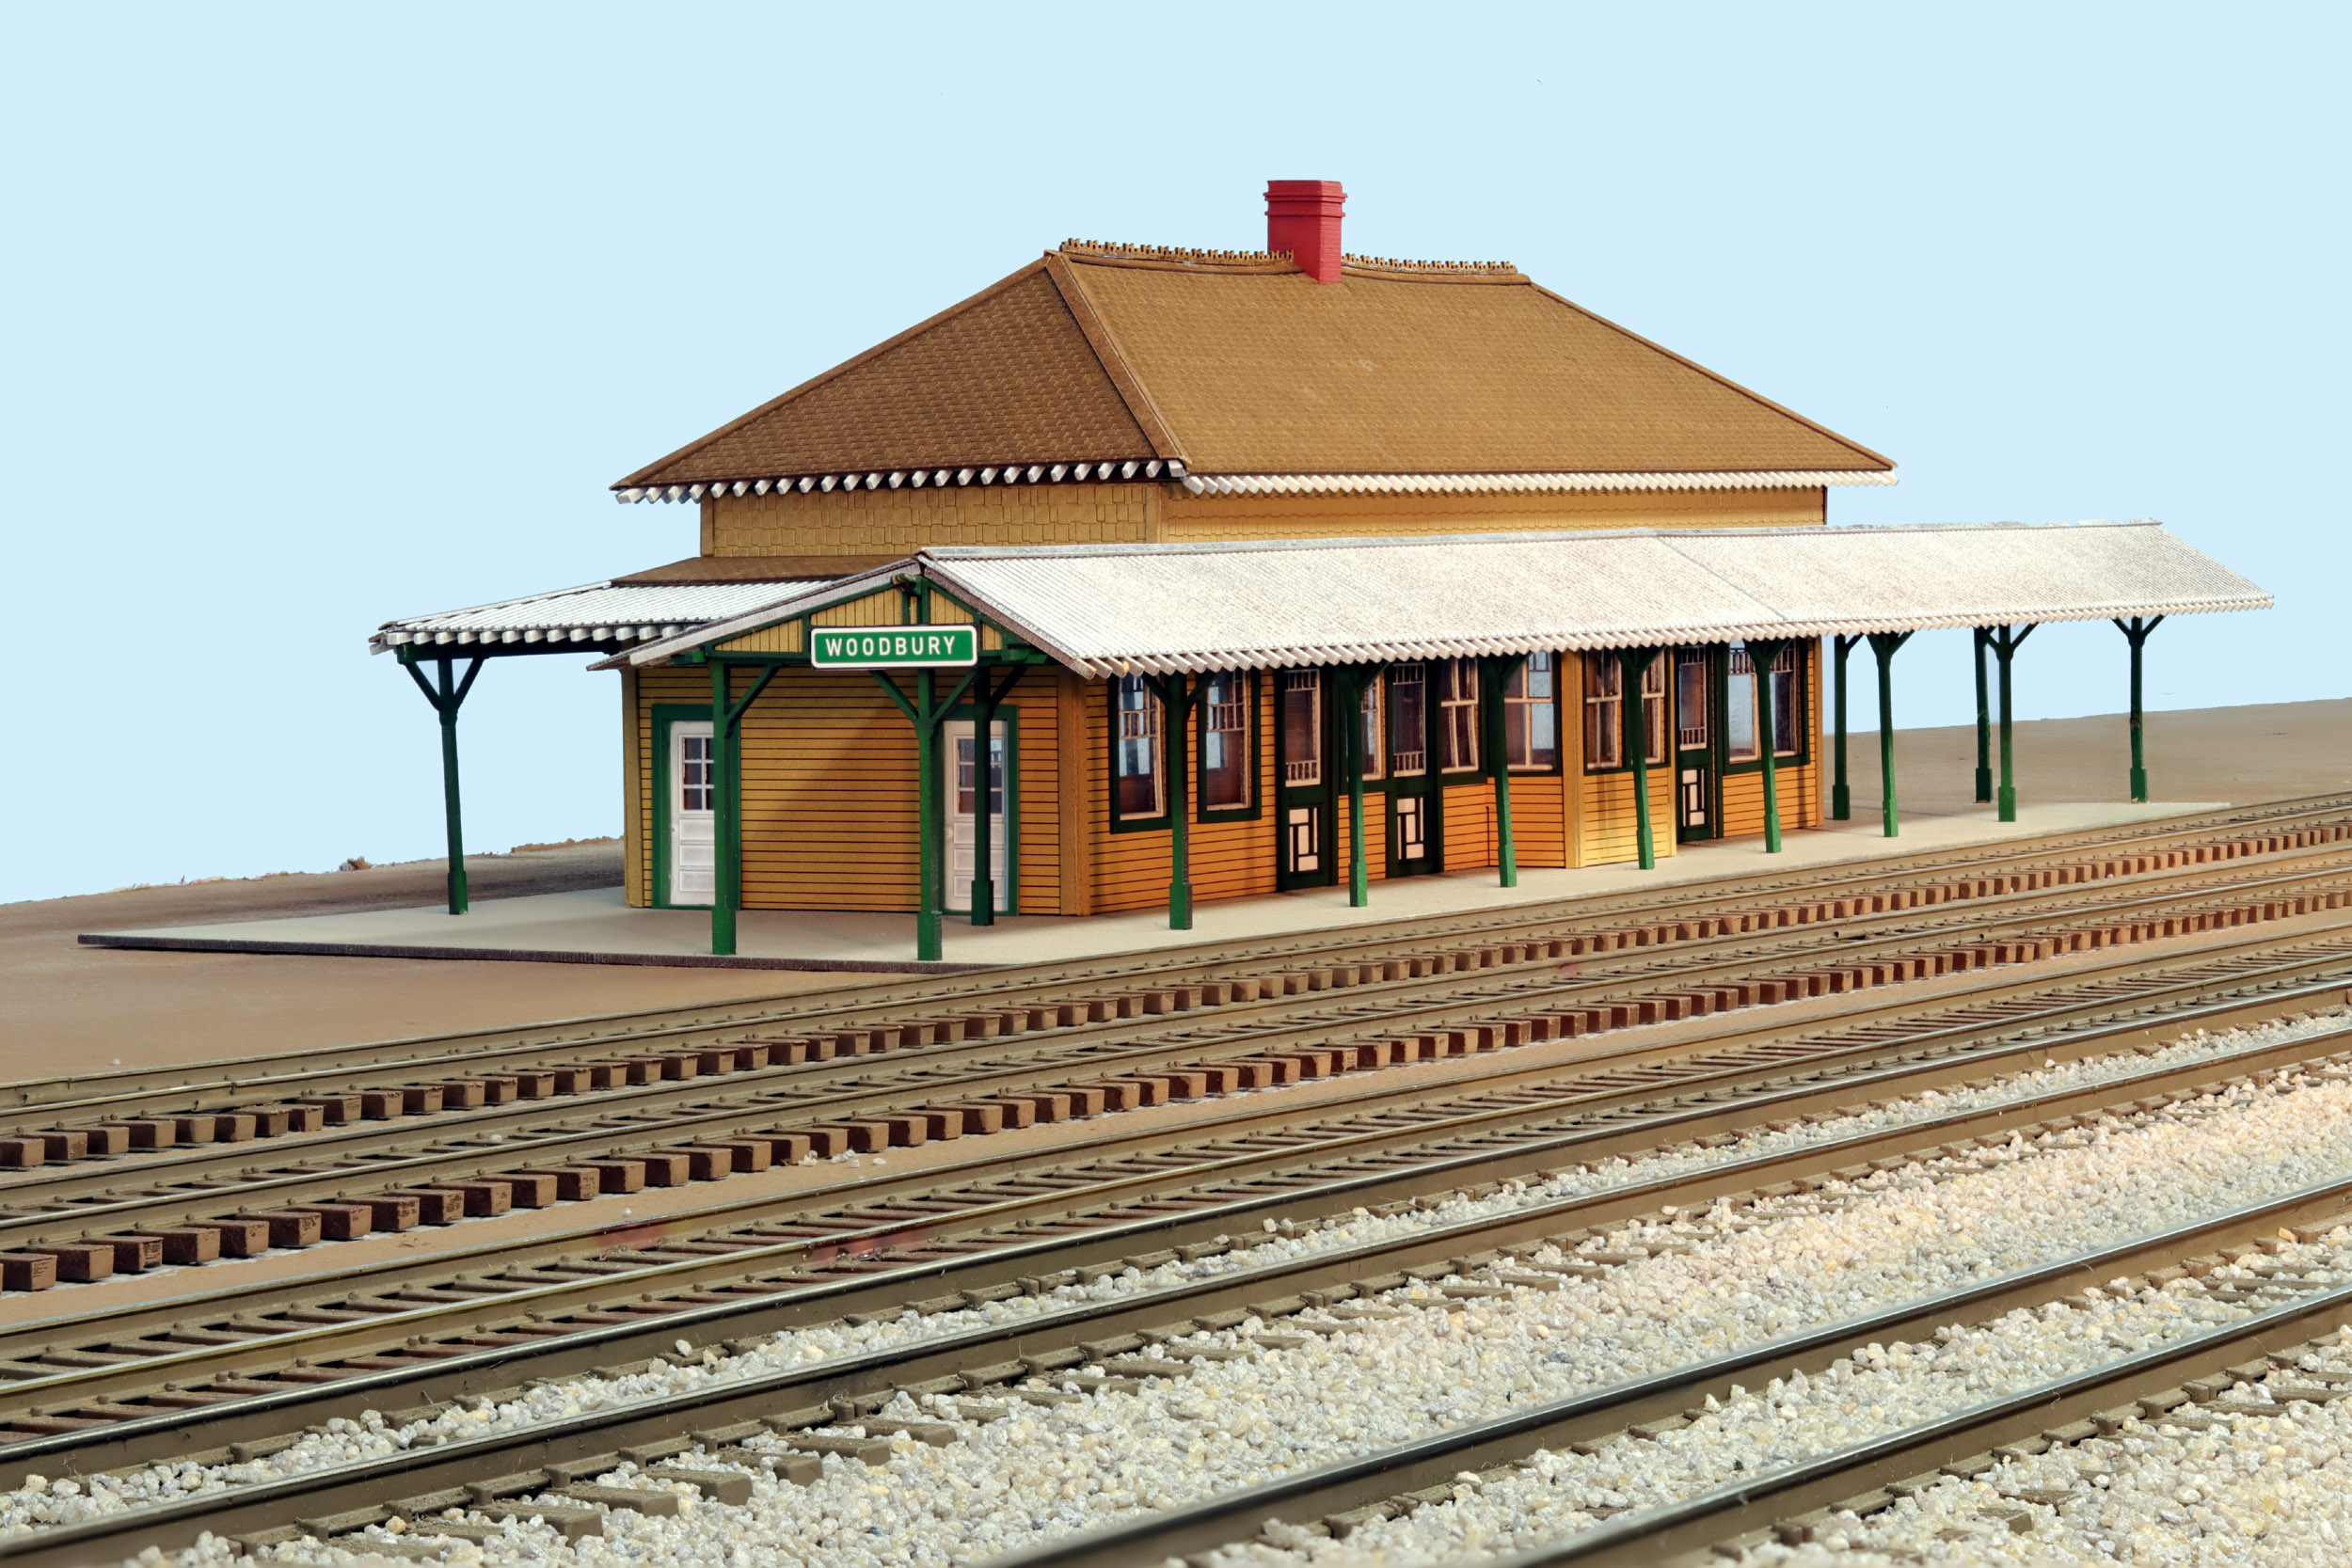
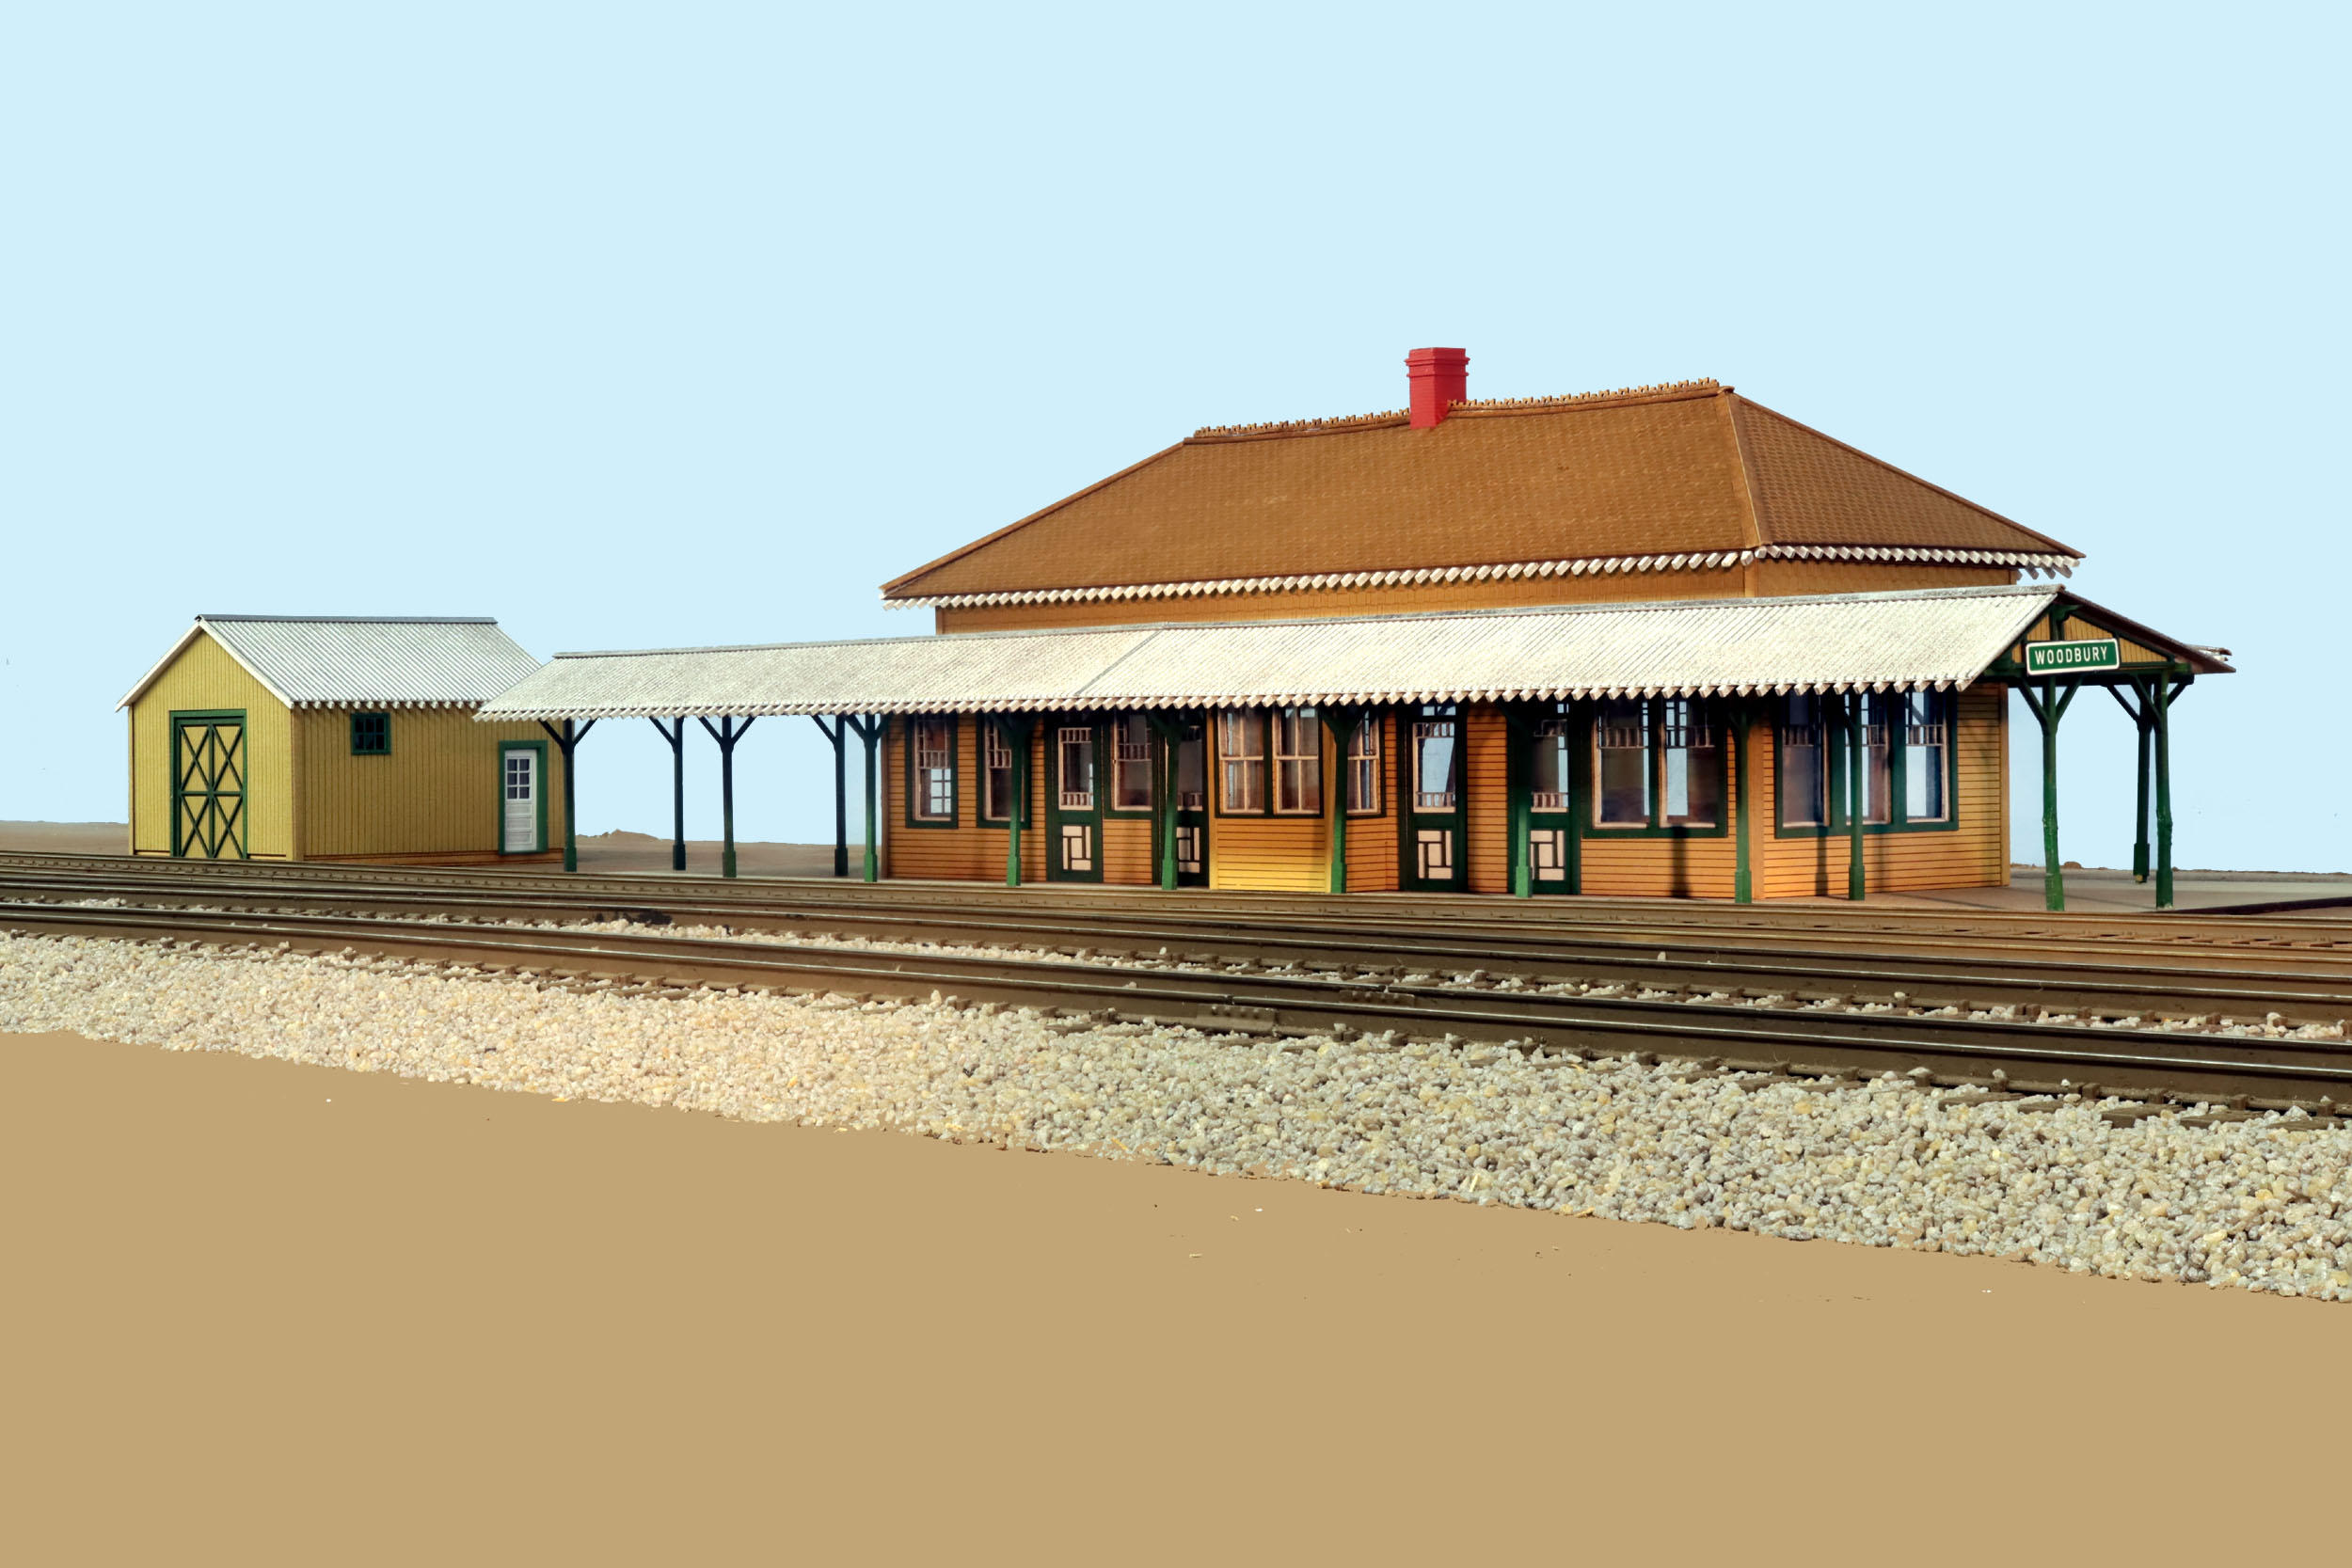
Woodbury
Station
Added
7-16-21
I do work on trains during the summer but they are usually
smaller projects. With the winter and spring getting a lot of rolling stock
projects done I am doing small things to the layout again. Some new ballasting
and ballast repair may get done. I decided to time share the ice platform
siding when Woodbury station was announced from https://www.rightontrackmodels.com/store.html
This is the second building I bought from Right On
Track Models. I am beyond extremely happy with their buildings. Unlike many
building kit manufacturers Rich will assemble as well which is what I did. It
arrived ready to use. The ice platform and ice building went on the shelf for a
while. I only have so many sidings on my layout. There is a small chance I may
move the station to the left a bit so the ice platform can return keeping both
on the layout together. It makes sense to have a smaller town station that is
exactly opposite the big town station but not seen because of the backdrops.
Plus Woodbury station is my second favorite that still exists 3 miles away from
me. At 1 time Woodbury was a double tracked mainline that had a passenger shed
for the northbound trains. I do not have room to use that passenger shed. I
will be adding details like people and dachshunds soon!
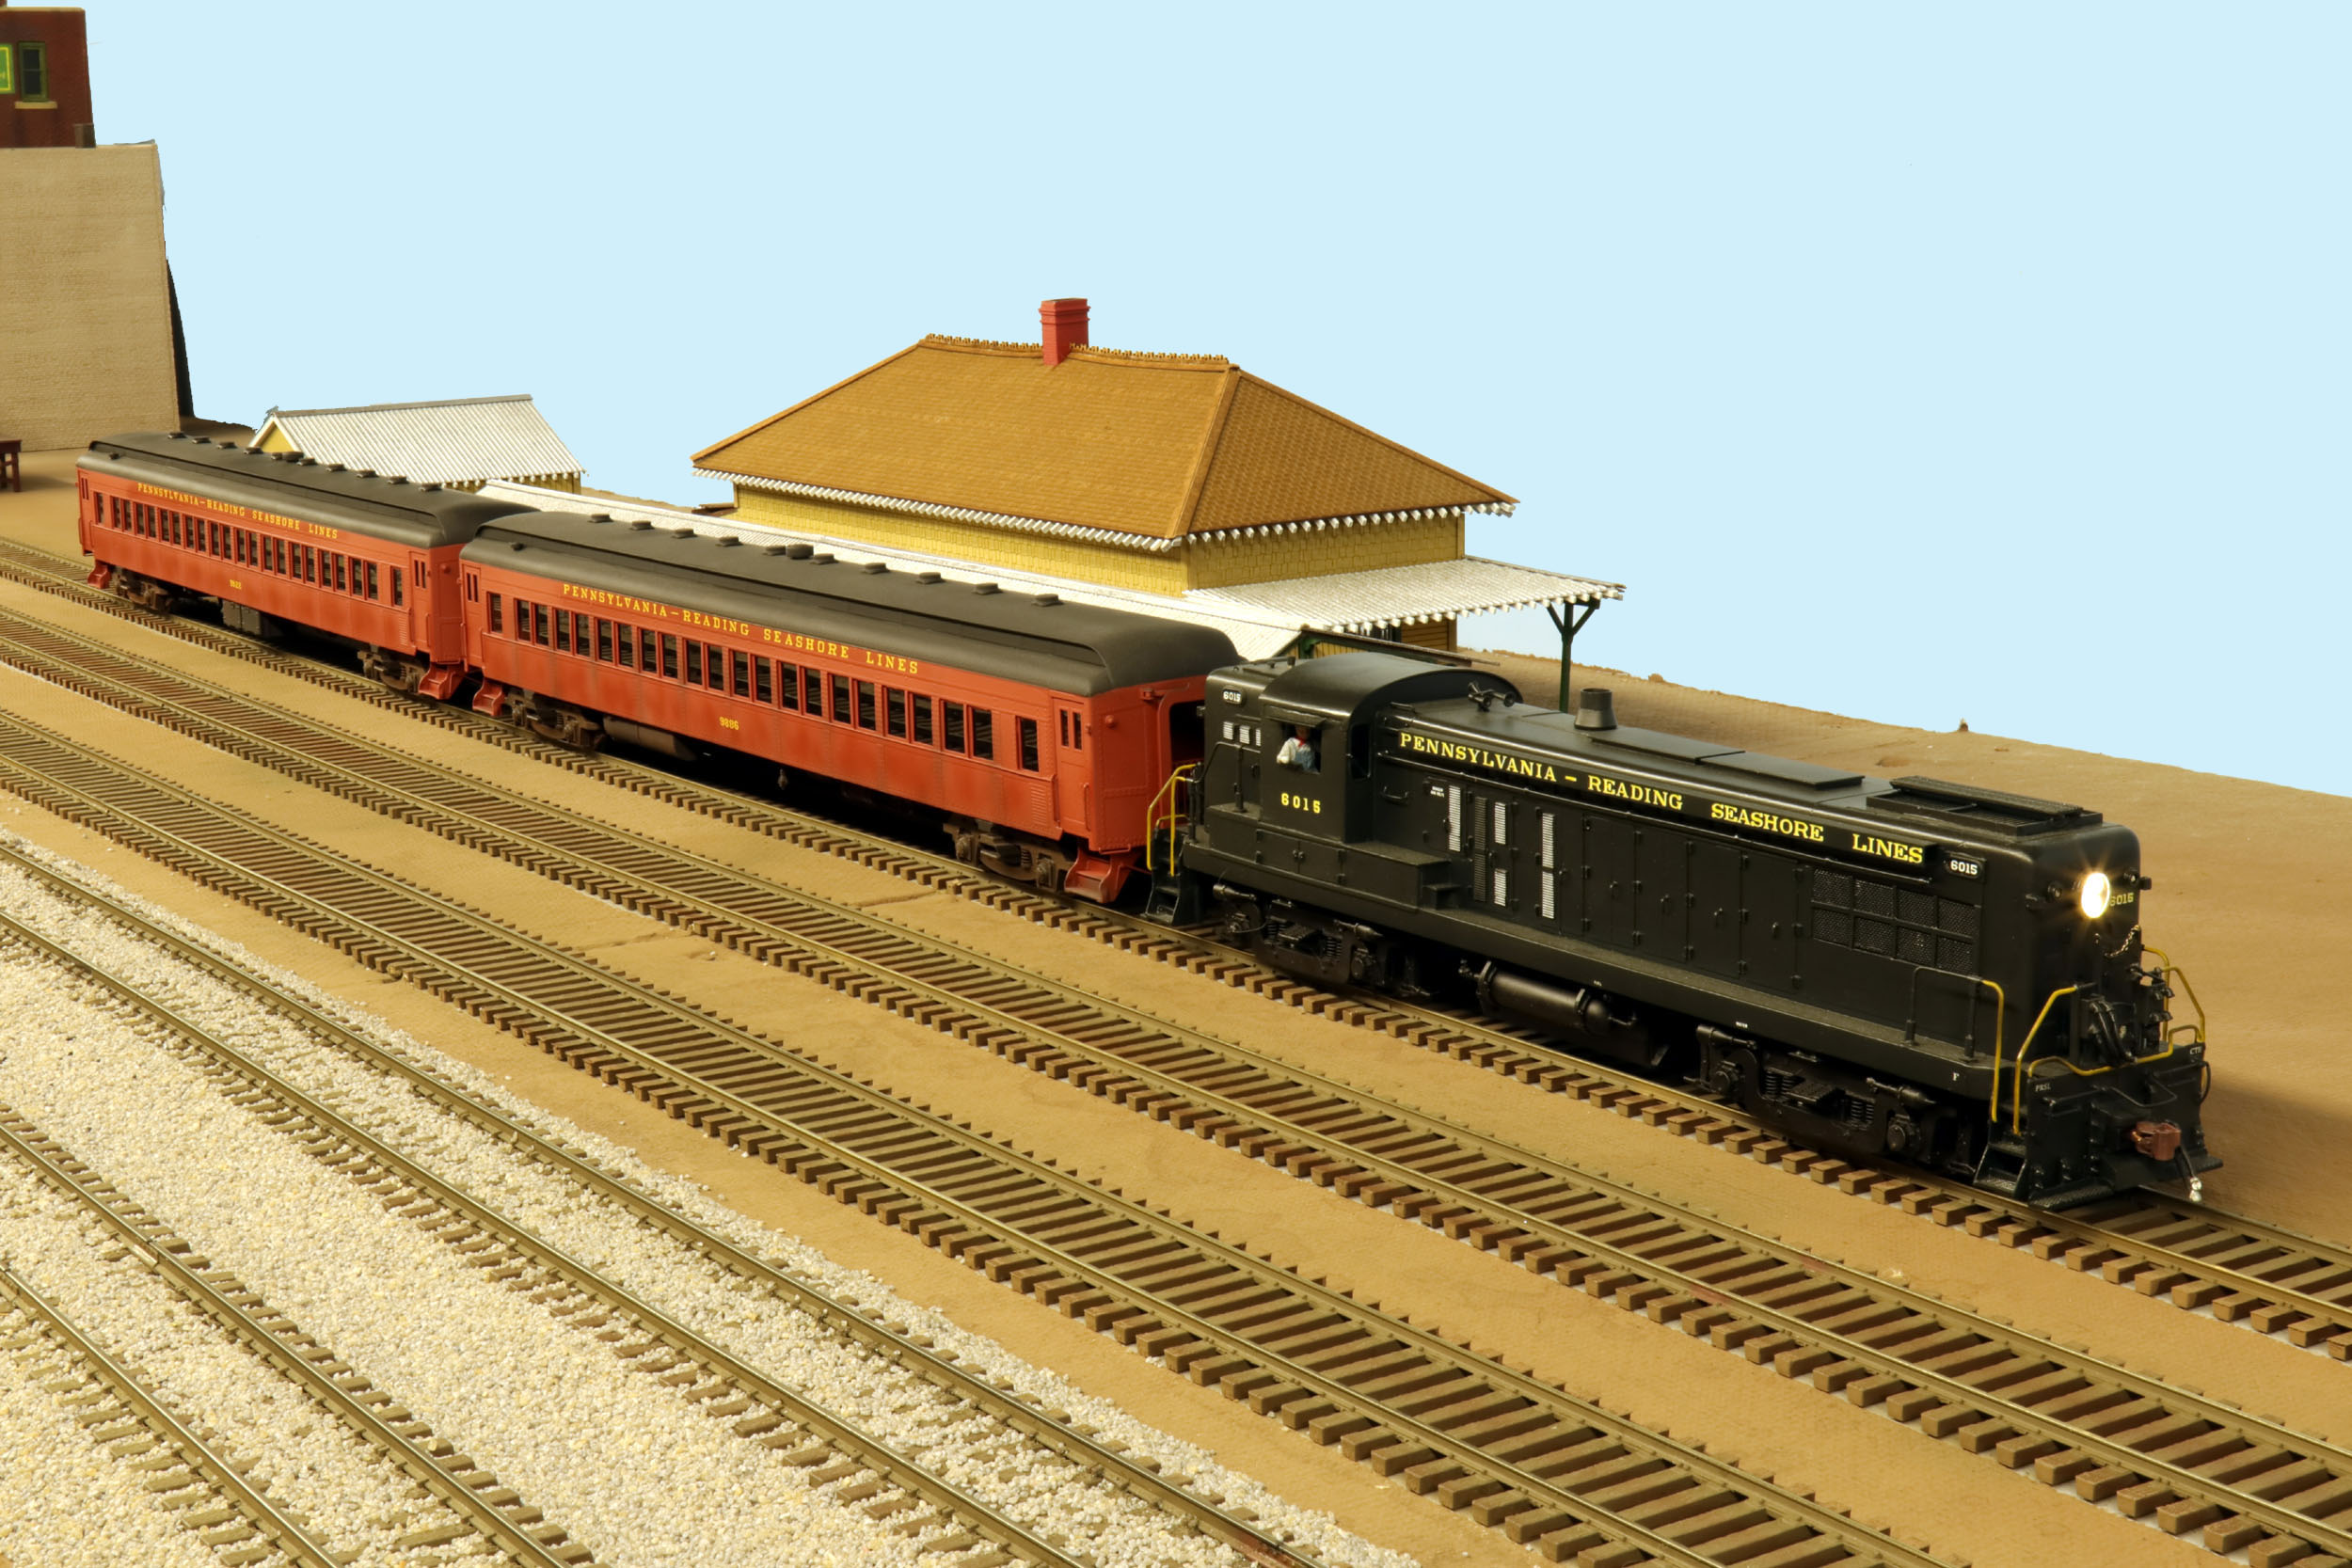

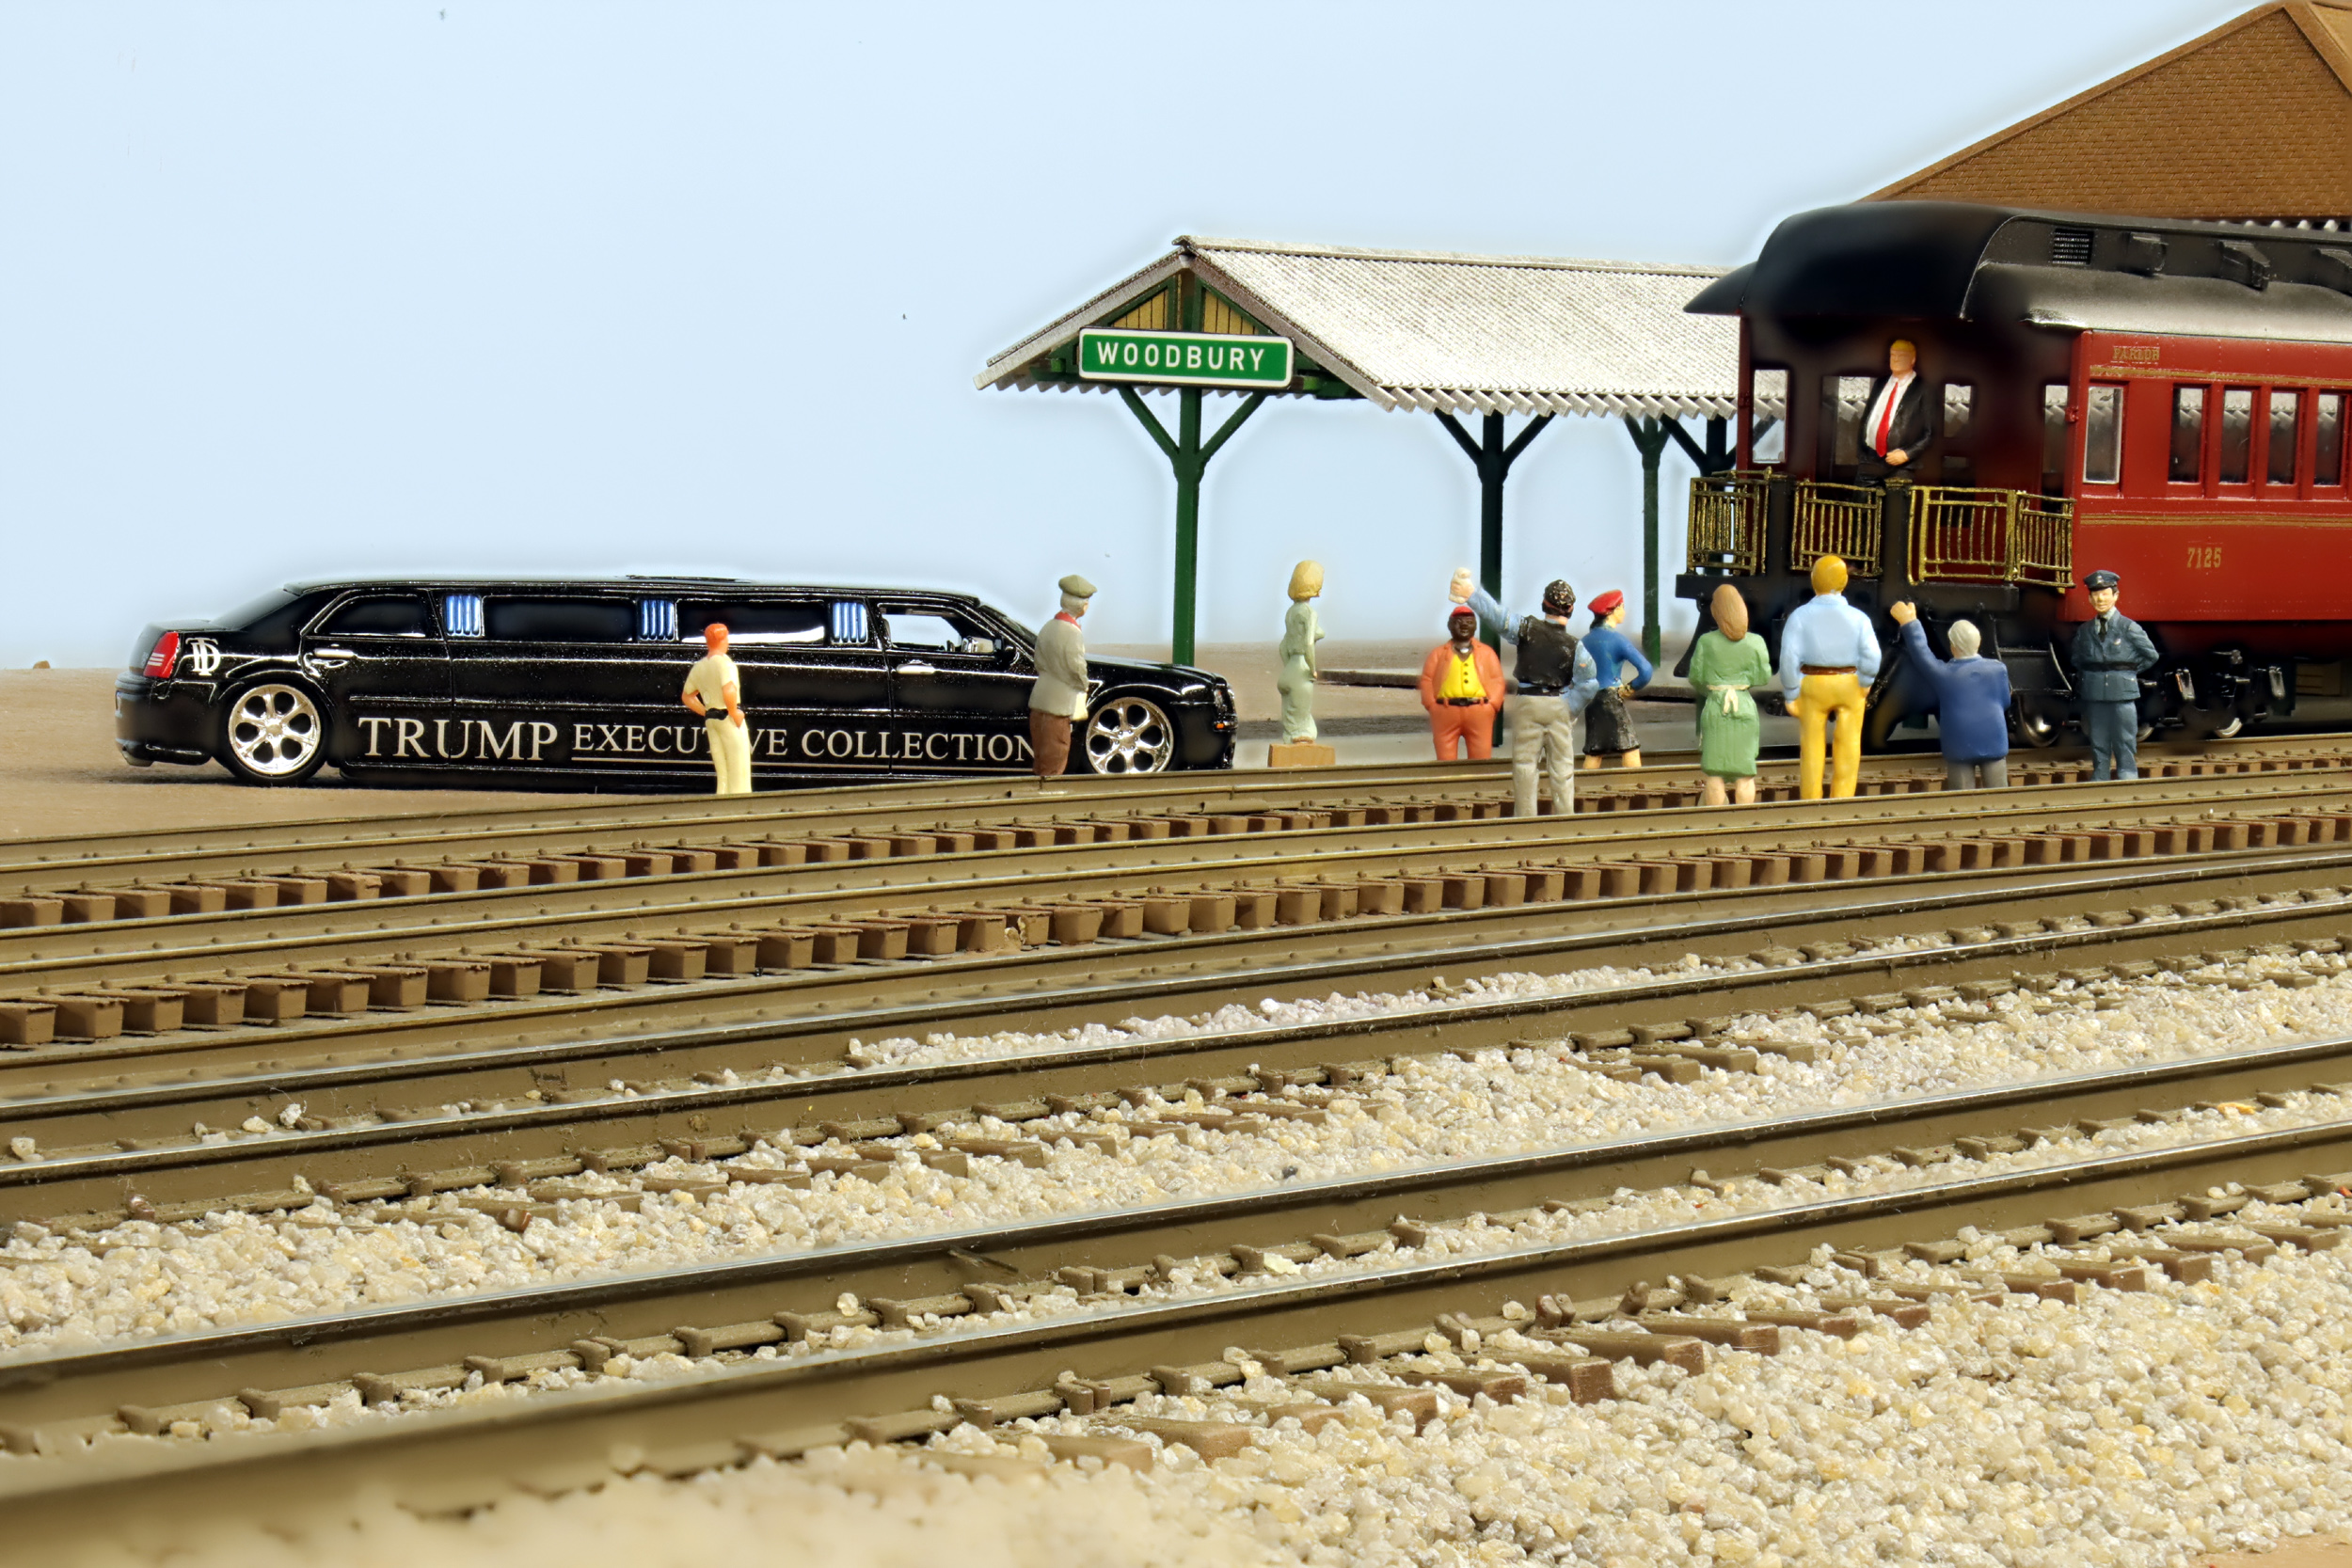
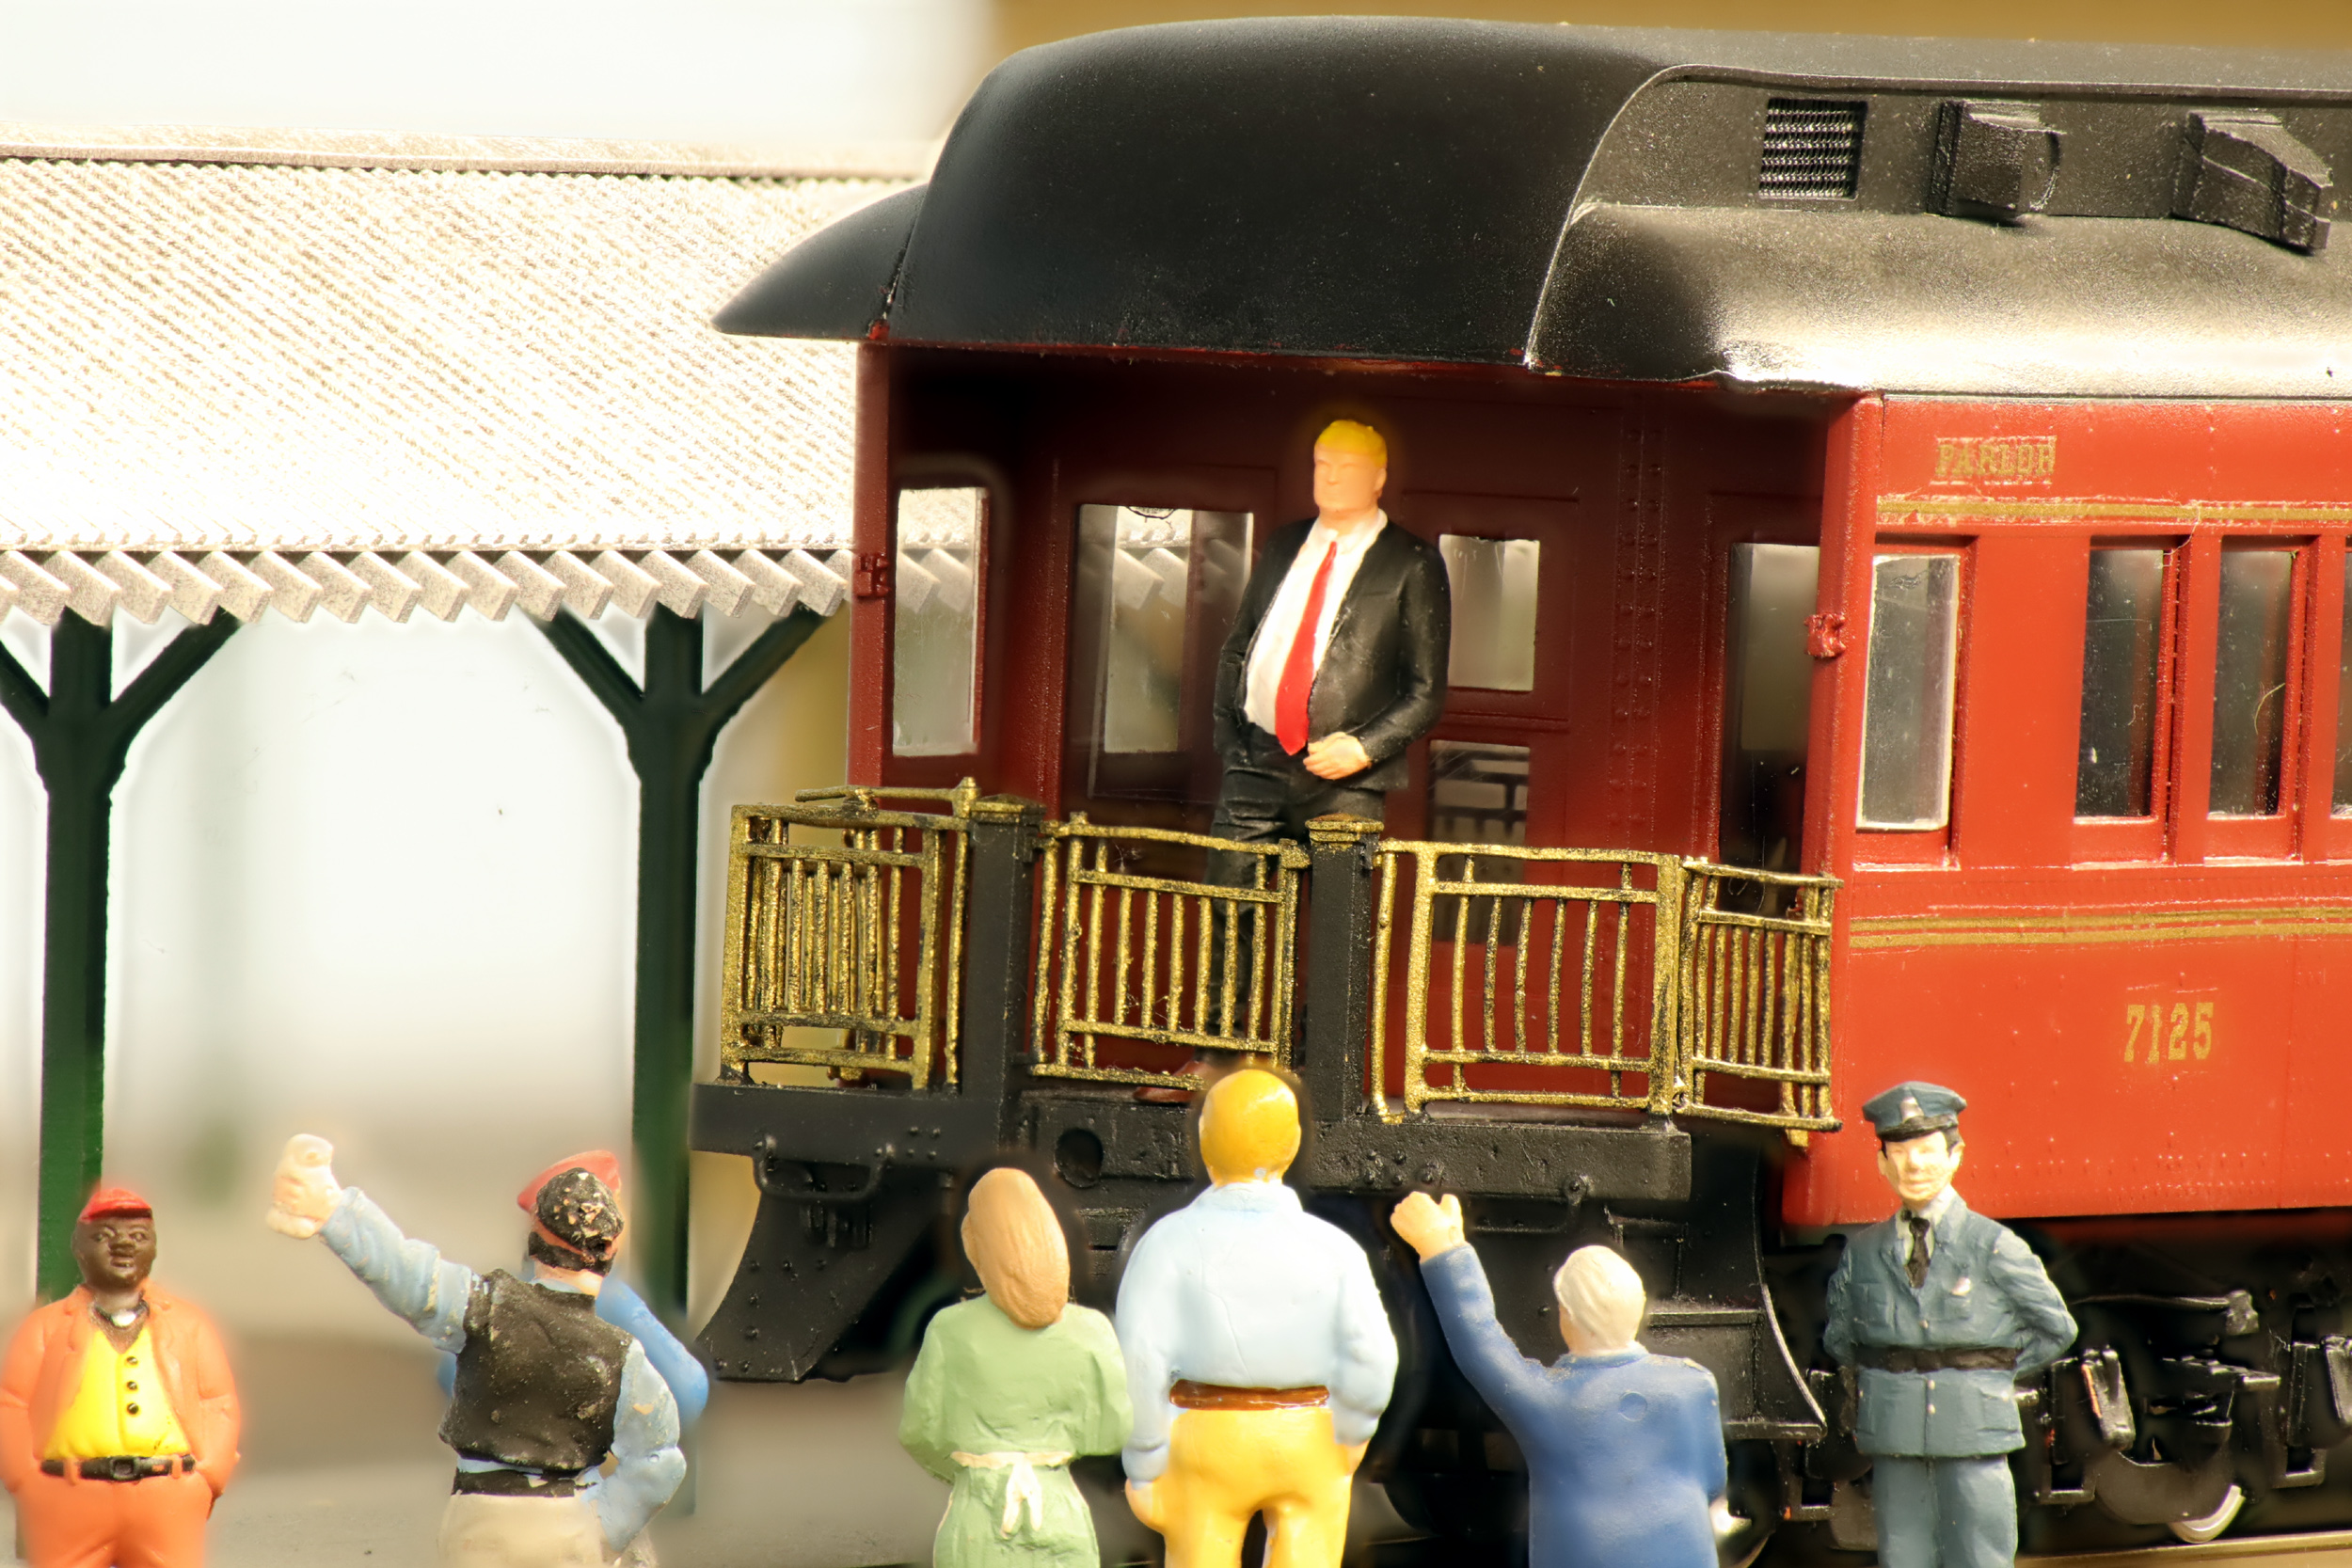
Added
4-18-24
Donald makes a surprise visit to Woodbury NJ getting on the
campaign train. Only a few people were there to greet him.
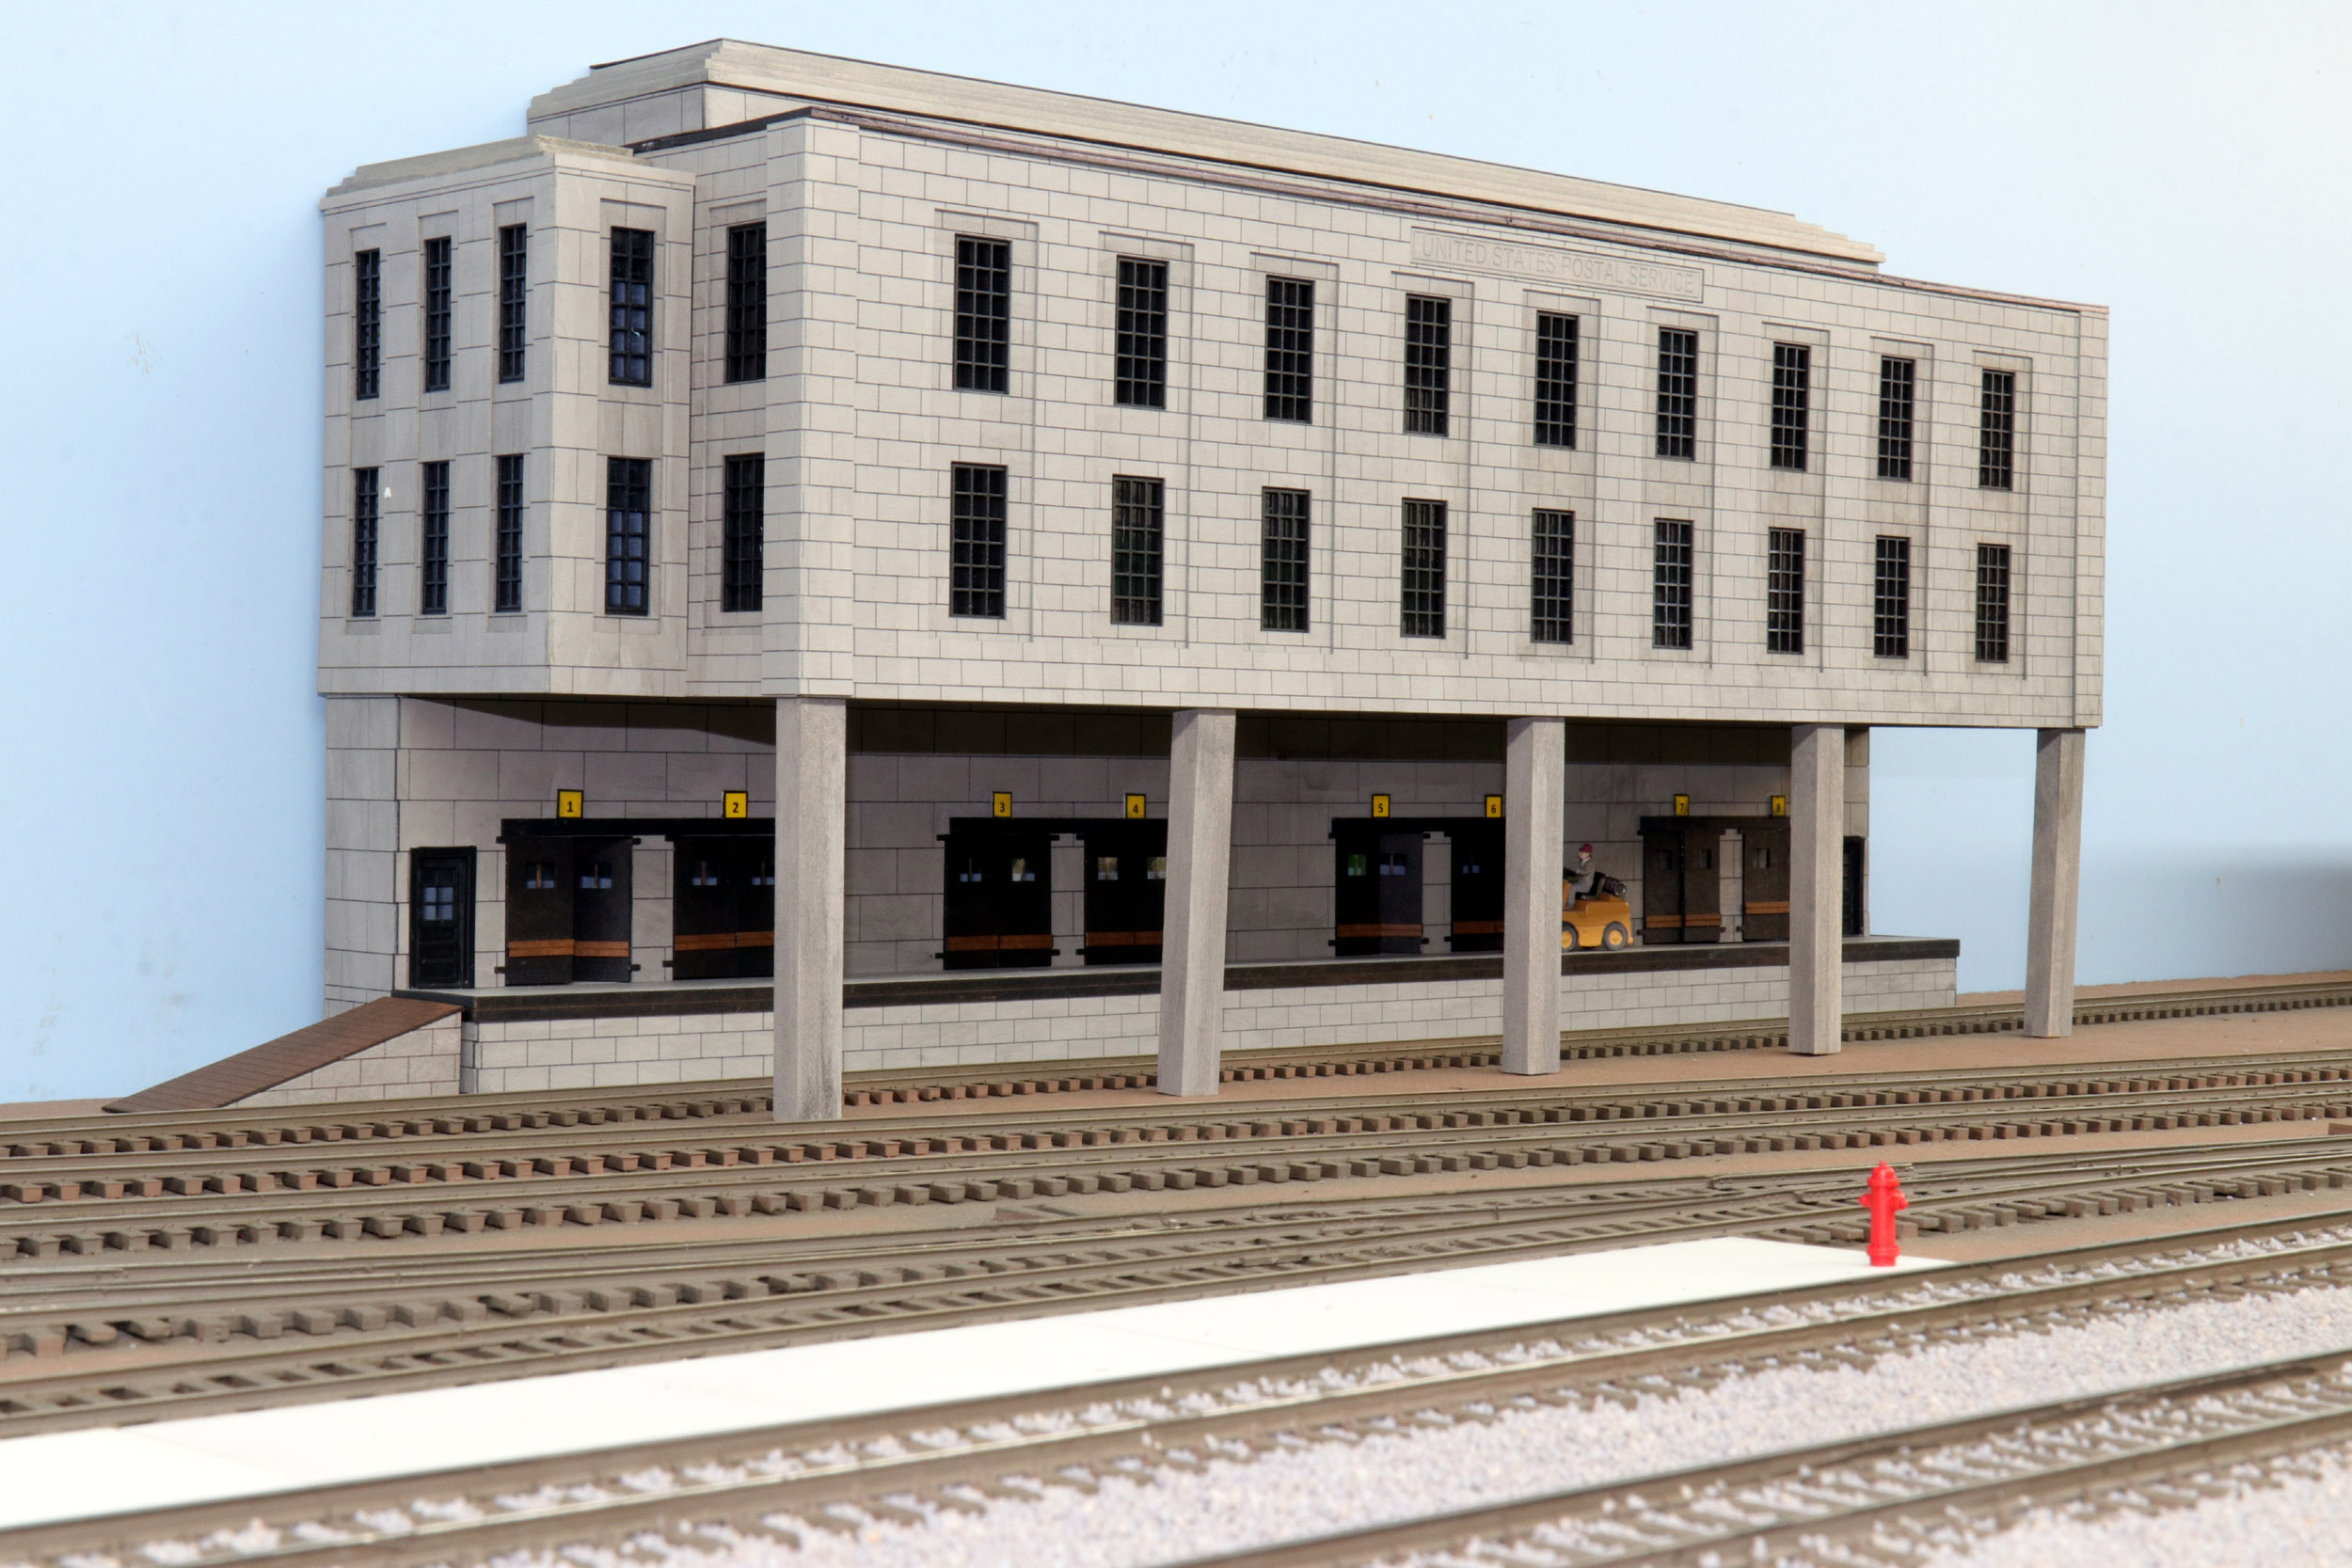
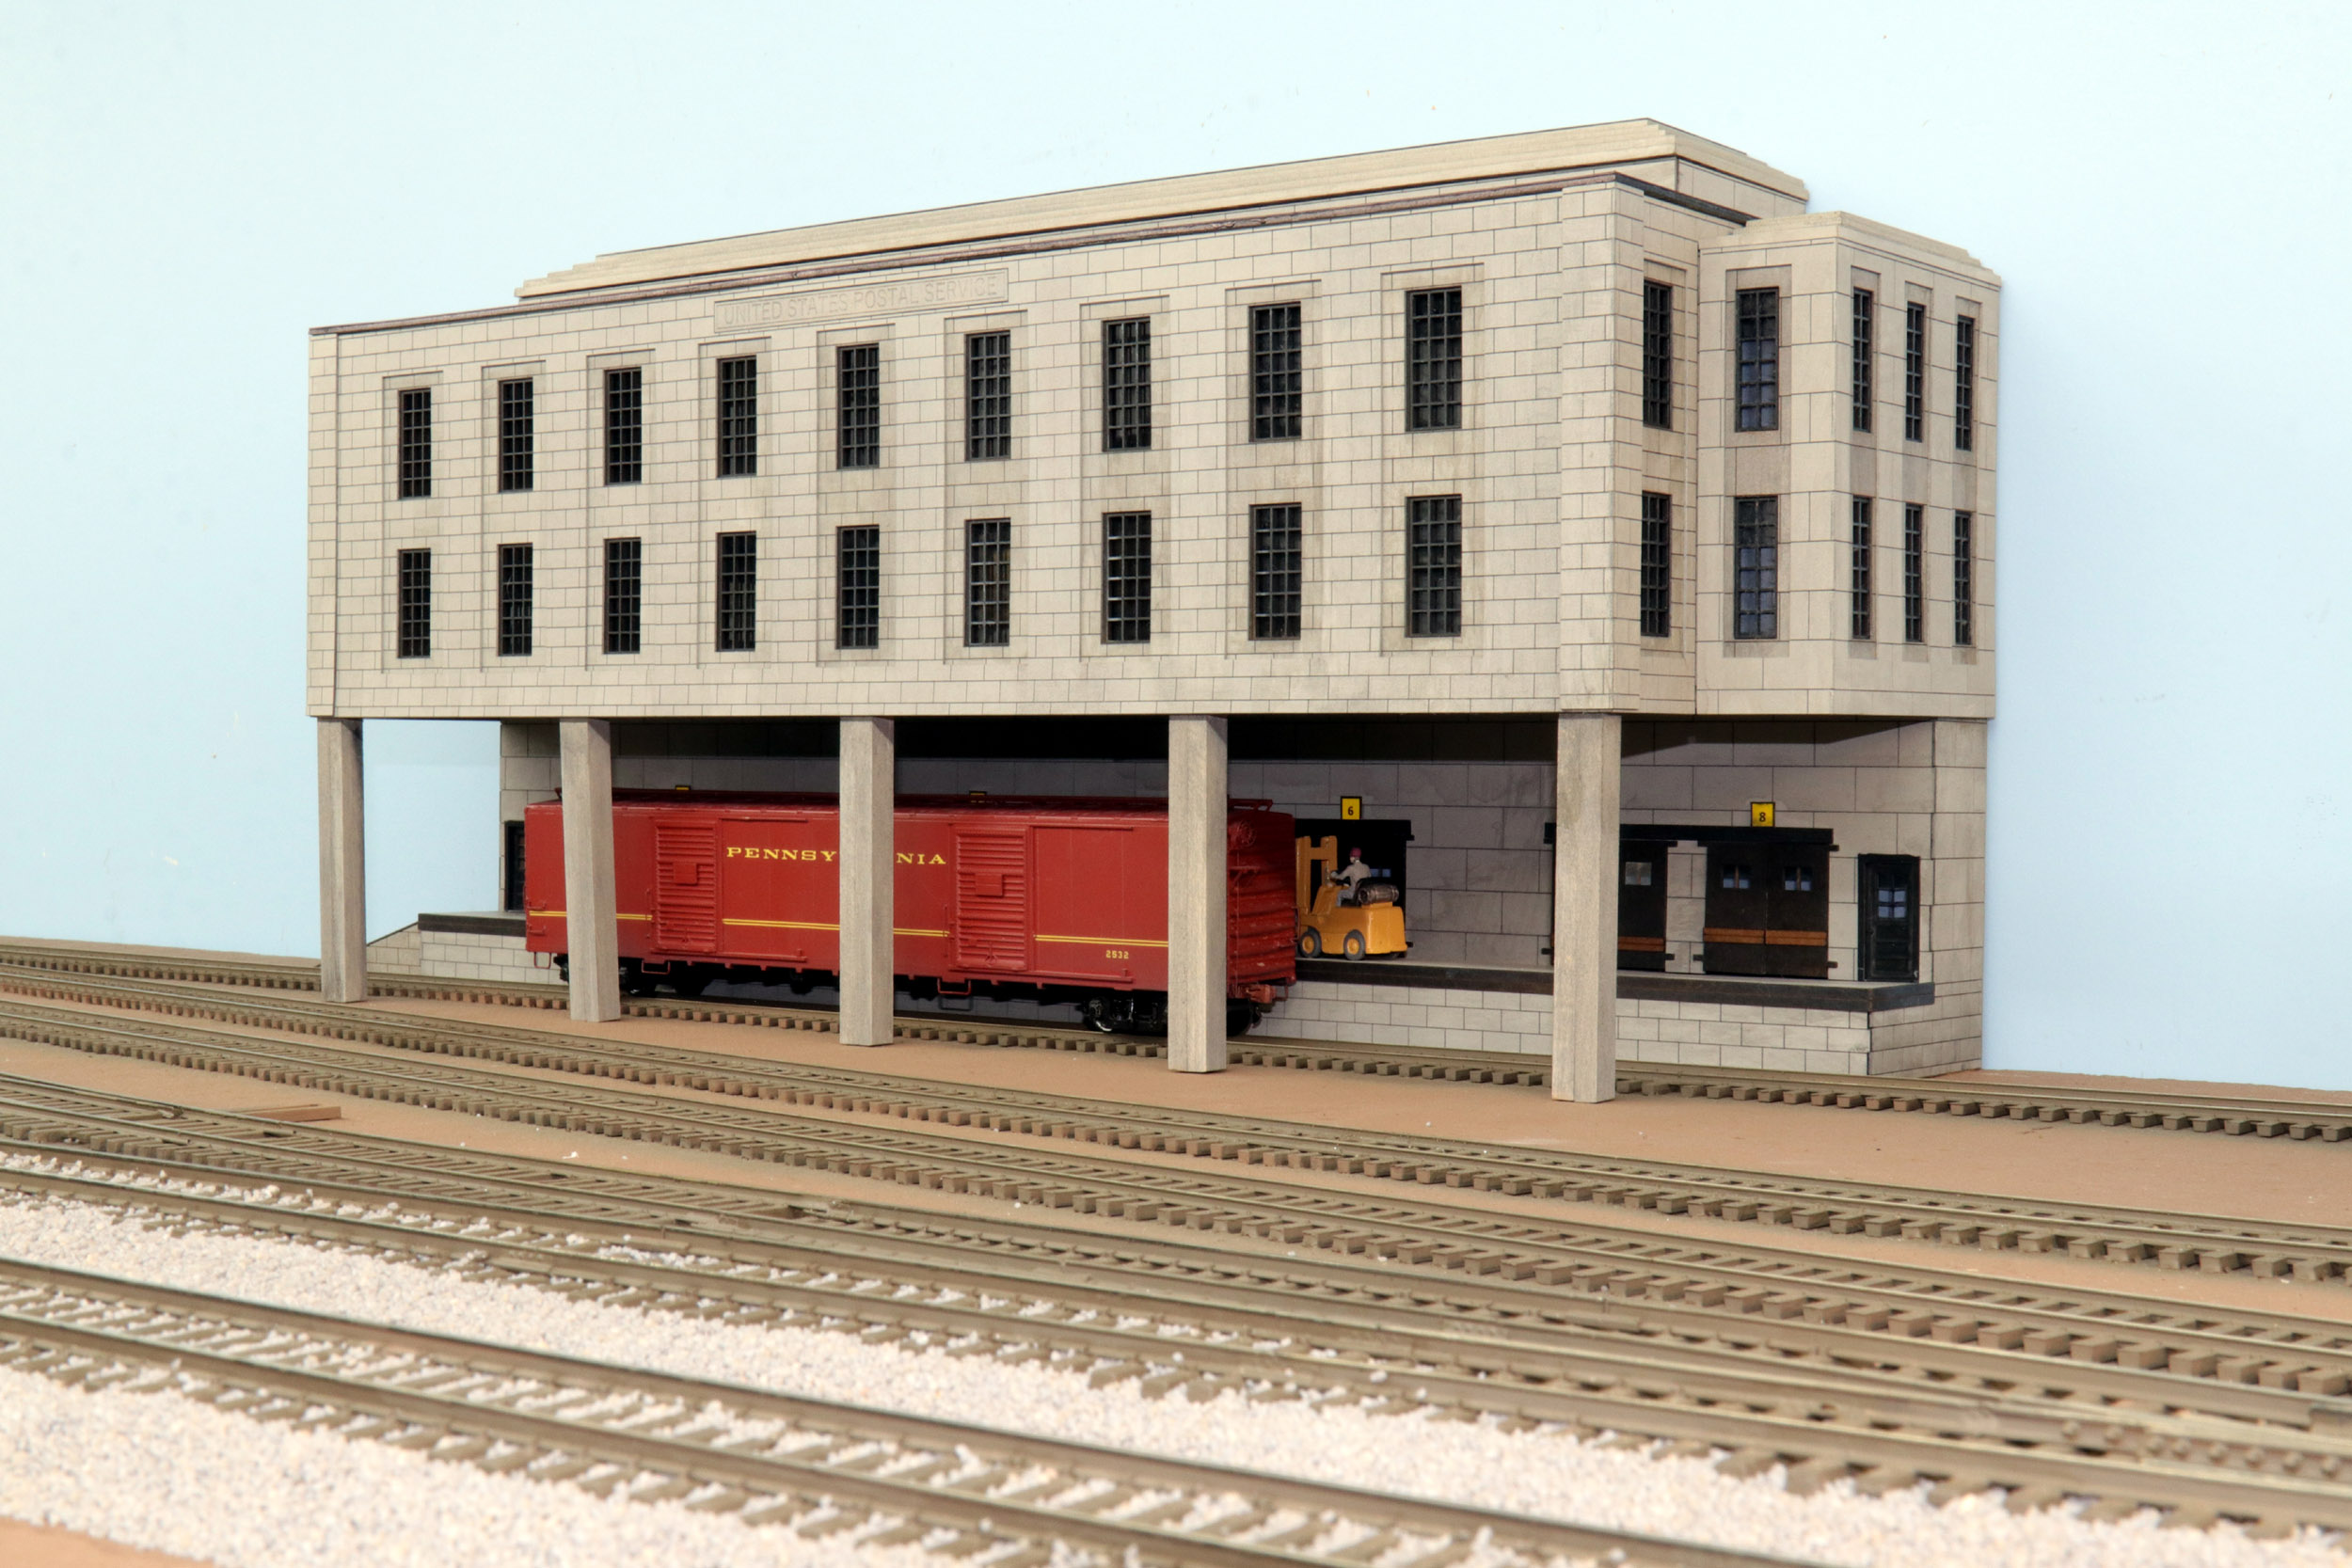
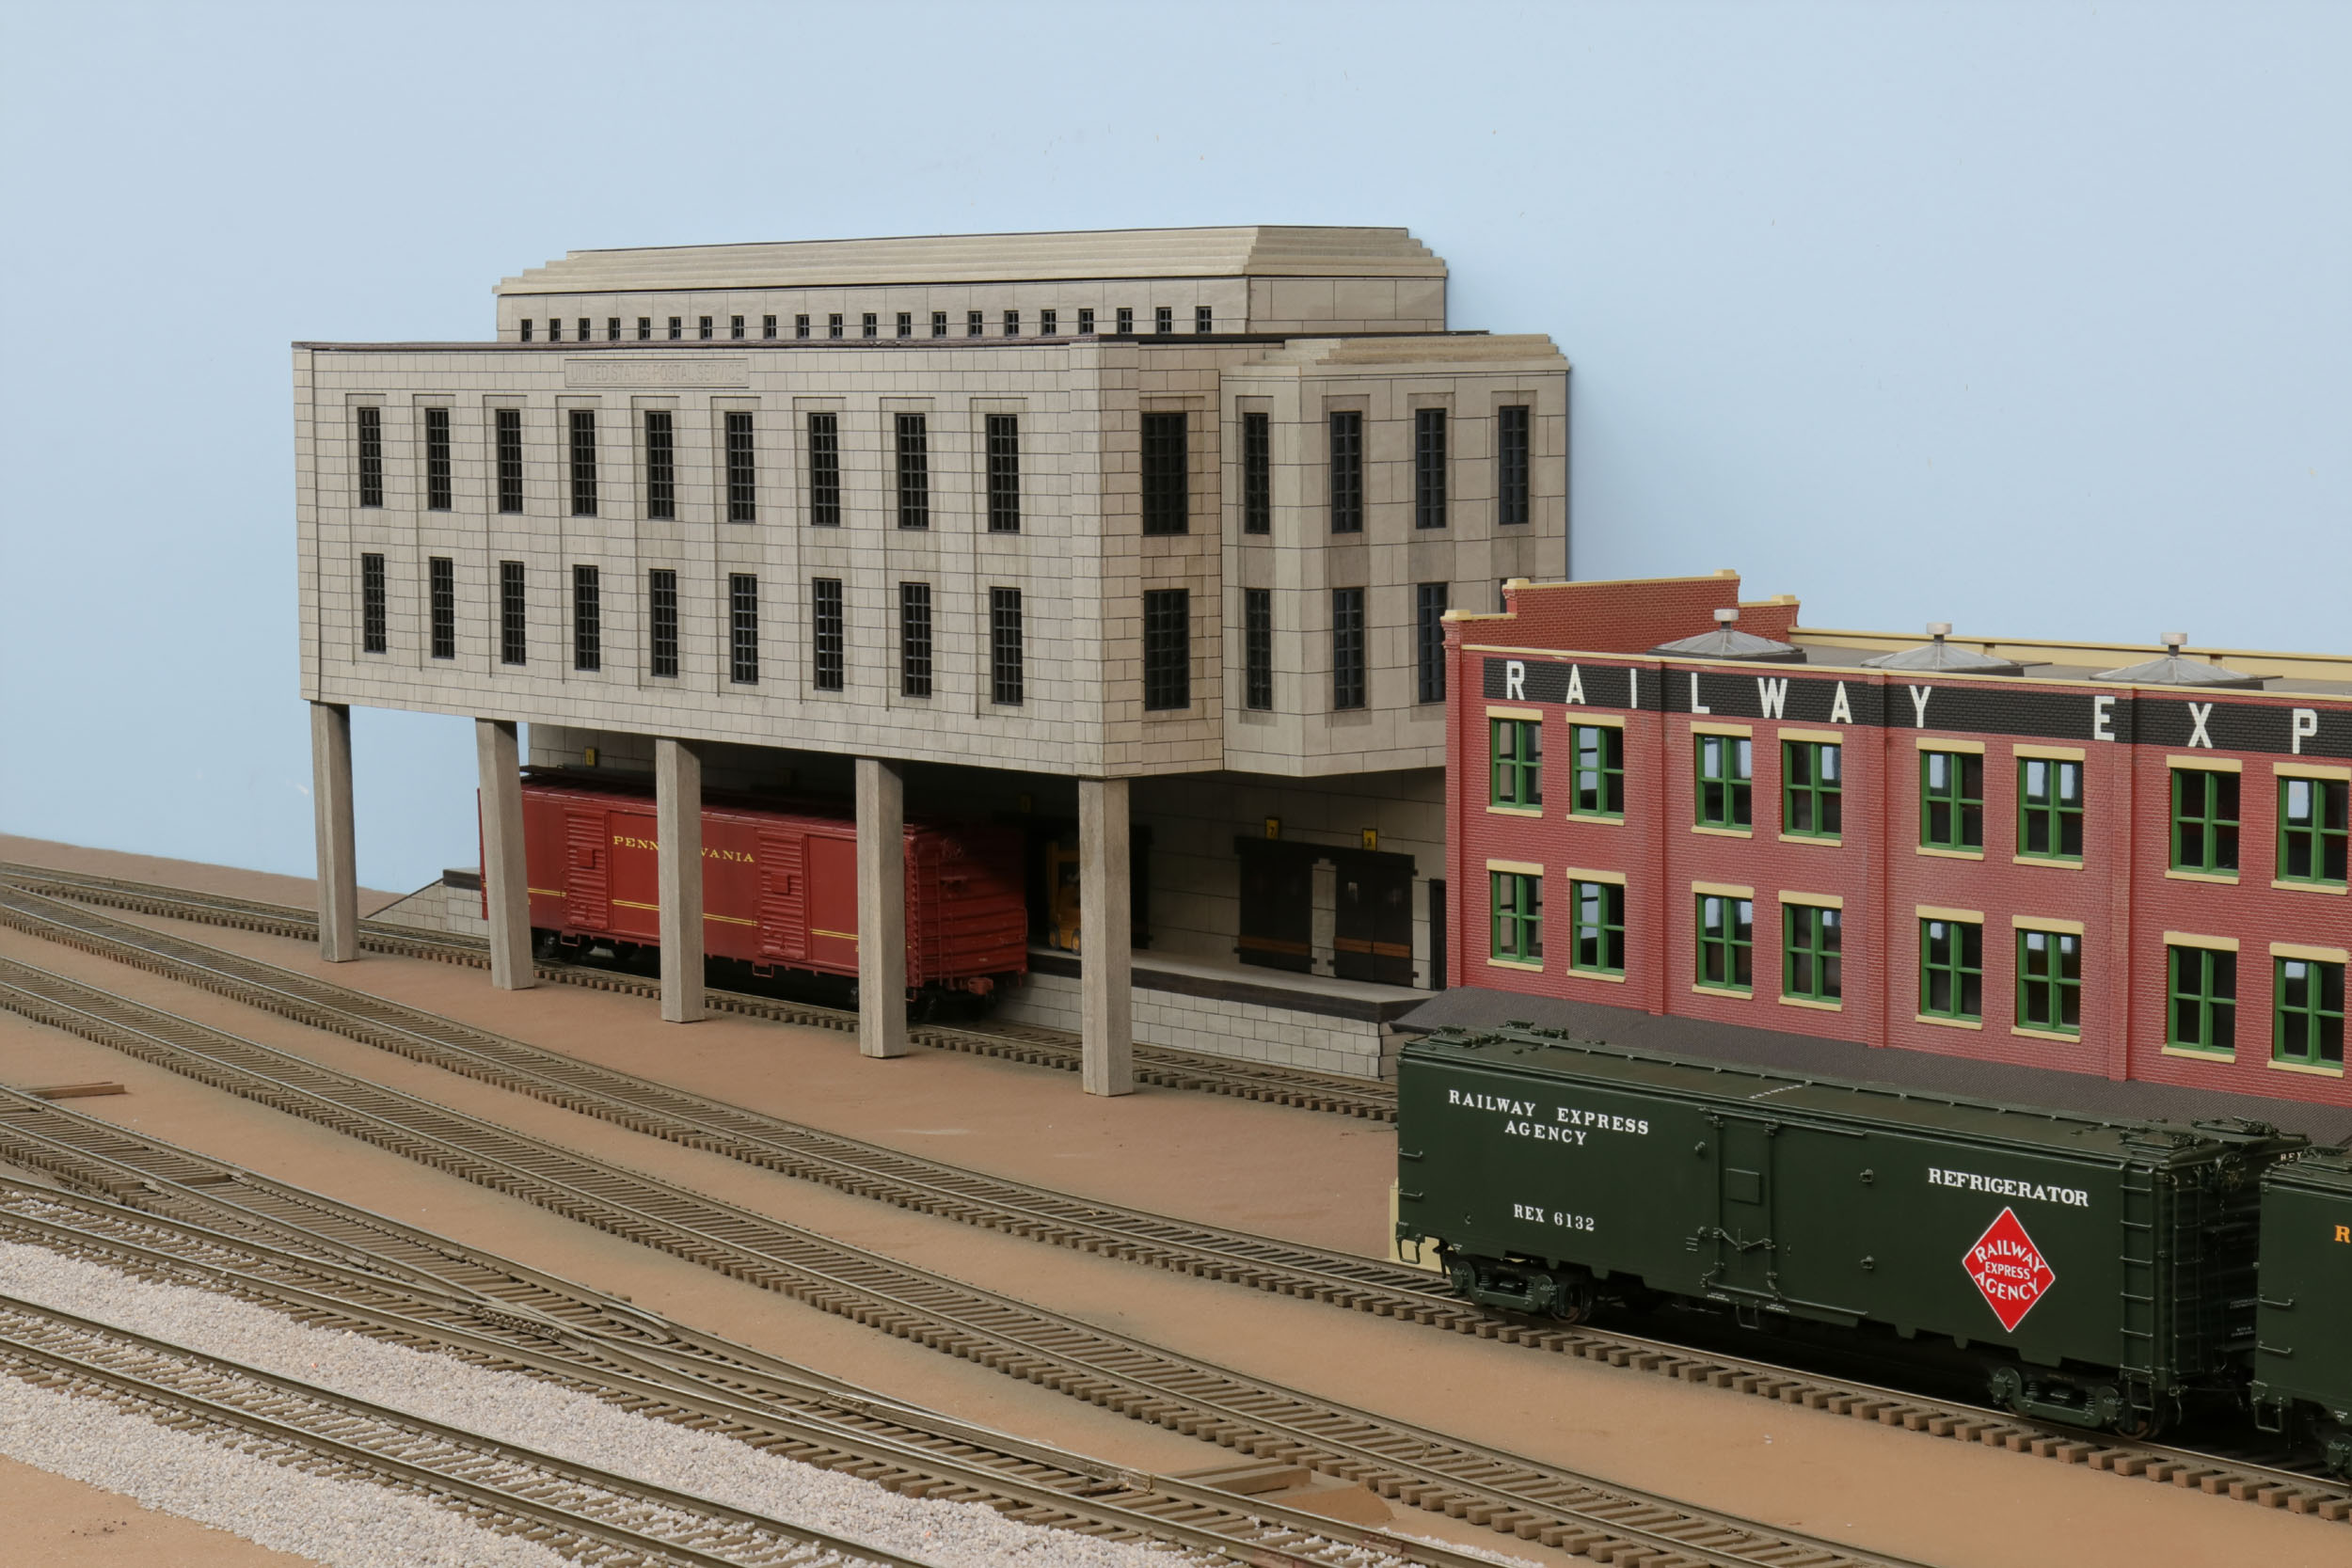
United
States Post Office Loading Dock
Added
8-11-21
This
is my custom made post office building from https://www.rightontrackmodels.com
It is very loosely based on the post office next to the former PRR 30thStreet
station in Philadelphia. I only had about 3” from the backdrop to the track.
Making the building overhang the track made for a massive improvement. It is
11” high and 22” long. The X42 is 62’ long for a comparison. I envisioned this
side of the layout as being a medium size city scene with the large passenger
station, Post Office and Railway Express building. The above Woodbury Station
is exactly across the other side of the layout but is view blocked by the
backdrop as a small town station.
I
highly recommend Rich if you need a custom building. Even though this building
was designed and custom made for me I don’t care if you want 1 built for you.
Further Rich will assemble 1 of his existing kits for you.


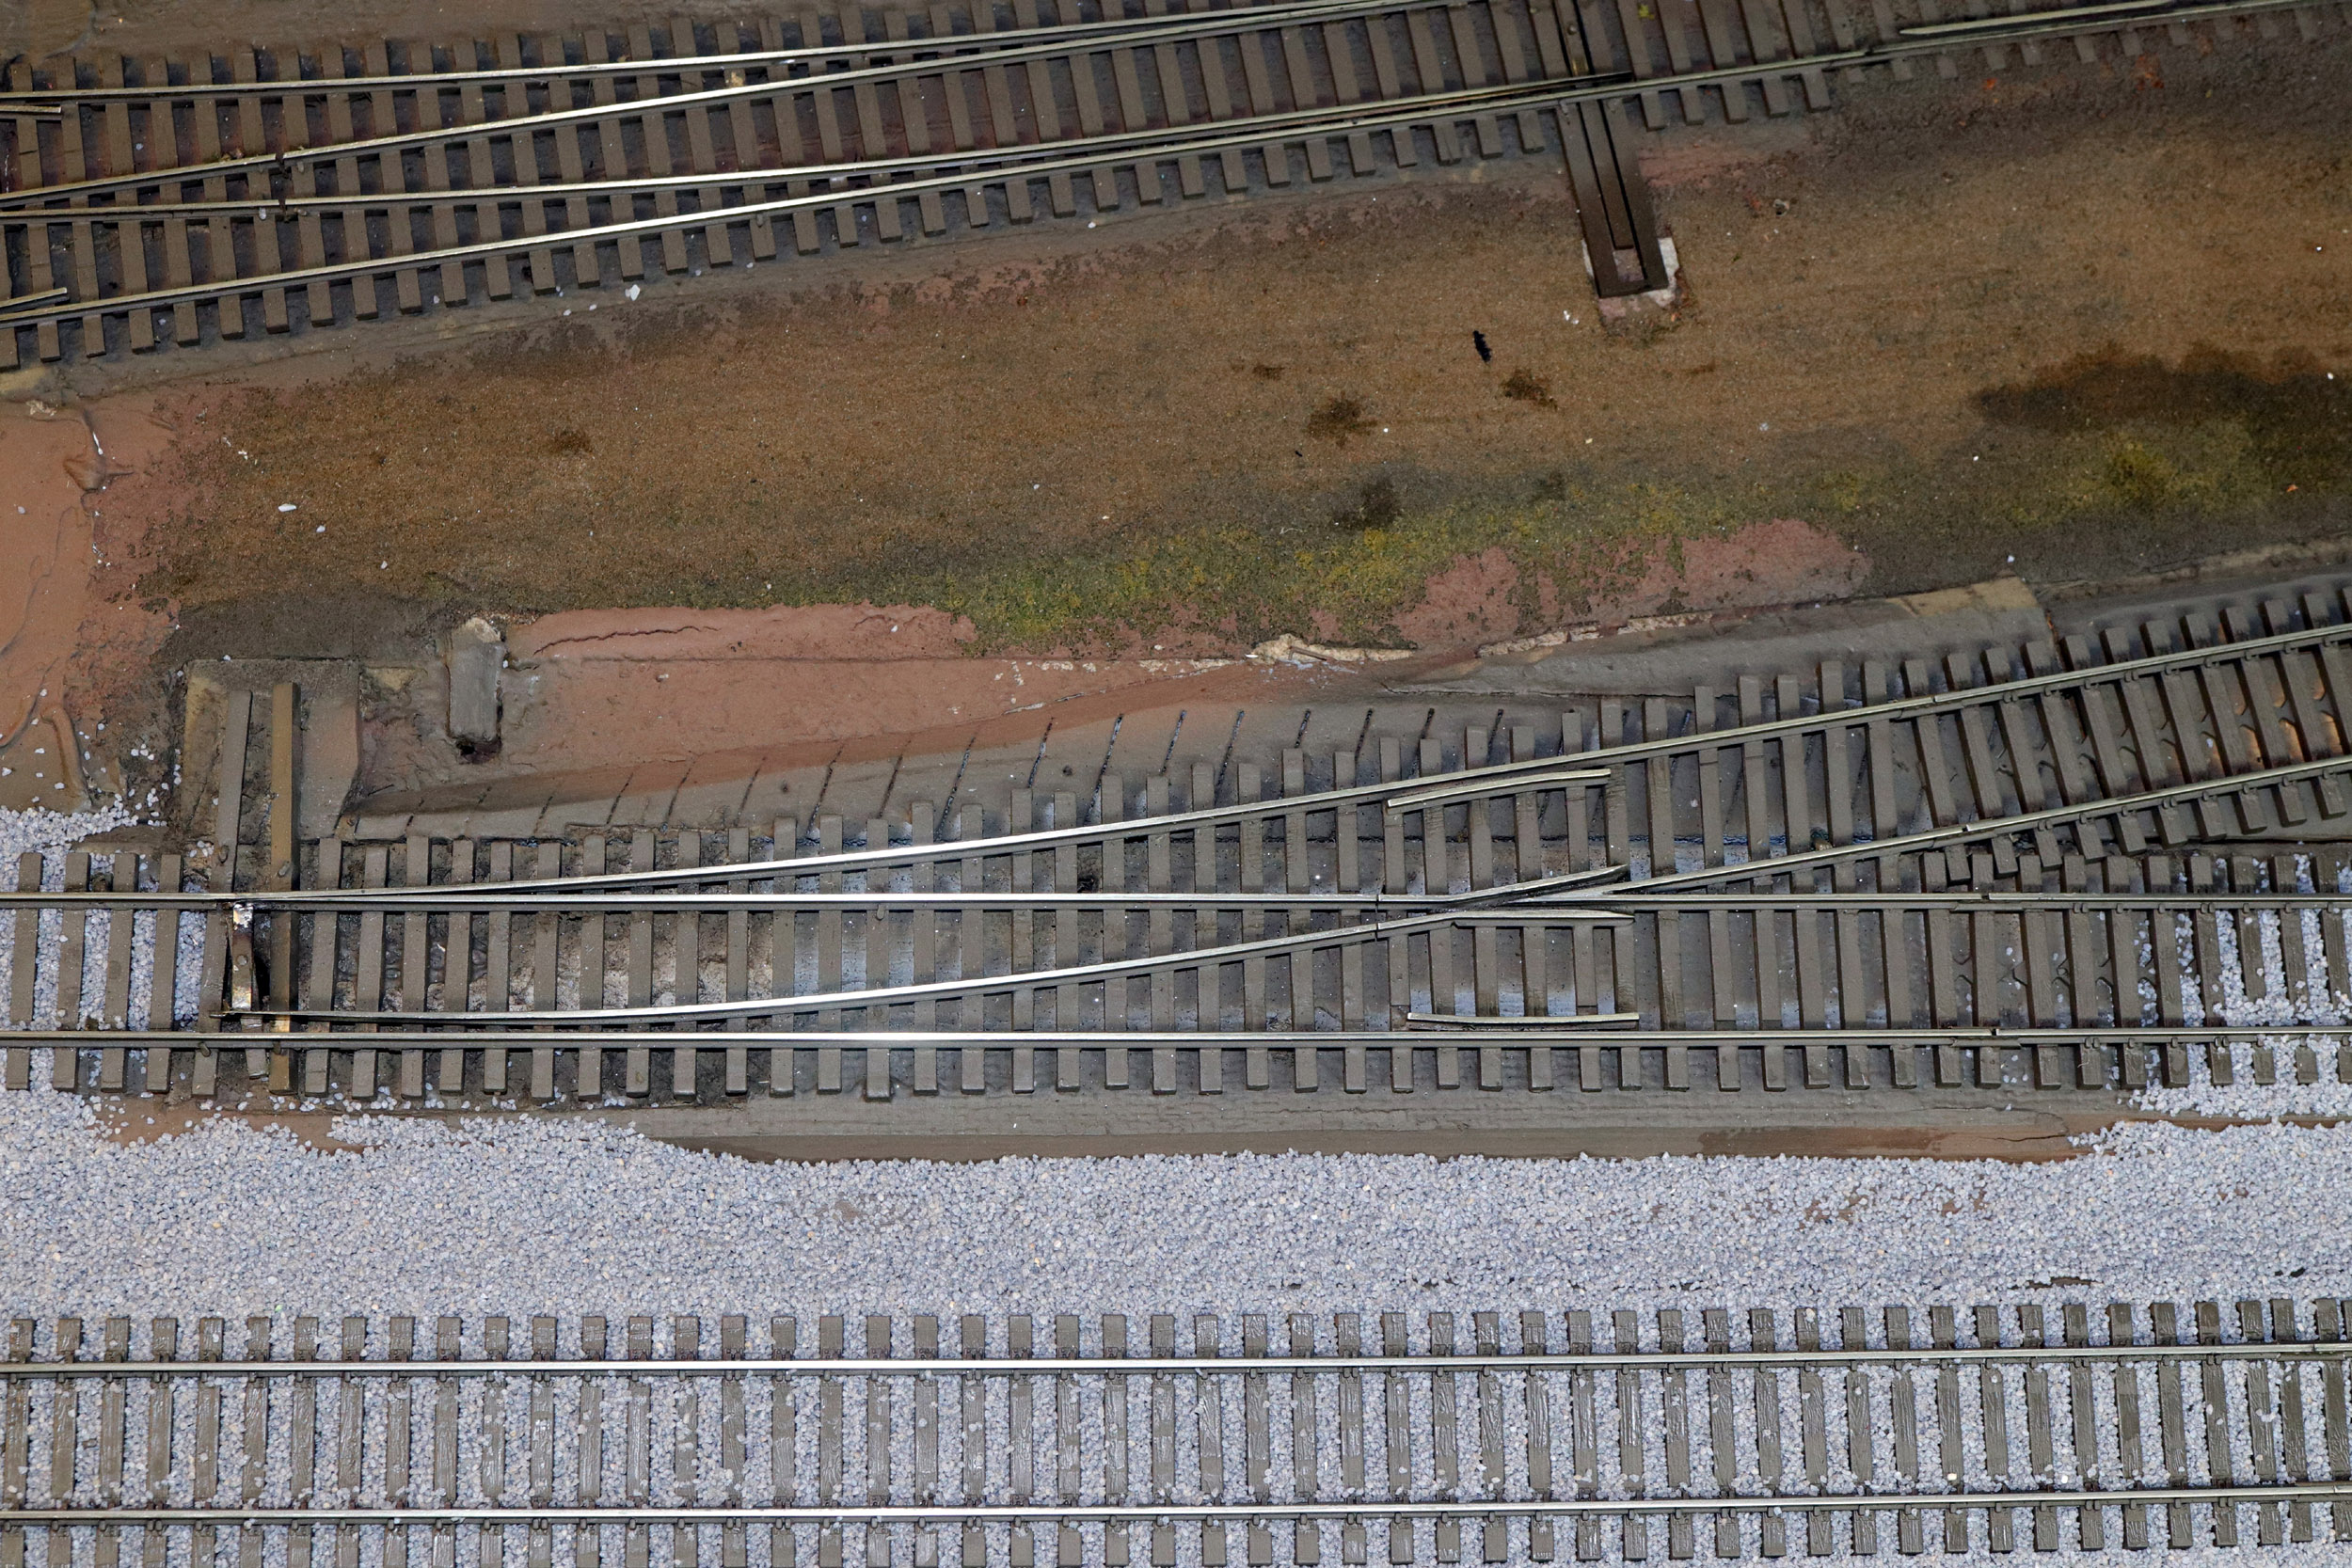
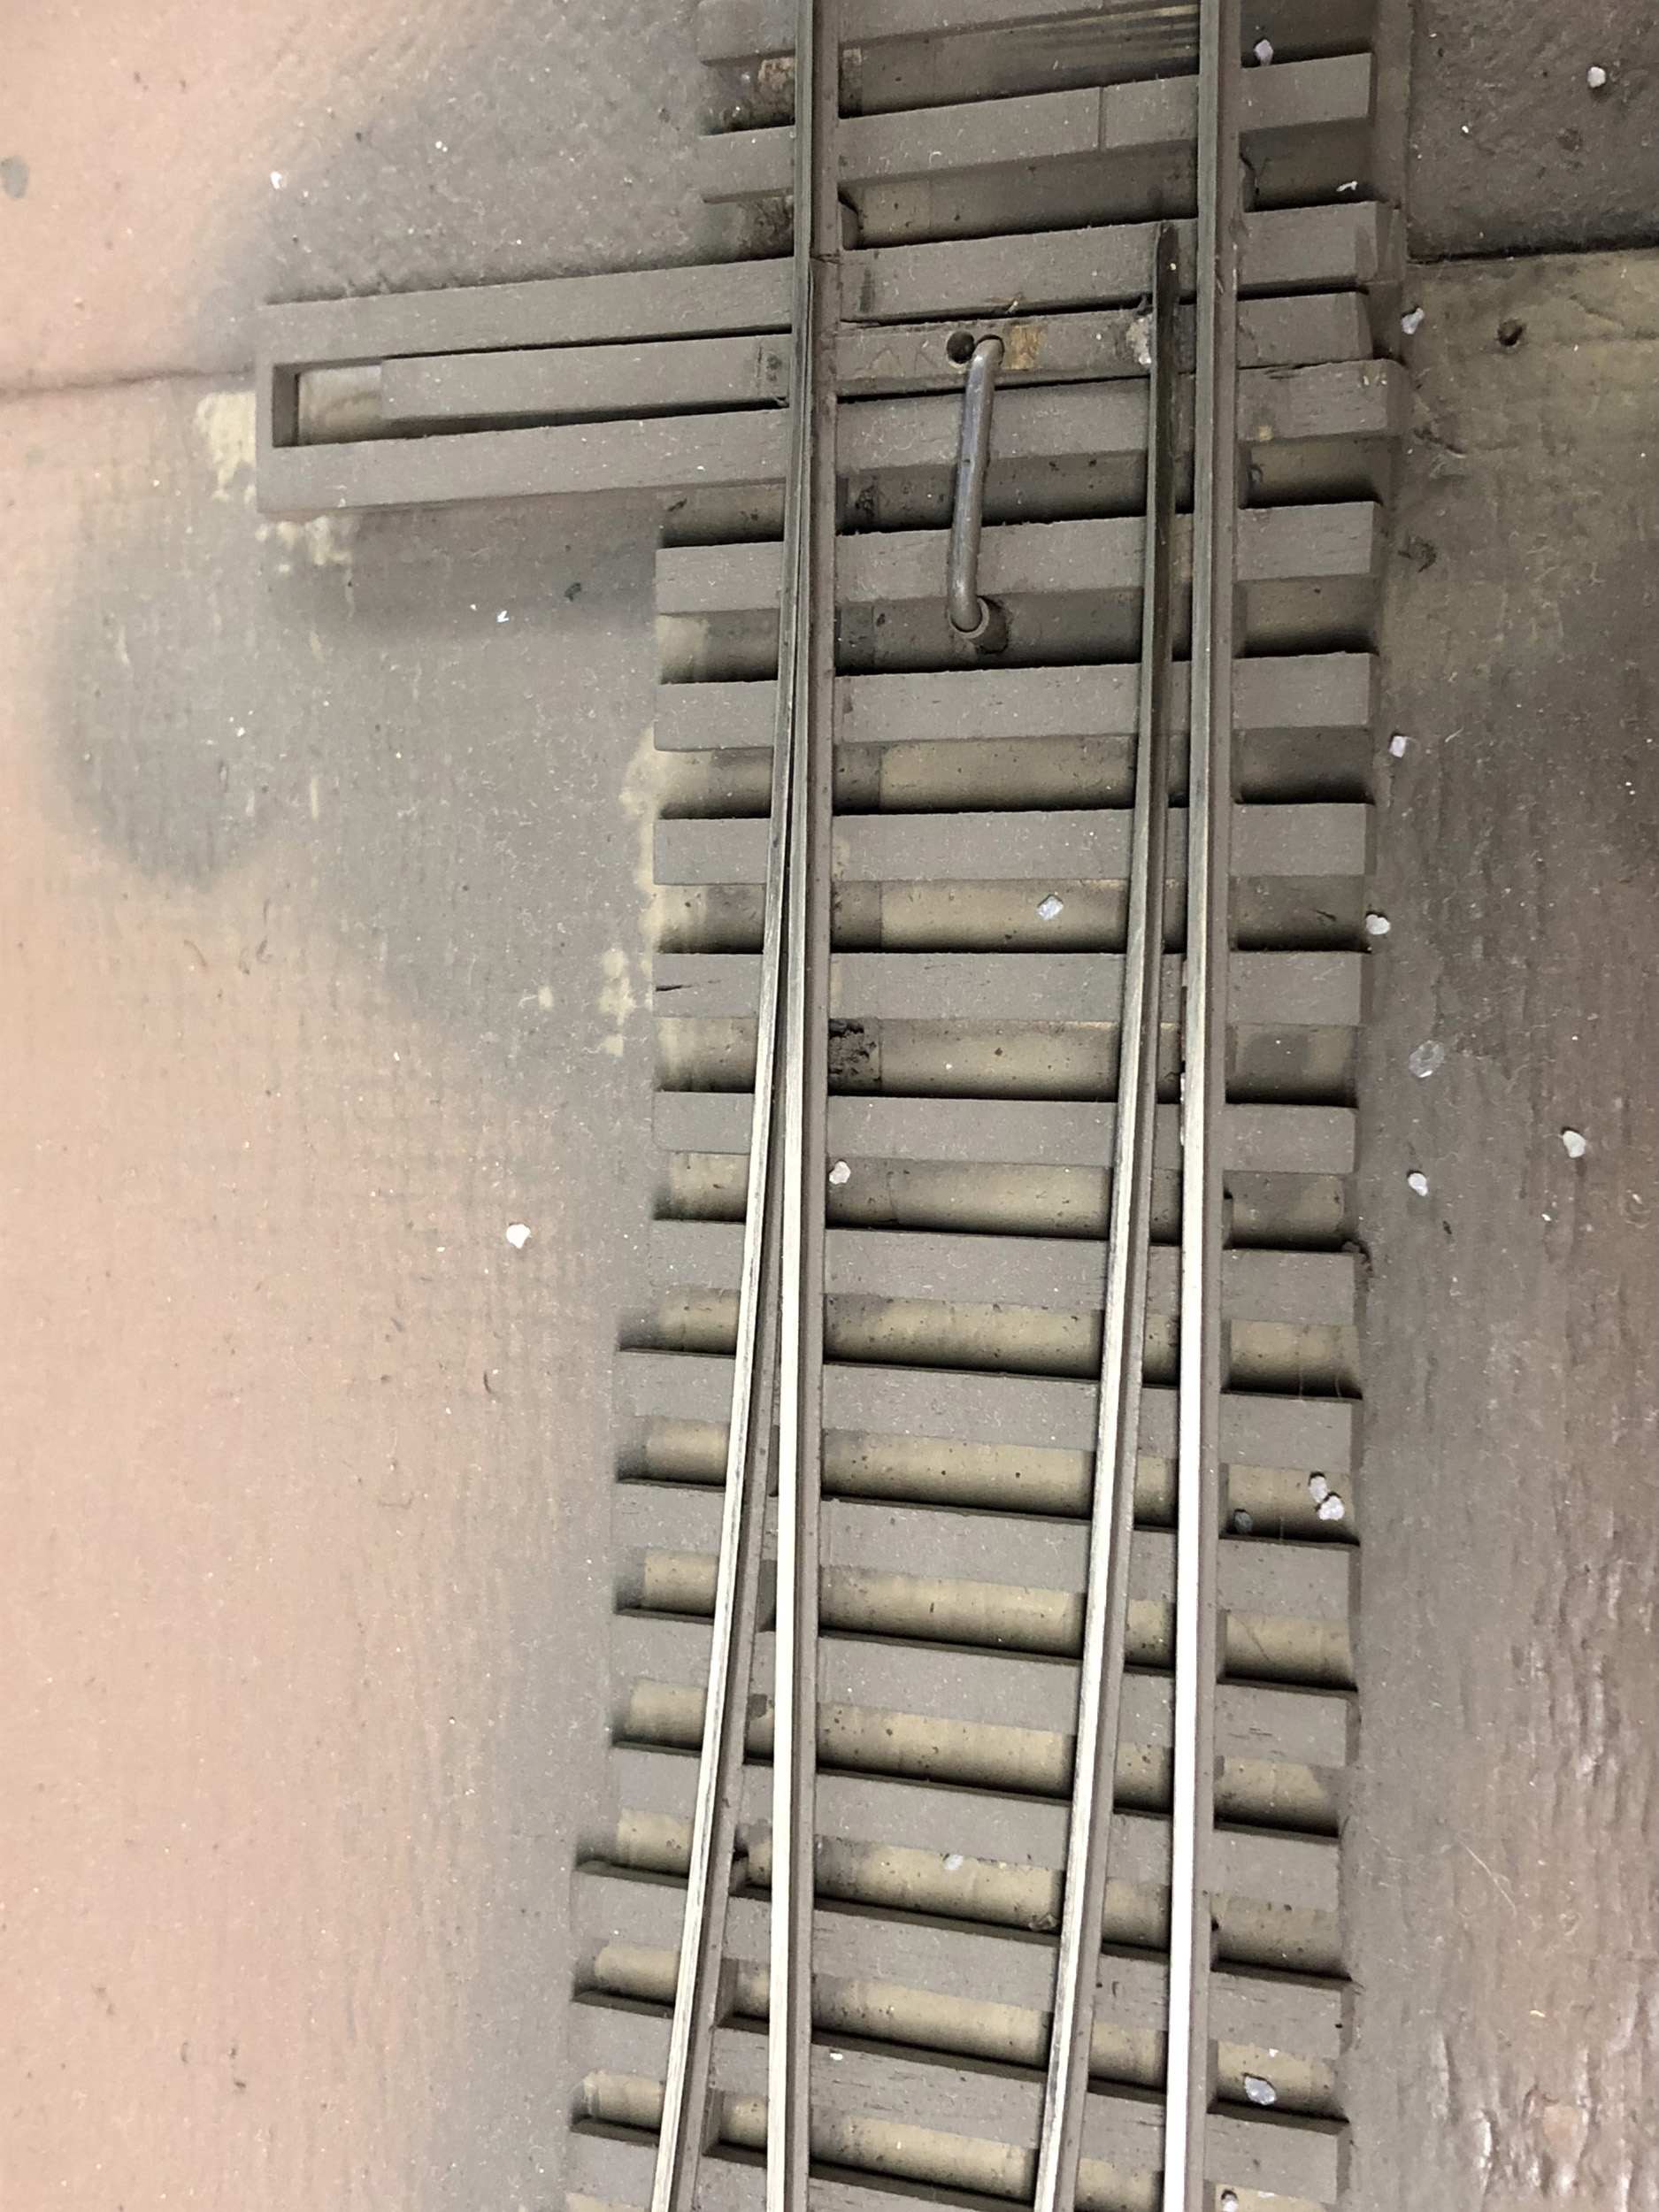
Reworking Code 137 Turnouts
Added
8-23-21
These
are the first 3 turnouts ever made for my layout by my friend John Wickham.
There was perfectly good code 100 track in place that I removed to install code
137 track for the mainlines to show track separation of the code 100 yard
tracks next to it. There are no code 137 turnouts for scale operation so John
custom made them for me. I had to do some repairs to them over the years some
of which did not go well. The resistance soldering unit slightly damaged the
thinnest parts of the points. Most of the other code 137 turnouts have P48 cast
frogs and points so I know that is what I needed to
make the repairs. It took a few years to convince someone to make code 137 #6
castings but I finally got them. I just removed the inside parts and replaced
them with the castings. I have not installed the P48 guardrails yet, and might
not use them. They are quite long on a #6 turnout. I can now complete the
ballasting on the mainlines and surrounding tracks.


Added
11-7-21
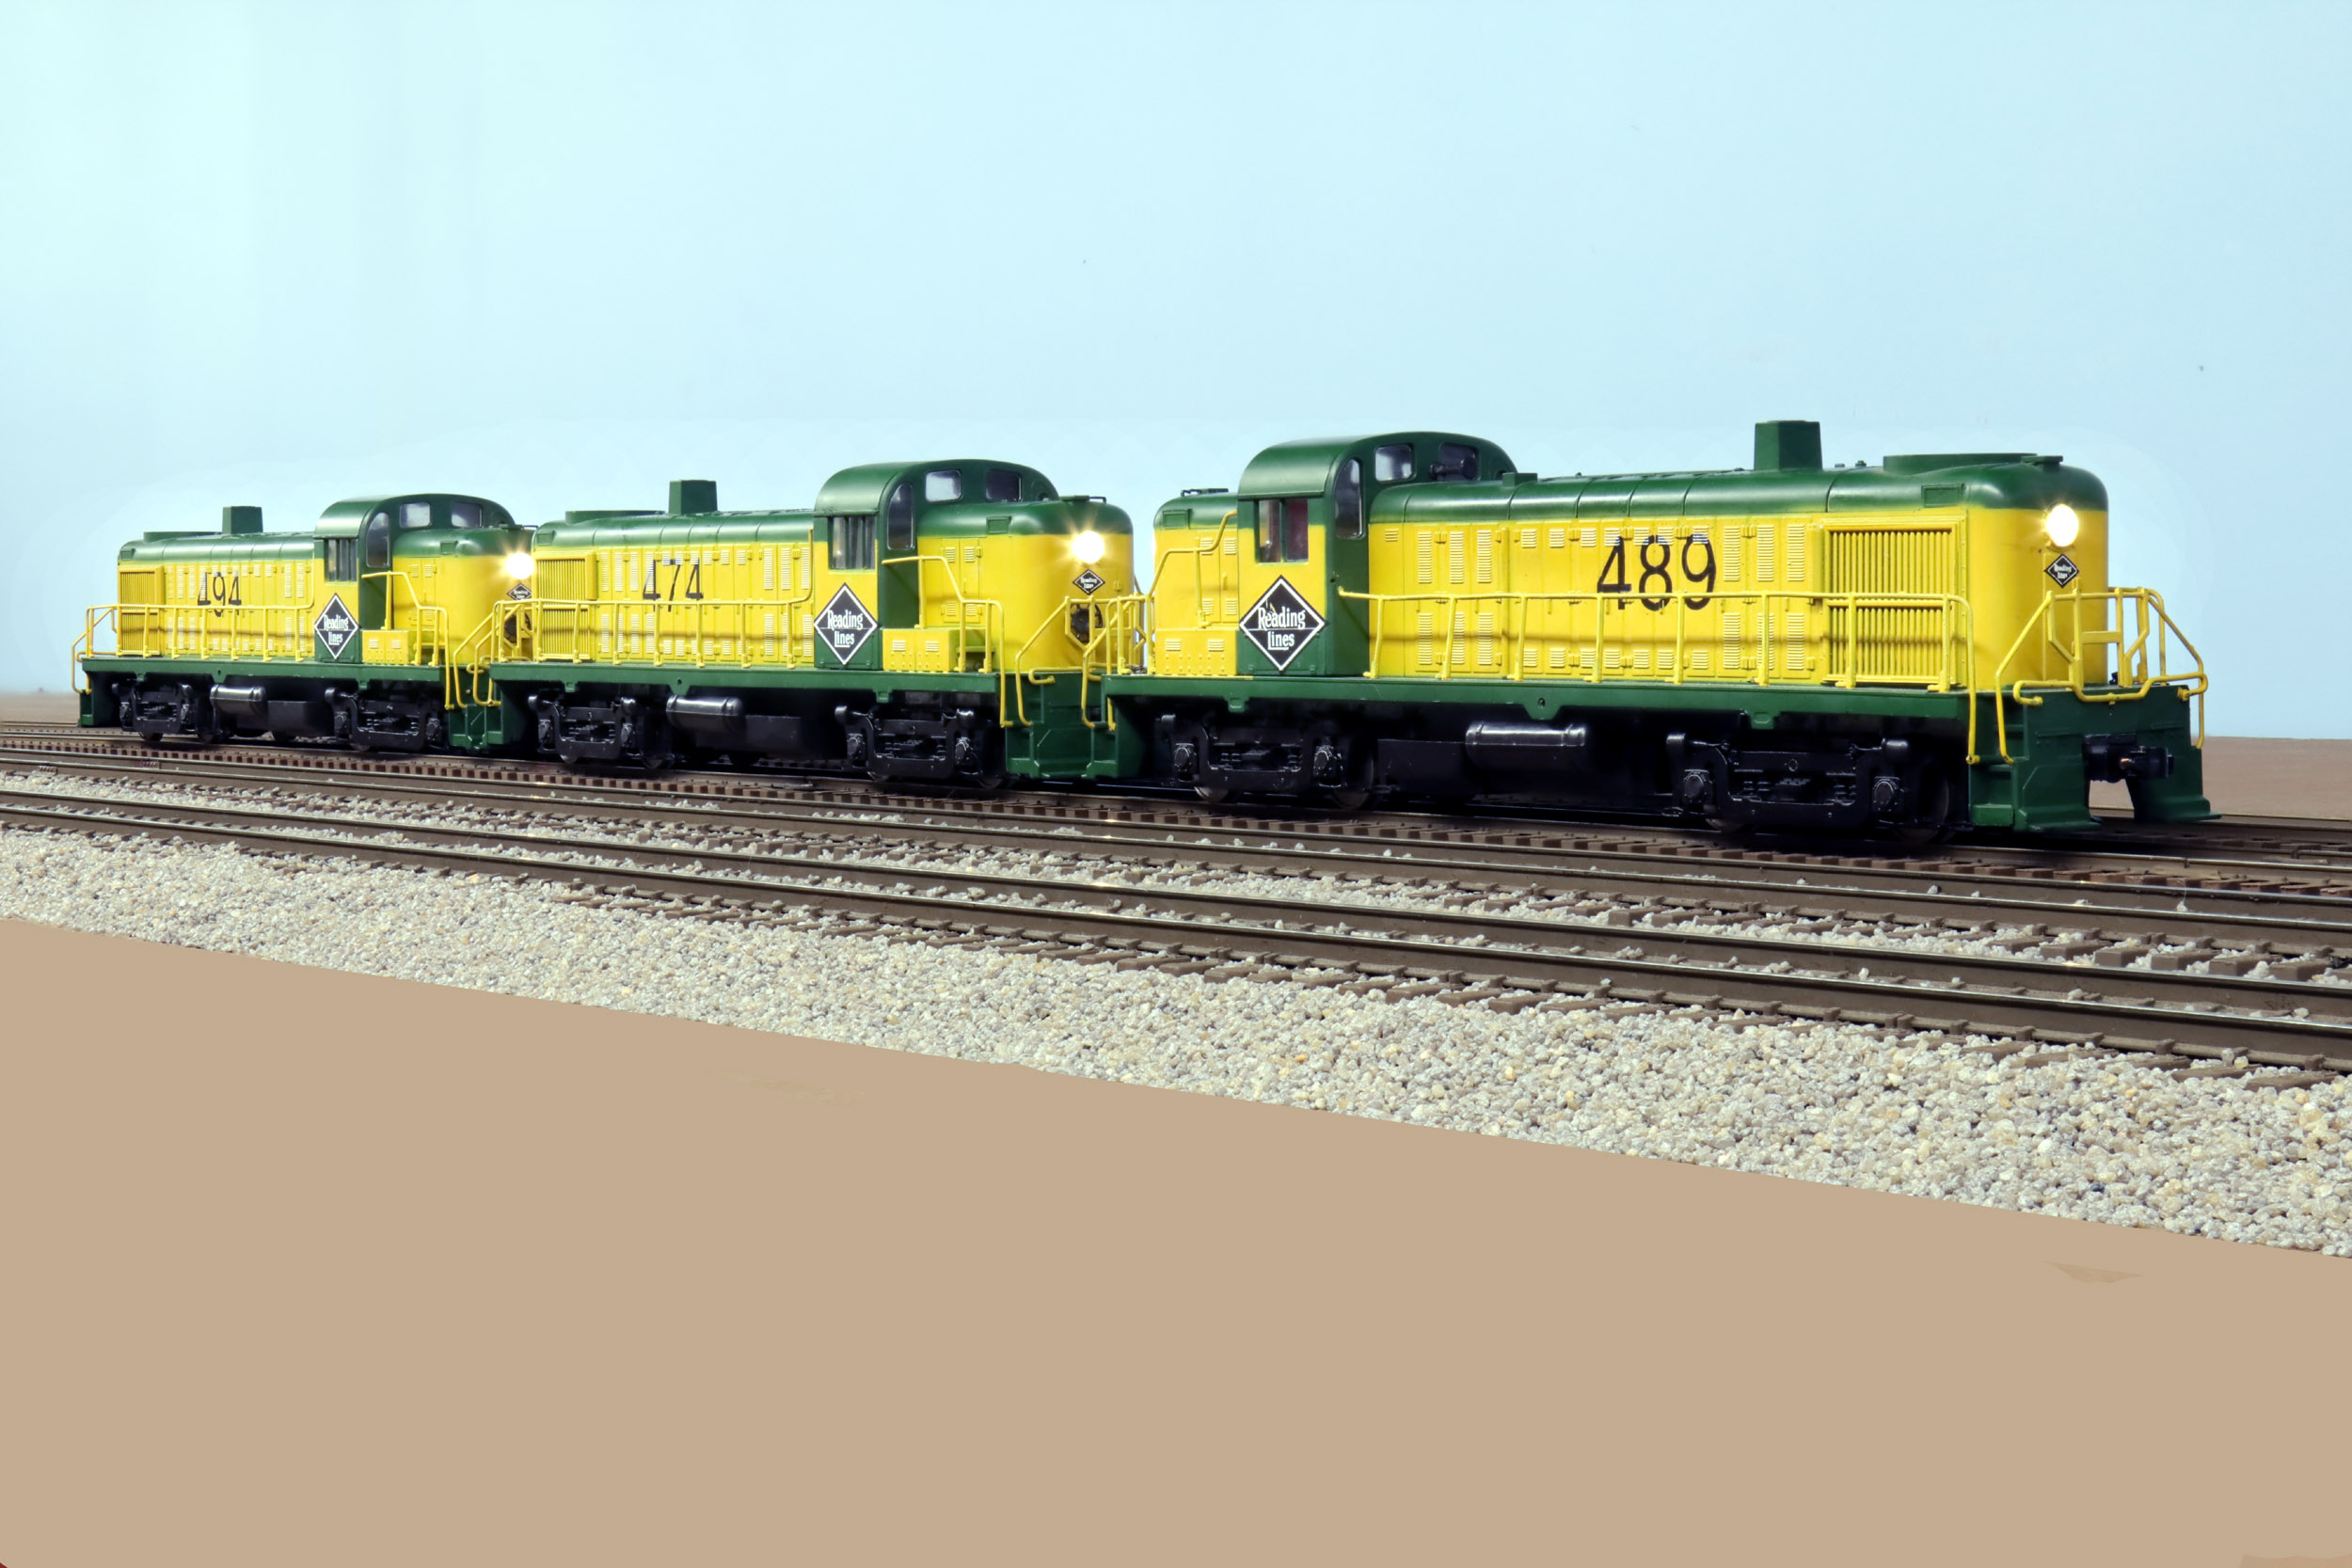
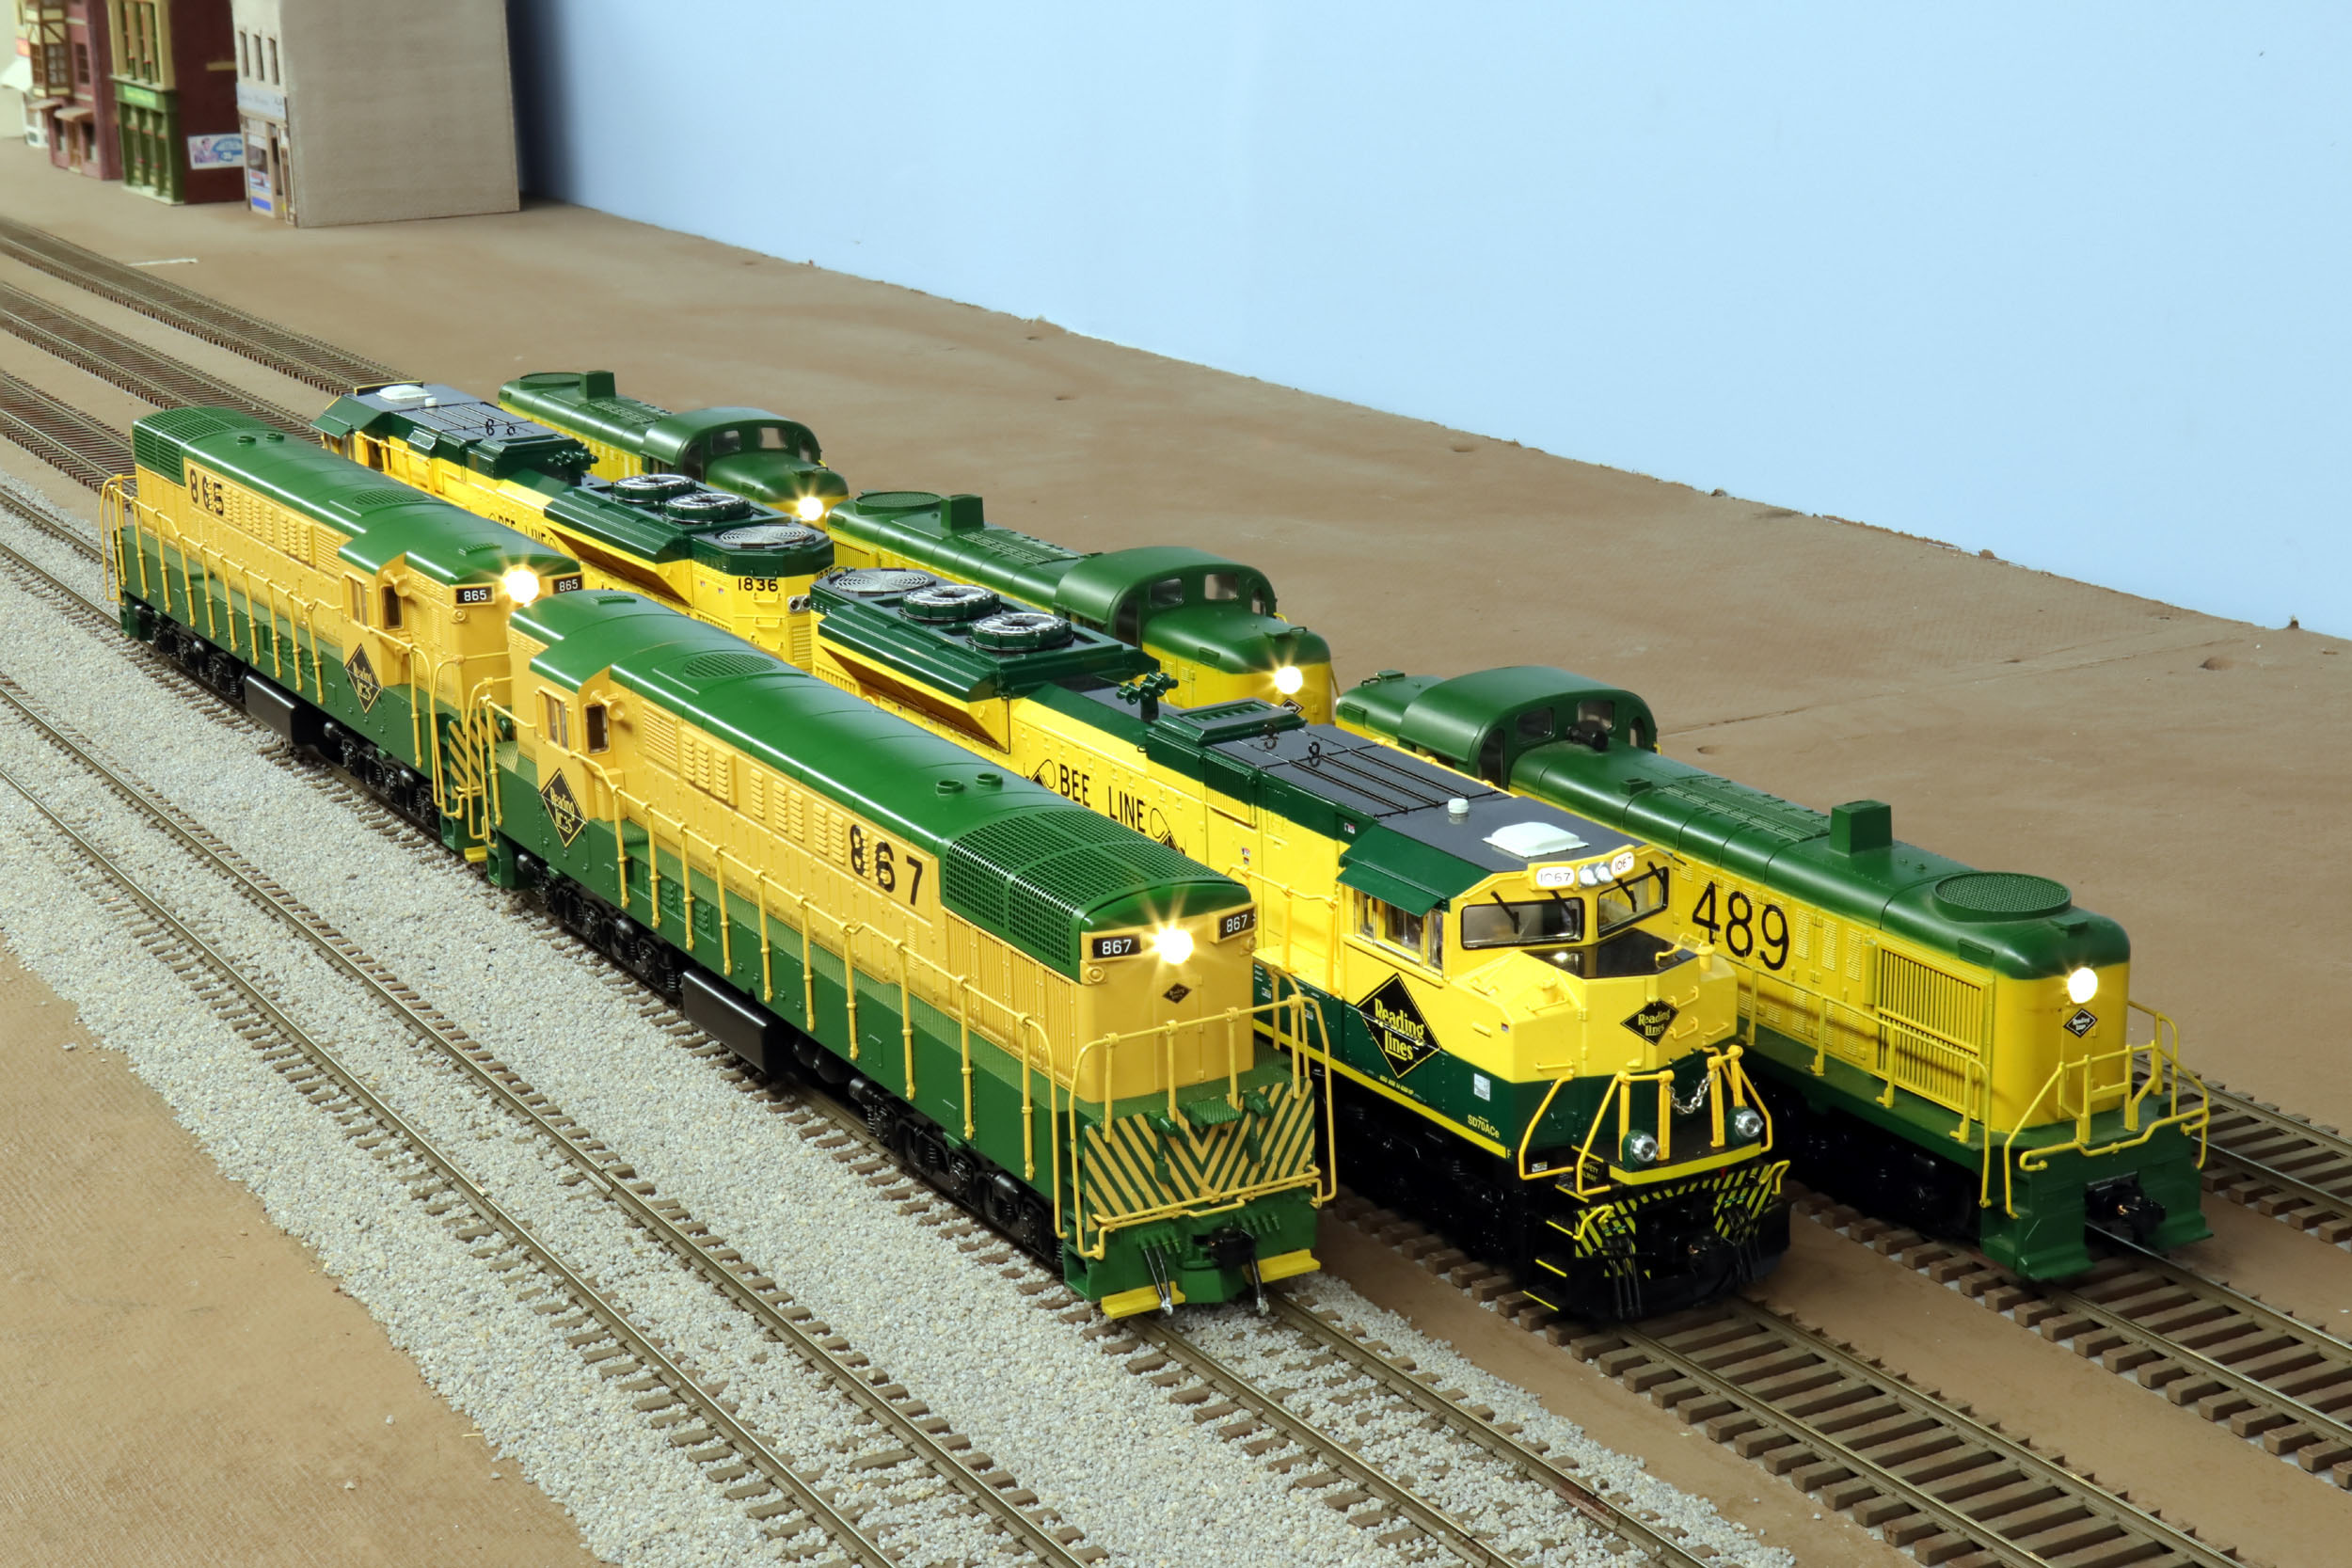
My
Reading Green & Yellow Fleet
With the purchase of my powered and dummy SD70 earlier this
year, I got my Reading green & yellow locos together for a photo. The SD70
are American Flyer by Lionel. The rest are American Models. The RS3
were made as original releases by S Helper Service in 1991. As of 11-7-21 the
Trainmasters are still available new from American Models.
Got
Dachshunds?
For many years before the above scenery binge the 3 or so dogs
greatly outnumbered people figures on the layout. I later got more dachshunds.
In the summer of 2021 Sherri from Catzpaw https://catzpawstore.myshopify.com
indulged me with even more 3D printed dachshunds including 1 she modeled after
my friend Frank’s late Leo. Leo was a large standard dachshund at 30 pounds.
Leo was a wonderful boy. Sherri is excellent at making animal shapes. She has 5
different S Scale dachshunds now. I got the Wienermobile
to add to the goof with a loose herd of dachshunds running around the layout.

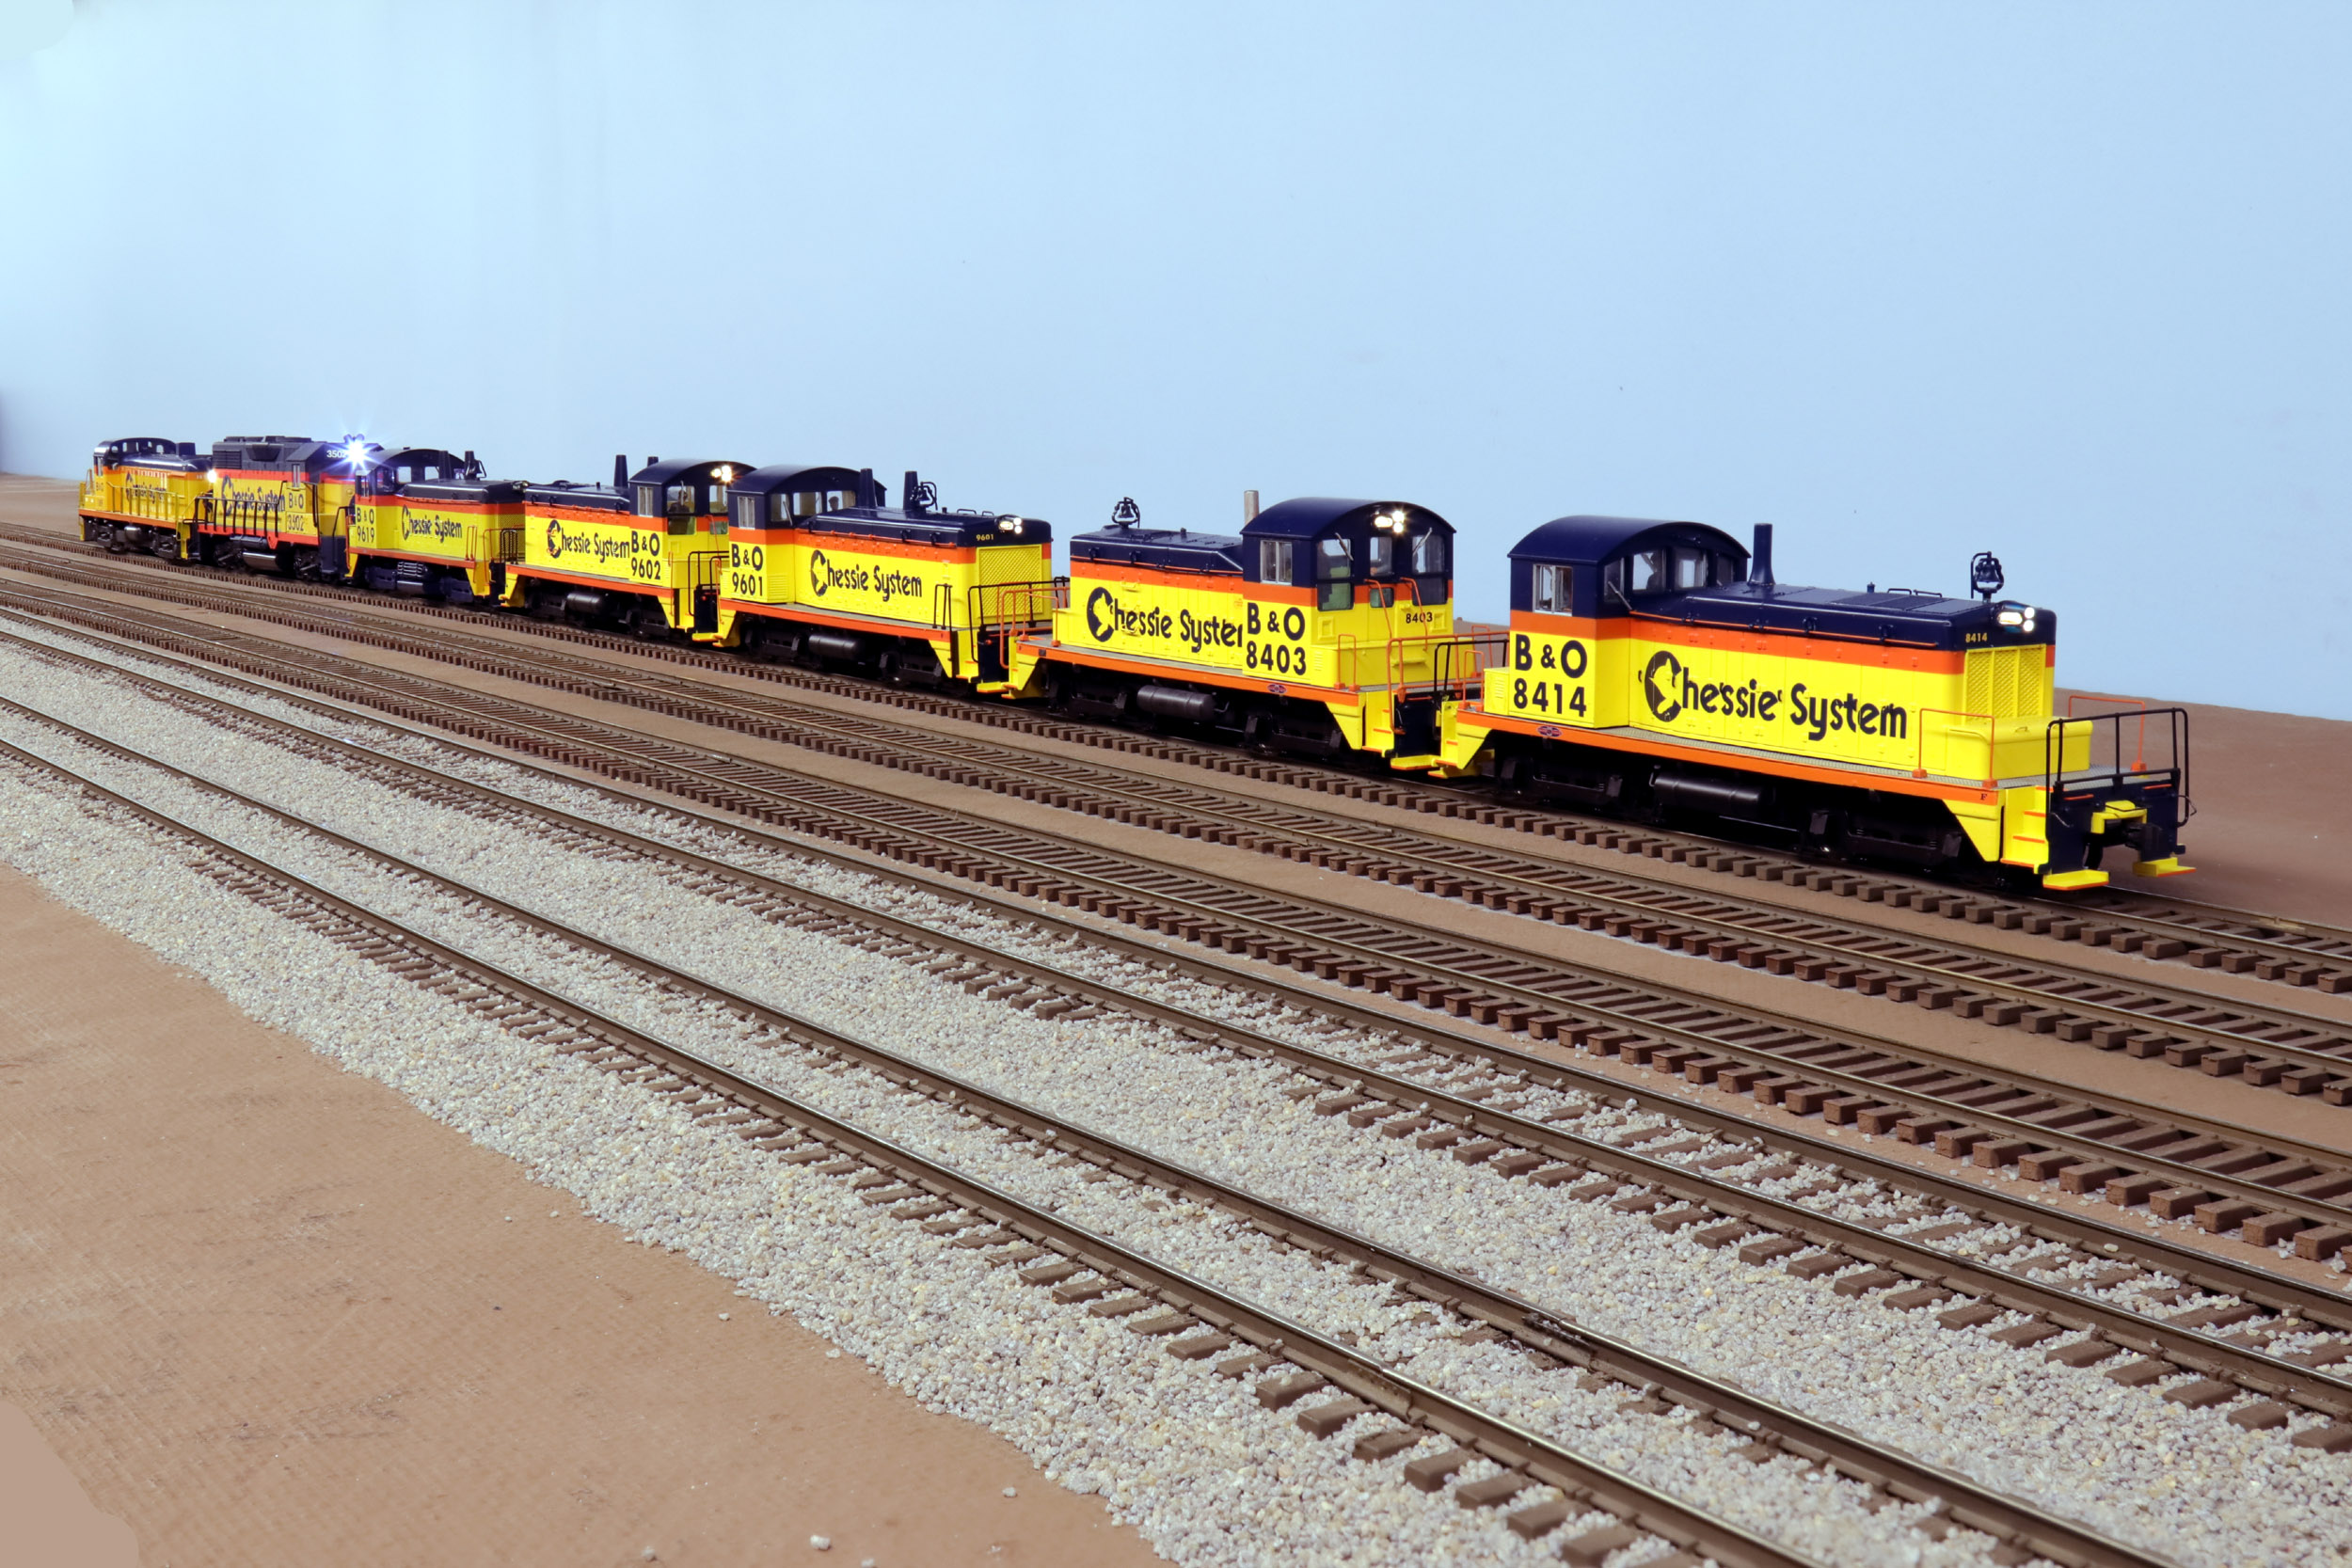
Chessie
Collection 2022
In November 2021 I got a second Chessie SW1and SW9. This is
all of the B&O Chessie locos that S Helper Service made. There are 2)
C&O Chessie locos that I do not plan on buying.
So I got all my Chessie locos out for a quick pose session. They
are a GP35, RS3, 2) SW1 2) SW9 and 1) SW1200 which is brass. I discovered the
RS3 is a custom paint job not a first run S Helper Service as I thought.
B&O Chessie did not even have RS3 which is odd because the builder went to
some effort to make metal handrails. Why make a foobie?

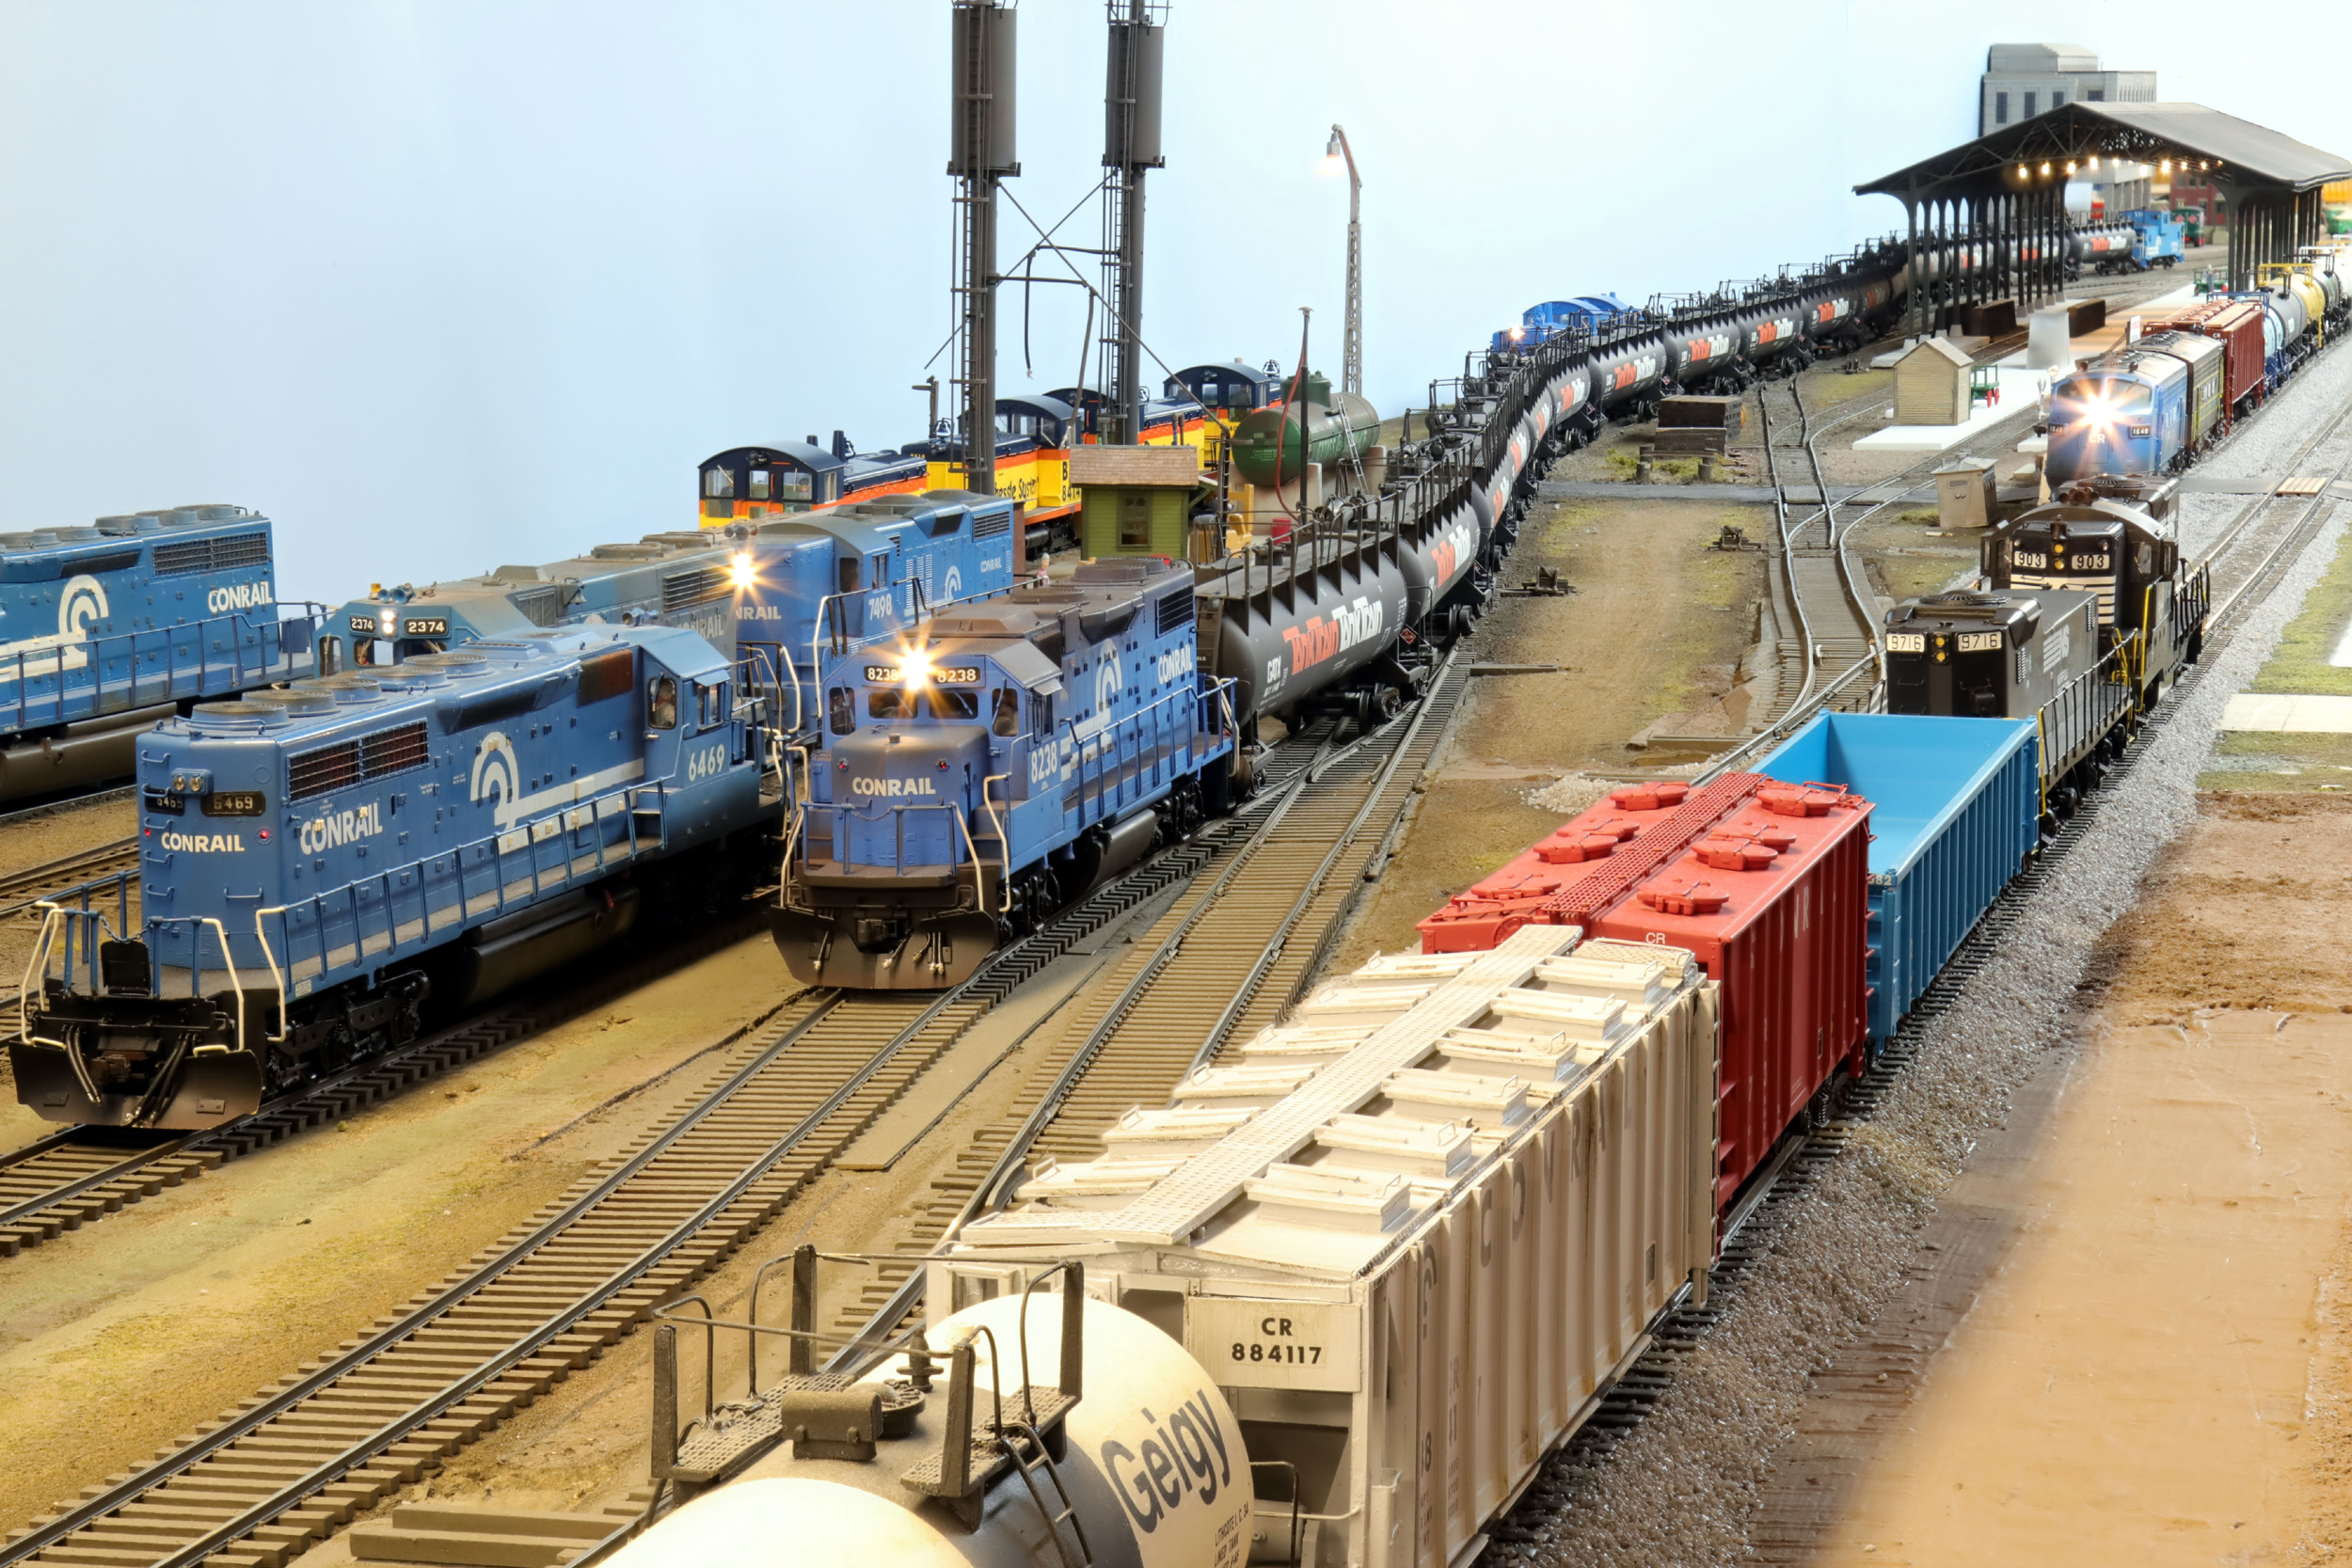
Conrail
Collection 2022
I have not bought anything new in Conrail in about 7 months. But
this is my current Conrail collection of SW9, ES44C (Heritage Unit) U33c, SD60,
GP35 and SD40-2. Later in 2022 and 2023 I bought LOTS of new Conrail. More to come….

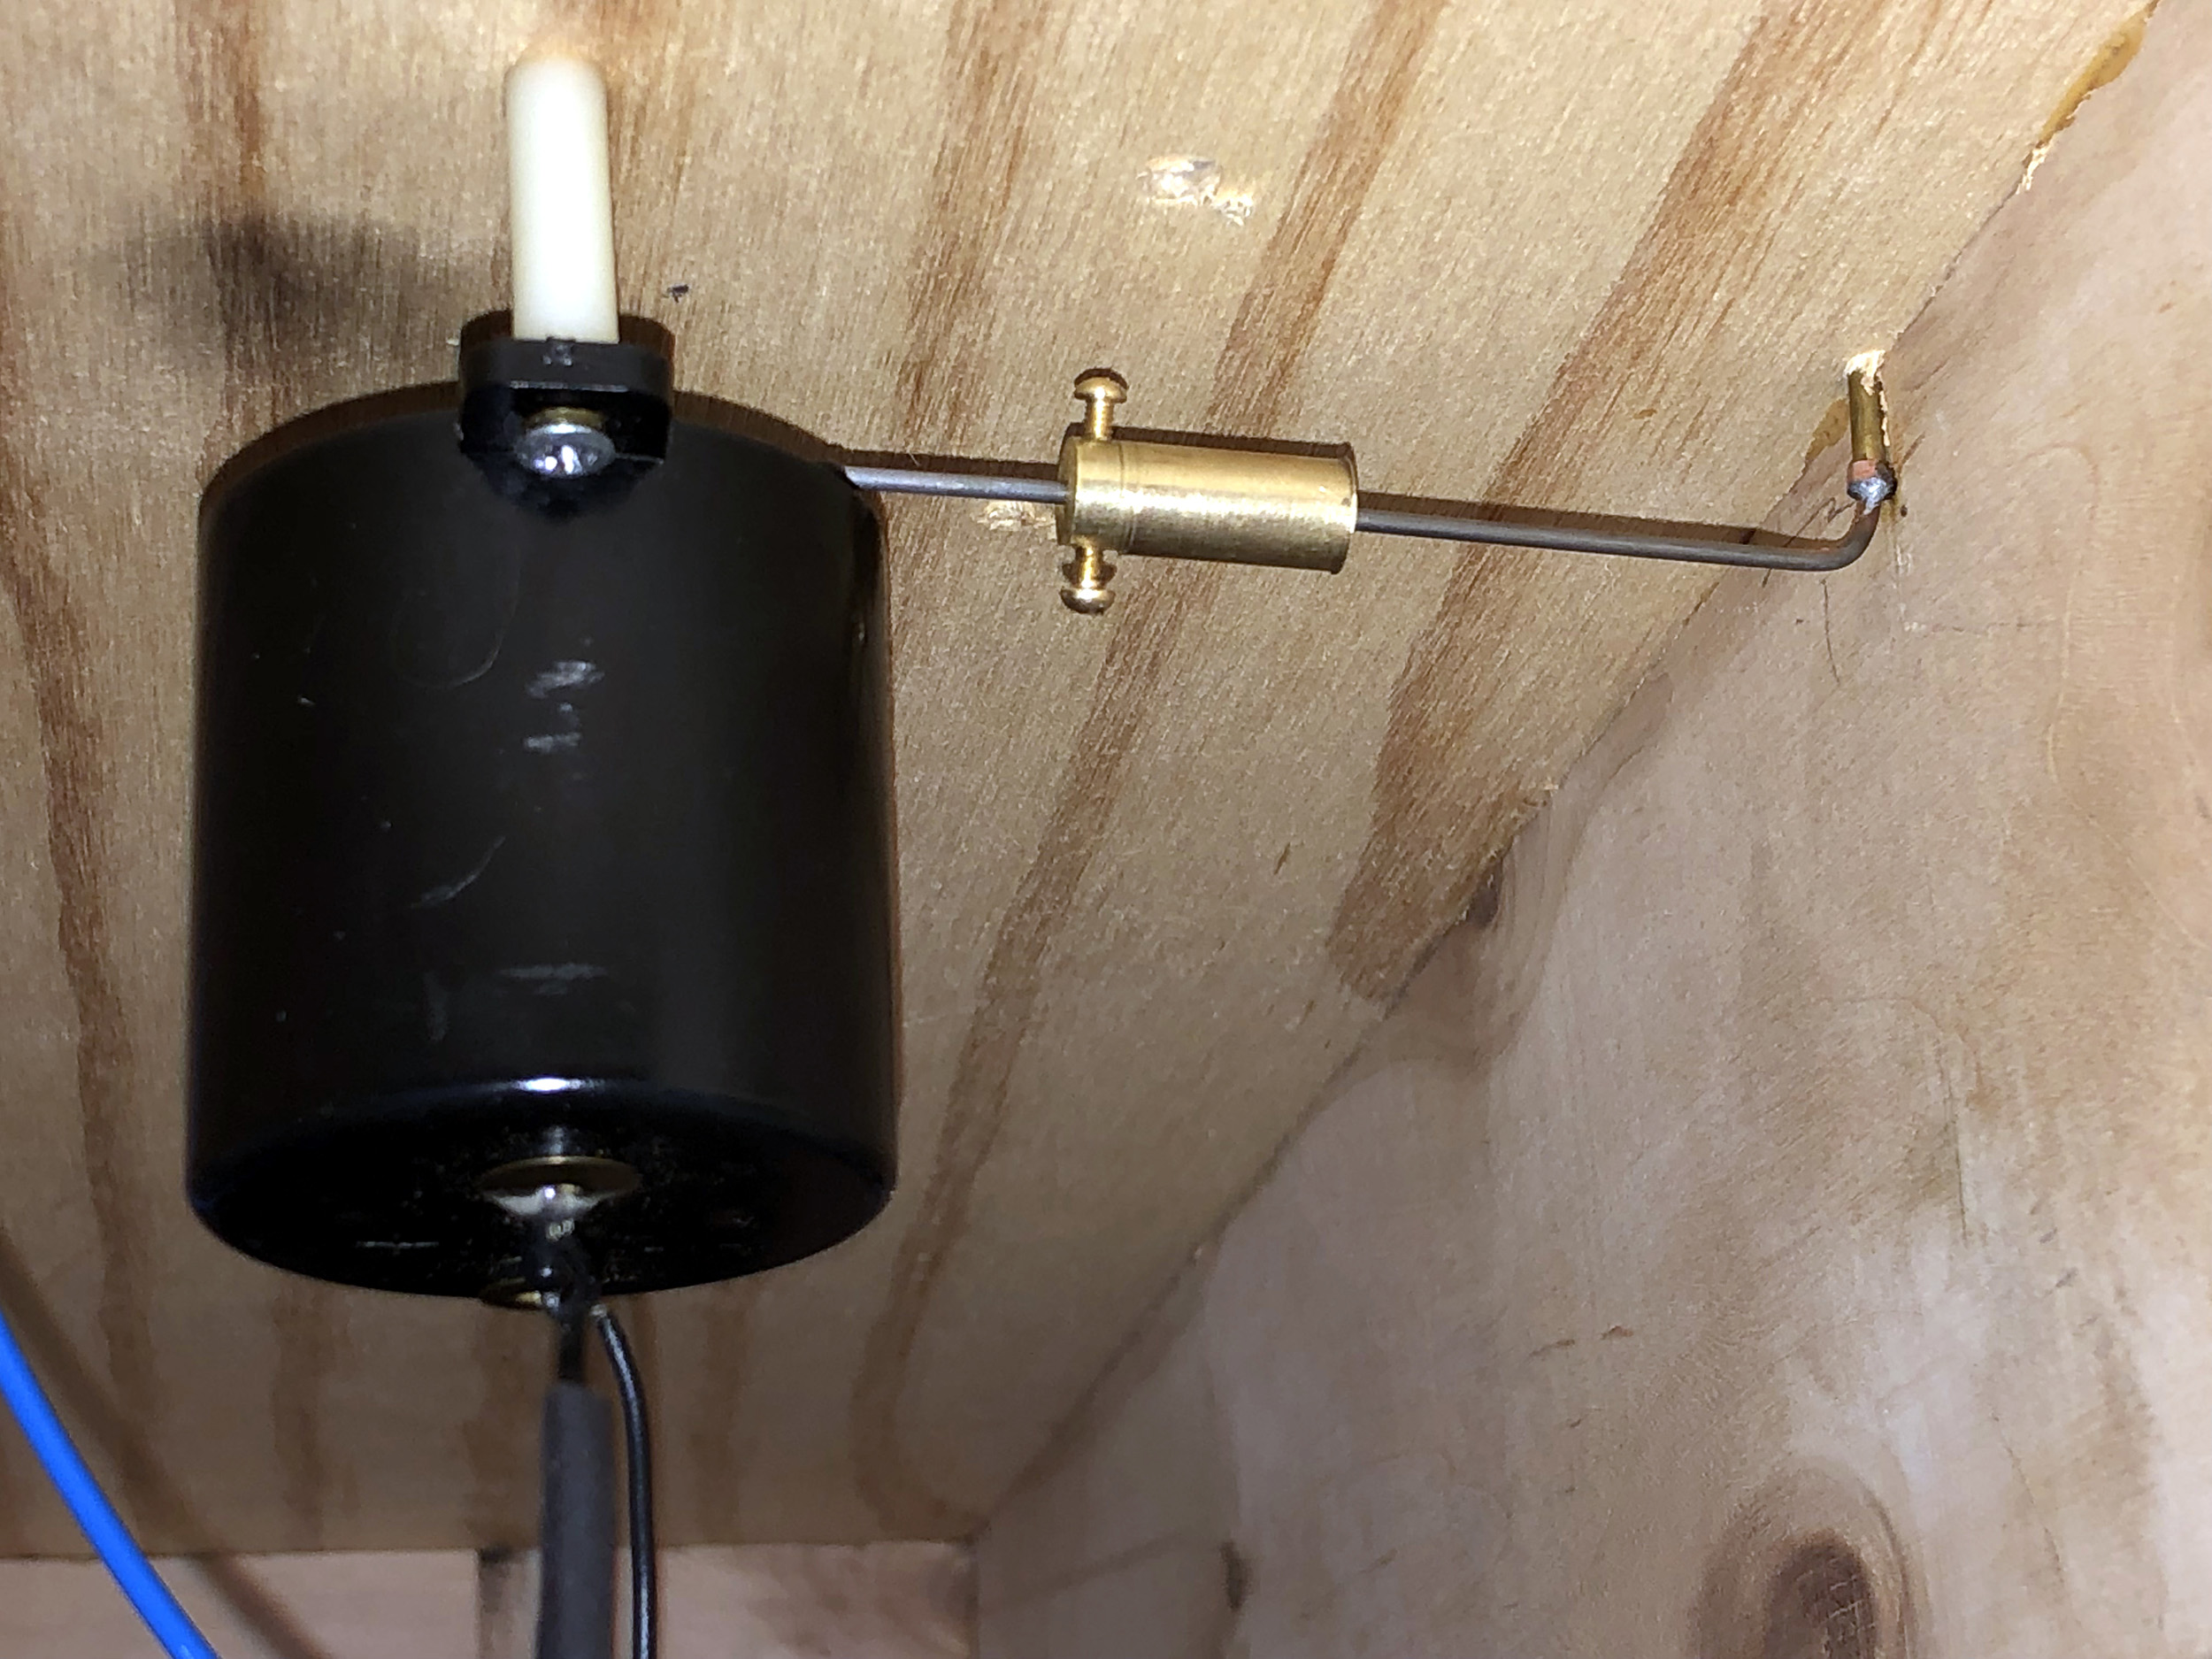
Added
7-12-23
All
of my turnouts are powered even though most are very accessible. This is a #6
turnout on the small straight section at the engine house end of the layout. I
use Hankscraft stall motors. The usual installation could not be easier except
THIS one. Using .062 steel wire for the linkage but
the tie bar fell right on a section joint. The linkage goes up then does a
"J" into the tie bar. The brass round stock is tight in the motor
side. I think I finally have it perfected with the 2 set screws. The brass
round stock kept moving and became disconnected The
hole on the right of the brass round stock is larger allowing for a pivoting
action to happen within the round stock. THIS is the sort of stuff I love to
figure out and make.
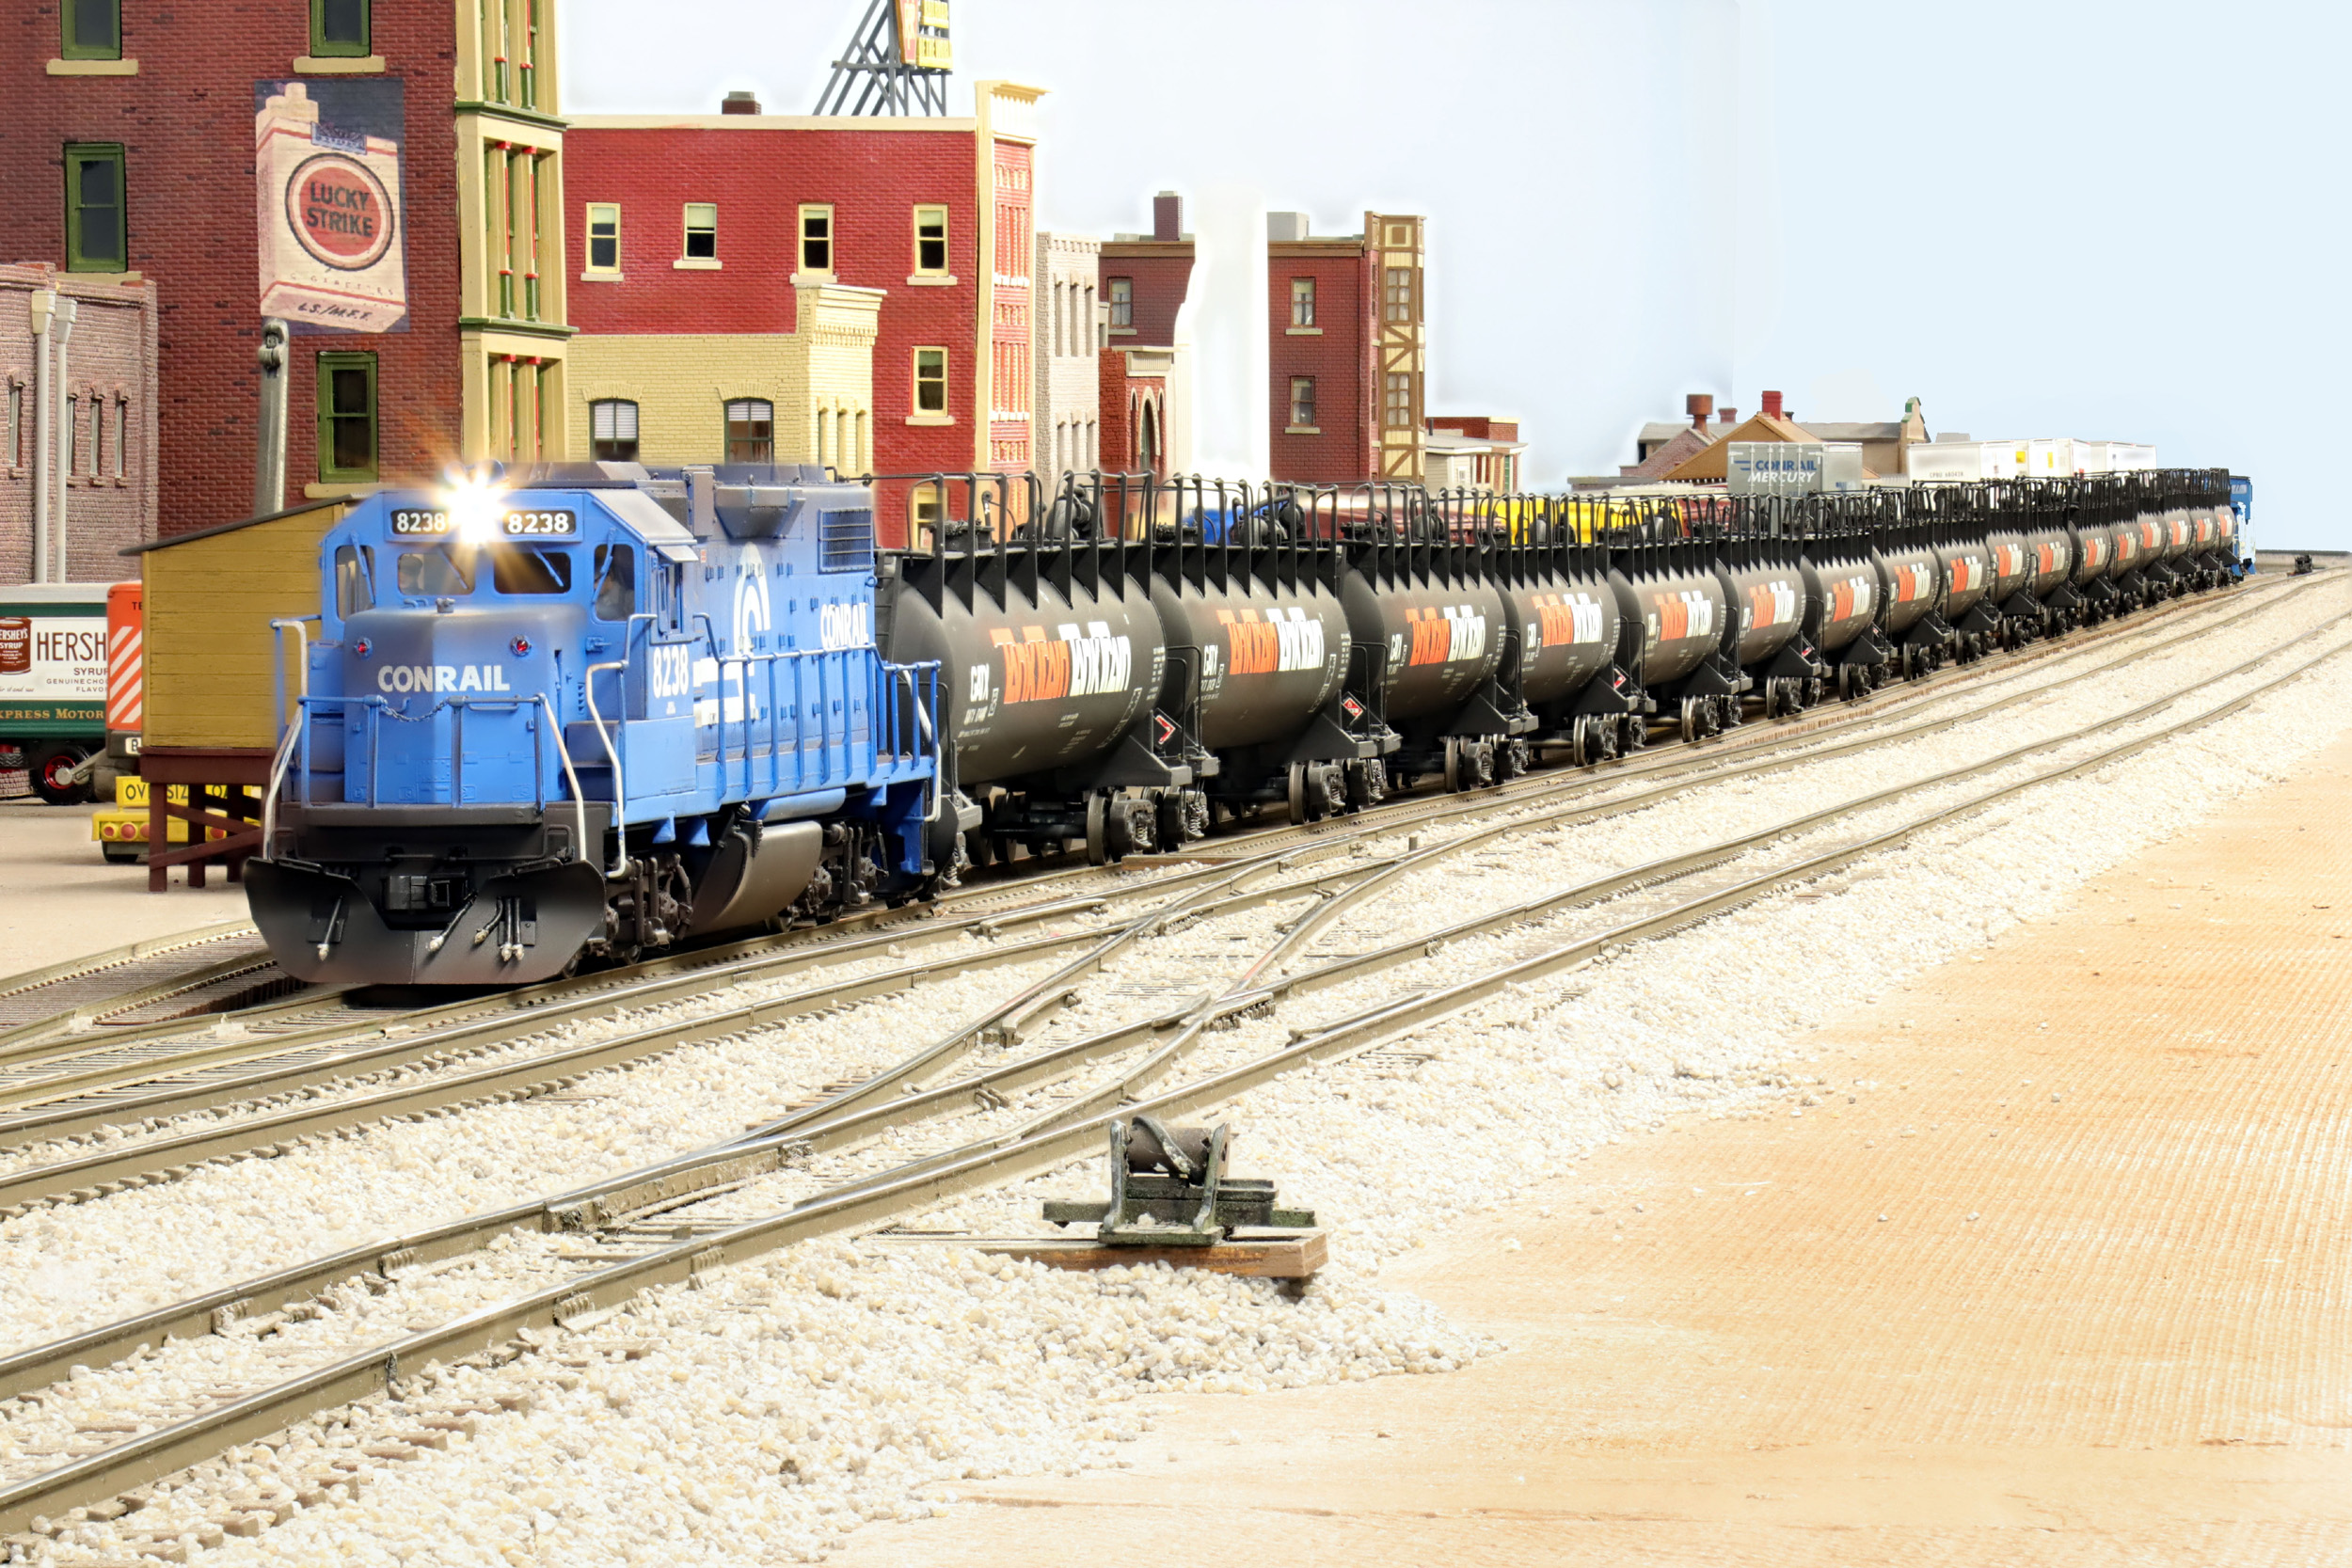
I
have been in “Conrail and modern mode” for about a year now. Lots of new
Conrail has been bought and made with more coming. These 2 photos feature some
of the new to me trains including a Conrail GP38-2 I painted in January 2023.
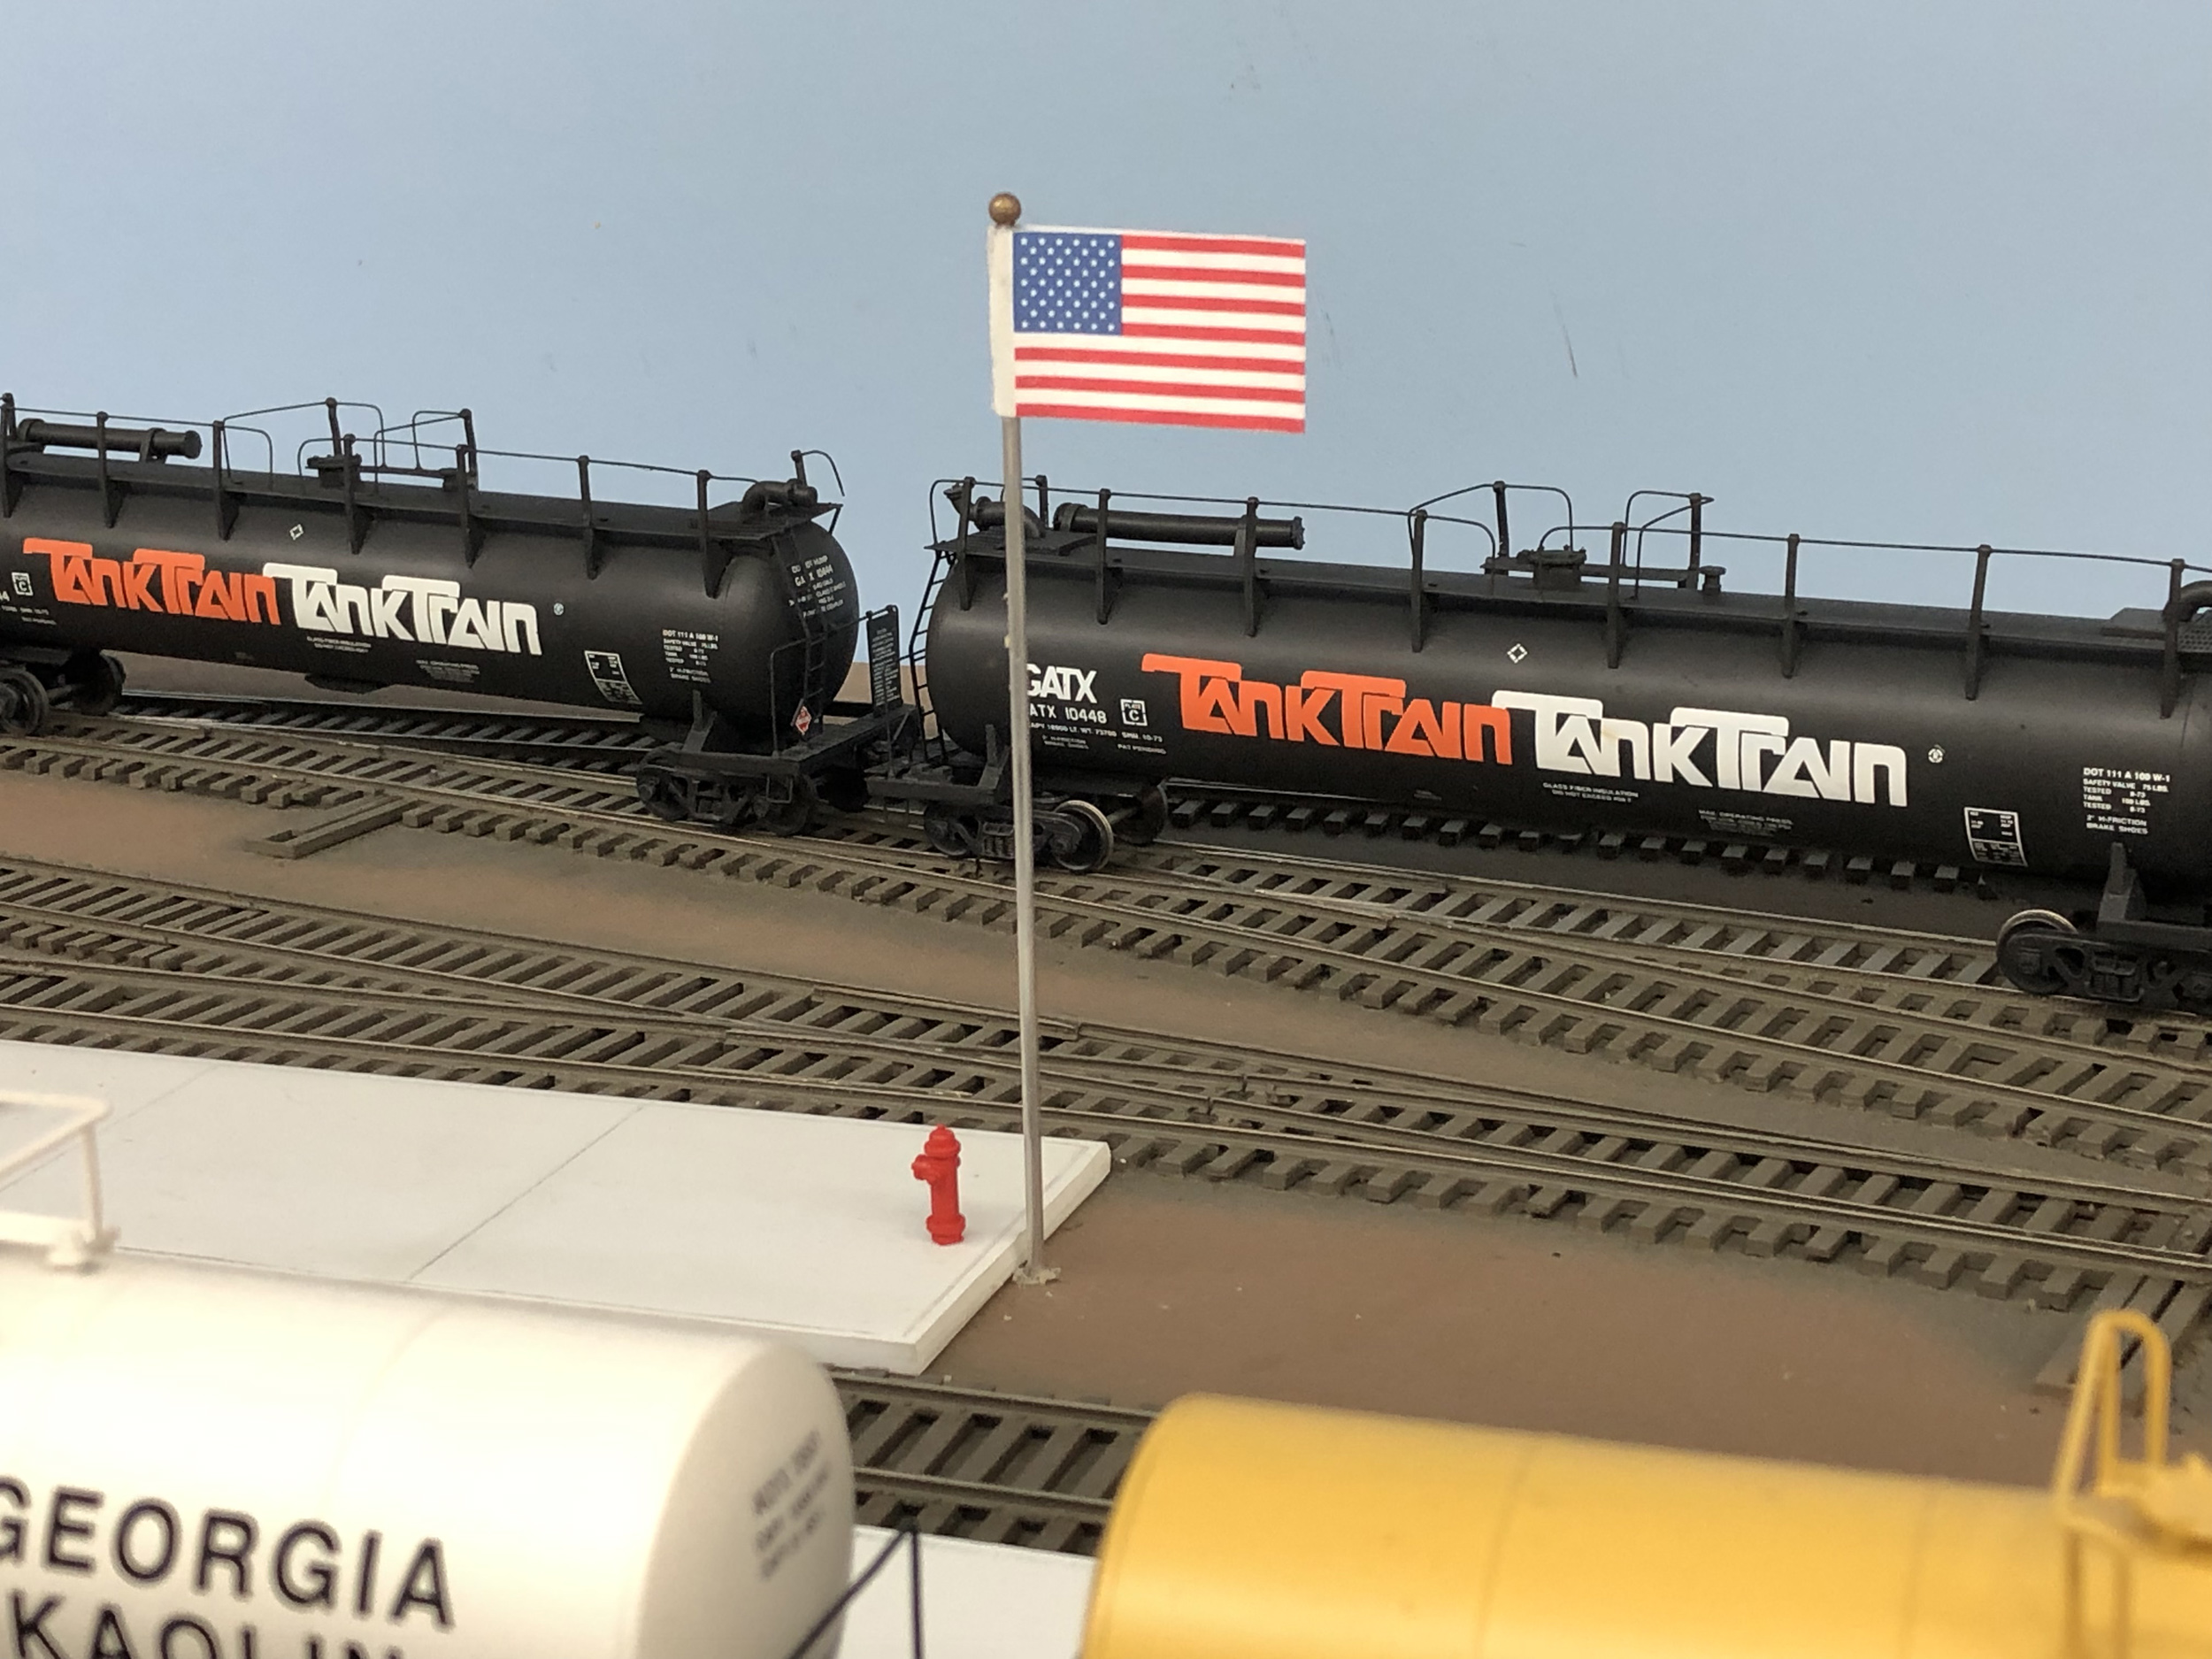
Also I bought more Downs Model Railroad Tank Train cars,
and my Norfolk Southern Slug set.
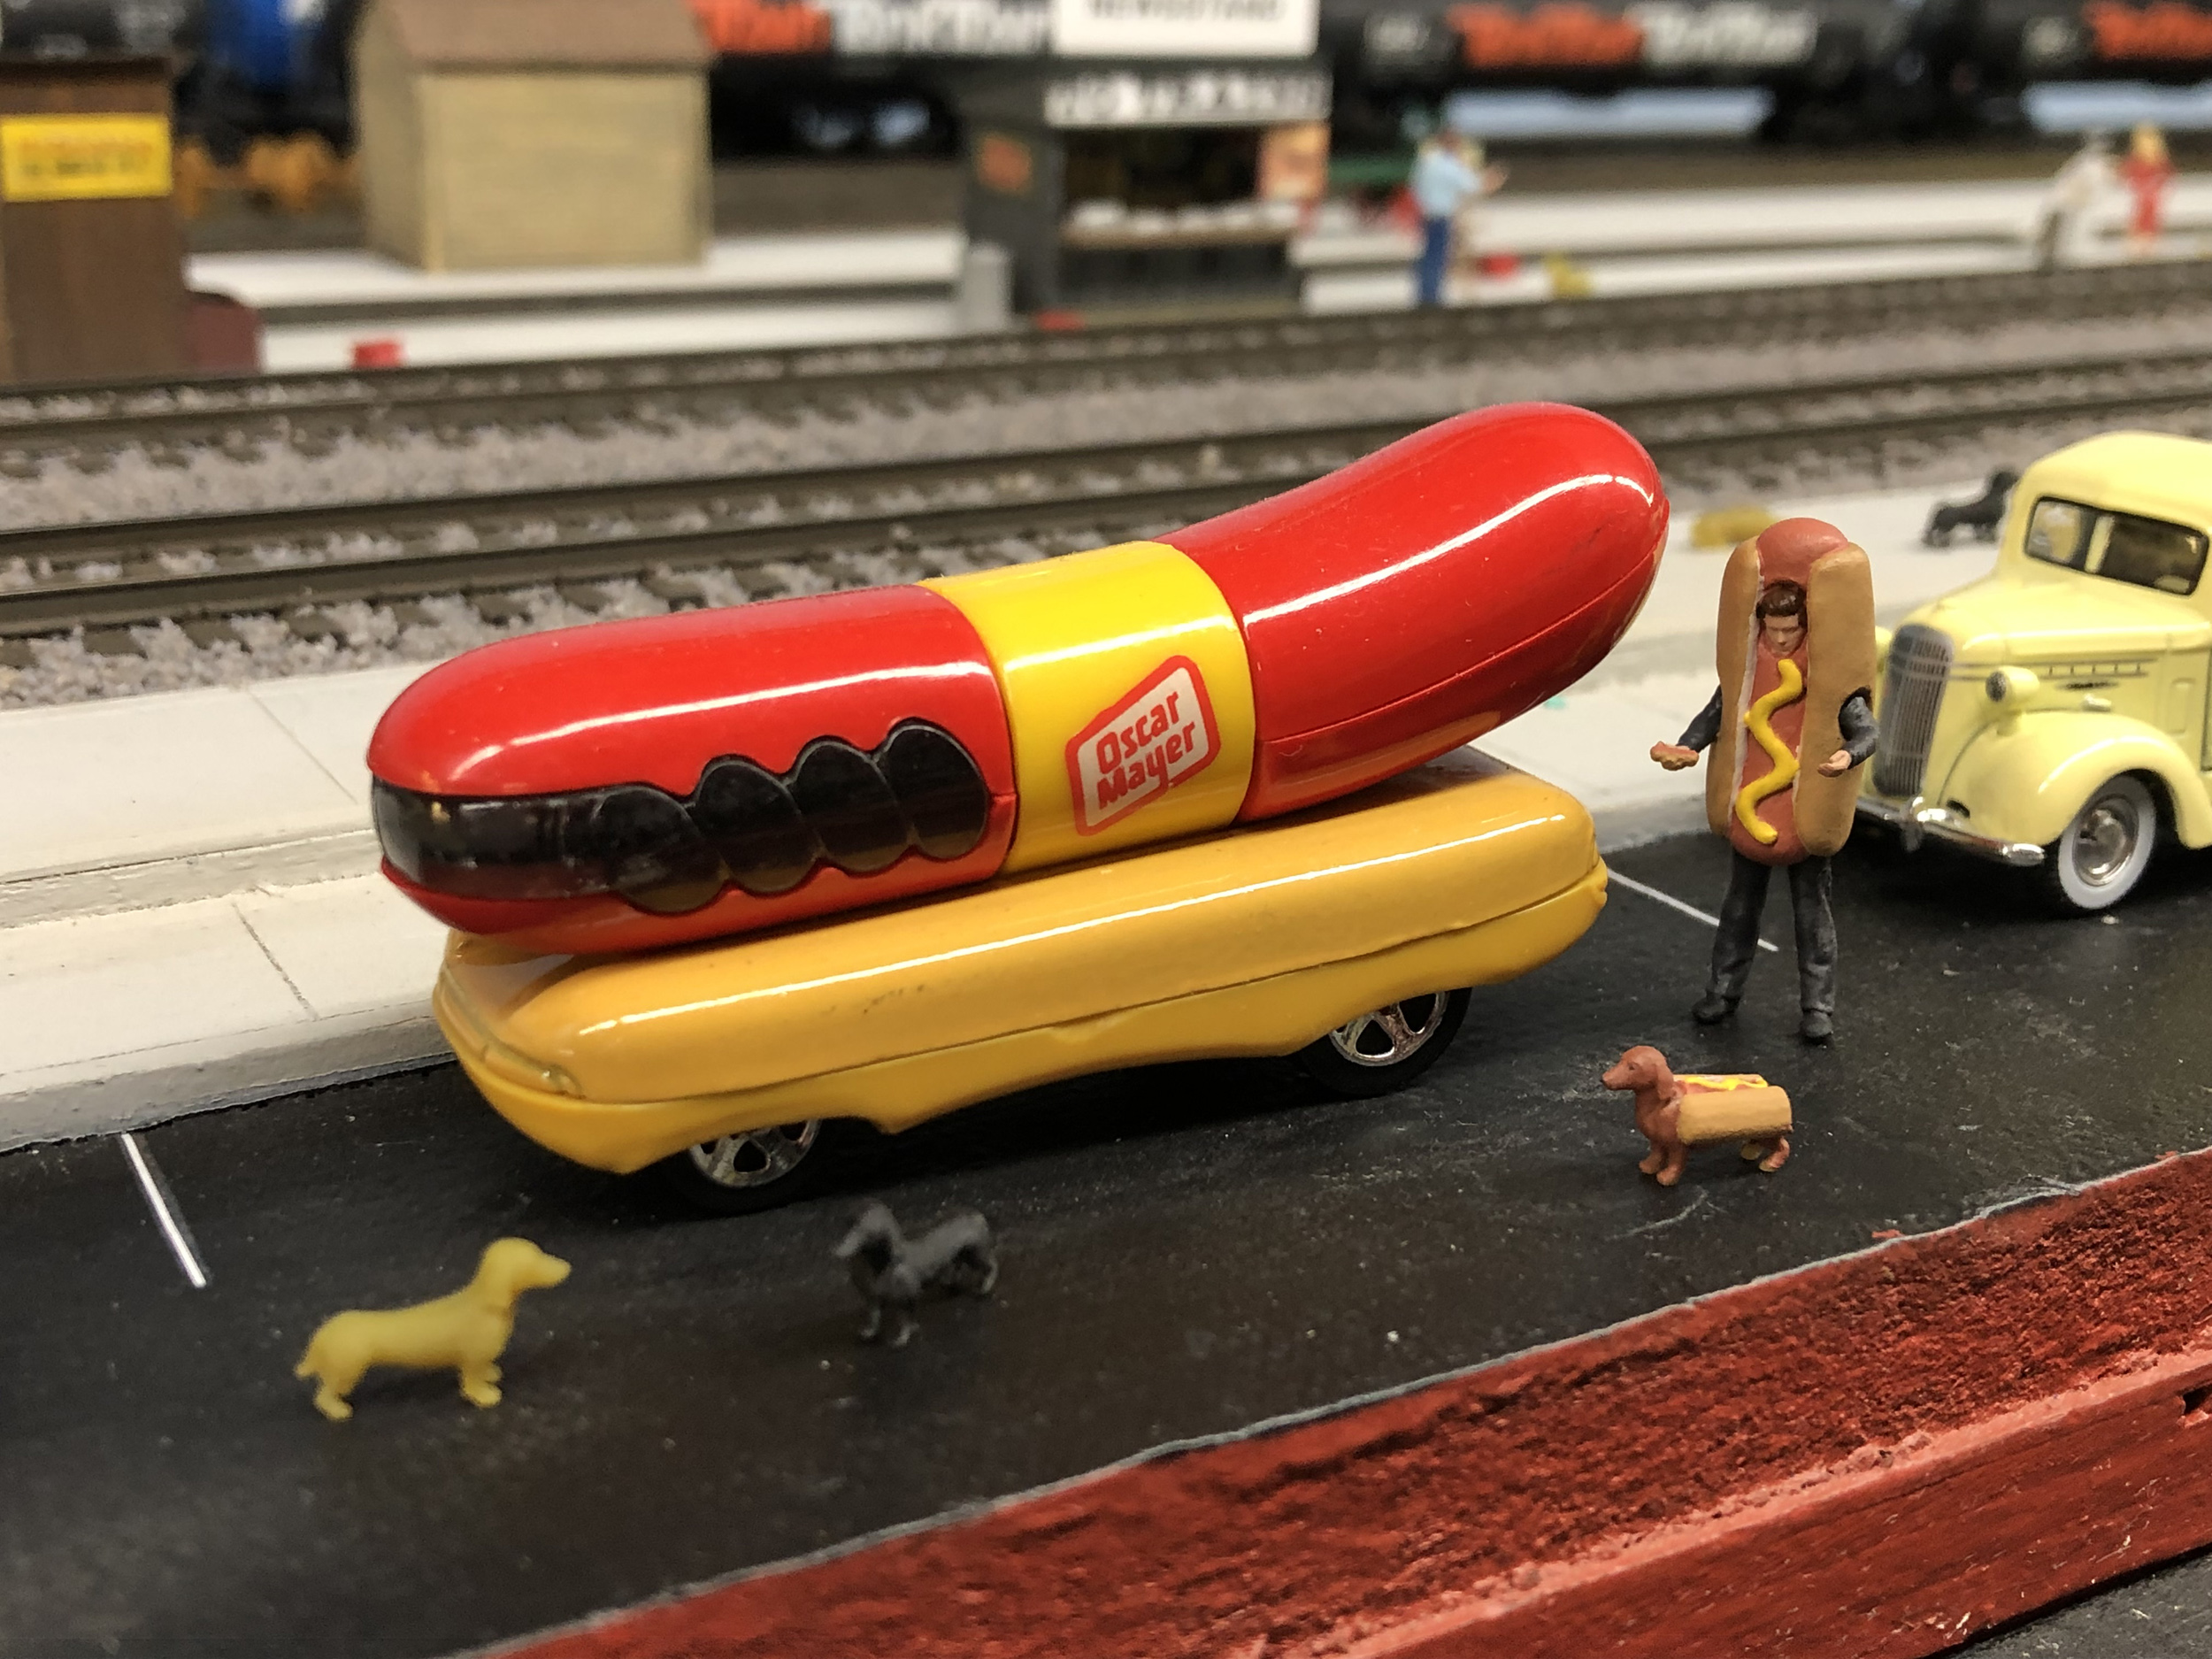
As shown below I have a lot of dachshund figures on the layout. Sherri from Catzpaw https://catzpawstore.myshopify.com
indulged me again with a few new details. The first photo is MY pride flag.
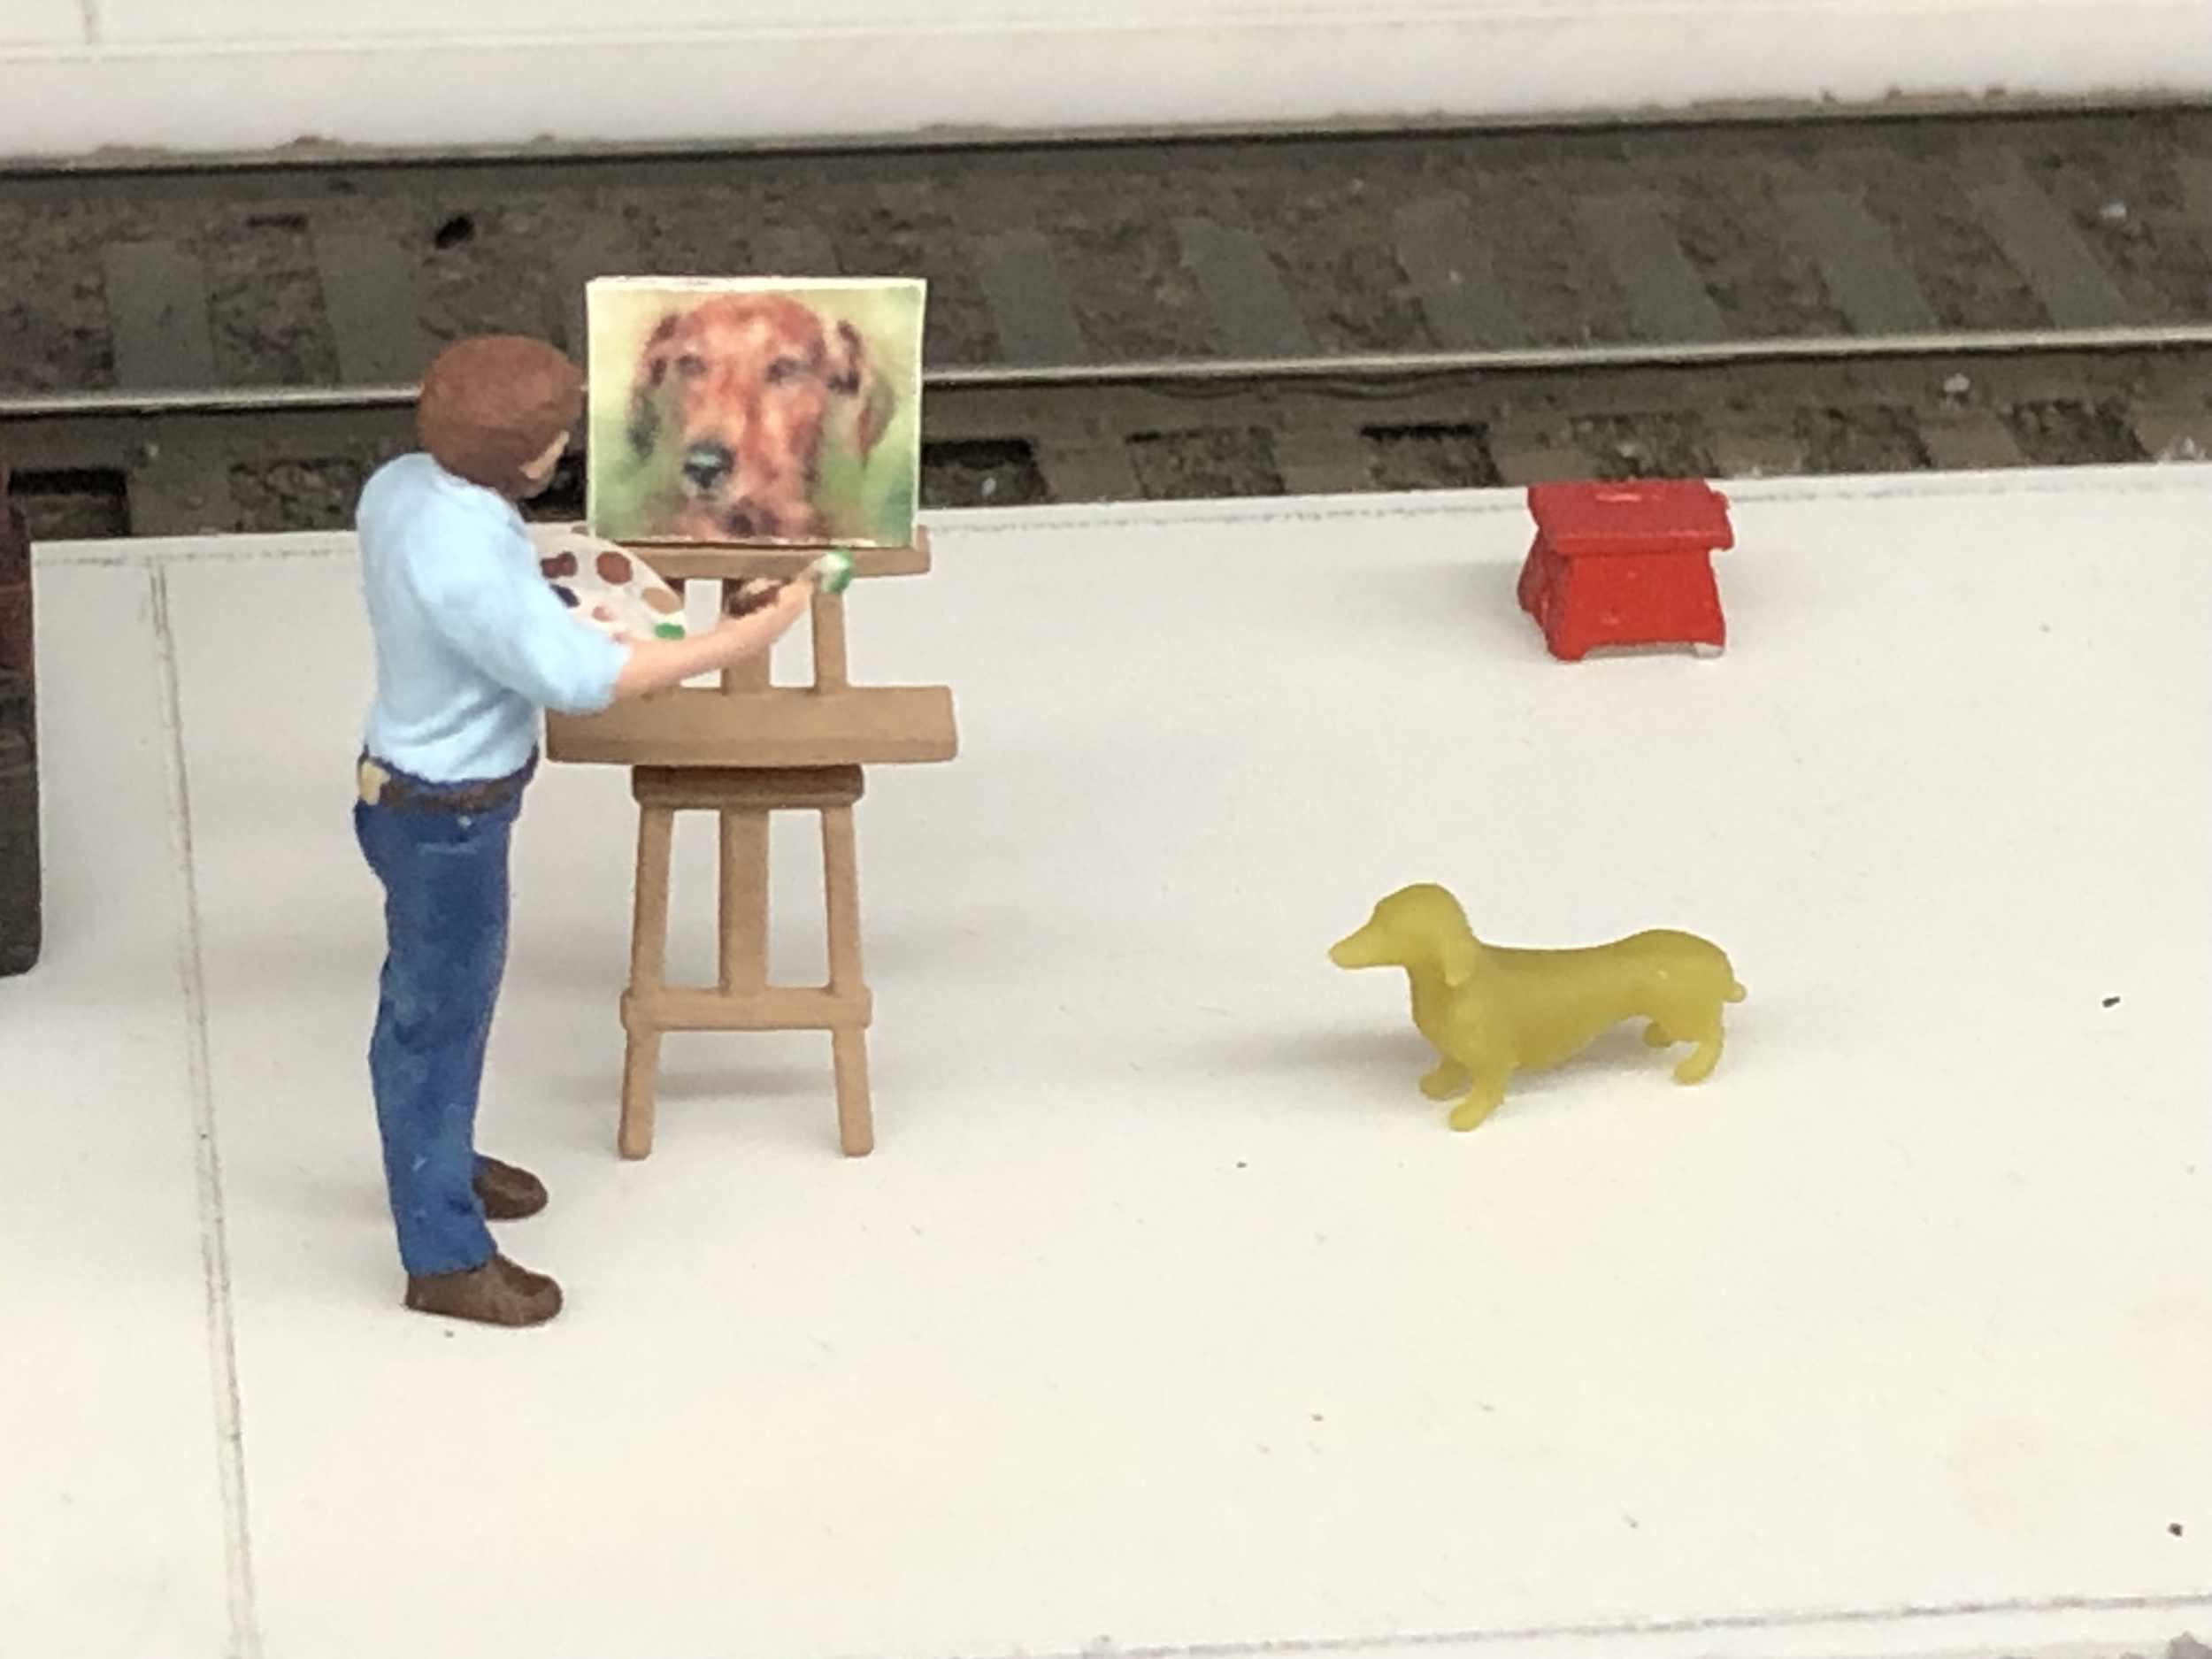
Next is Frank Wiener and His Little Dog with the Oscar Myer Wienermobile. The photo at right is famous “Happy Tree”
artist Bob Ross painting a portrait of my late Shelby. Sherri did an AMAZING
job with that.
Added
5-2-25
LED
Layout Lighting
My fluorescent tubes were getting old at 10+ years. Some completely
stopped working and needed replacement. As fluorescent tubes age they are not
as bright. It is very gradual and mostly not noticeable for a long time. Also
fluorescent tubes are an awful light source for photography. I have struggled with shooting the layout getting
correct color photos for many years. I “was going to get” fluorescent tubes that
were “daylight” color but that never happened. The trend has been to move away
from fluorescent tubes and to LED anyway.
What started out as a test to replace a few failed fluorescent
tubes became a project of its own. I was aware of 4’ LED tubes that you just
swap out with fluorescent tubes from fixtures that have ballasts. Done deal nothing
else to do. But you had to have the CORRECT ballast – from the last type of fluorescent
tubes - T8 I think. The ballasts for the older fatter fluorescent tubes do not
work. Maybe there are LED tubes what will work with those ballasts. I do not know.
So my goal was to restore bright lighting and change to daylight
for better photography. I never understood the whole “warm” and “cool” lighting
thing relating to the Kelvin coloring. When I was first buying LEDS for loco headlights
some were bluish and some were yellowish - which I hated both. For locos I want
WHITE lighting. I found 6500K LED tubes were
for daylight. My first purchase was 6) 4’ LED tubes – at $13.00 each! They had
a slide switch to adjust Kelvin temperature. I selected 6500K. When I swapped
the first LEDs for fluorescent tubes there was a HUGE difference in brightness.
I needed to do them all. But at $13.00 each that was too expensive. I do not
need a slide switch on every tube to select color. I looked for tubes that were
6500K only that was a lot cheaper.
Direct
Wire LEDs
In the middle of this project I discovered “direct wire” LED tubes
which made sense. No need for the fluorescent ballasts anymore. I found there
are direct wire “fixtures” which are just like the old fluorescent tube
fixtures but are empty – no ballast. Only a metal box to hold the tombstone
plugs in place. The great thing about “direct wire” tubes is you can remove the
ballast on any old fluorescent fixture and wire it for these LED tubes. BUT……. They are NOT wired like I thought matching and
connecting all black wires together and all white wires together. The correct wiring
is ALL wires from one end of the fixture twisted together going to black, and
all wires from the other end twisted together going to white.
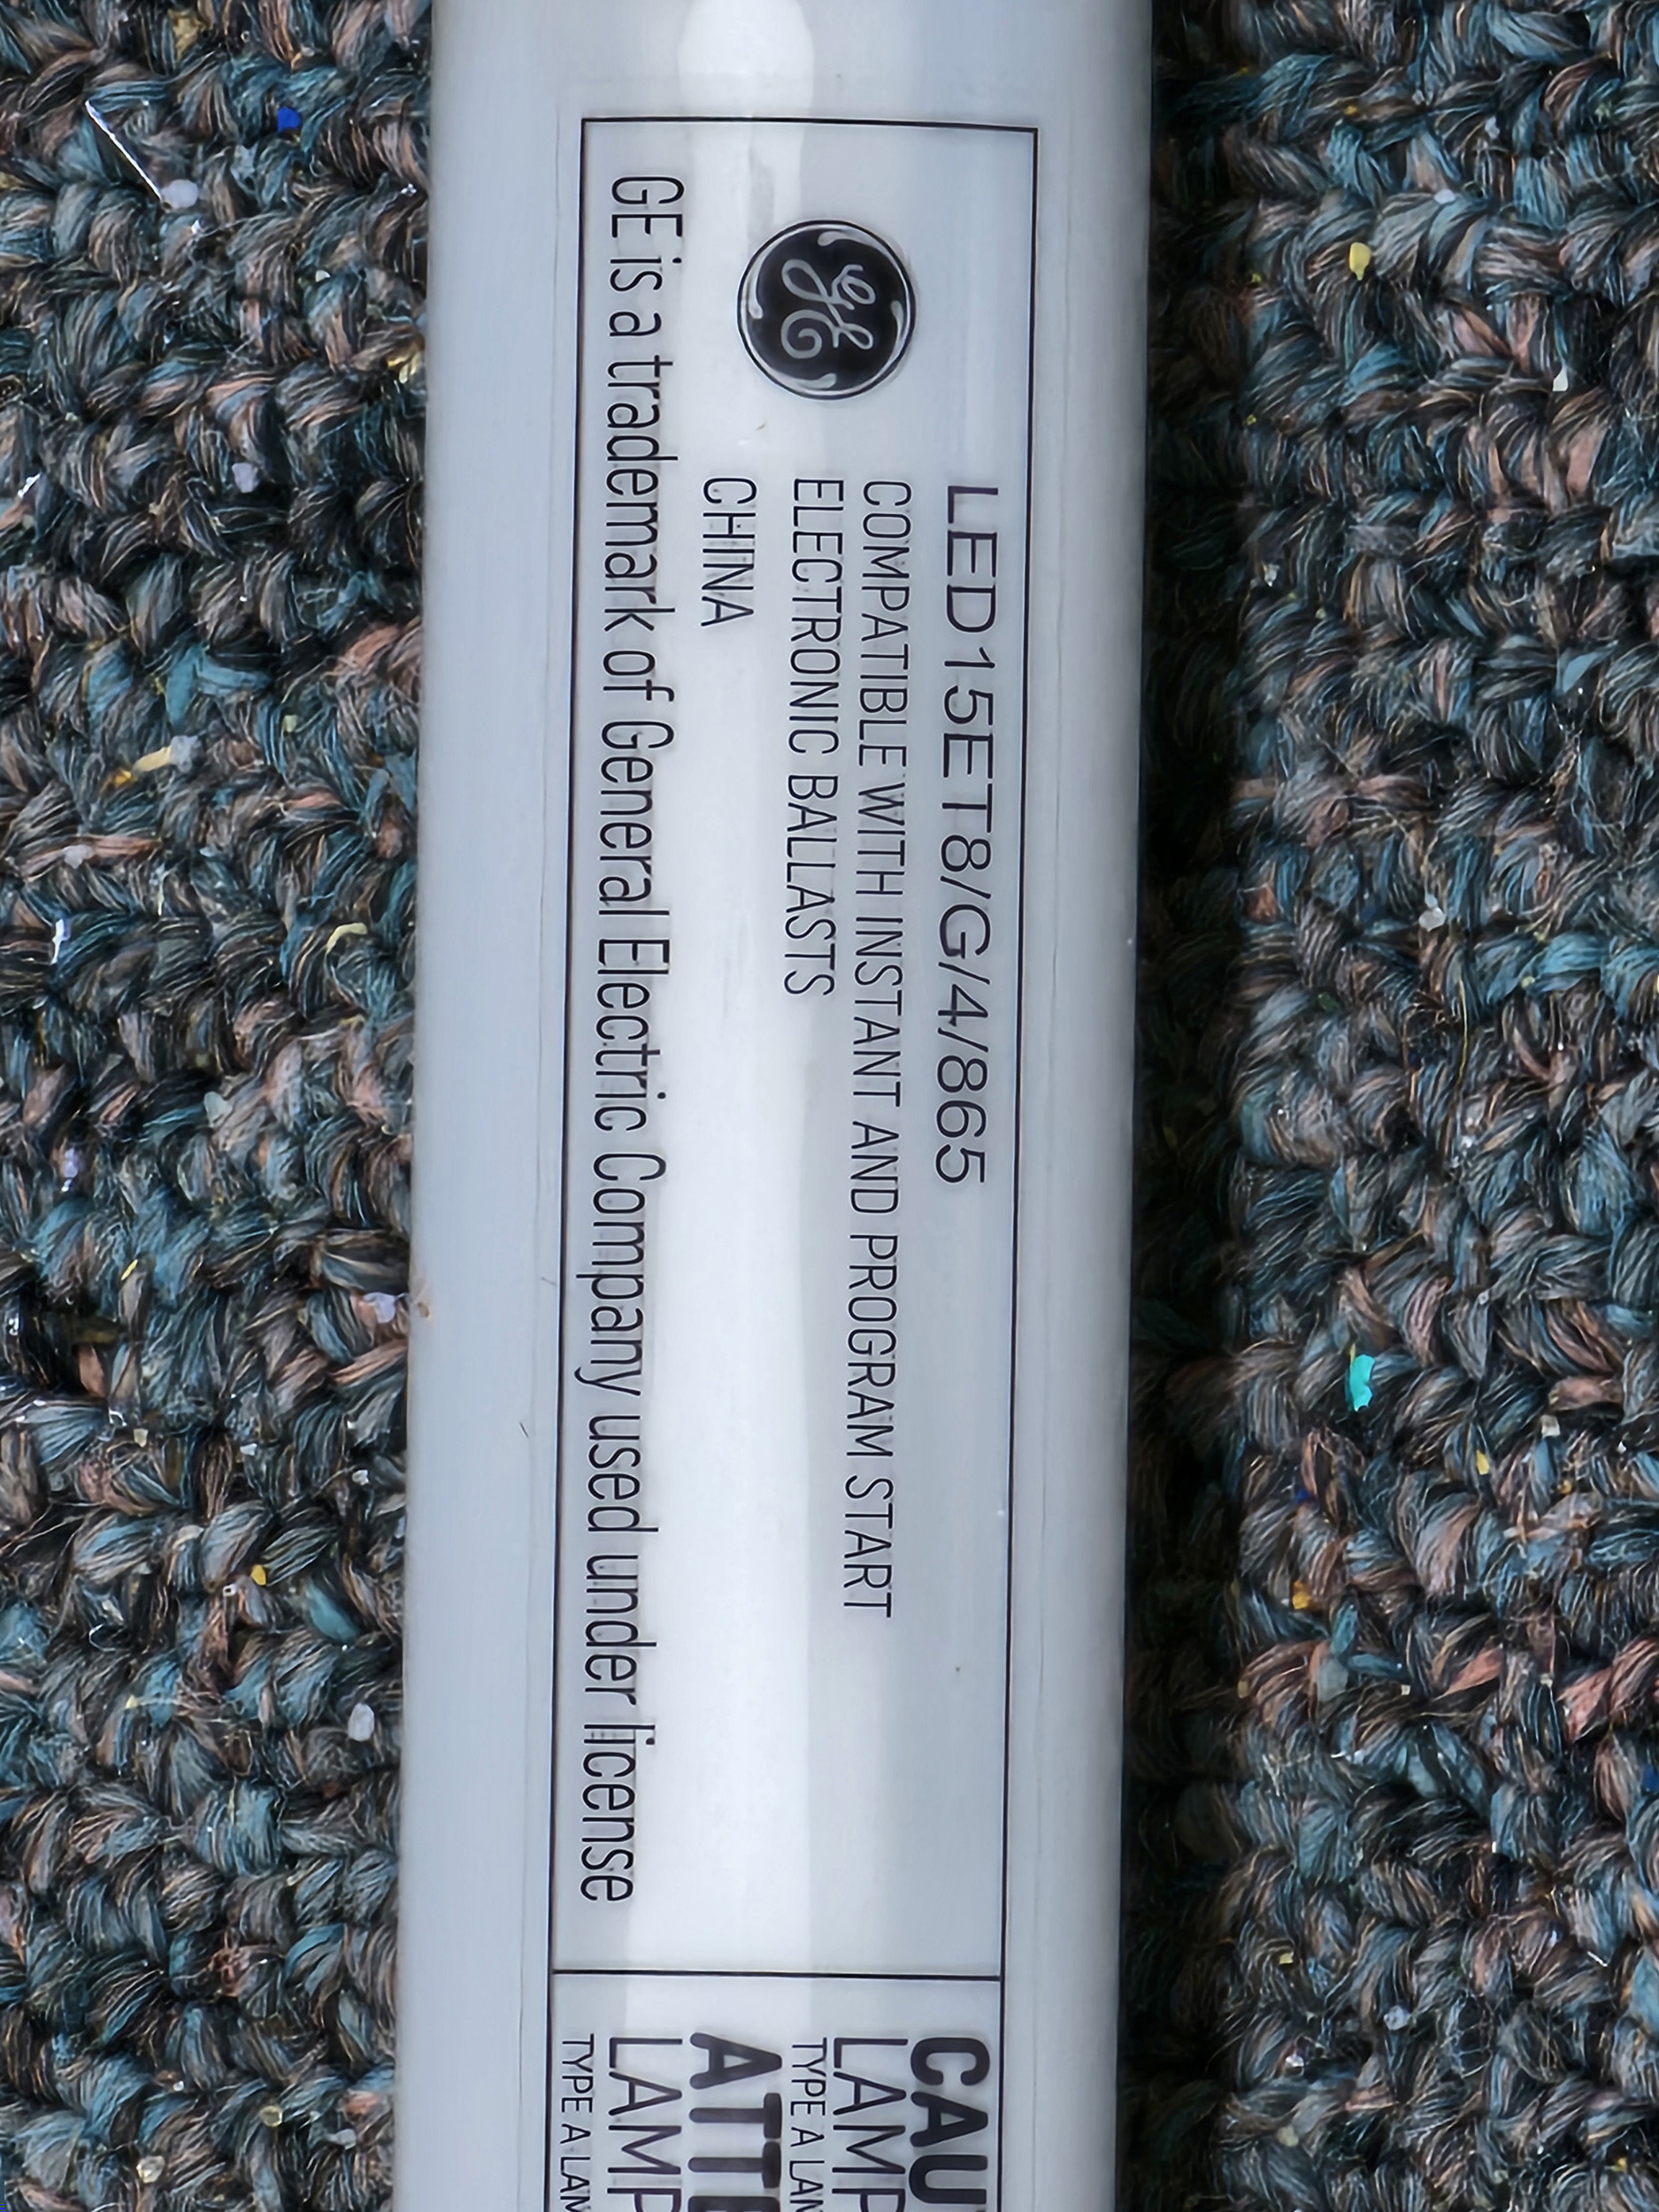
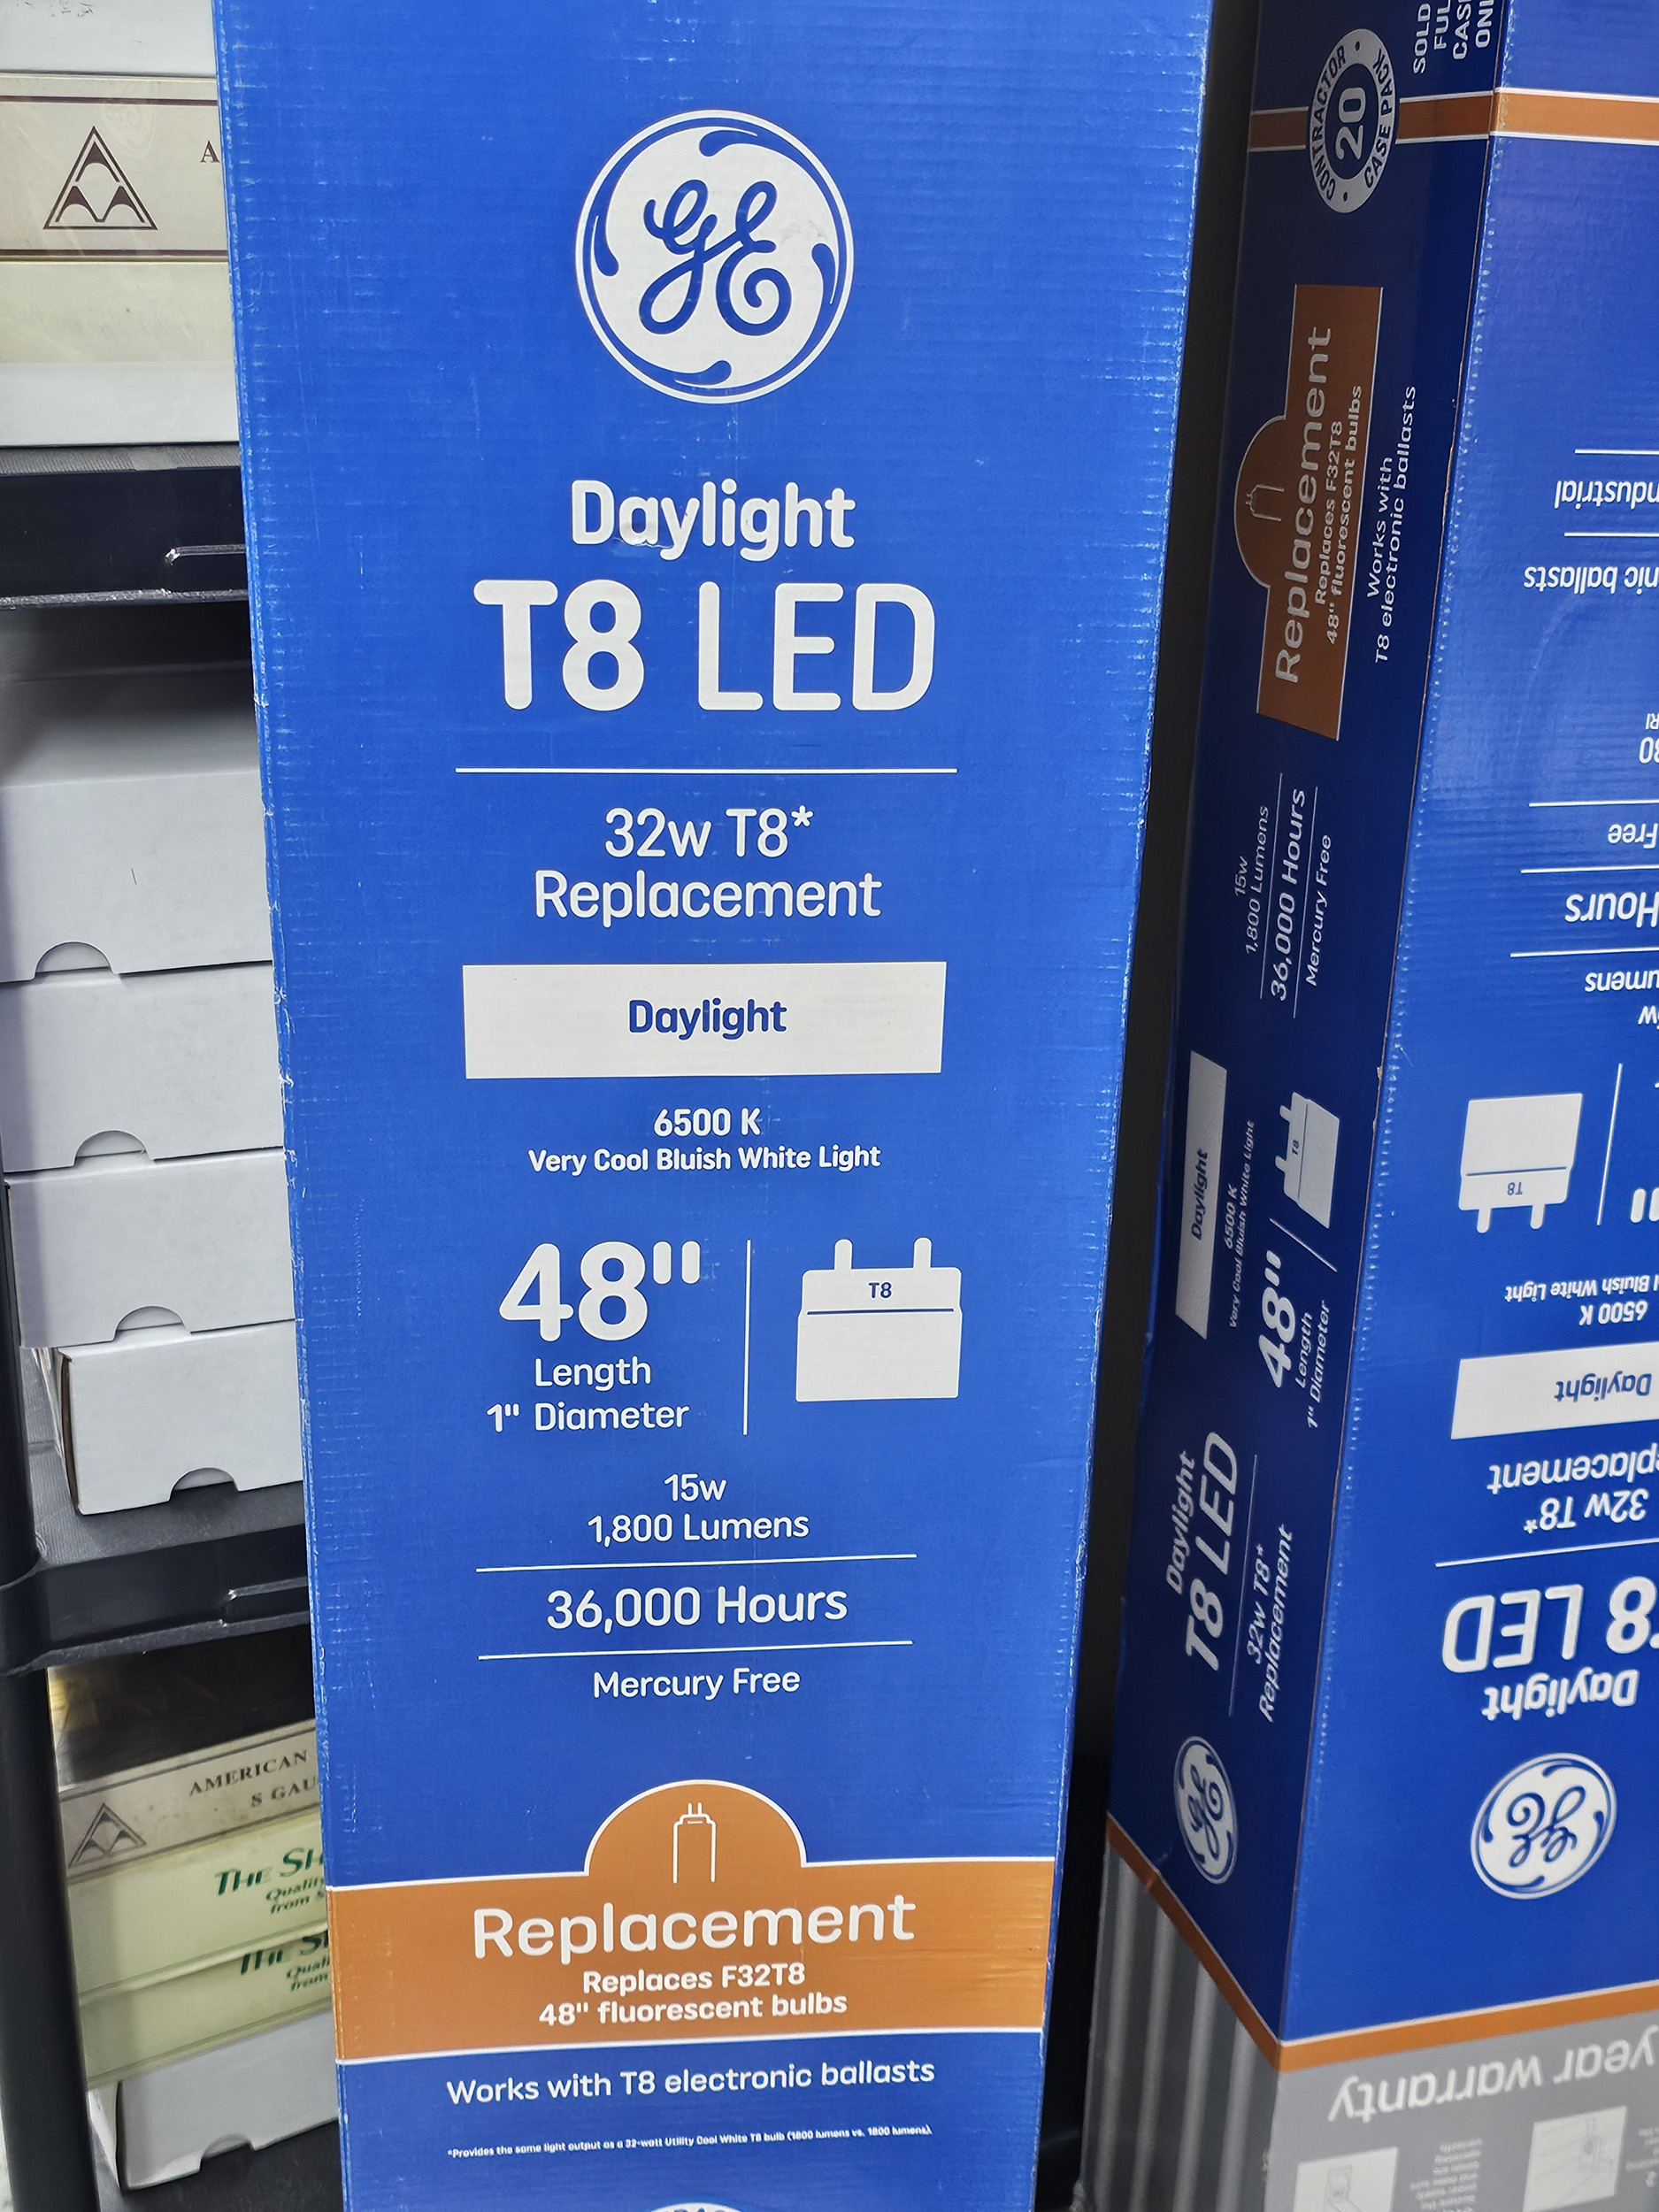
These tubes were purchased at Lowes. Amazingly I could not find
a part number anywhere on both boxes. Both types were about $5.00 each sold
only in case quantities.
These are the tubes that need ballasts.
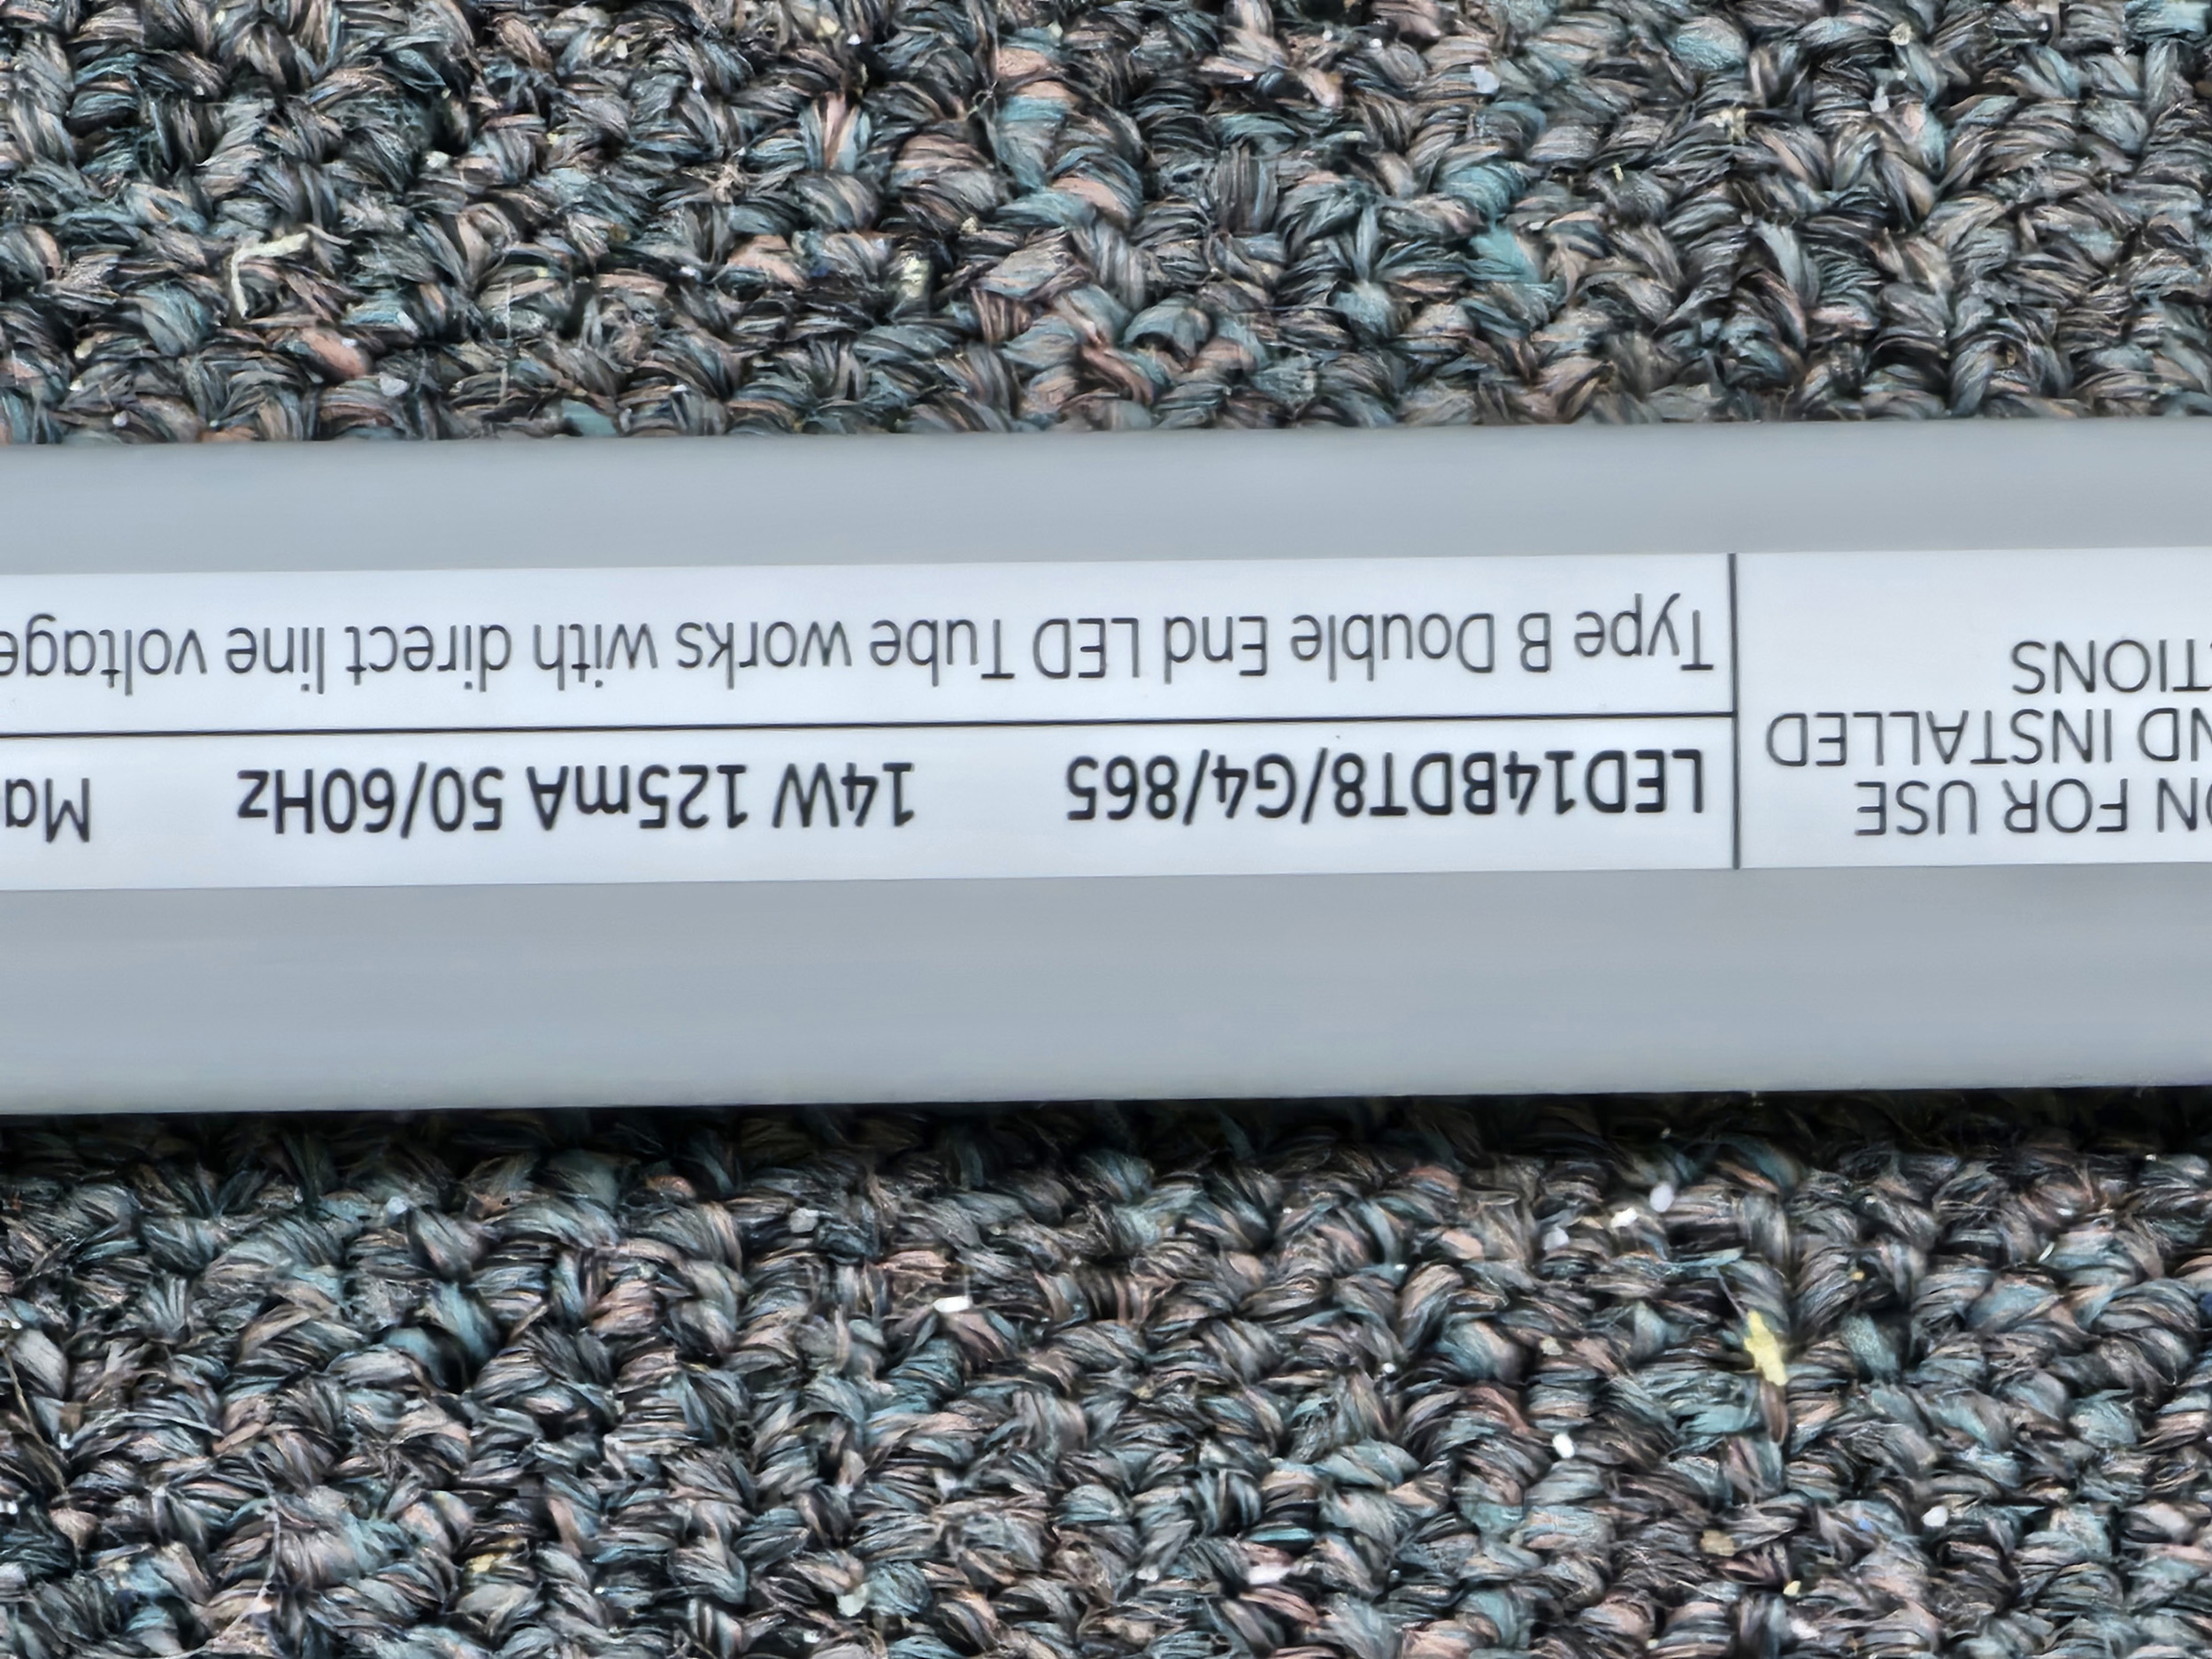
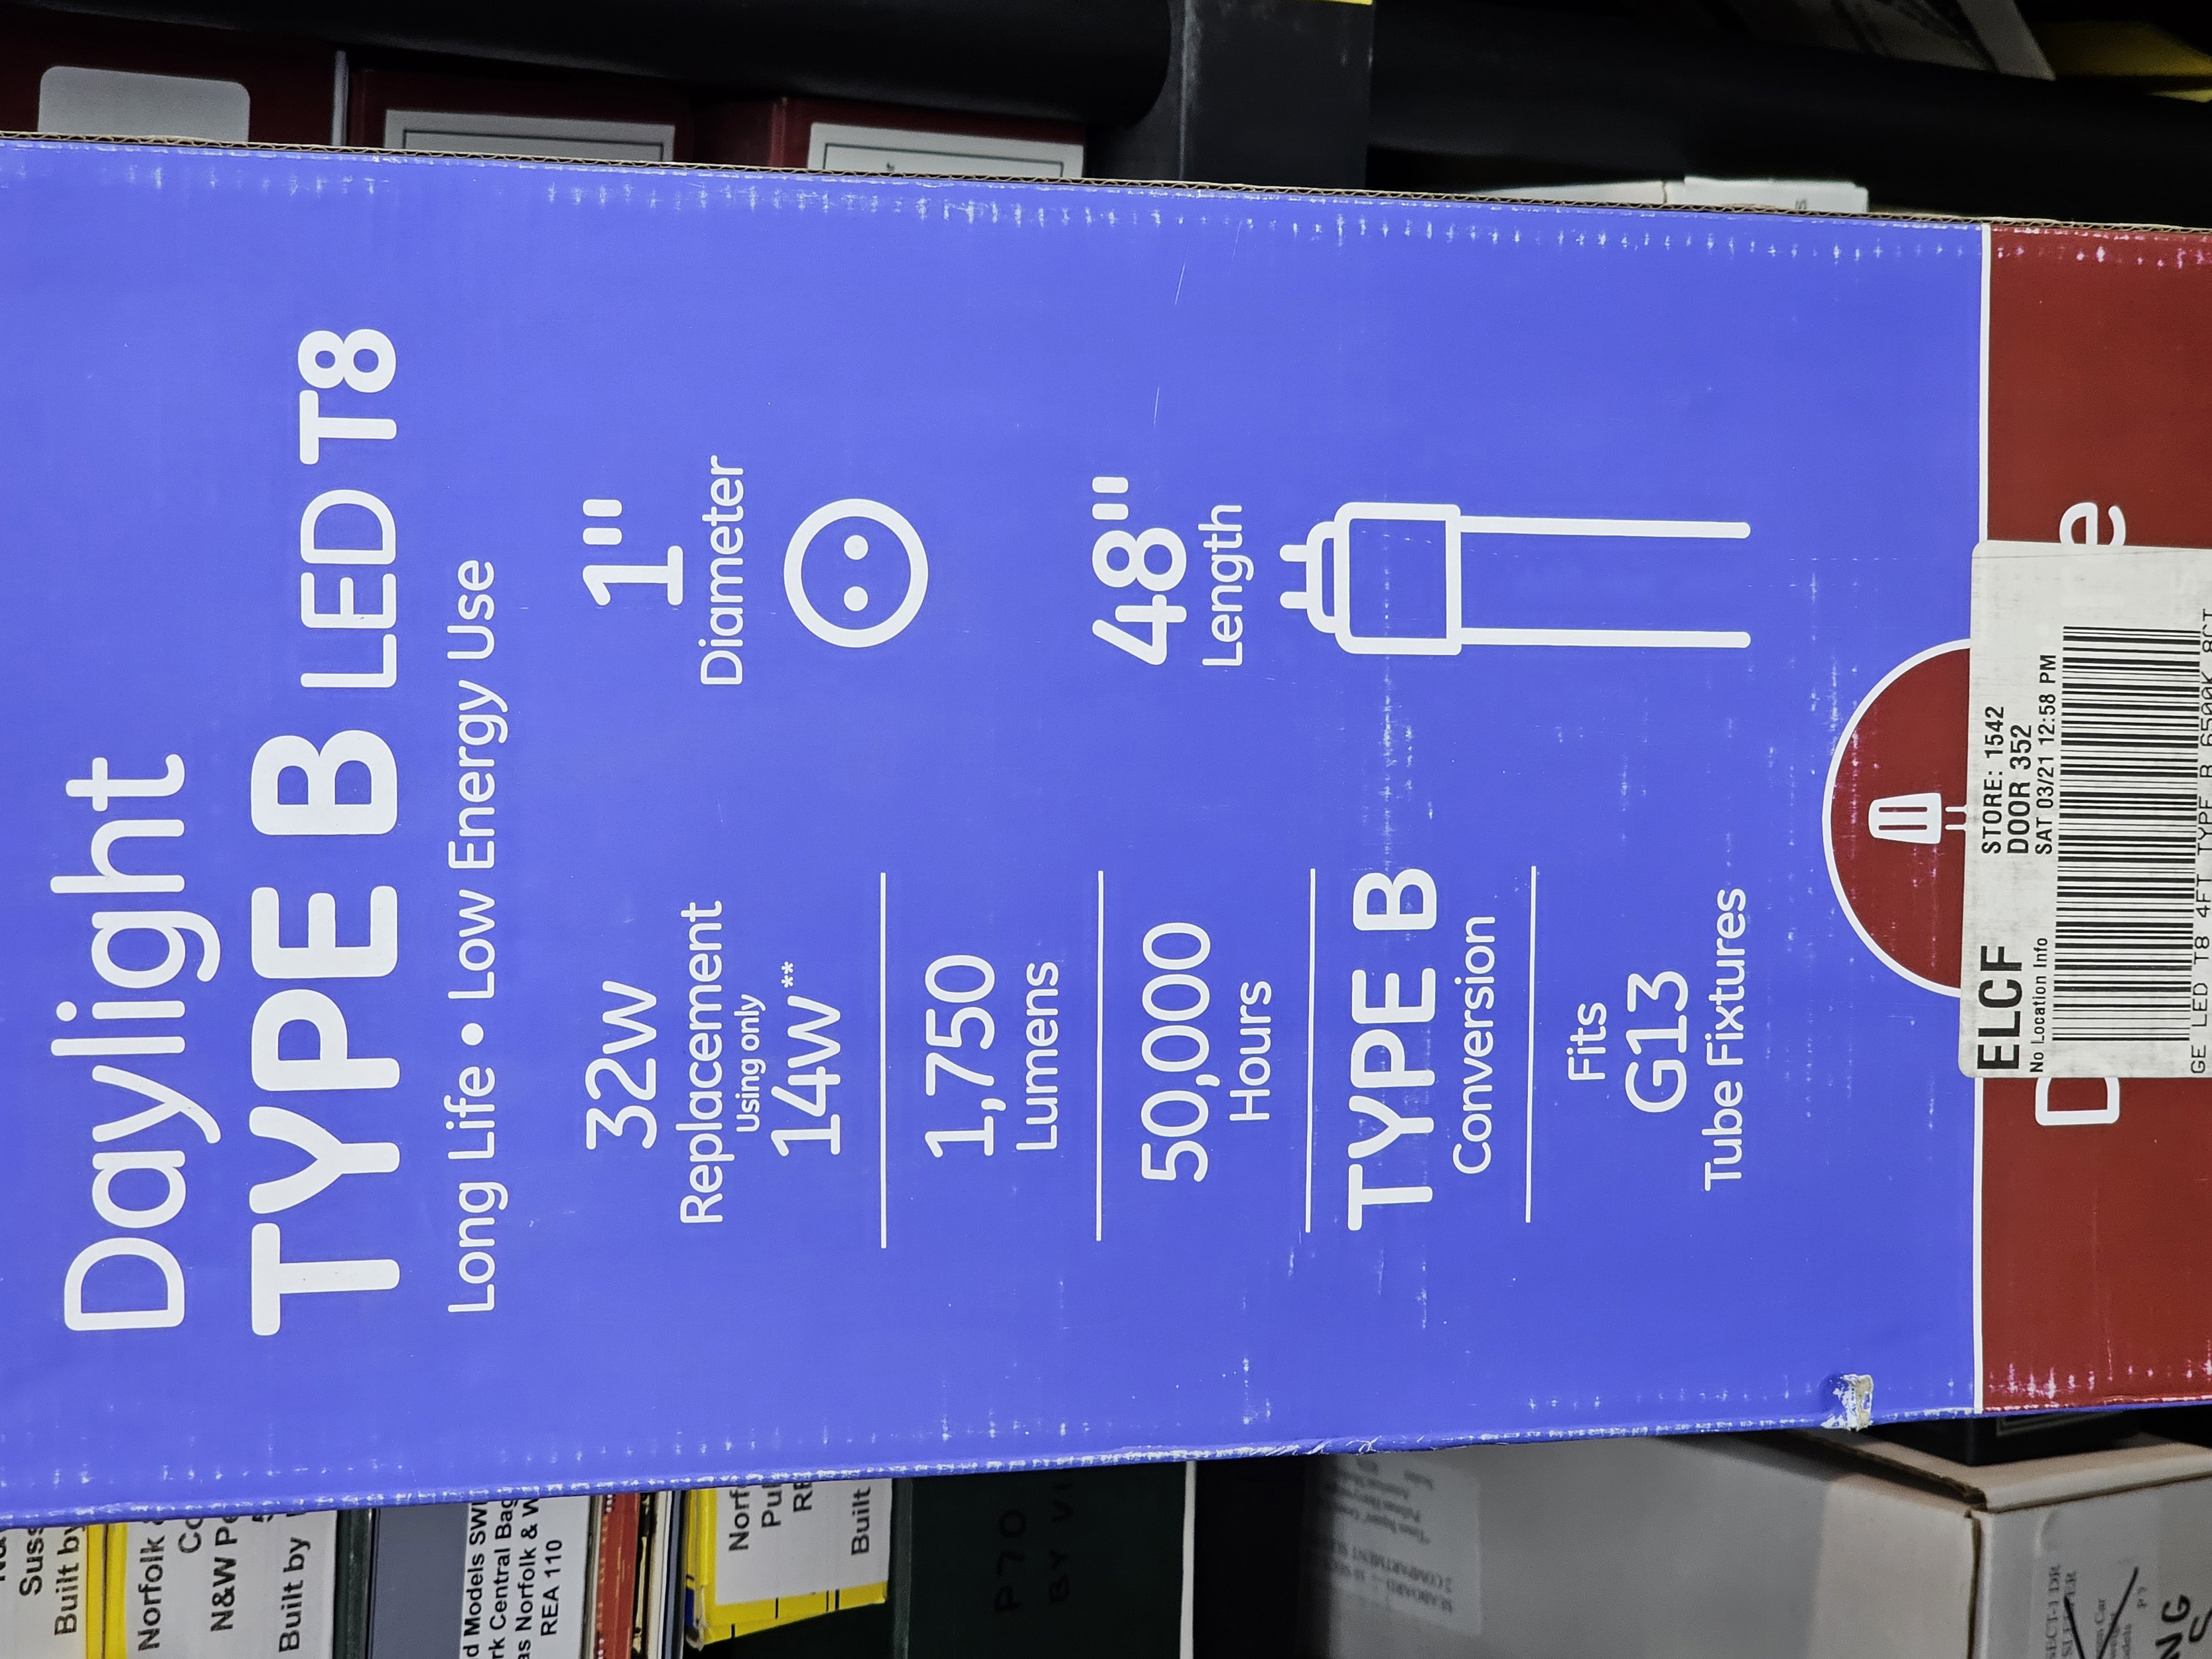
These are the direct wire tubes.
This is the OLD 8 foot T12 fixture I had over the engine house. I
added 8 feet of direct wire LED fixtures here - the closest fixture in upper
right and the farthest fixture at upper left. That made this area sunlight
bright. It is a key layout scene so it needed to be well it when it previously
was not.


The total cost was about $500.00. That is significant but the
brightness was so different when I was done it made me feel slightly dizzy at
first. I literally had to get used to it. The Kelvin color change is making photography
much better as well.

Revised
5-8-25
All photos and content © Lanes Trains 2005-2026