|
|
Page
2 10-16-11
Assembly Day The
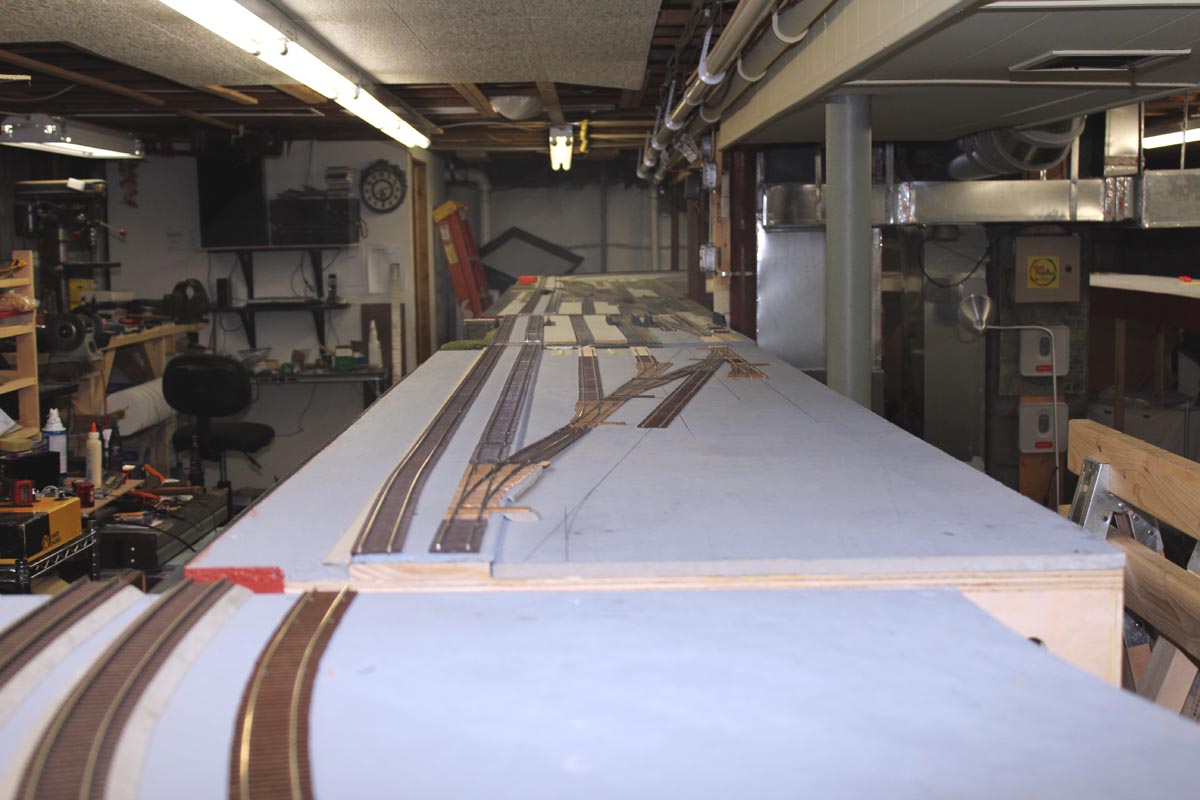
long awaited big day arrived. Assembly day of the sections finally was here.
After all the planning, building and wiring it was time to take down the
temporary work platform, put on the real legs and connect the sections. Many
things had already been done along the way and were waiting for this day like
the legs were predrilled for the mounting holes and had the elevator bolt
feet installed. I had the jumper wires to connect the section terminal blocks
made since February. It was time to put the pieces of the layout puzzle
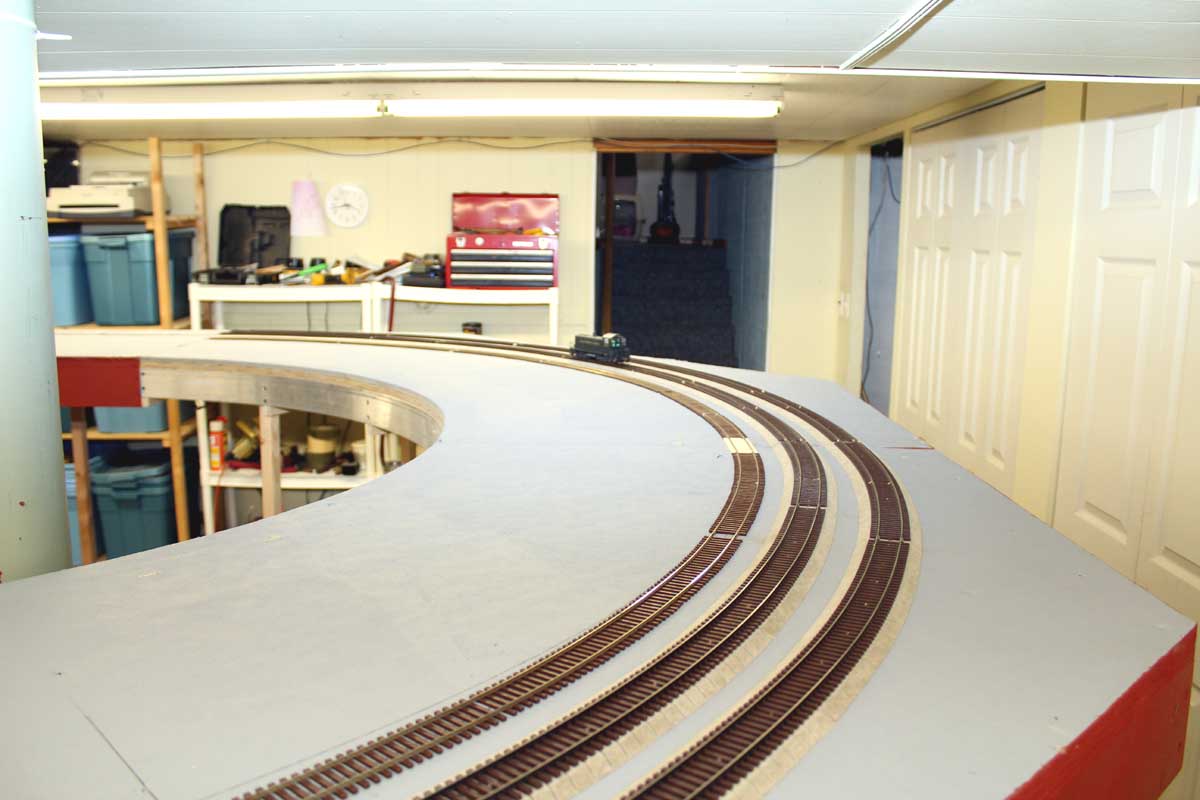
together! There are currently 11 sections. They all had to be put in their
specific locations. I was doing this work all by myself. By now the sections
are probably 60+ pounds each but are large and awkward to handle given the
height of the legs. I basically just bent over under a section, put a cross
member on my shoulders and partially stood up to move them. It
was particularly challenging to put all of sections in perfect position,
getting down to a matter of splitting mere inches. I had 2 factors to contend
with; the corner of the bathroom as a clearance pinch point and a support
pole - which if it was another 12” in another direction would have helped me
greatly. But of course the support pole won. All in all there is pretty good
walking clearance around the entire layout which was absolutely mandatory
from the beginning of the plan. |
|


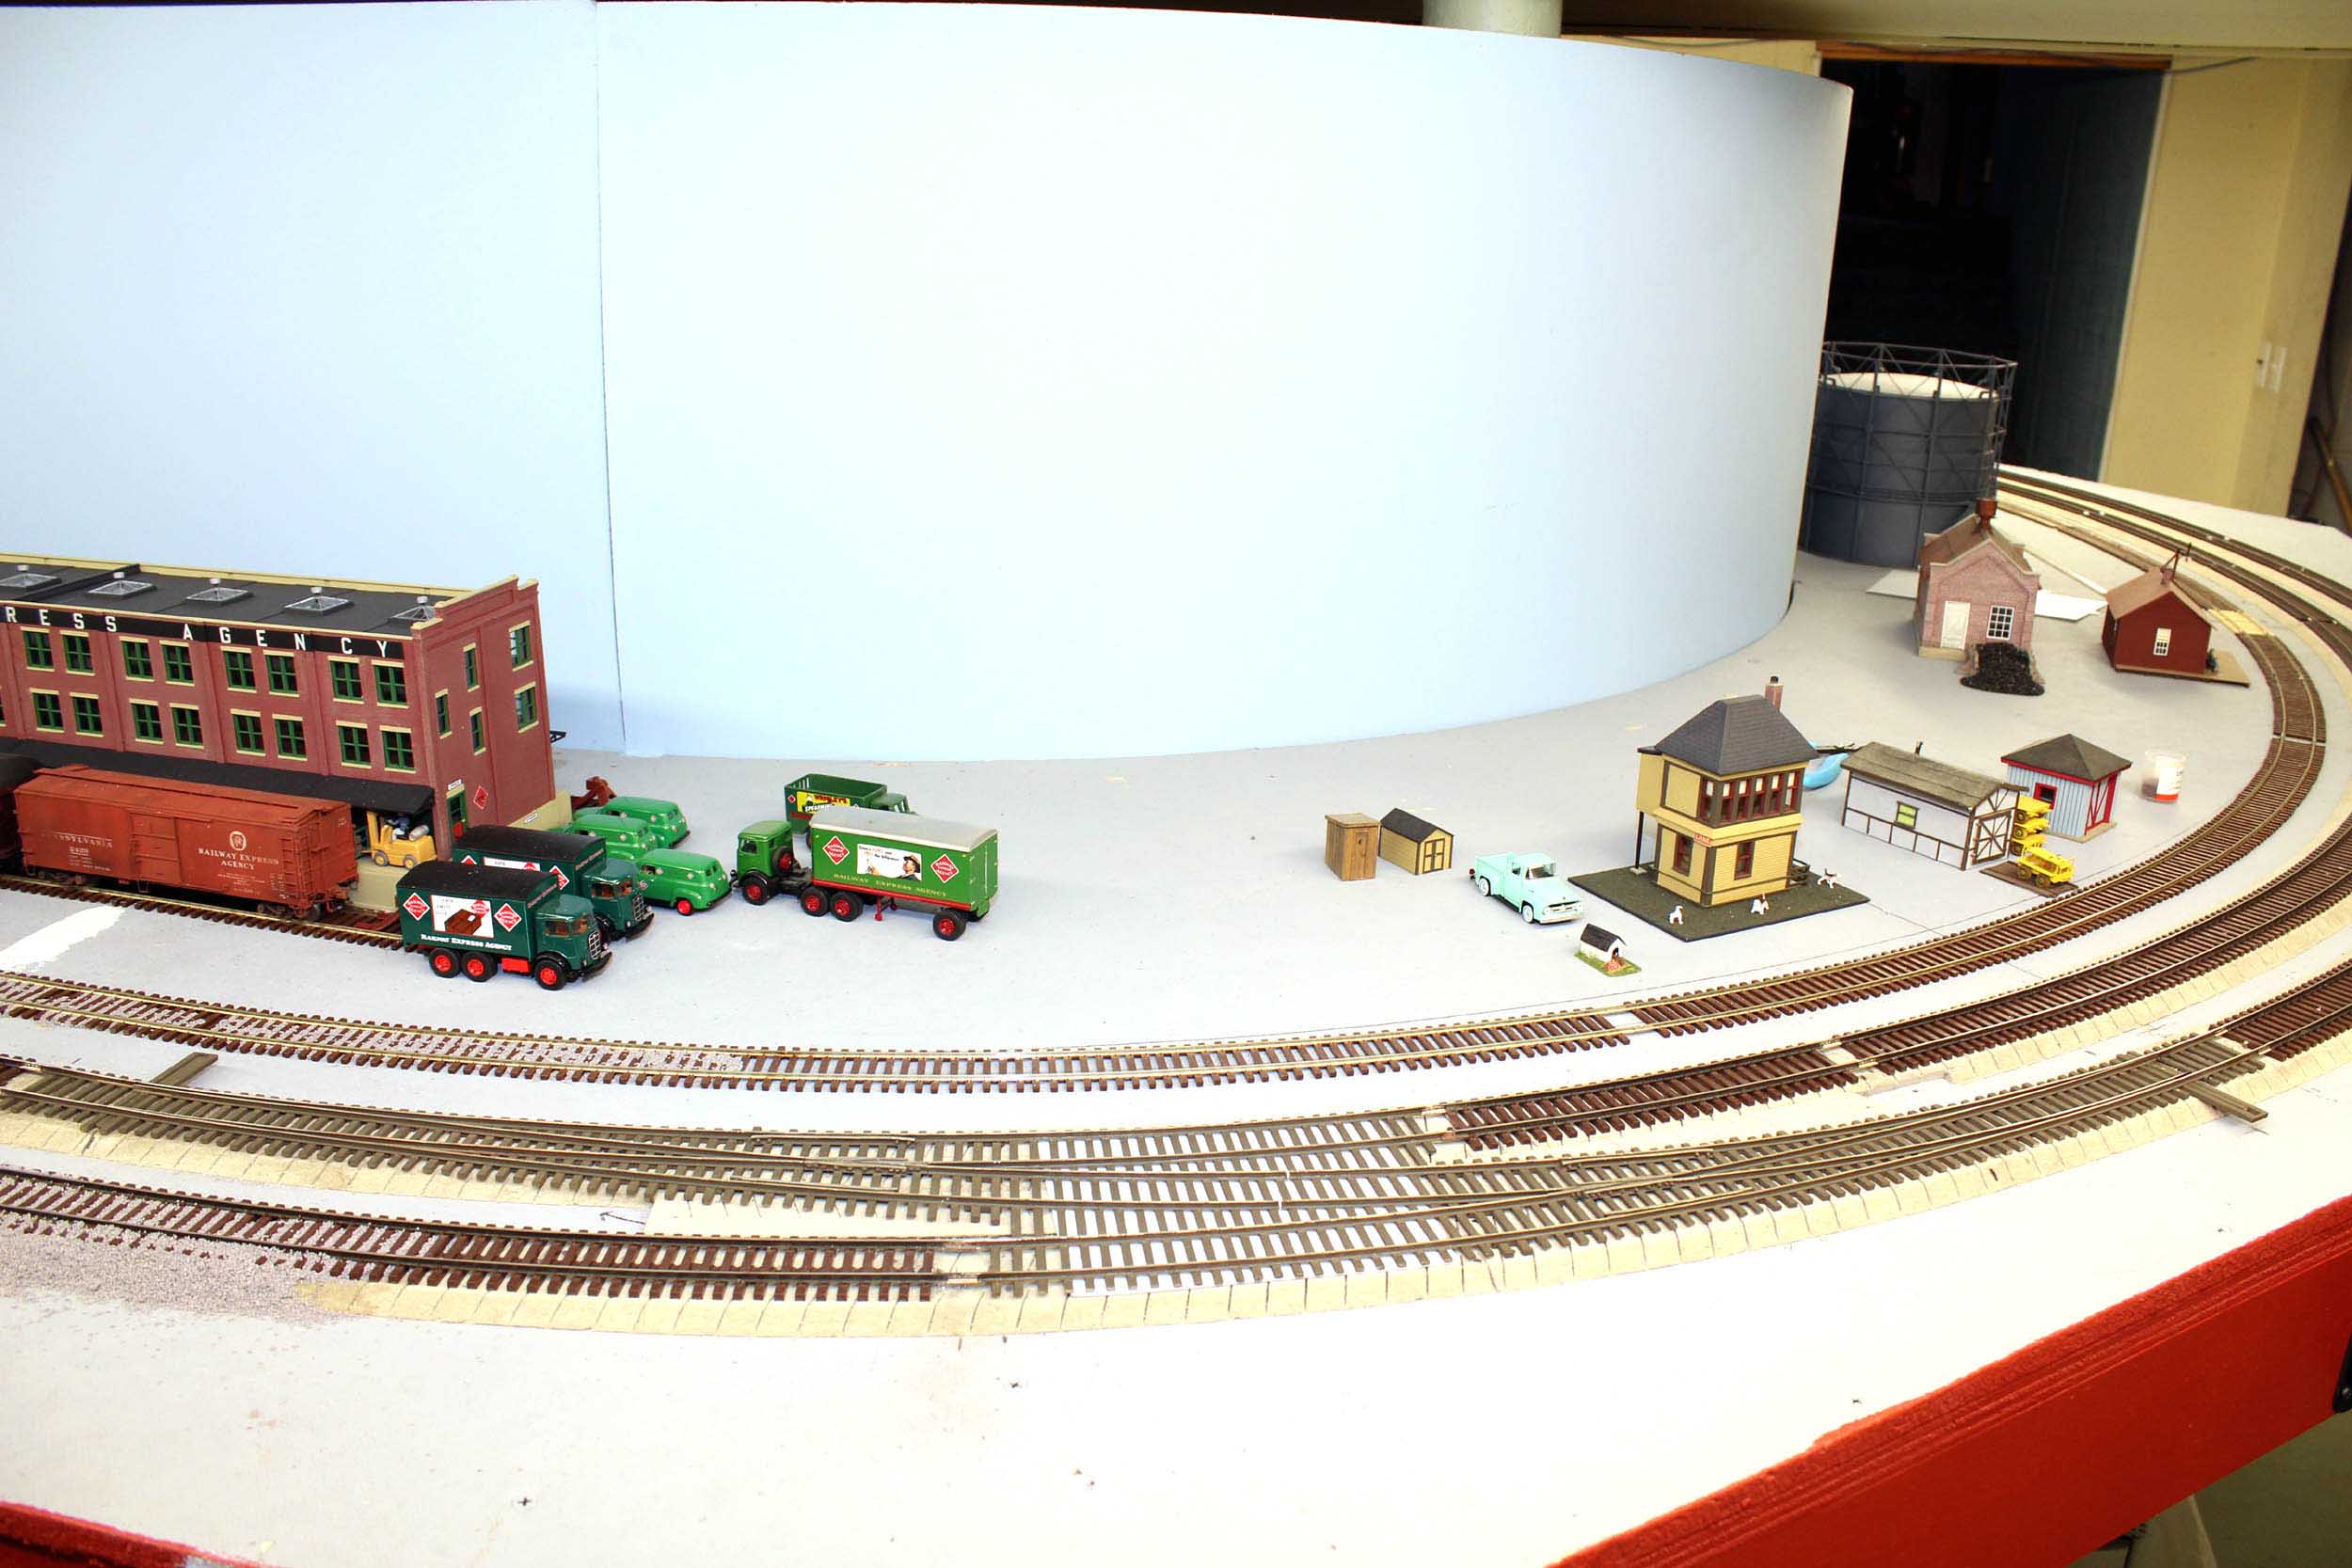
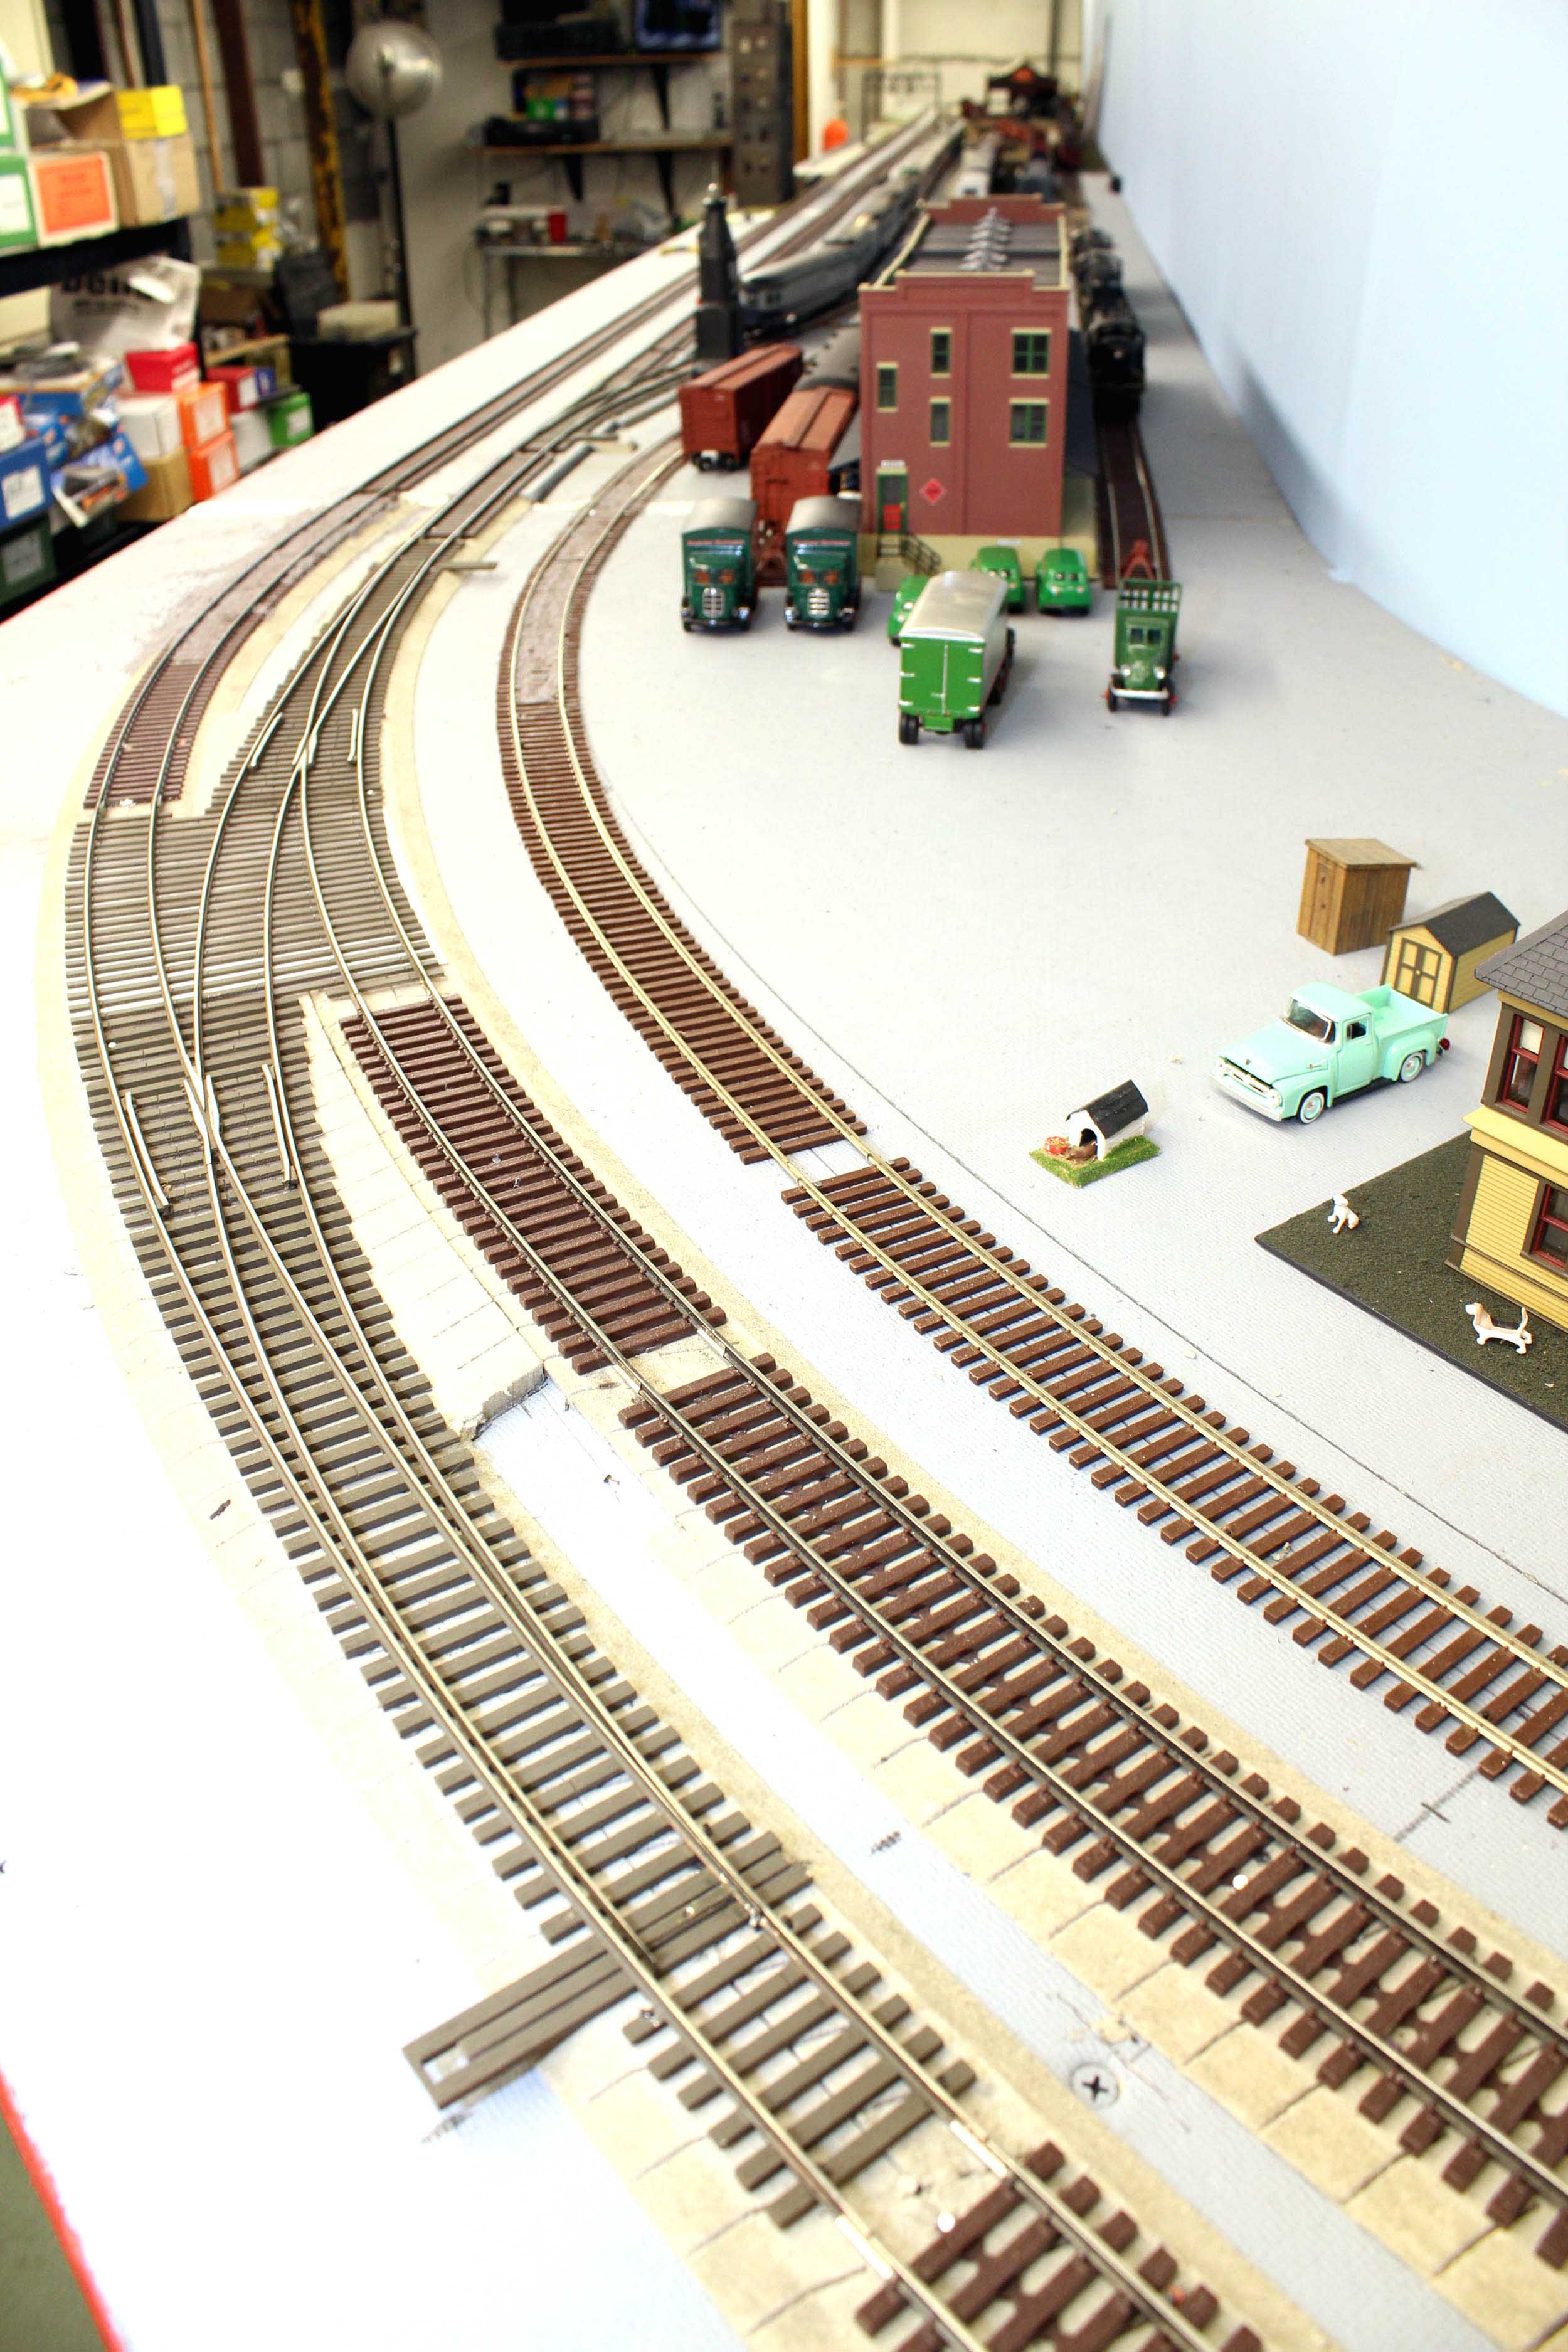
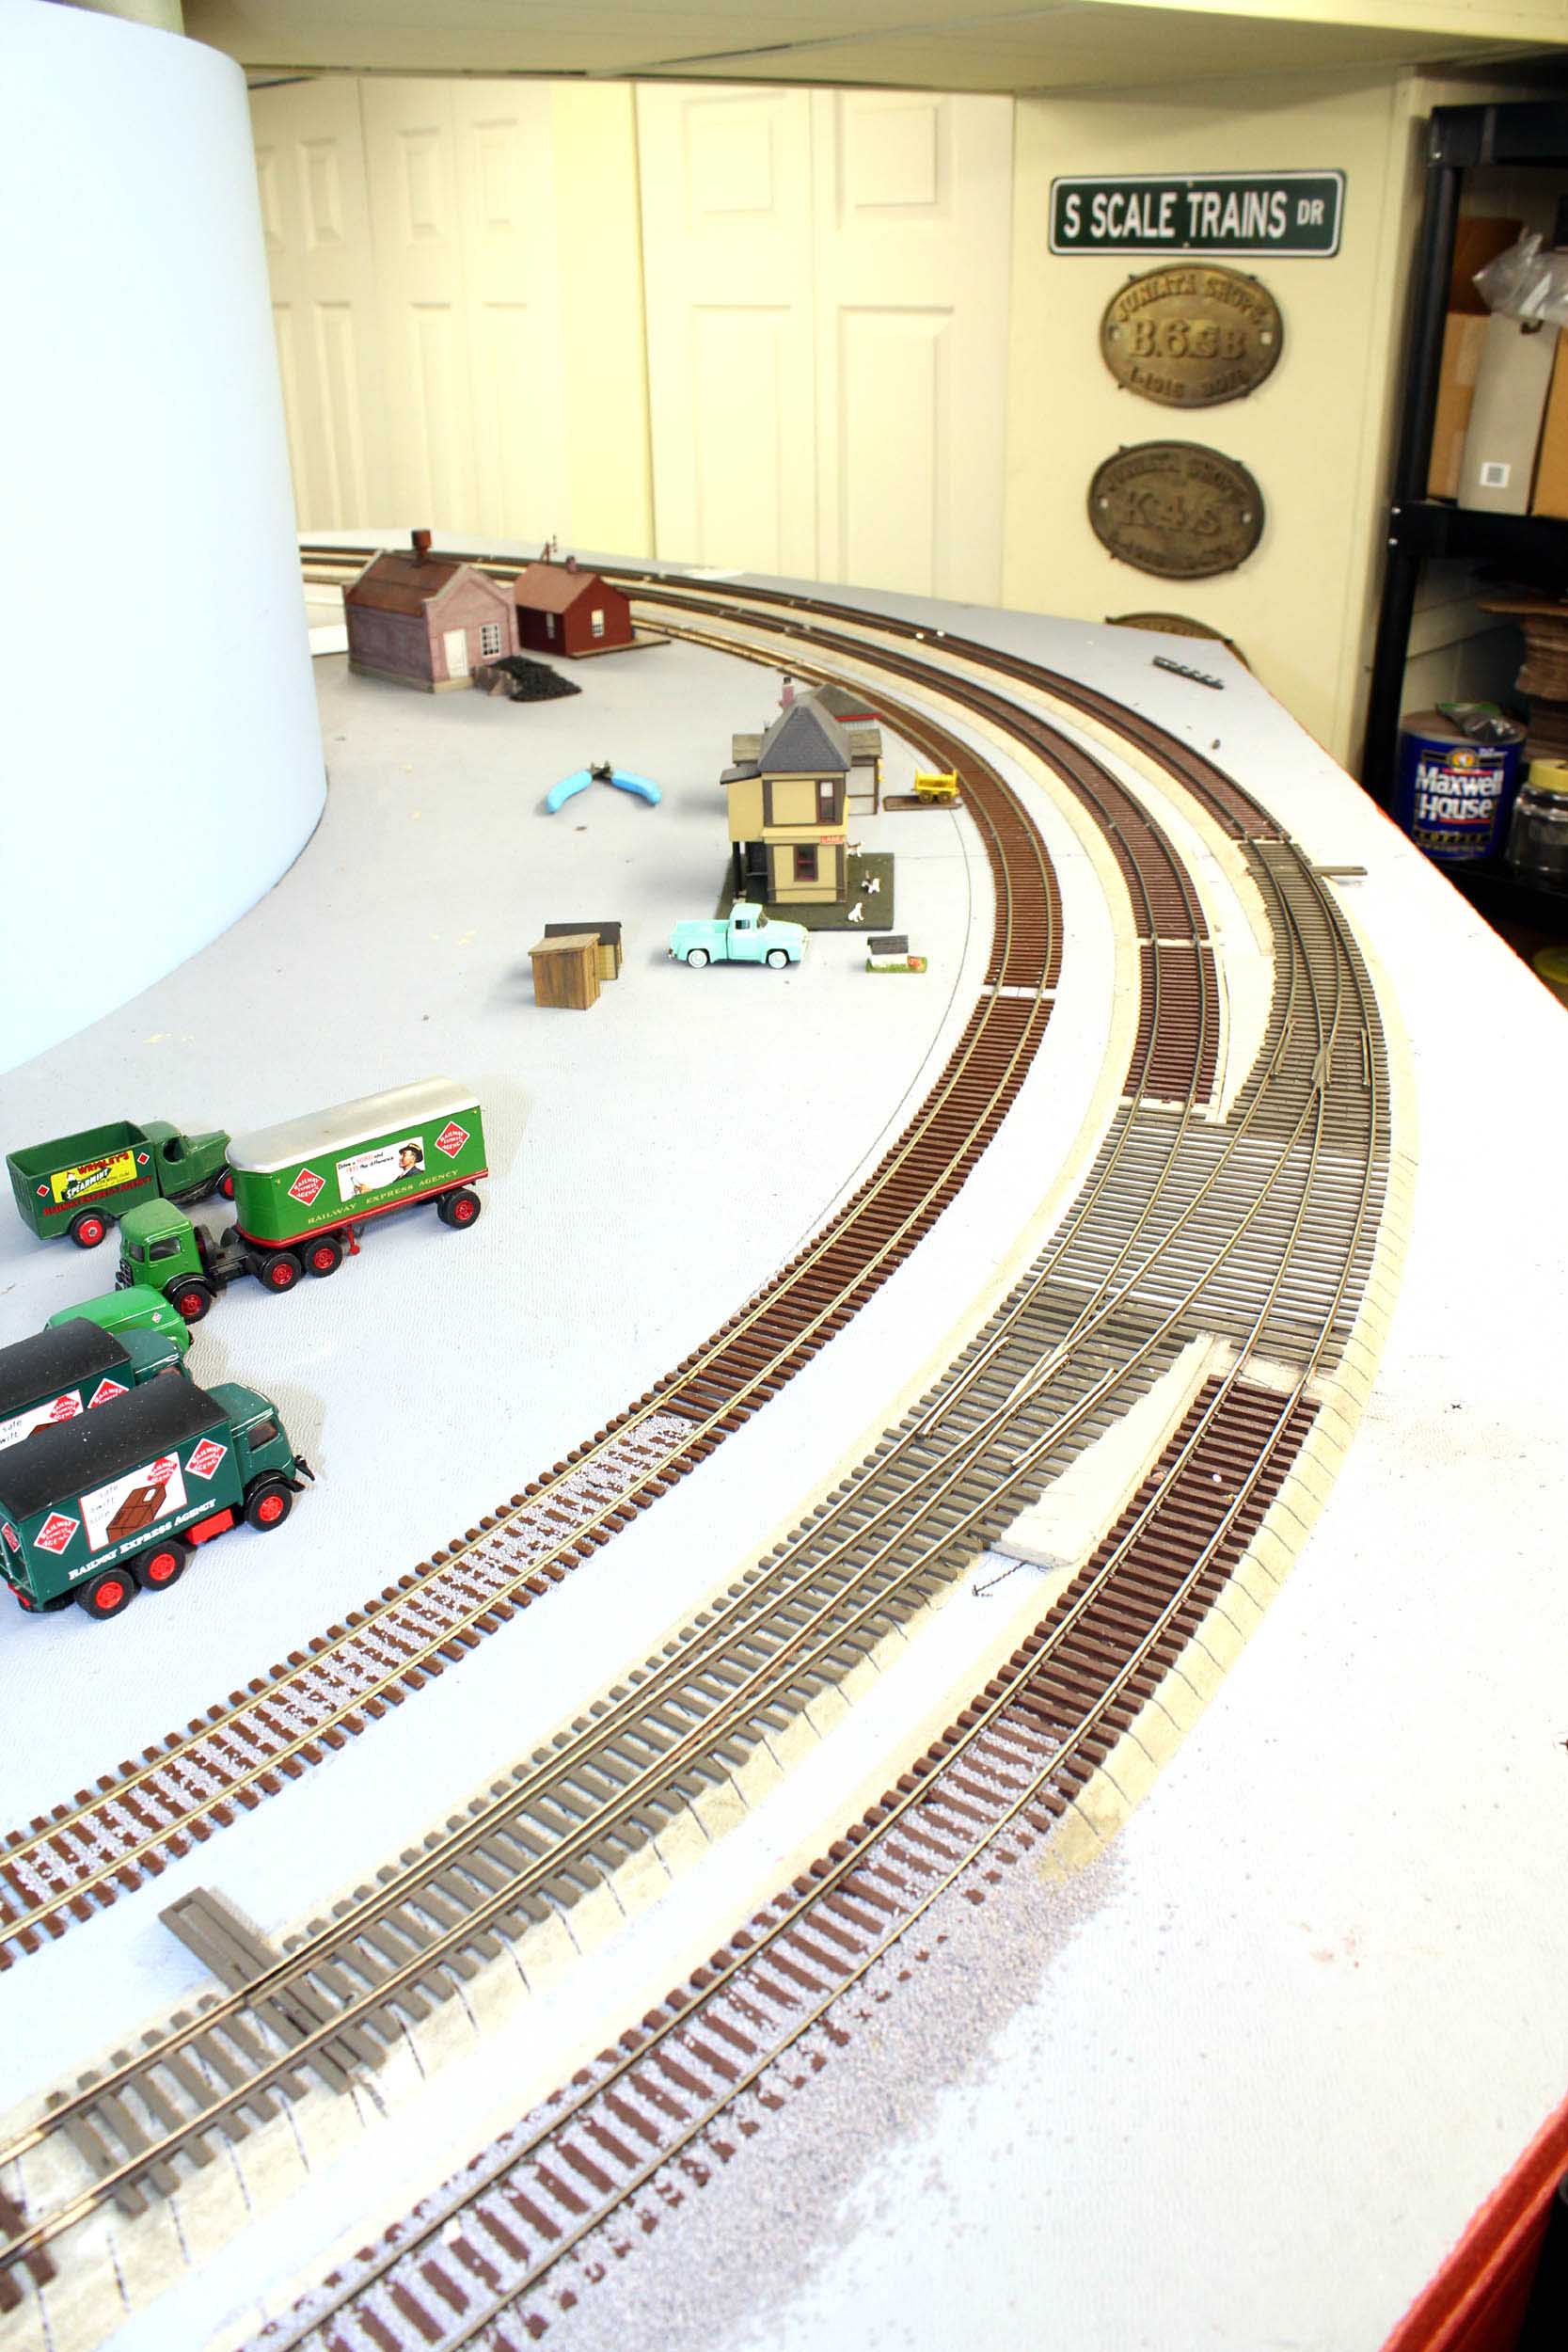
I
joined the track across the sections with various techniques including using
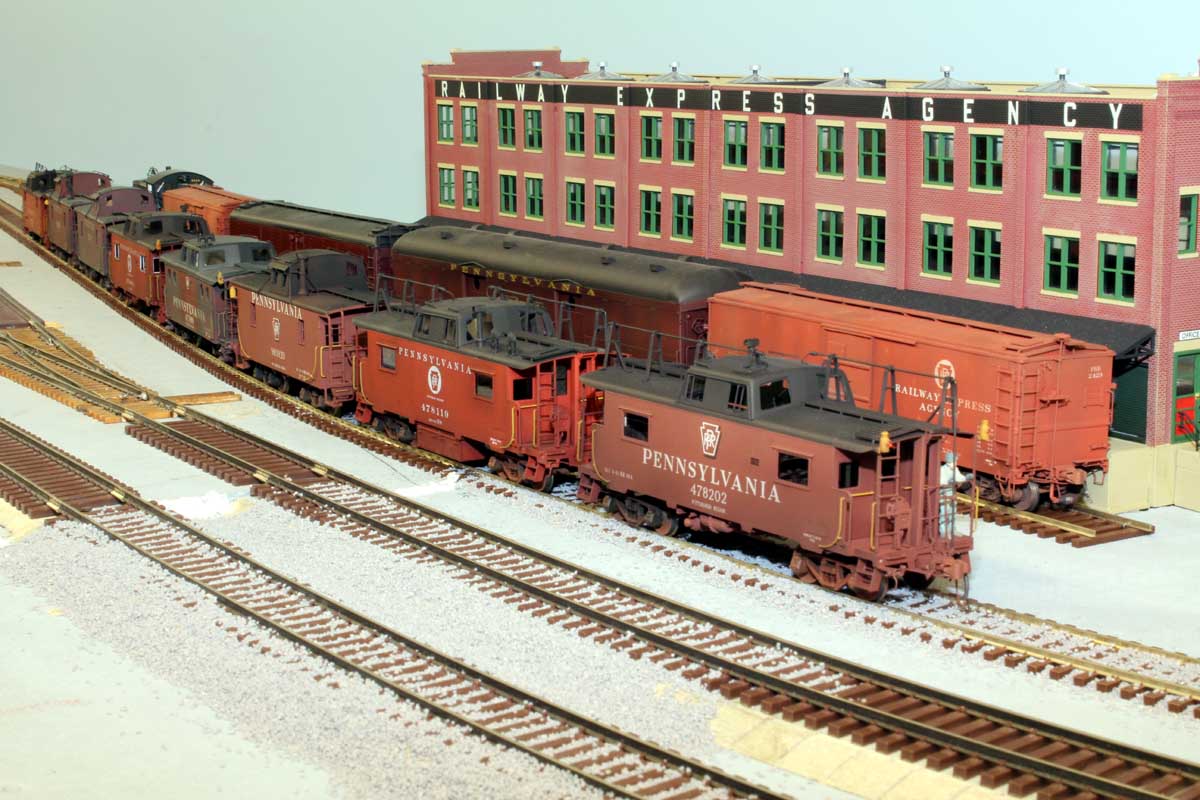
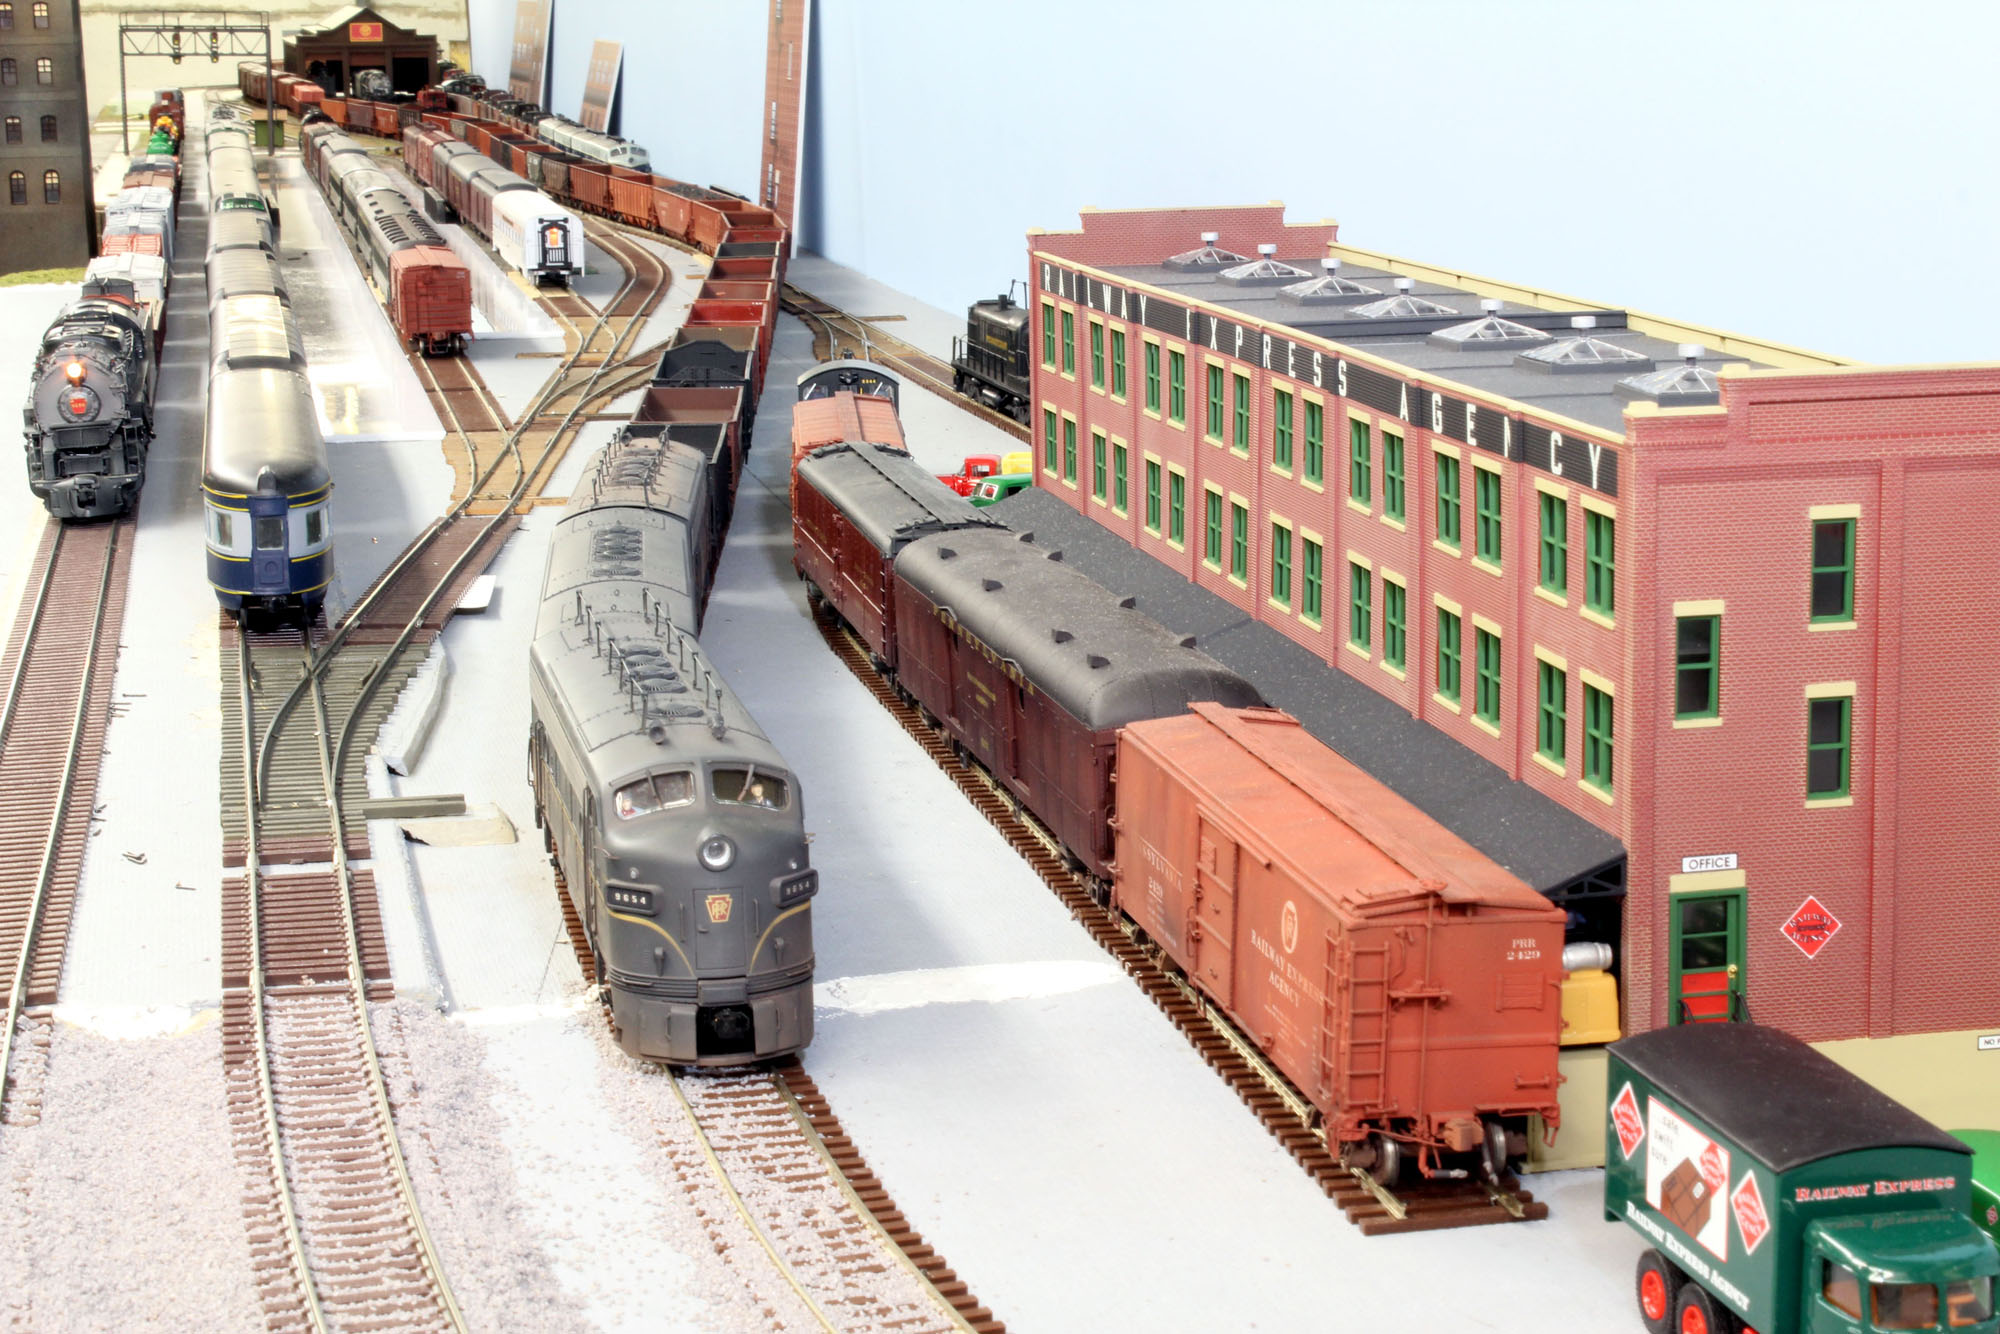
bridge rails. I then soldered the bridge rails in place. This area is mostly
going to be the passenger terminal complete with train sheds 4 feet long and an
REA building.
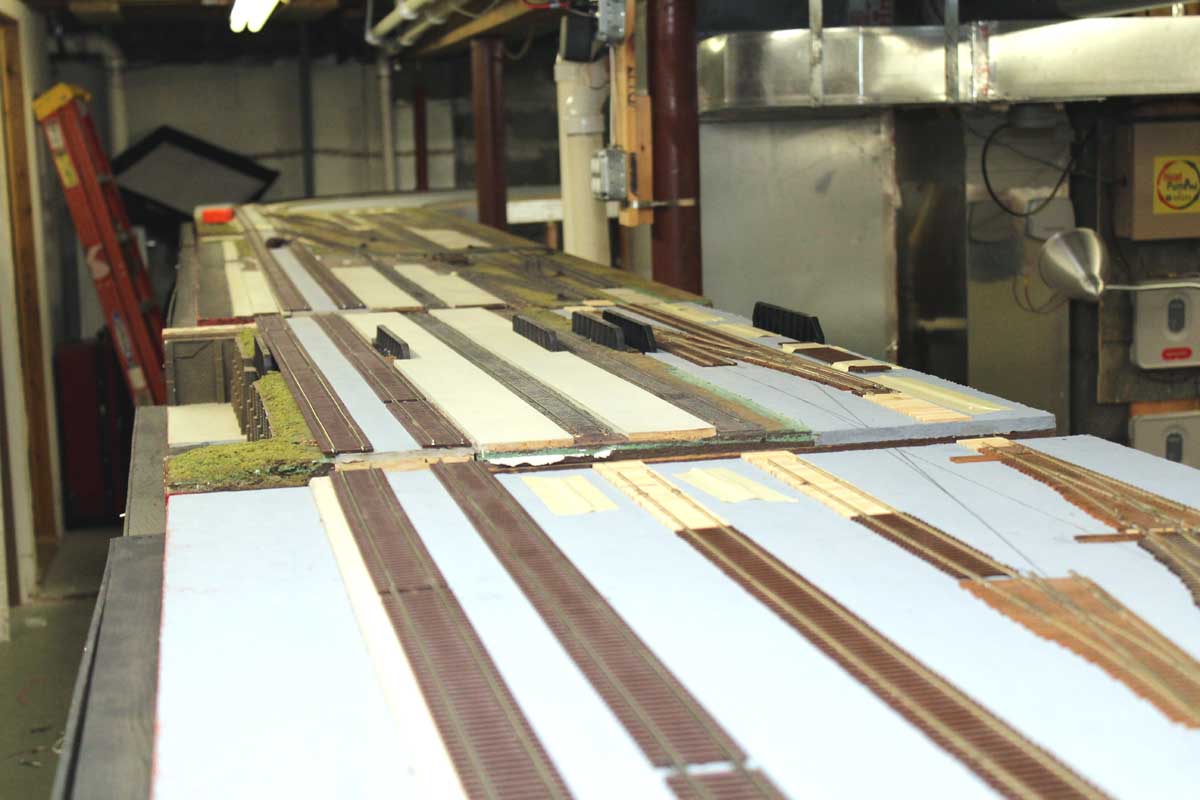
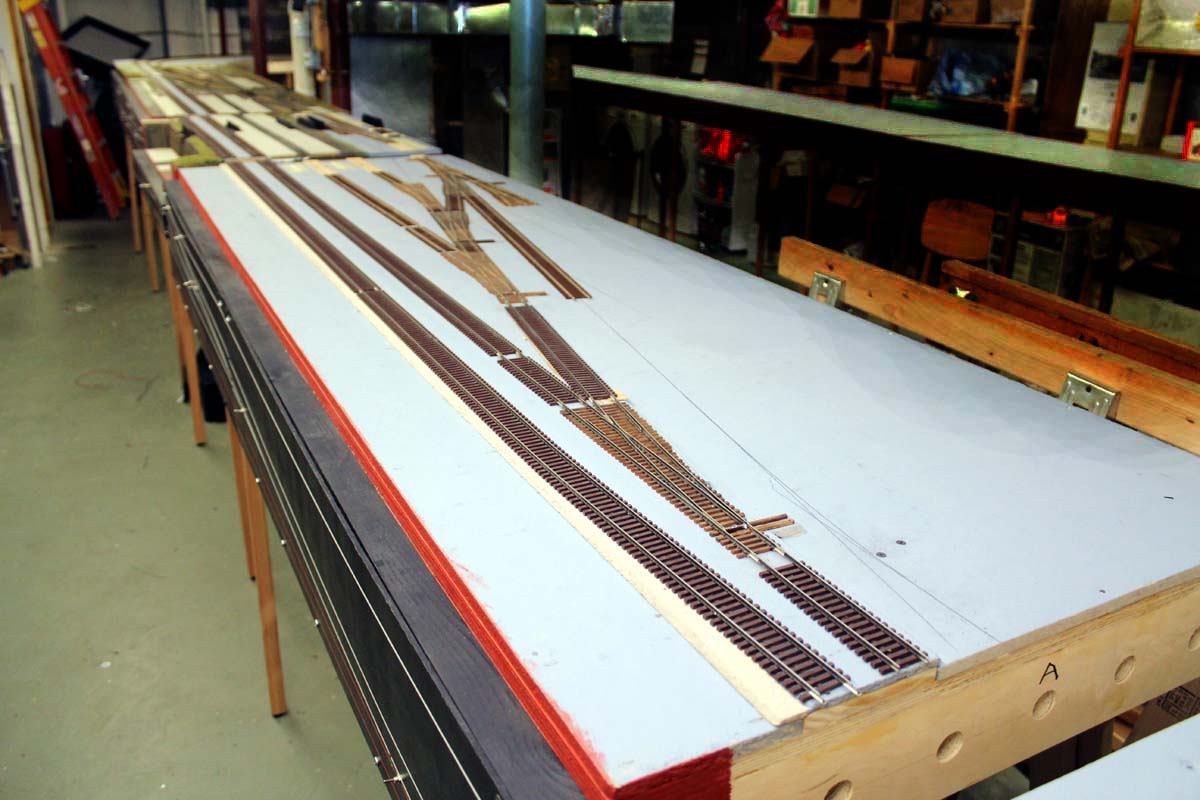
I
am considering all of the track going on this section
to be temporary for now. The intention was to just complete the loops and get
running. My intent is to make this area
freight themed with a yard. We will see what it actually becomes as for now it
is not planned at all. Getting through installing and wiring another 20 or so
turnouts was too much for me to handle going straight through from the
beginning. I needed to get the trains running to reinvigorate me!
I
used 2 pieces of 1/8” x 3” aluminum flat bar 12 feet long to mark the track
center lines.
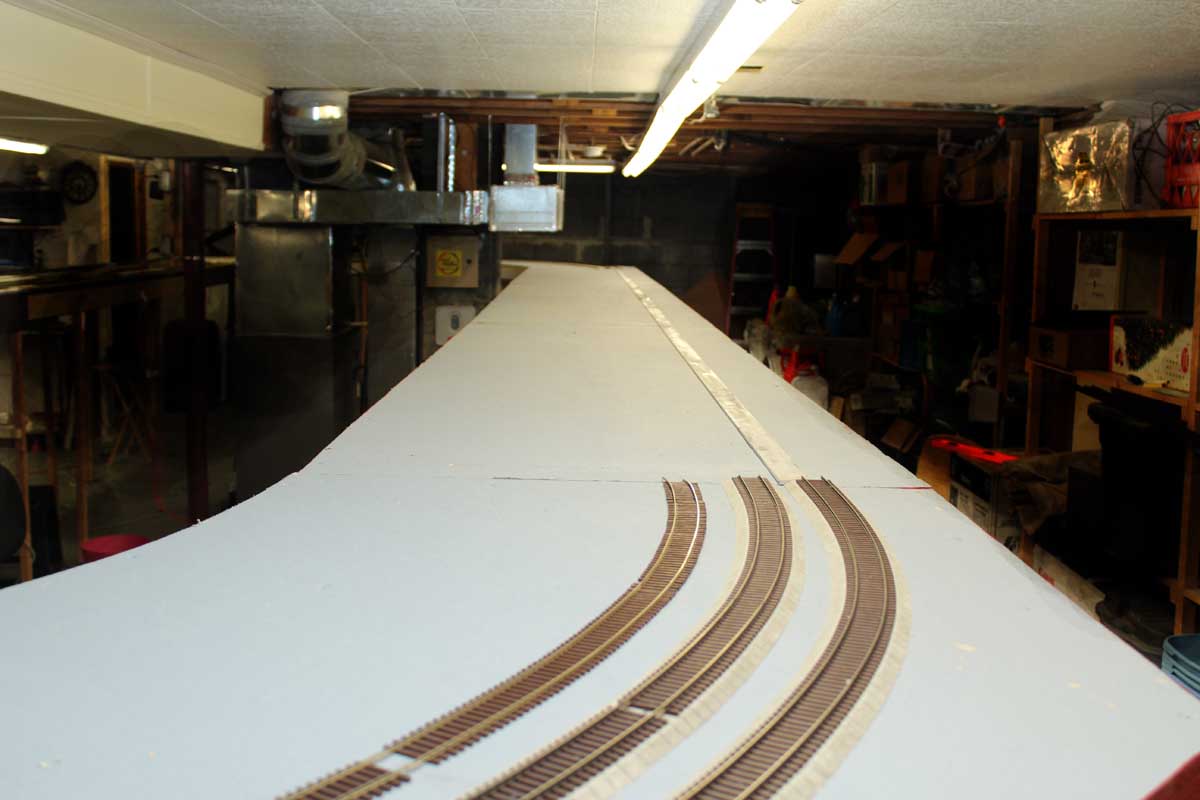
On 10-29-11 Charlie & I found and fixed the last of the
stubborn short issues.
Let the trains roll!
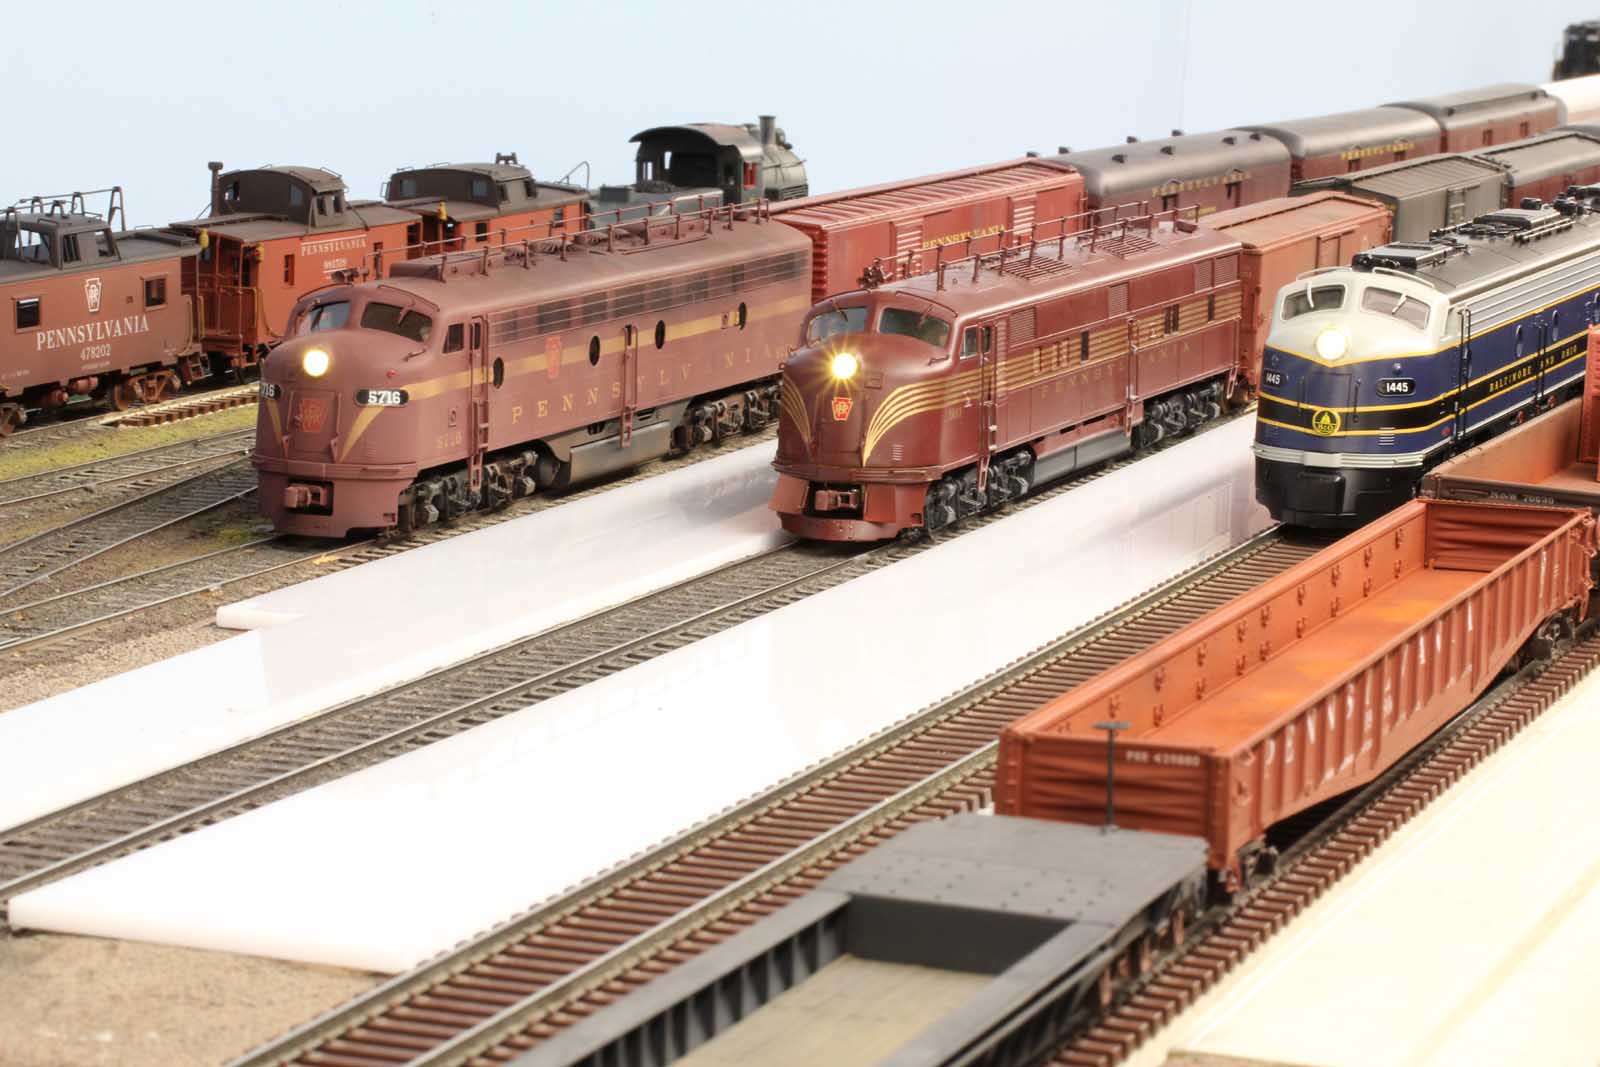
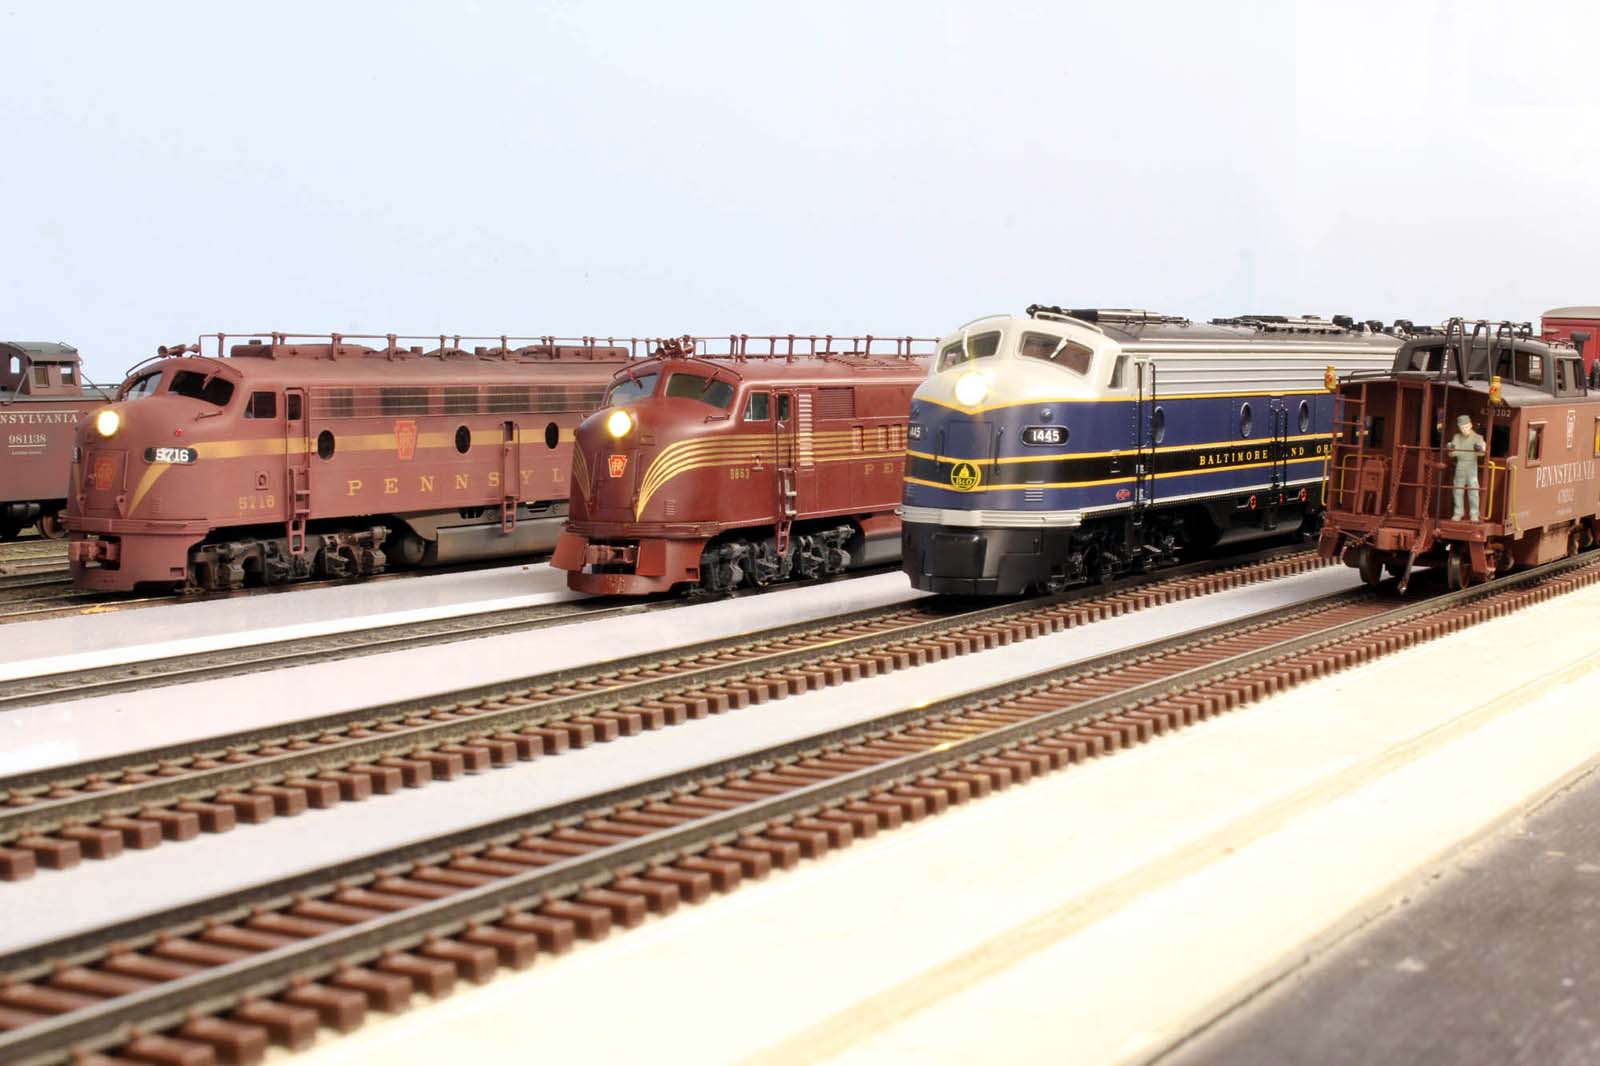
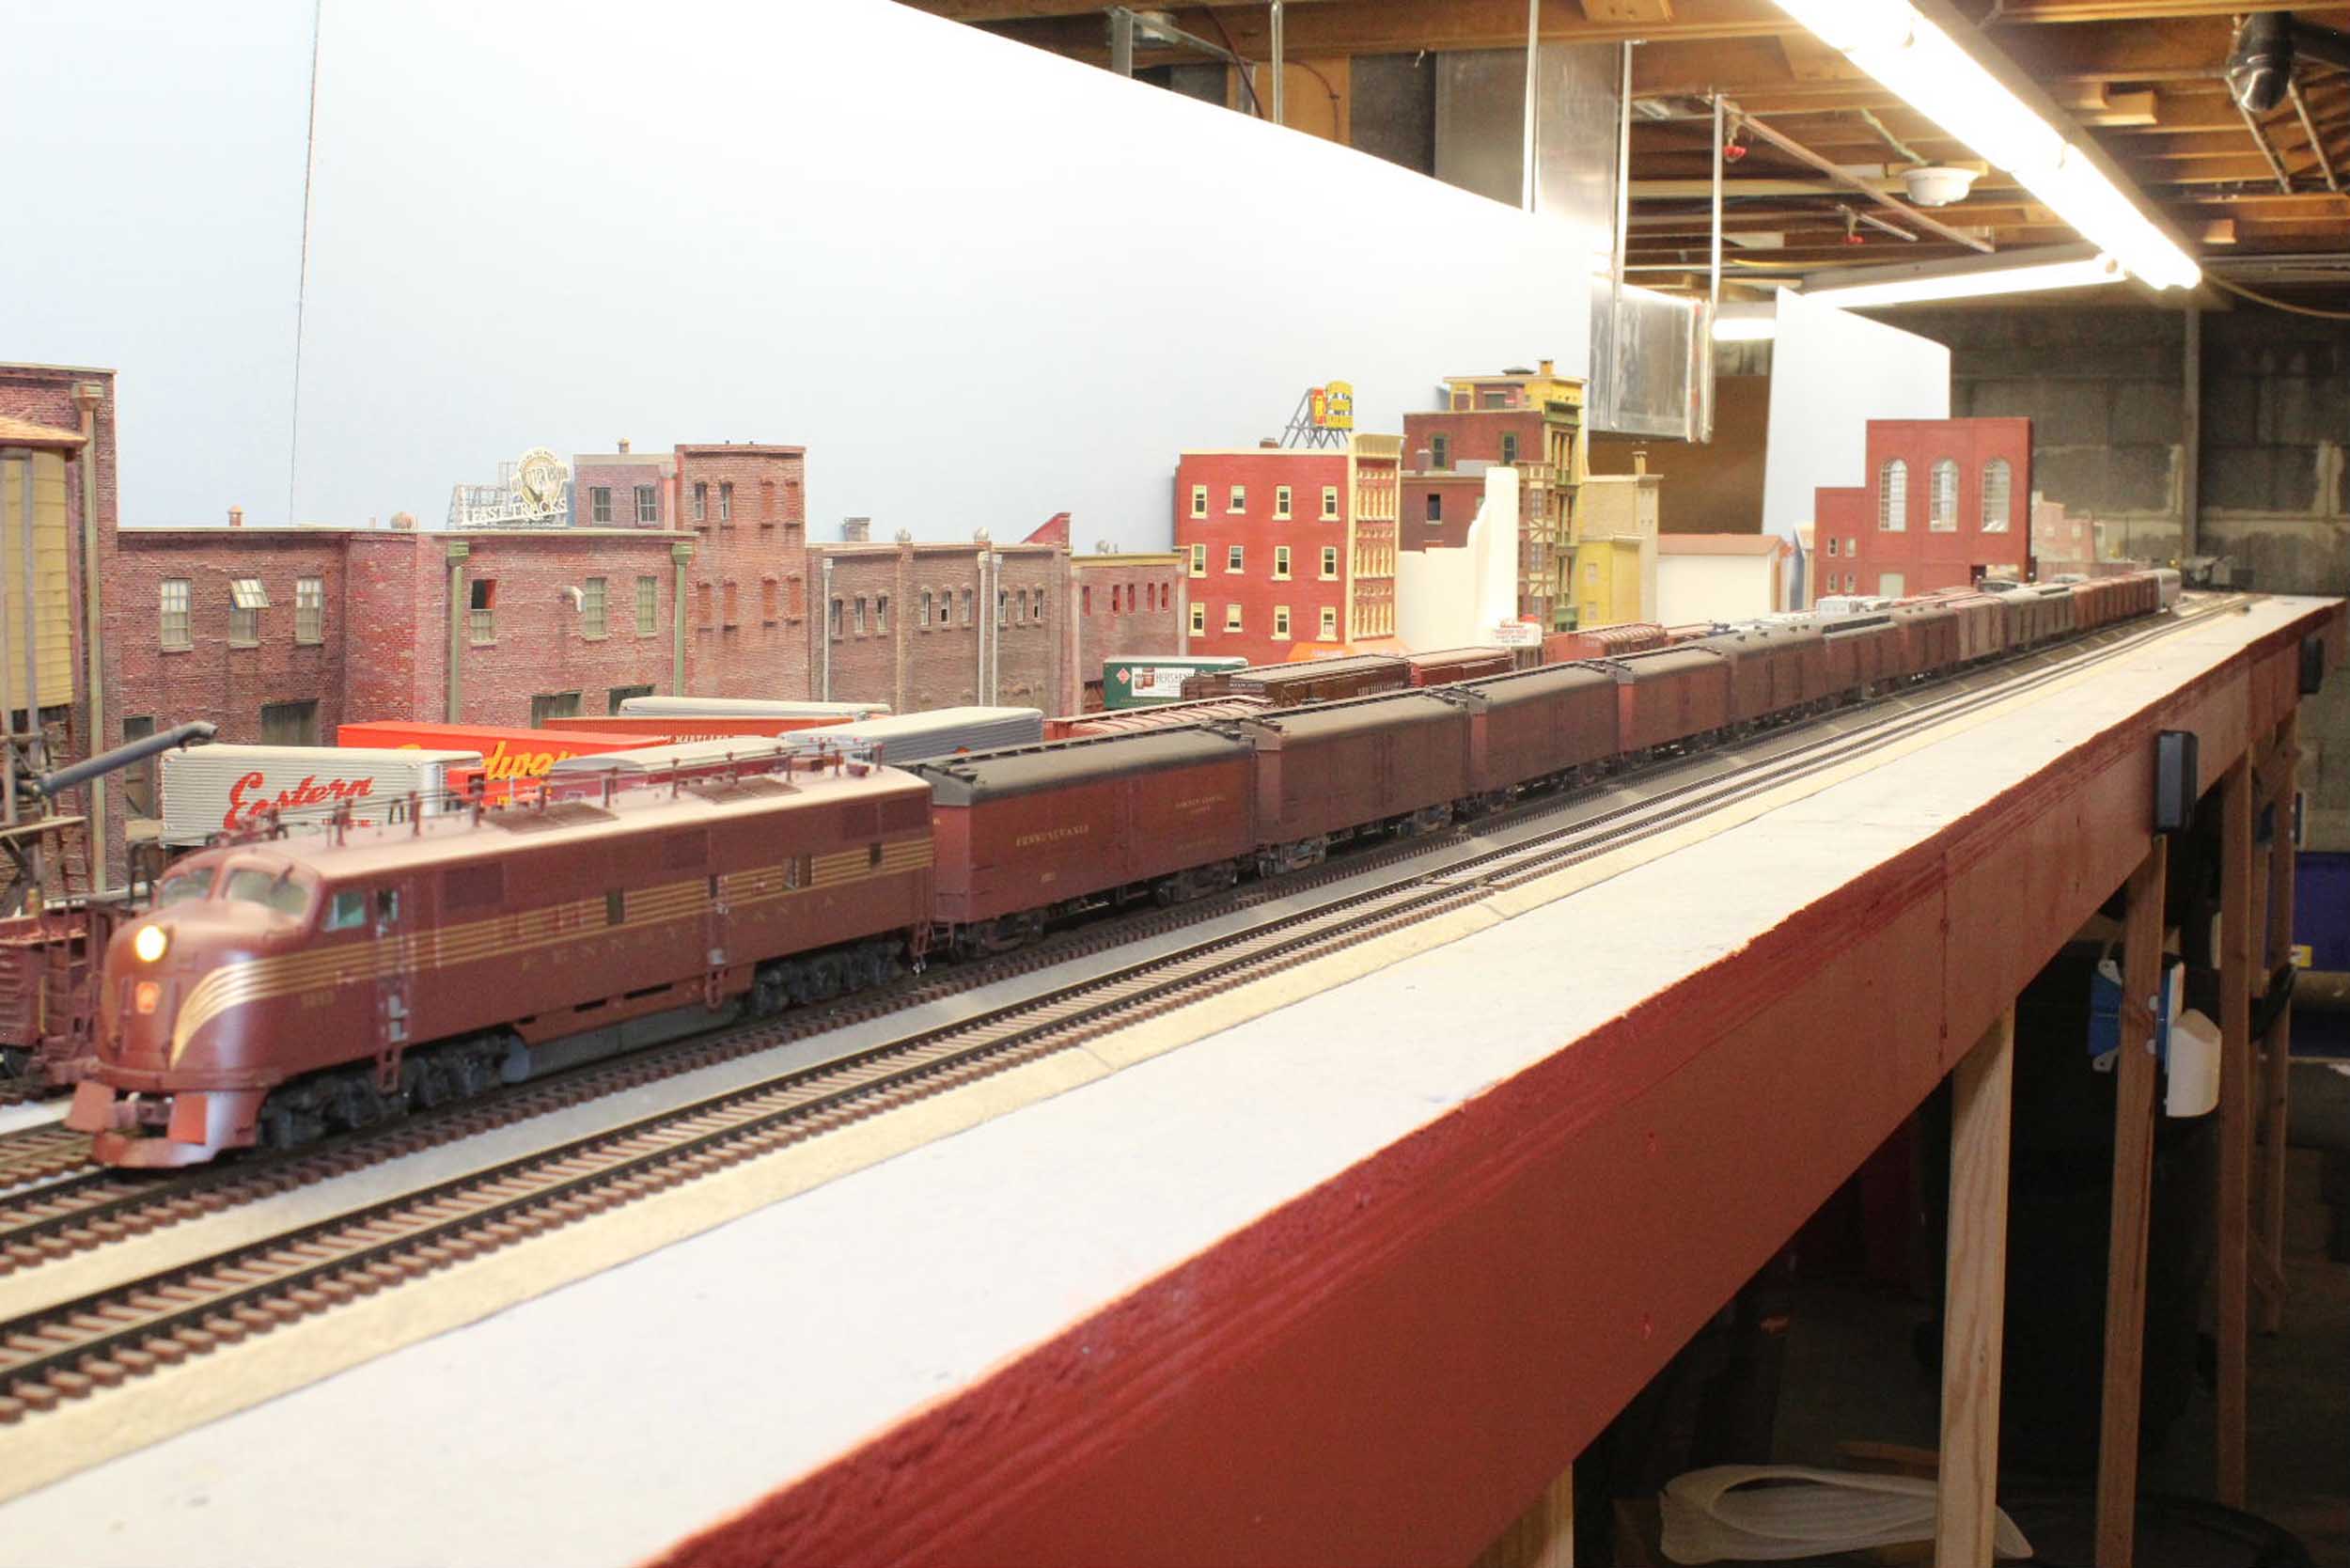
The outside mainline is about 83 running feet.
This is from my first quick n dirty photo shoot
on 11-3-11.
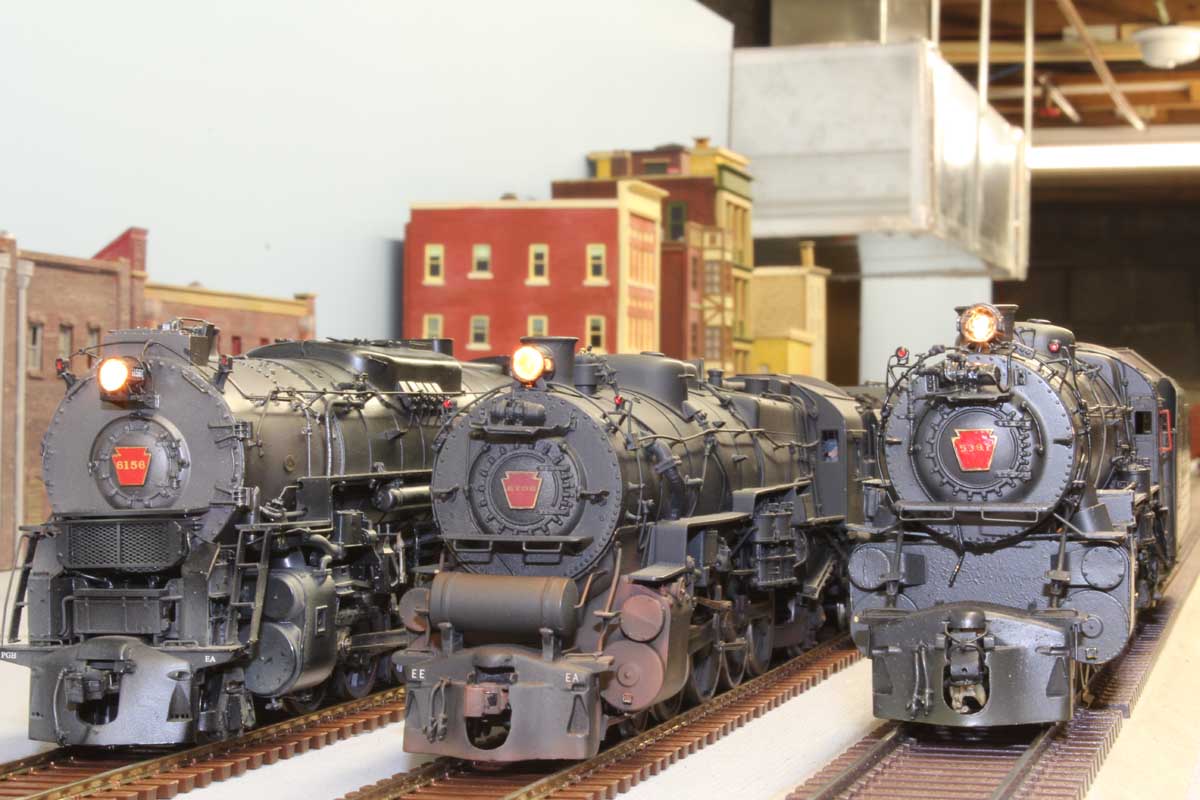
I called the loco line up “3
Modern Faces”.


Added
6-28-12
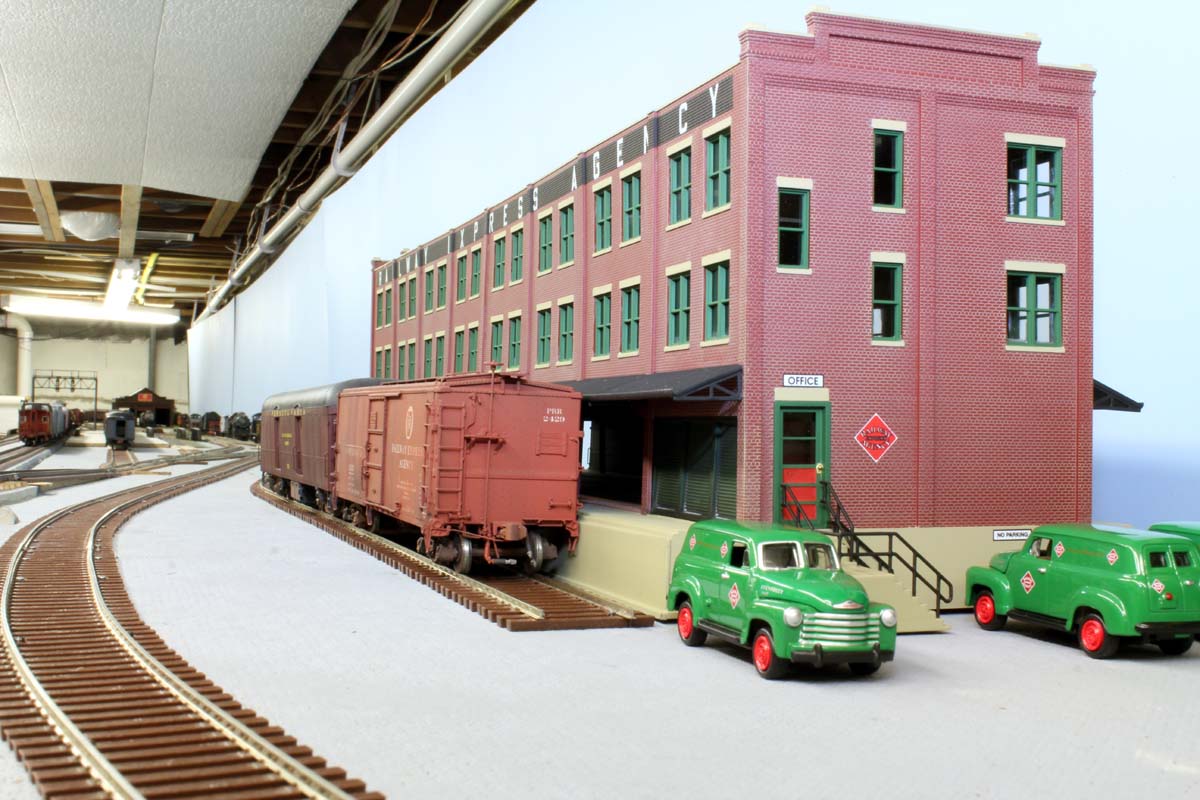
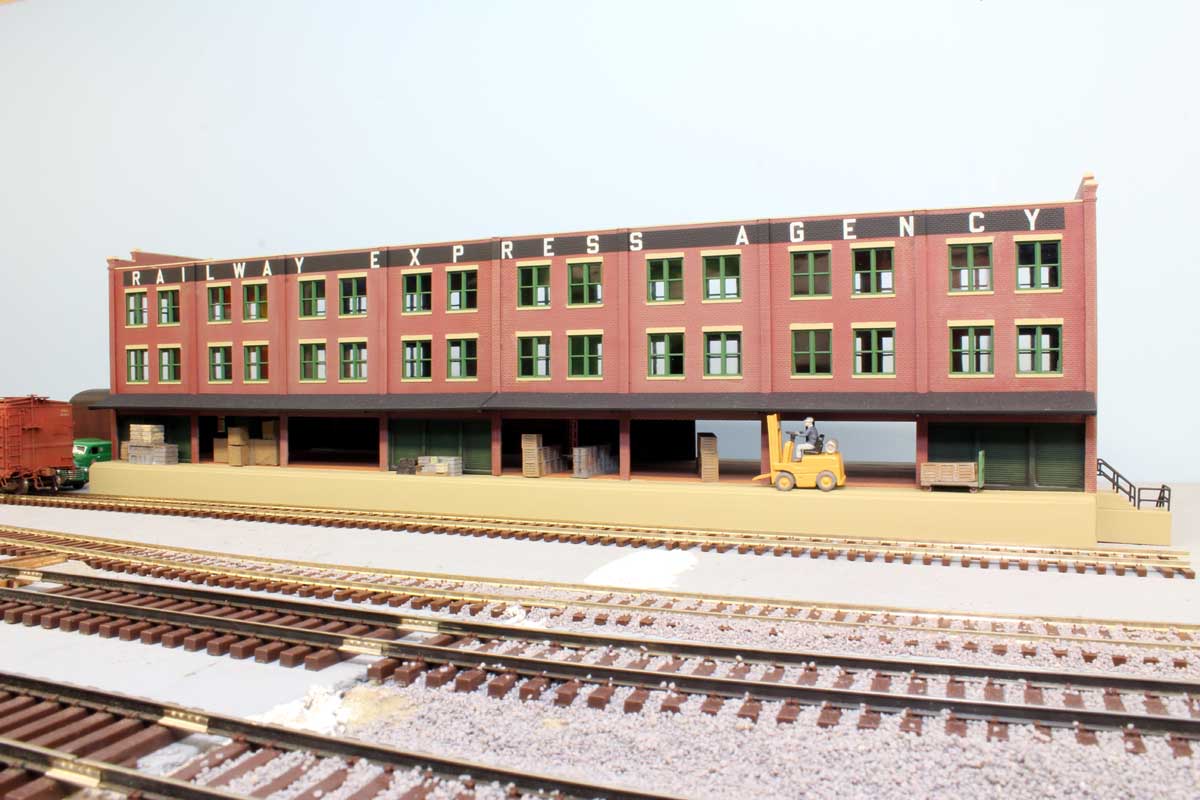
On
6-27-12 the REA building arrived. It was built for me by my good friend Gus
Minardi.
This
is 2 kits of the HO Walthers REA building raised only 1/8”.
S
Scale people doors were added to the ends. Other than that the kit is stock out
of the box!
Look at the dock height and overhanging dock roof lining up to
the S Scale cars!
Added
7-27-12
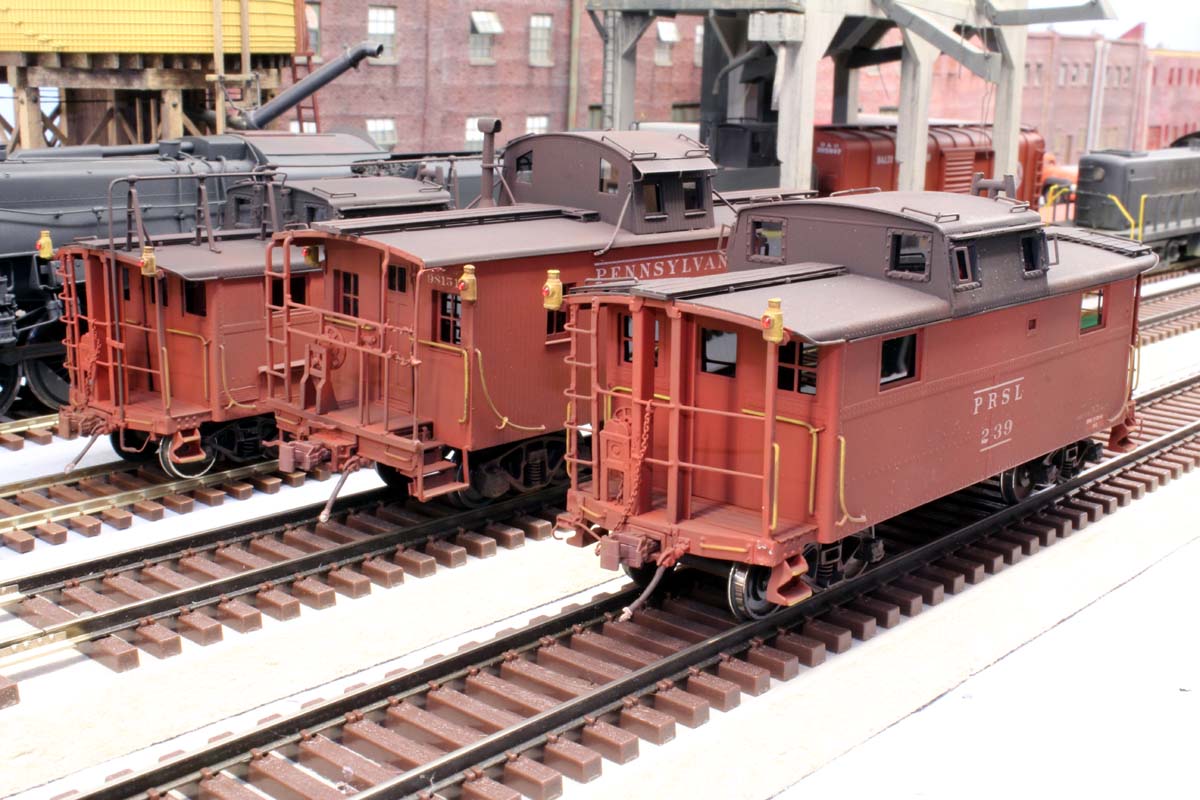
3
Cabin Cars made it out of the boxes to get finished.
The
Cabin track is getting full!
Added
9-12-12
New
sidewalks for the passenger station made from white Plexiglas were roughed
in. They have to have lines scribed in
and painted to better simulate concrete.
I added some dock details like a forklift, boxes and crates to
the REA dock. Detailing has begun!
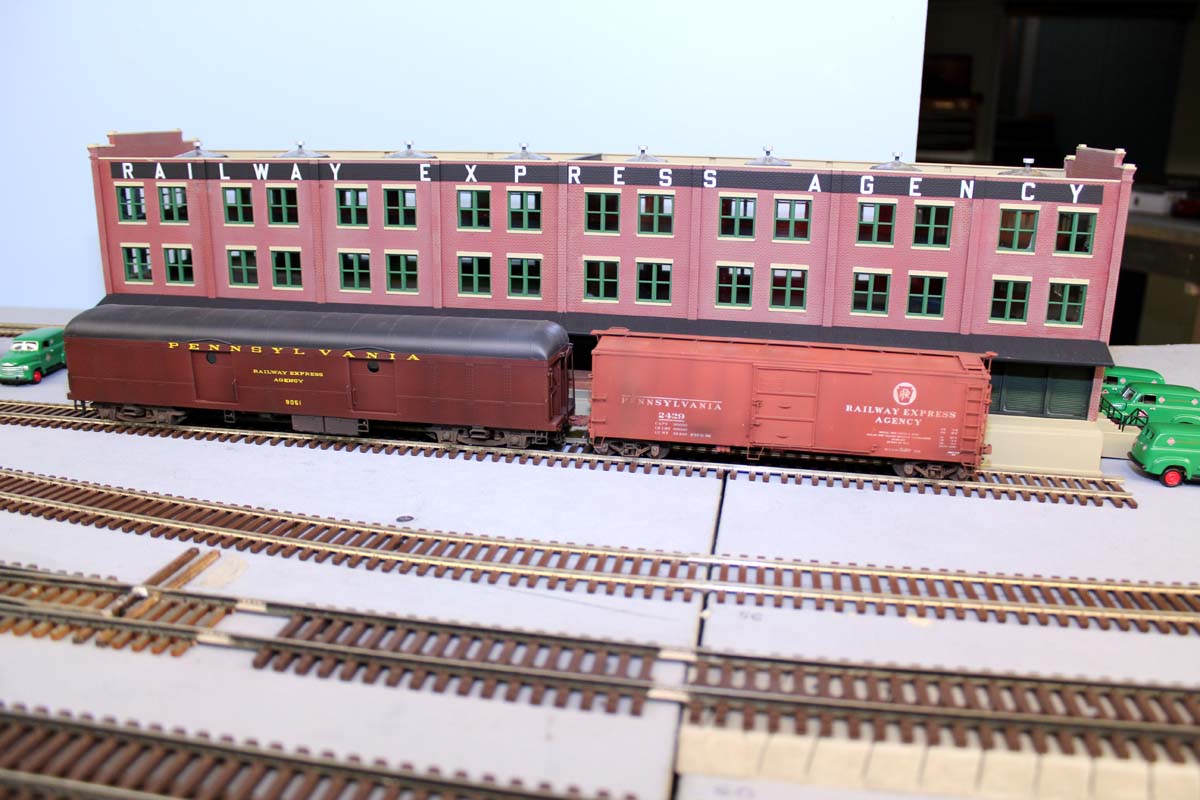
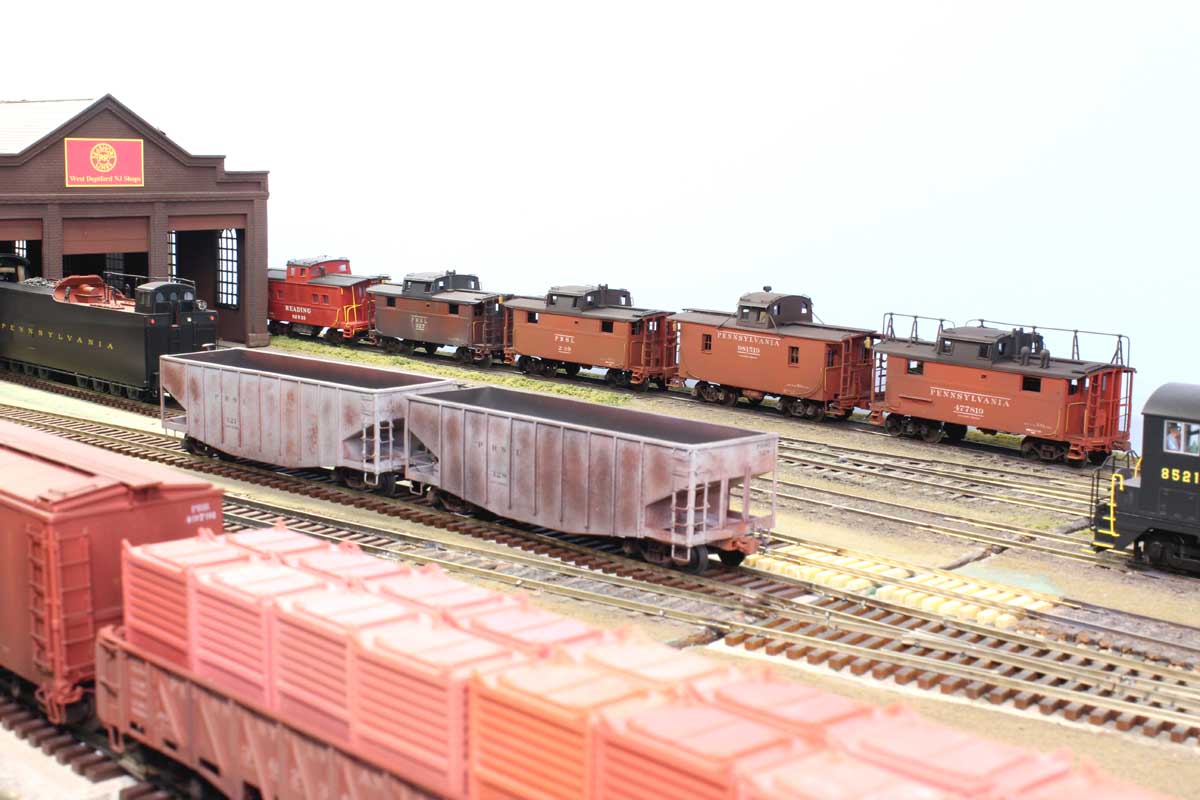
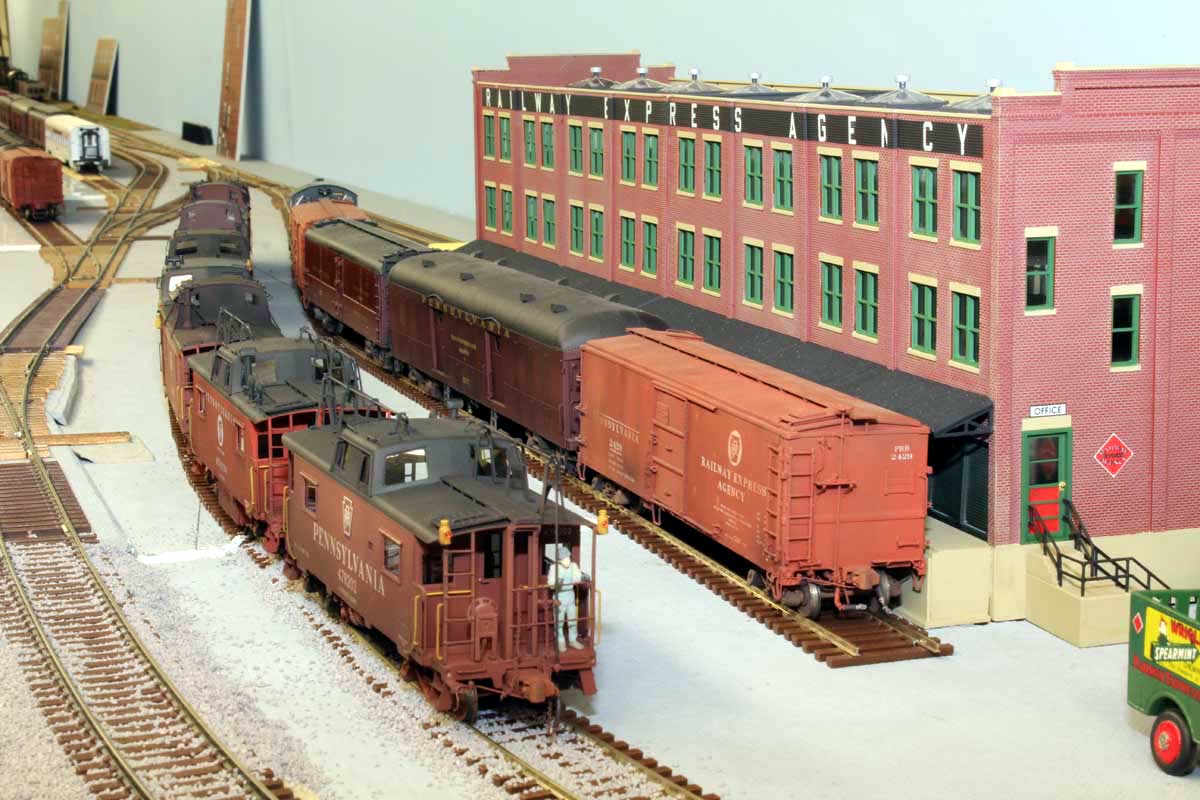
There
are actually 2 runarounds in the track plan which will serve what will be the
Post Office/Railway Express area well for switching cars. One runaround can
easily hold 4 hold end cars while the switcher runs around. I actually DID
switching which is a new concept for me to arrange some cars here for these
photos. Also a cut of Cabin Cars clogs the yard lead/freight bypass track.
Added
10-17-12
On
October 2, I had a momentous occasion I completed all of my Cabins Cars! This
is the first rolling stock “category” that is done!
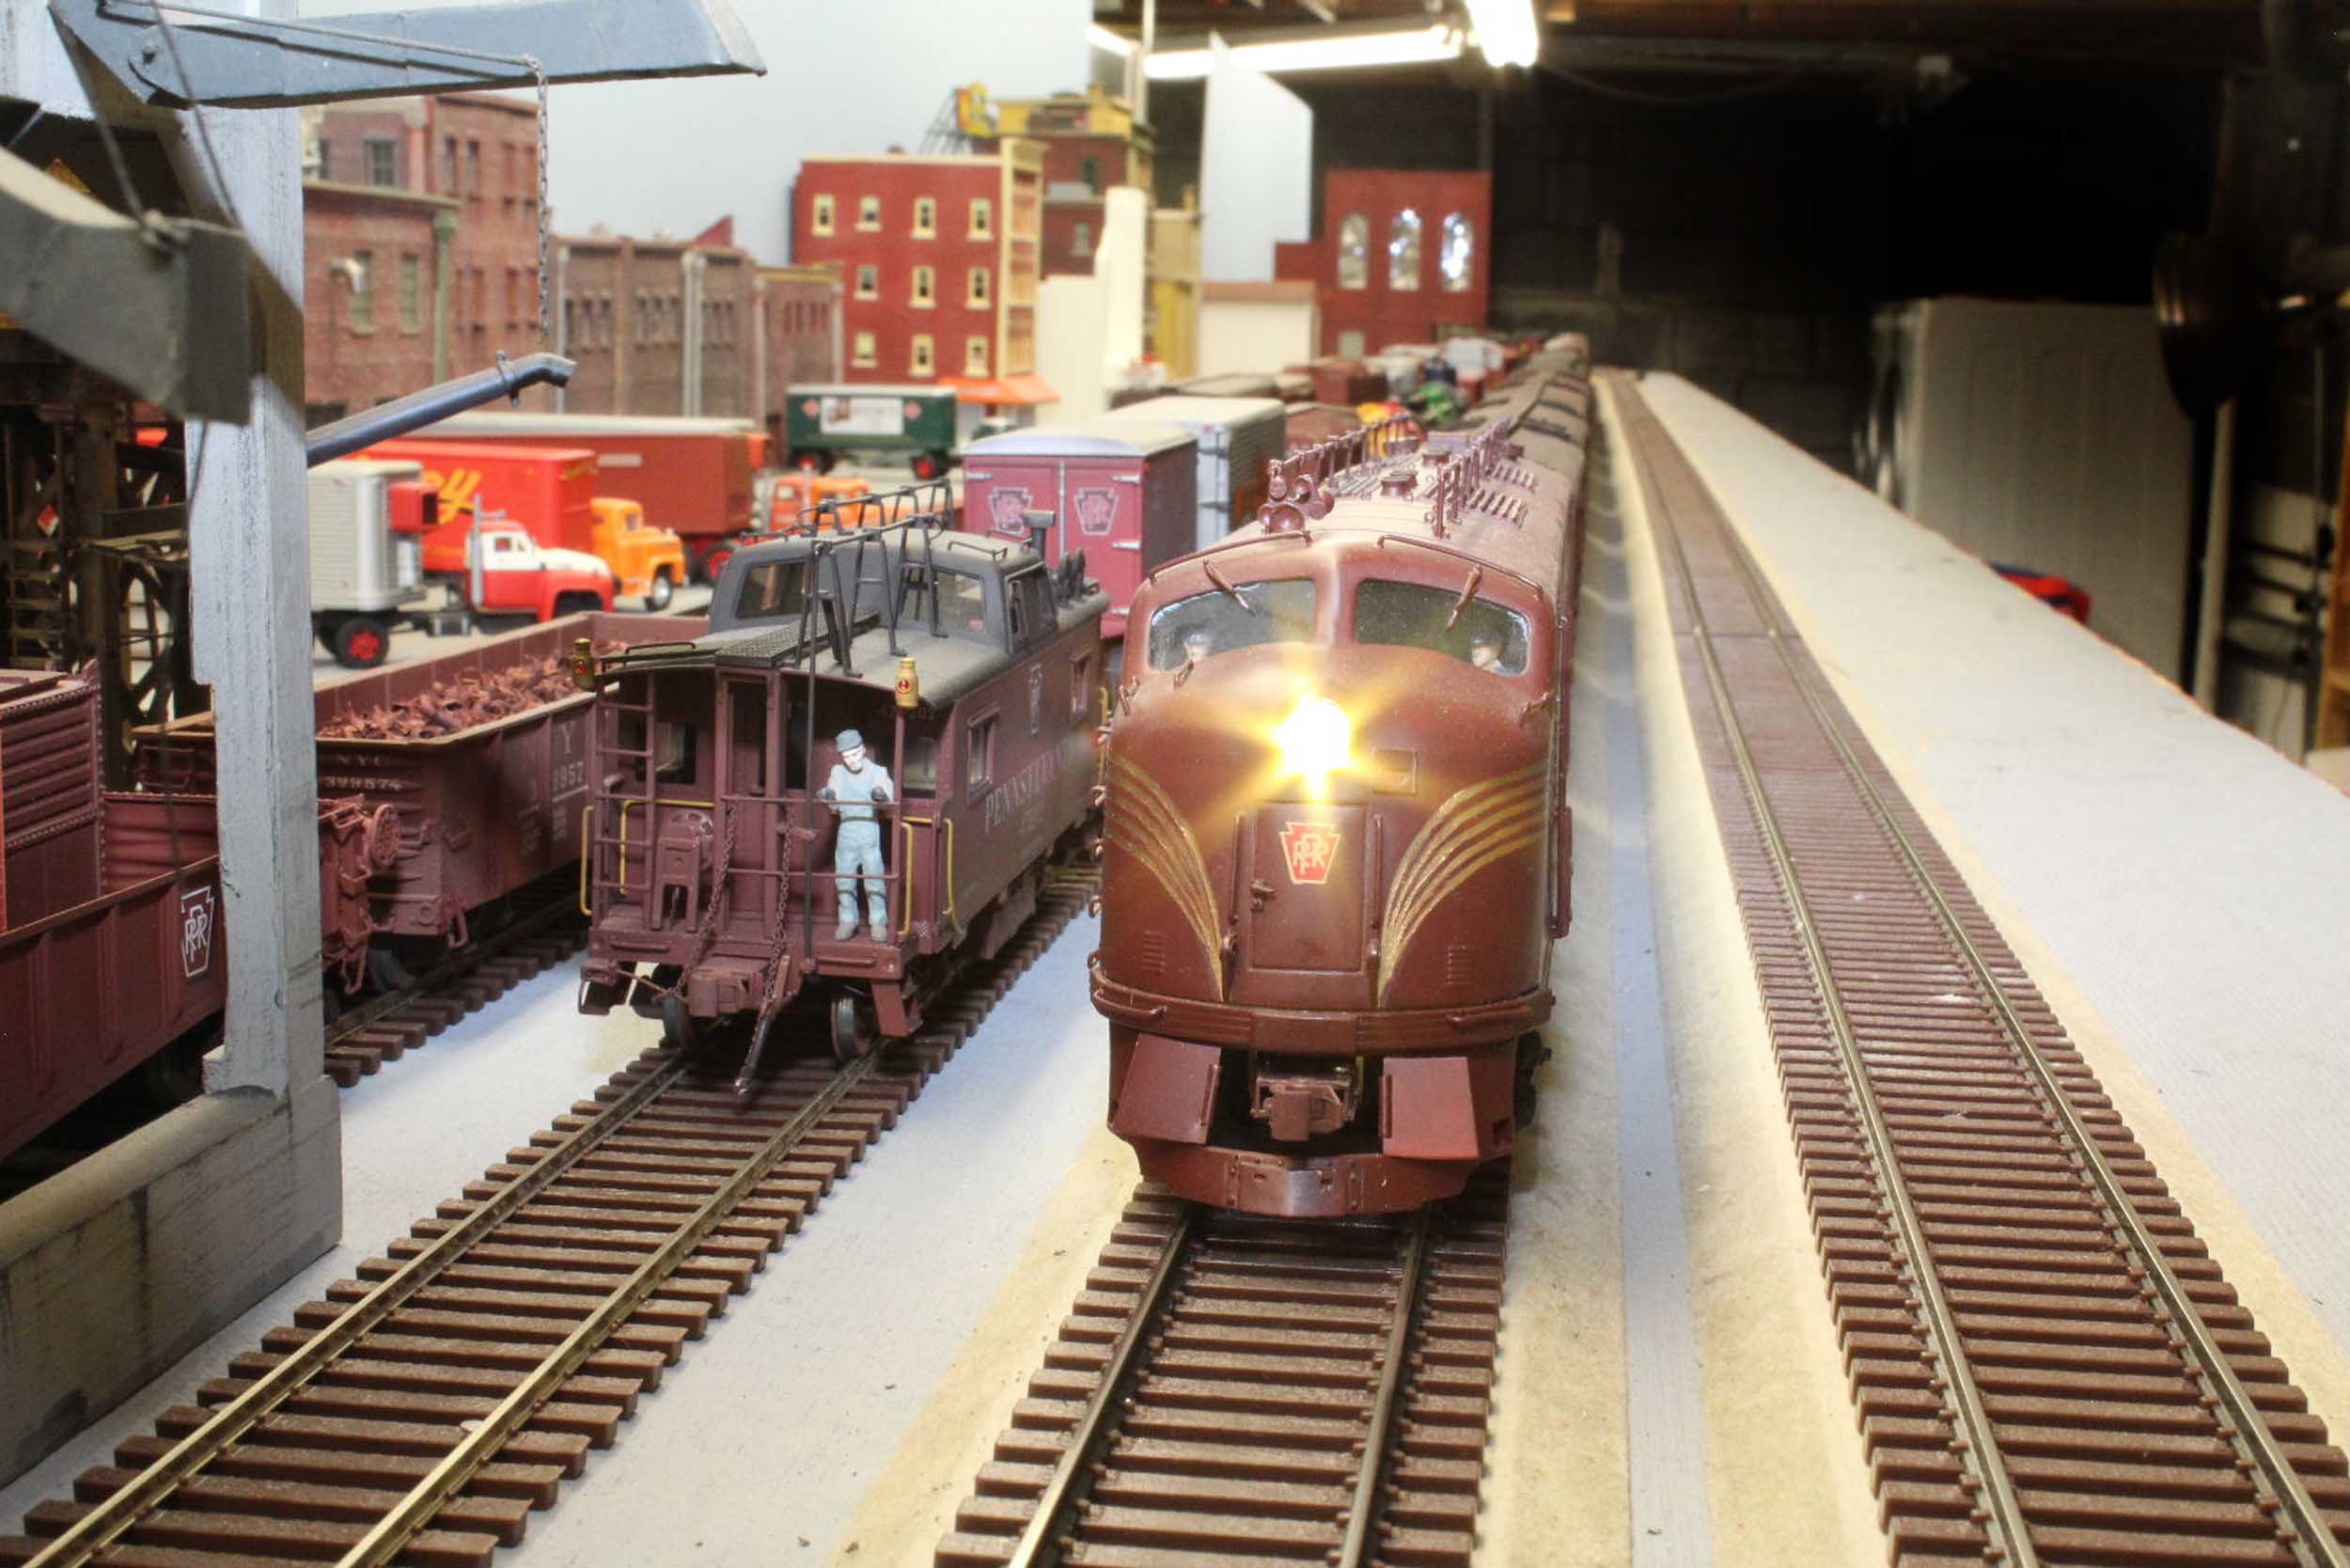
I also got both of my SD9 out to run for the first time on this
layout.

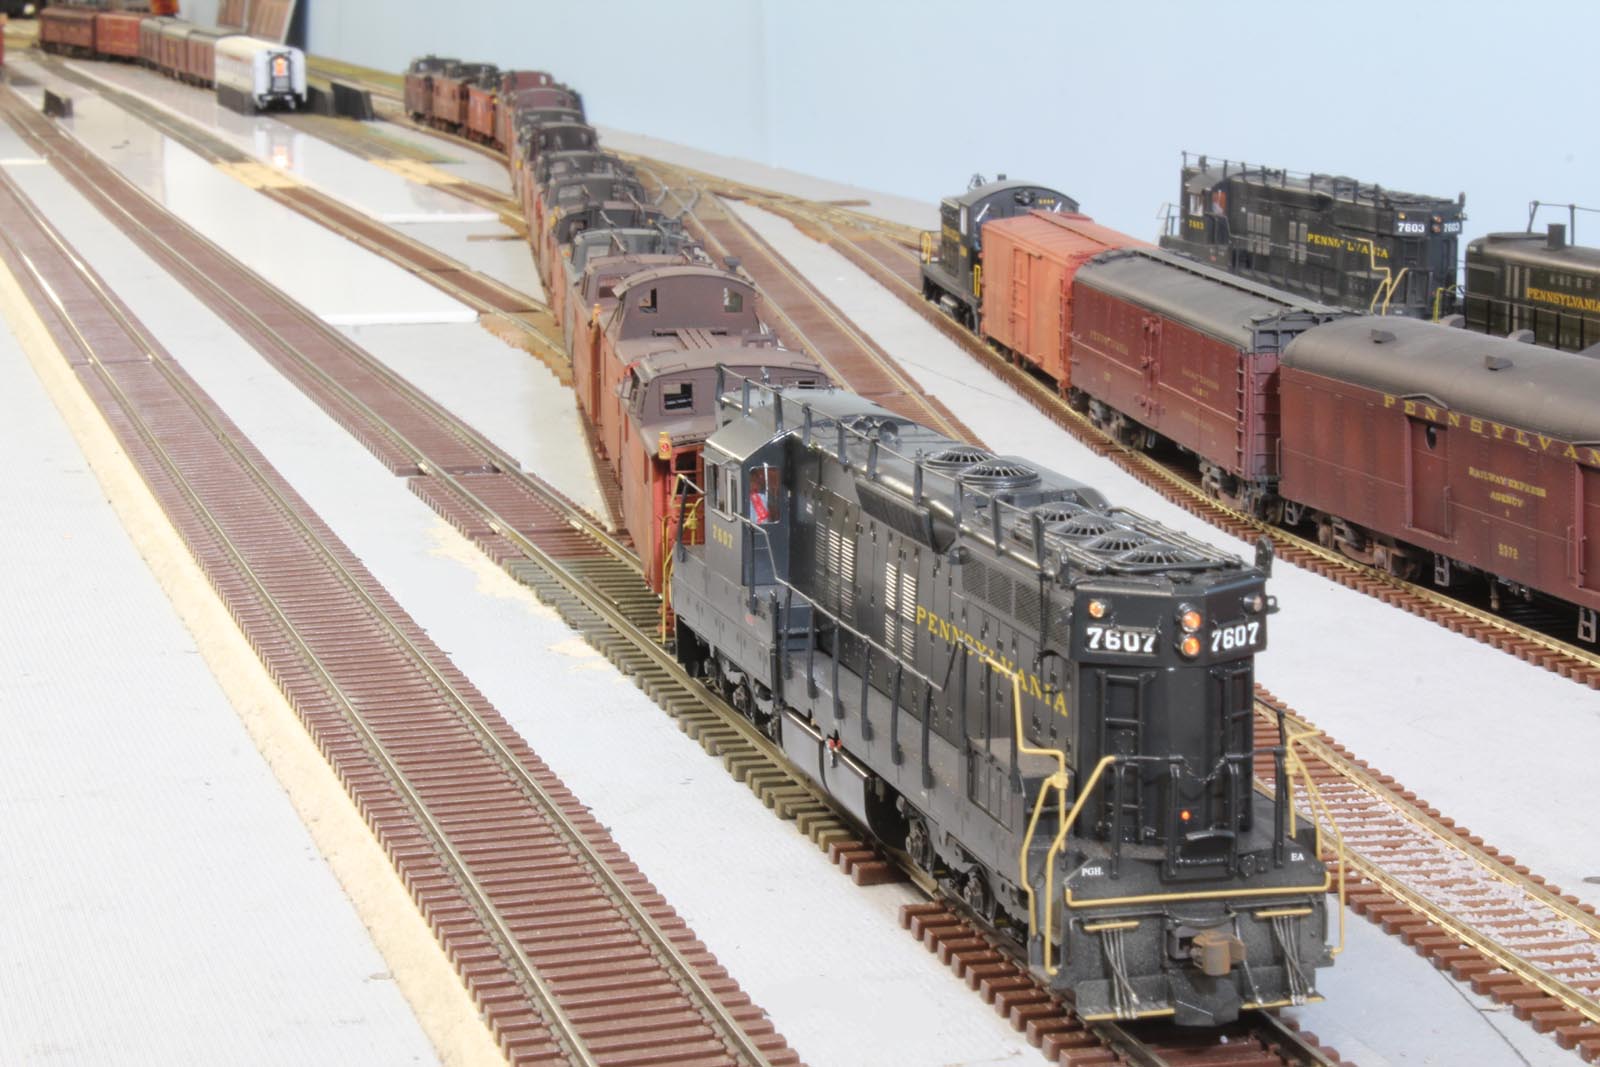
I have been working on tweaking and improving the track for
better running. It has worked out pretty well where I have been able to run
very long trains. My running trains lately has been shuffling trains from
sidings out to run while figuring out how and where to store the other trains.
I am sort of getting “track bound” where I will
have to put some trains away to get out and run others I have not run in a while.
Added
10-21-12
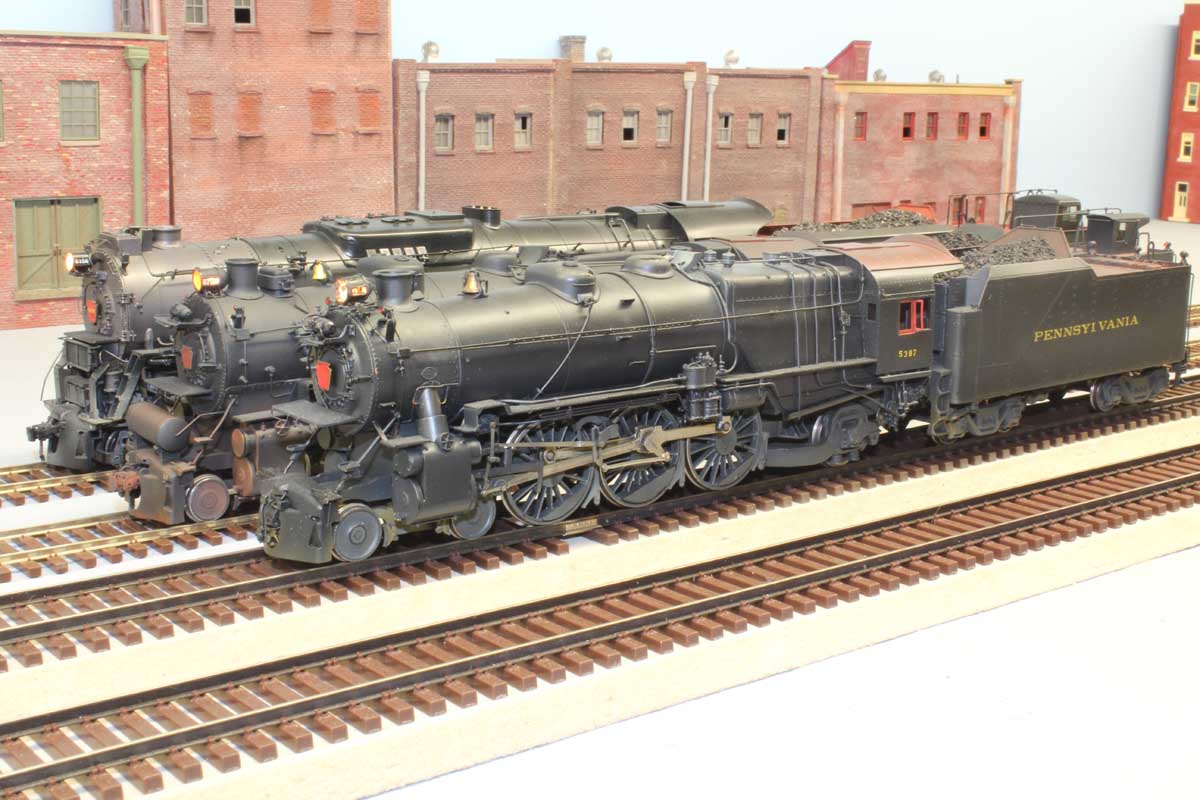
I recently intalled a Tsunami in a PRR E7a. Here are 2 poses
of some of my E Units in what will be the passenger shed area.
Added
10-26-12
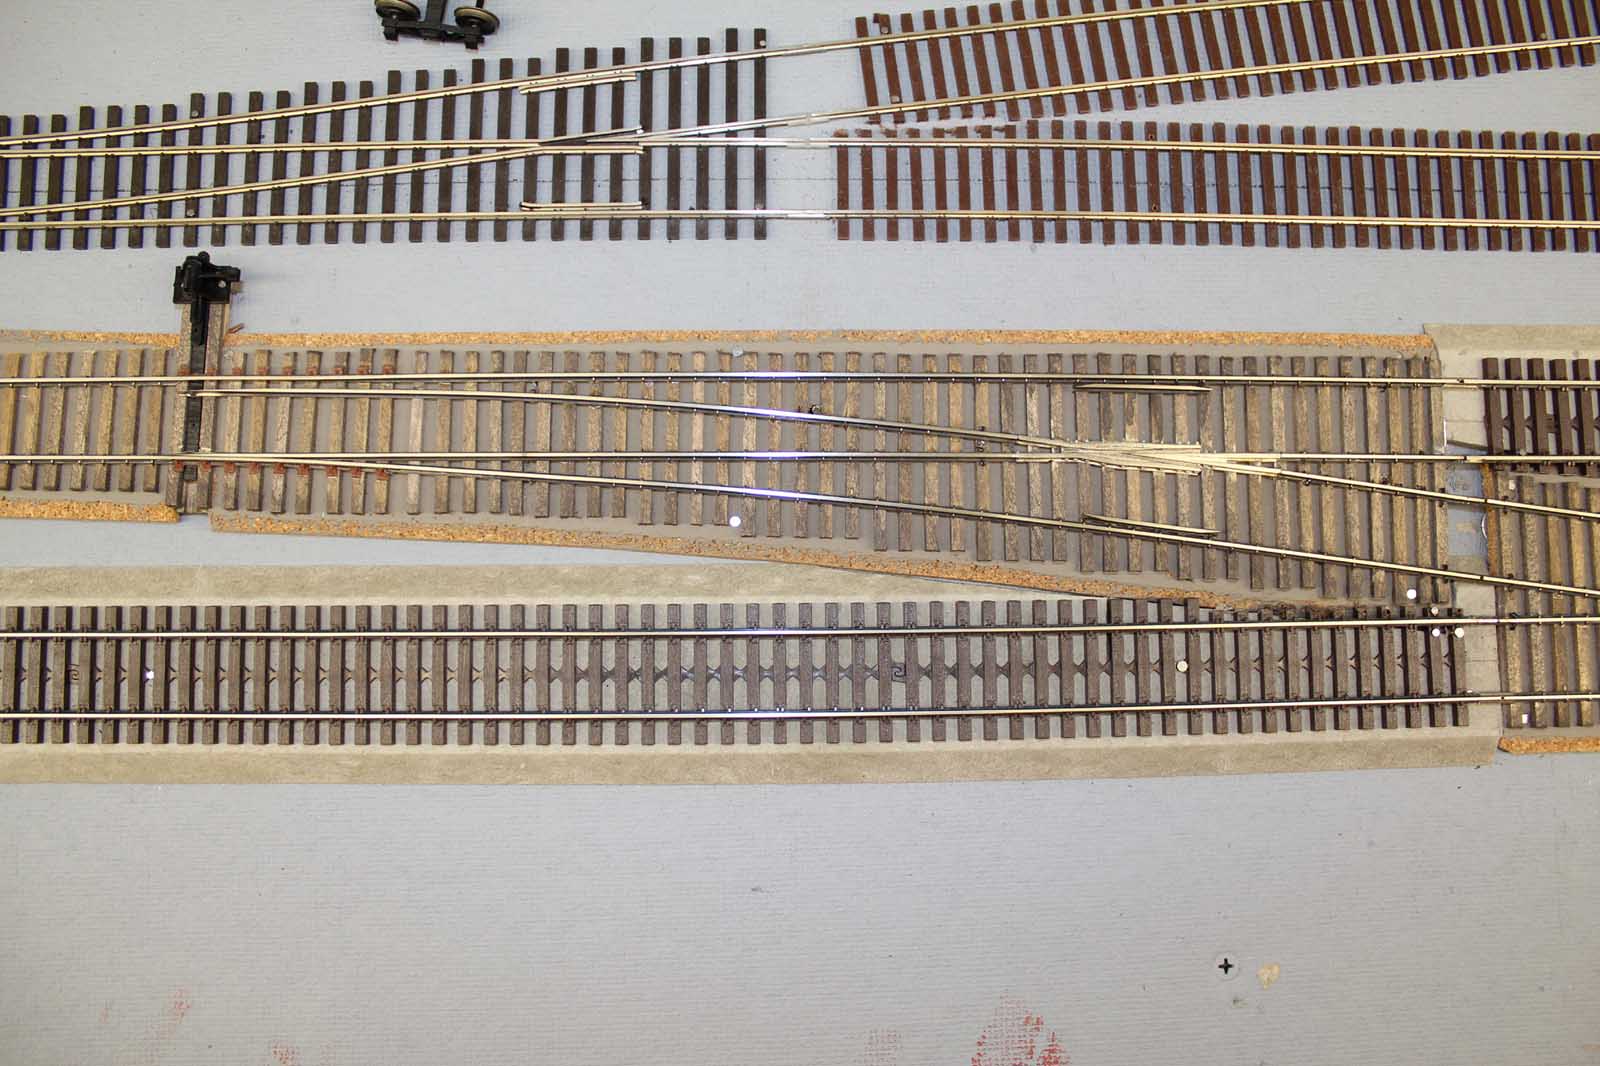
S
Helper Service Code 139 Rail Turnouts
The
quest for good turnouts for the mainlines using S
Helper Service rail has proven to be a year+ of complete frustration. I have
all of the Fast Tracks tools to make the code 100 & 139 (SHS rail) turnouts
but have not done it yet. I had a good stockpile of code 100 turnouts so there
was no immediate need to make code 100 turnouts to get the layout started.
Three custom code 139 made turnouts had a massive hole in the middle of the
frog that the wheels literally fell into every time. I hated them from when I
first installed them at the start of the layout! This was also a derailment
issue. The fix to these 3 turnouts was a long drawn out replacement with 3
other new custom made turnouts that luckily are finally PERFECT!
I
also bought 4) code 139 #8 turnouts from Custom Trax for 2 mainline crossovers. They are
very nice but had this very strange frog arrangement that proved to be a big
problem. In an effort to give the turnouts bolt detail there was almost 1 inch
without real RAIL! There was nothing but urethane. It became a very annoying
stall issue for a surprising number of locomotives big and small. Since much of
the issue was truly awful frogs, I thought about making some in Solidworks and
having them cast. Enter Protocraft
to the rescue! Protocraft
caters to the O Scale P48 market. It just so happens that the standards for P48
are the same for S Scale! Protocraft offers cast turnout kits and components. I
bought 1) code 138
turnout kit as
a test. It was sheer and instant perfection! The frog is not even spiked in. It
meets the NASG Standards Gauge perfectly.
I have not had a derailment there once. I don’t care if the bolt details
are a little large. The alternative would be a lot more work. It takes the
heavy lifting out of making turnouts with the SHS rail. I am buying more
Protocraft frogs and switch kits for what will probably be my remaining
mainline turnout needs.
These turnouts have been replaced with #10
custom turnouts using all of the Protocraft castings in the turnout kit. The
Custom Traxx turnouts all were sold.
Custom Trax Frog Before
Custom Trax
with Protocraft Frog After

Added
1-20-13
I got the first of 2 very custom curved mainline crossovers
installed. These also use the Protocraft #8 turnout casting kits. The other
crossover is going to be in the opposite direction. I have a YouTube clip of it
in action here
Added
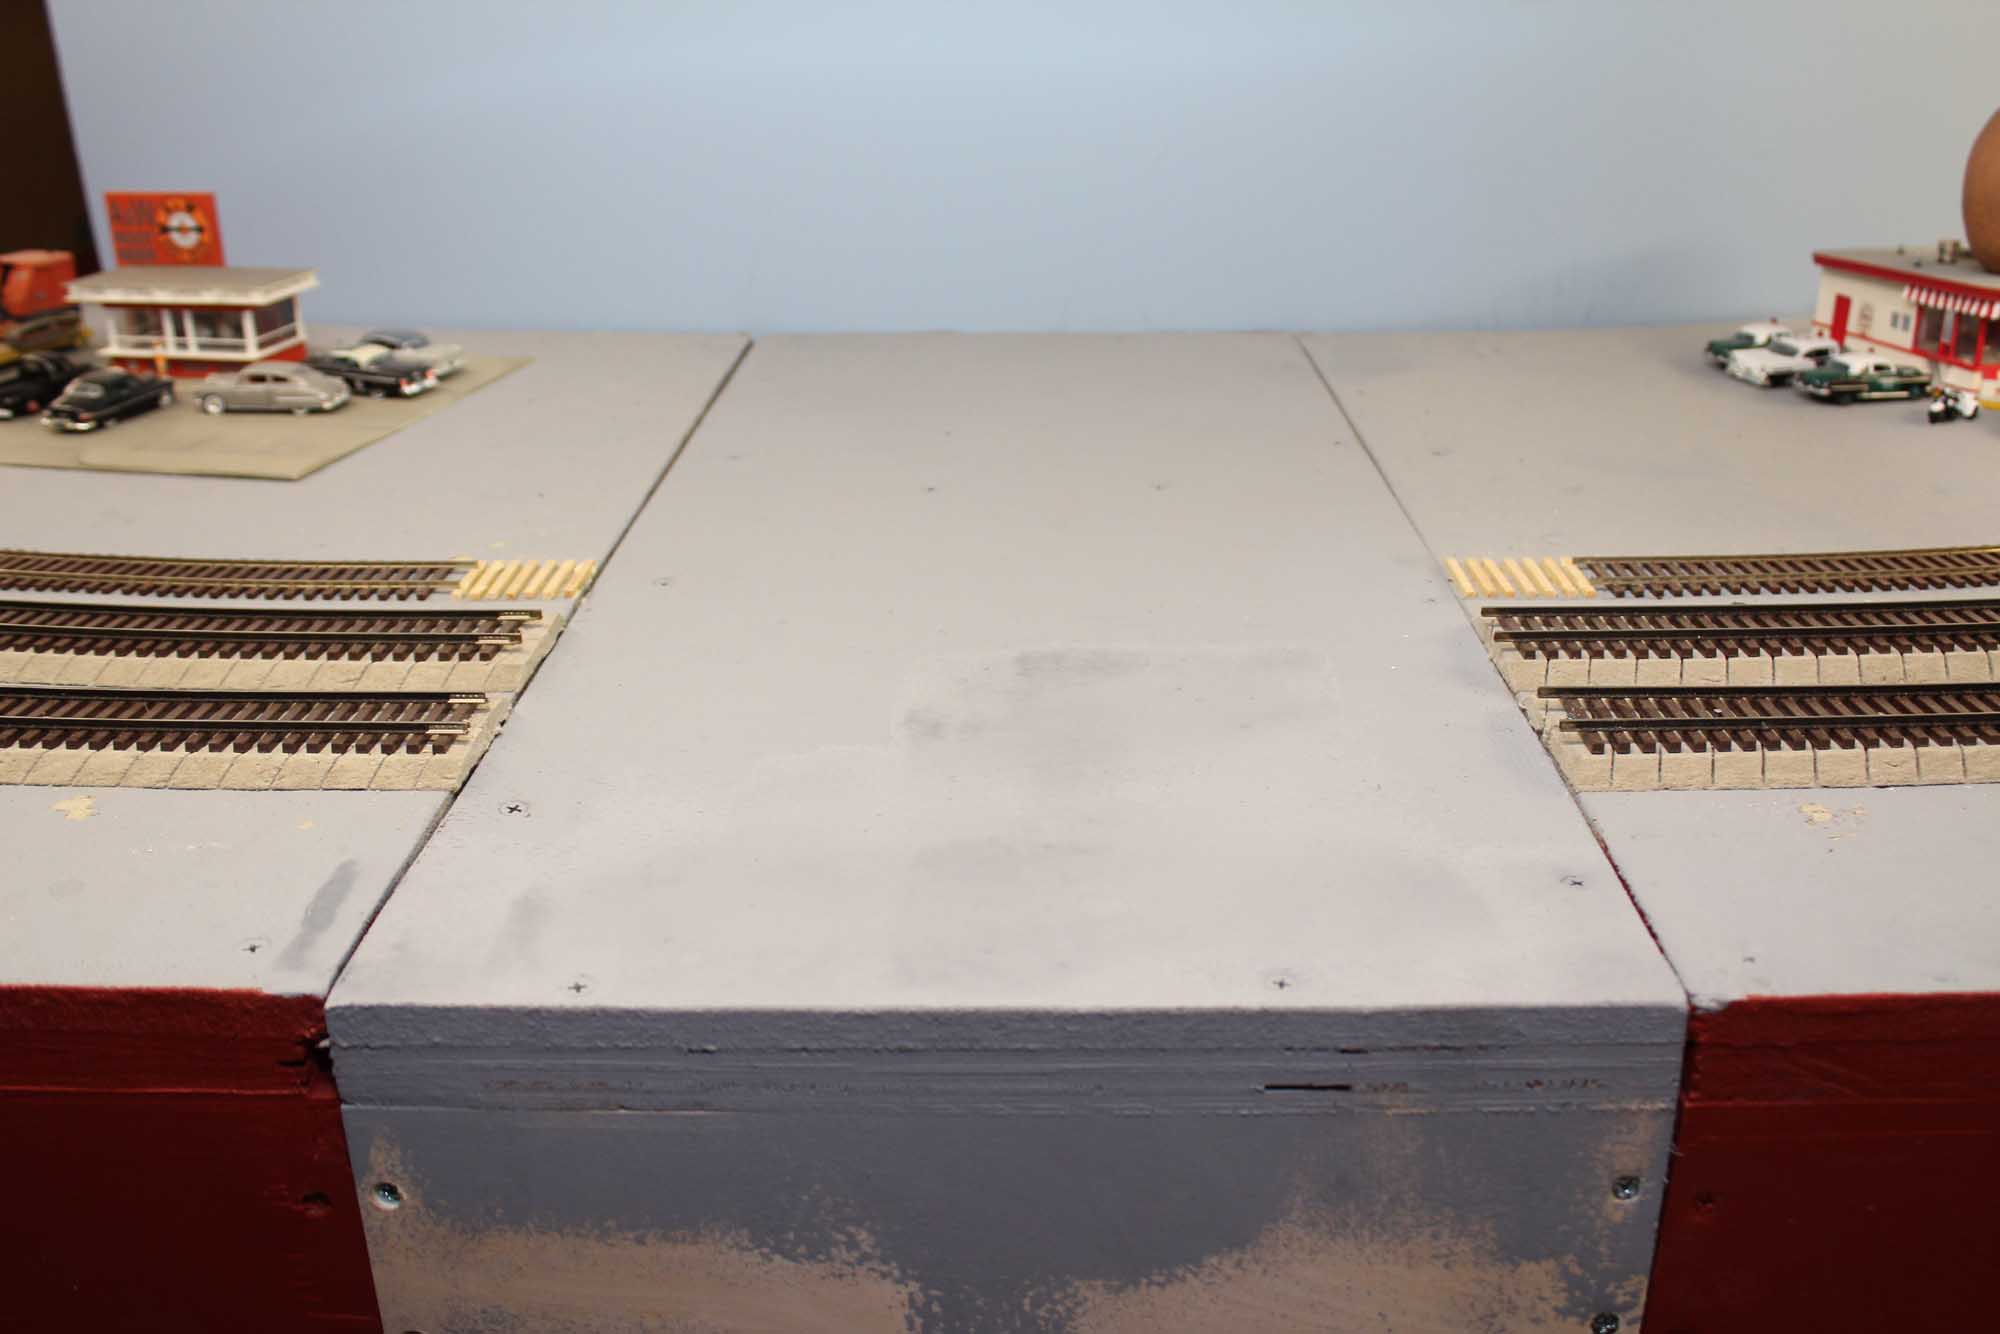
8-17-13
Layout
progress for almost a year has been non-existent. I believe that is typical
that once trains are running the drive slows a bit. When designing the layout I
knew it was going to be close for the backdrop to clear a duct that feeds to
the 2nd HVAC zone in the house. But it did not clear is by about 12”
leaving a 3 foot gap. The backdrop was put up quick n dirty anyway until I
could resolve the duct problem. I knew it would all have to come down and
redone some day. The solution came to me pretty easily but took over a year to
execute. The washer & dryer had to be raised on a platform and stuffed
tight in the corner of the basement. This gave me precious room to make the
layout slightly wider. The beauty of the layout being sectional is I could make
a small piece to make the JUST wide enough to clear the duct which is what I
did.
The
expansion was 14” long. The backdrop clears the duct by about 3 inches now.
Note:
The backdrop gaps were all closed on 6-2-18


Added
5-8-14
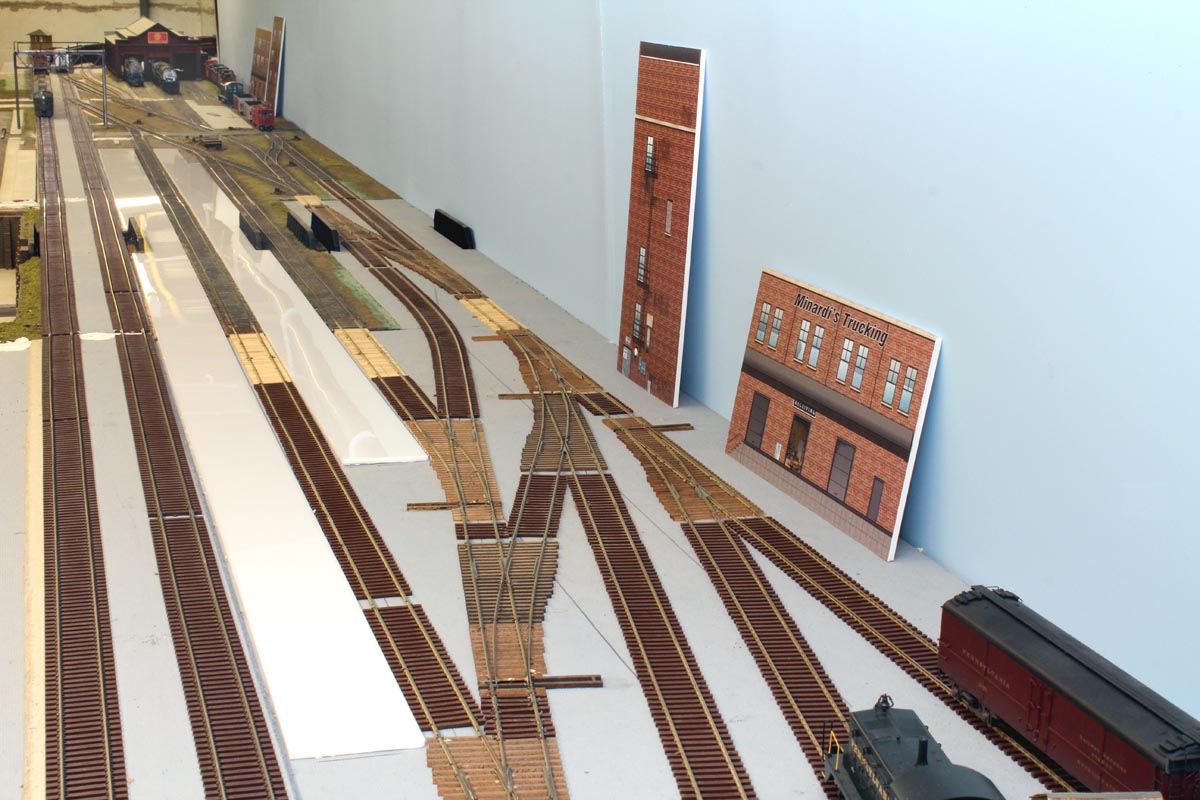
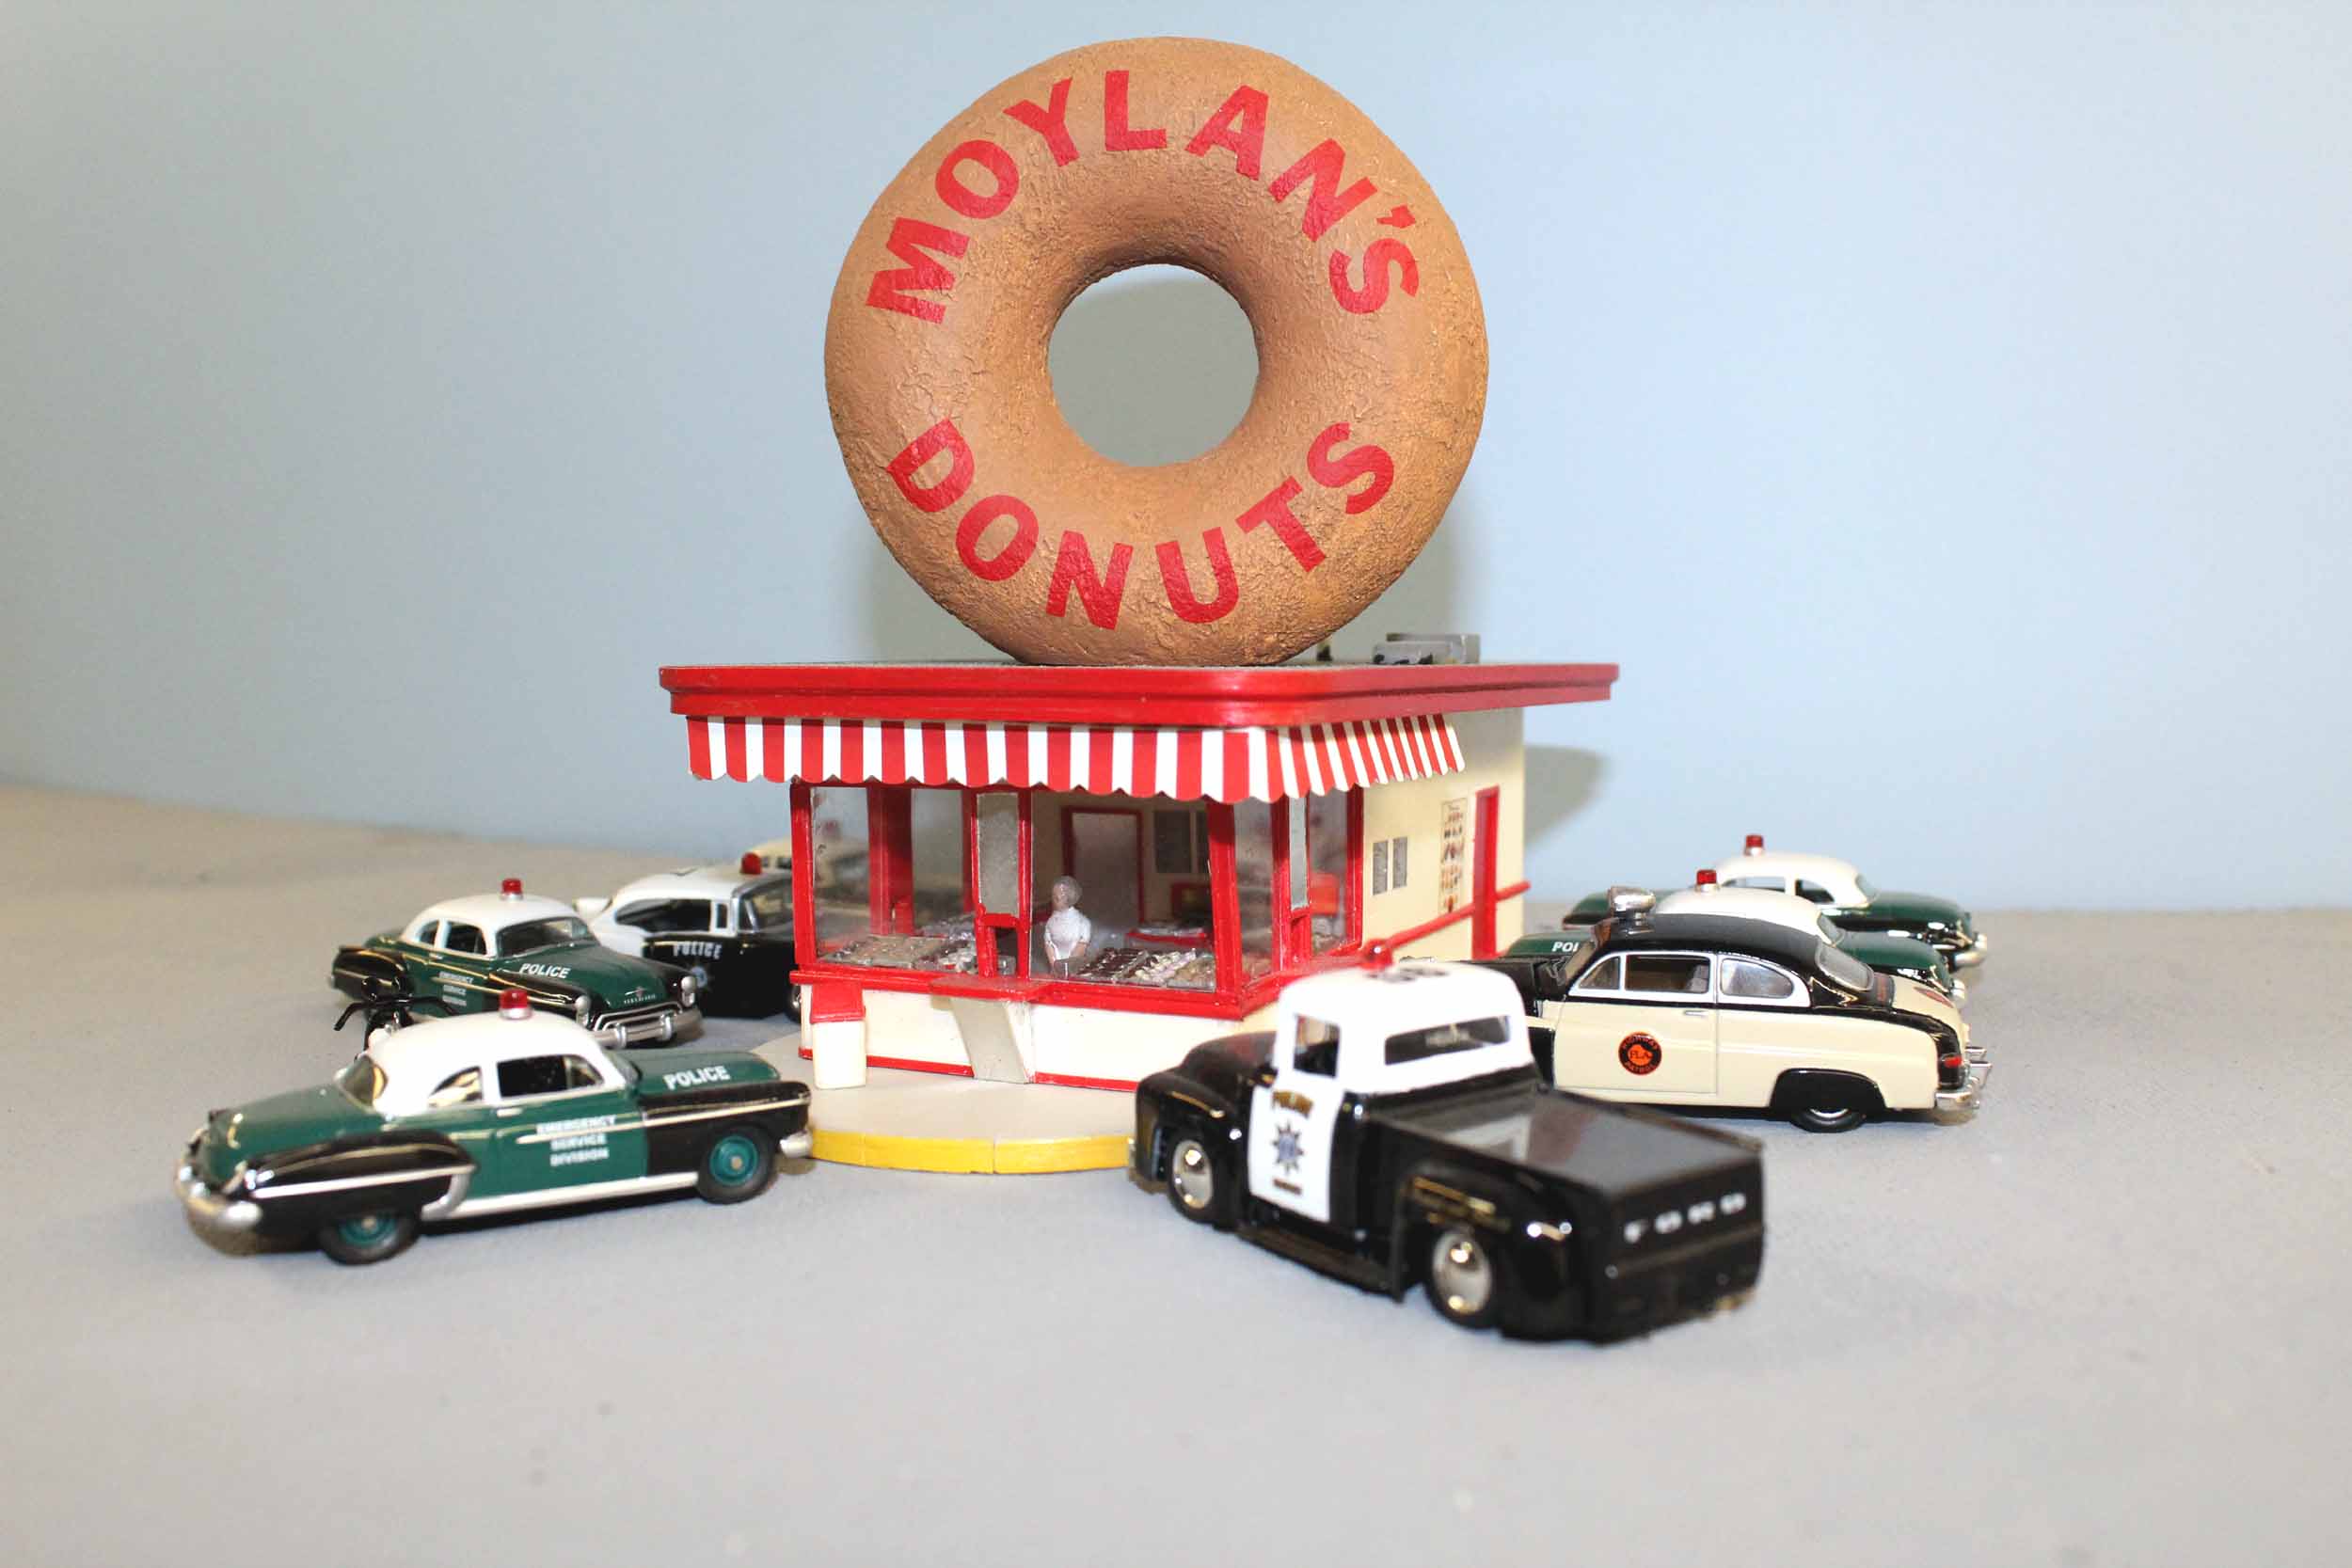
Most
buildings at this point as just randomly flopped in place. They will all likely
be moved and rearranged when a more finalized plan is in place.
The
donut shop is a Pine Canyon Copper’s Donuts kit I lettered as Moylan’s Donuts
for my friend Steve Moylan, a retired Deptford Police officer. The S Scale law
enforcement will be well fed with the donut shop.
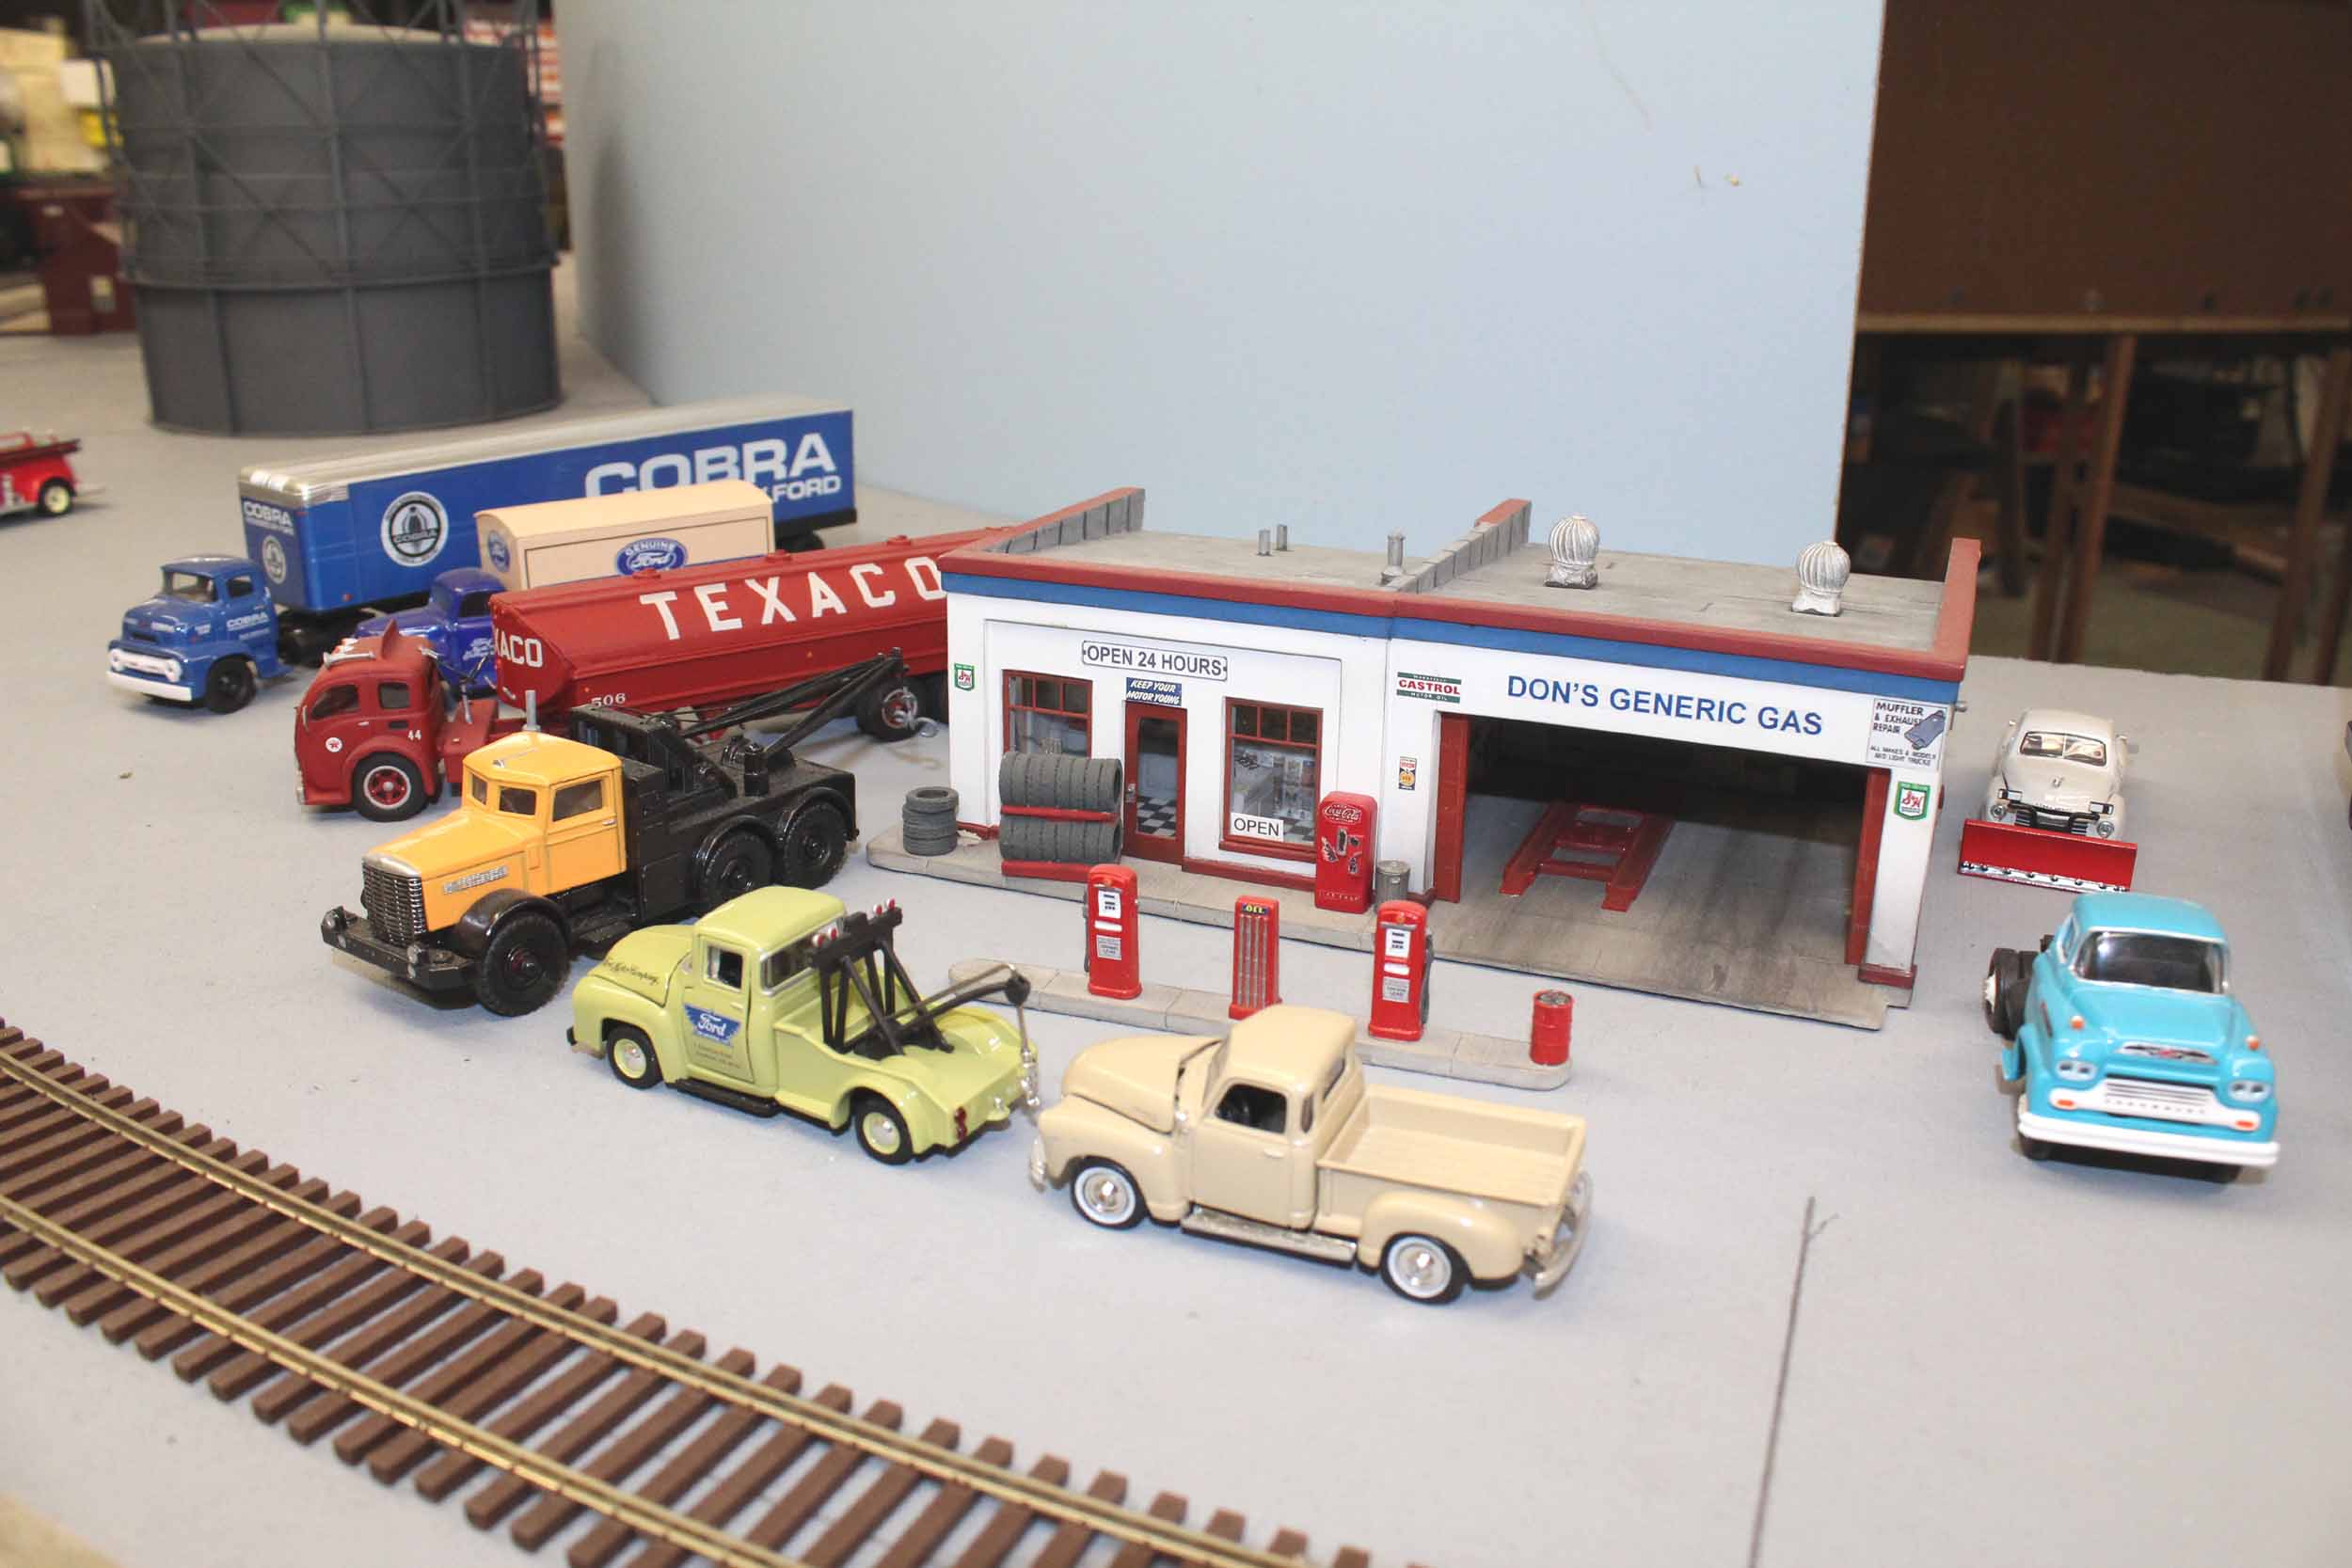
The
gas station is THE building from the Pine Canyon website. Some of the vehicles
are not era correct at this point. I bought a bunch of Mustang and Shelby cars
and trucks because I like them!

Added
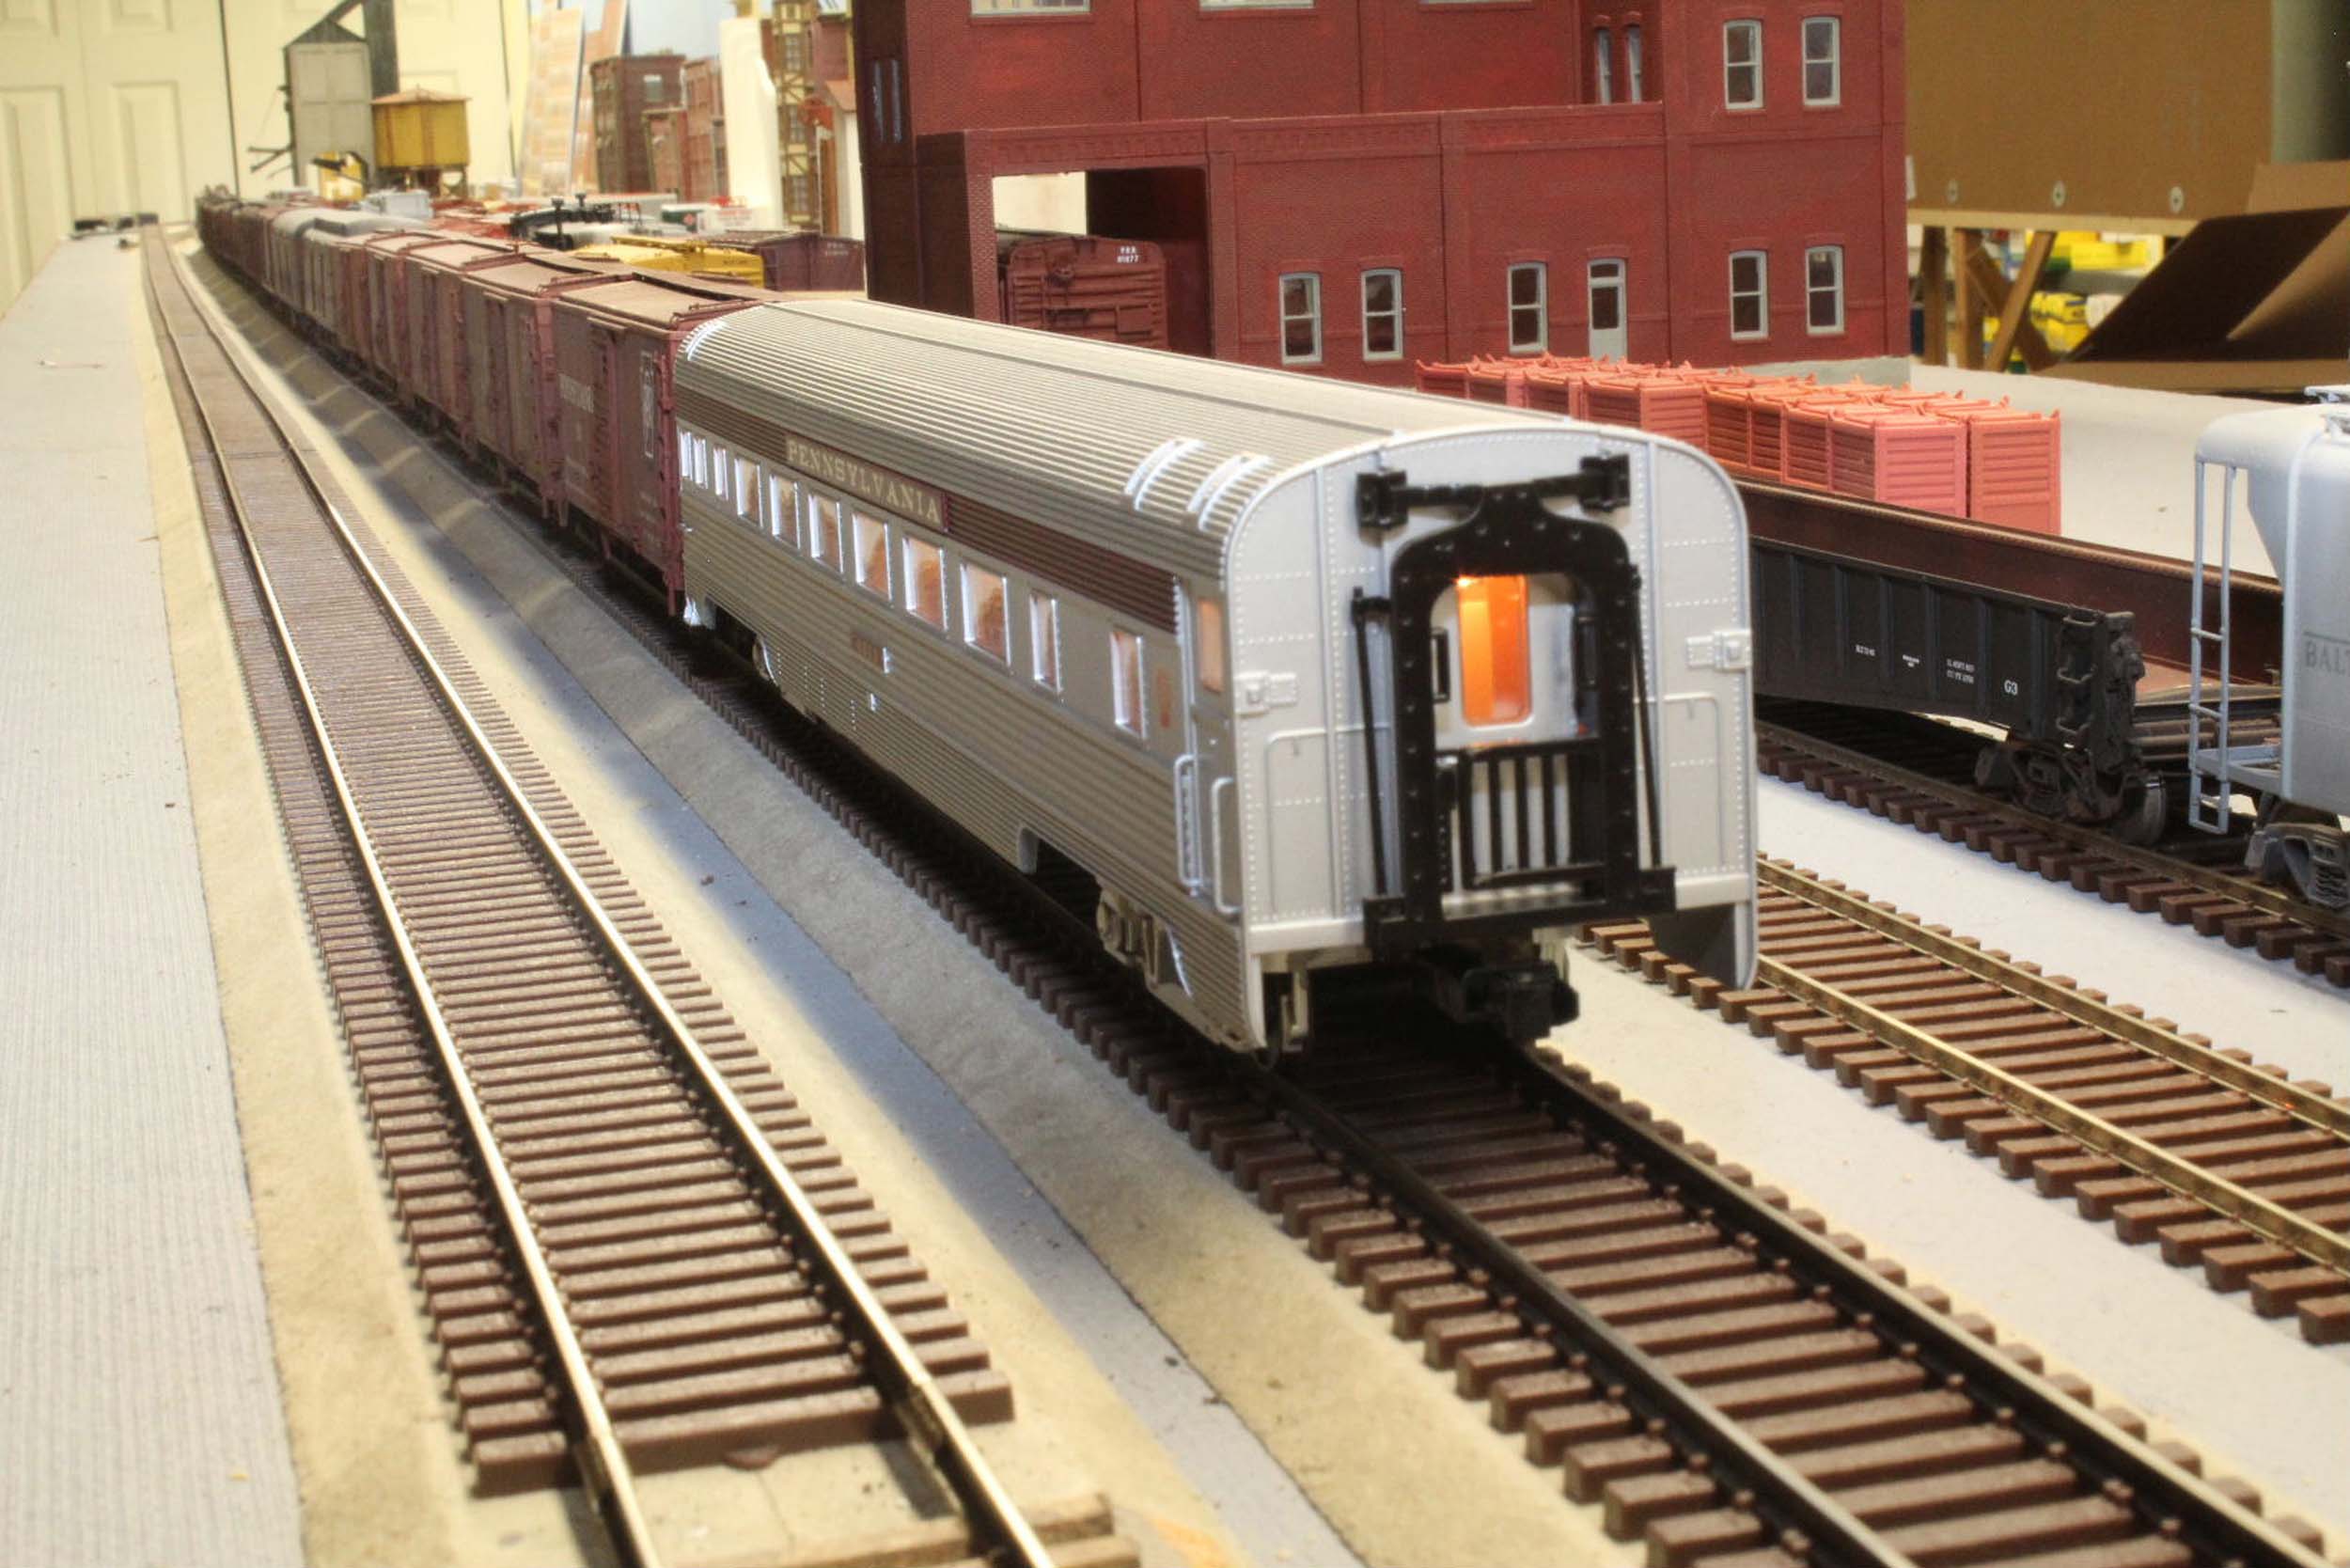
7-13-14
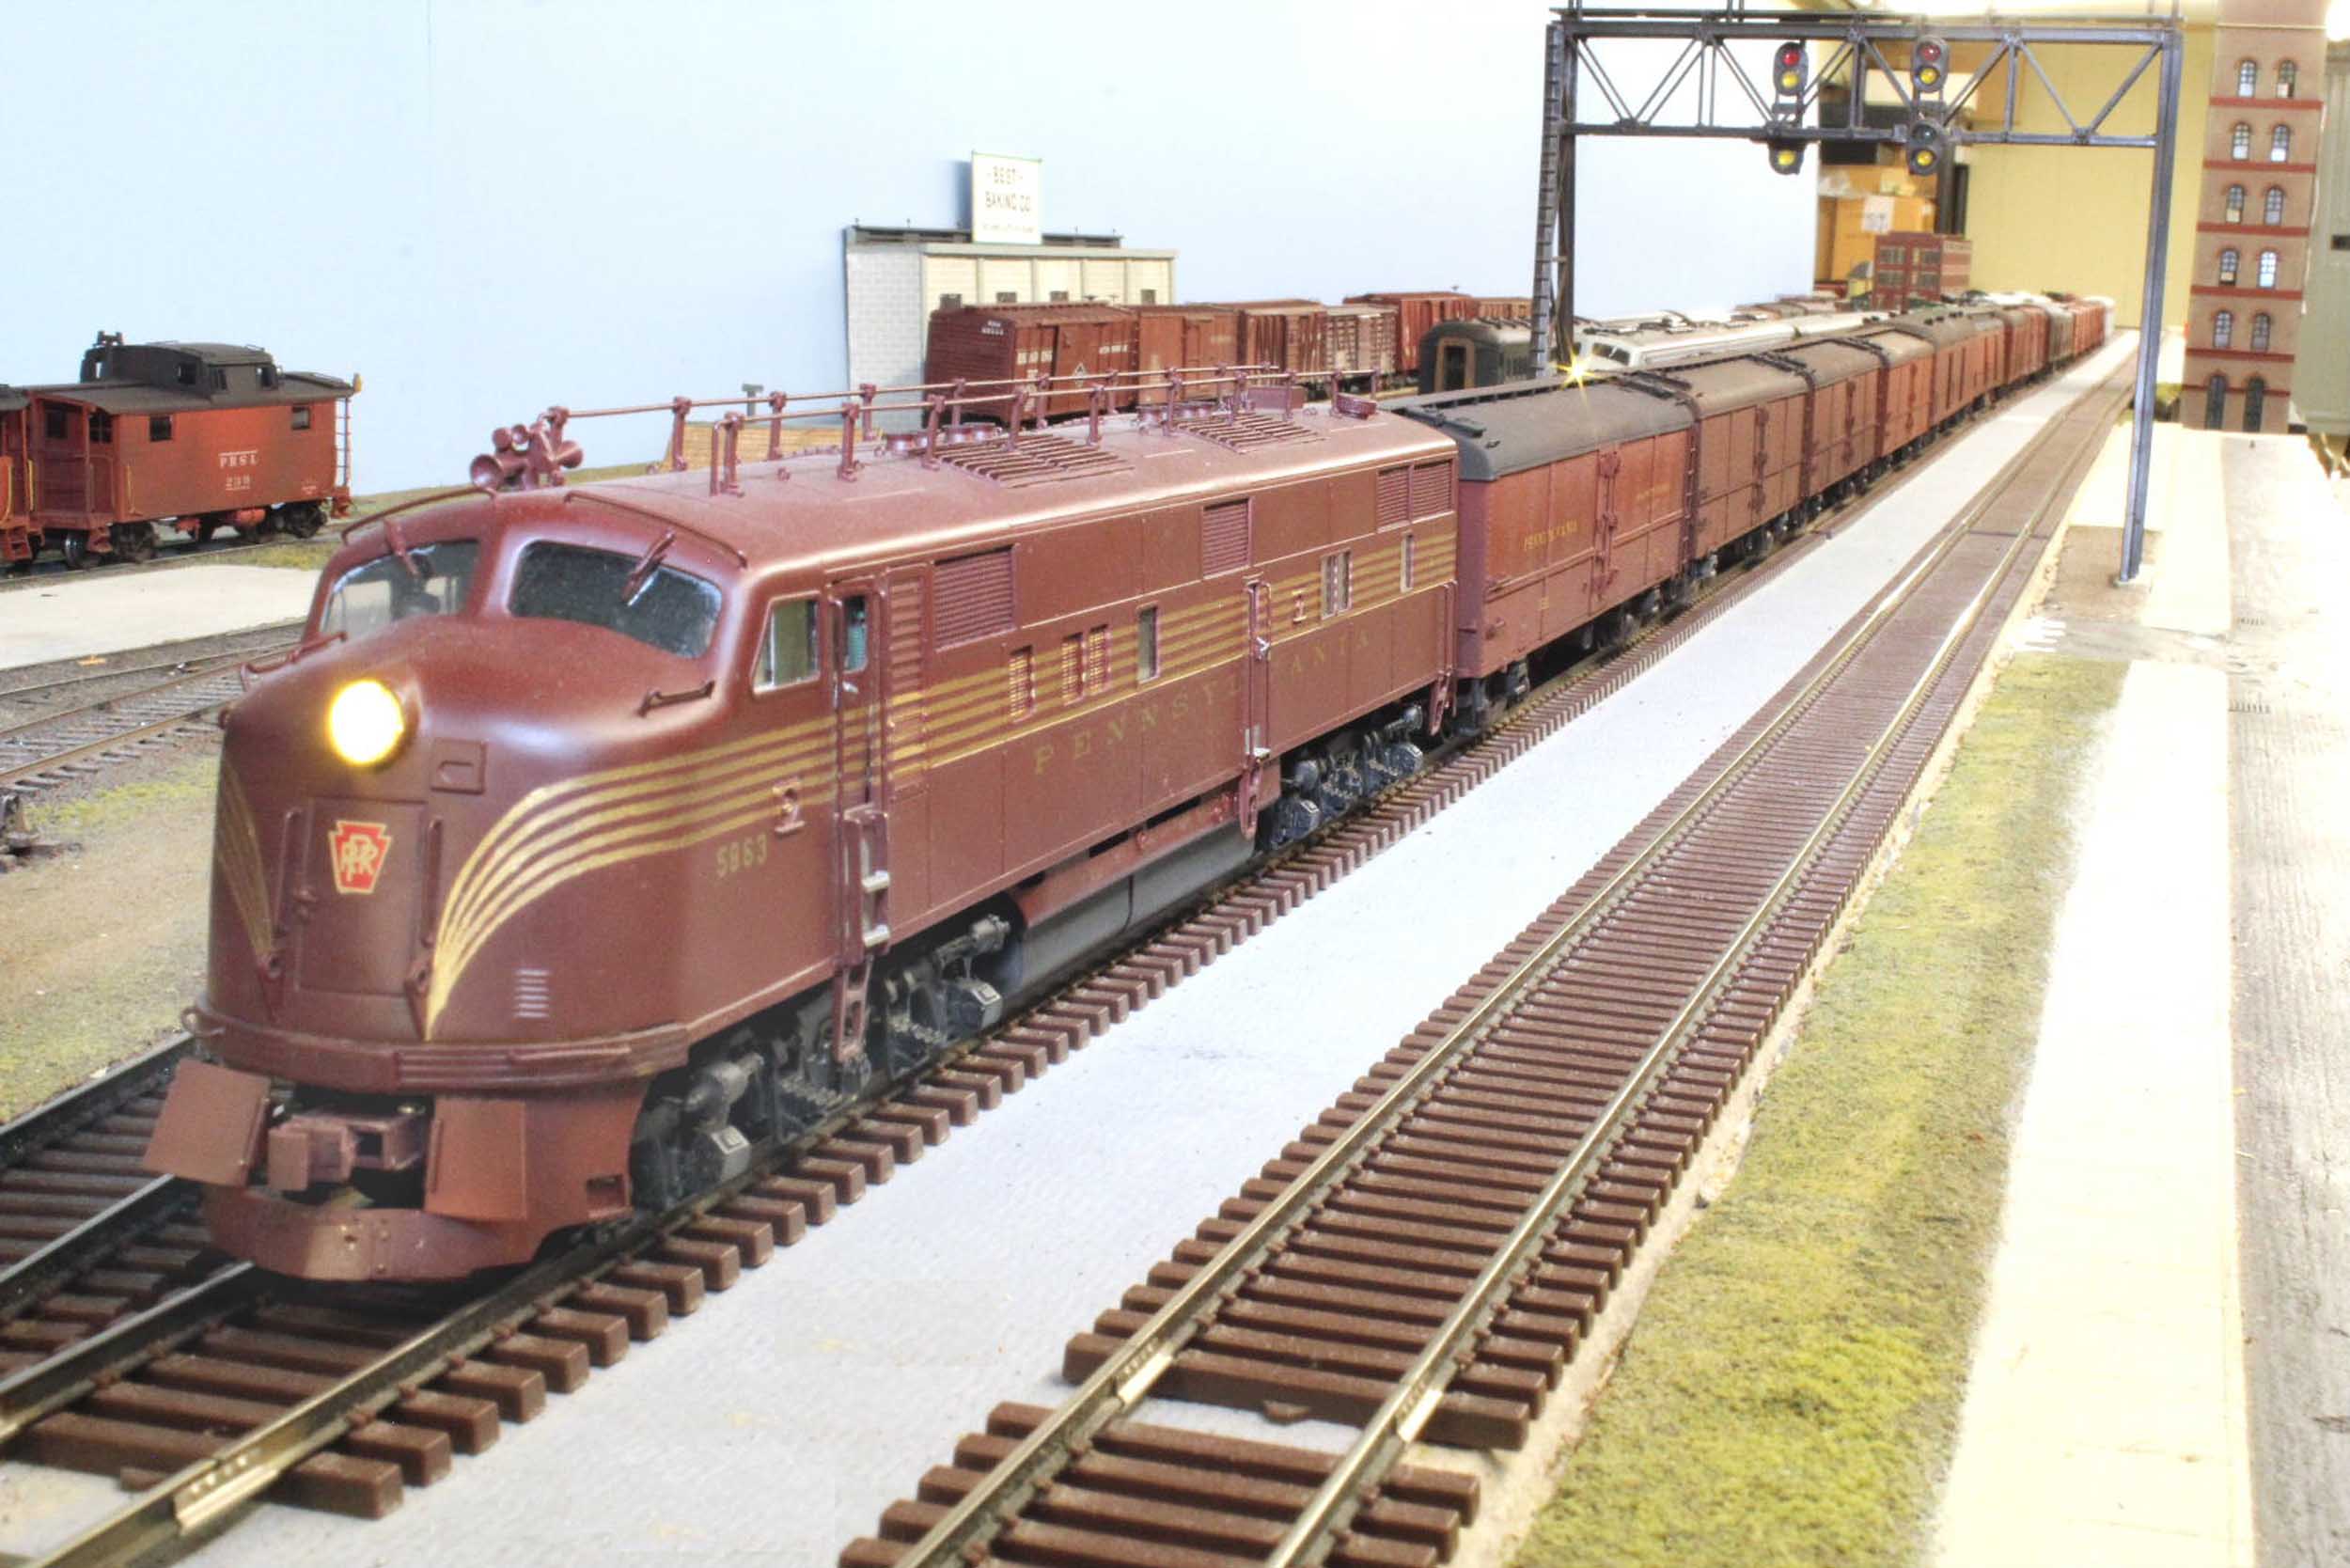
Mail
& Express Train
Since I got a much wanted and long awaited set of PRR head end
car decal sets made I have been painting and redoing my passenger rolling
stock. Some cars painted about 10 years ago got stripped. Some cars got traded
away for unpainted models. Some were not painted and are getting painted now!
Plus you can see that I am painting cars in various colors including – oxide
red! All previous passenger rolling stock was painted Scalecoat Tuscan right
out of the bottle.
This is a really quick n easy photo shoot as the newly painted
head end cars are starting to come together nicely. Every now and then the
camera works and I get good photos. Only a few used a tripod. I liked them so
on the page they go!
In the train (15 cars) is a single Overland E7a, Southwind R50b,
B60, B60b, a scratchbuilt X42, Pennsy S Models REA X29 and a American Models
plastic car as a rider coach. The coach will be replaced with a P70 as soon as
they are done.

Updated
11-30-20
All
photos and content © Lanes Trains 2005-2021