|
|
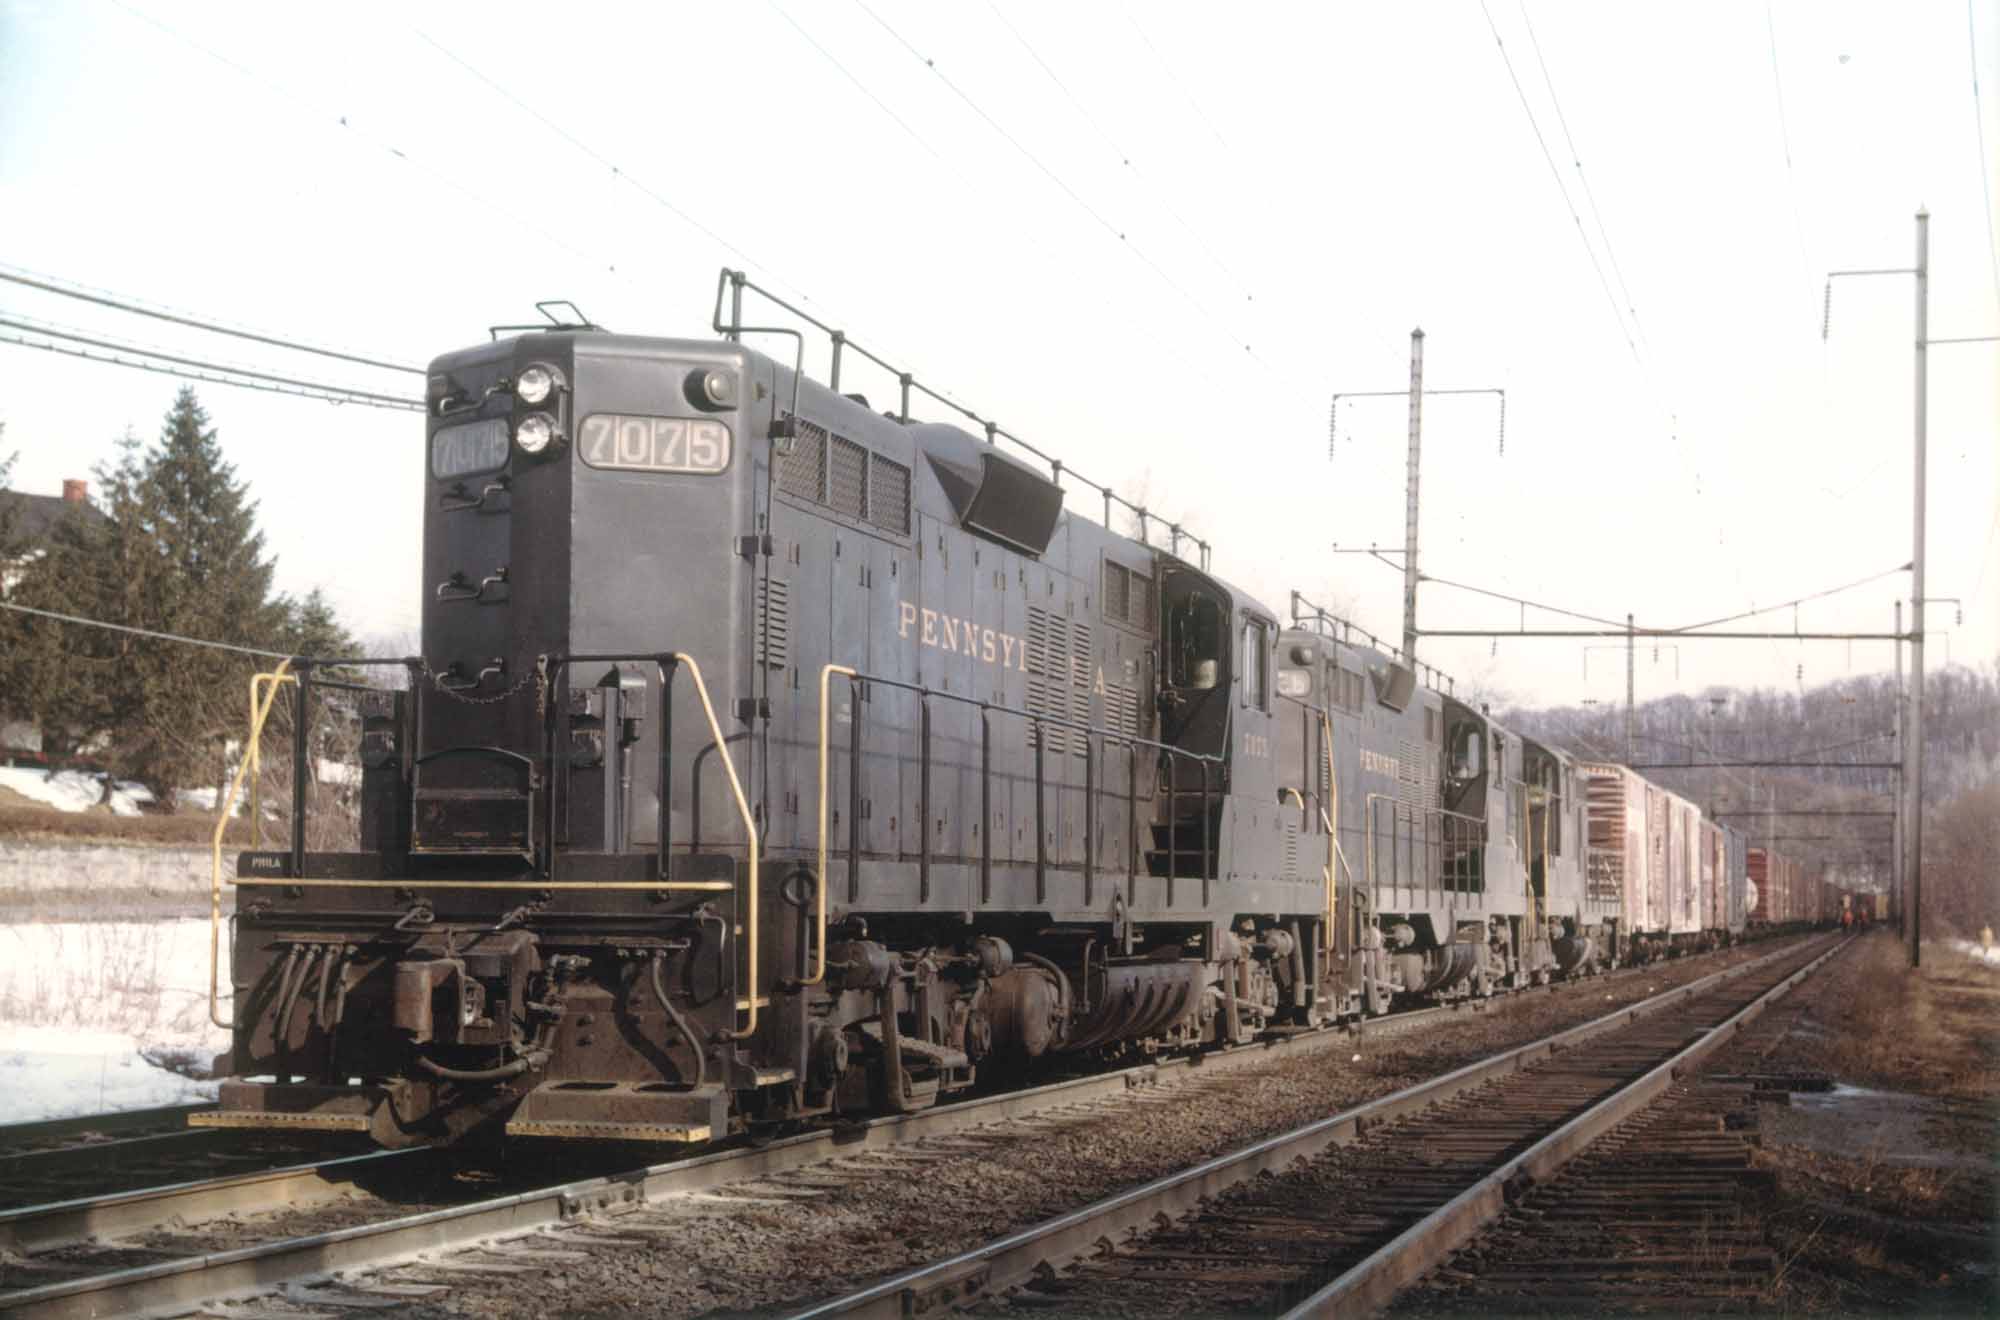
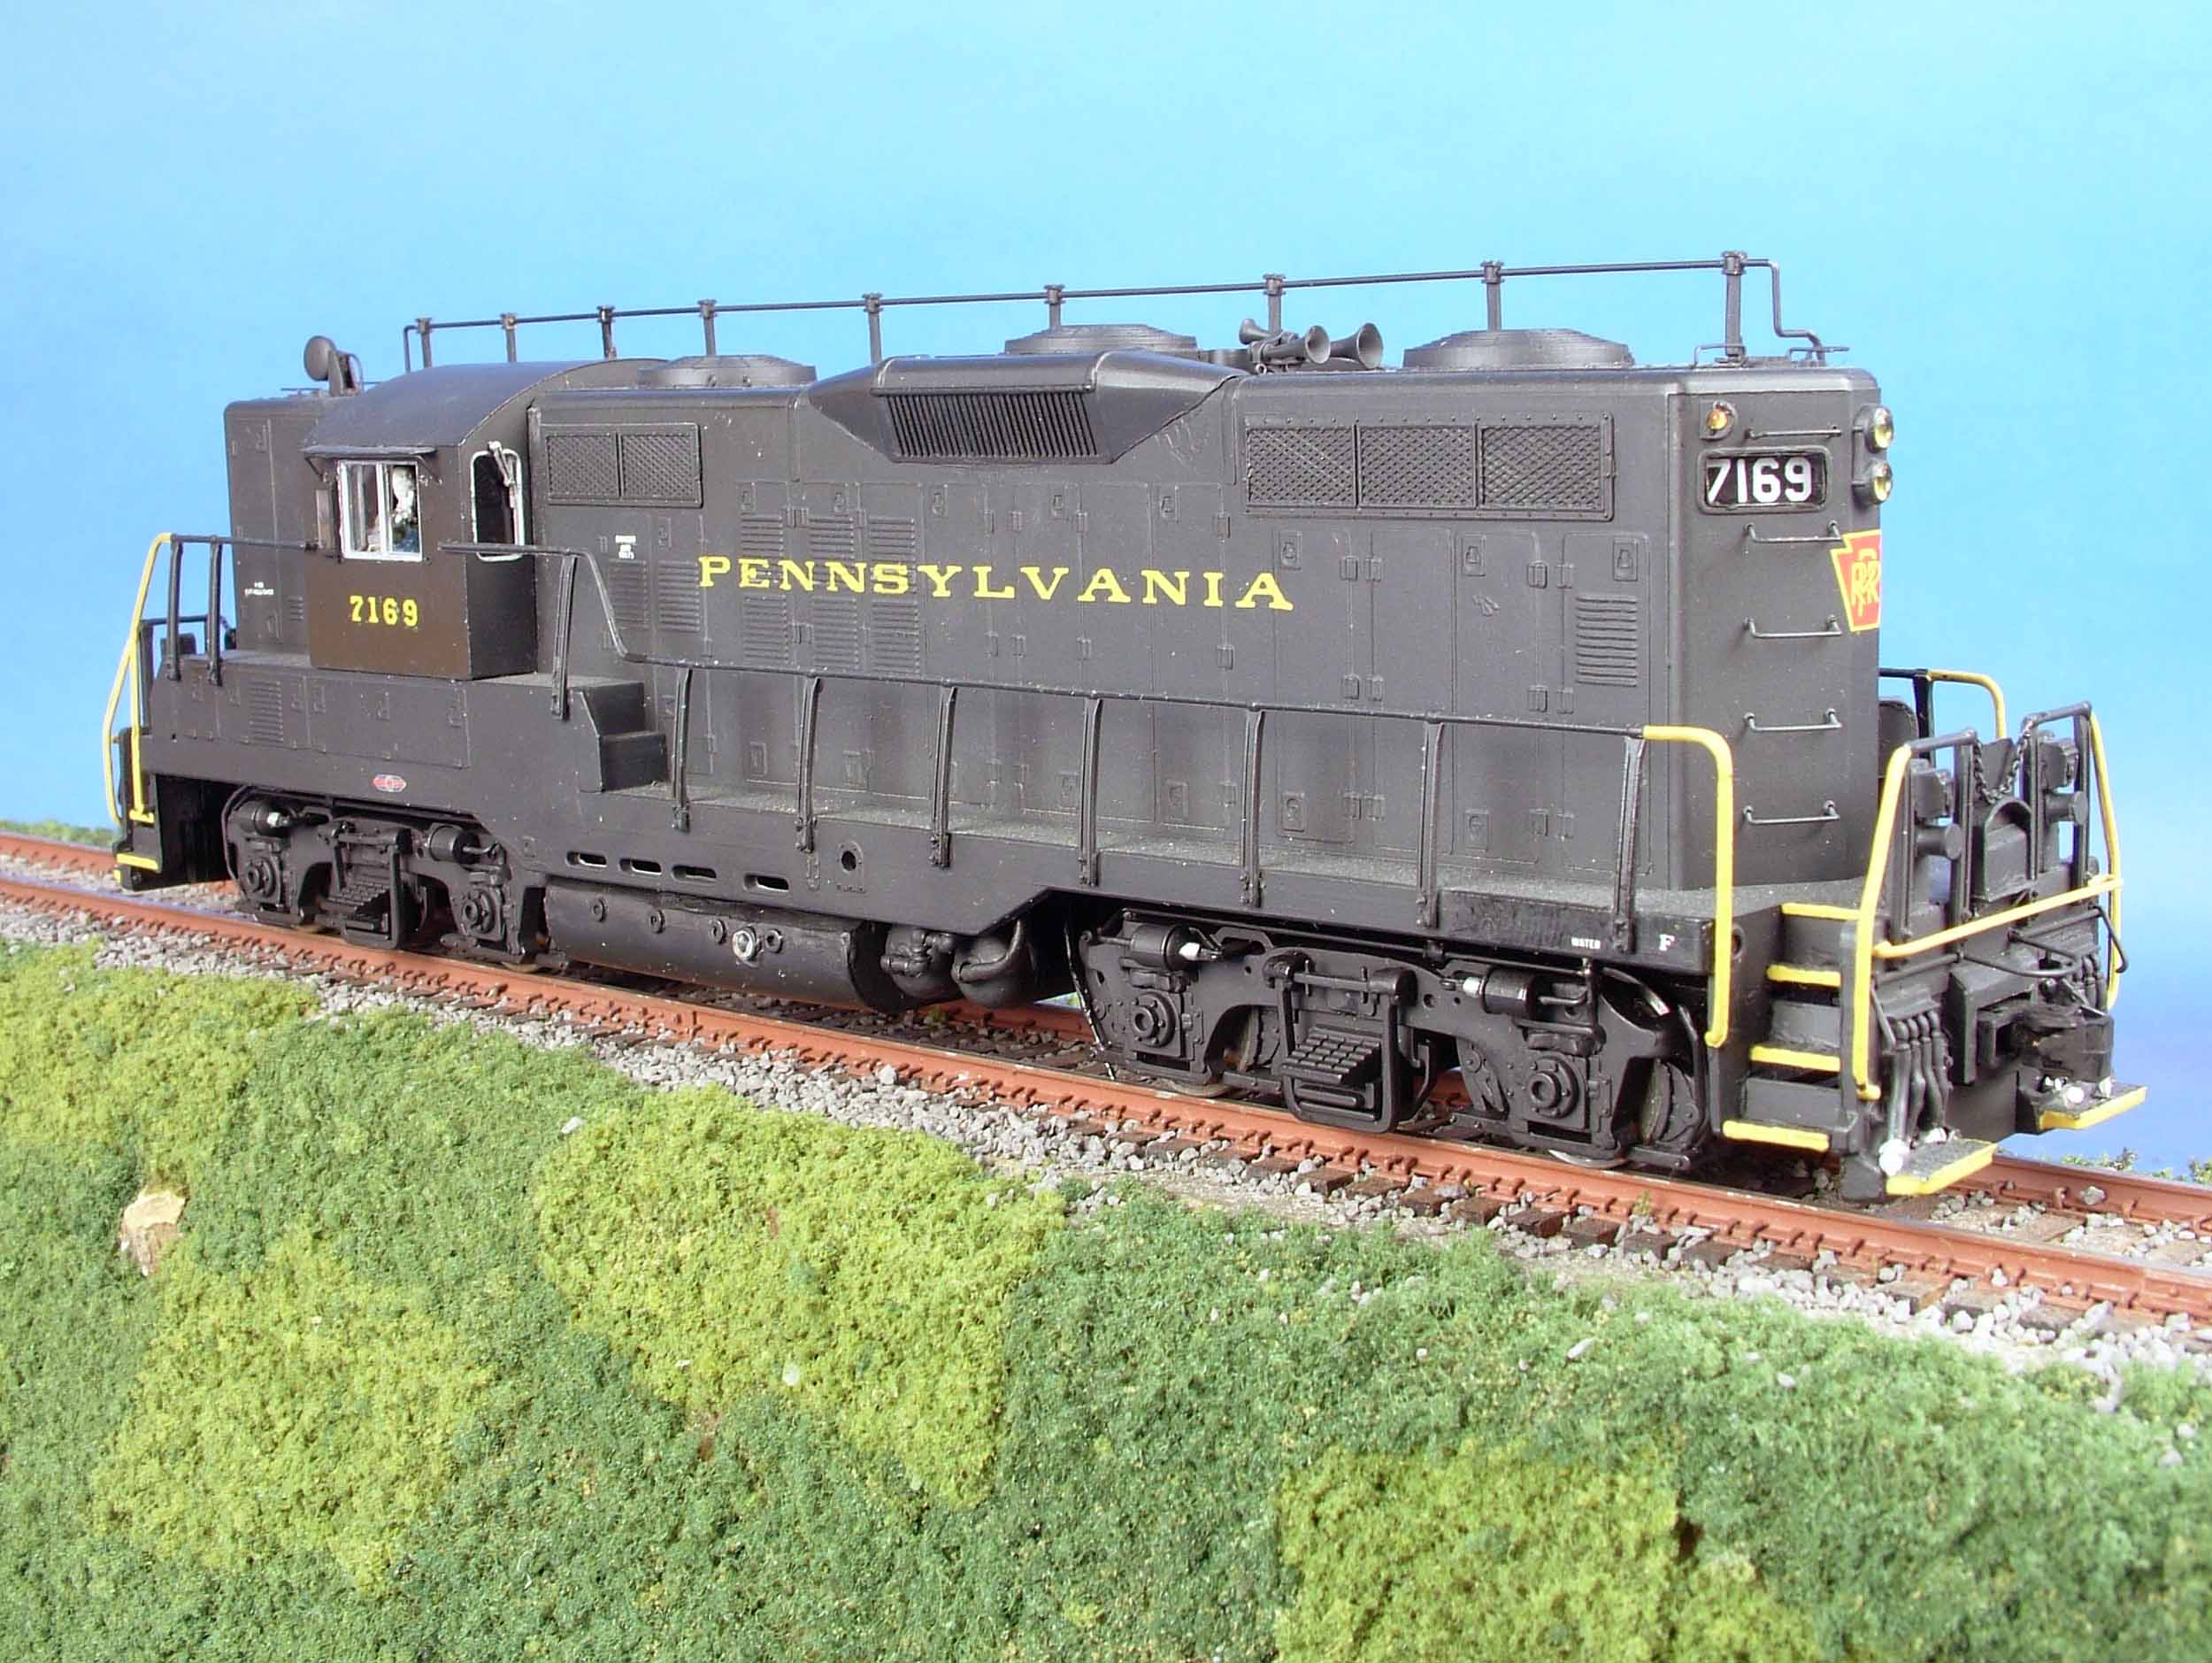
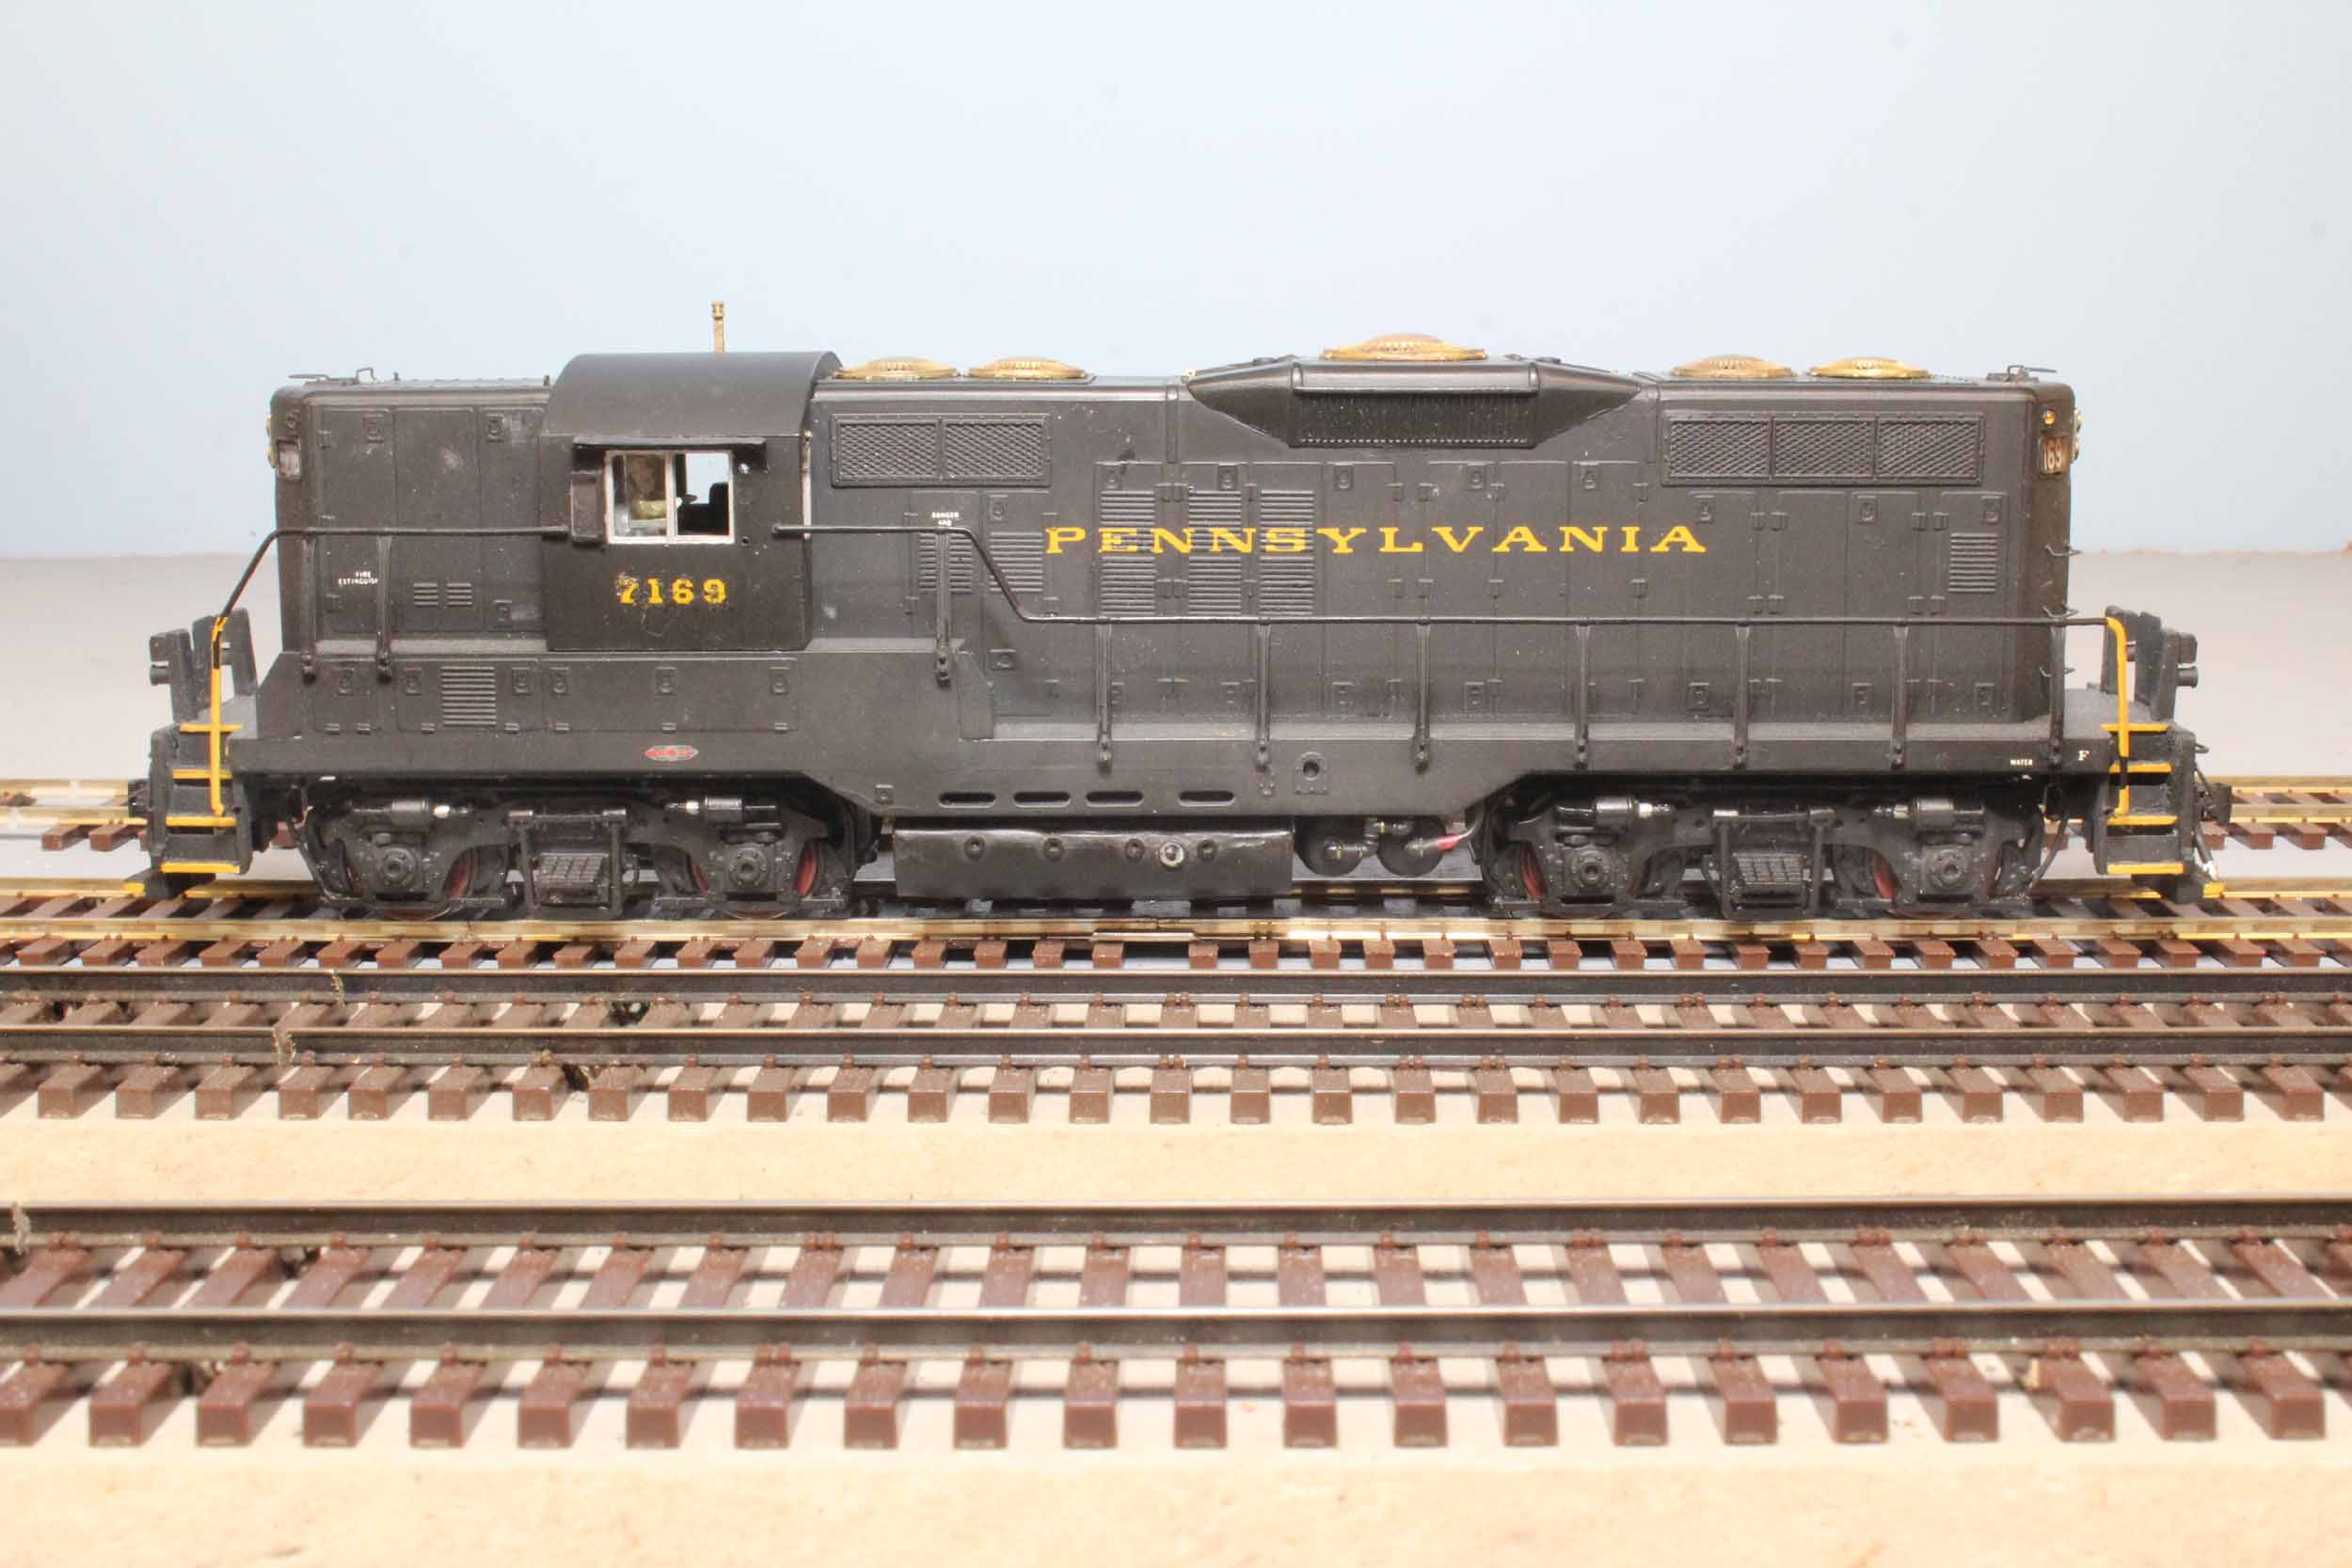
This loco started life as an American Models GP9 plastic model. This was my first ever extensive modeling project. It started as a painted PRR model. I was in HO, until about 1987 not really “modeling” but doing some painting of Athearn and other cheap cars when I moved to S Scale. My first train photos I ever bought were of a GP9. I wanted to “improve it”, by adding antennas and a few other things but turned into a full on redo. GP9 7169 was first presented at the 1990 NMRA/NASG convention contest in Pittsburgh PA. I took first prize in Diesel Amateur category, scoring more points than the Craftsman class. Pretty much every aspect of the model was changed and detailed for PRR. Since I was new to S, and very new to modeling especially at this level. I was not aware of what was made in the way of S Scale brass details. Of course this was before the internet with instant access to anything. Besides the antenna stanchions, I MADE EVERYTHING. I made the cab seats, the MU stands, coupler cut levers, ratcheting brake lever, open grated steps and pilot platforms – all based on what I saw from the few photos I had. I made slide in inserts to fill in the coupler opening on the pilots. When I went to the Pittsburgh NMRA Convention, I met Jettie Padgett for the first time who showed me the table full of Southwind (now BTS) brass detail parts already available, many of the same detail I made. It was a funny introduction into S Scale modeling. |
|


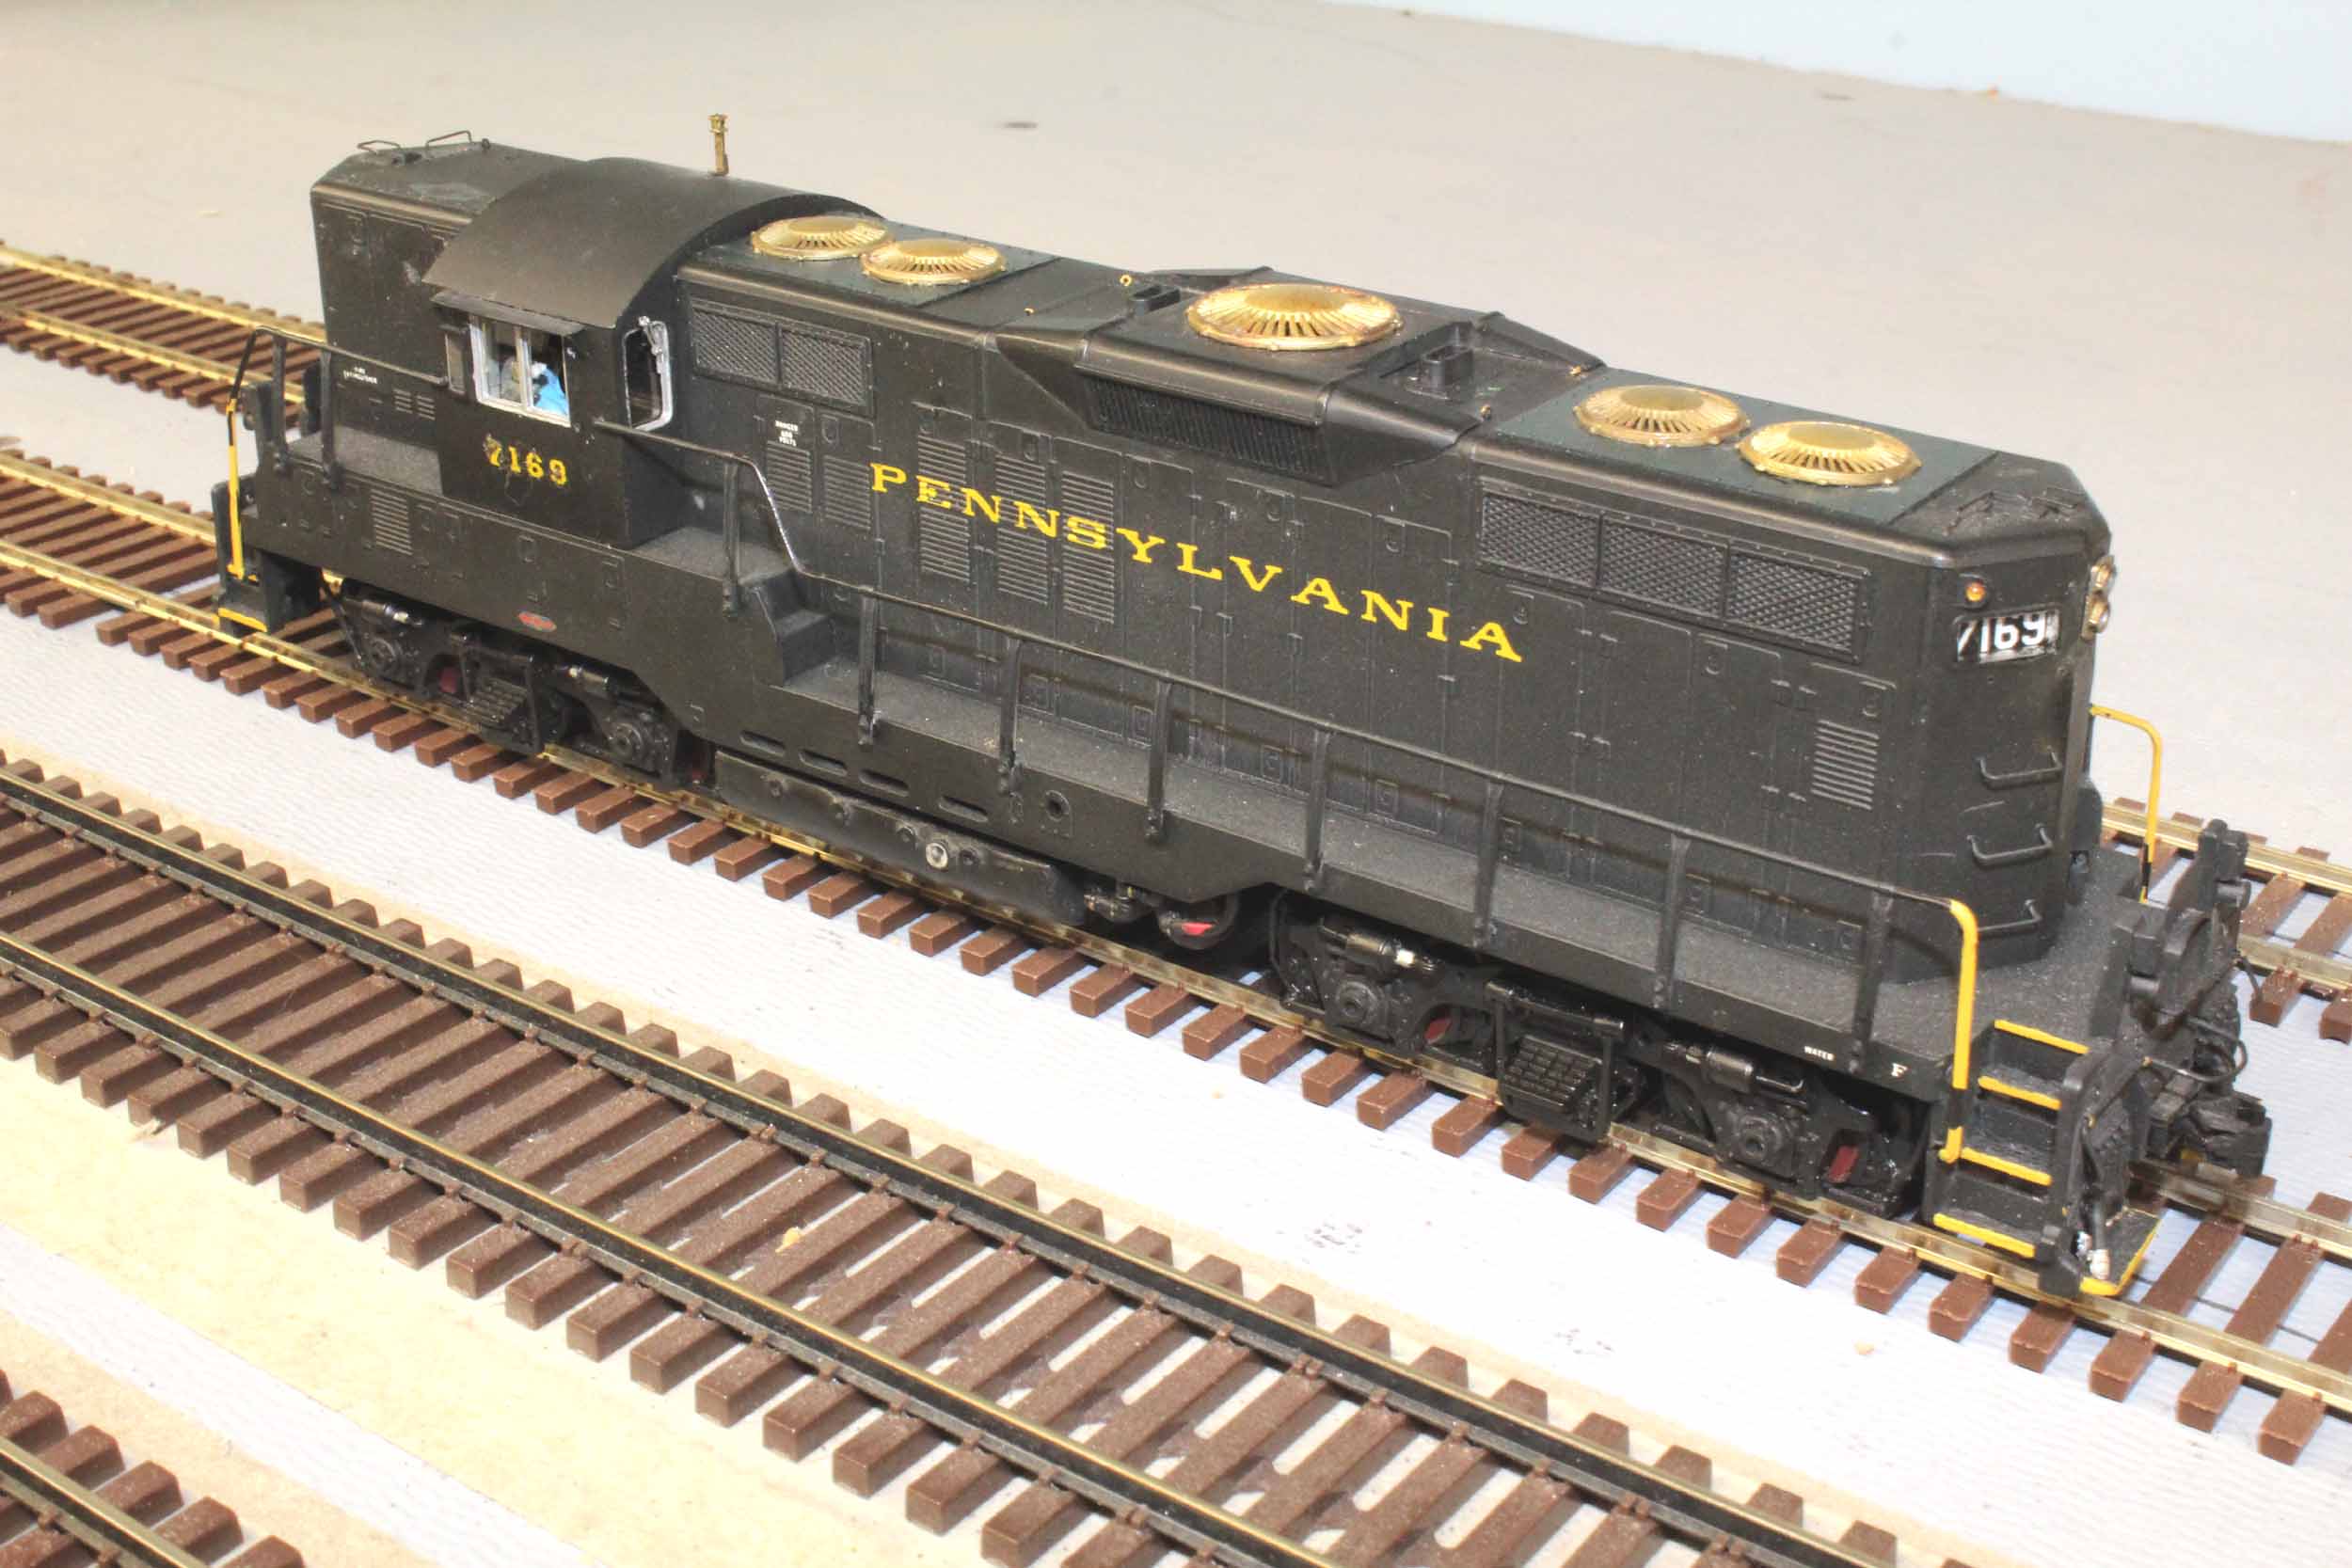
My GP9 was built as 7169 in 1989
This
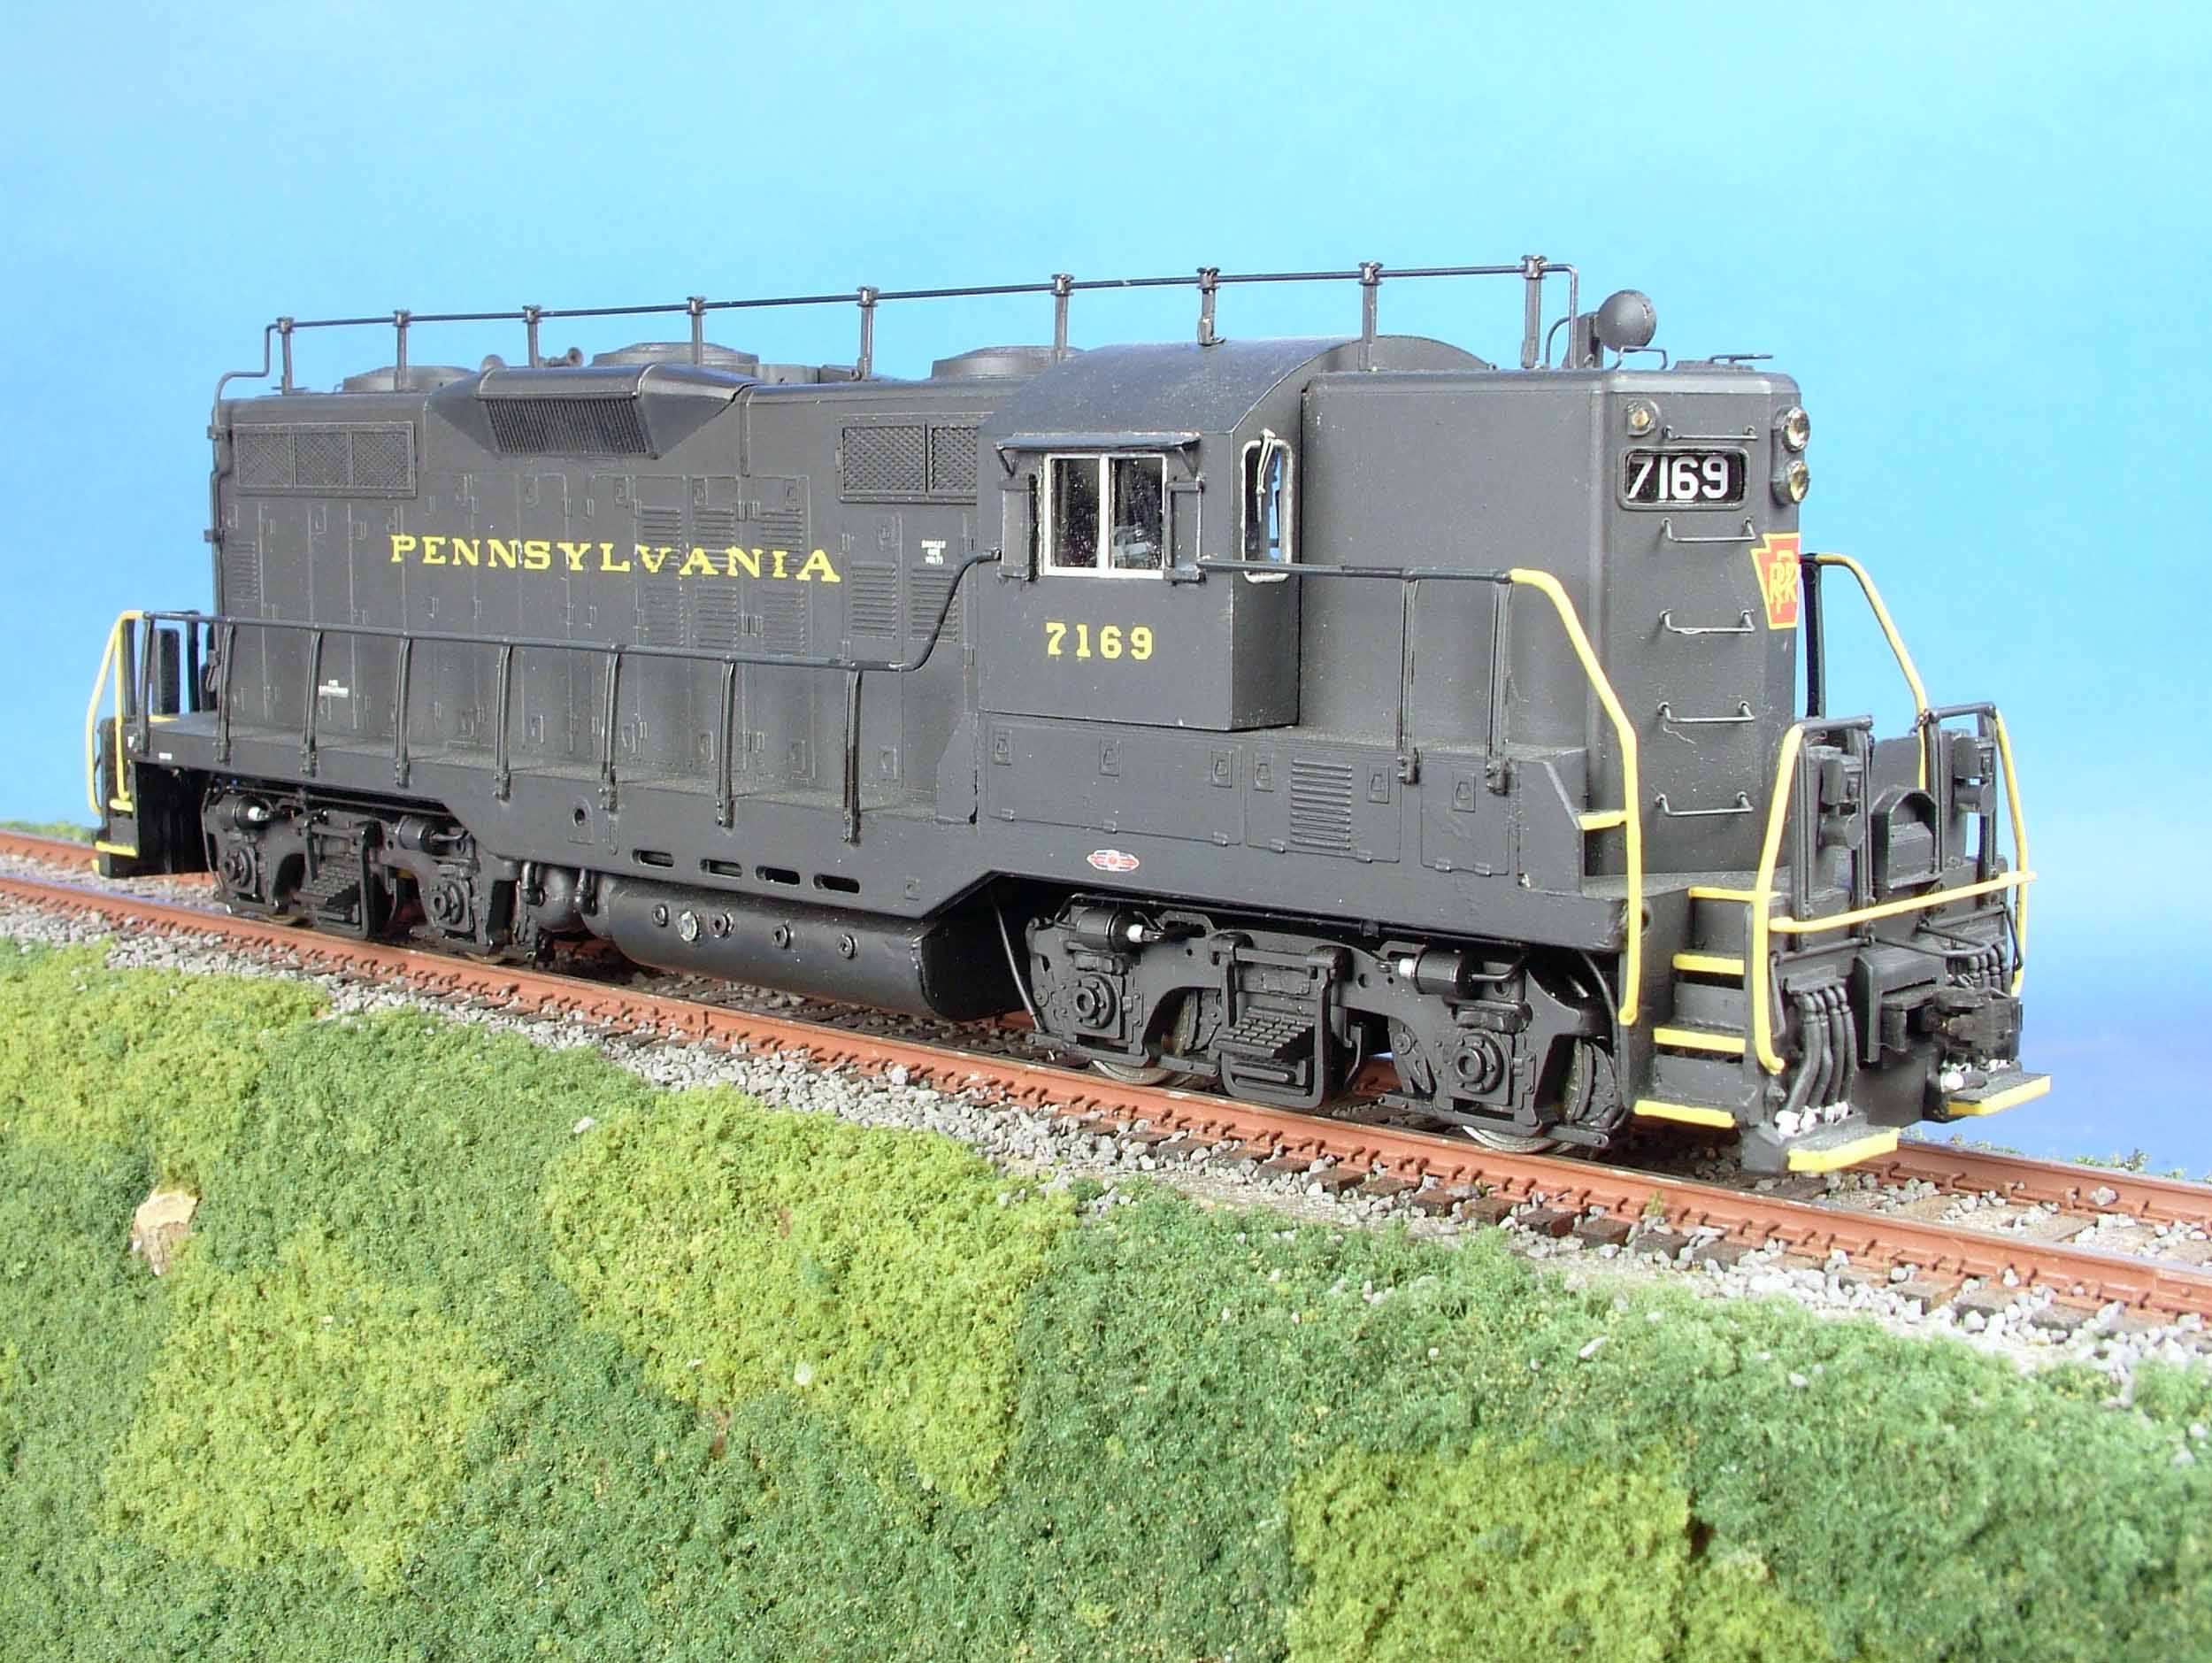
is how 7169 looked as I built it in 1989, before I started the rework in 2006. There
unfortunately are no before photos of the loco as bought. The photos were taken
12-2-05. It was still running on DC only at that point. Besides the outside
detailing there was a very elaborate lighting system of fiber optics and Dallee
constant lighting units trying to light corner markers and numberboards. I was
trying to light everything with one light bulb and constant lighting unit. This
system all pretty much failed! You could not see anything lit beyond the headlights.
I
was otherwise very proud of the outcome, but for many years I was afraid to run
it for fear of something breaking. In 2006 I started to update it with DCC, and
fix a few inaccuracies I unknowingly made in 1989. I wanted the as built
lettering and added the nose Keystones which might have happened once but was
not common.


Just
for a goof on January 17, 2016 I got the GP9 out of the box and gave it a good
look. It was good to see where I left off and what needed to be done. There was
a dual motor only and sound only decoder set up from before the Tsunami was
available. I ripped that all out and did a quick n dirty decoder install so I
could at least see it run. You can see
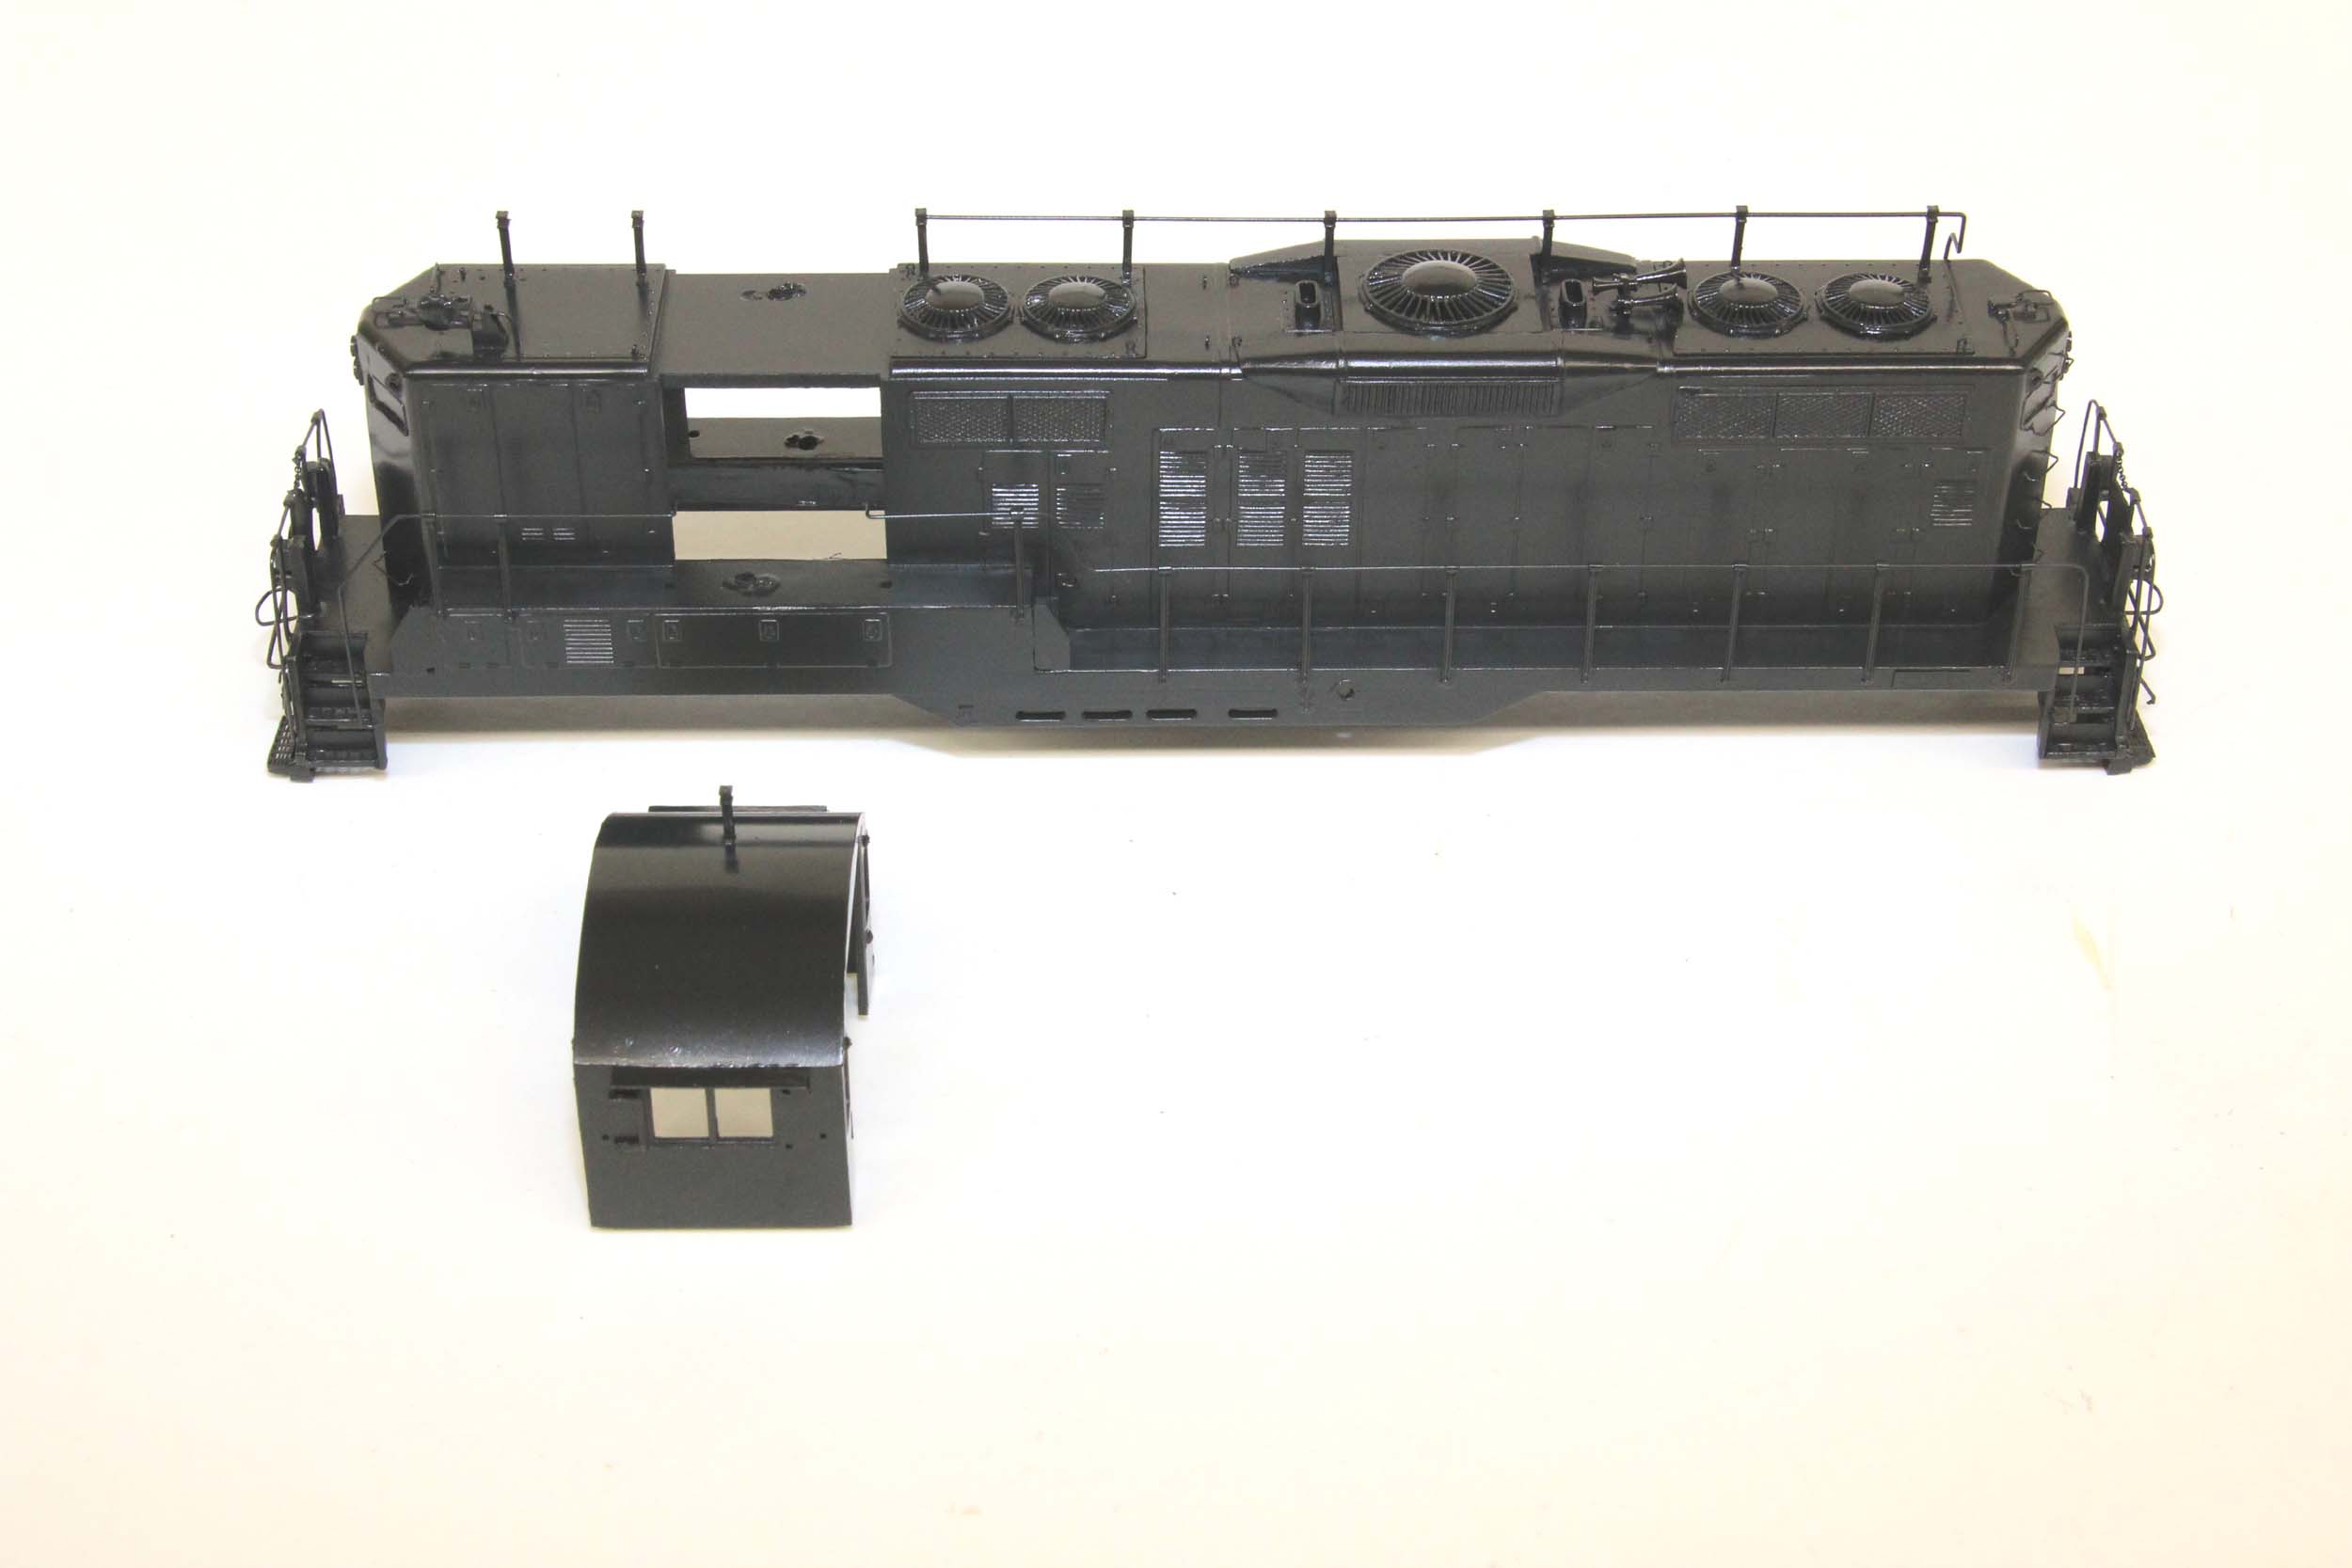
the major correction of the 5 roof fans where I originally had 3 as built. I
worked on it for a while but faded as I often do. Back in the box it went. It
was a concurrent project with my PRR GP7 8553
but stalled, and I finished 8553 by itself 6-10-17
These photos were taken 1-21-16.
Added 2-20-16
These
photos were taken 2-14-16. 1 last run before the big tear down. All of the
original handrails are now removed, but I wanted to highlight how I originally (in
1989) used styrene nut bolt washers drilled through the Delrin handrails and
glued to the body to keep them in place. It worked very well. The handrails
never came off.

January 2018
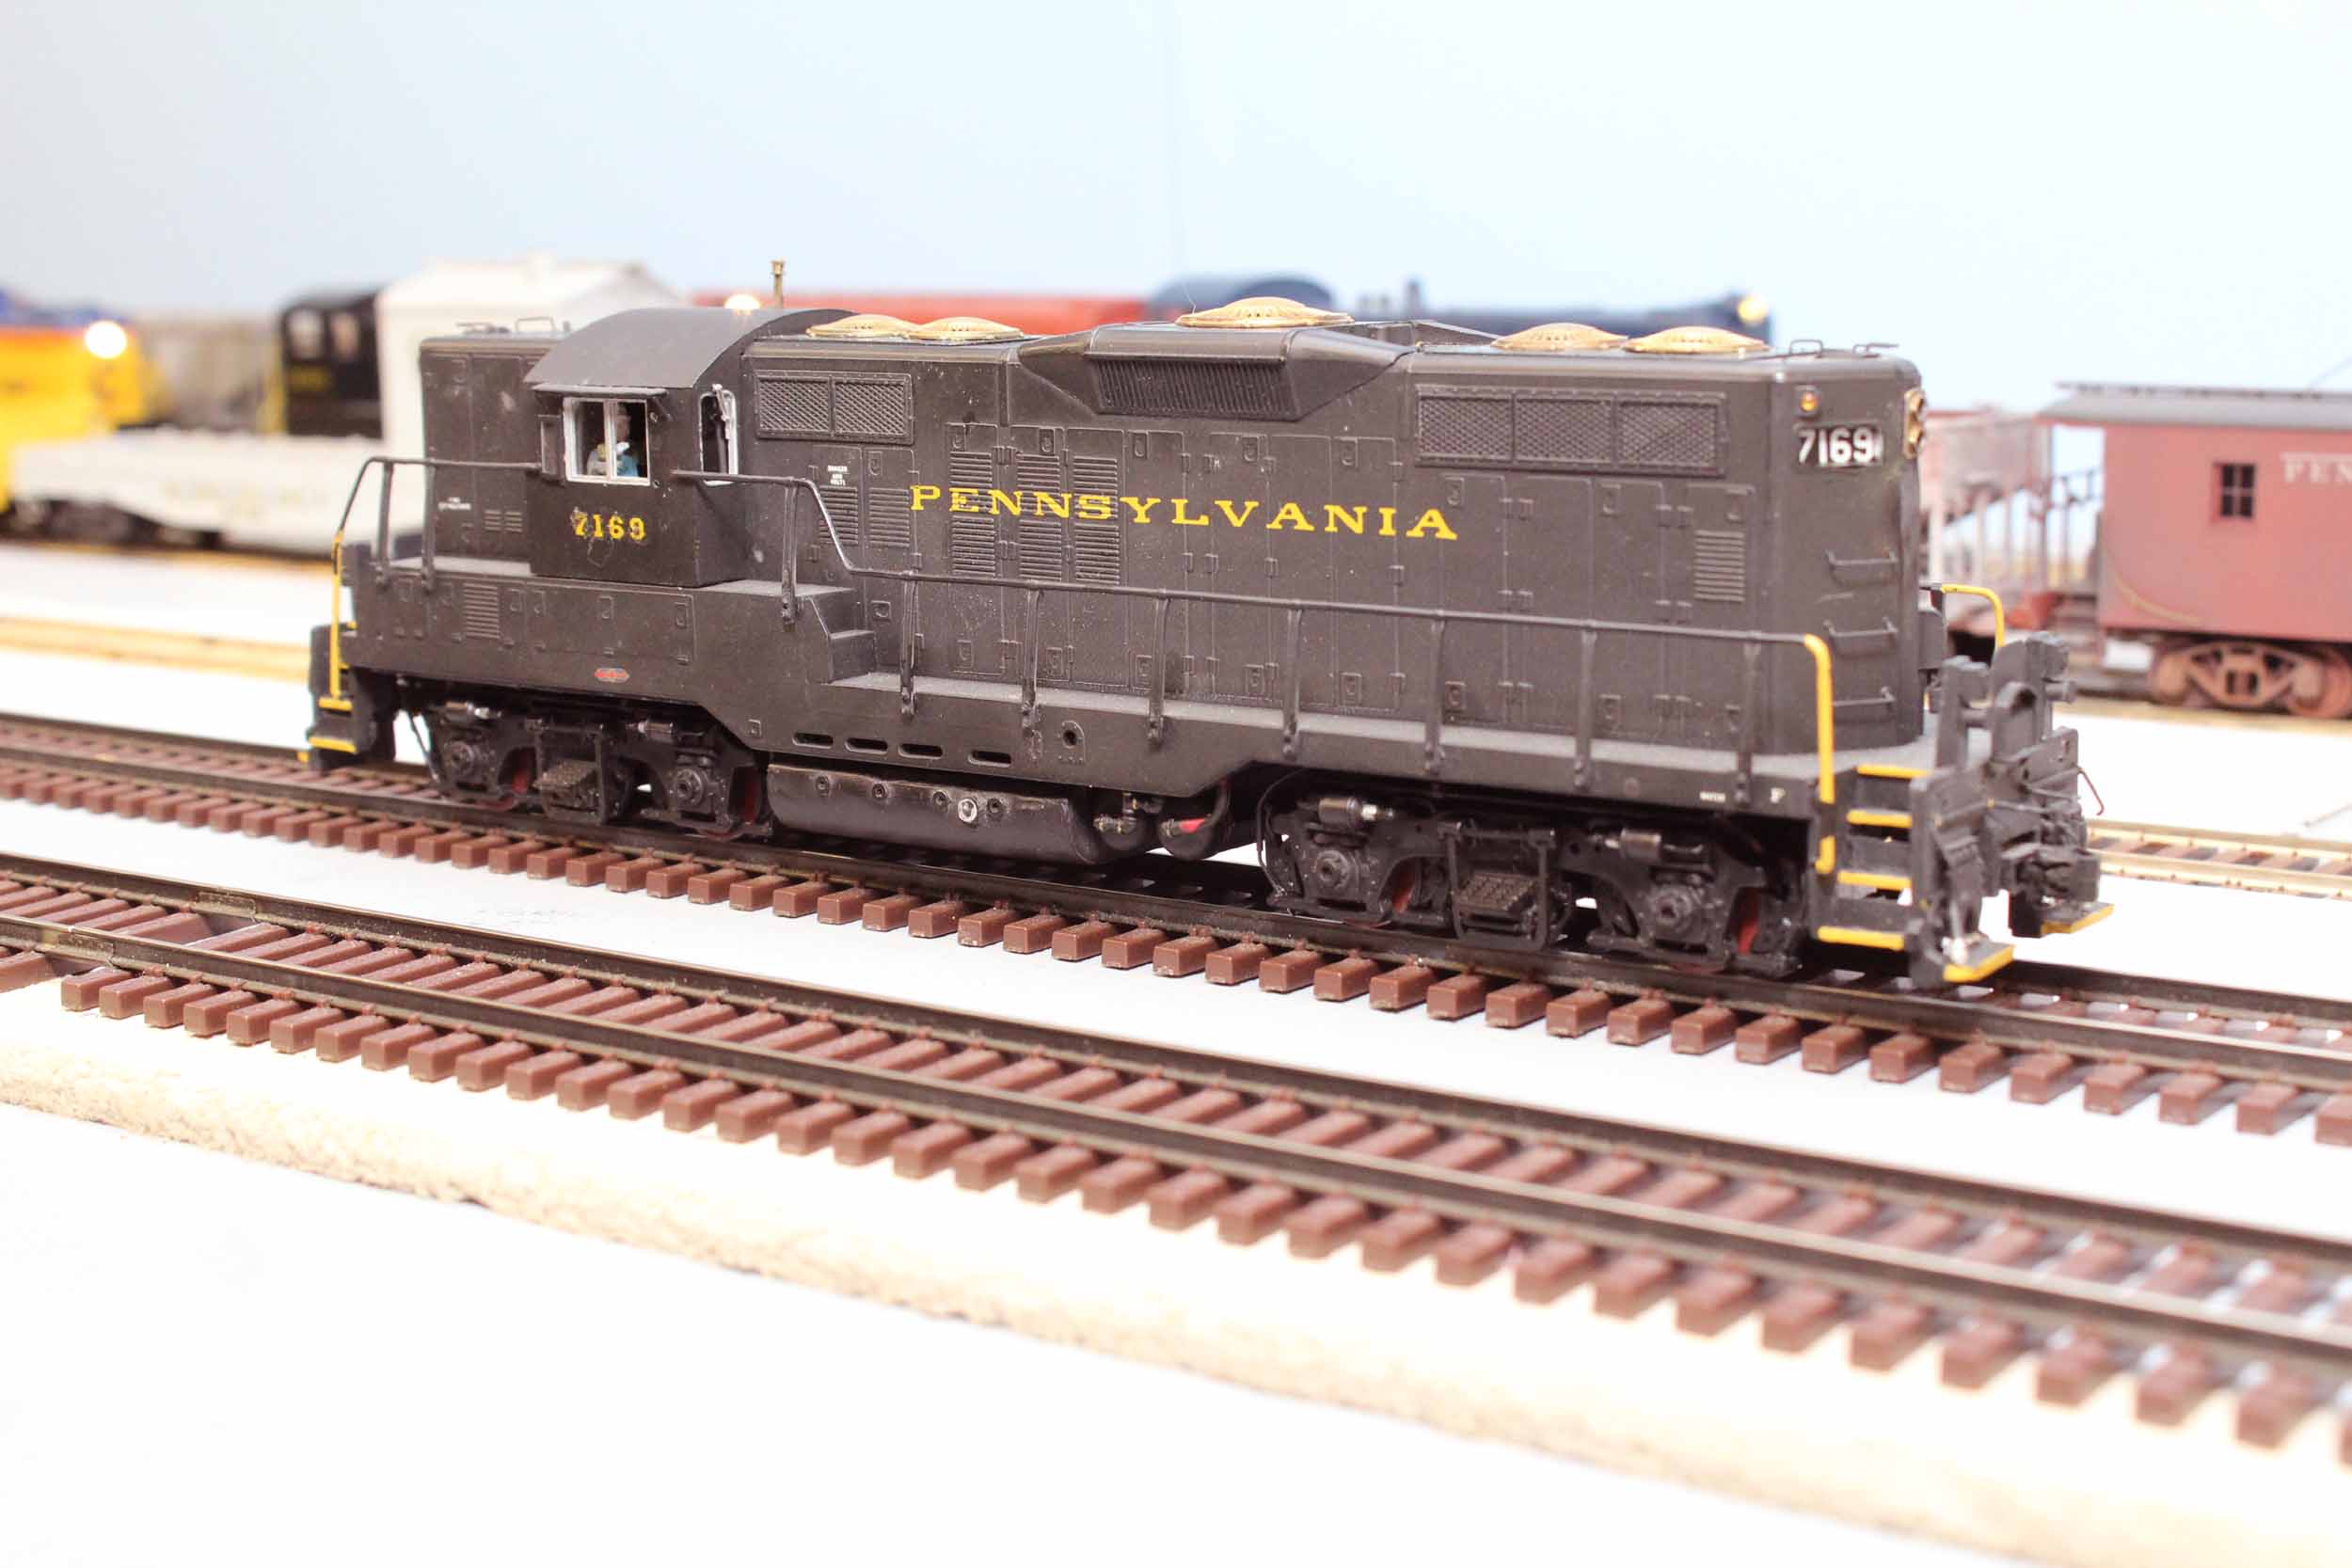
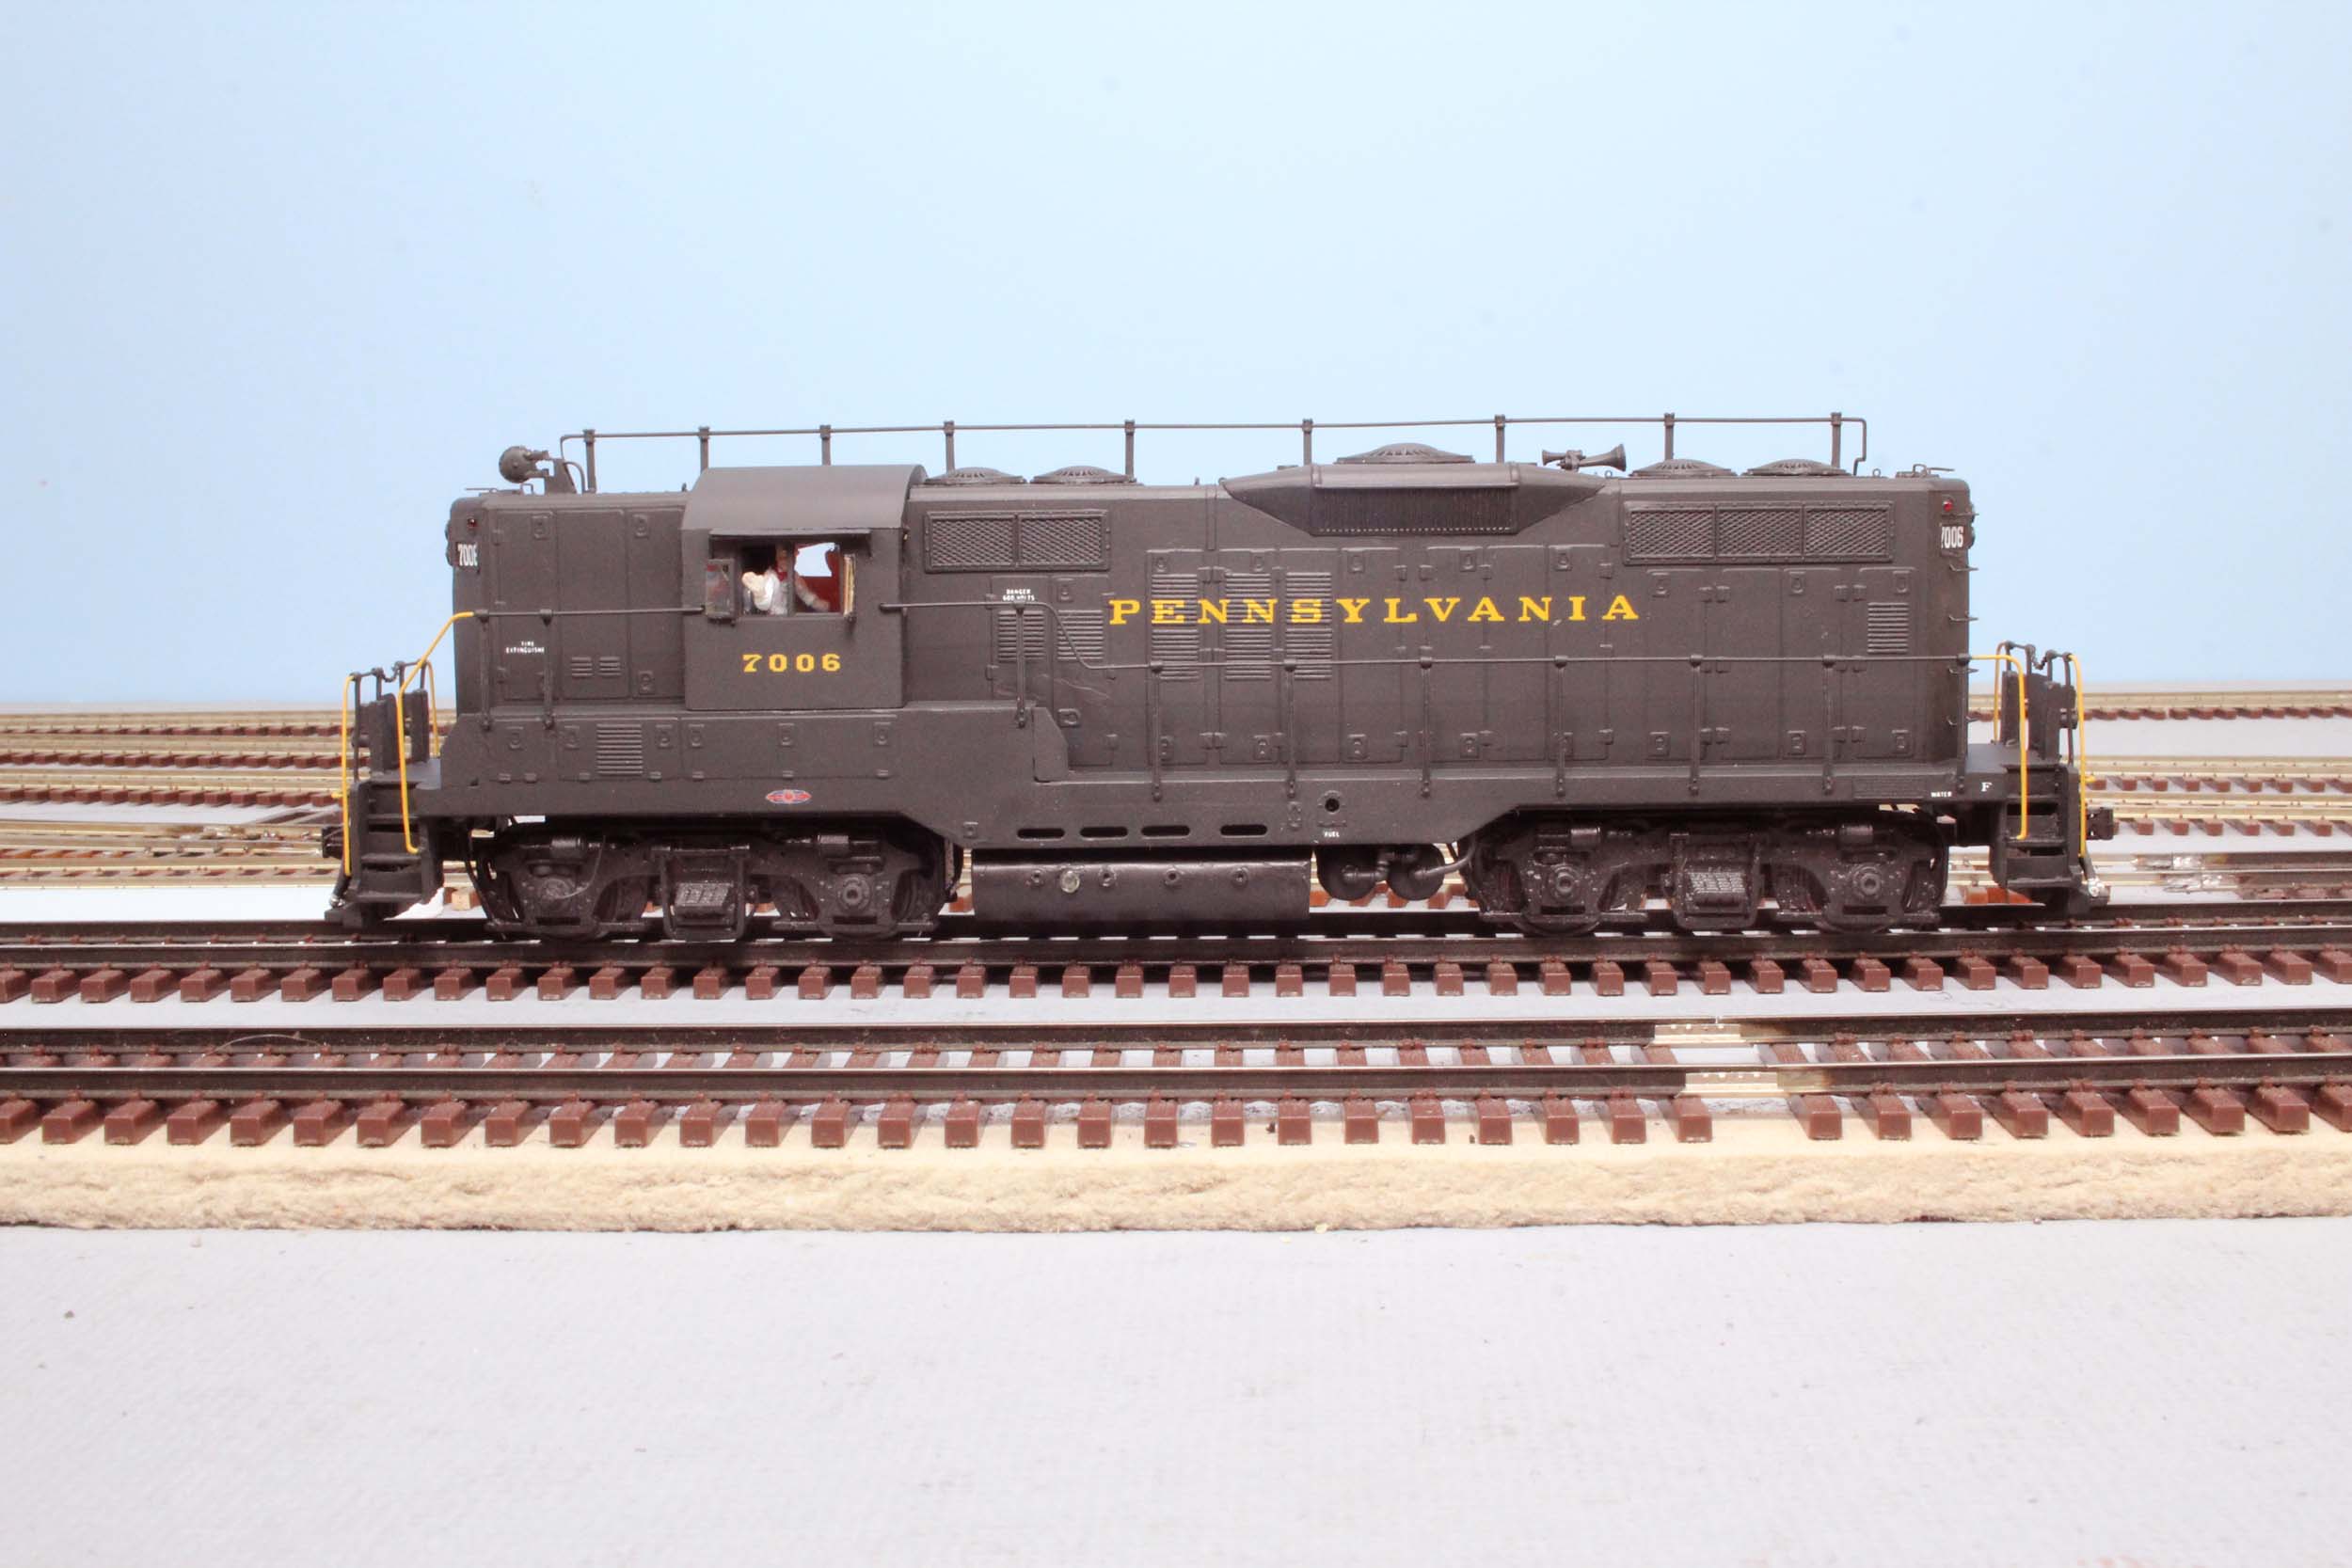
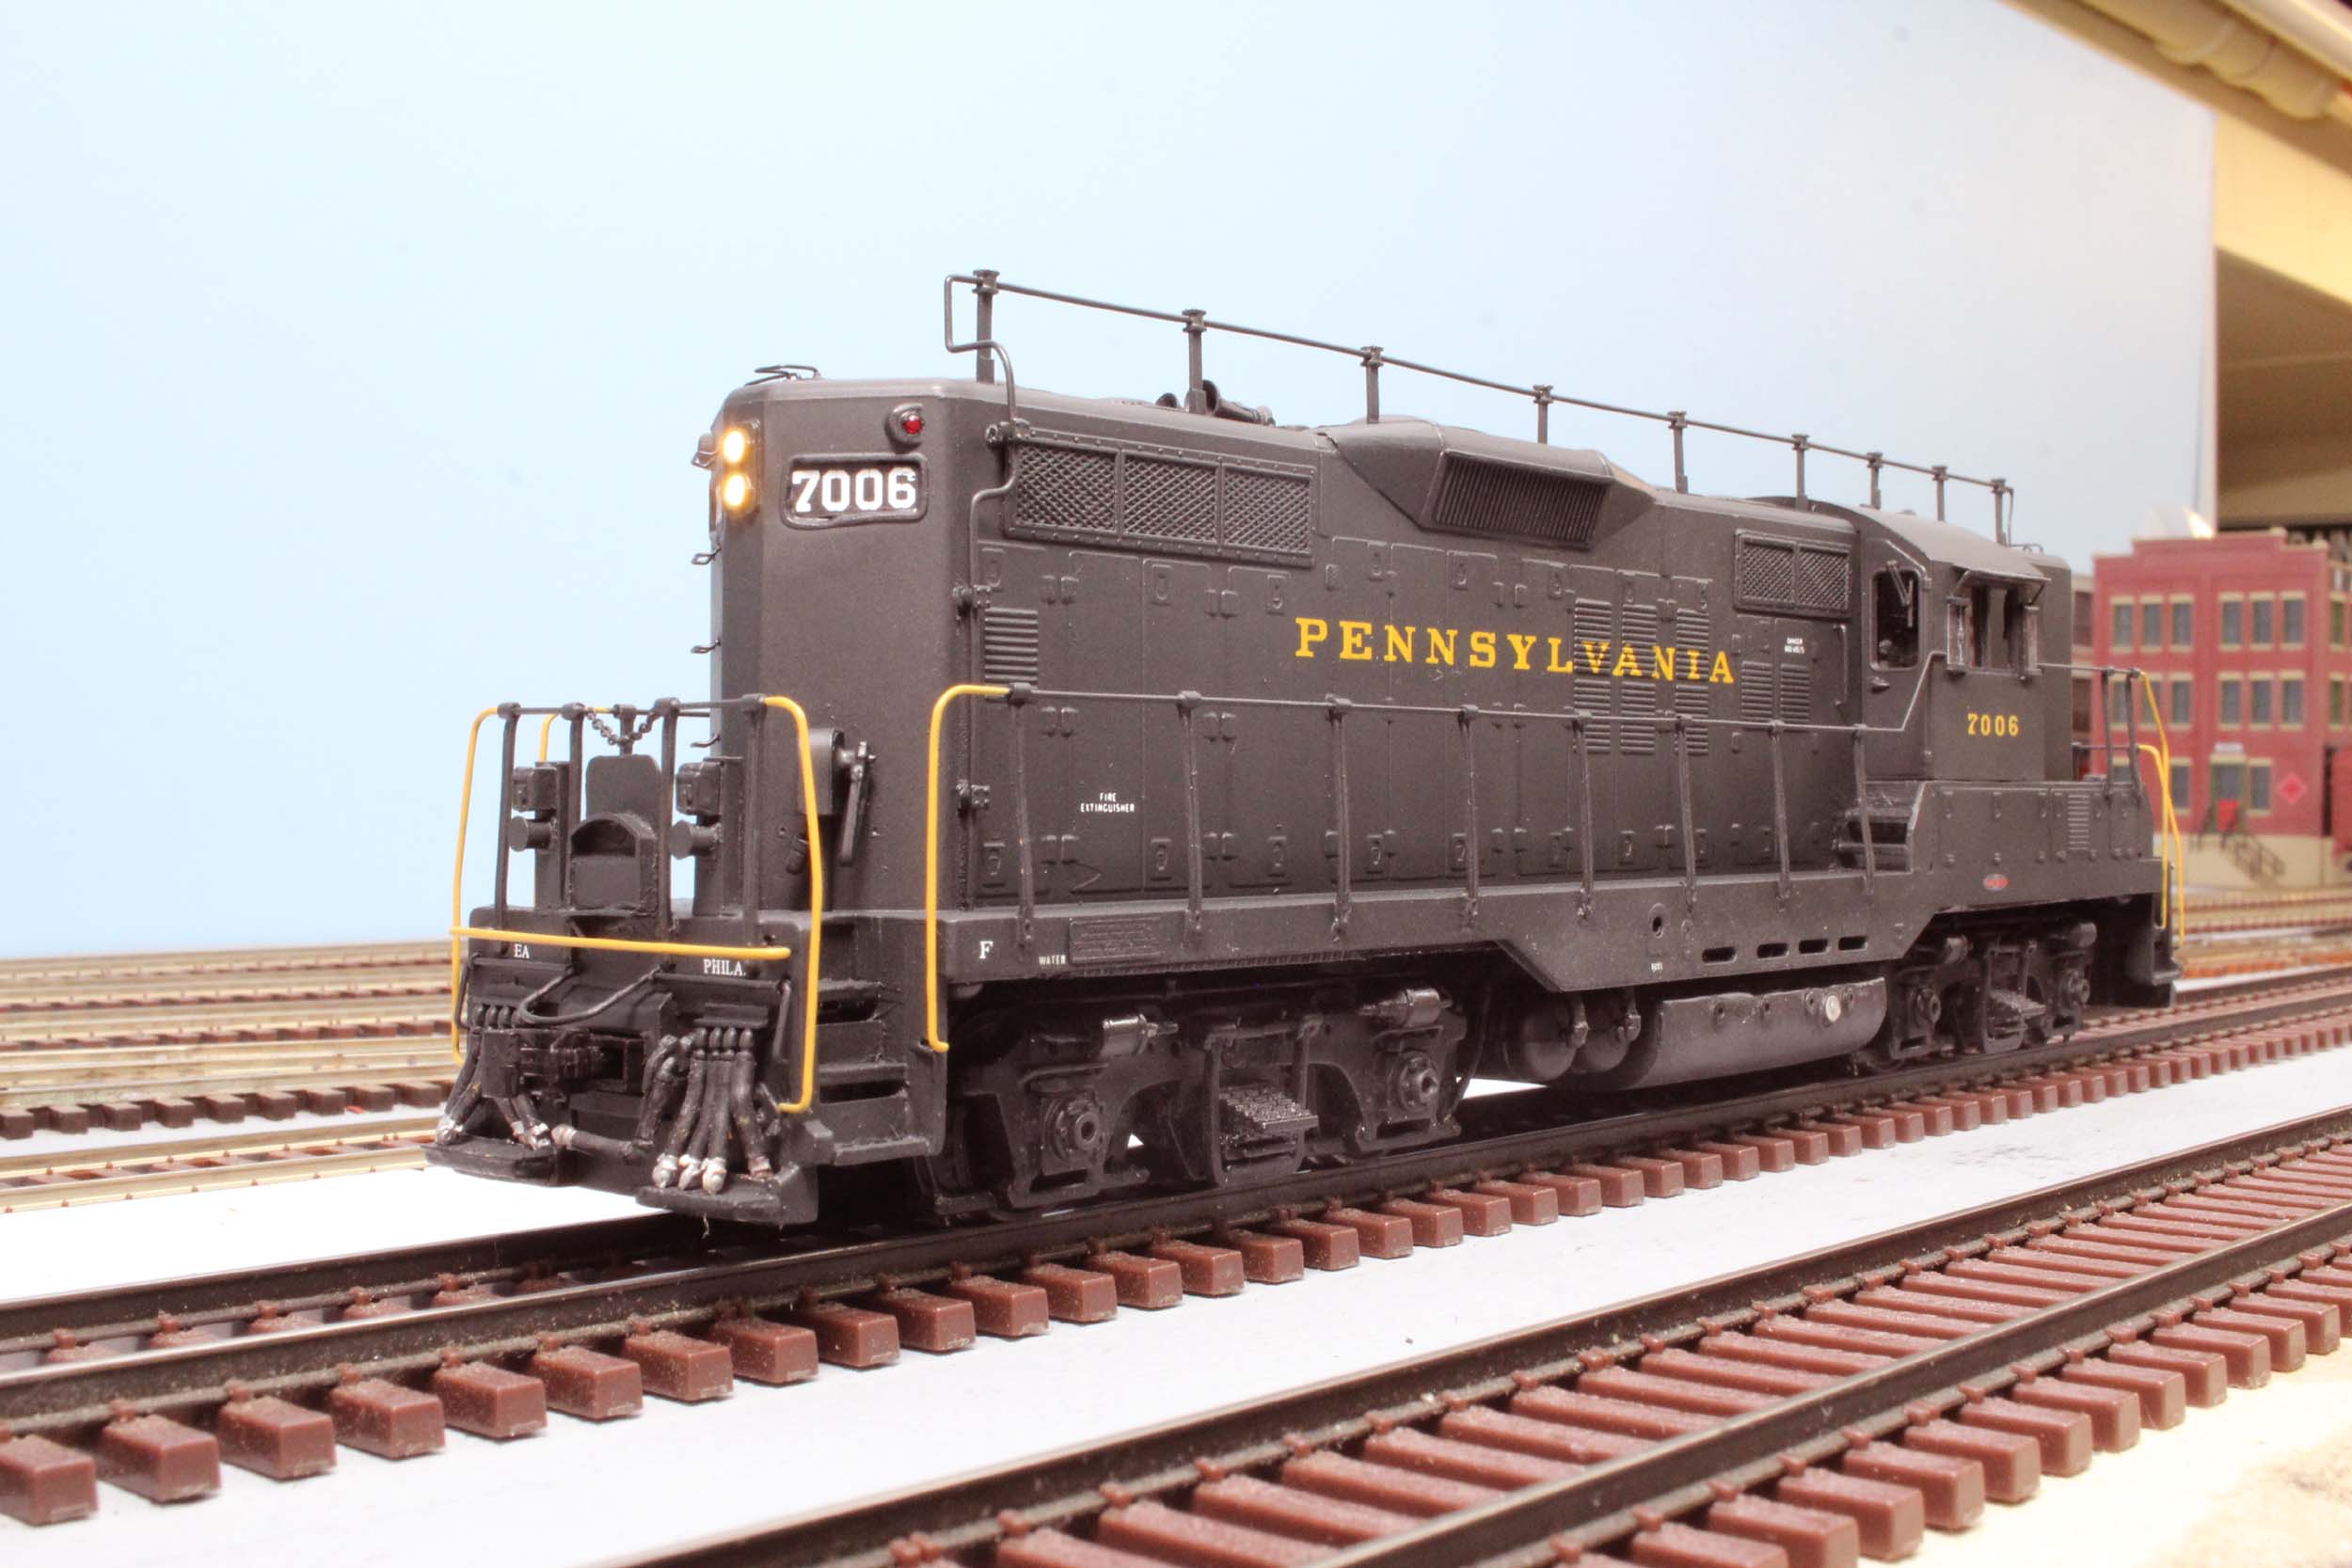
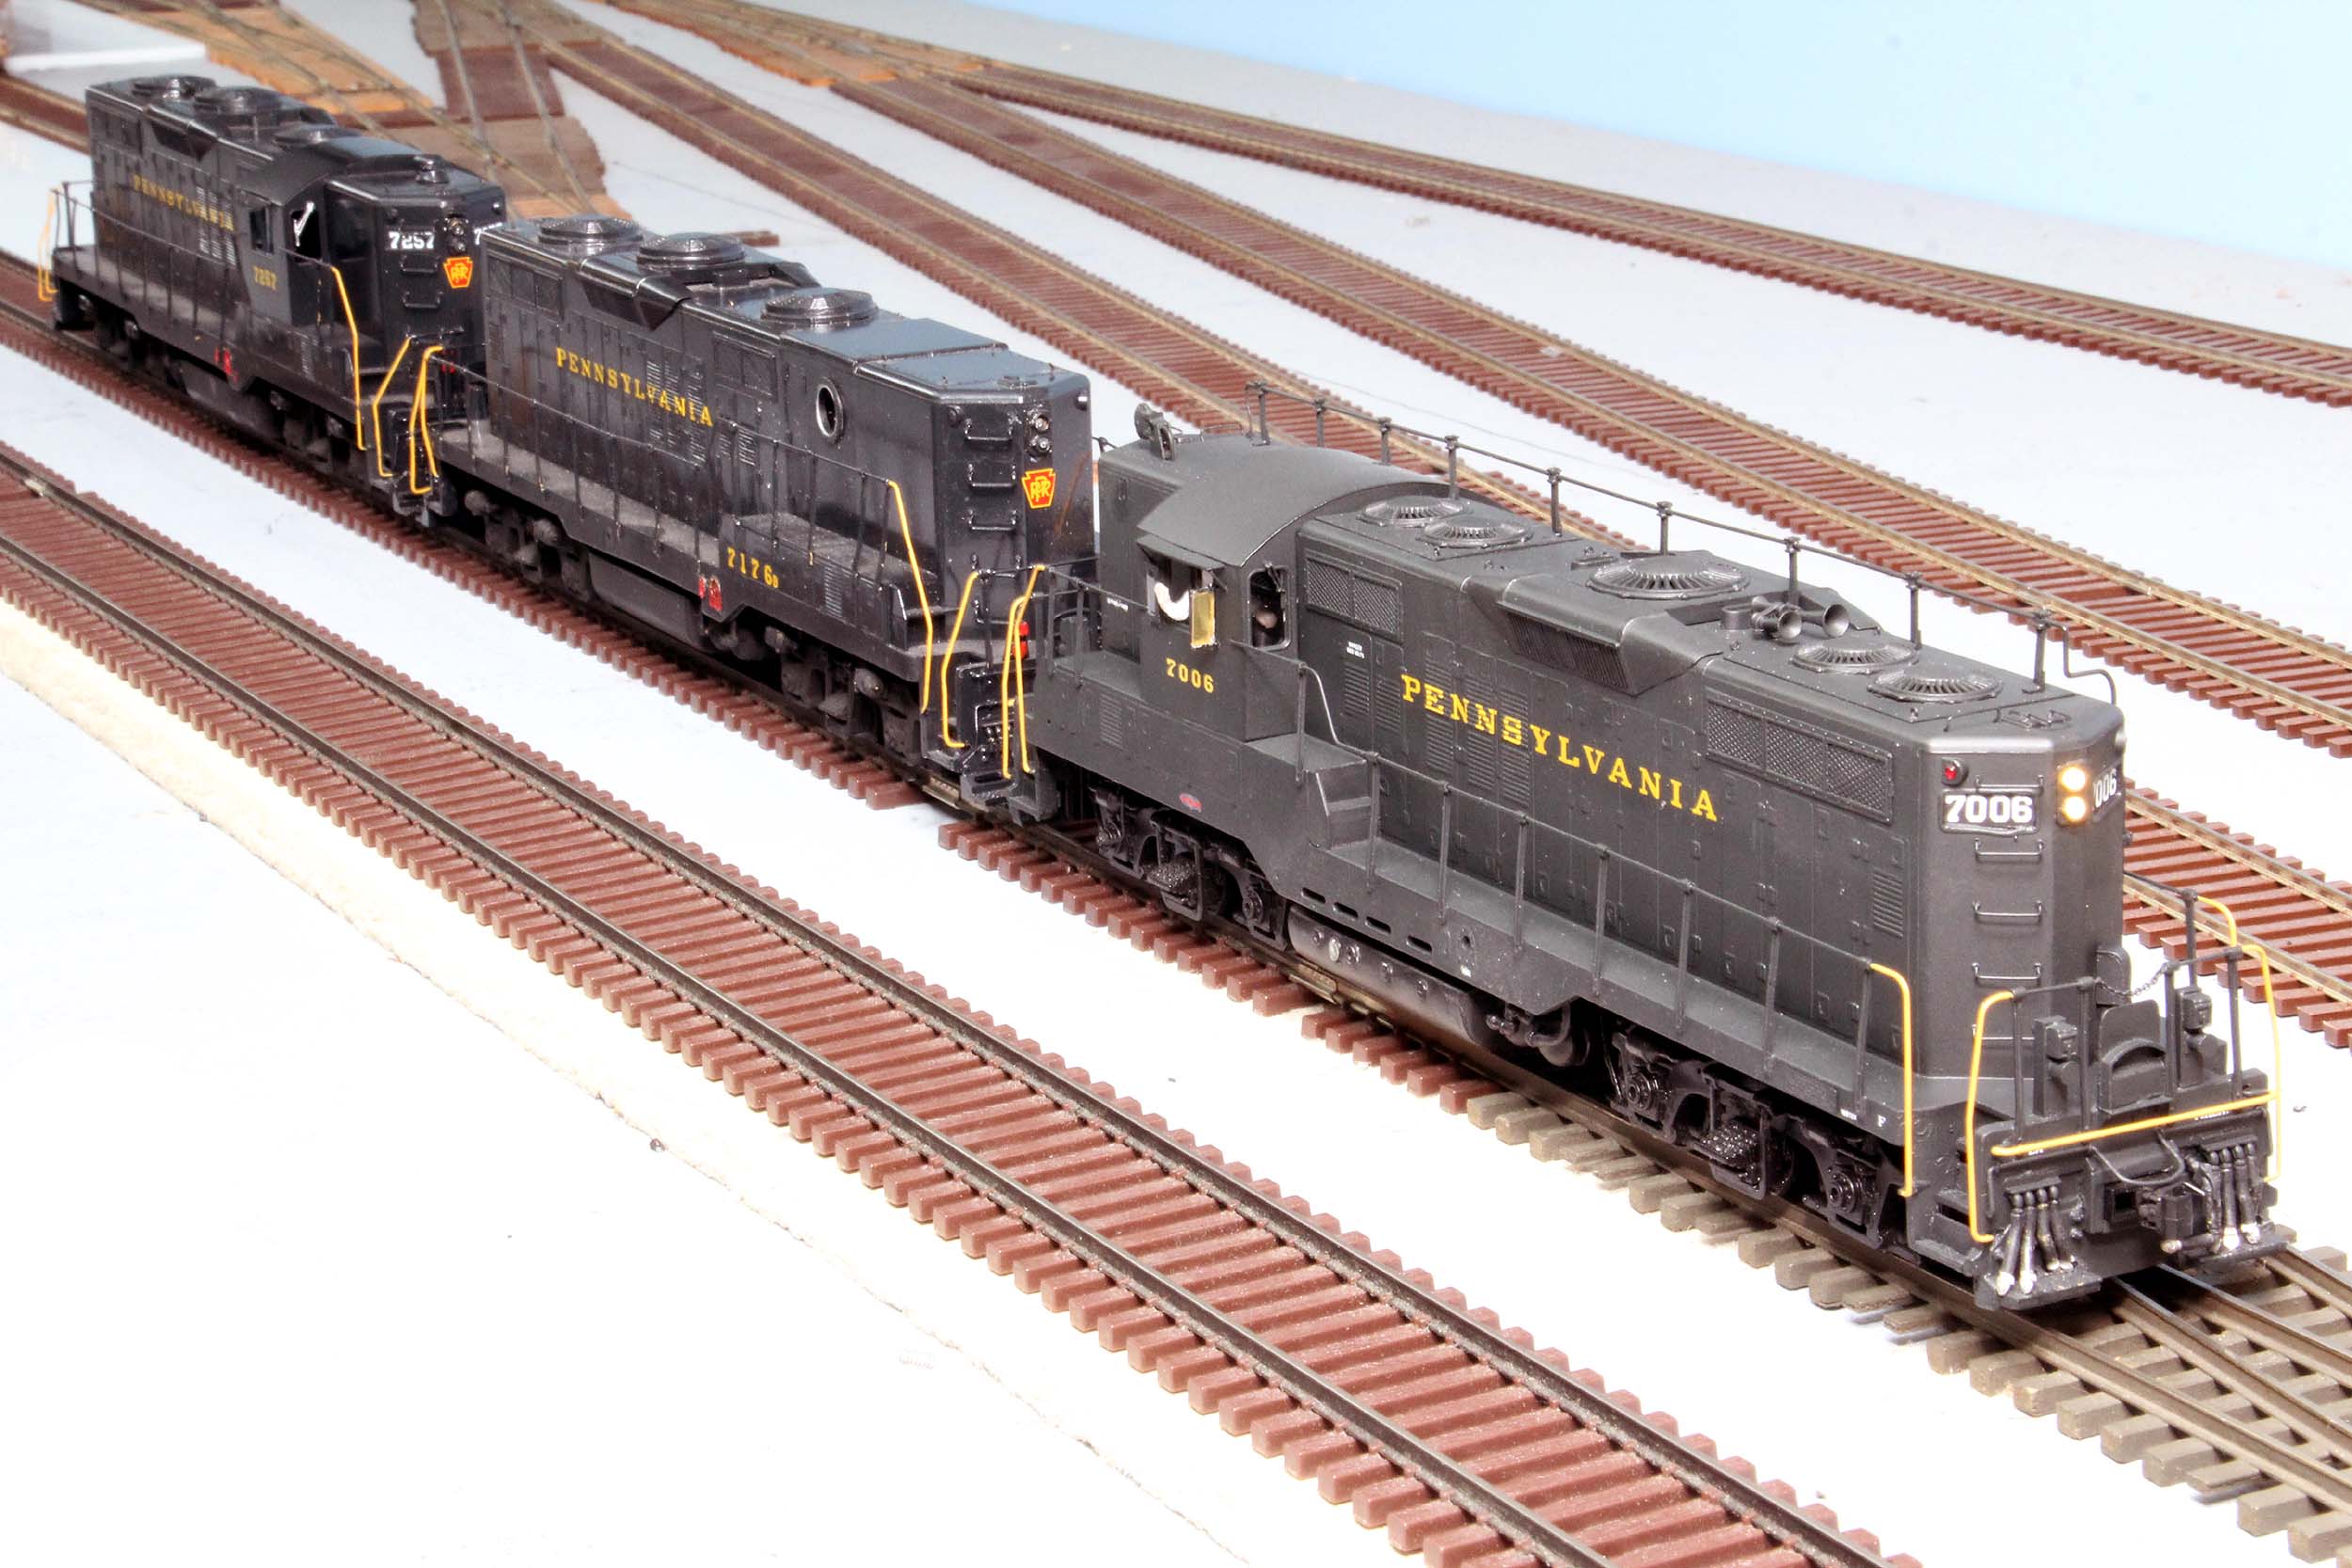
GP9 7169 Becomes GP9 7006
Added 1-22-18
I
have a much larger photo collection now, the internet, some books as references
that did not exist when I built this in 1989 and somehow picked the number
7169. I now know GP9 7169 was built in 10-57 WITHOUT antennas, so I am going to
change the number to 7006, built 10-55 in the first group of GP9 that had
antennas.
Locos
that are 30 years old can take on a life of their own so redoing them is a
possibility.
Added 2-5-18


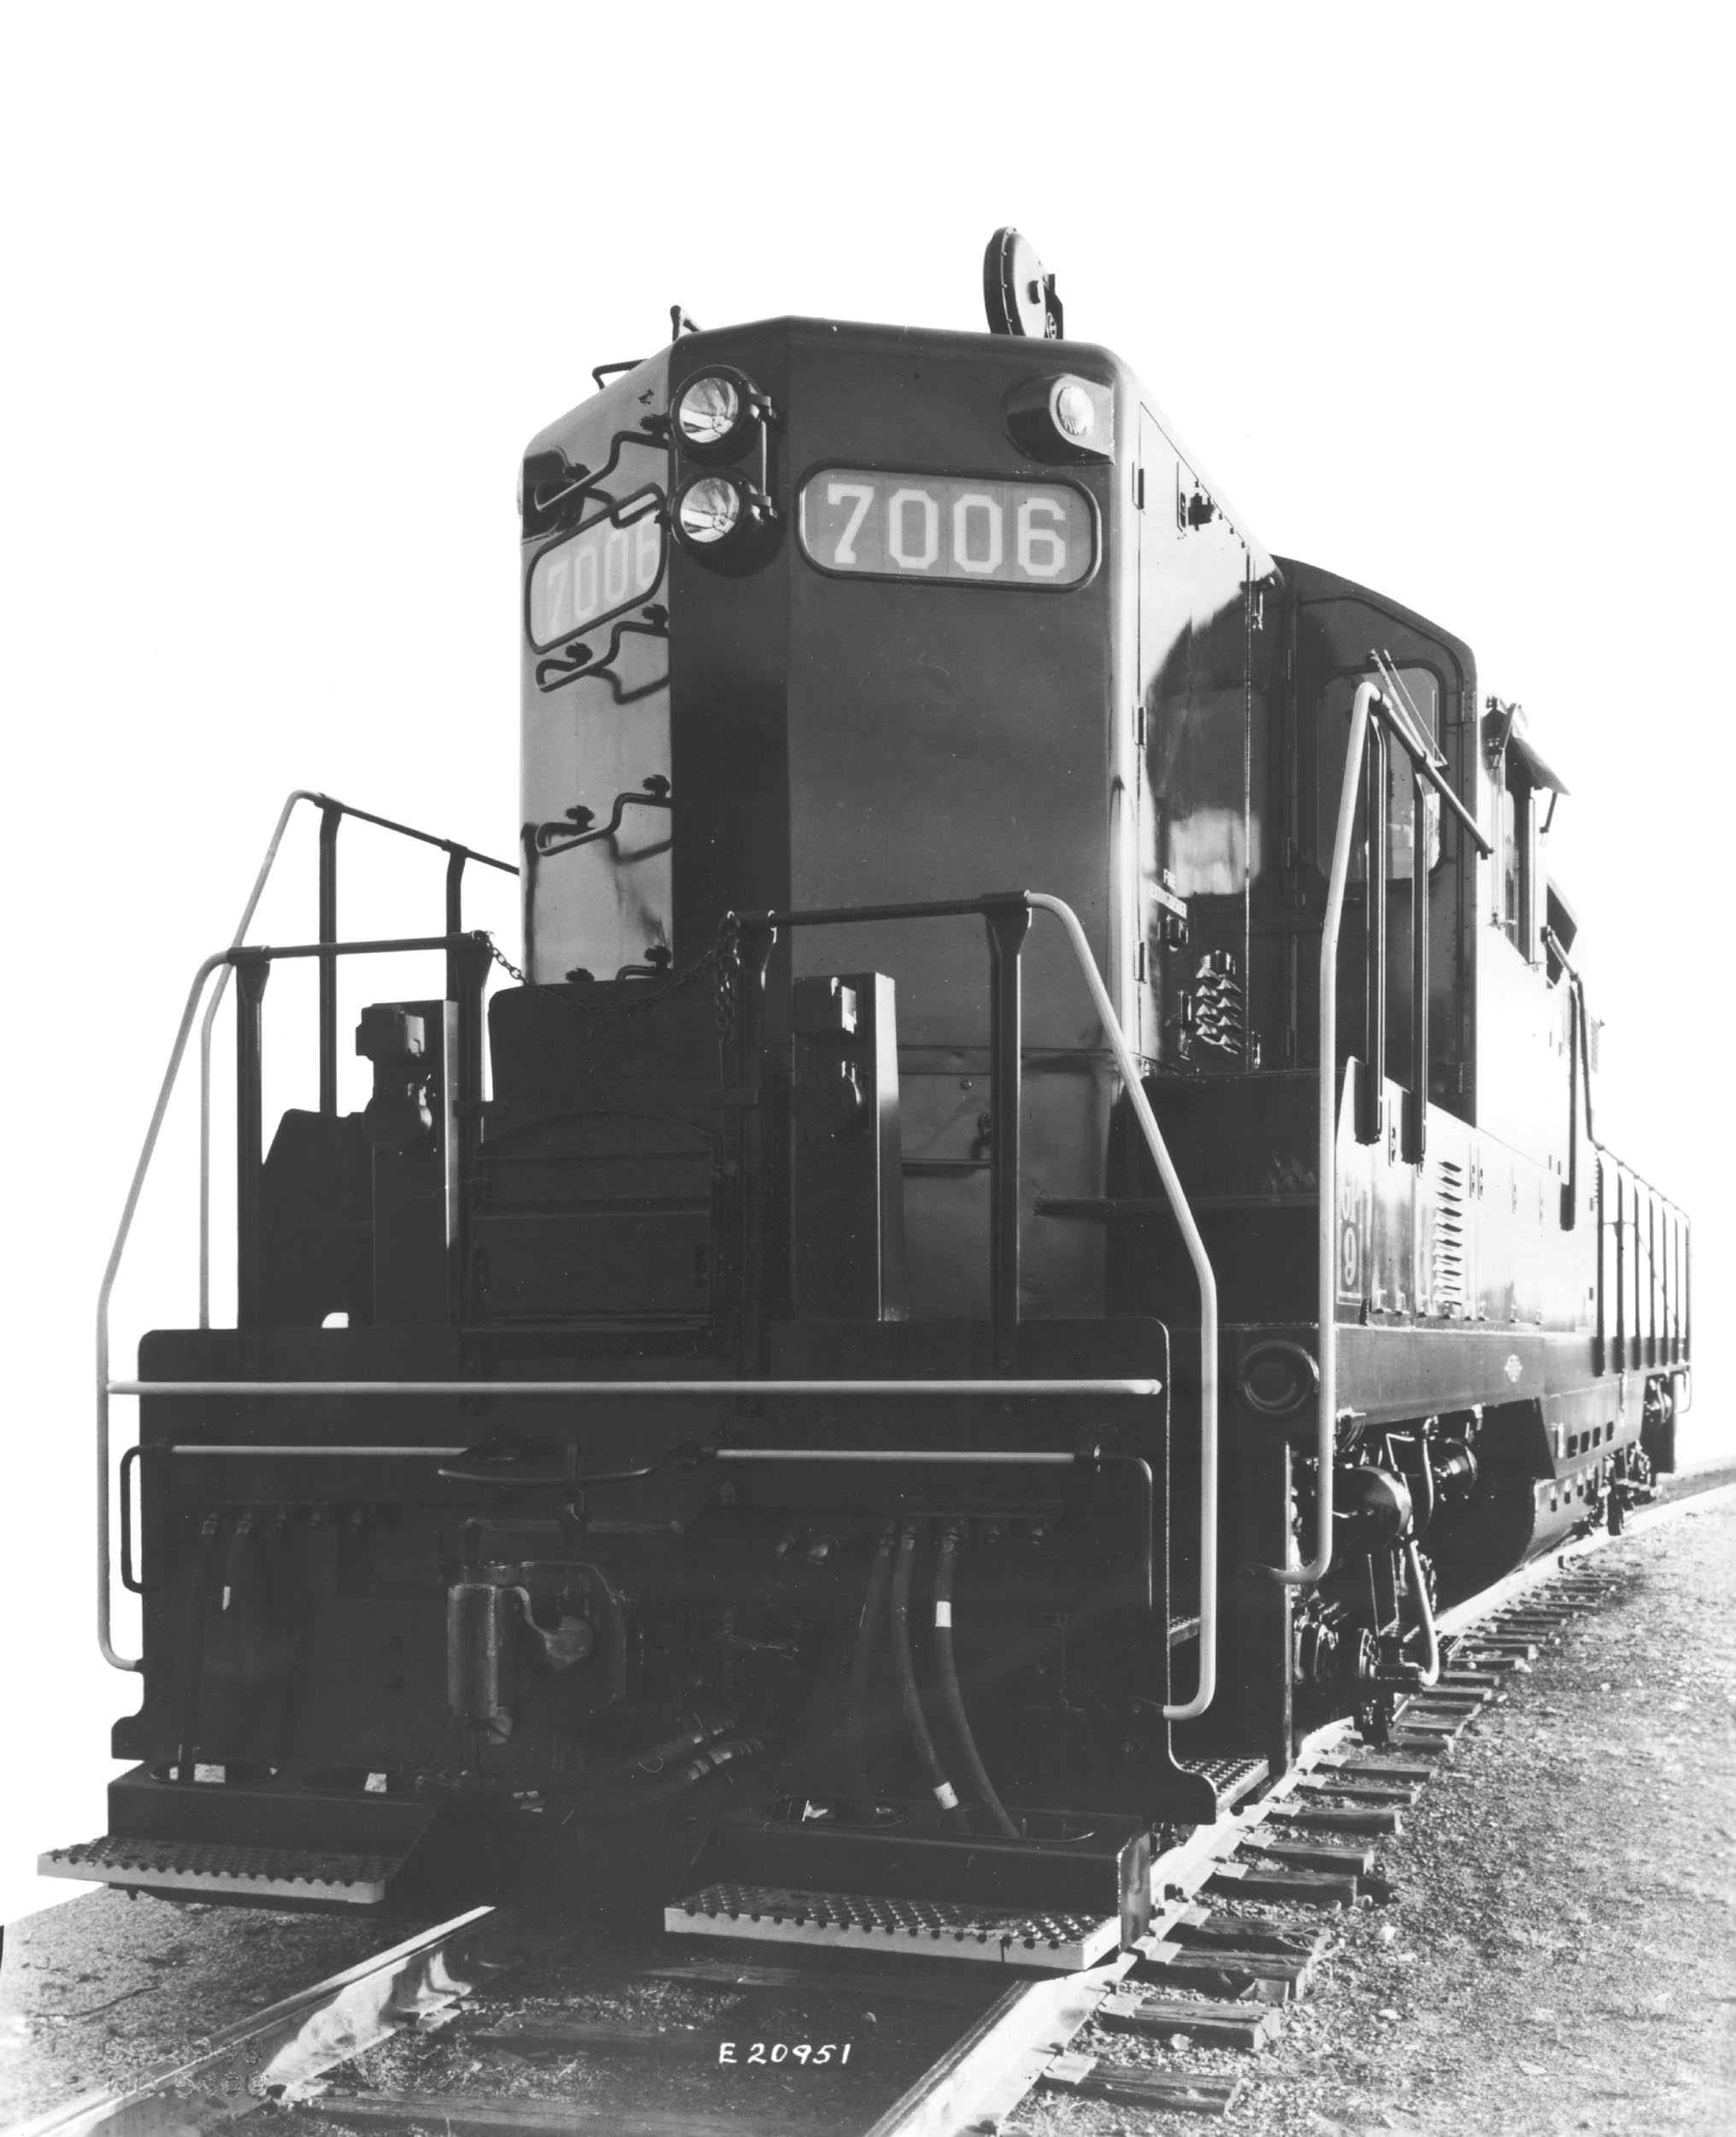

When
I picked 7006 as the new number it was because it was an early built unit with
antennas, assigned to the Philadelphia Region in 1956 and I had builder’s
photos of it. The fact that it is currently preserved at the Railroad Museum Of Pennsylvania in Strasburg is coincidental, and discovered
after I settled on using 7006.
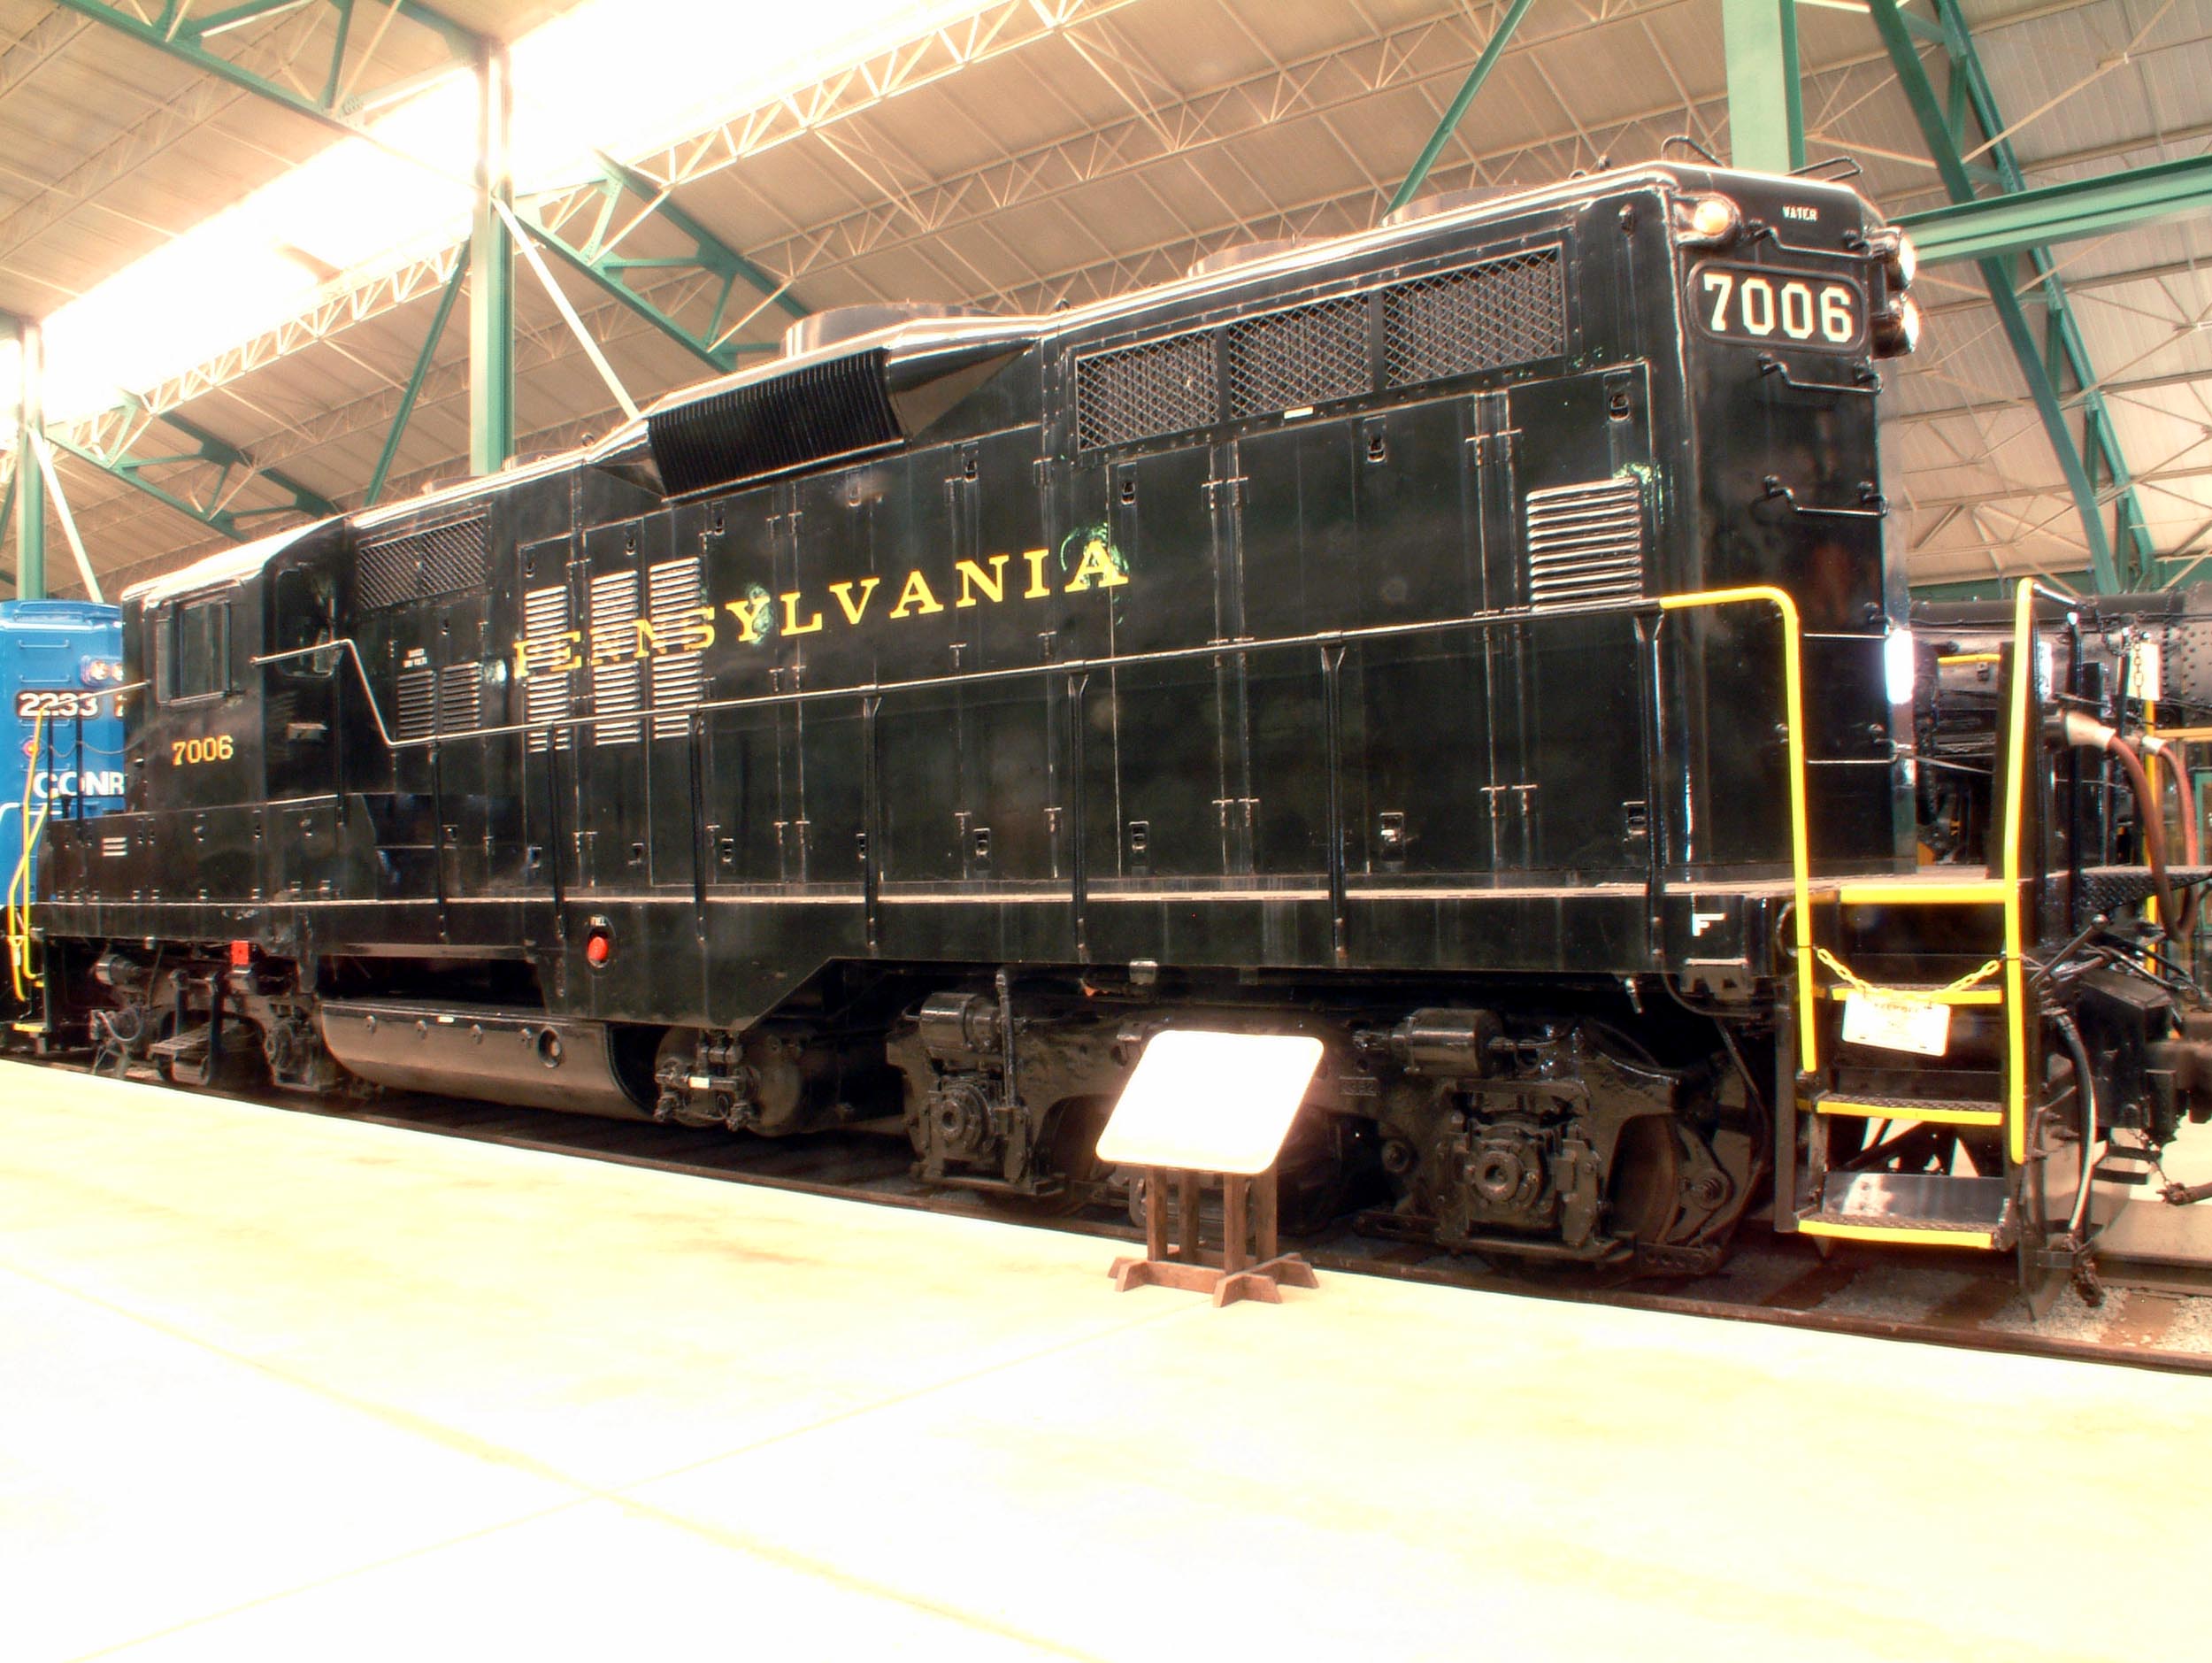
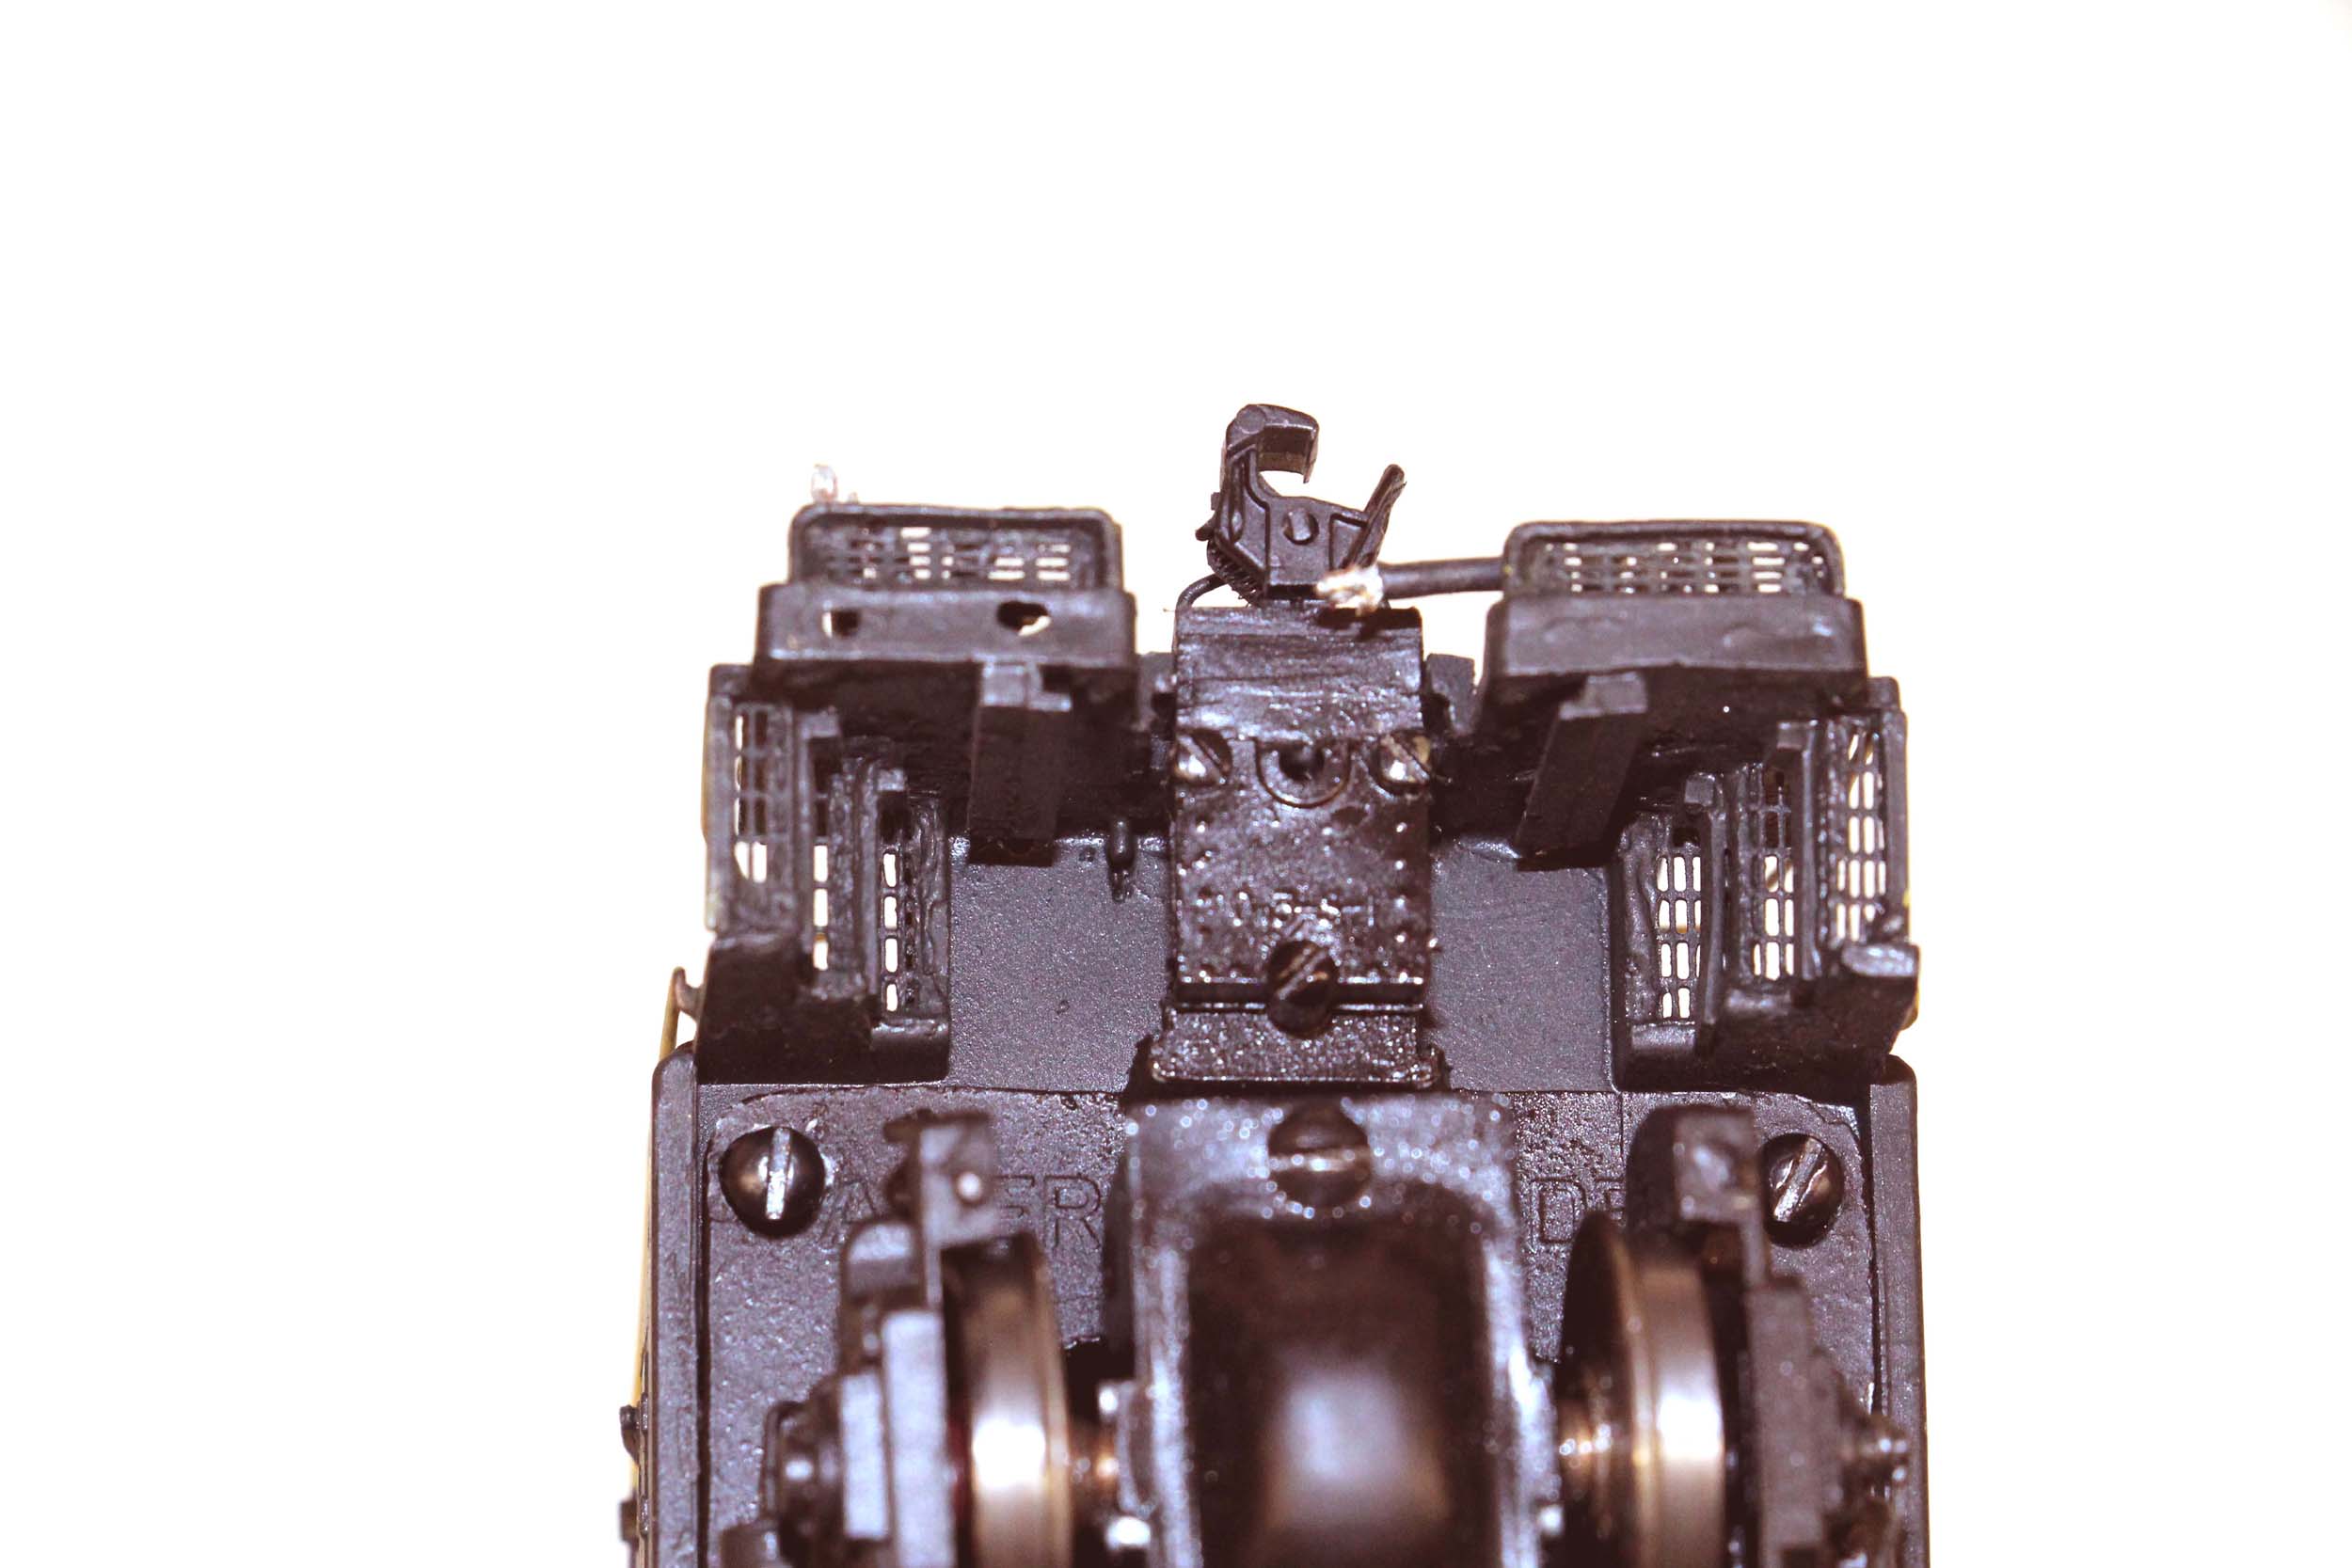
I
decided to not light the numberboards to better match my 2 GP7, so I filled in
the numberboard holes with sheet styrene. Also if you look carefully you can
see some deformation around the numberboards. I came within seconds of completely
ruining the shell when I started to modernized it by almost melting and blowing
holes in the ends from using 14 volt incandescent headlight bulbs in a test in
2006. That is why there are brass headlight bezel castings and absolutely what
put it back in the box for many years. I figured my future self would be able
to figure it out and fix it. I was right!
Adding
brass handrails to a plastic model is massively time consuming.
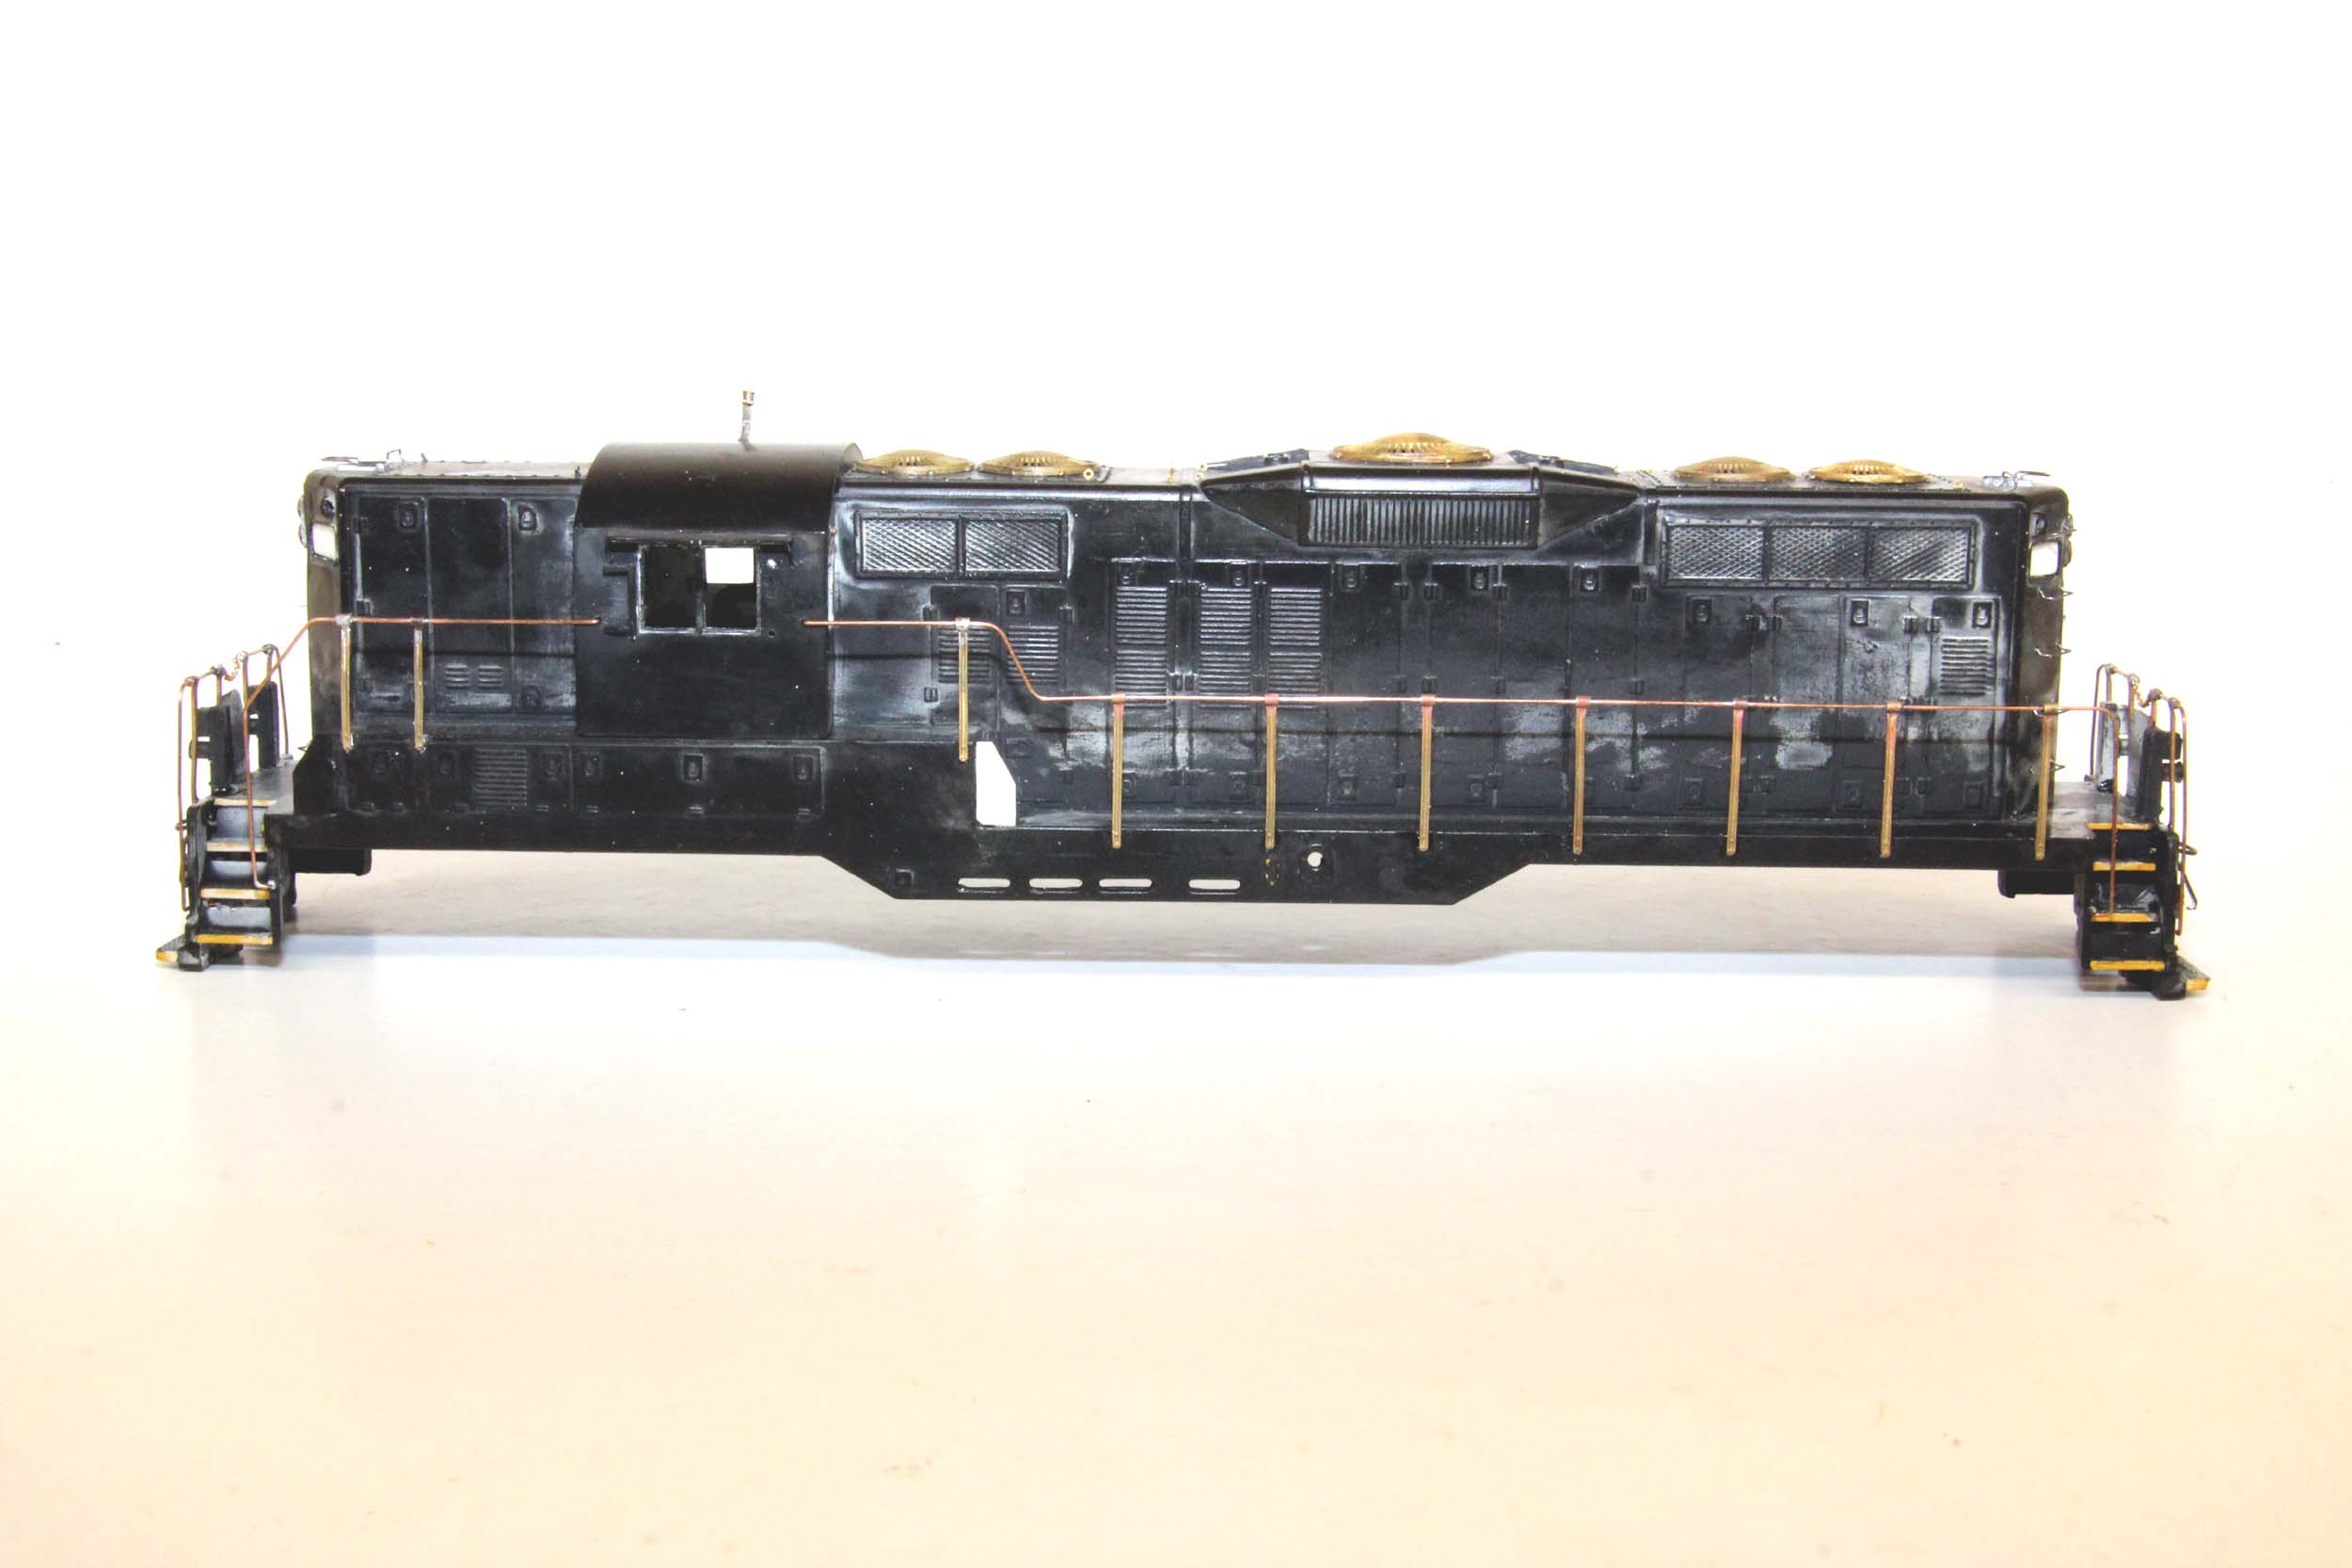


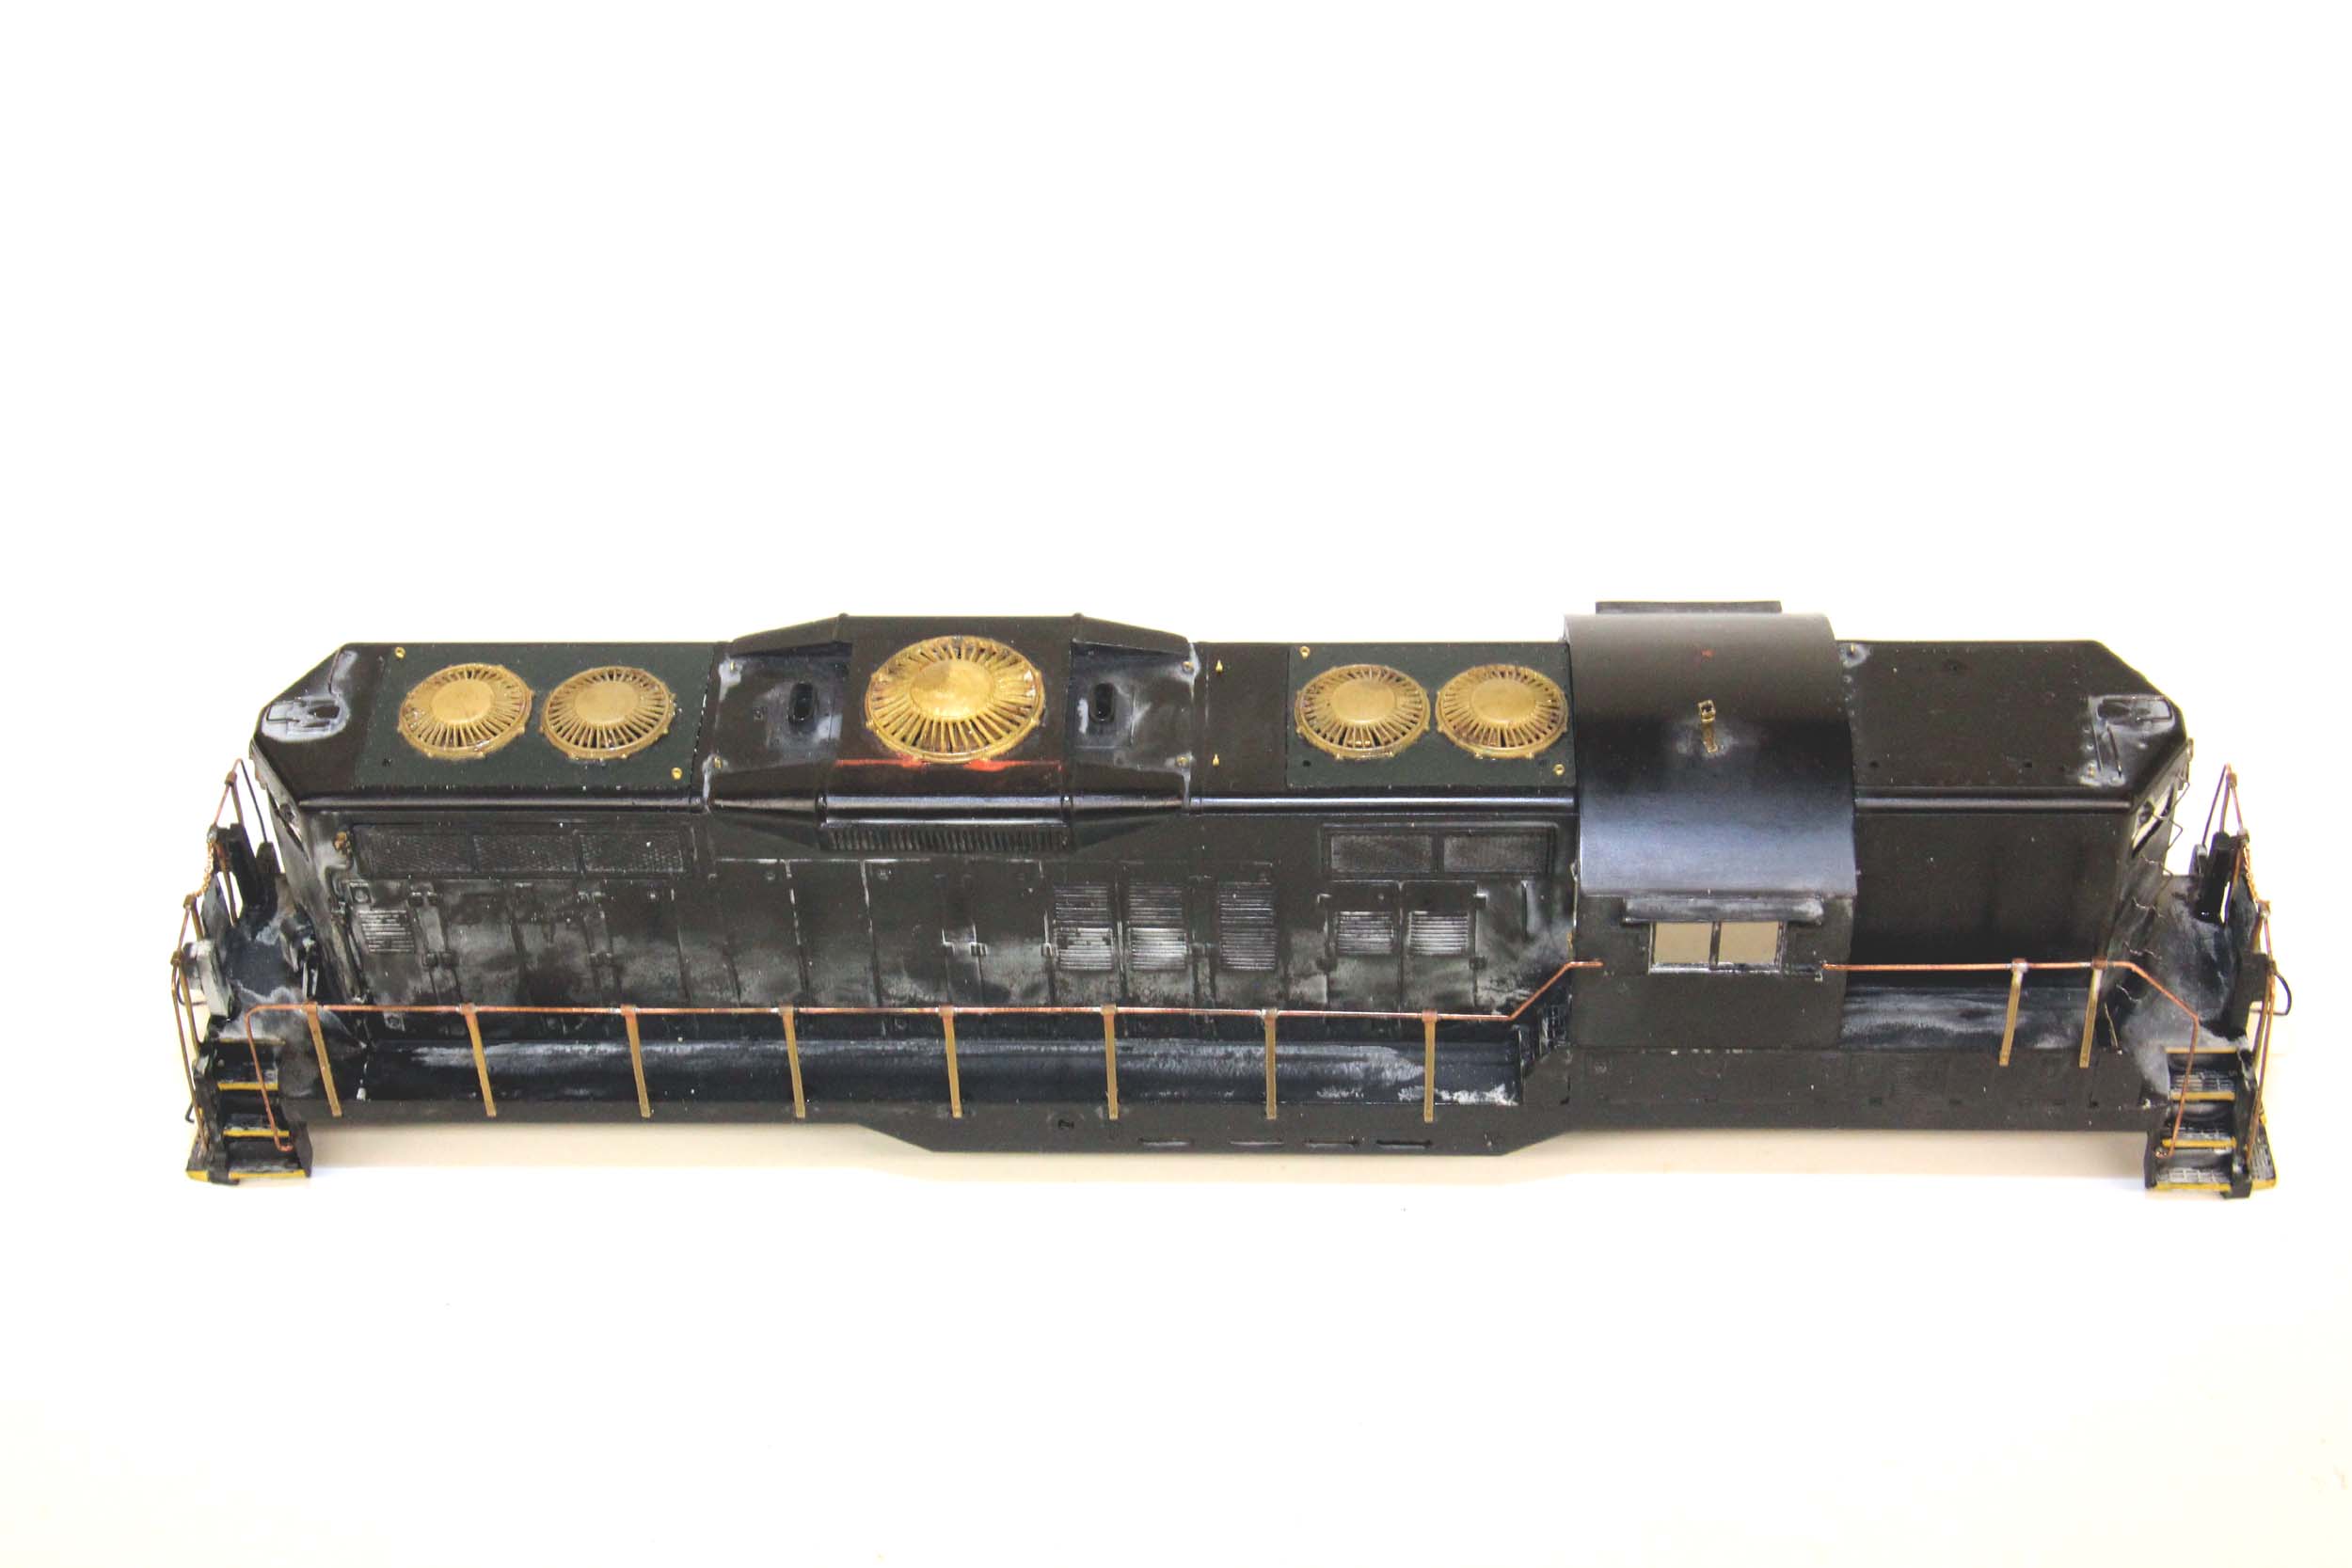
This
is how I solder brass parts on a plastic model. A resistance soldering unit is
a MUST. Soak the cotton ball in water and clip it on for a heart sink. I left a
piece of the antenna wire loose to get the cab off.

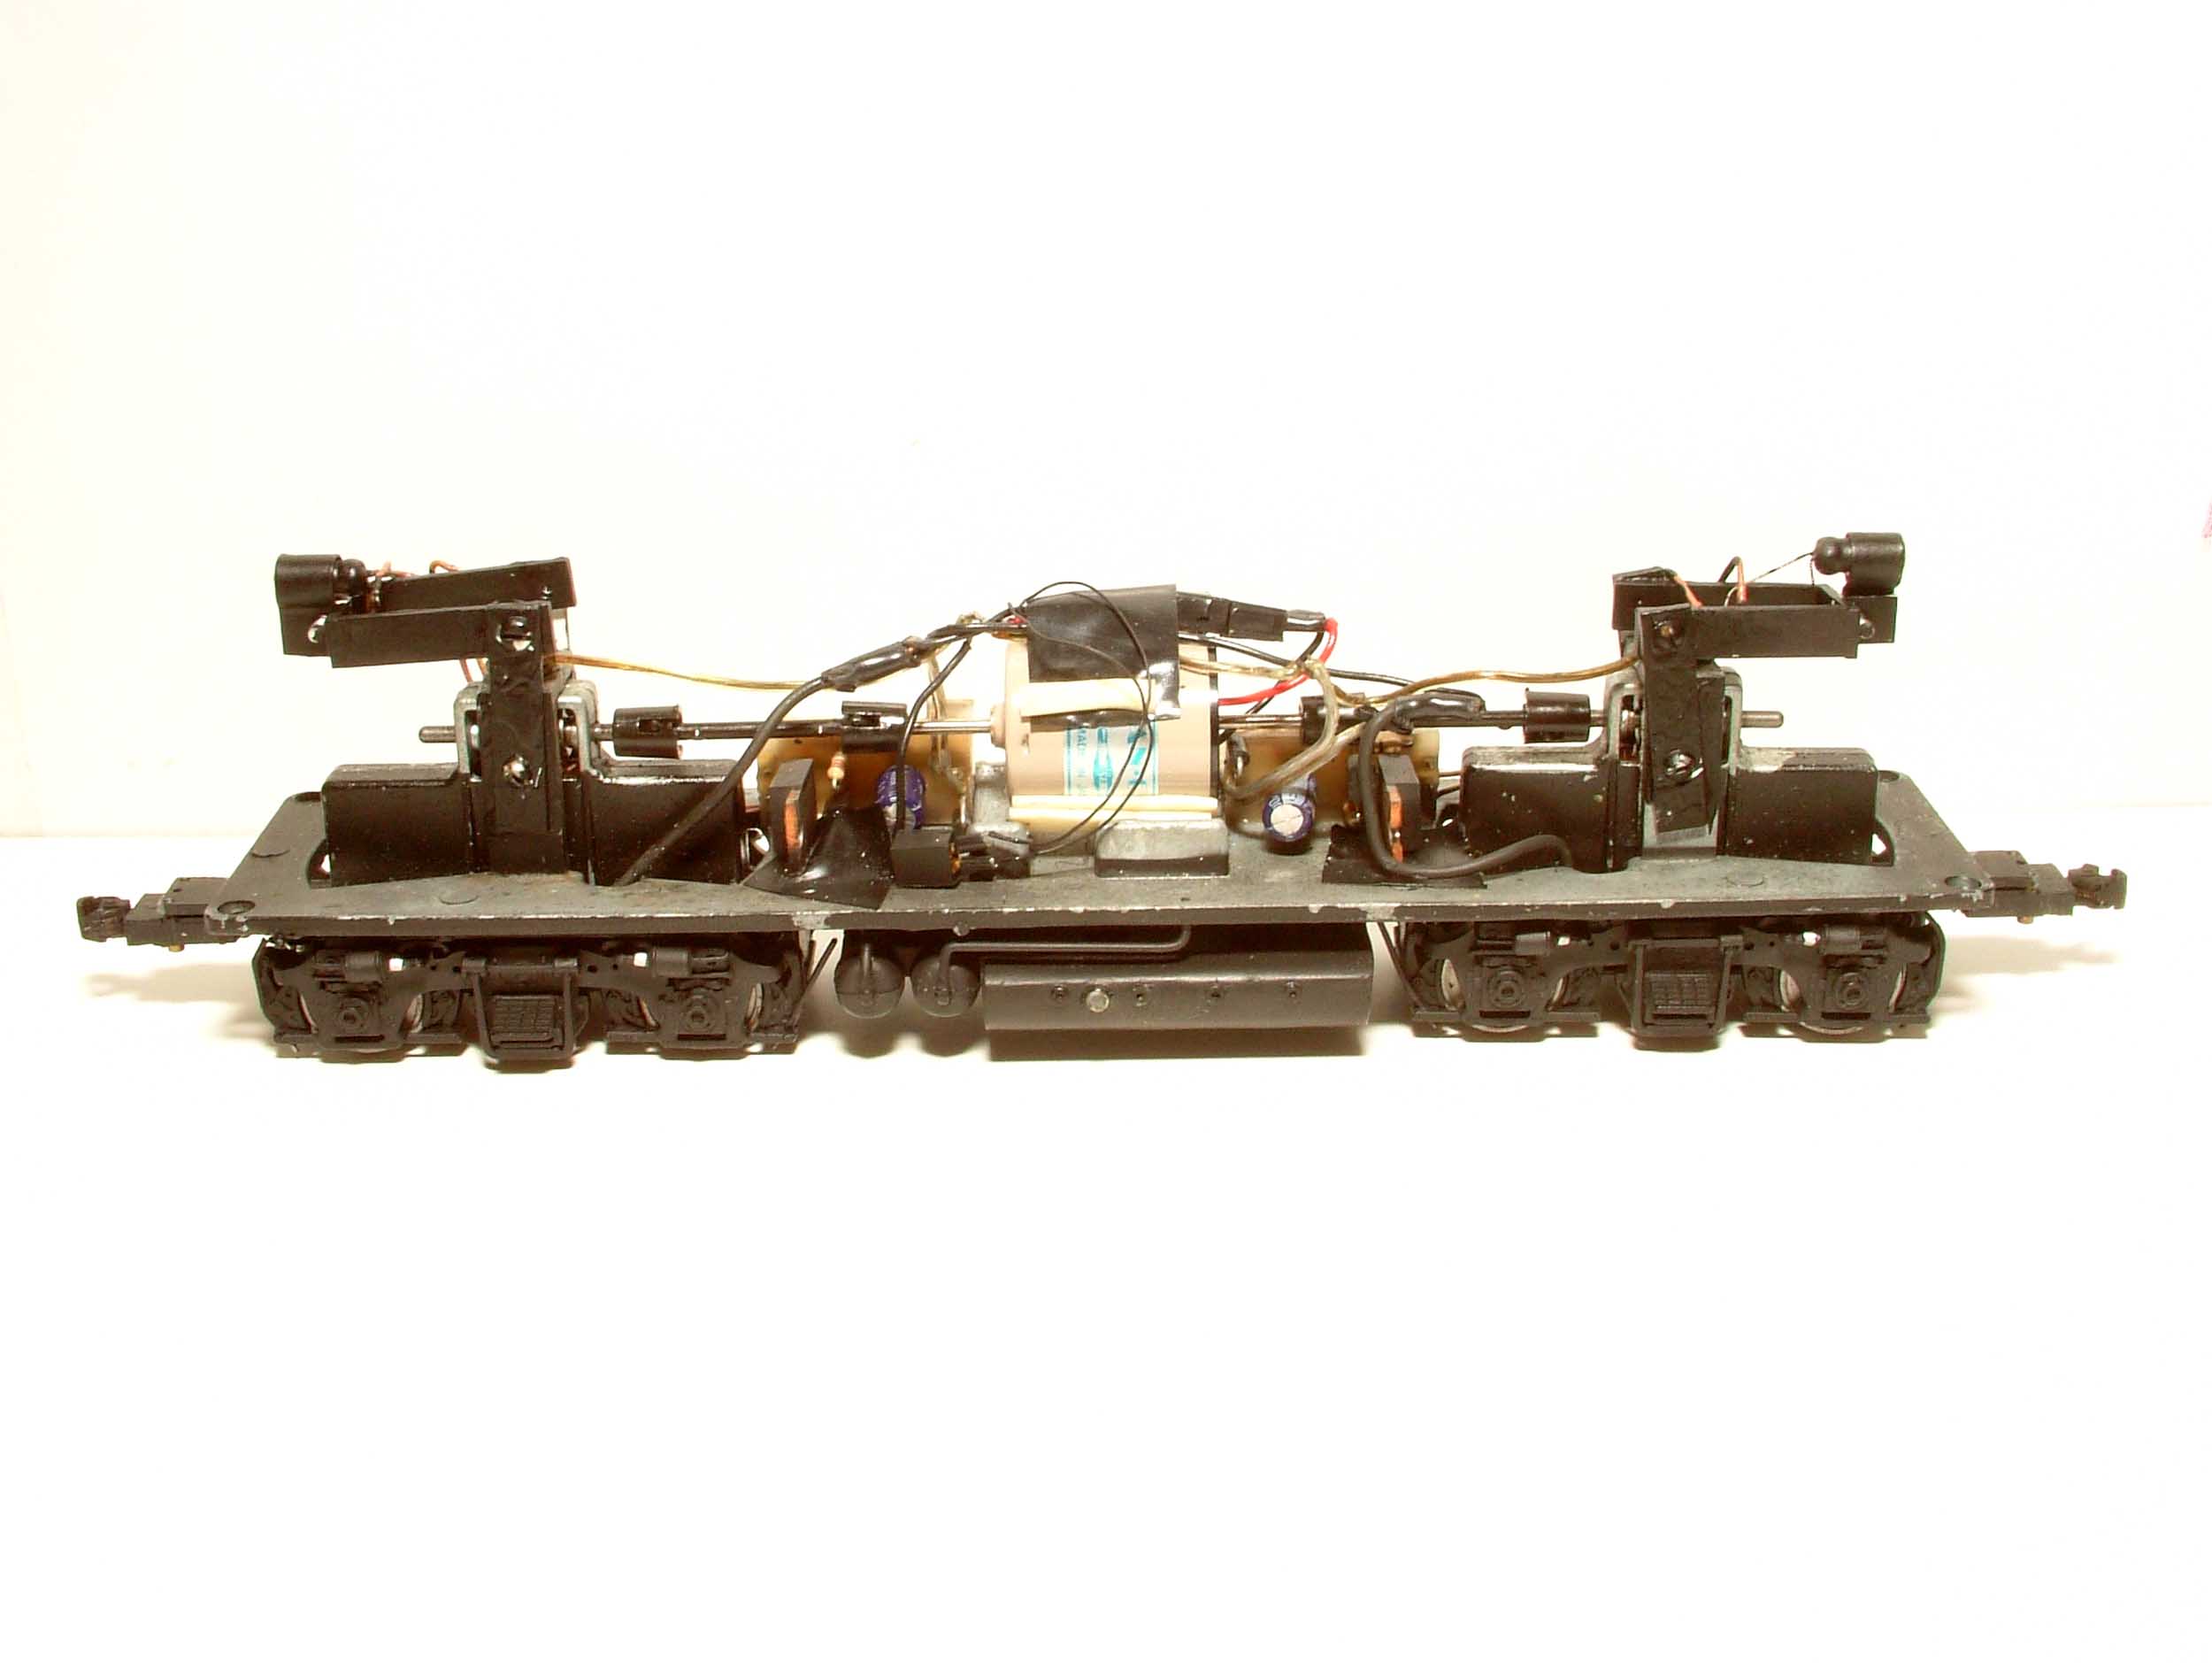
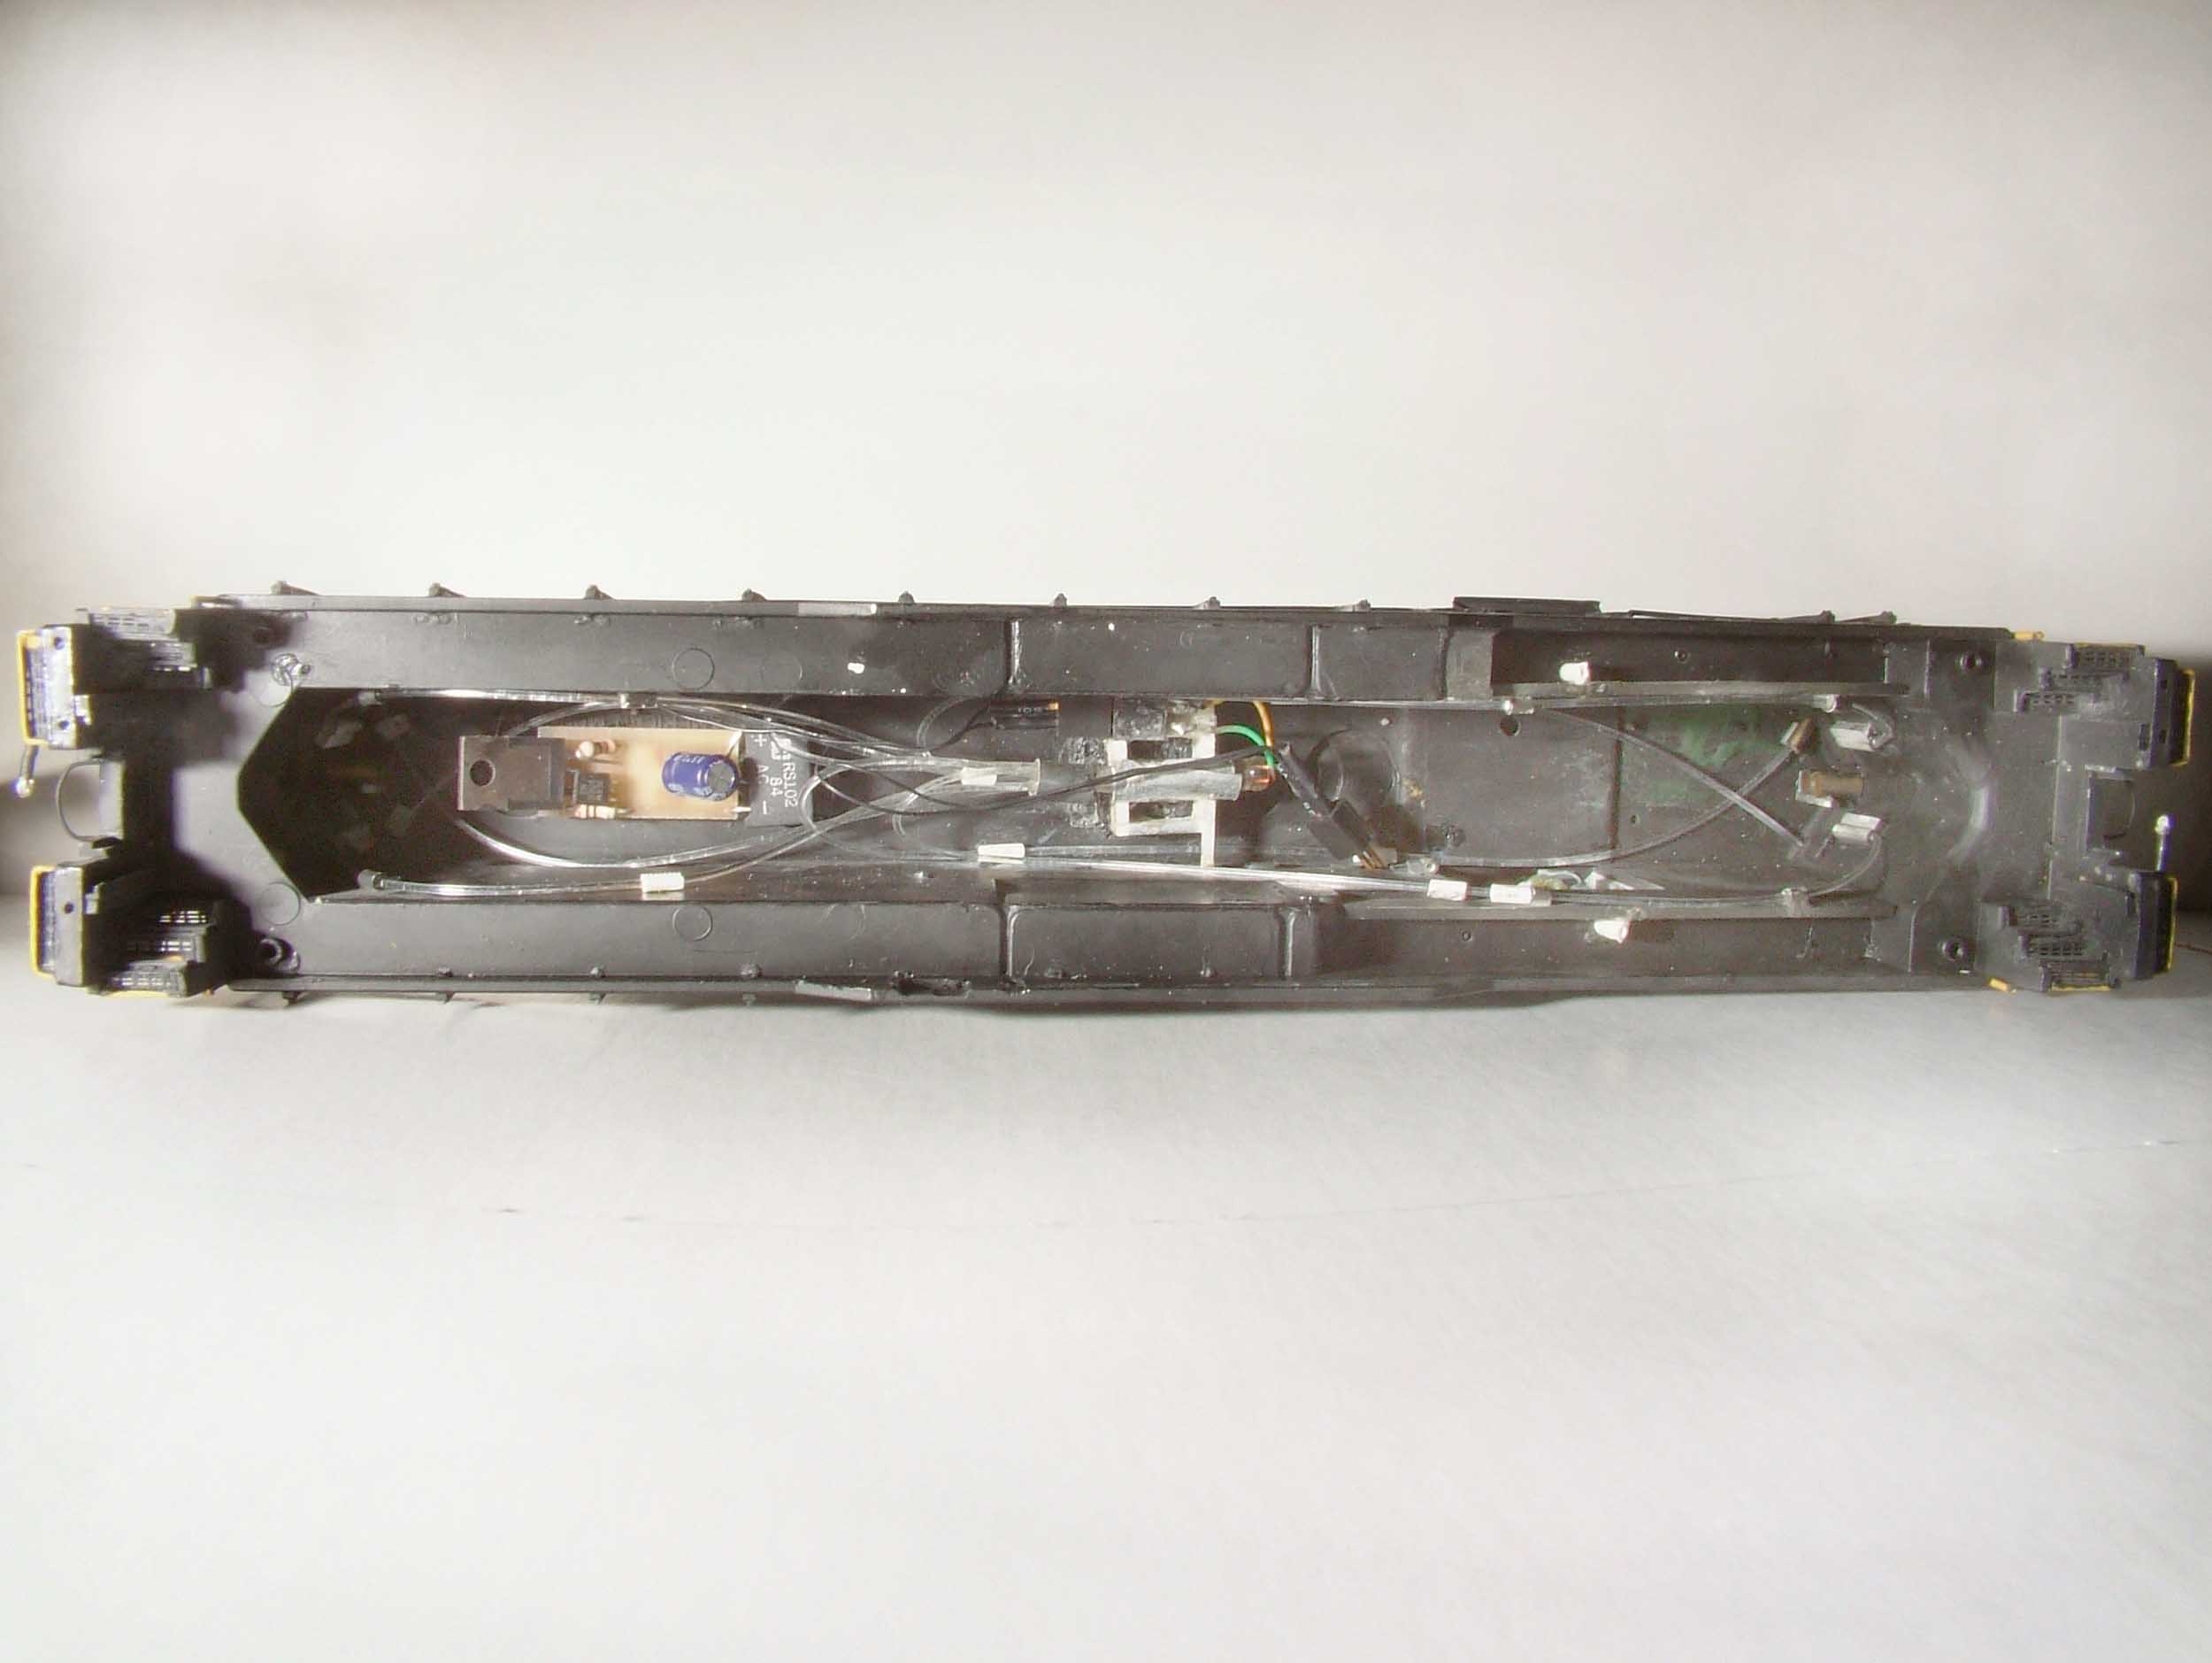
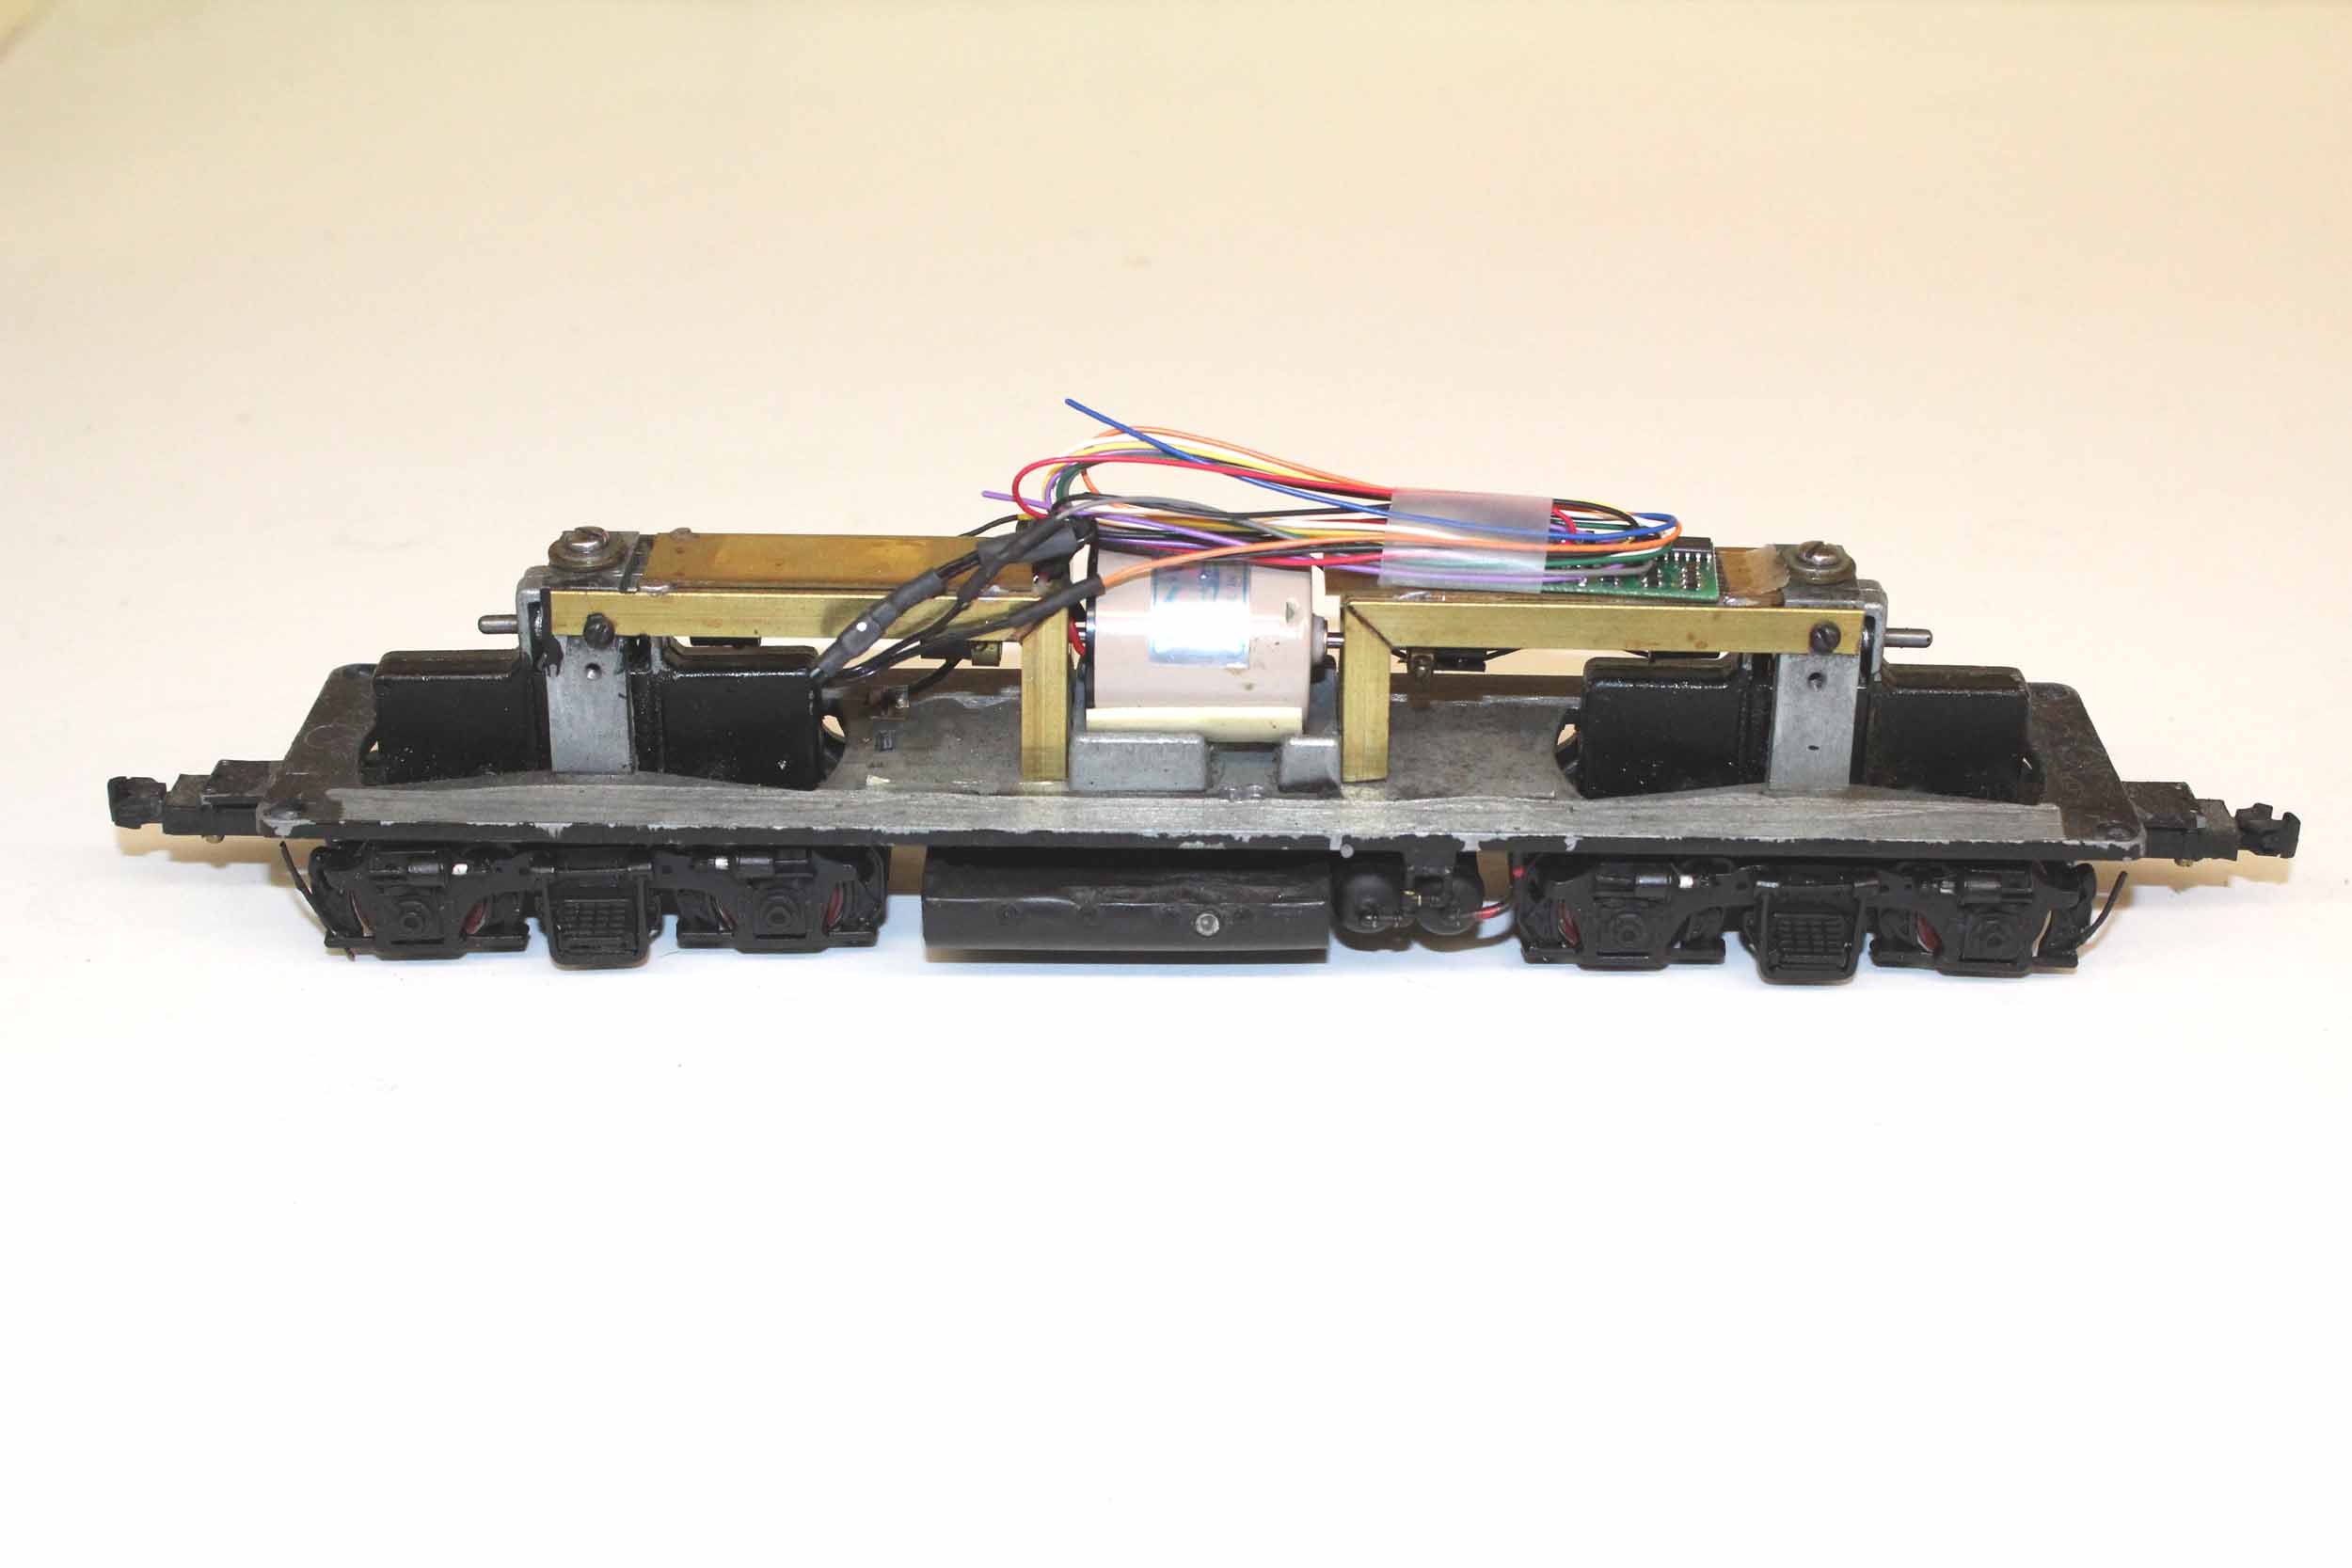
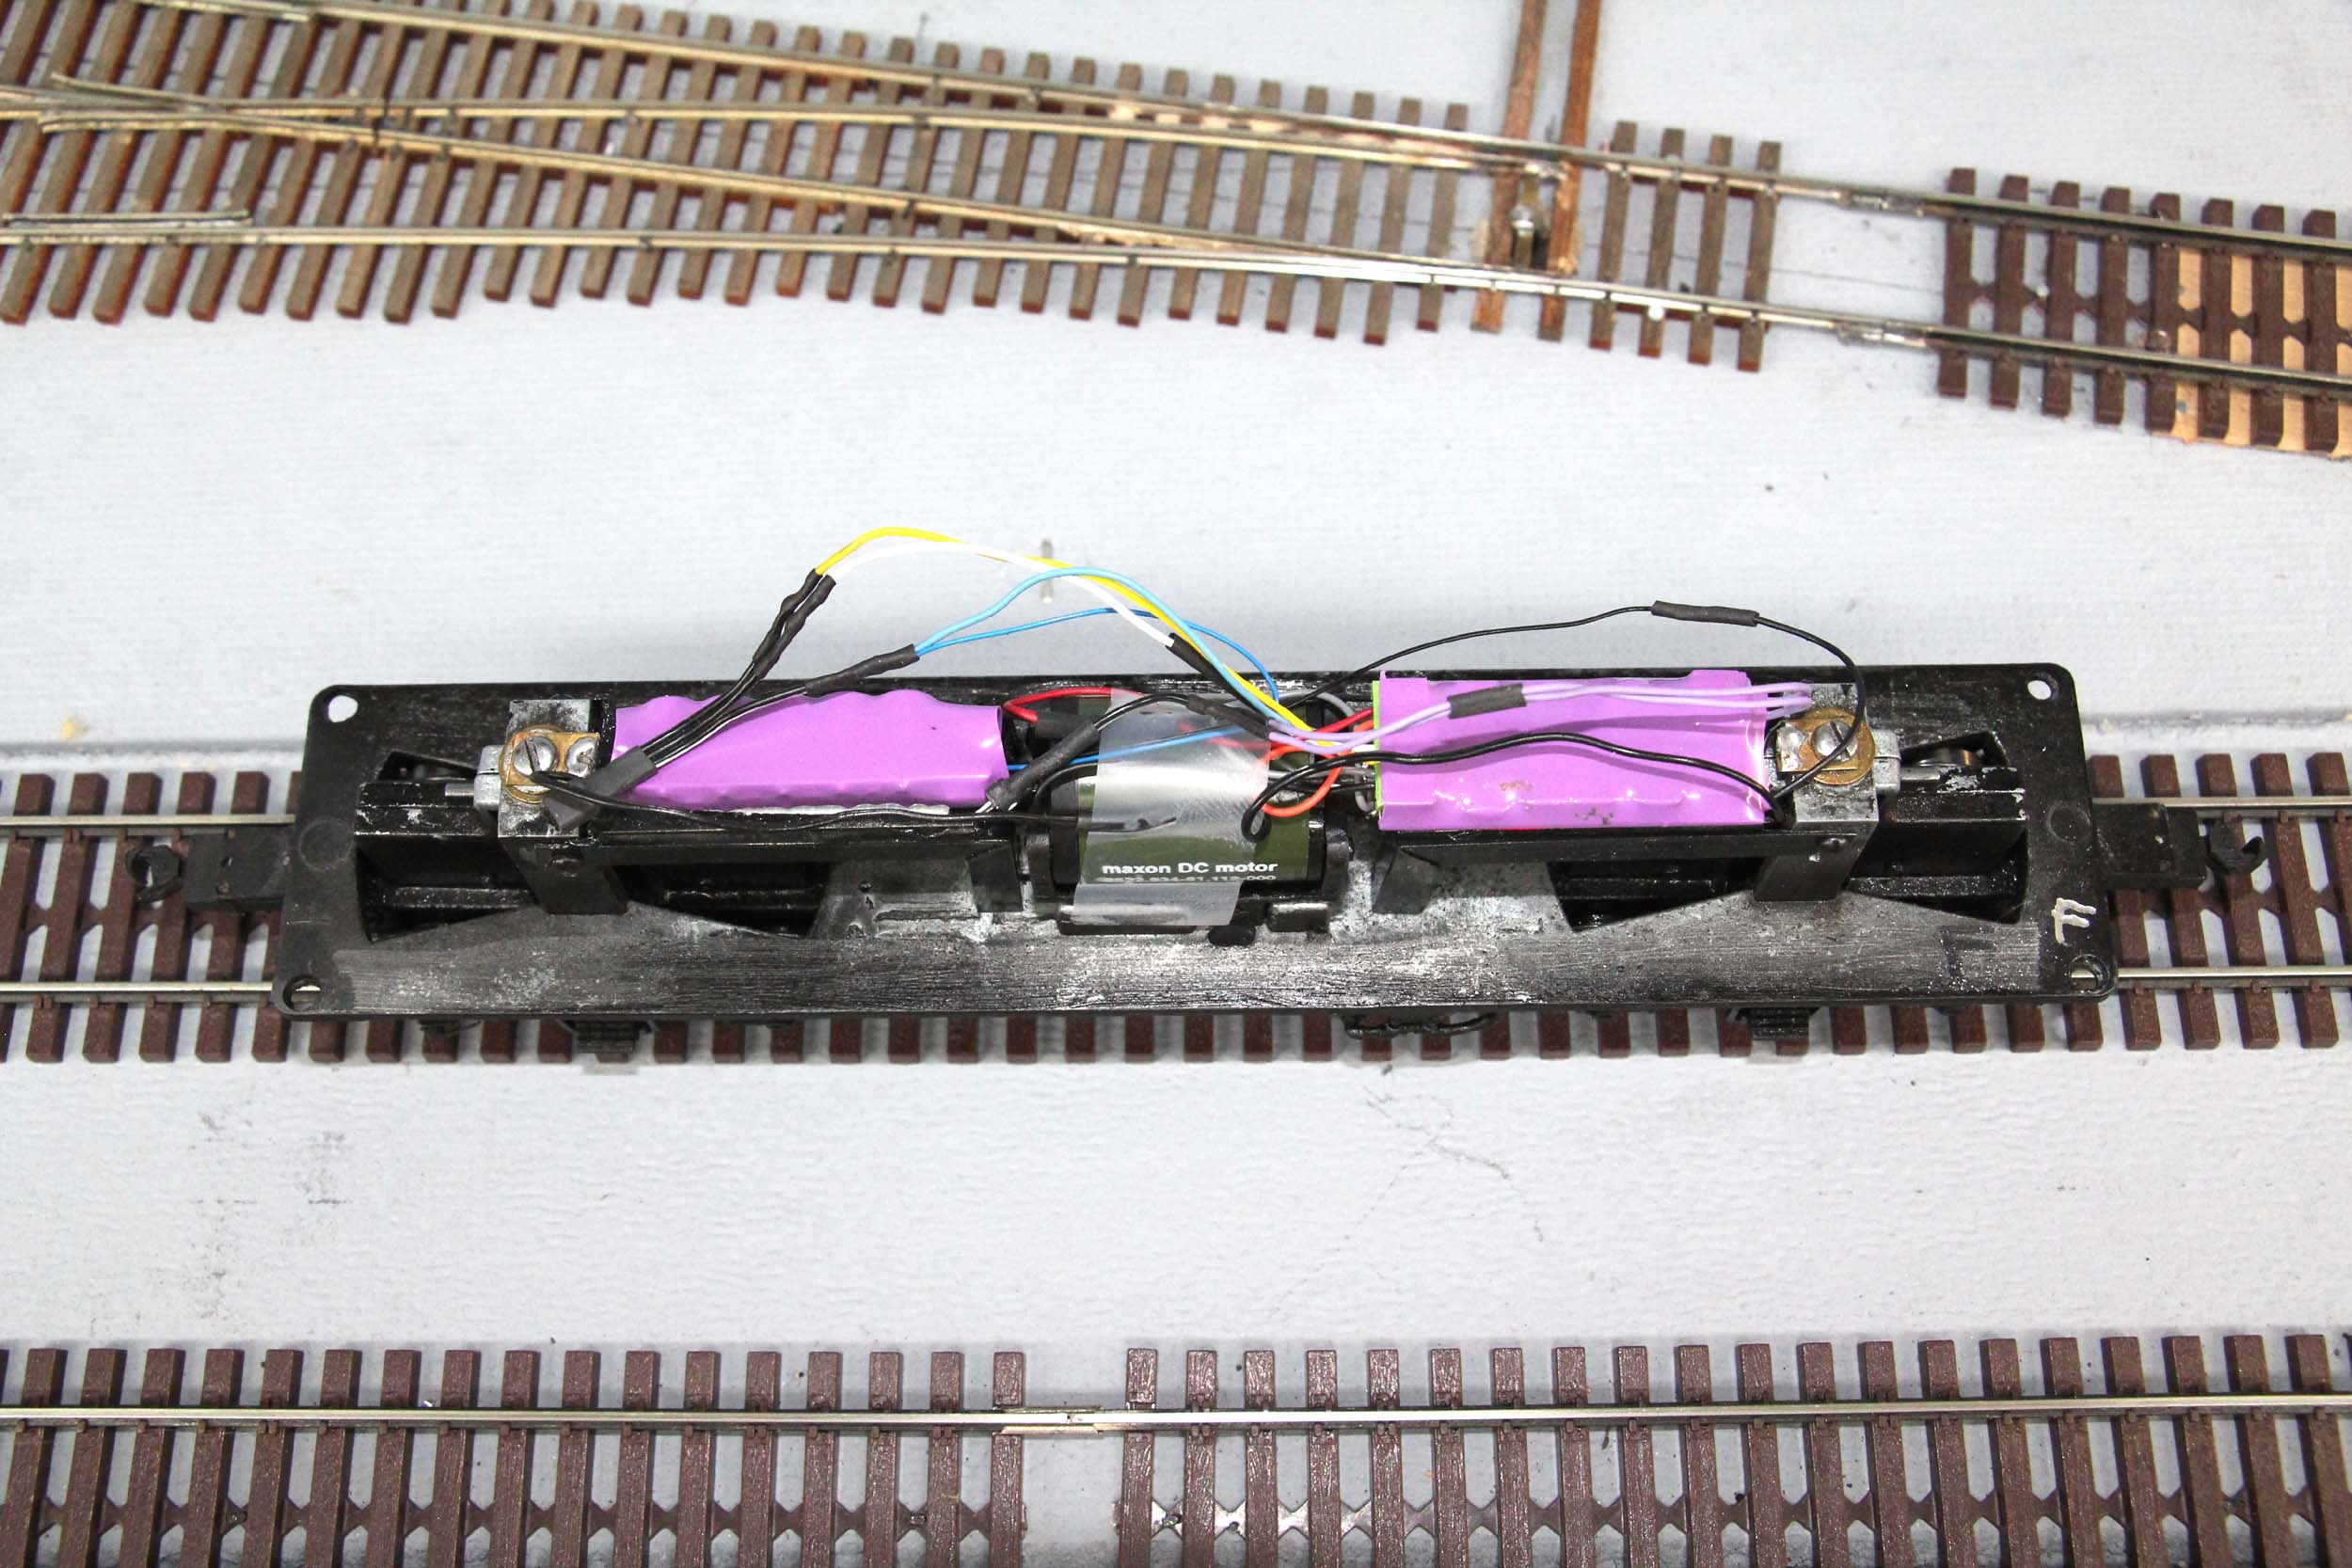
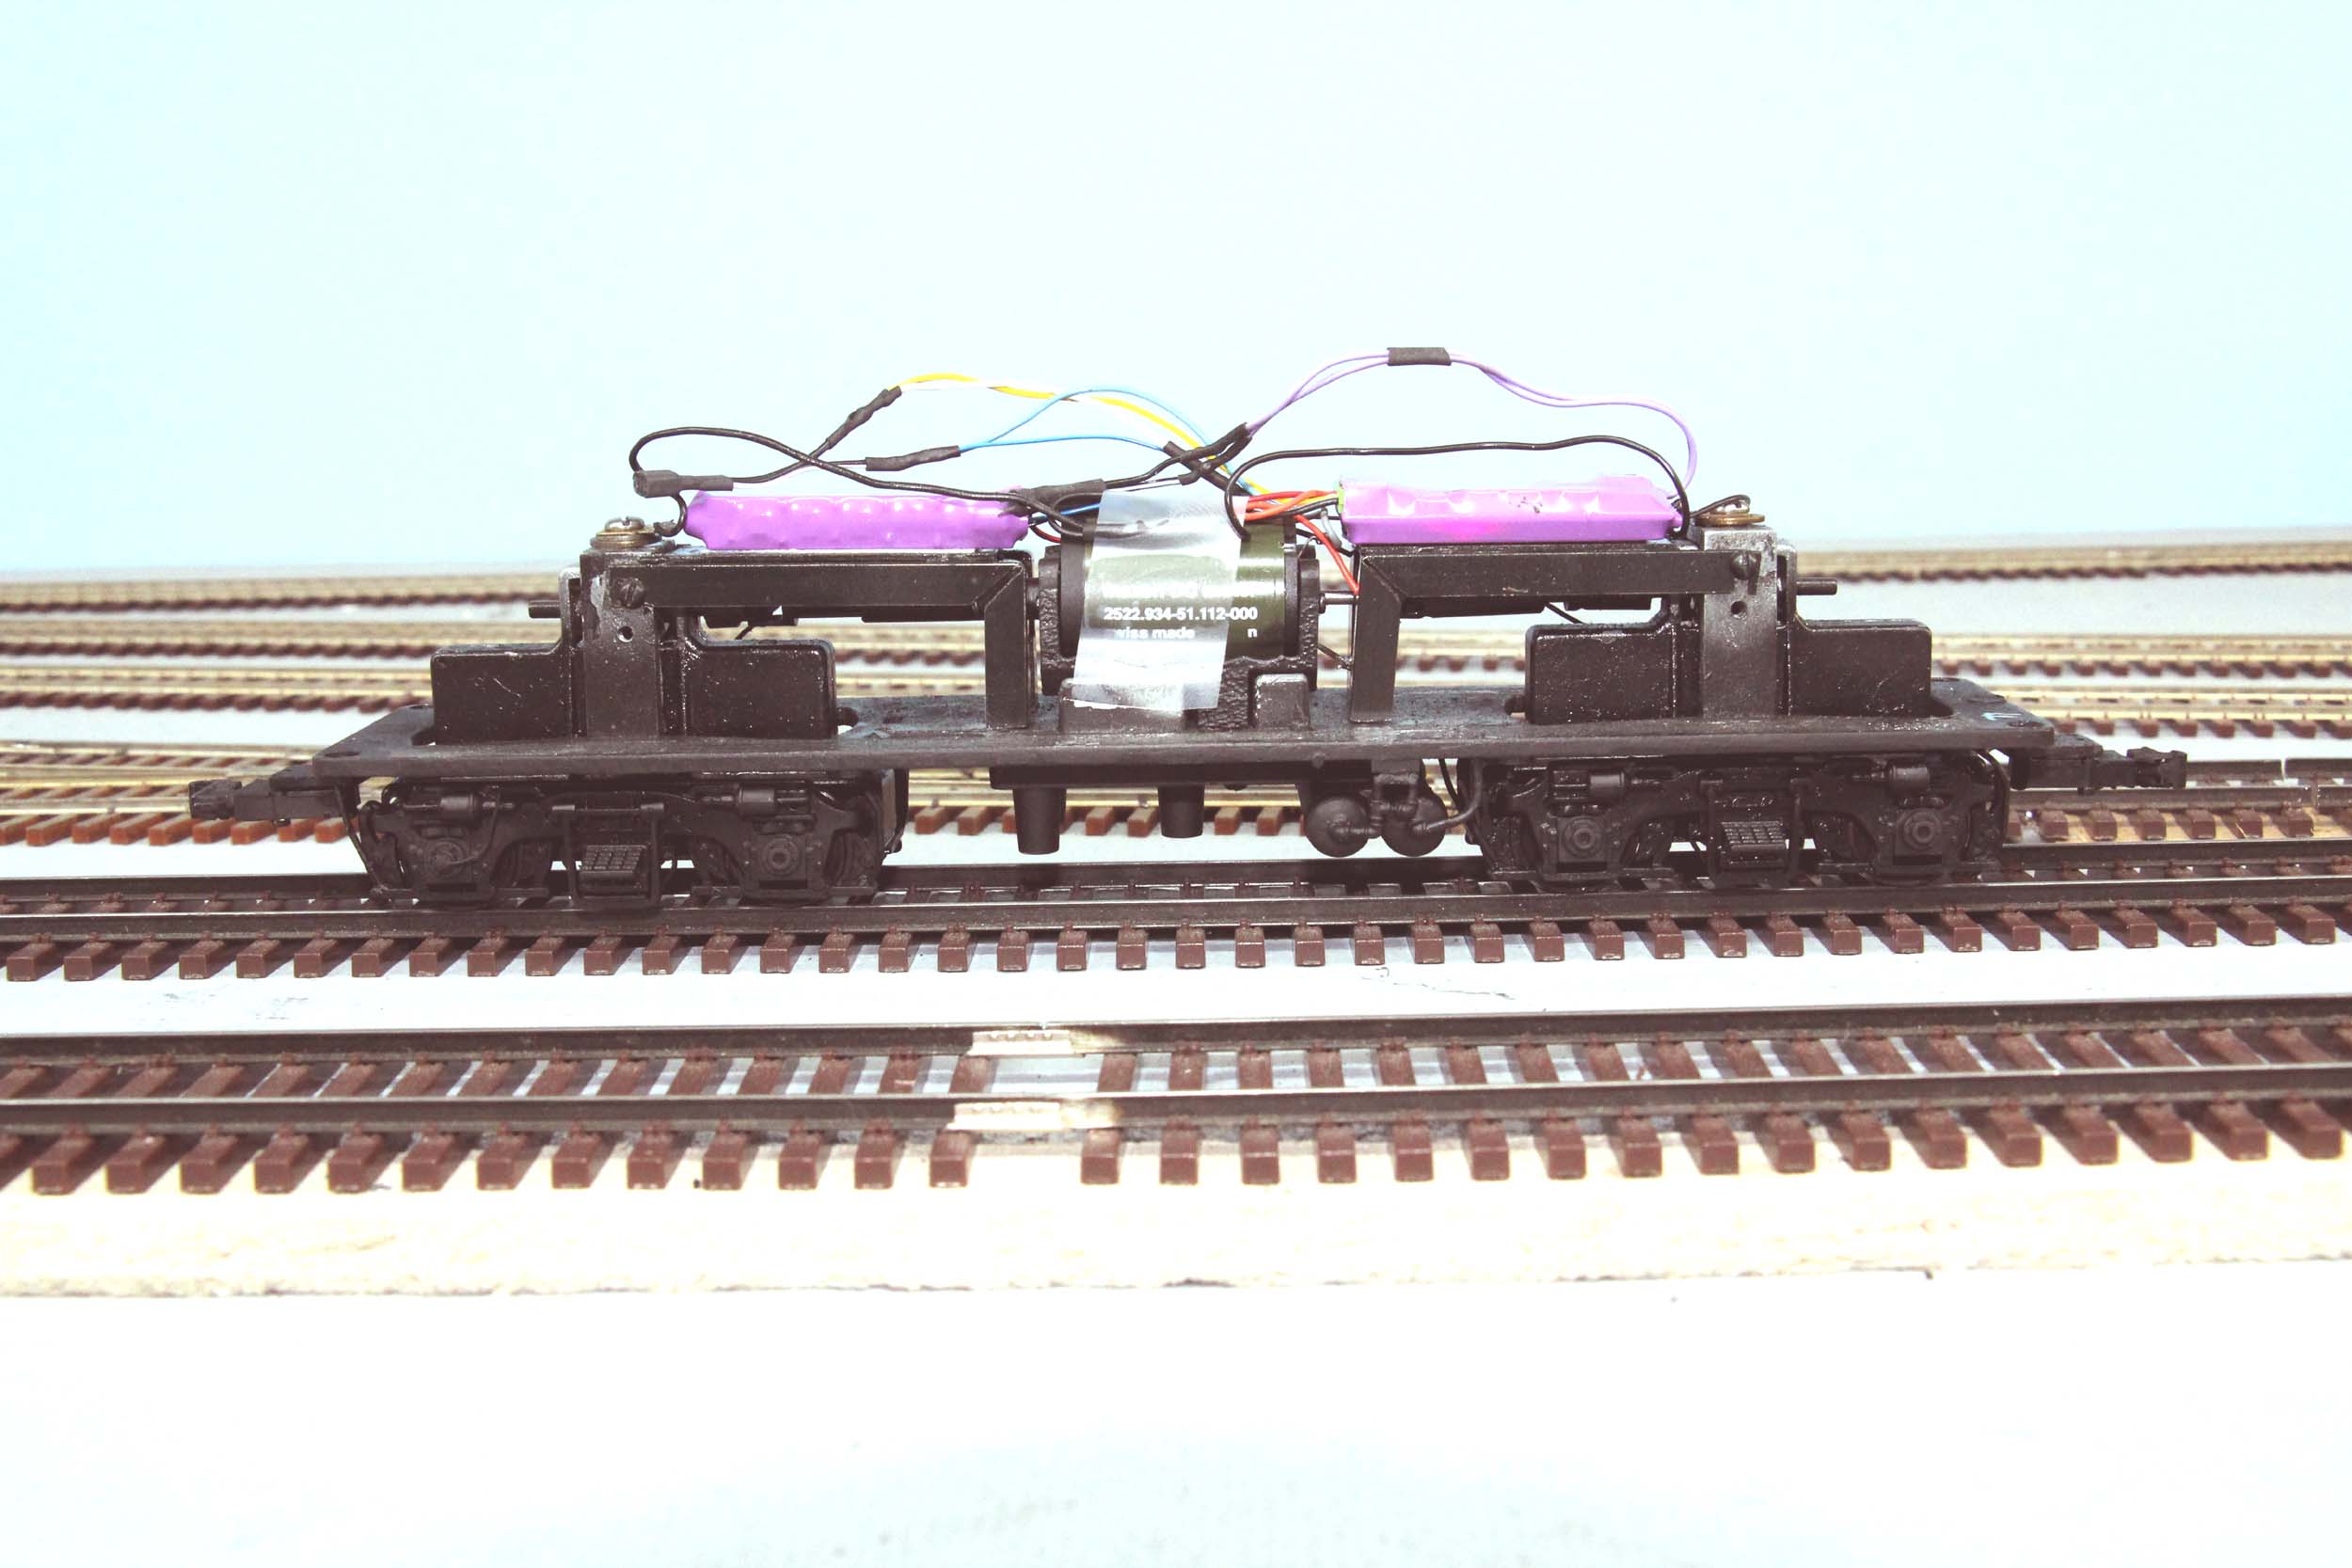
Electronics
This
is the final decoder configuration. I decided to keep the first generation
Tsunami and add a Current Keeper. The lighting is just the headlights. After almost
melting the shell I went real simple for the final build.
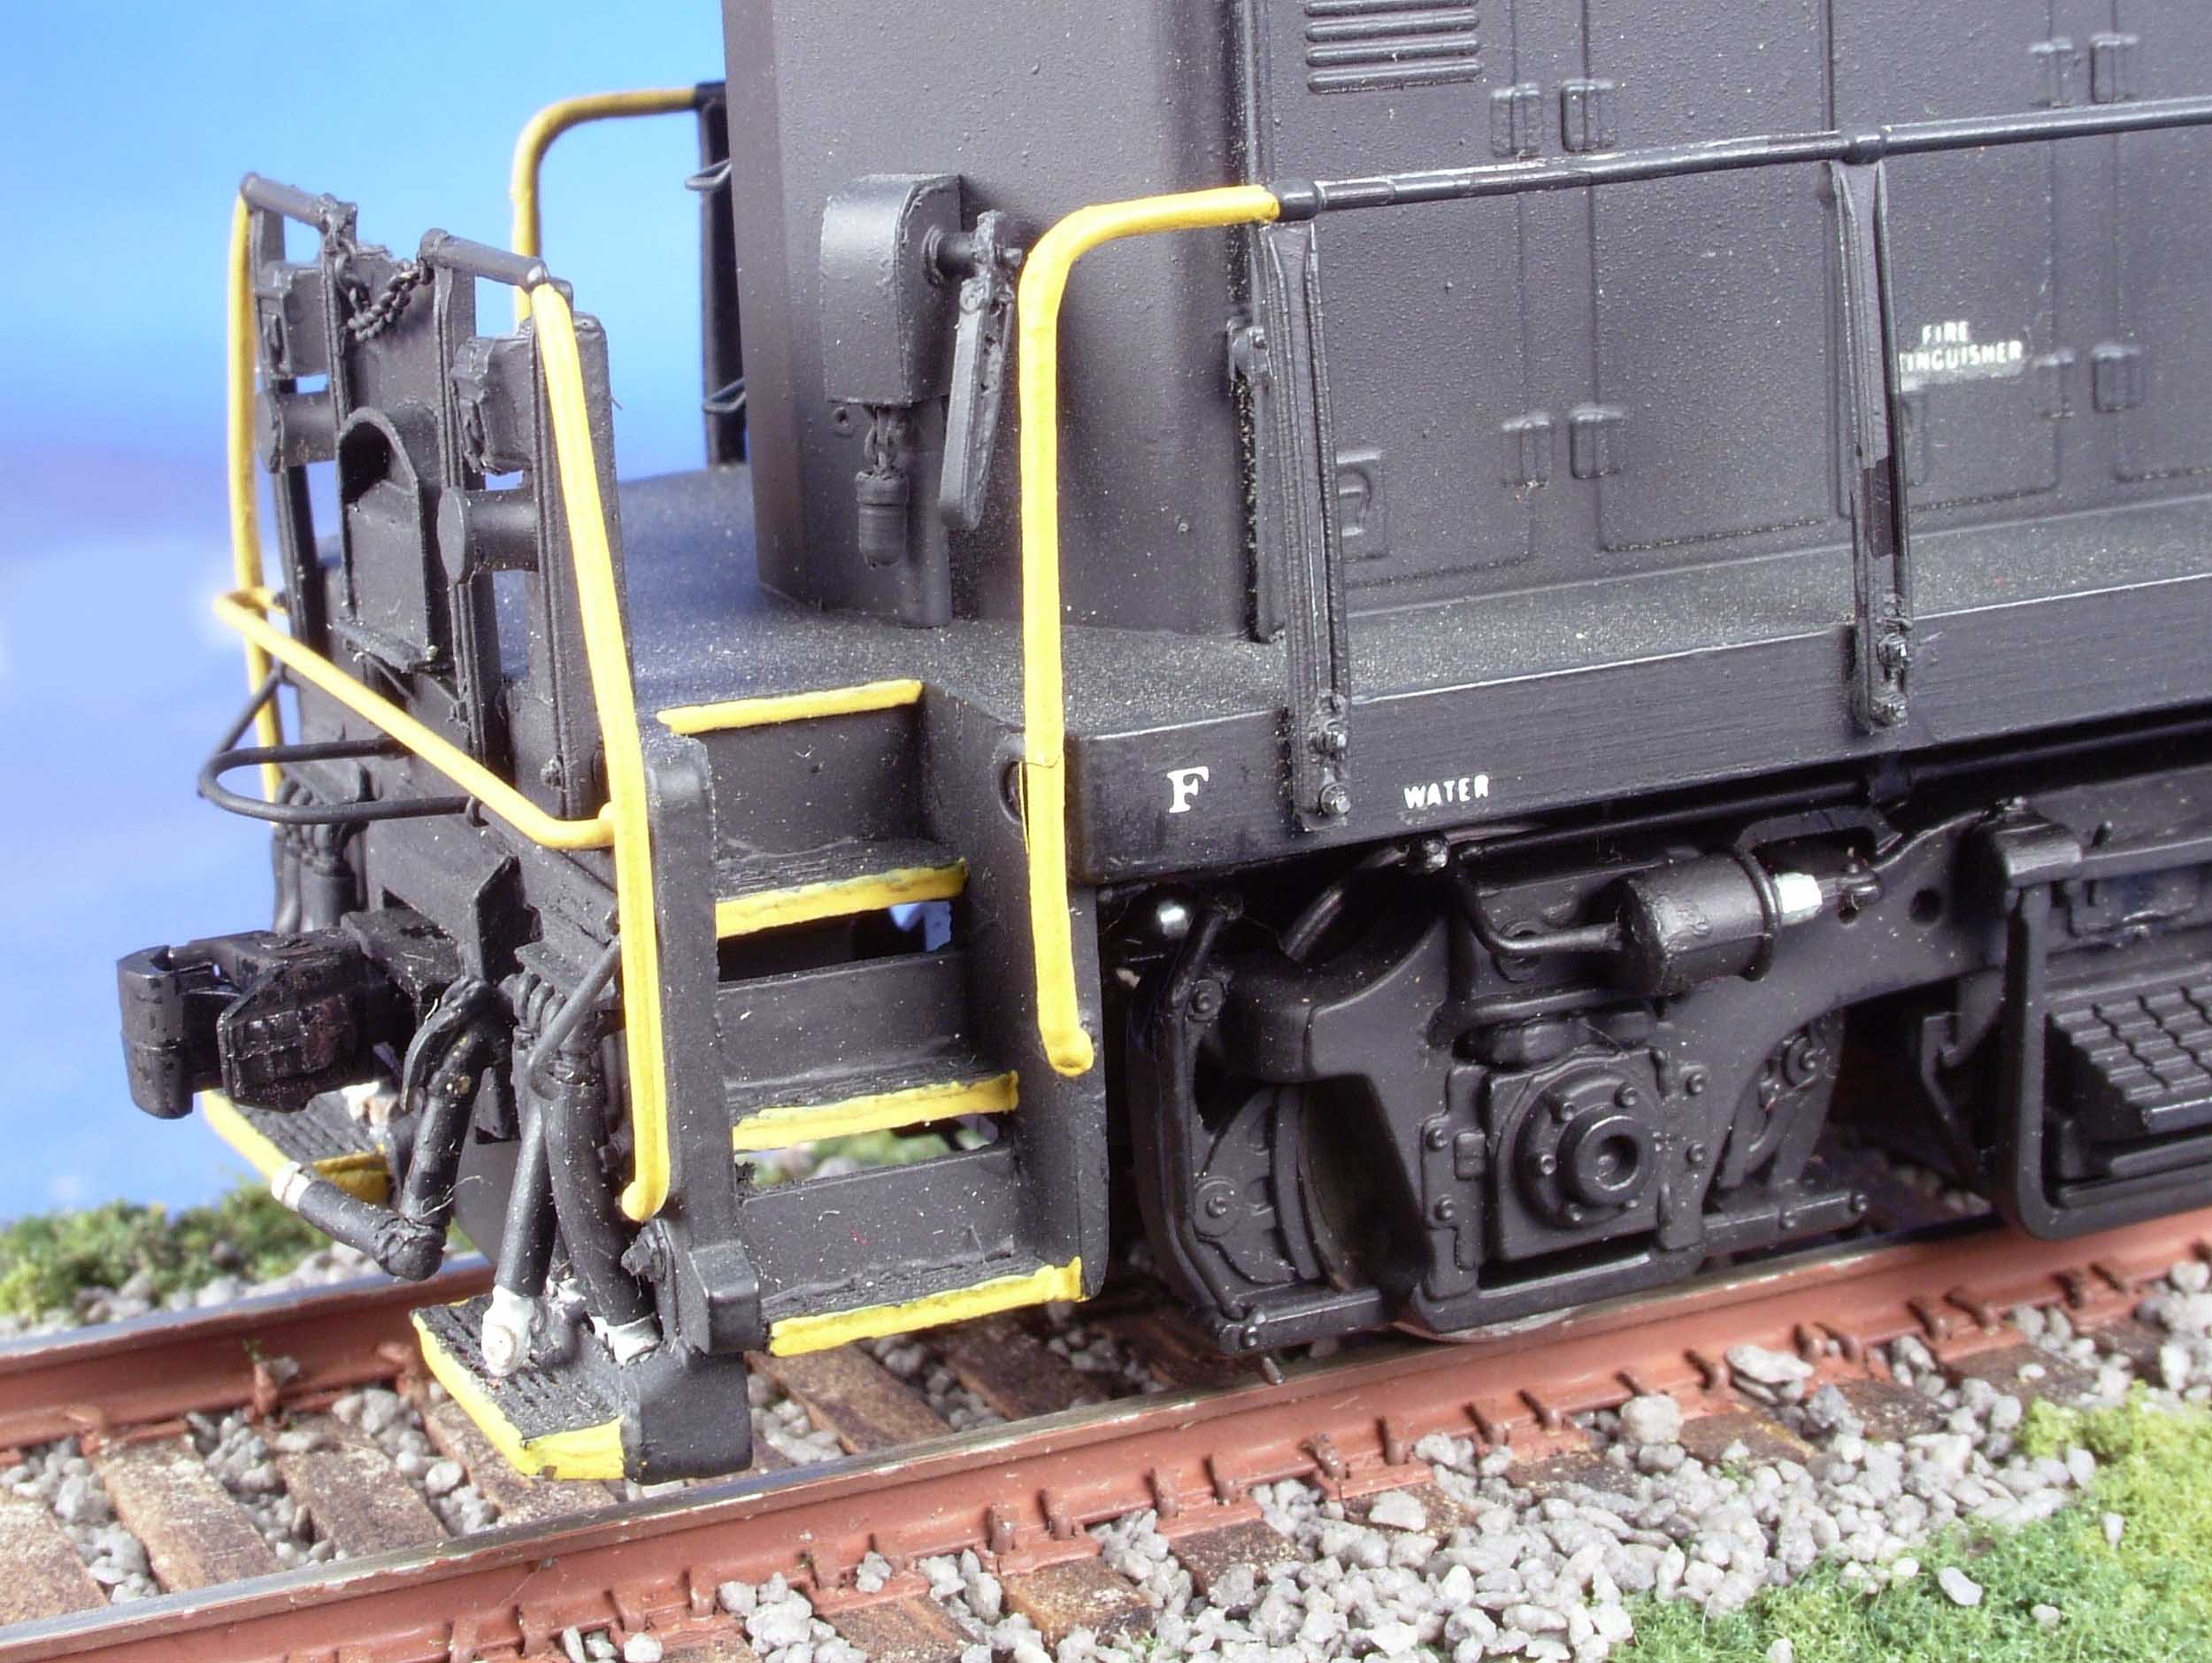
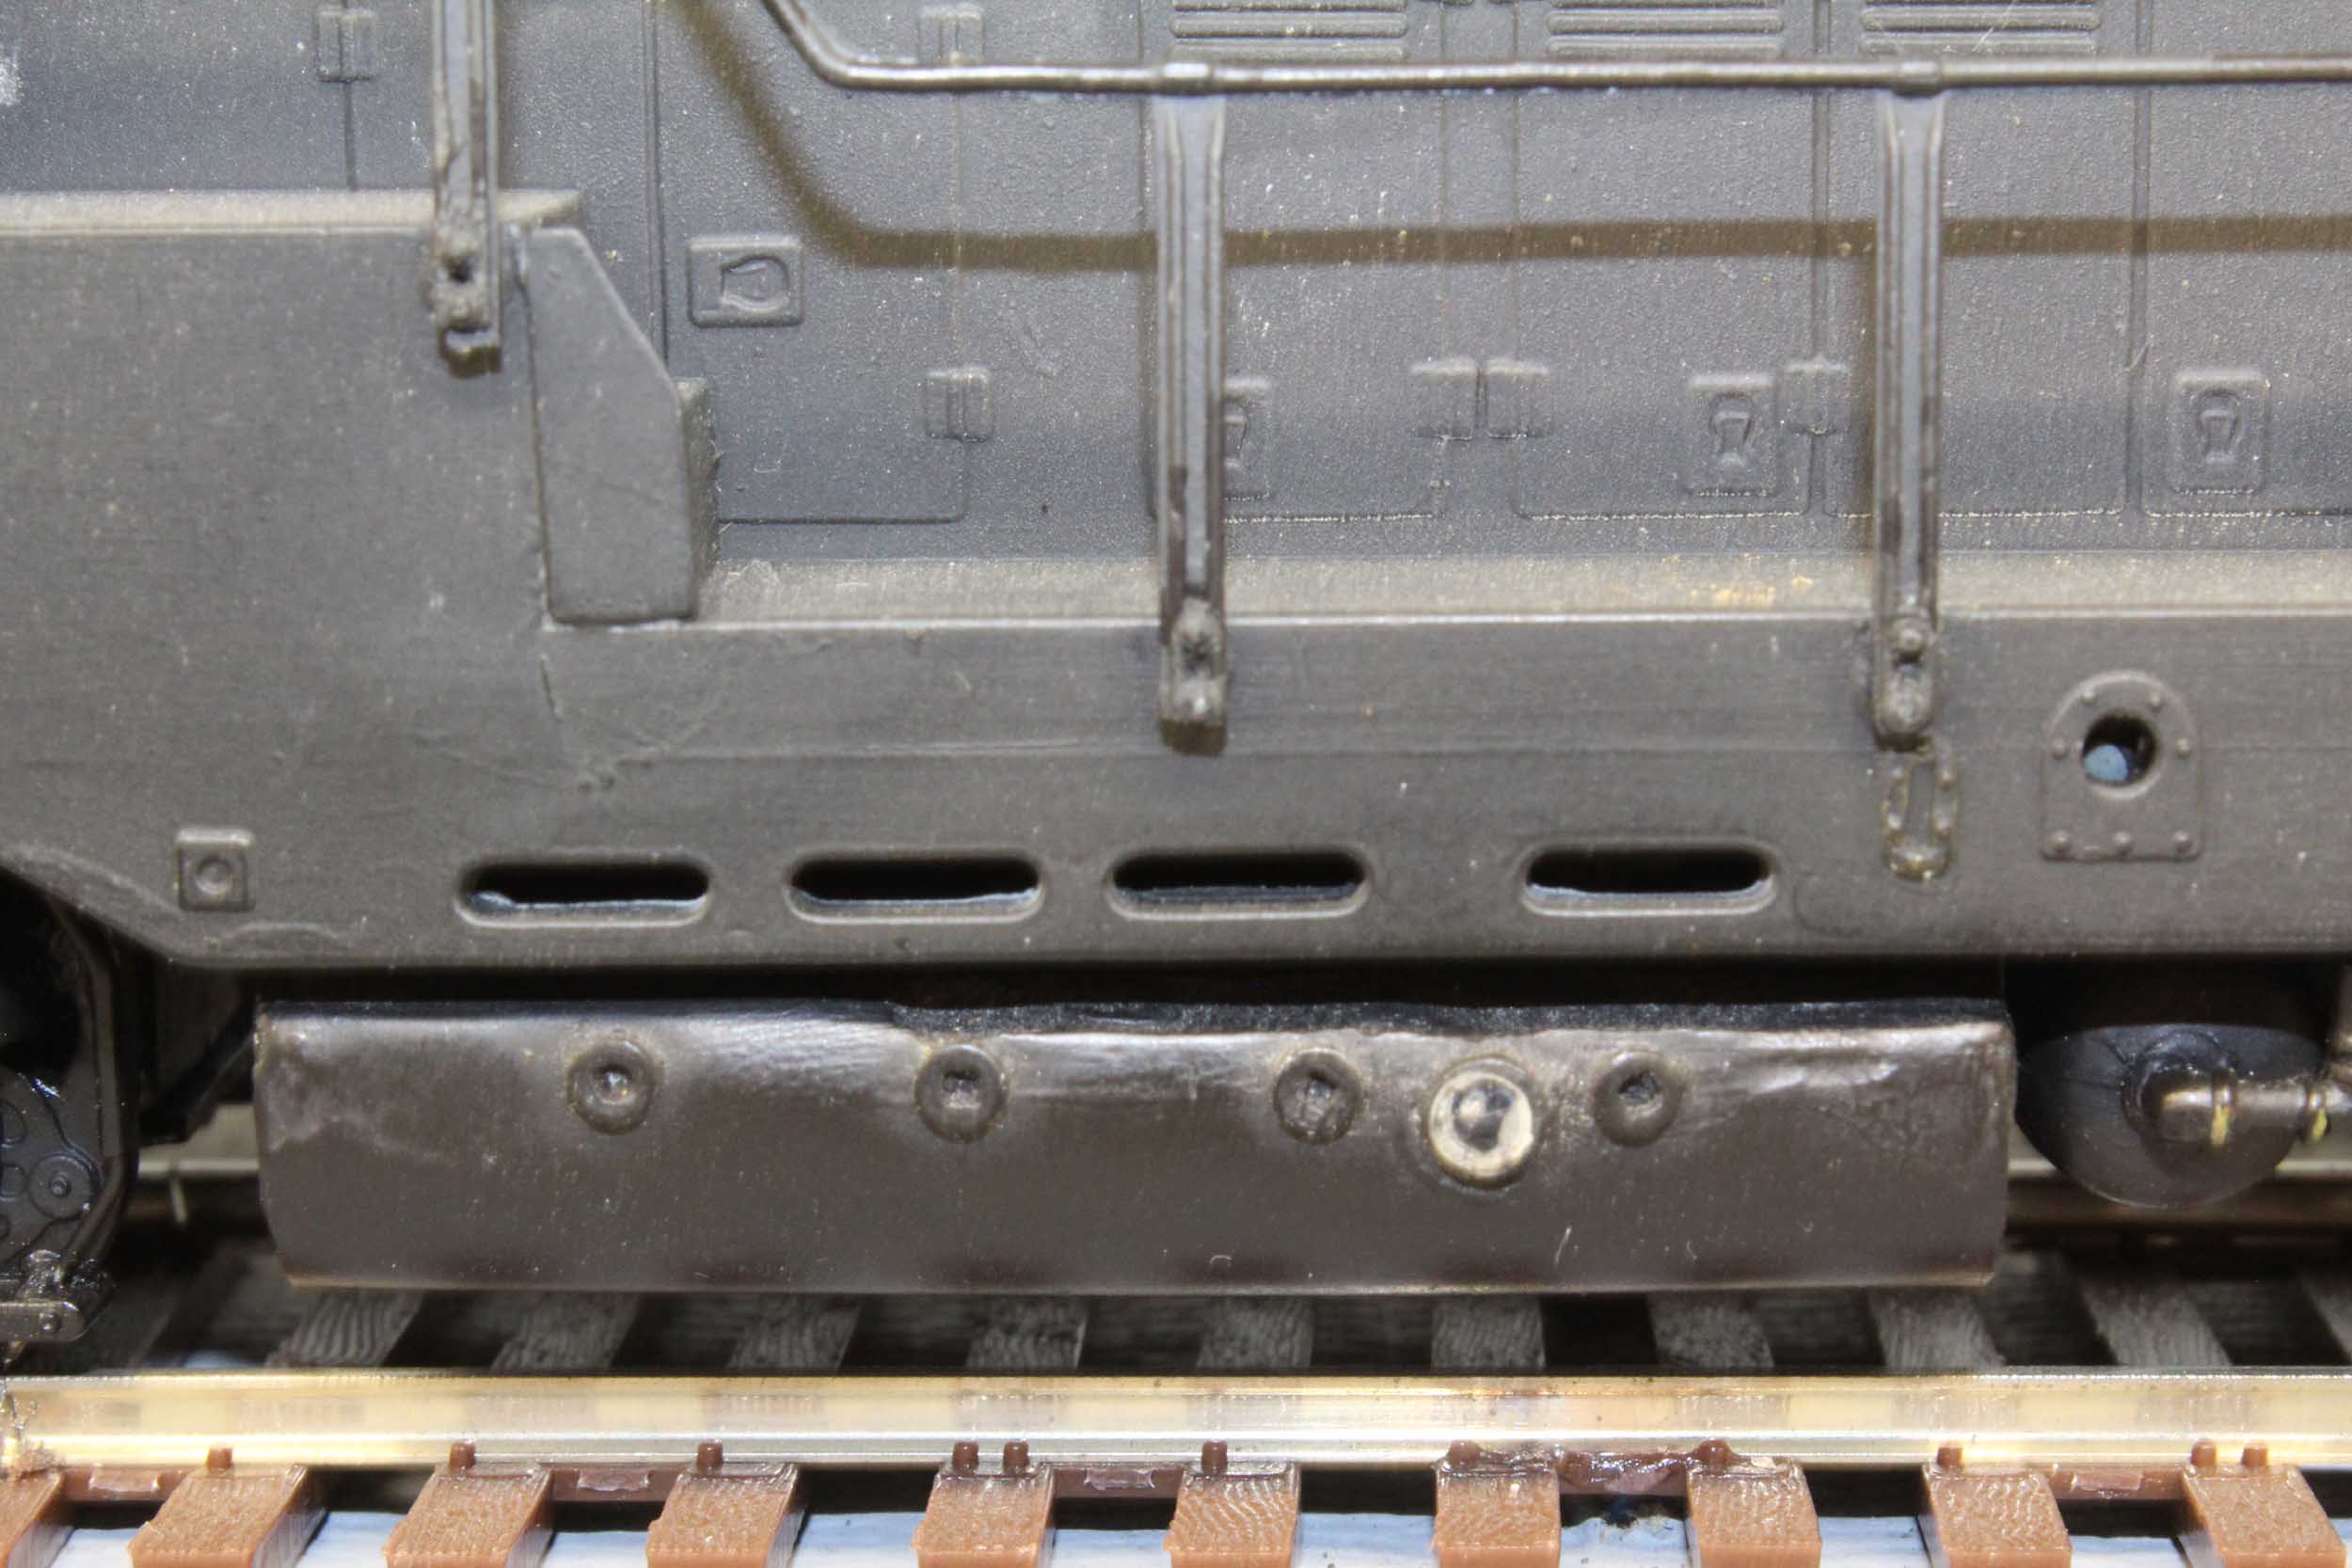
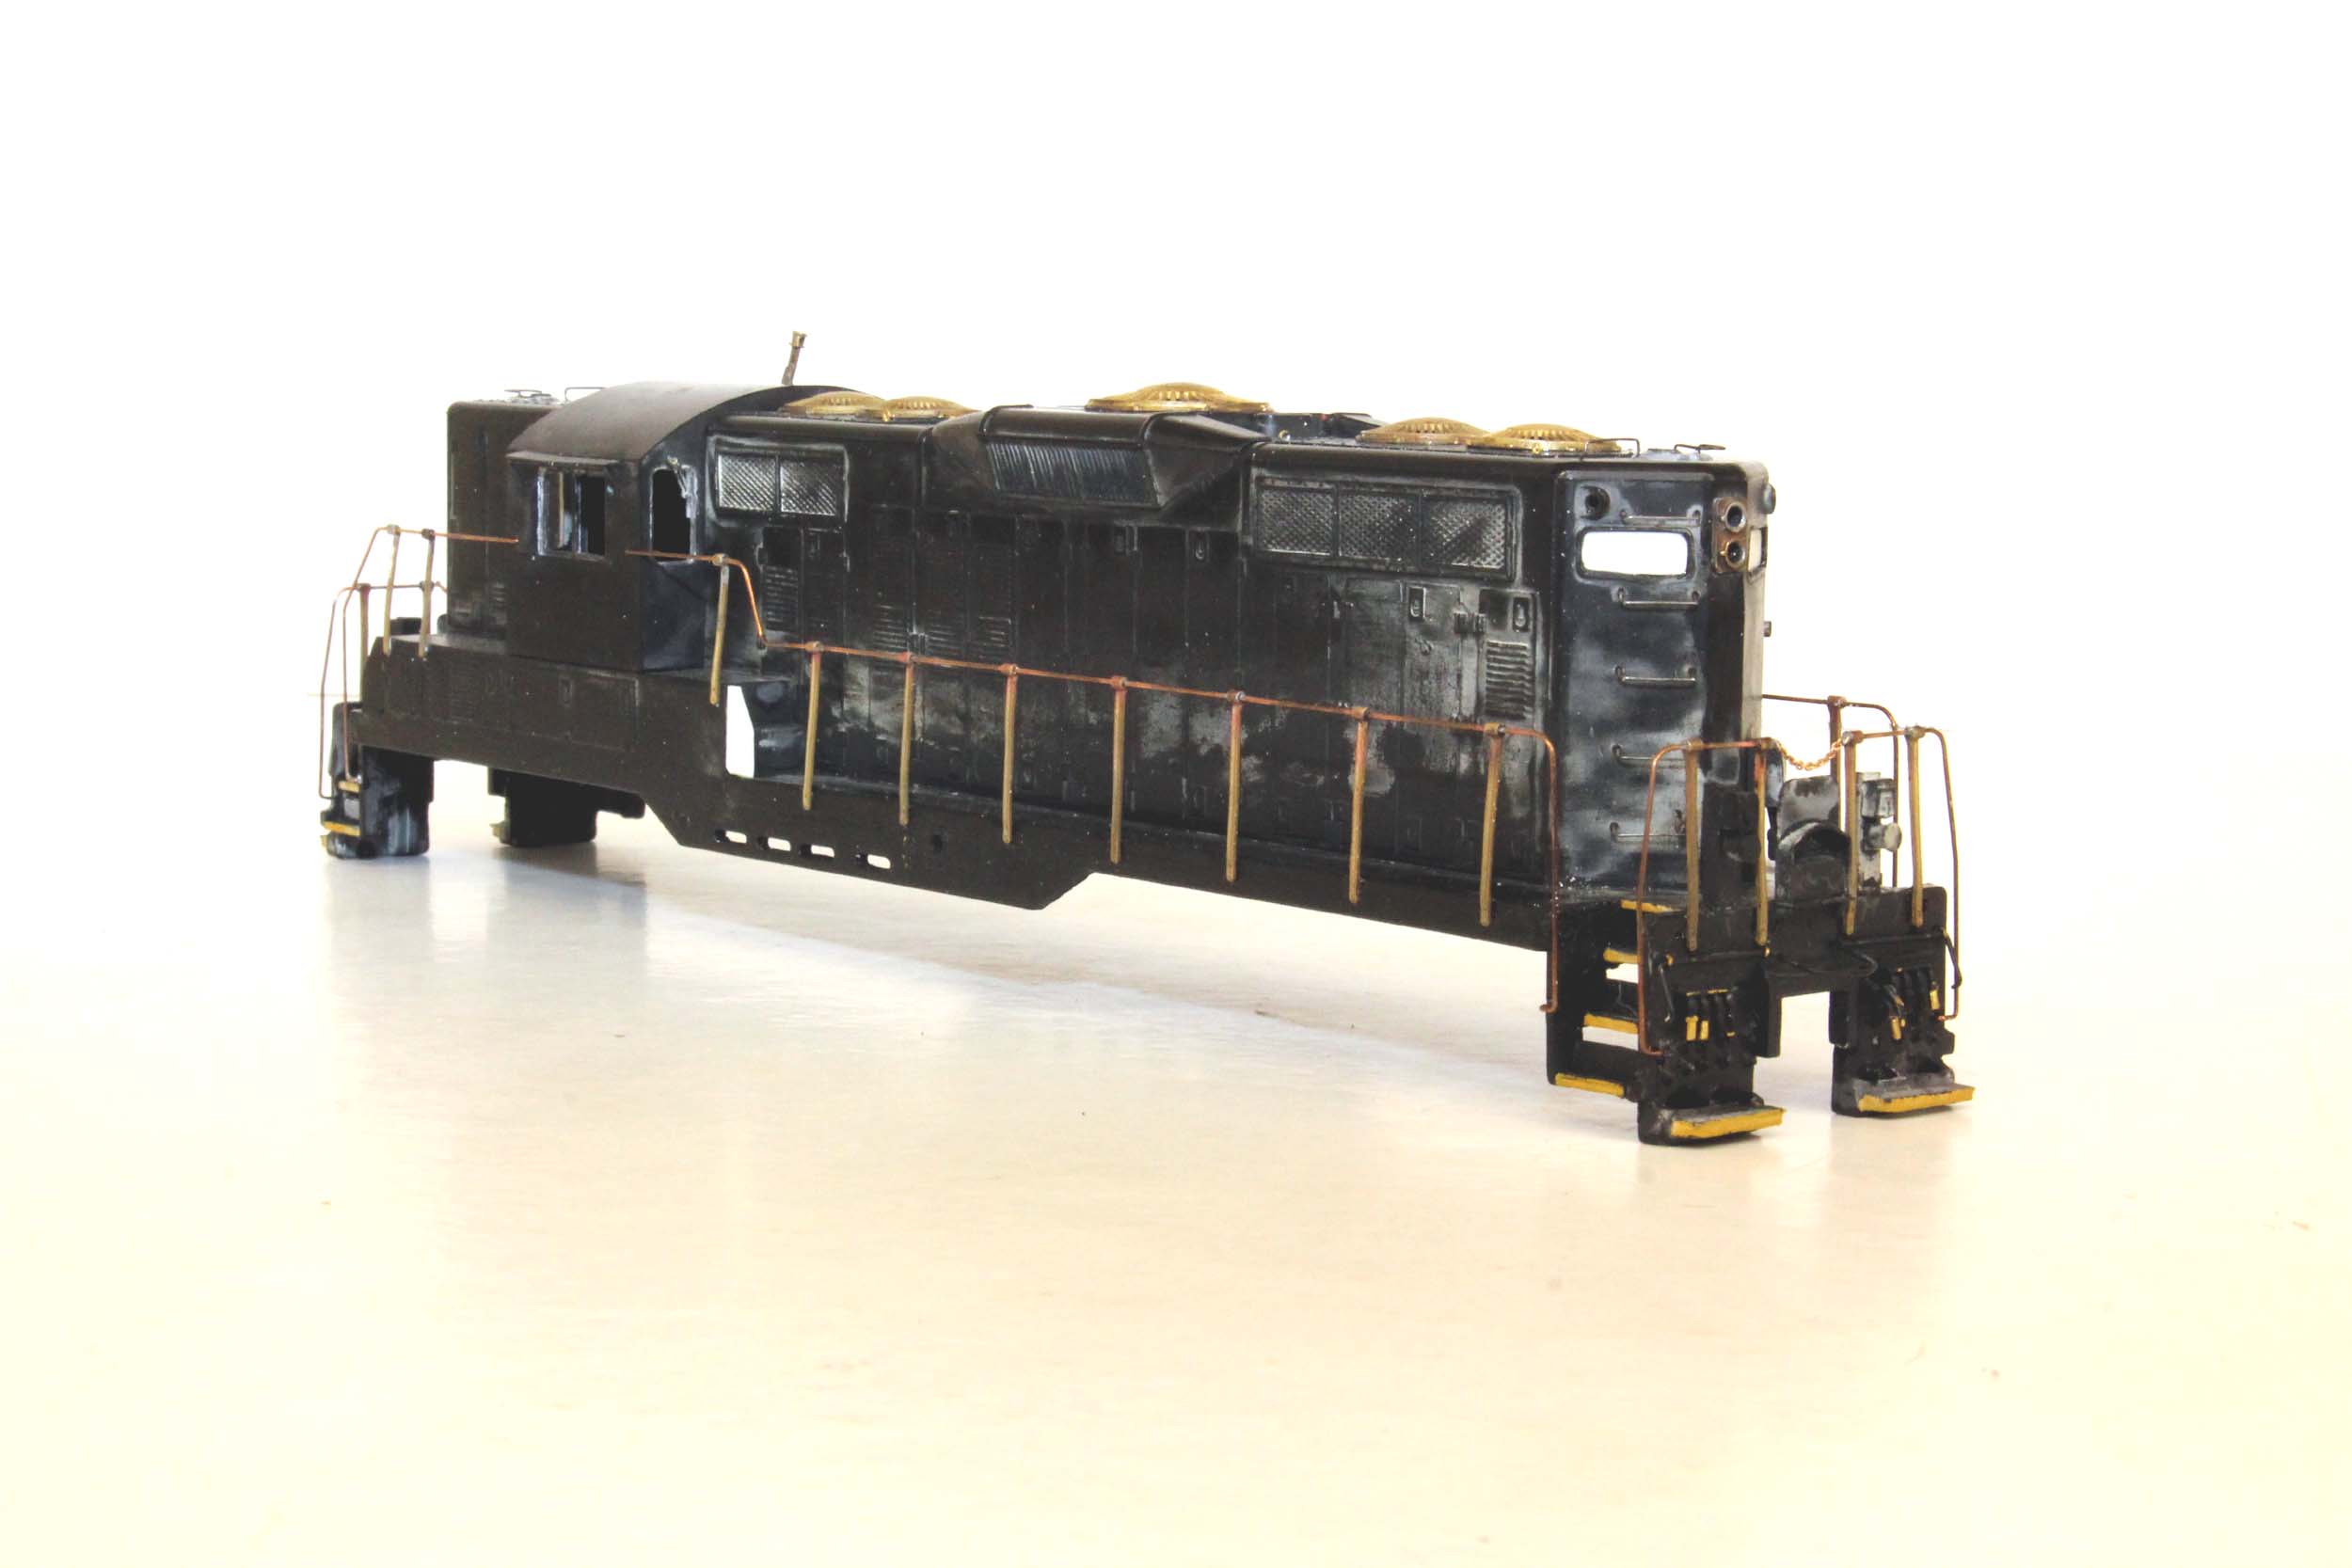
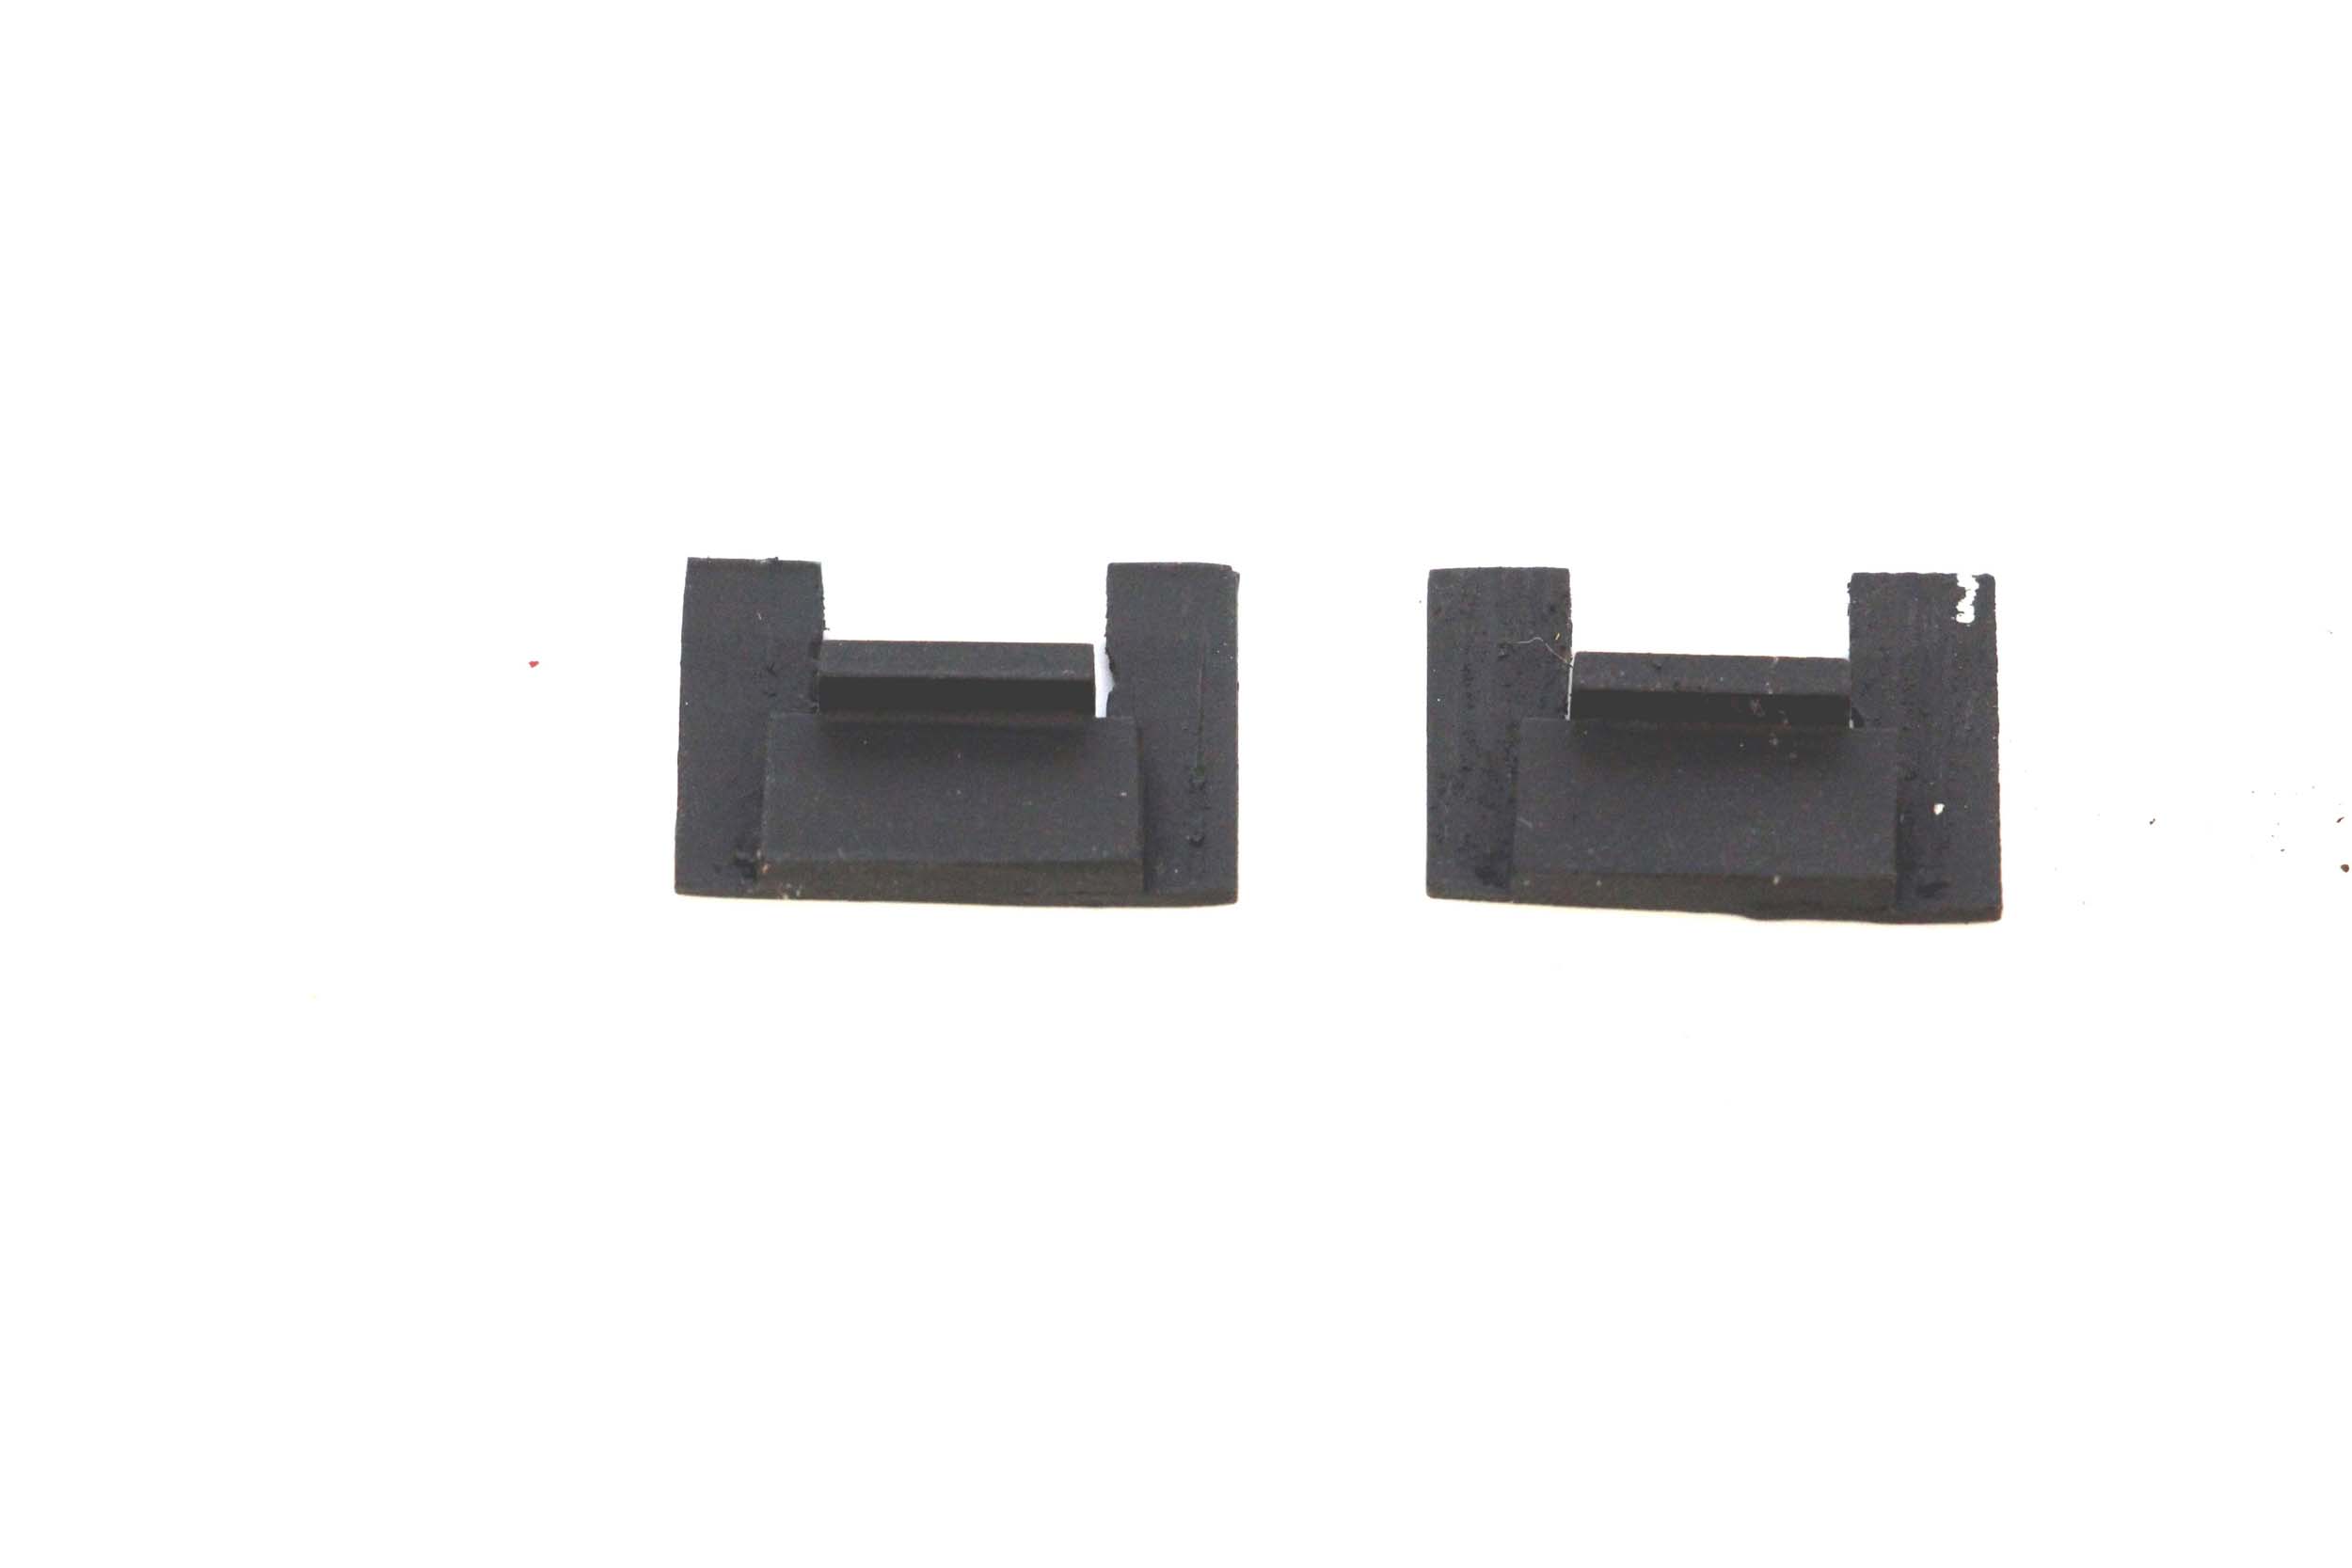
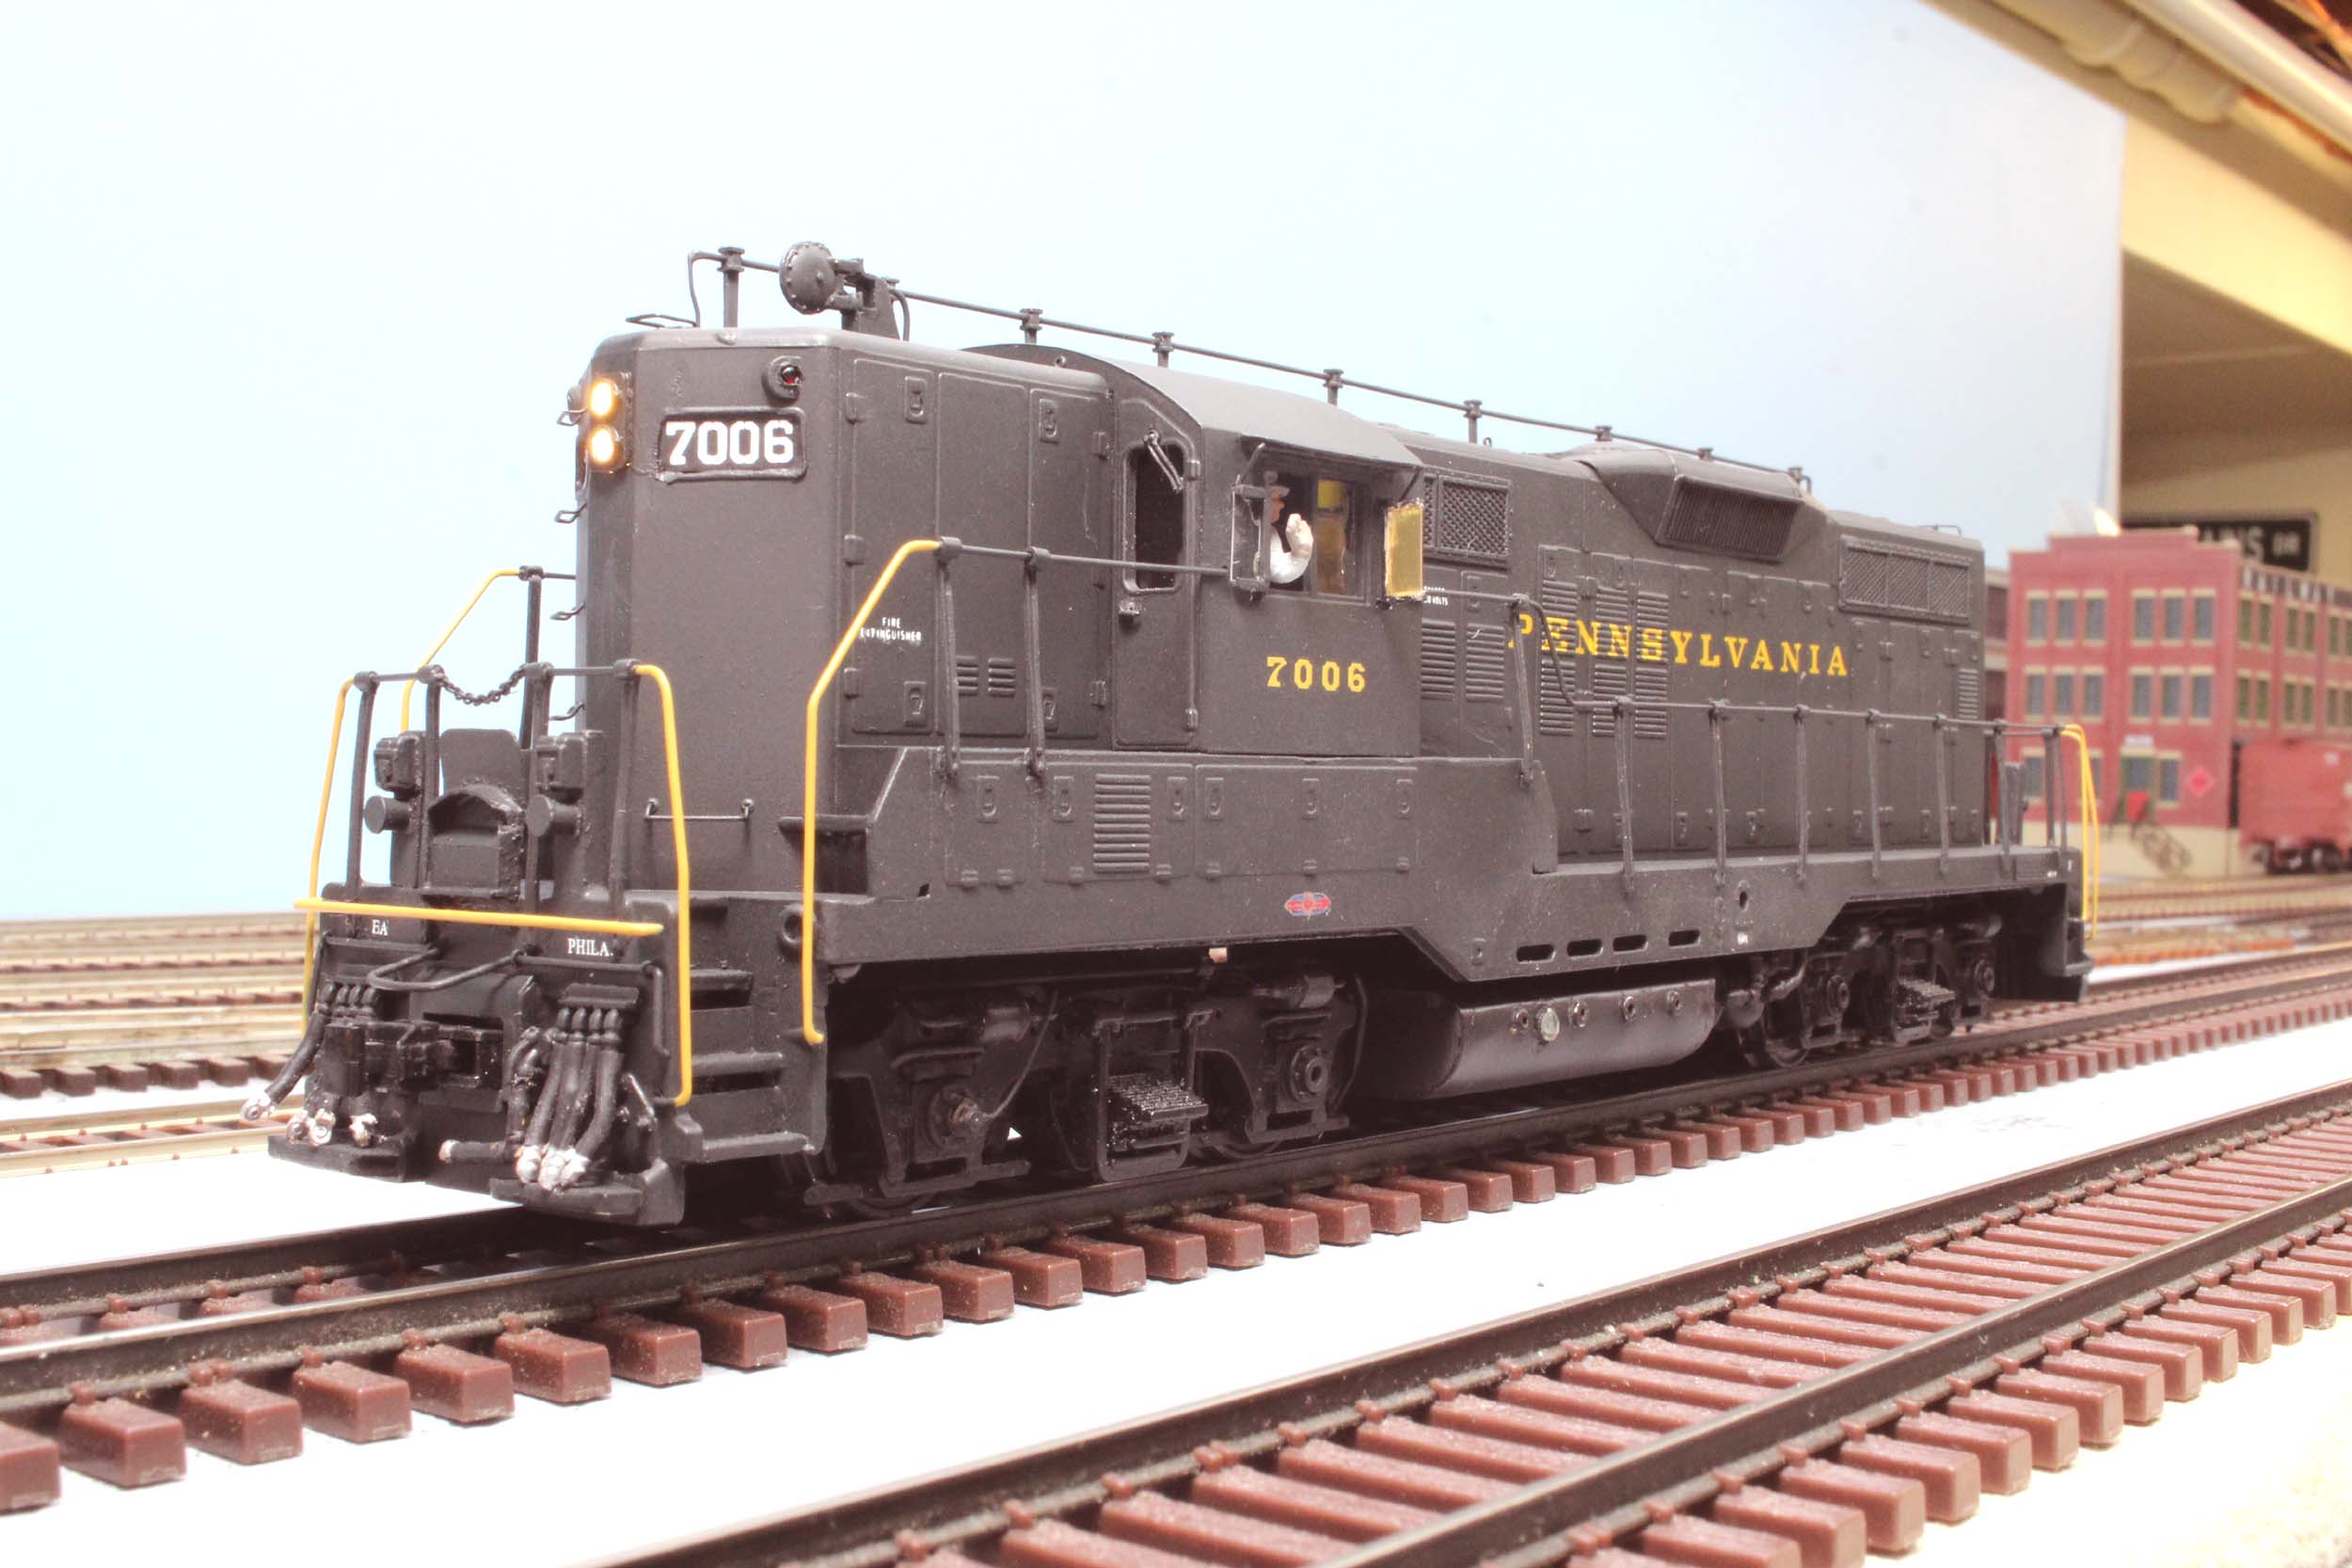
Draft Gear
I
thought this was a rather clever way of making the look of a draft gear while
the coupler is still attached to the frame. These inserts slide in to fill in
the bottom and fill in the opening under the coupler. You can see the open
grating I added for the steps and pilot platforms.
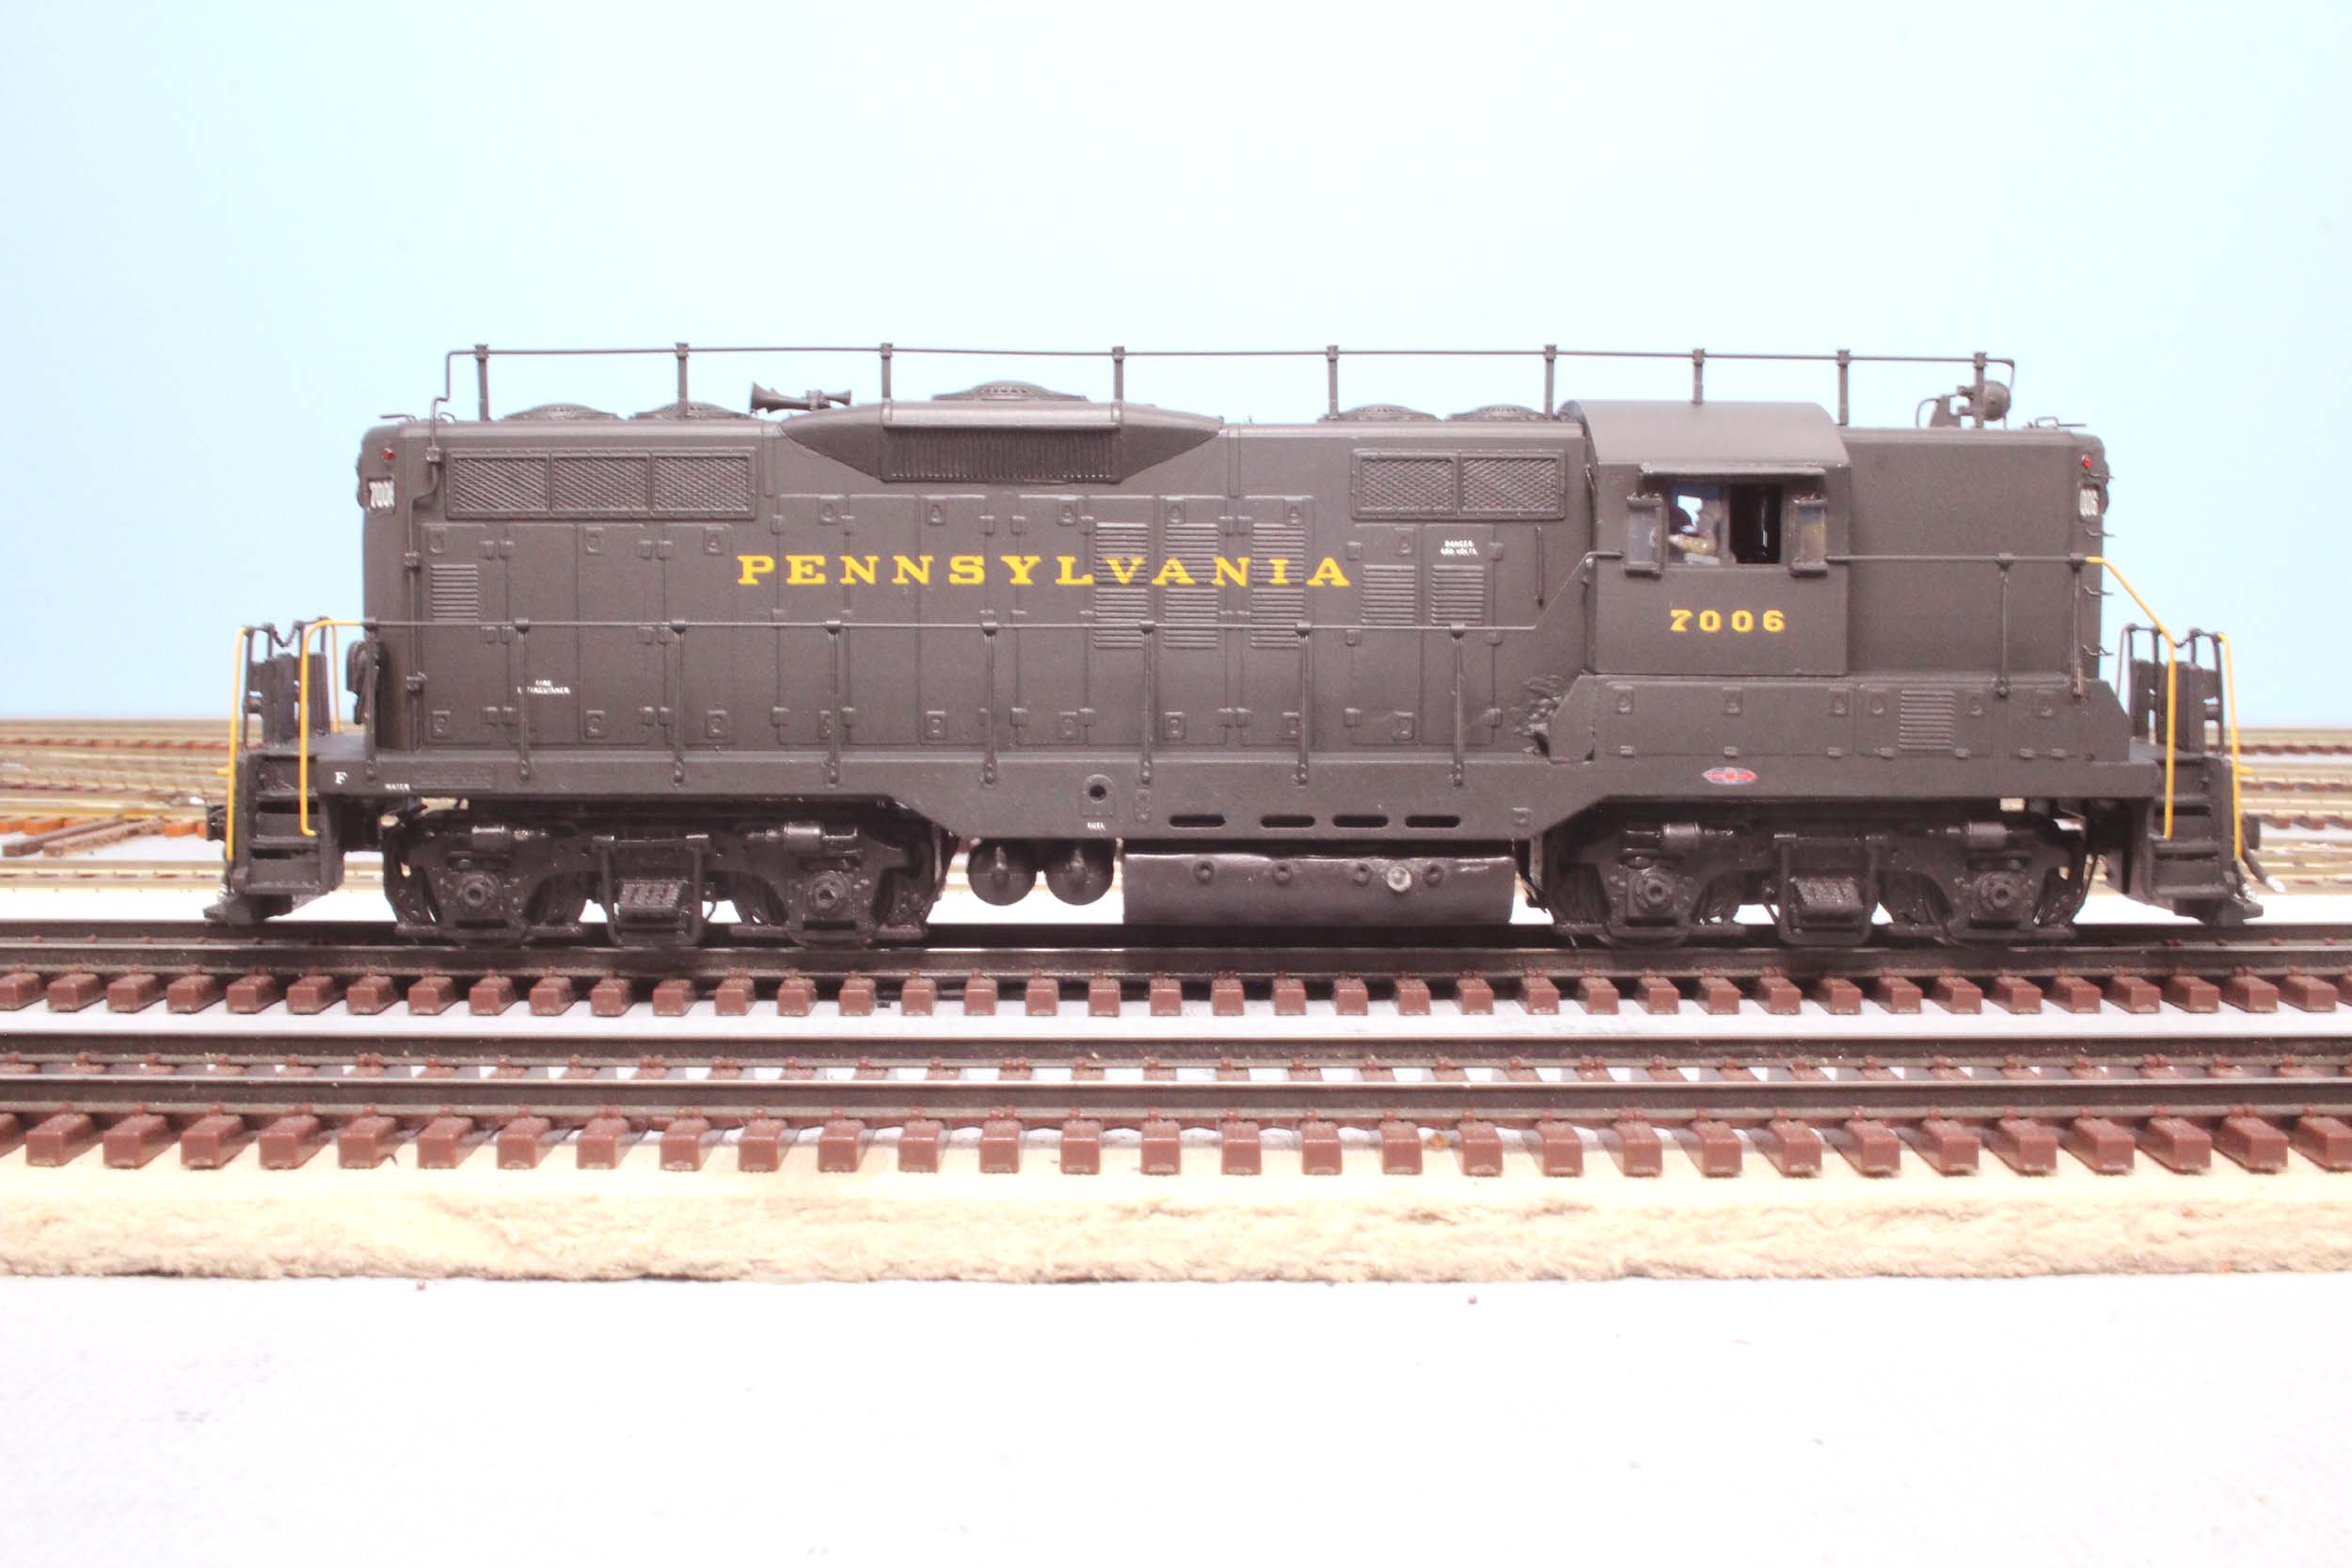
Completed 2-14-18
I
have had this loco for about 29 years at this point. We have been on quite the
journey together in me trying to make a nice looking PRR GP9. My goal in 2018
was to update and fix some things but use and recycle wherever possible. By far
most of the original 1989 parts remained. I could have replaced the MU stands
with brass castings but did not. I used the parts I made. The flap window in
front of engineer has yellowed a bit with age.
No
weathering yet. Maybe later. I need to learn some new
weathering ideas.


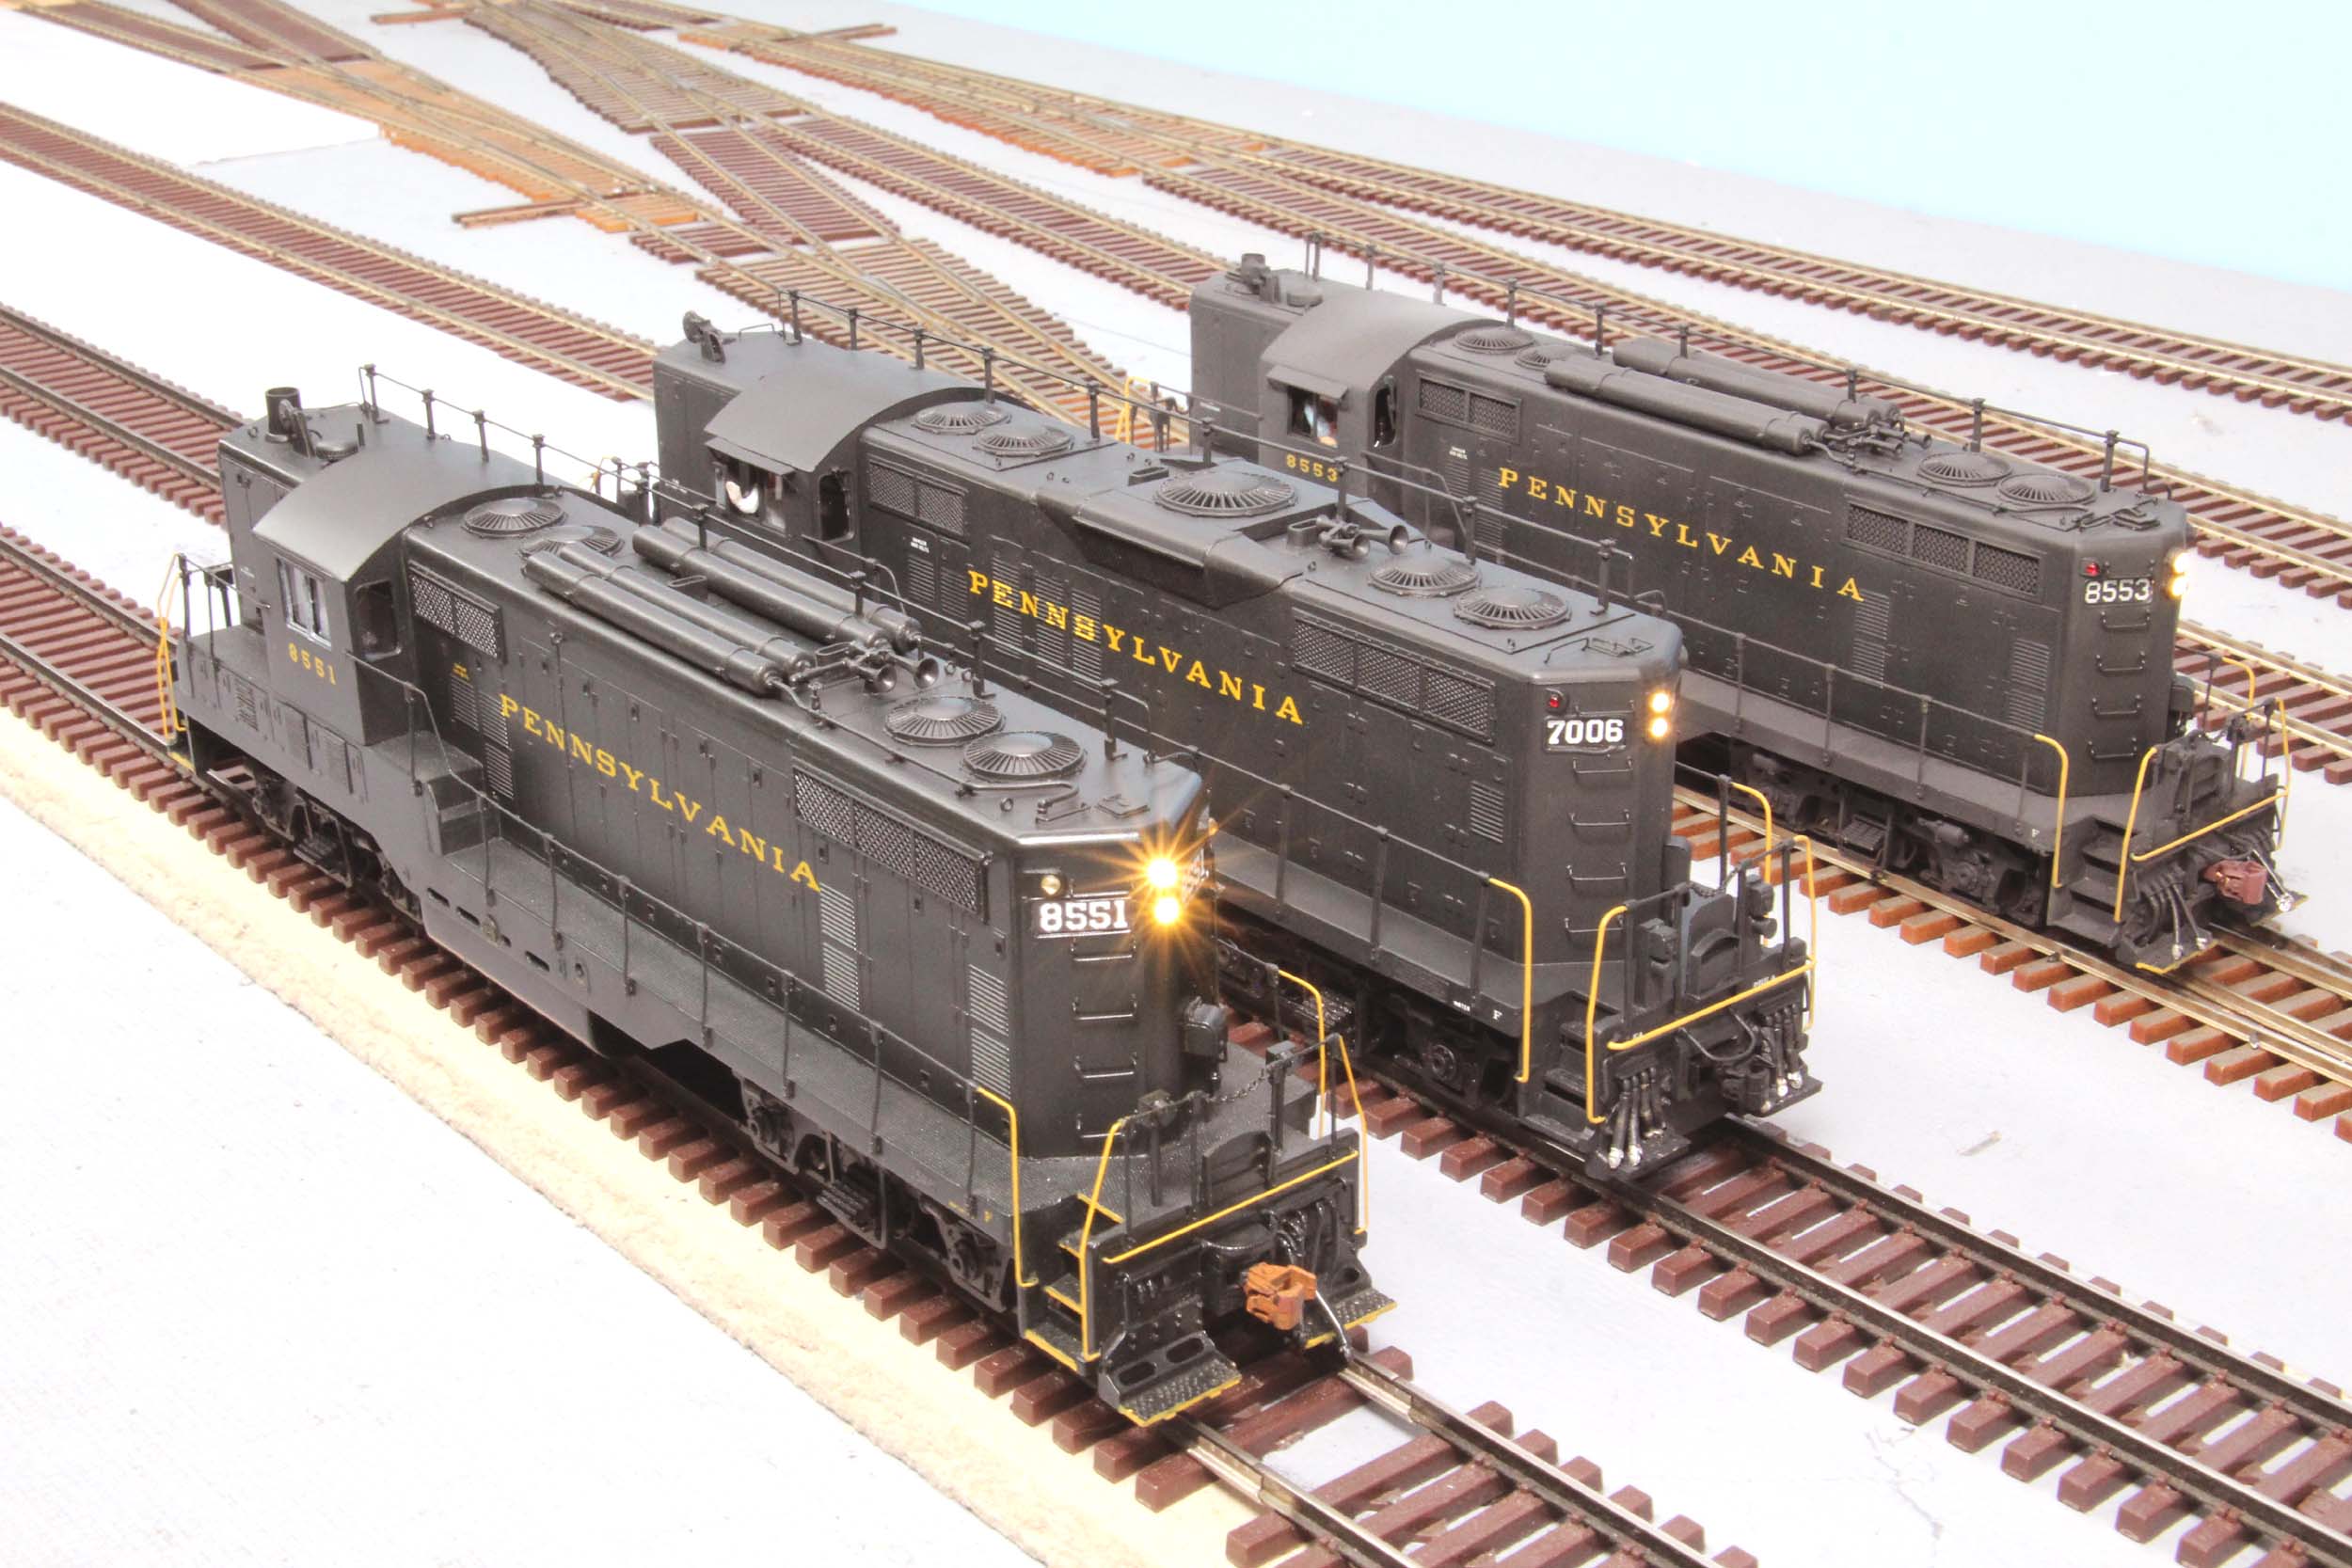
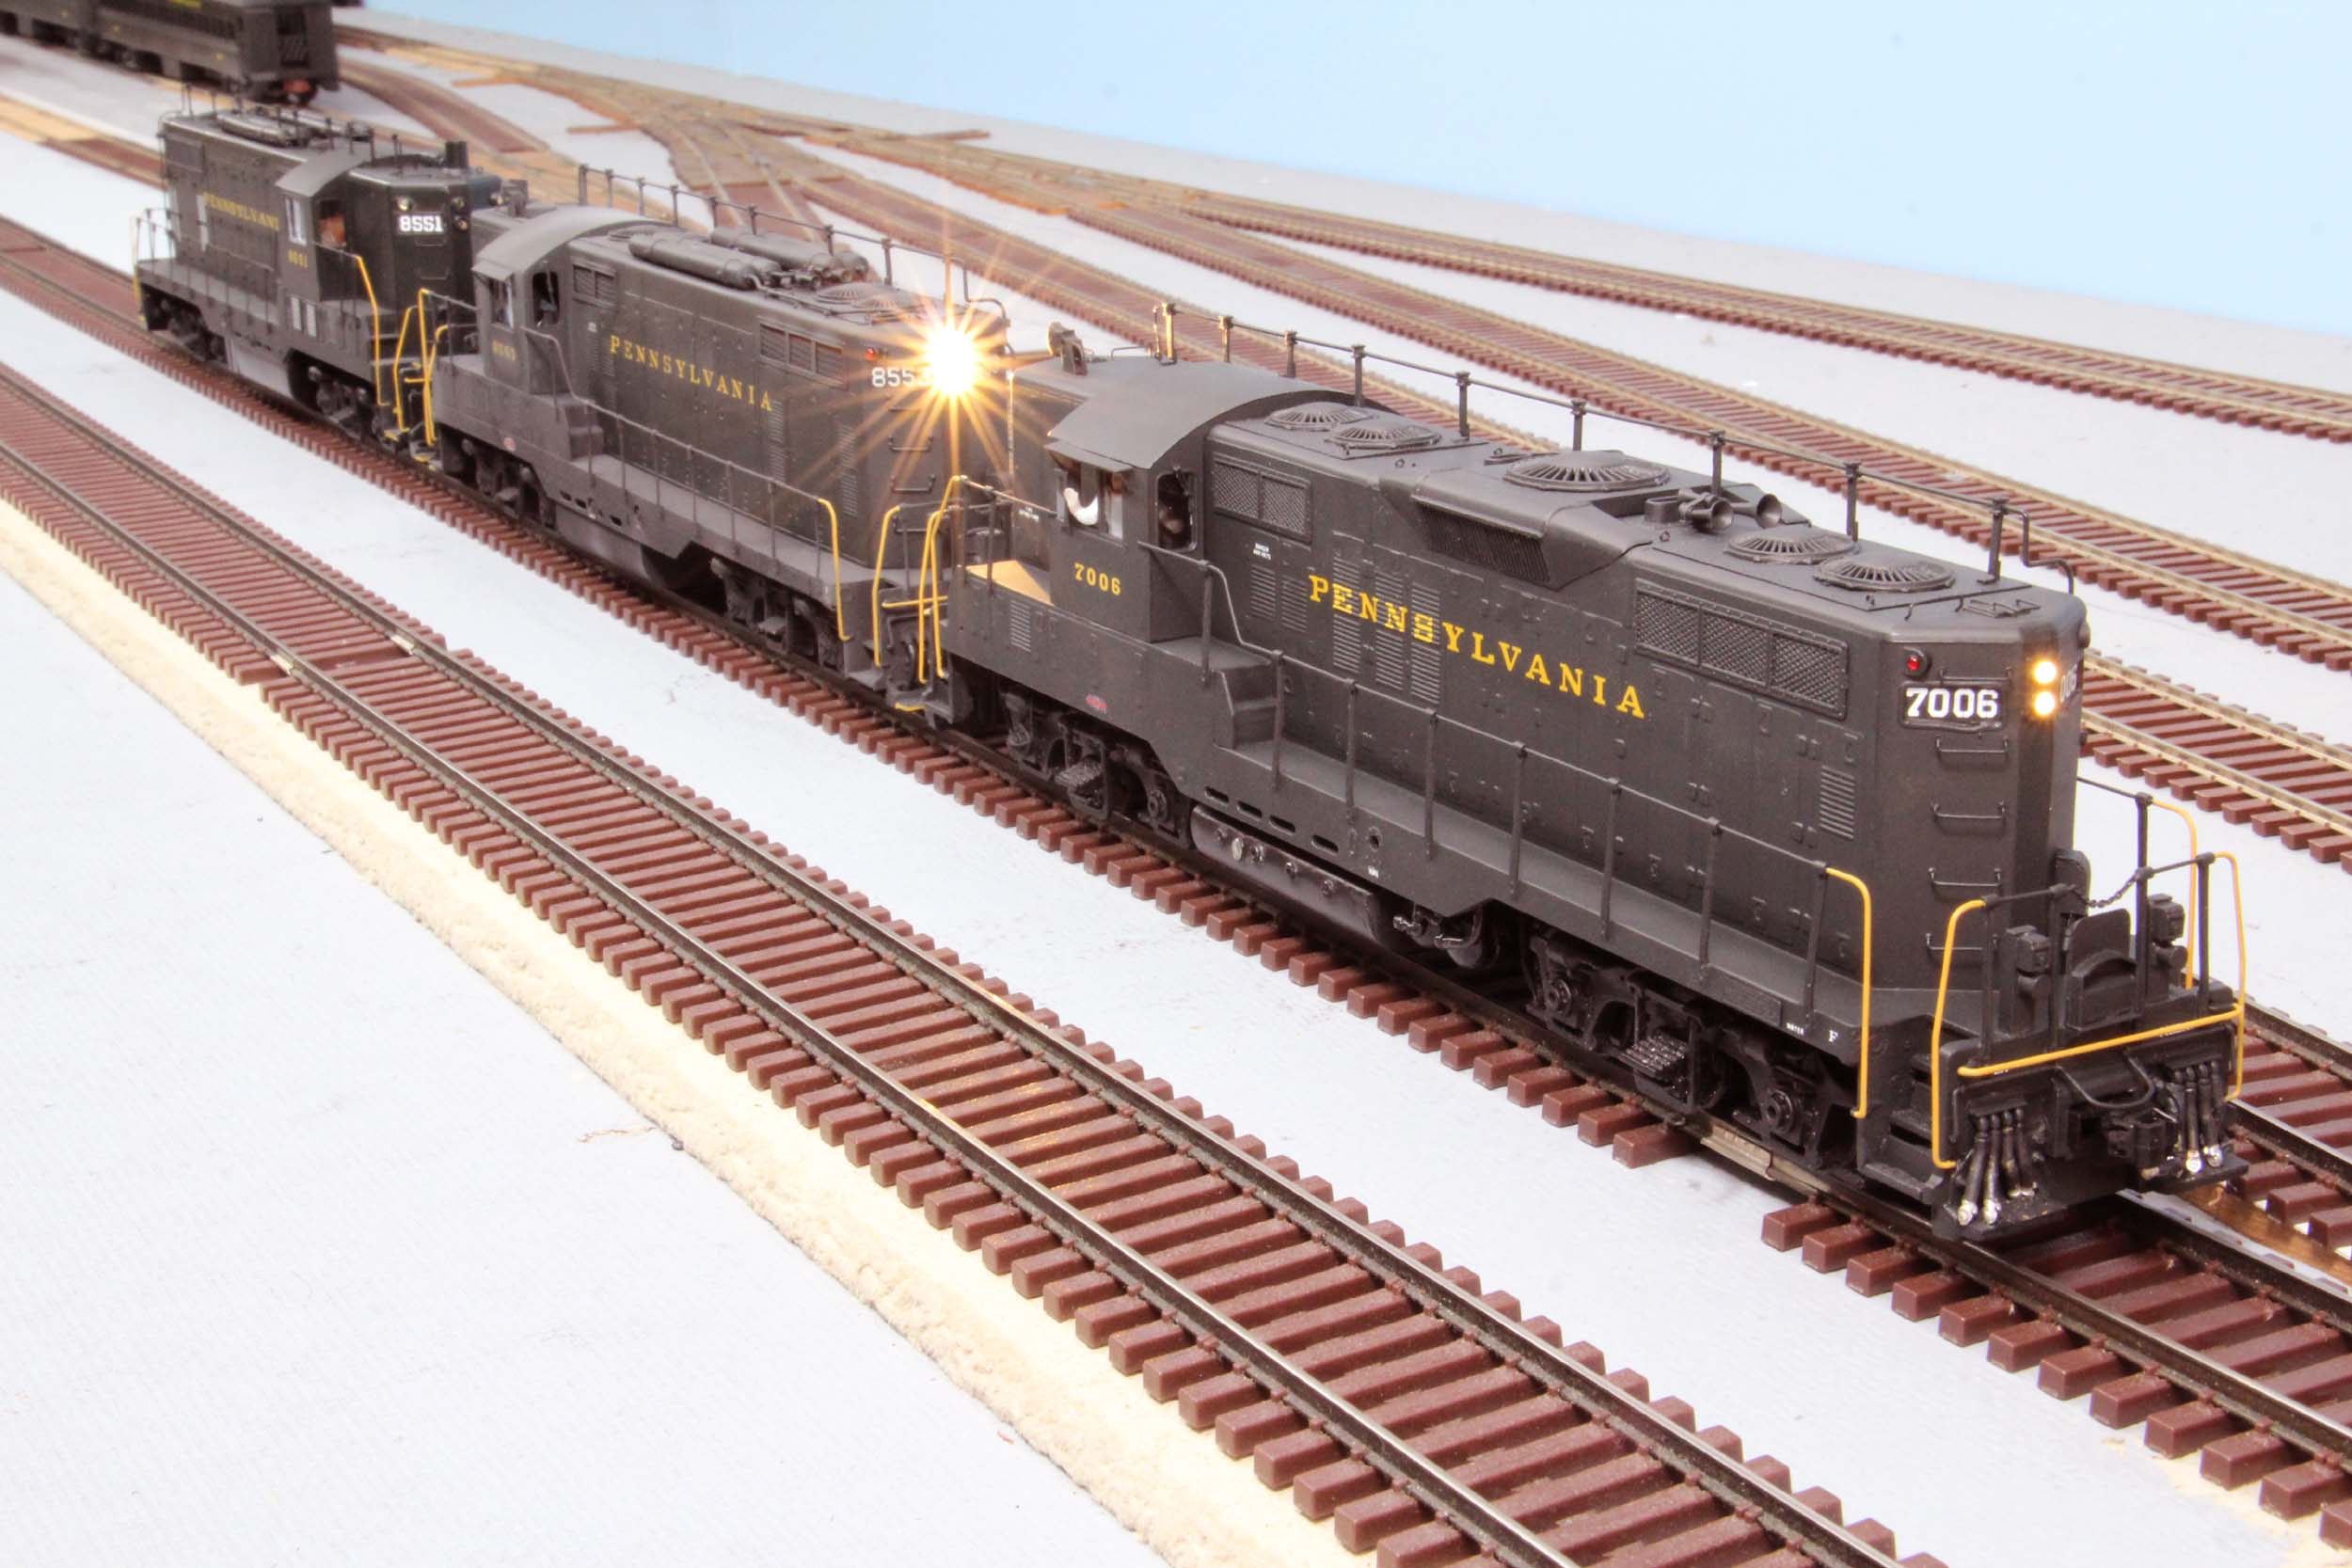
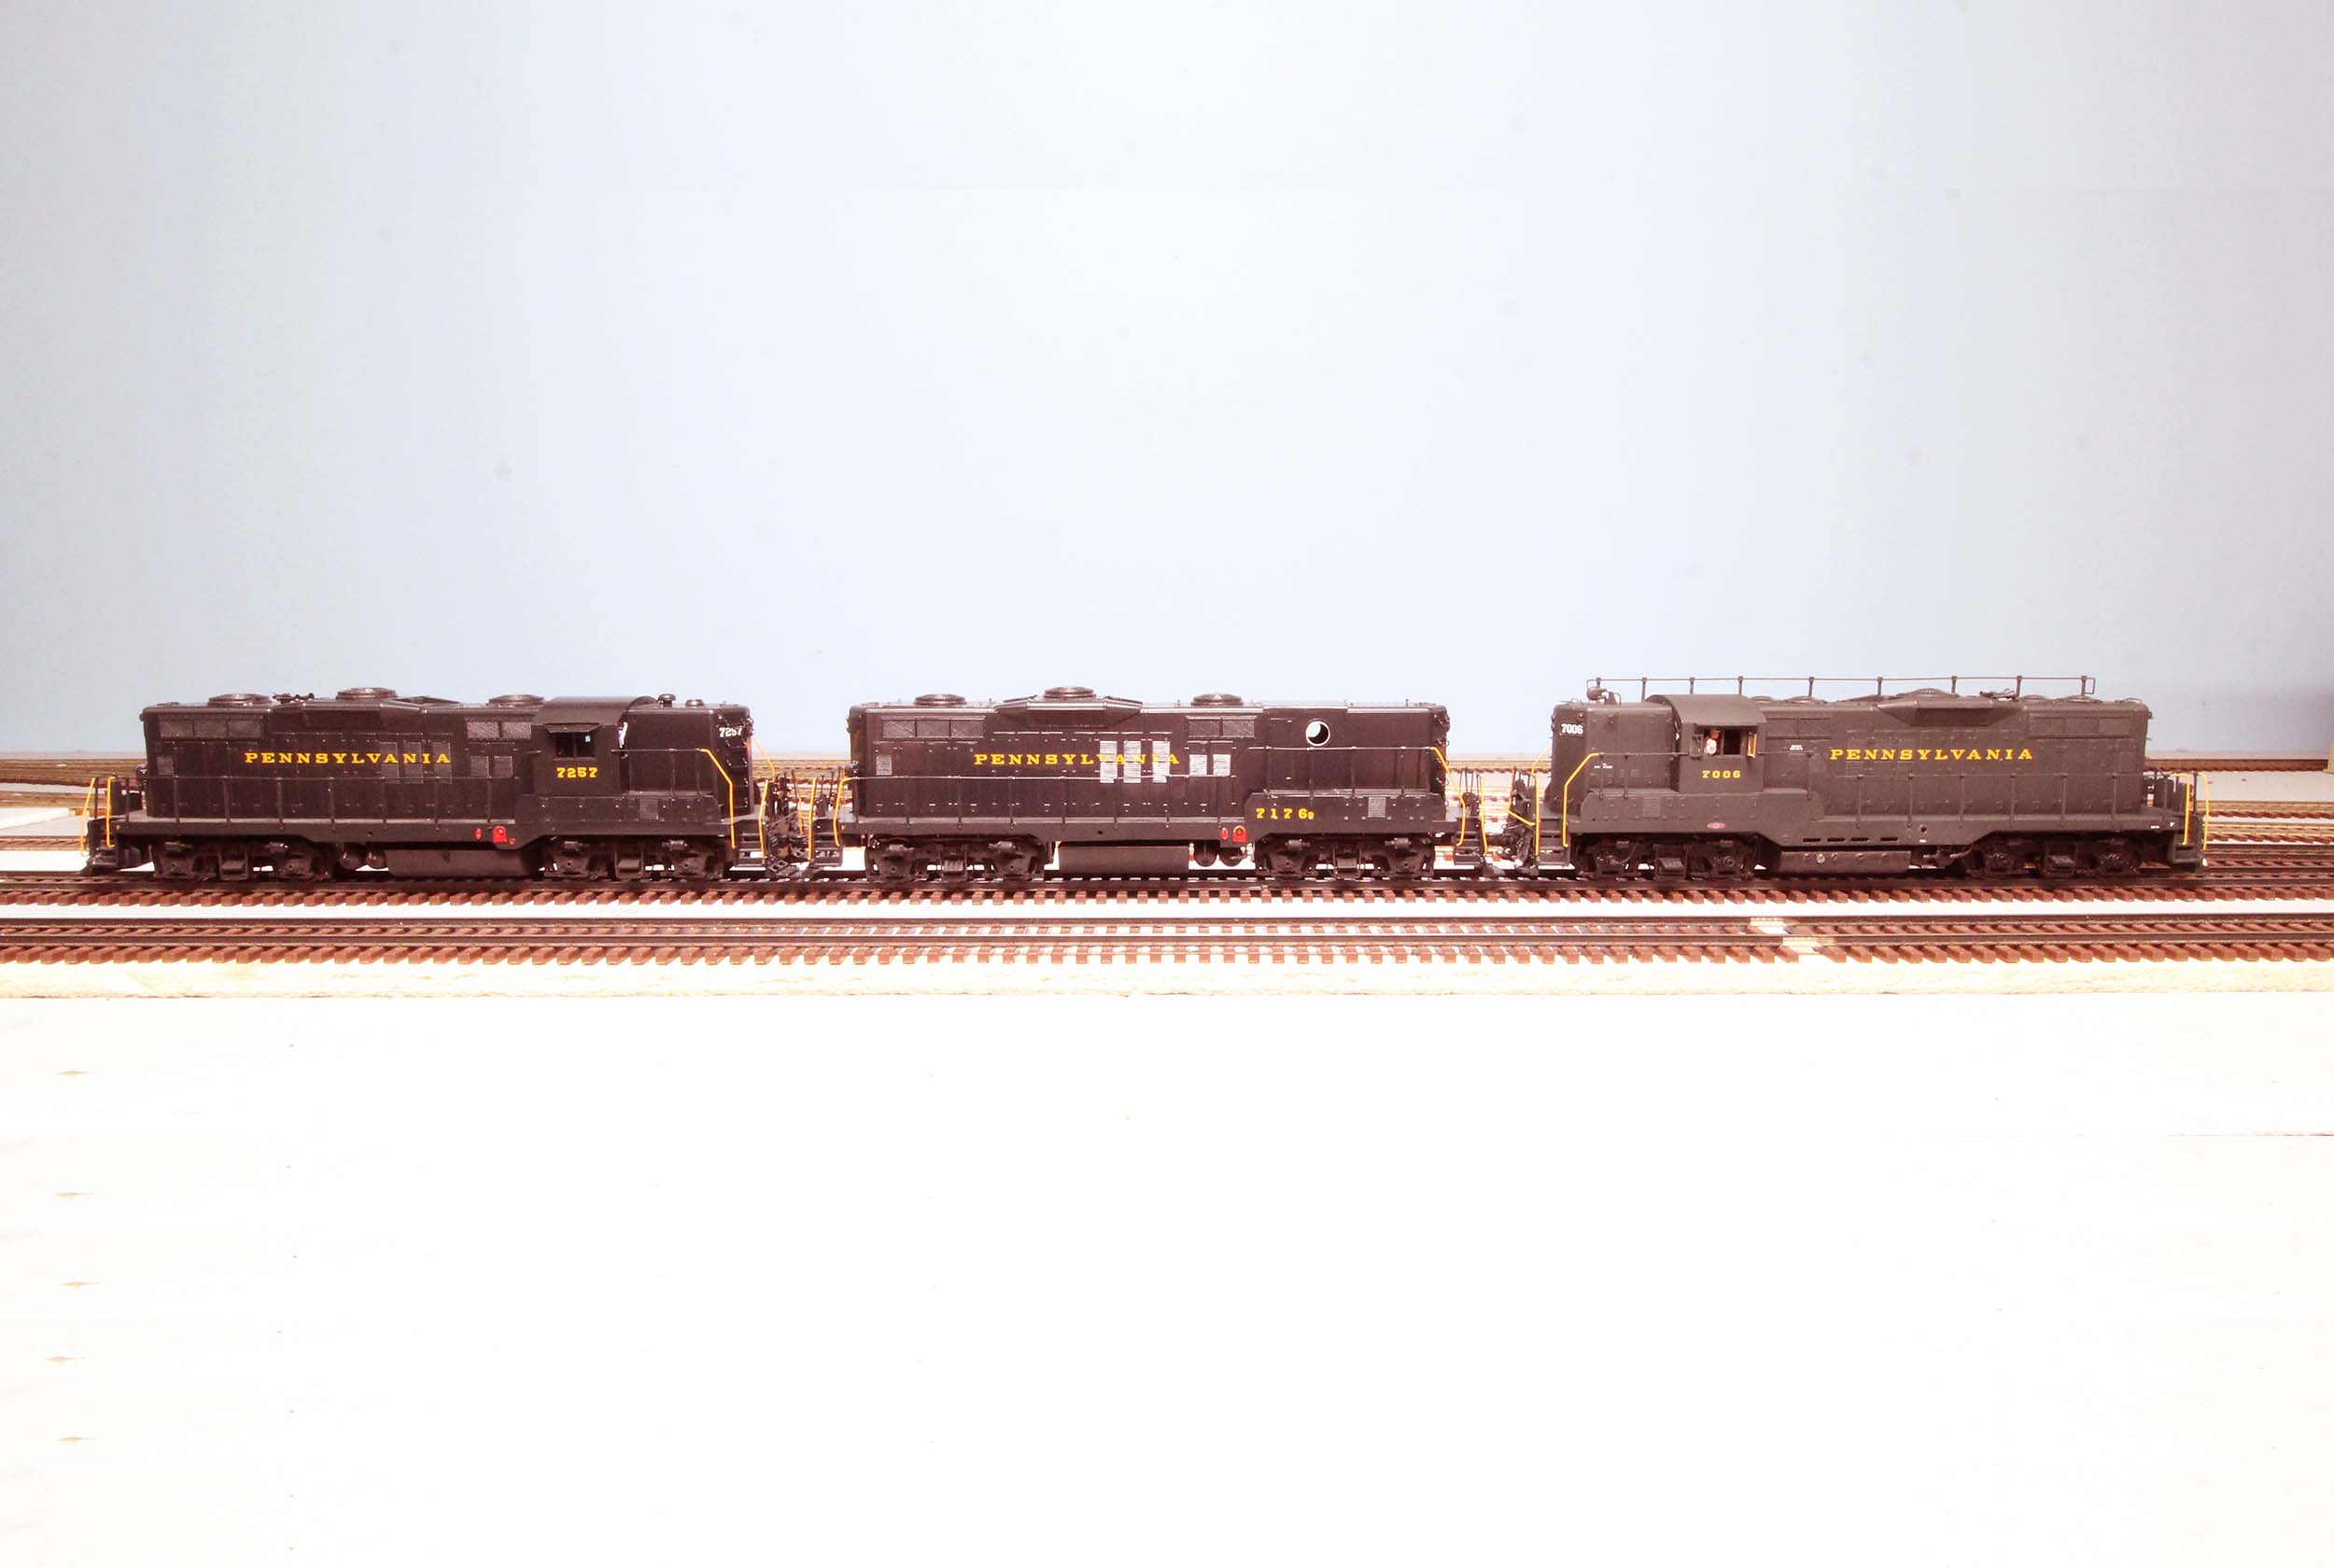
Posing with GP7 Brothers 8551 And 8553
They
are 3 similar locos with 2 made by me and 1 made by Bob Frascella. There some
differences in materials and build style but they look GREAT together. An easy
question to ask is which loco is brass and which is plastic. A LOT of work has
been done to all the models to get them to look like this.

GP9 Set
Lotsa GPs!
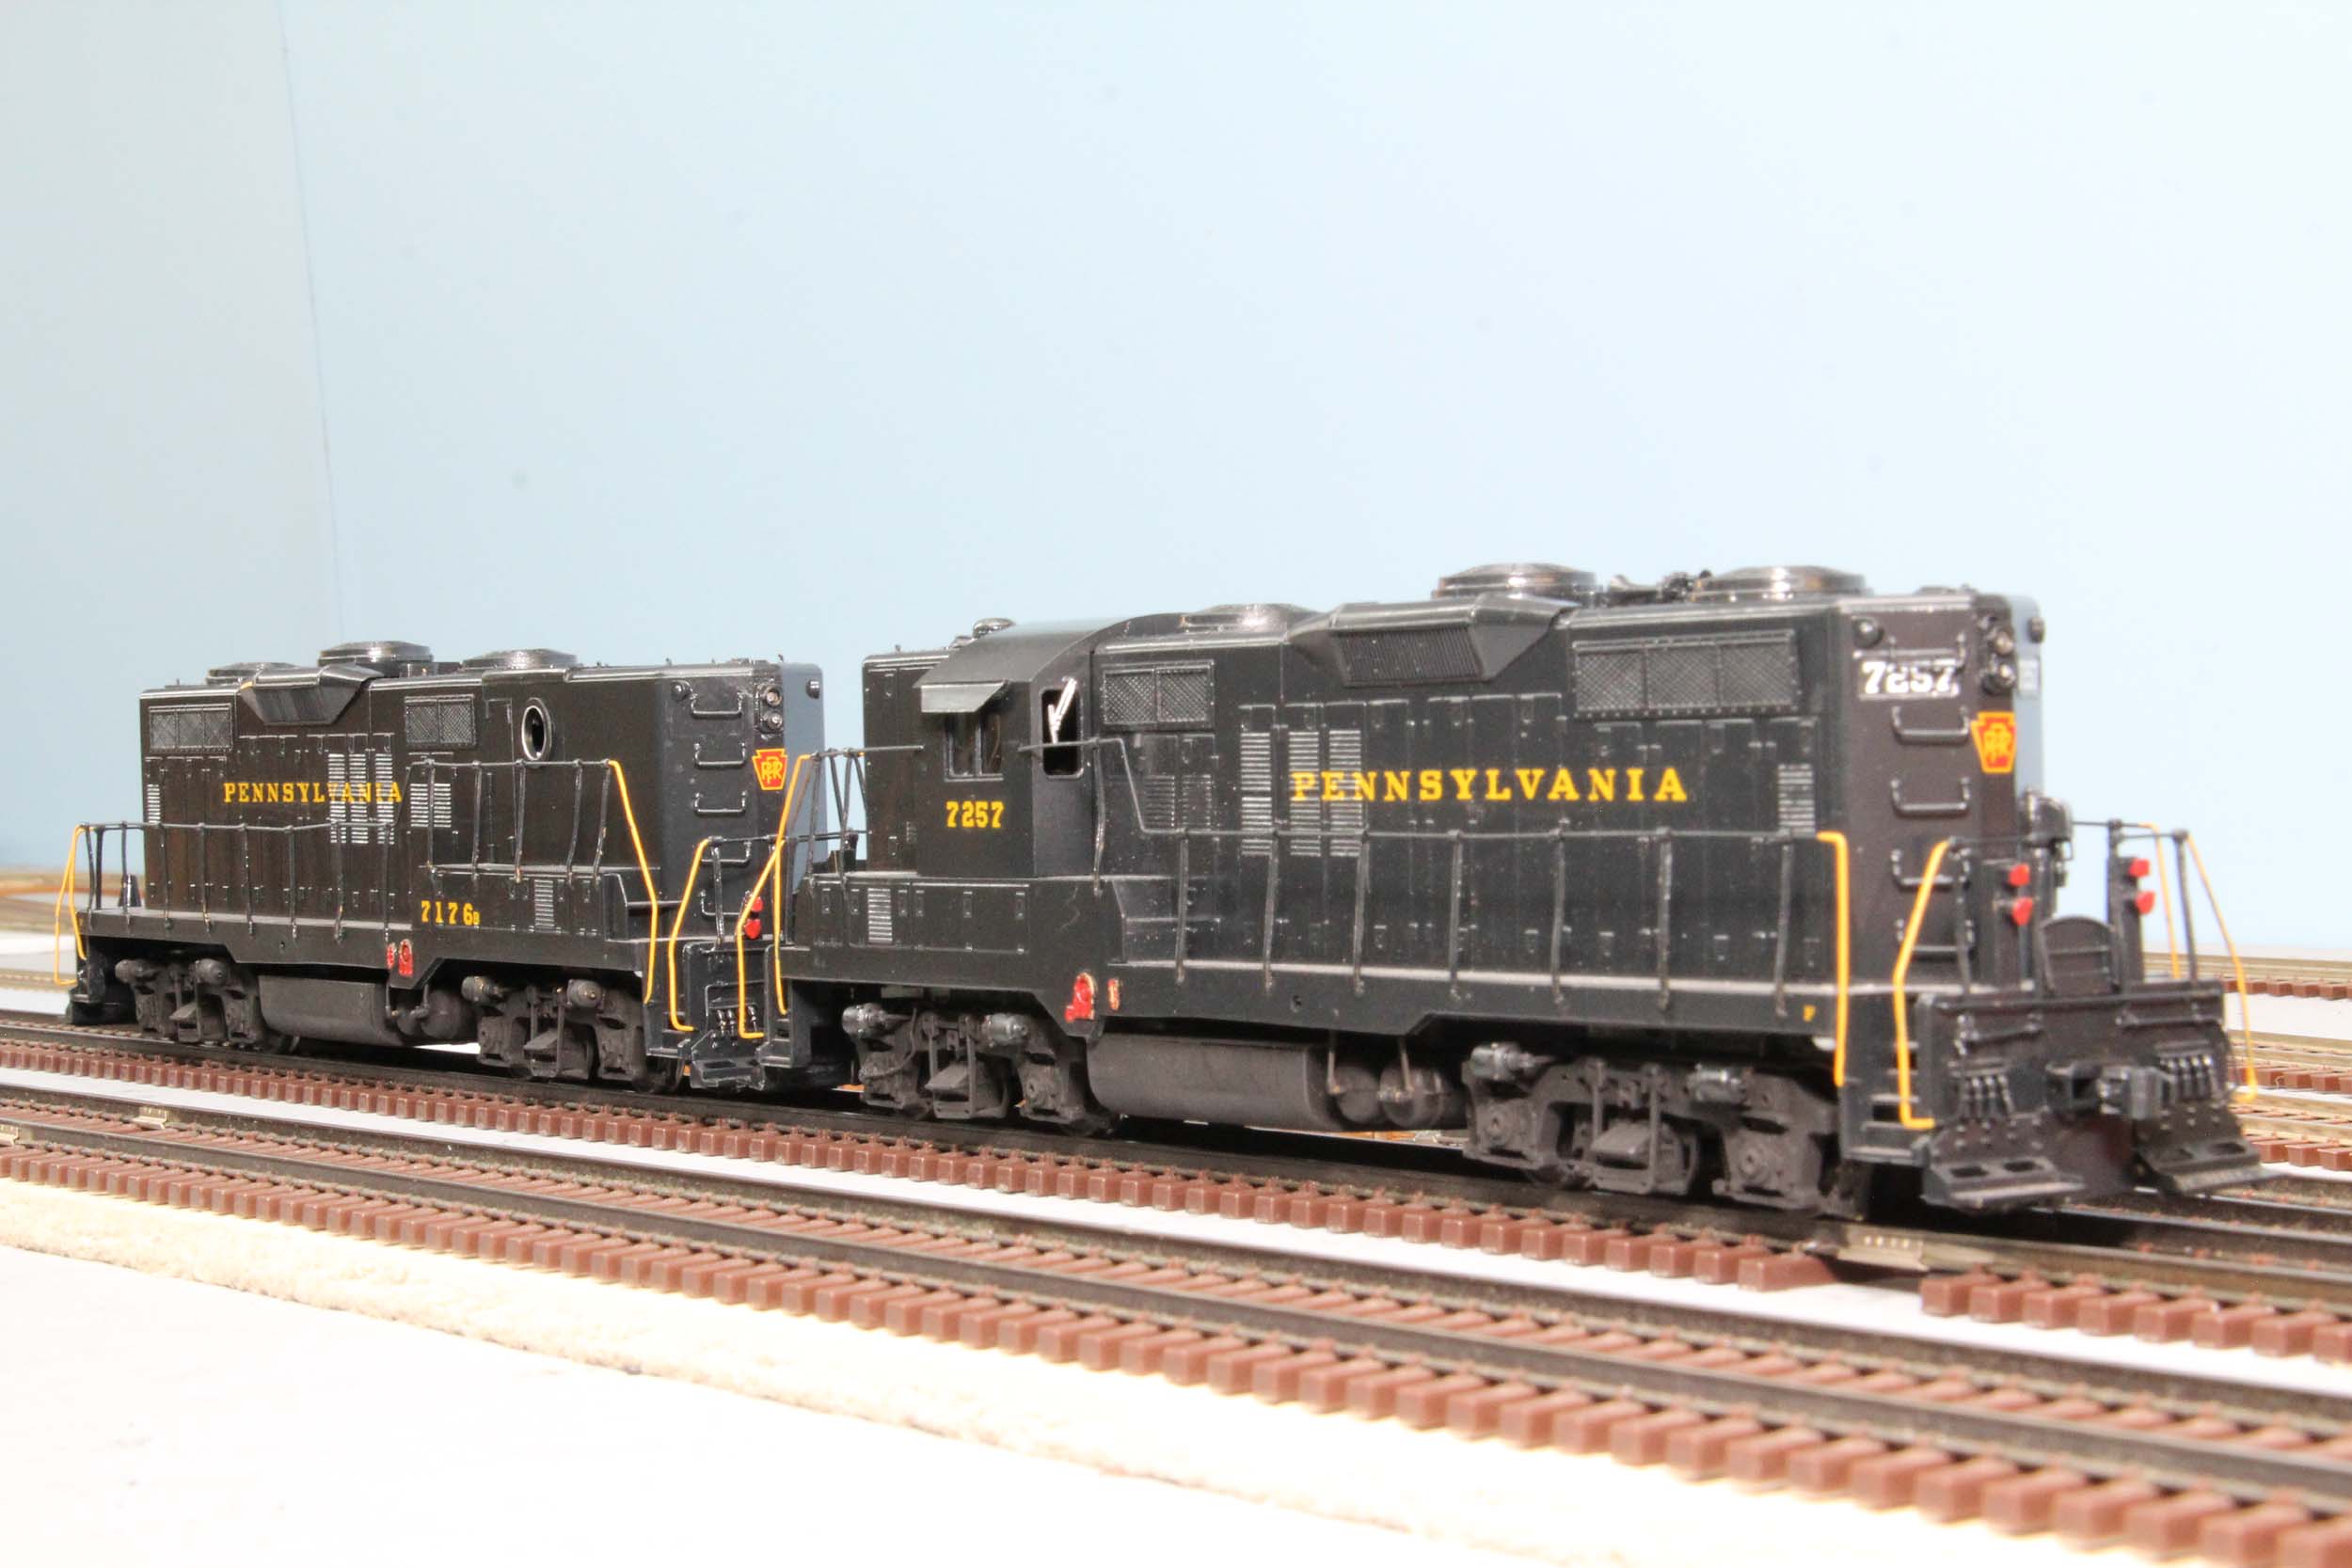
In
March 2018, I purchased this GP9 and GP9b set as shown below. They are really
pretty good for someone else’s build, but will get some changes and new paint jobs
at some point. They look great posing with 7006. Also in March 2018 I started
making my own GP9b.

Updated
4-8-18
All photos and content © Lanes Trains 2005-2018