|
|
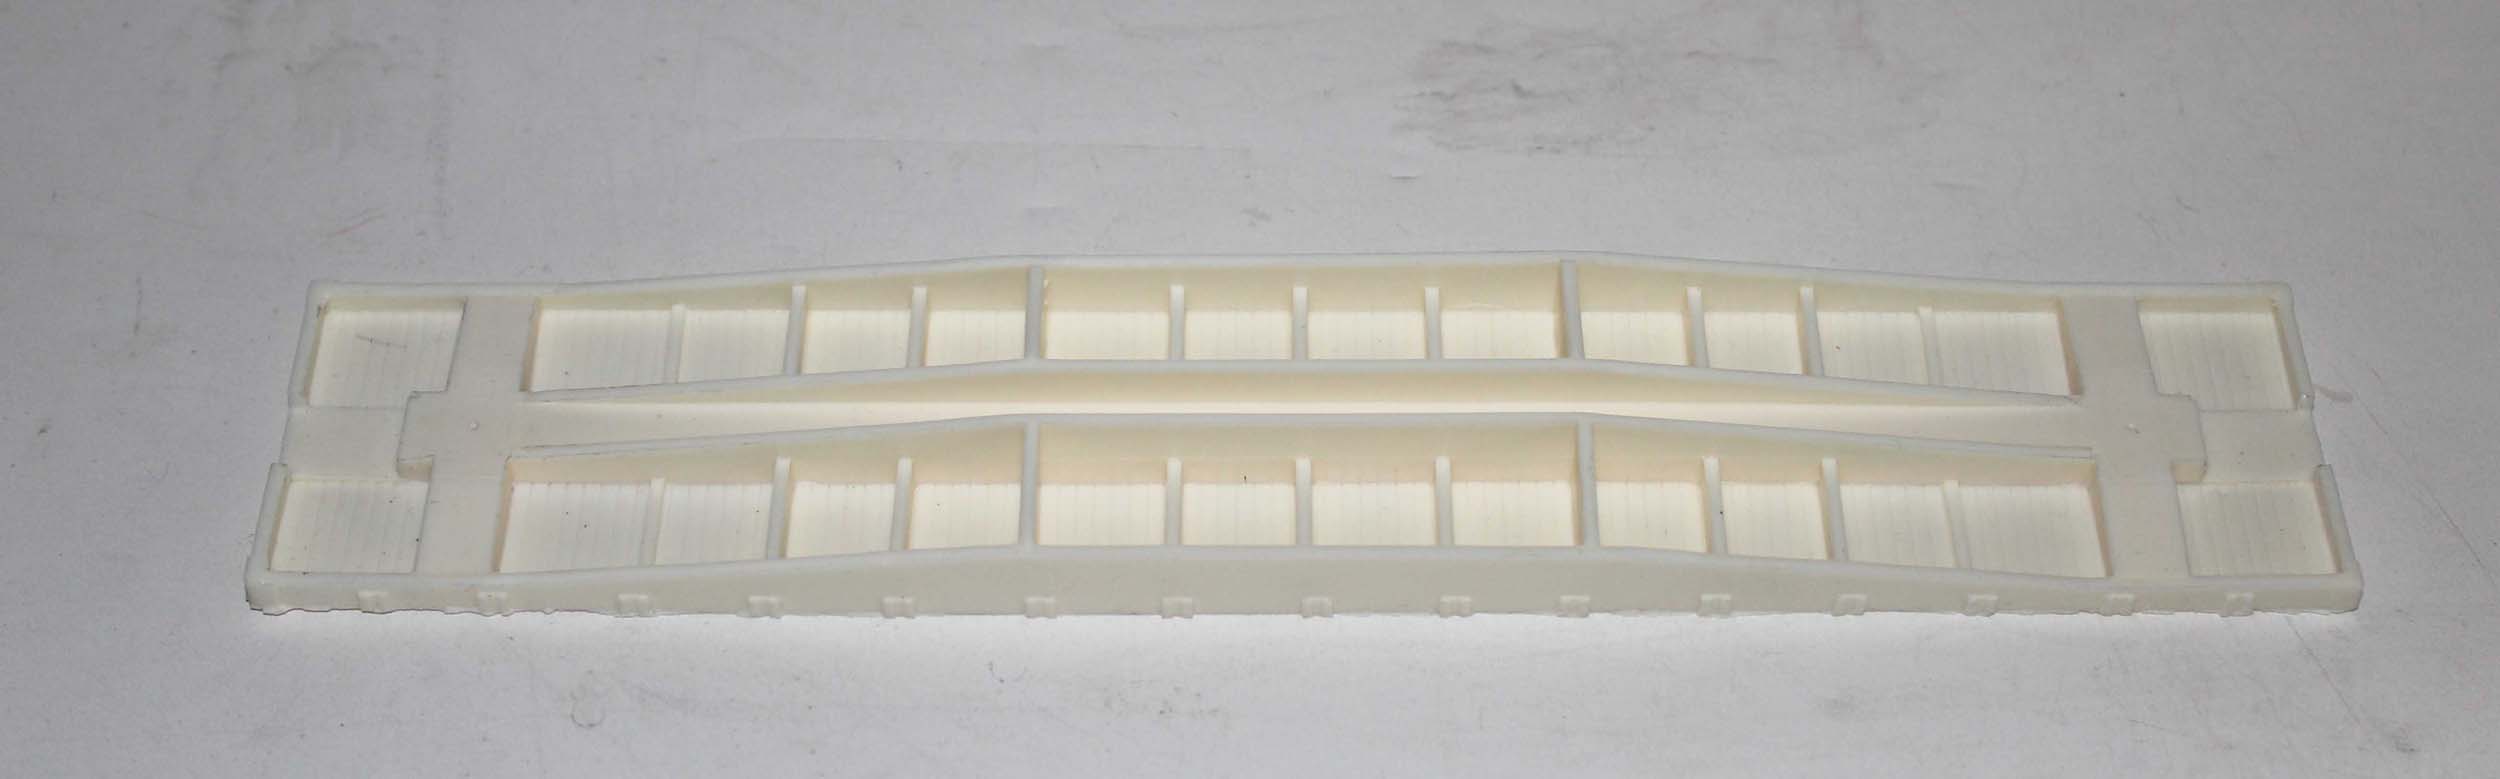
Purchased 3-28-12 Completed 1-16-14 Chad
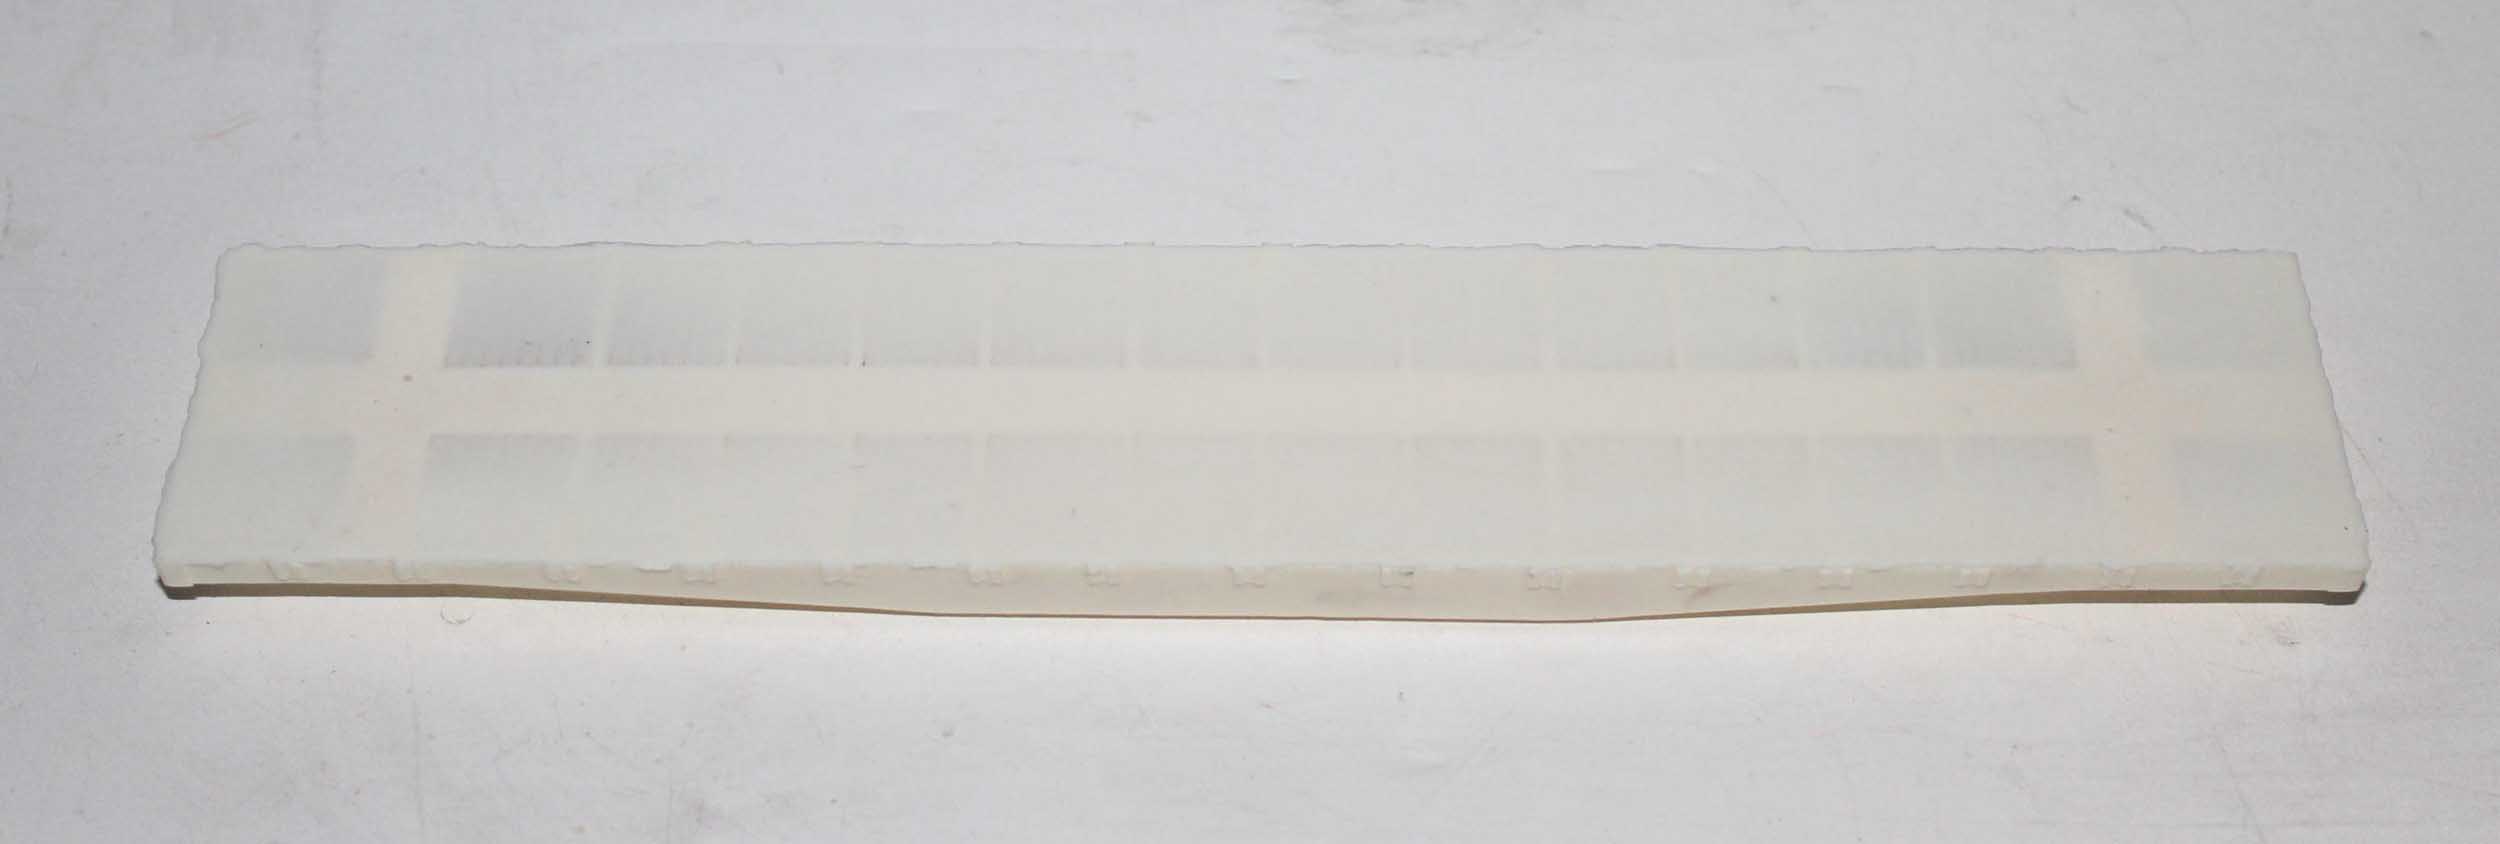
Boas made a urethane casting of the Seaboard F-6 flatcar in 2012. I bought 1
to just support the project with the wood deck and decals from Jerry Glow.
That was the total extent of the kit and purchase at that time. At the end of
2013 on a complete impulse I decided it was time to build the car. It was
just after another project of making a Seaboard
Express boxcar. The
only items I did not already have were Grandt Line stake pockets and the
eventual decision to buy Tru Color paint for the Seaboard freight car red. Bare Casting
|
|


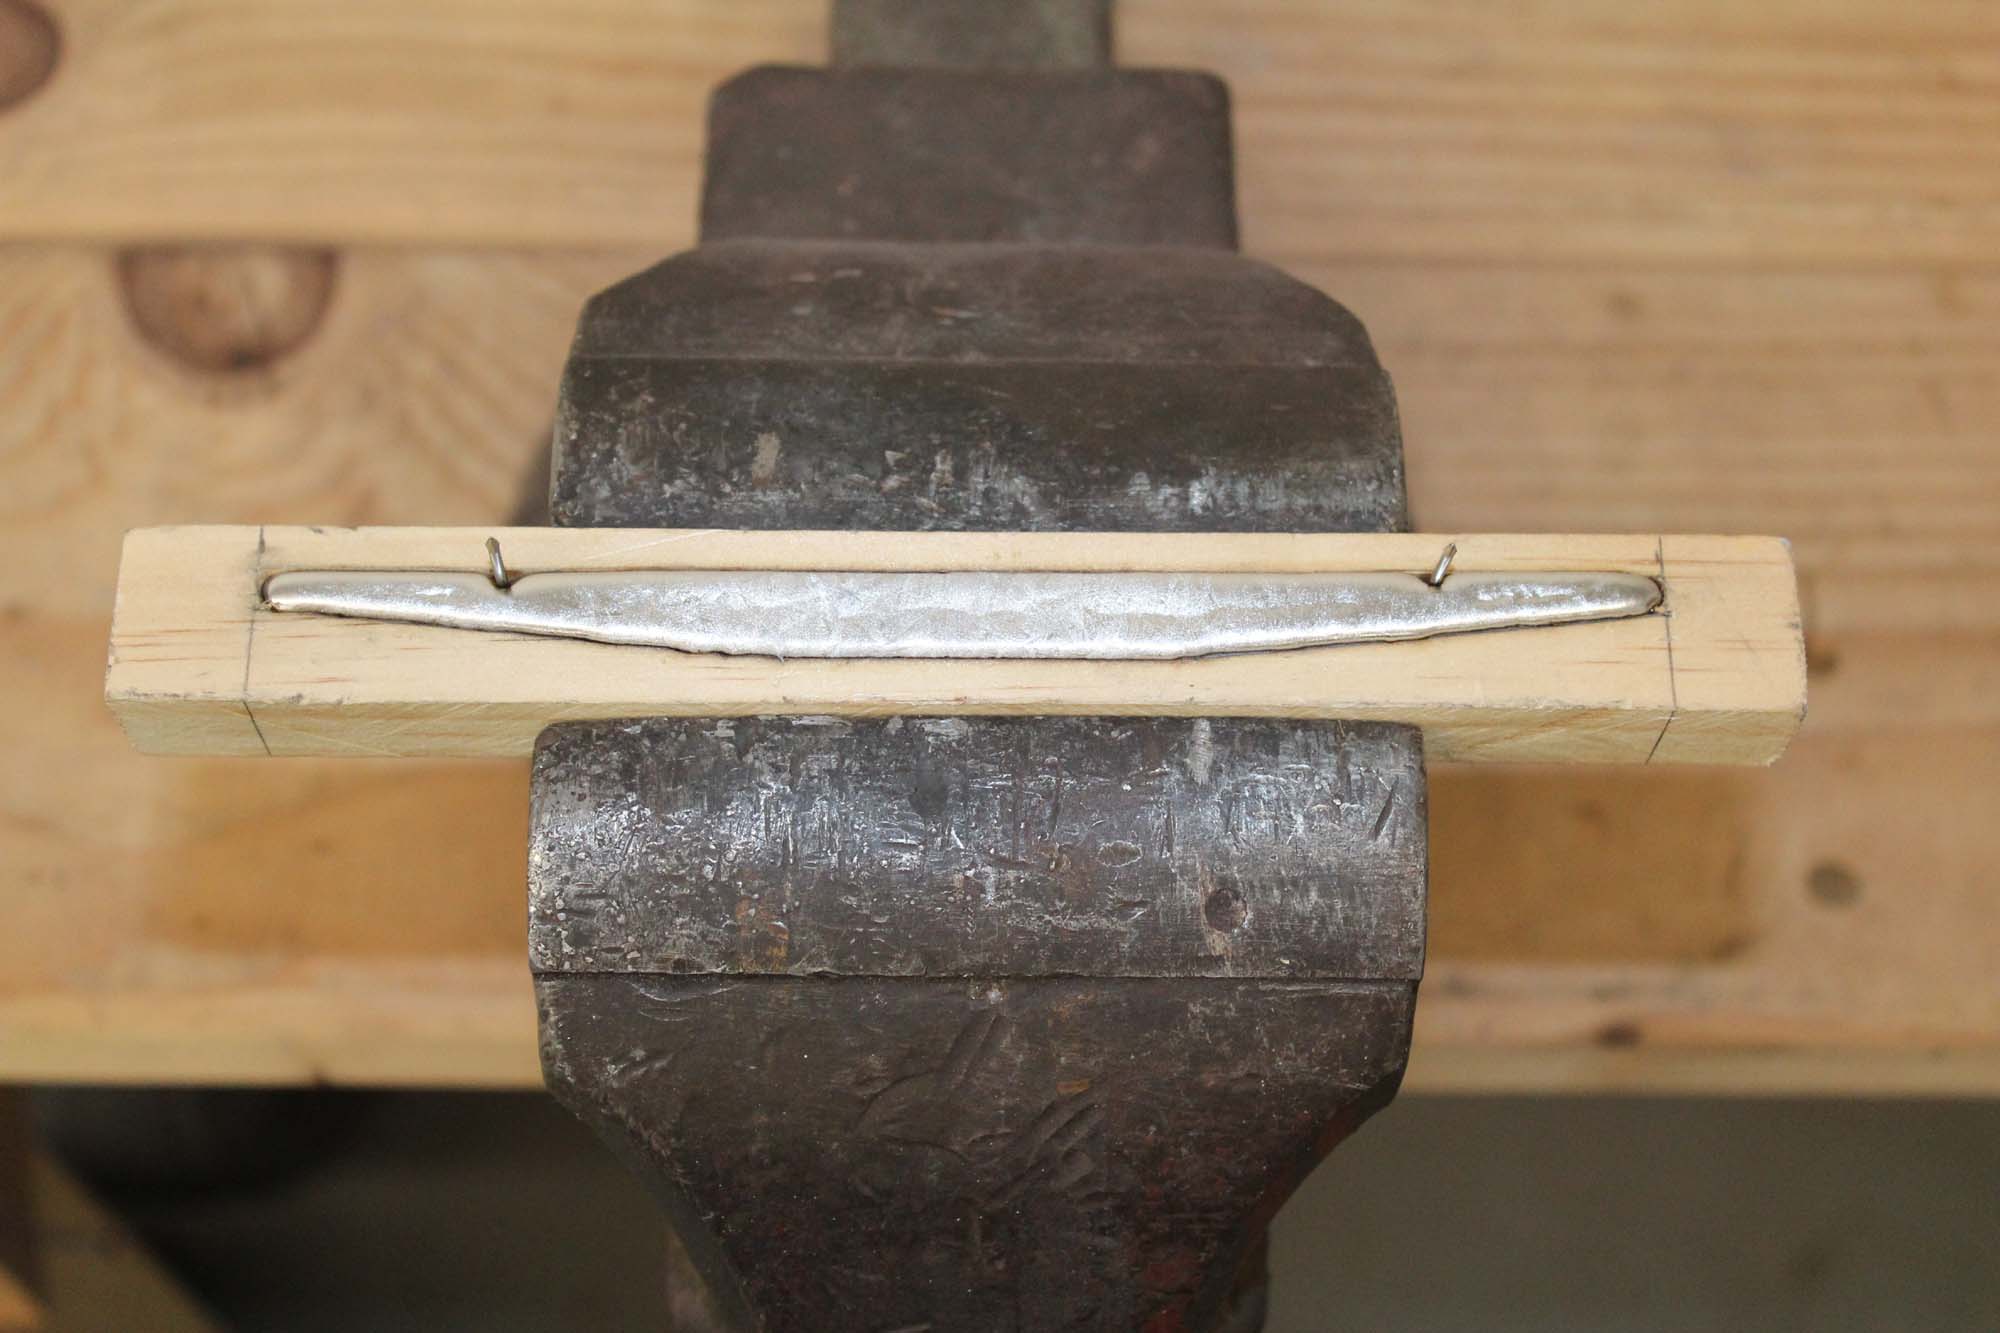
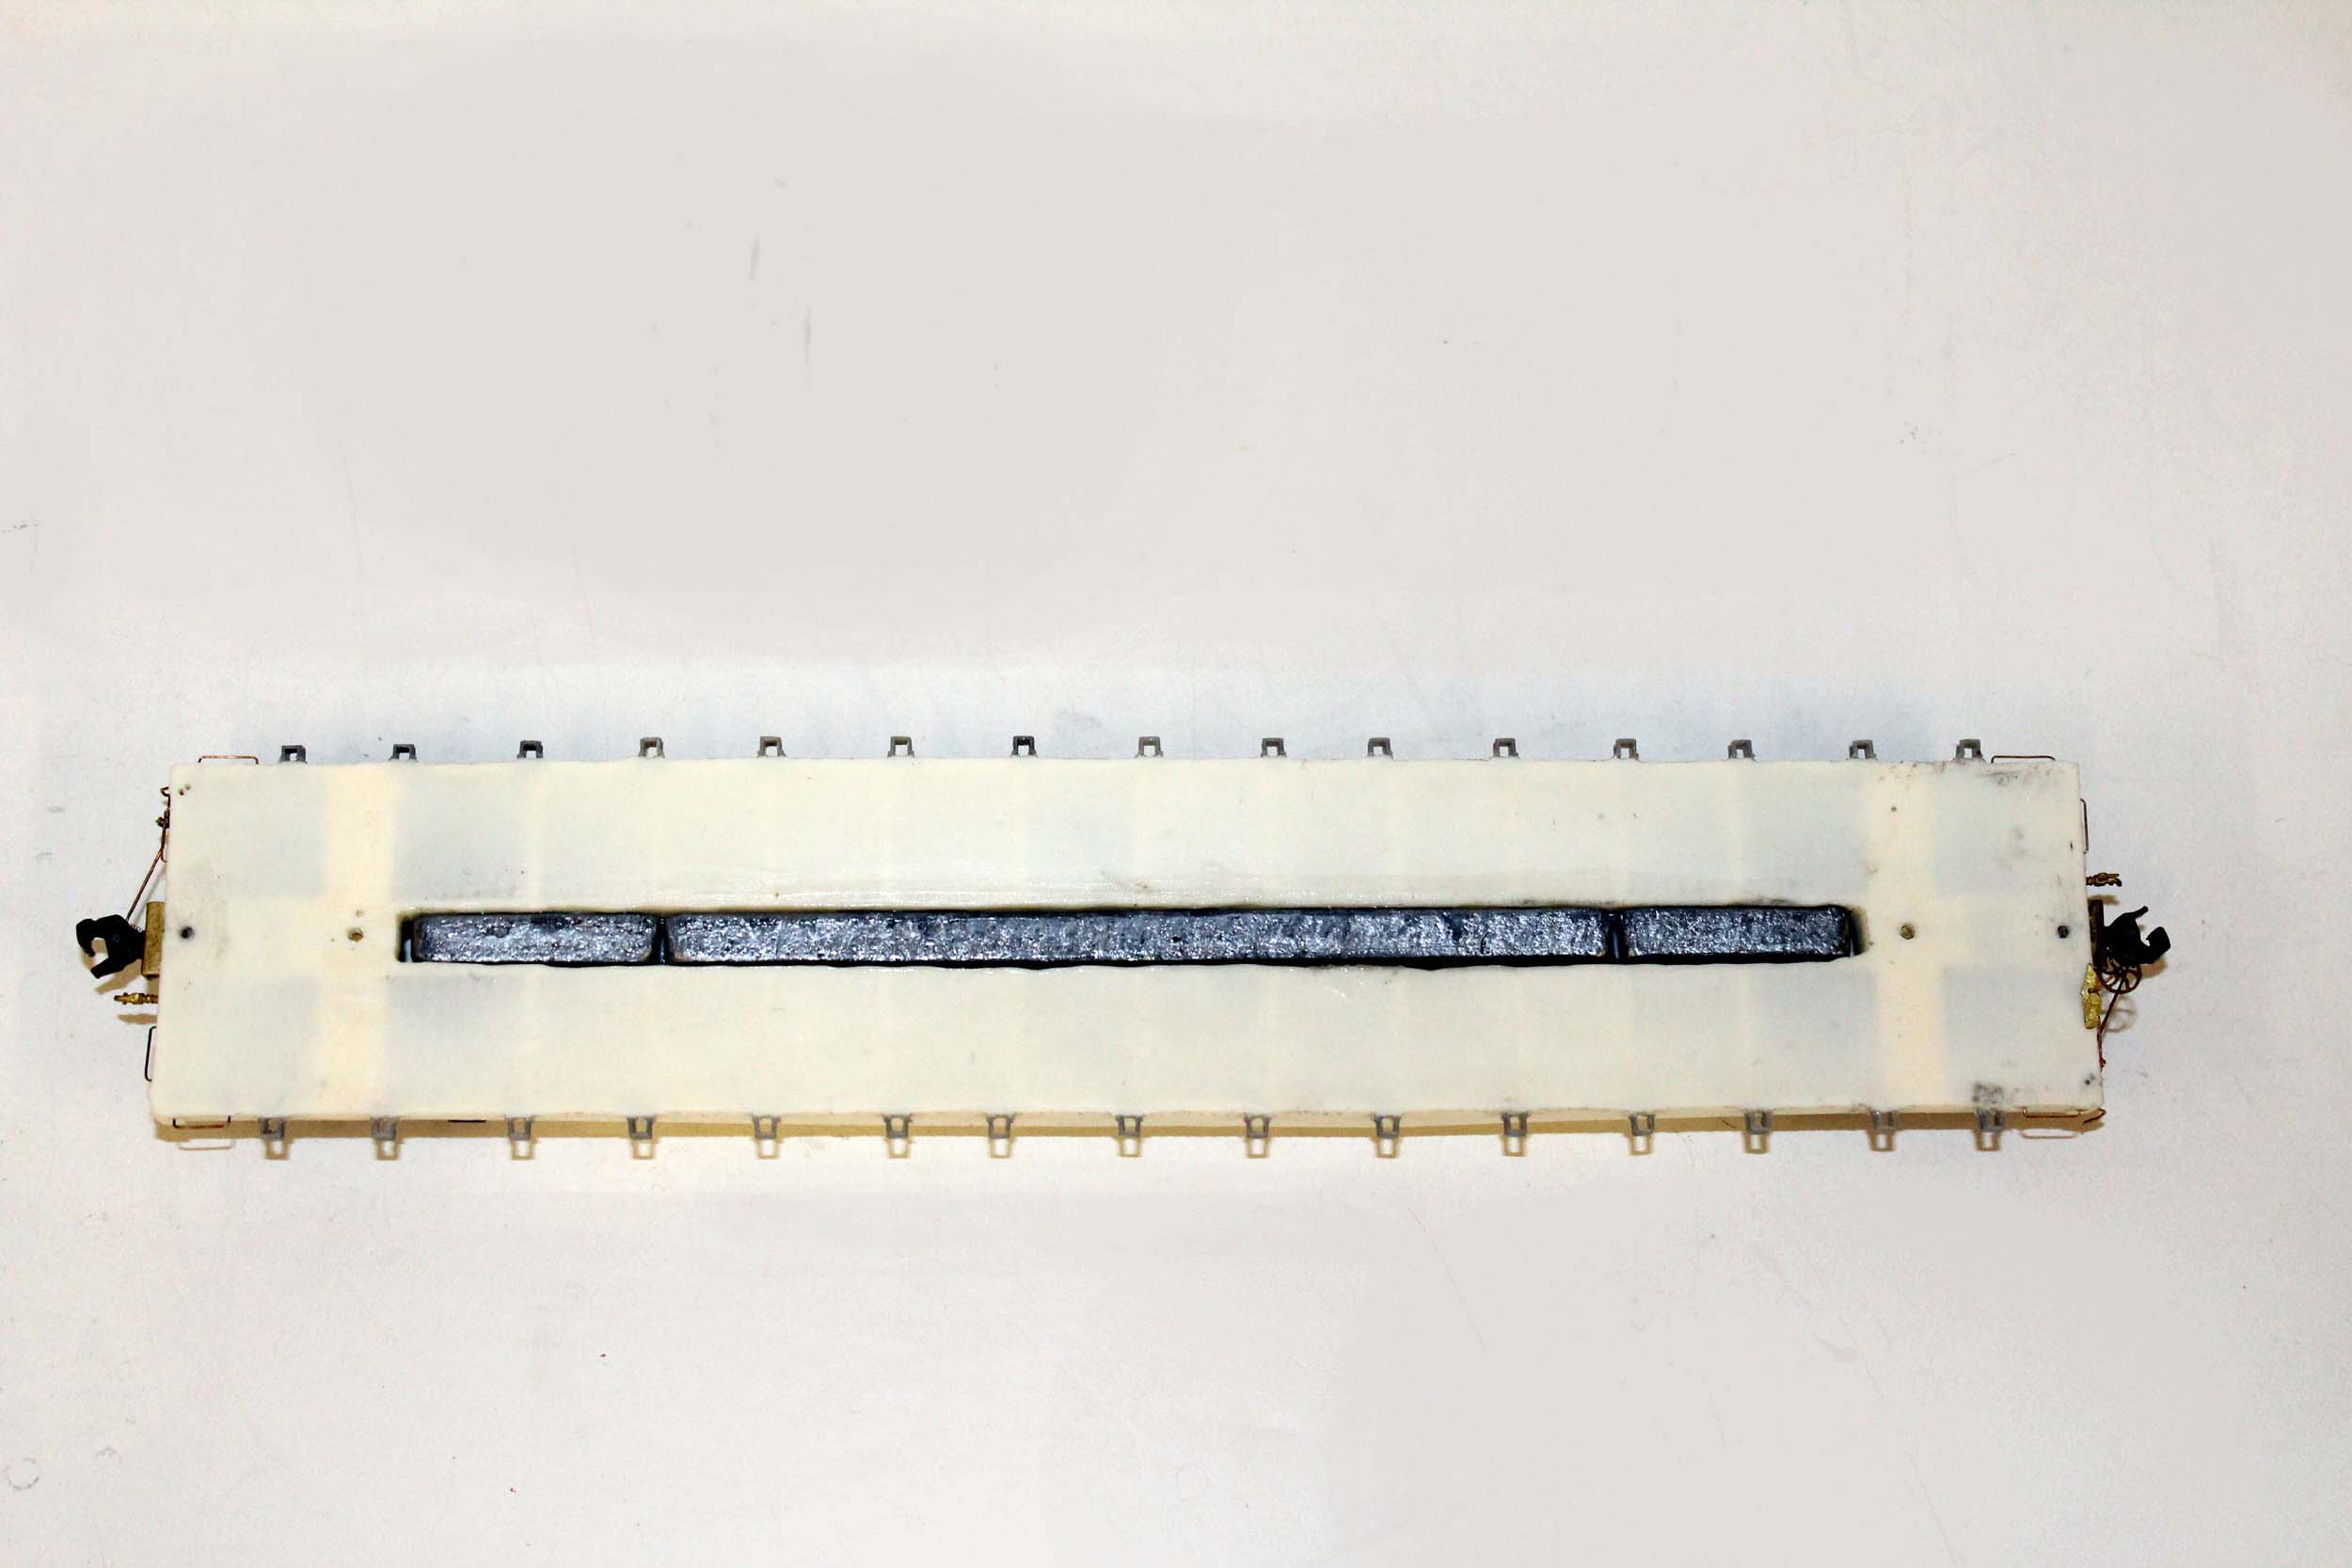
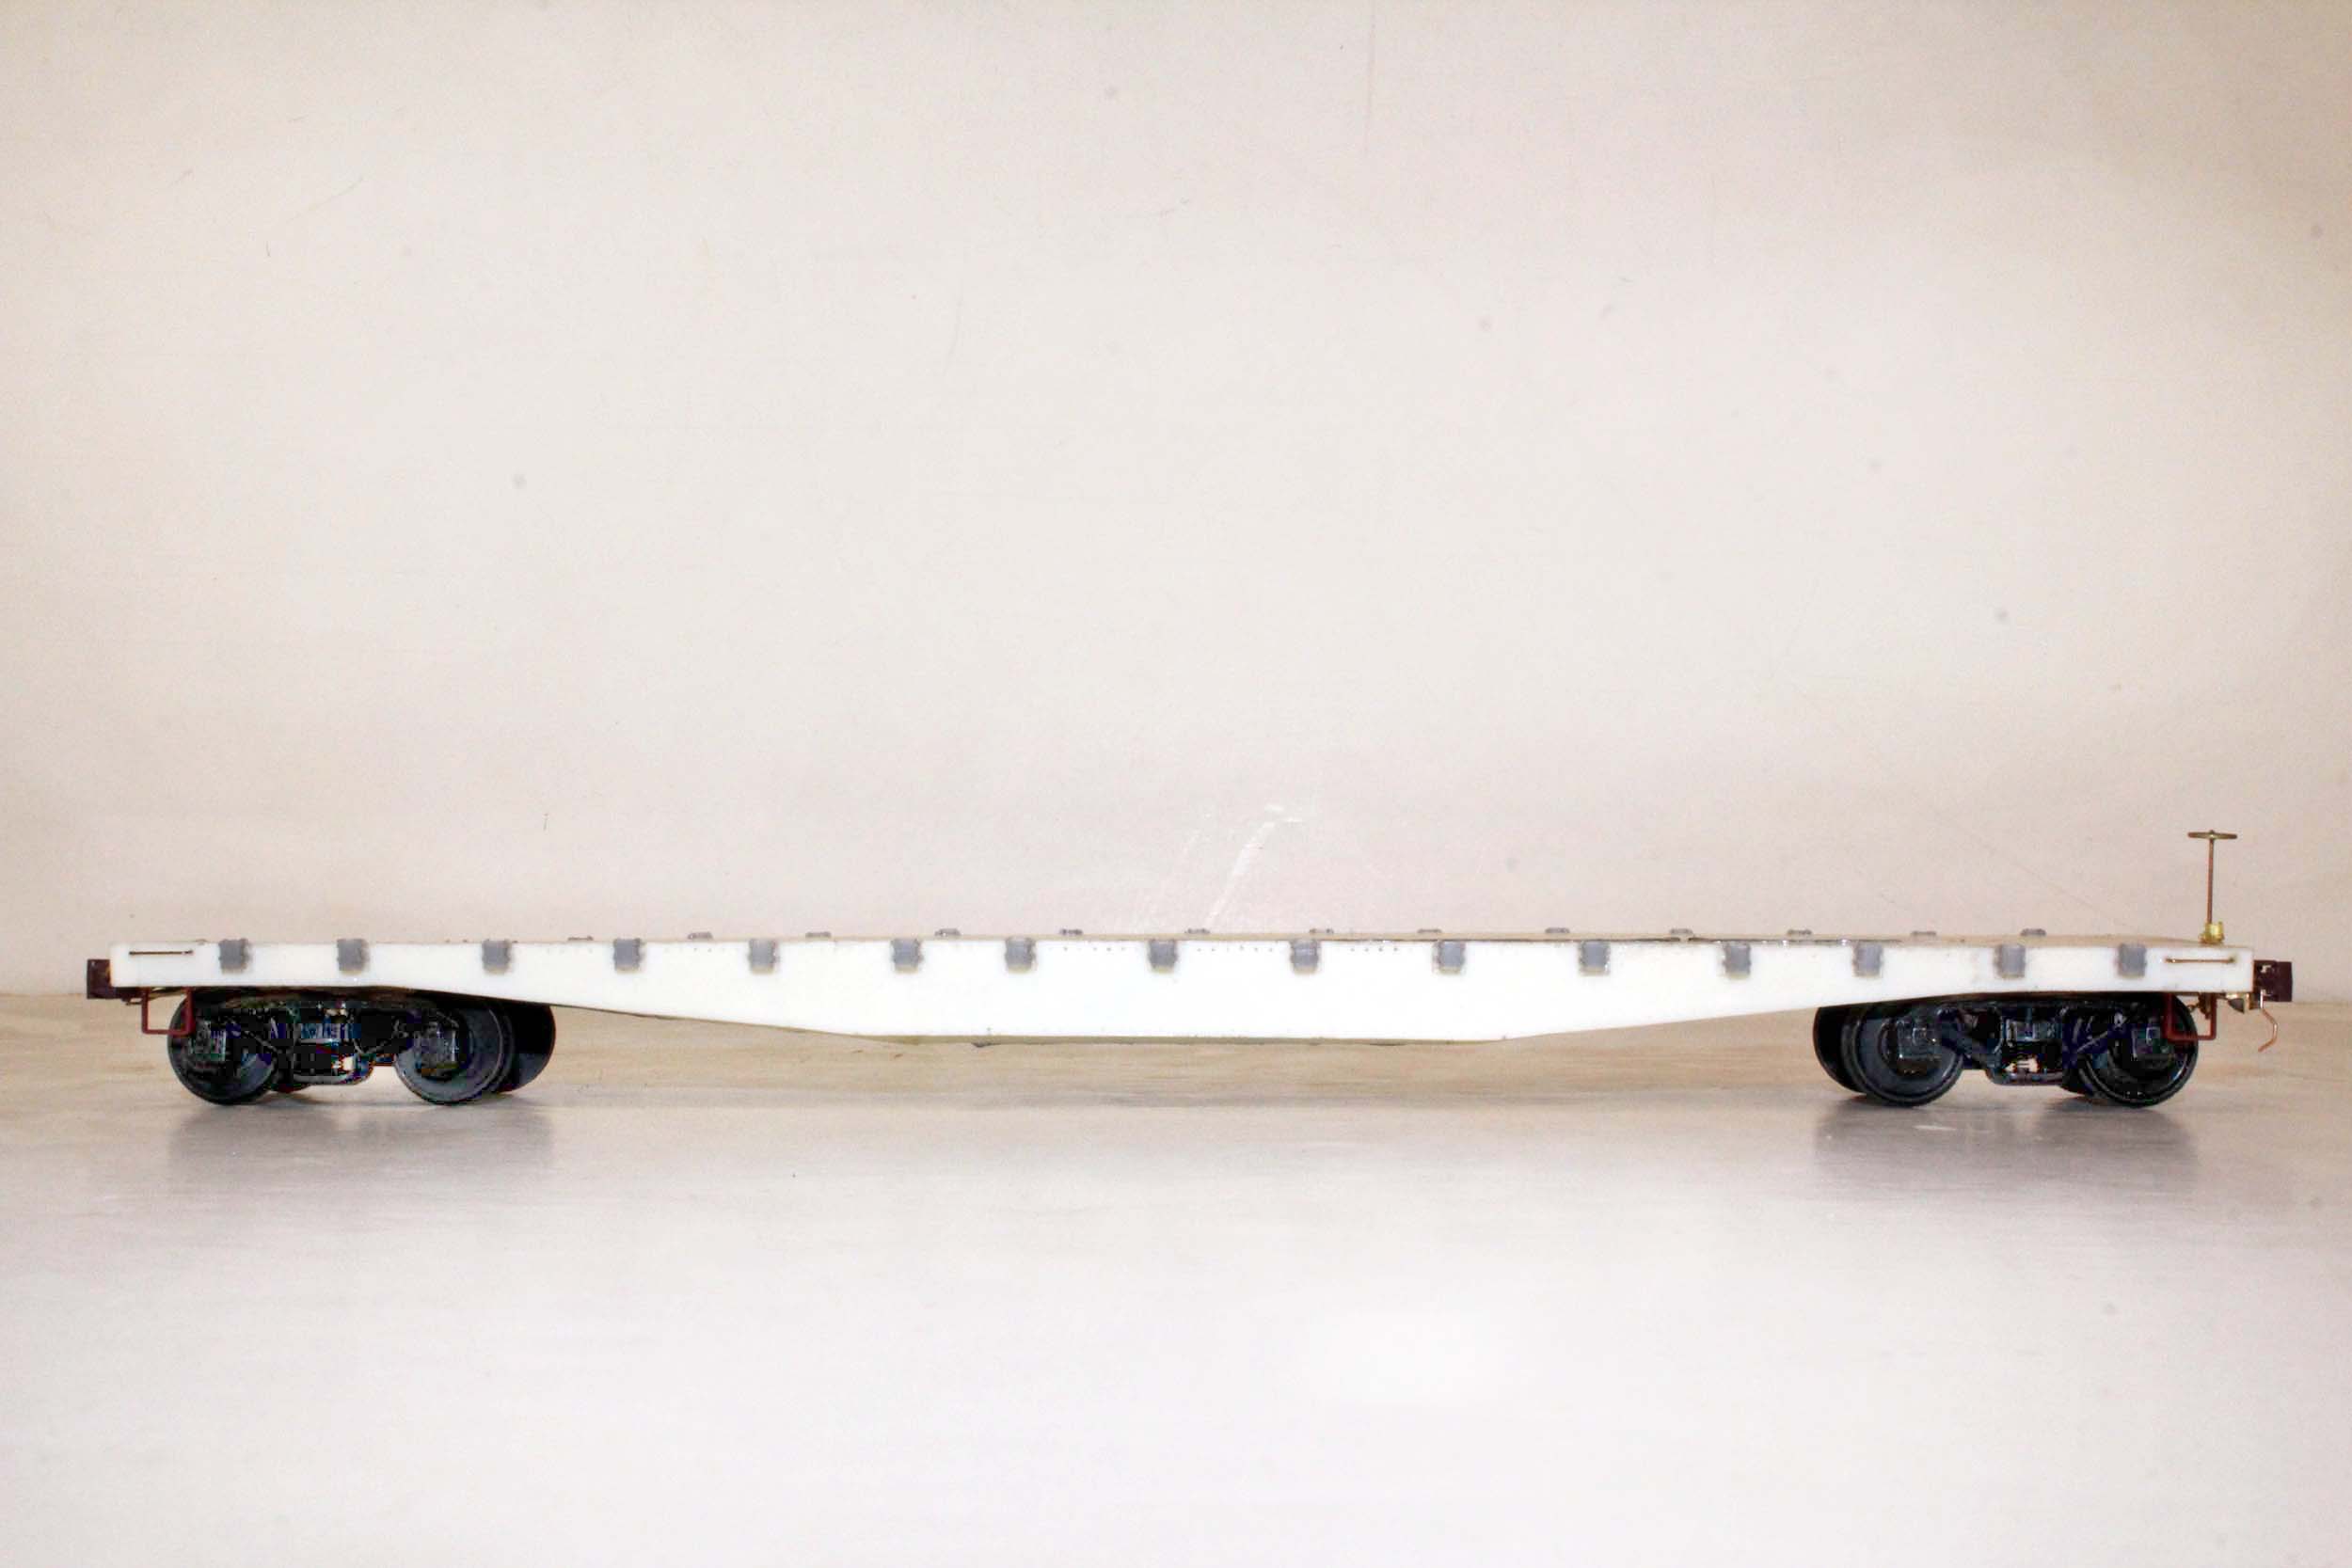
Centersill Weight
Since
it is urethane and very light I had to add weight because I wanted to be able
to run the car without a load anywhere in my trains that usually have a lot of
brass cars. I figured milling out the centersill would be easier than trying to
hide weights everywhere else. Chad did
a nice job of simulating the underside of the wood deck so I wanted to keep
that. I
also wanted something “metal” to stabilize the urethane to change any
possibilities of it warping.
I
wanted to use my milling
machine to
cut the centersill slot. But the milling machine could have chomped the car into
a mangled mess in 1 second flat if it popped out of the vise so I decided to
cut the weight slot with a Dremel and carbide cutter.
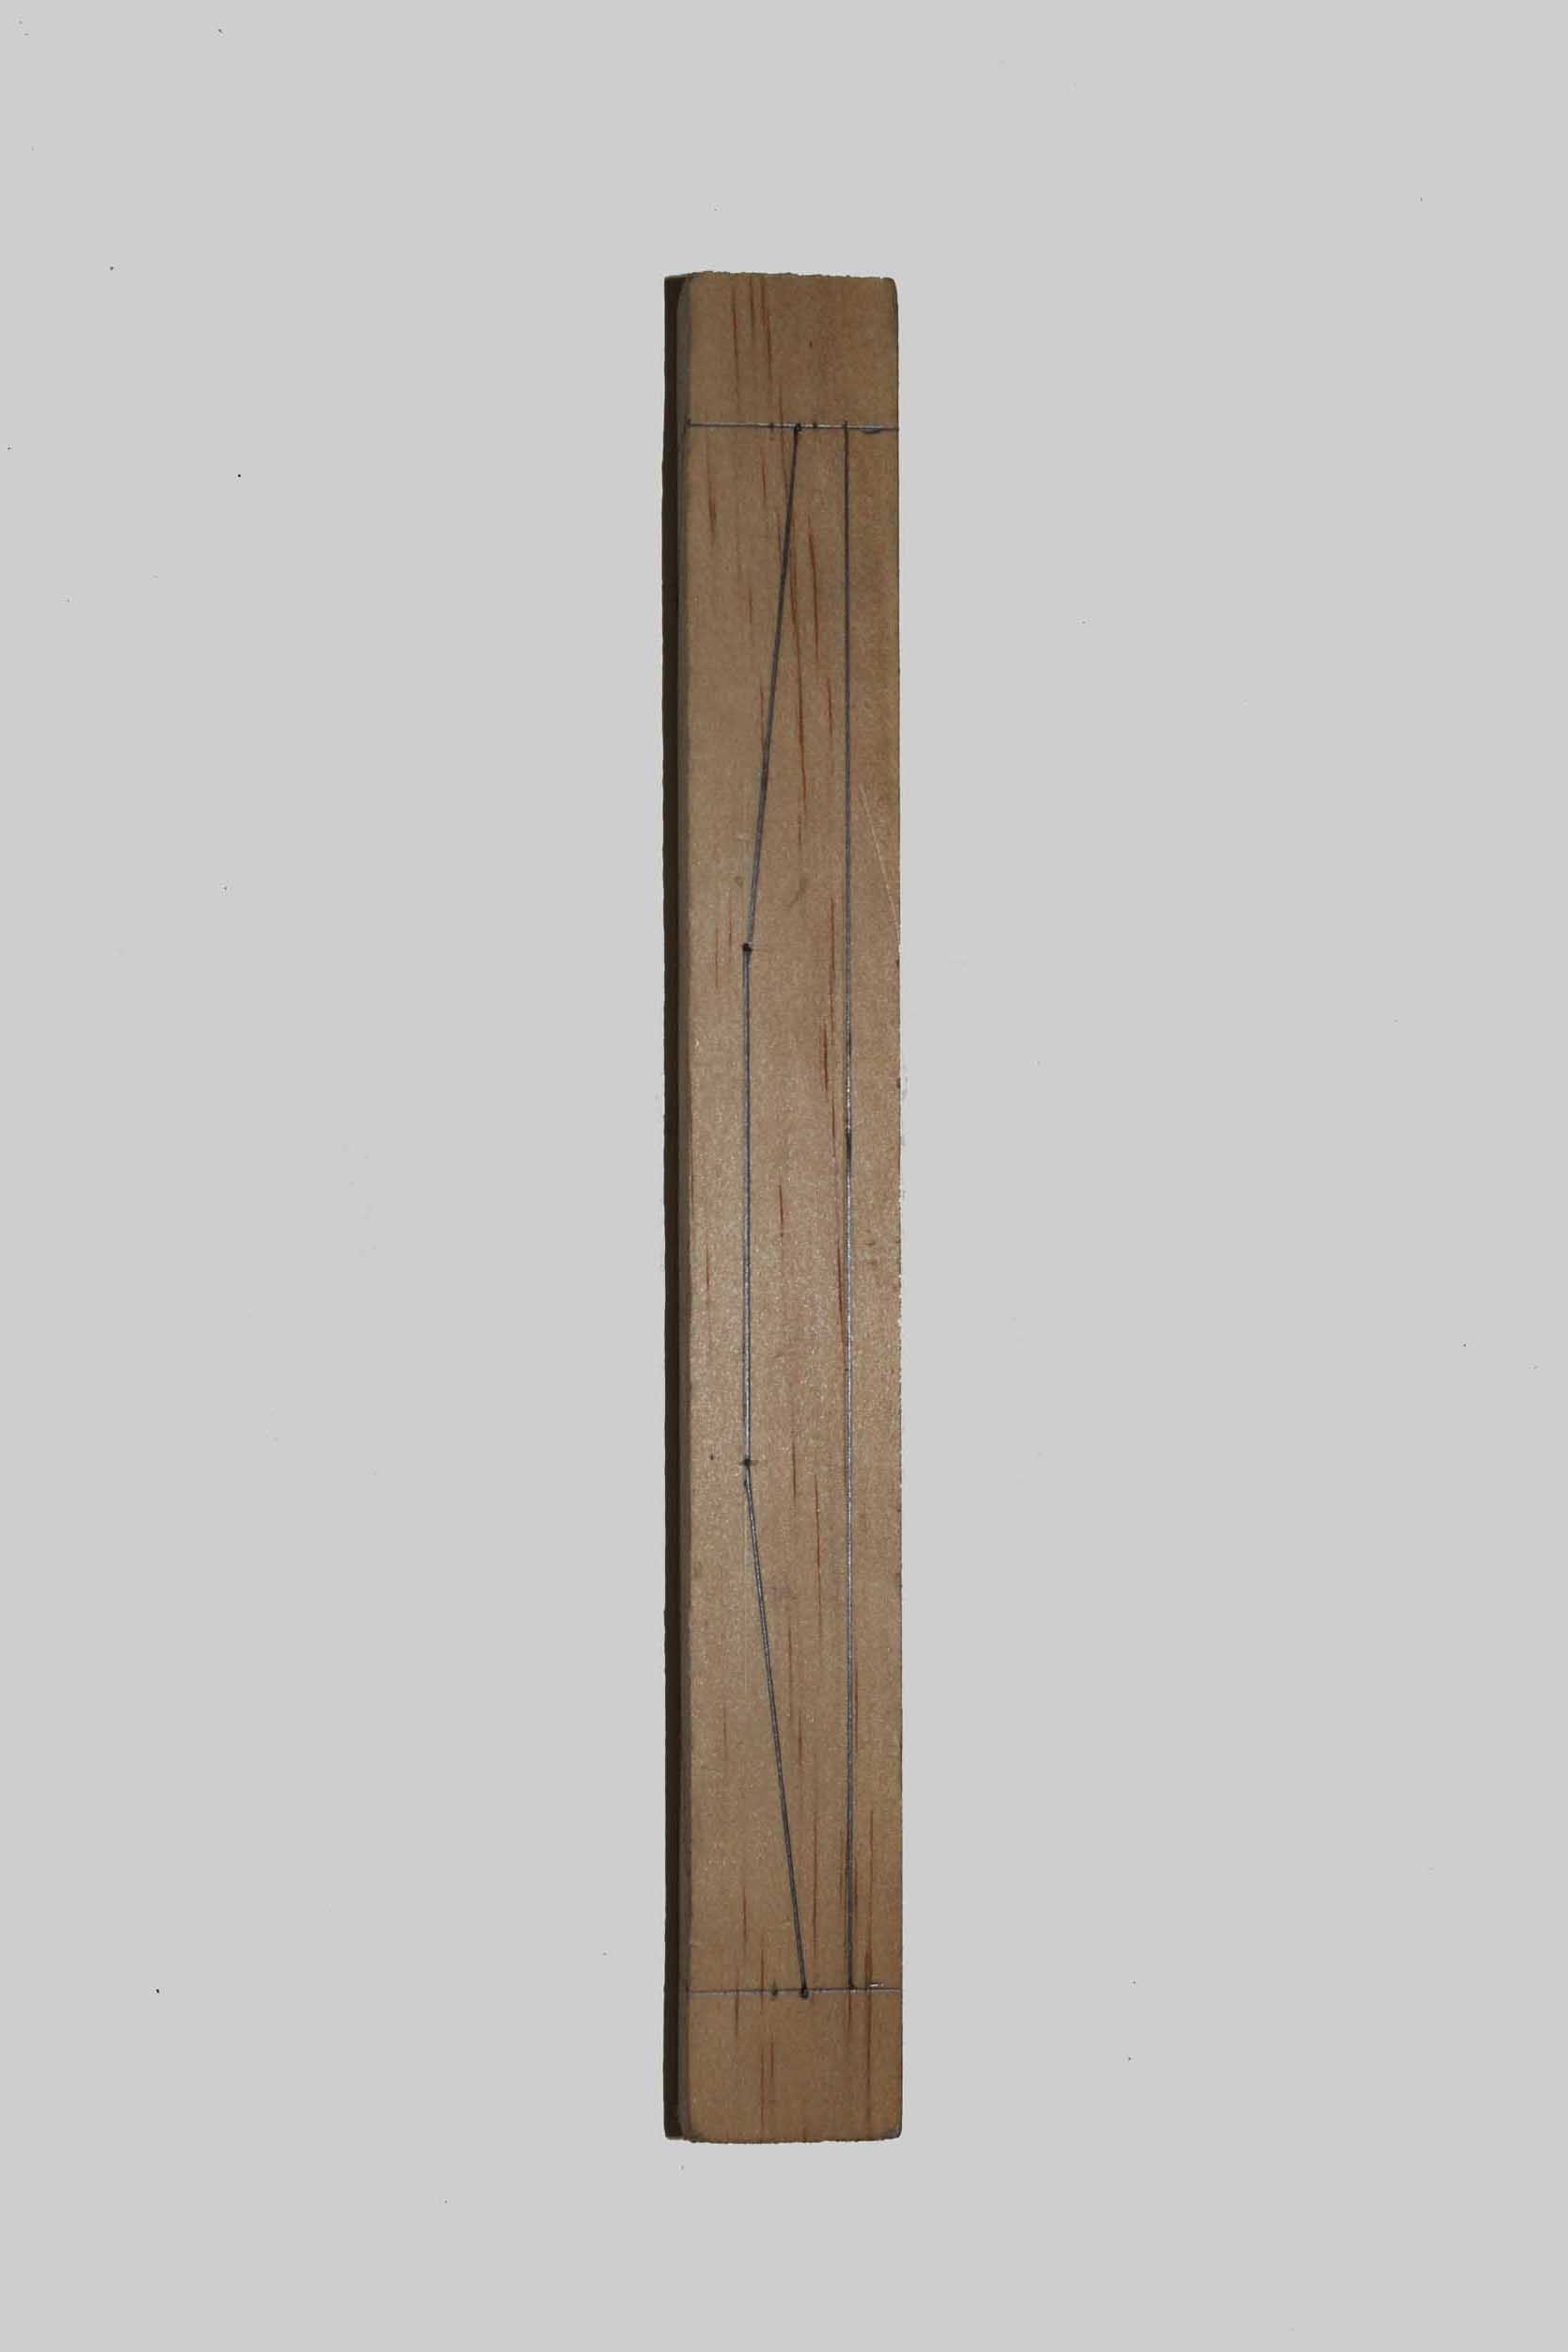
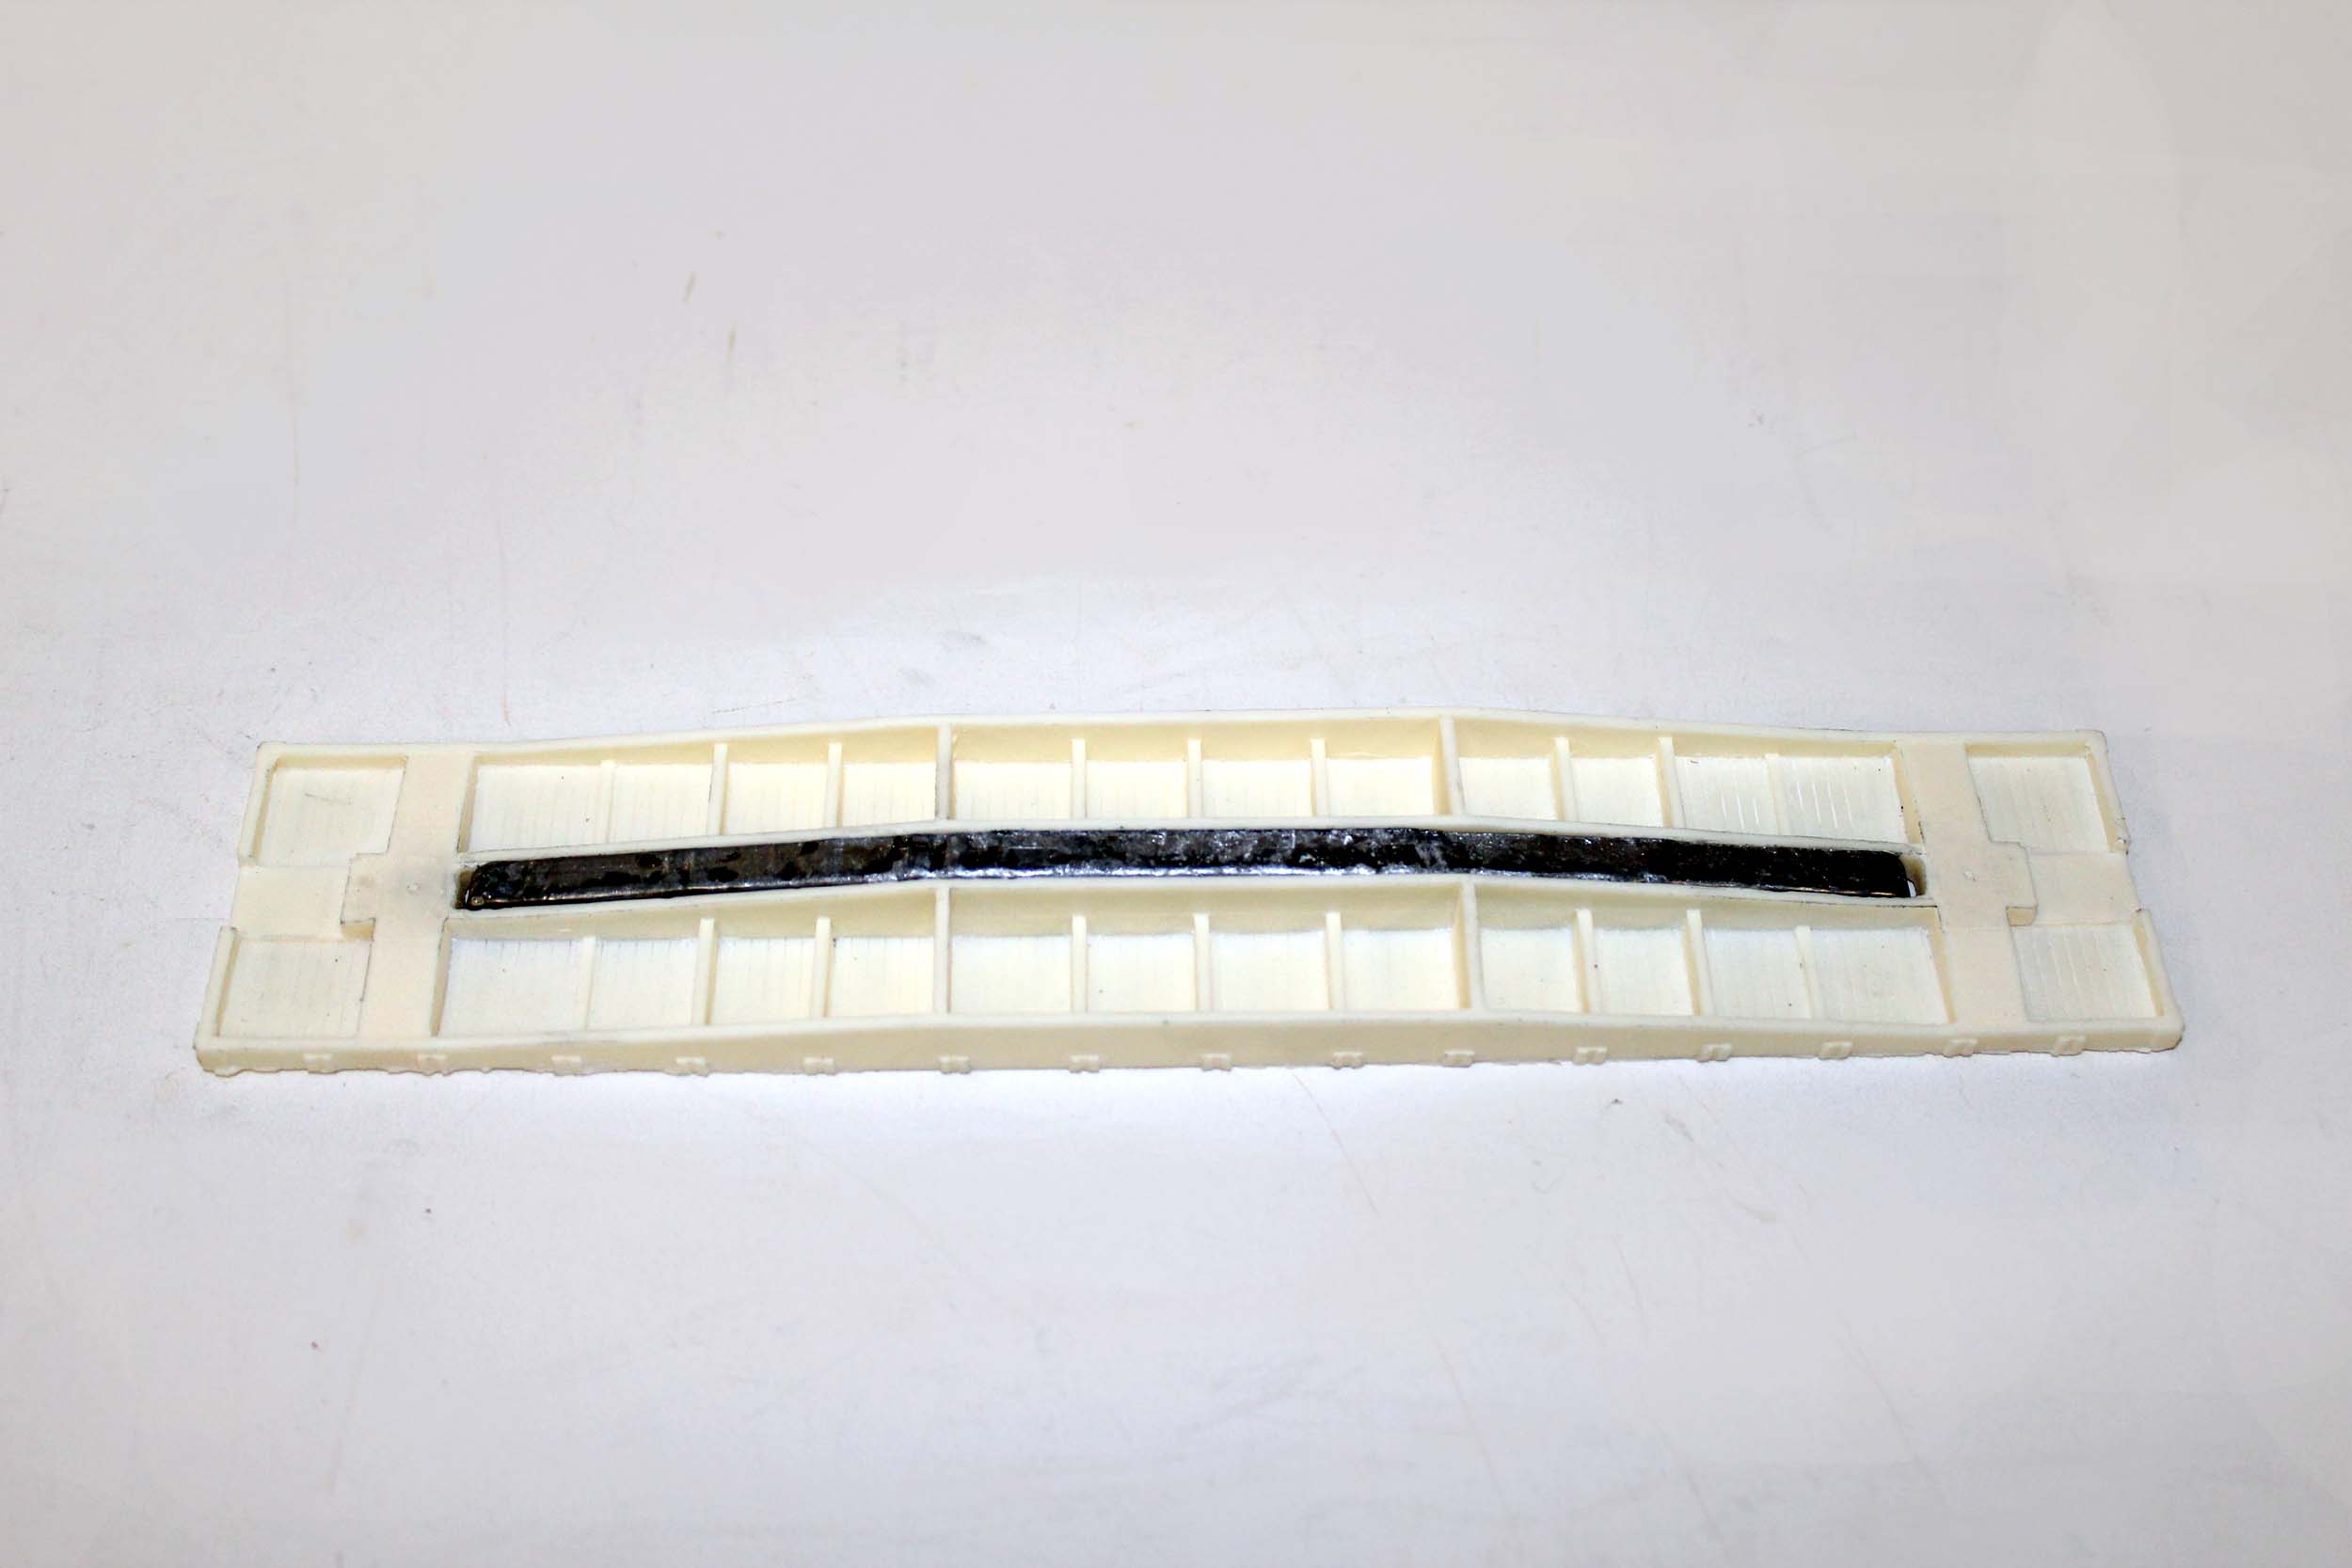
Many
years ago I made simple wood molds to cast weights. This would be easy. I laid
it out on a small piece of pine. I hoped that the weight would pop right out
but since I was only making one I would split the mold apart if I had to.
Milling the wood for the mold was fun. It is the first time I have done it with
this machine. The straight side was easy but cutting the diagonals was tricky
since it is BILL powered not CNC. I placed some 1” wire nails in case it needed
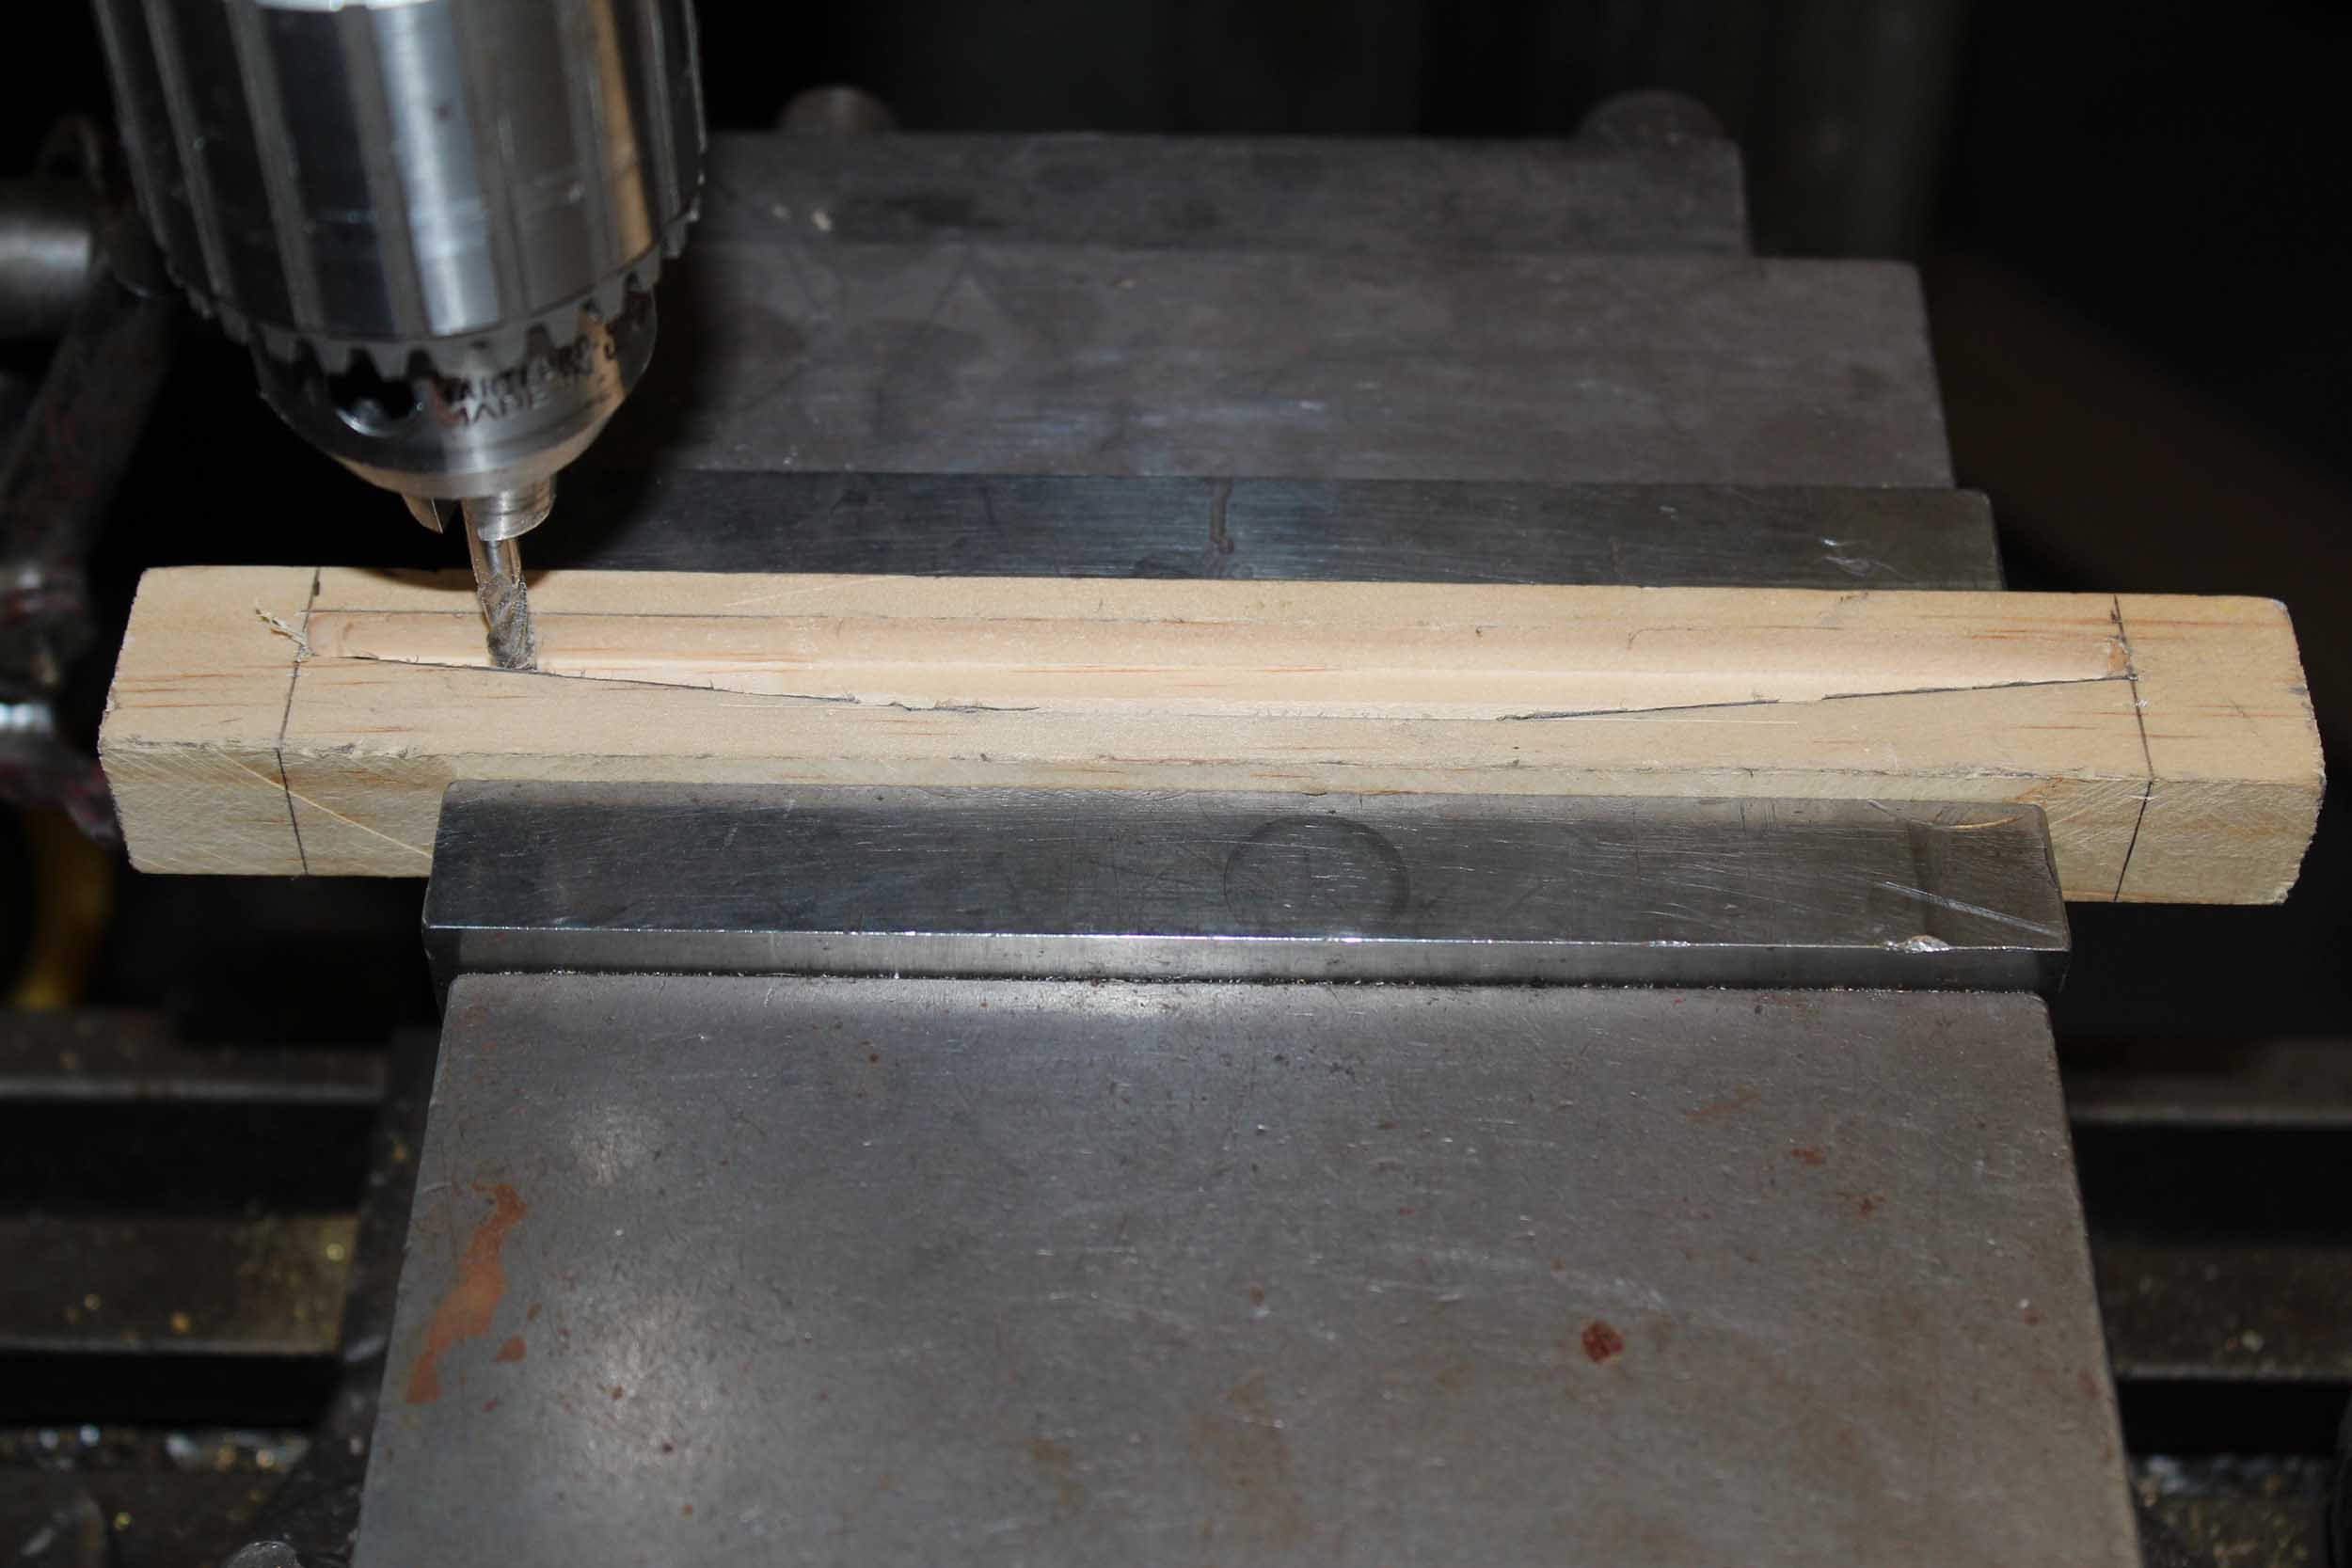
help coming out of the mold. I forgot that lead bubbles up so when I poured for
a full fill the center was thicker than would fit in the centersill. COOL! I
get to use the milling machine again. I took about .030 off to get back to the
.25 width I needed. I did NOT have to split up the mold to get the weight out
so it survived to cast for another day. When I was done machining the weight
with the exception of the length that came up a little short for some unknown
reason it fit perfectly! There was a little WHOOSH when I slid the weight right
into the centersill! According to my rickety old mail scale the weight cast out
at about 4 ounces which is just what I was hoping for.
I am not encouraging anyone to cast lead weights. Molten
metal of any kind is dangerous!

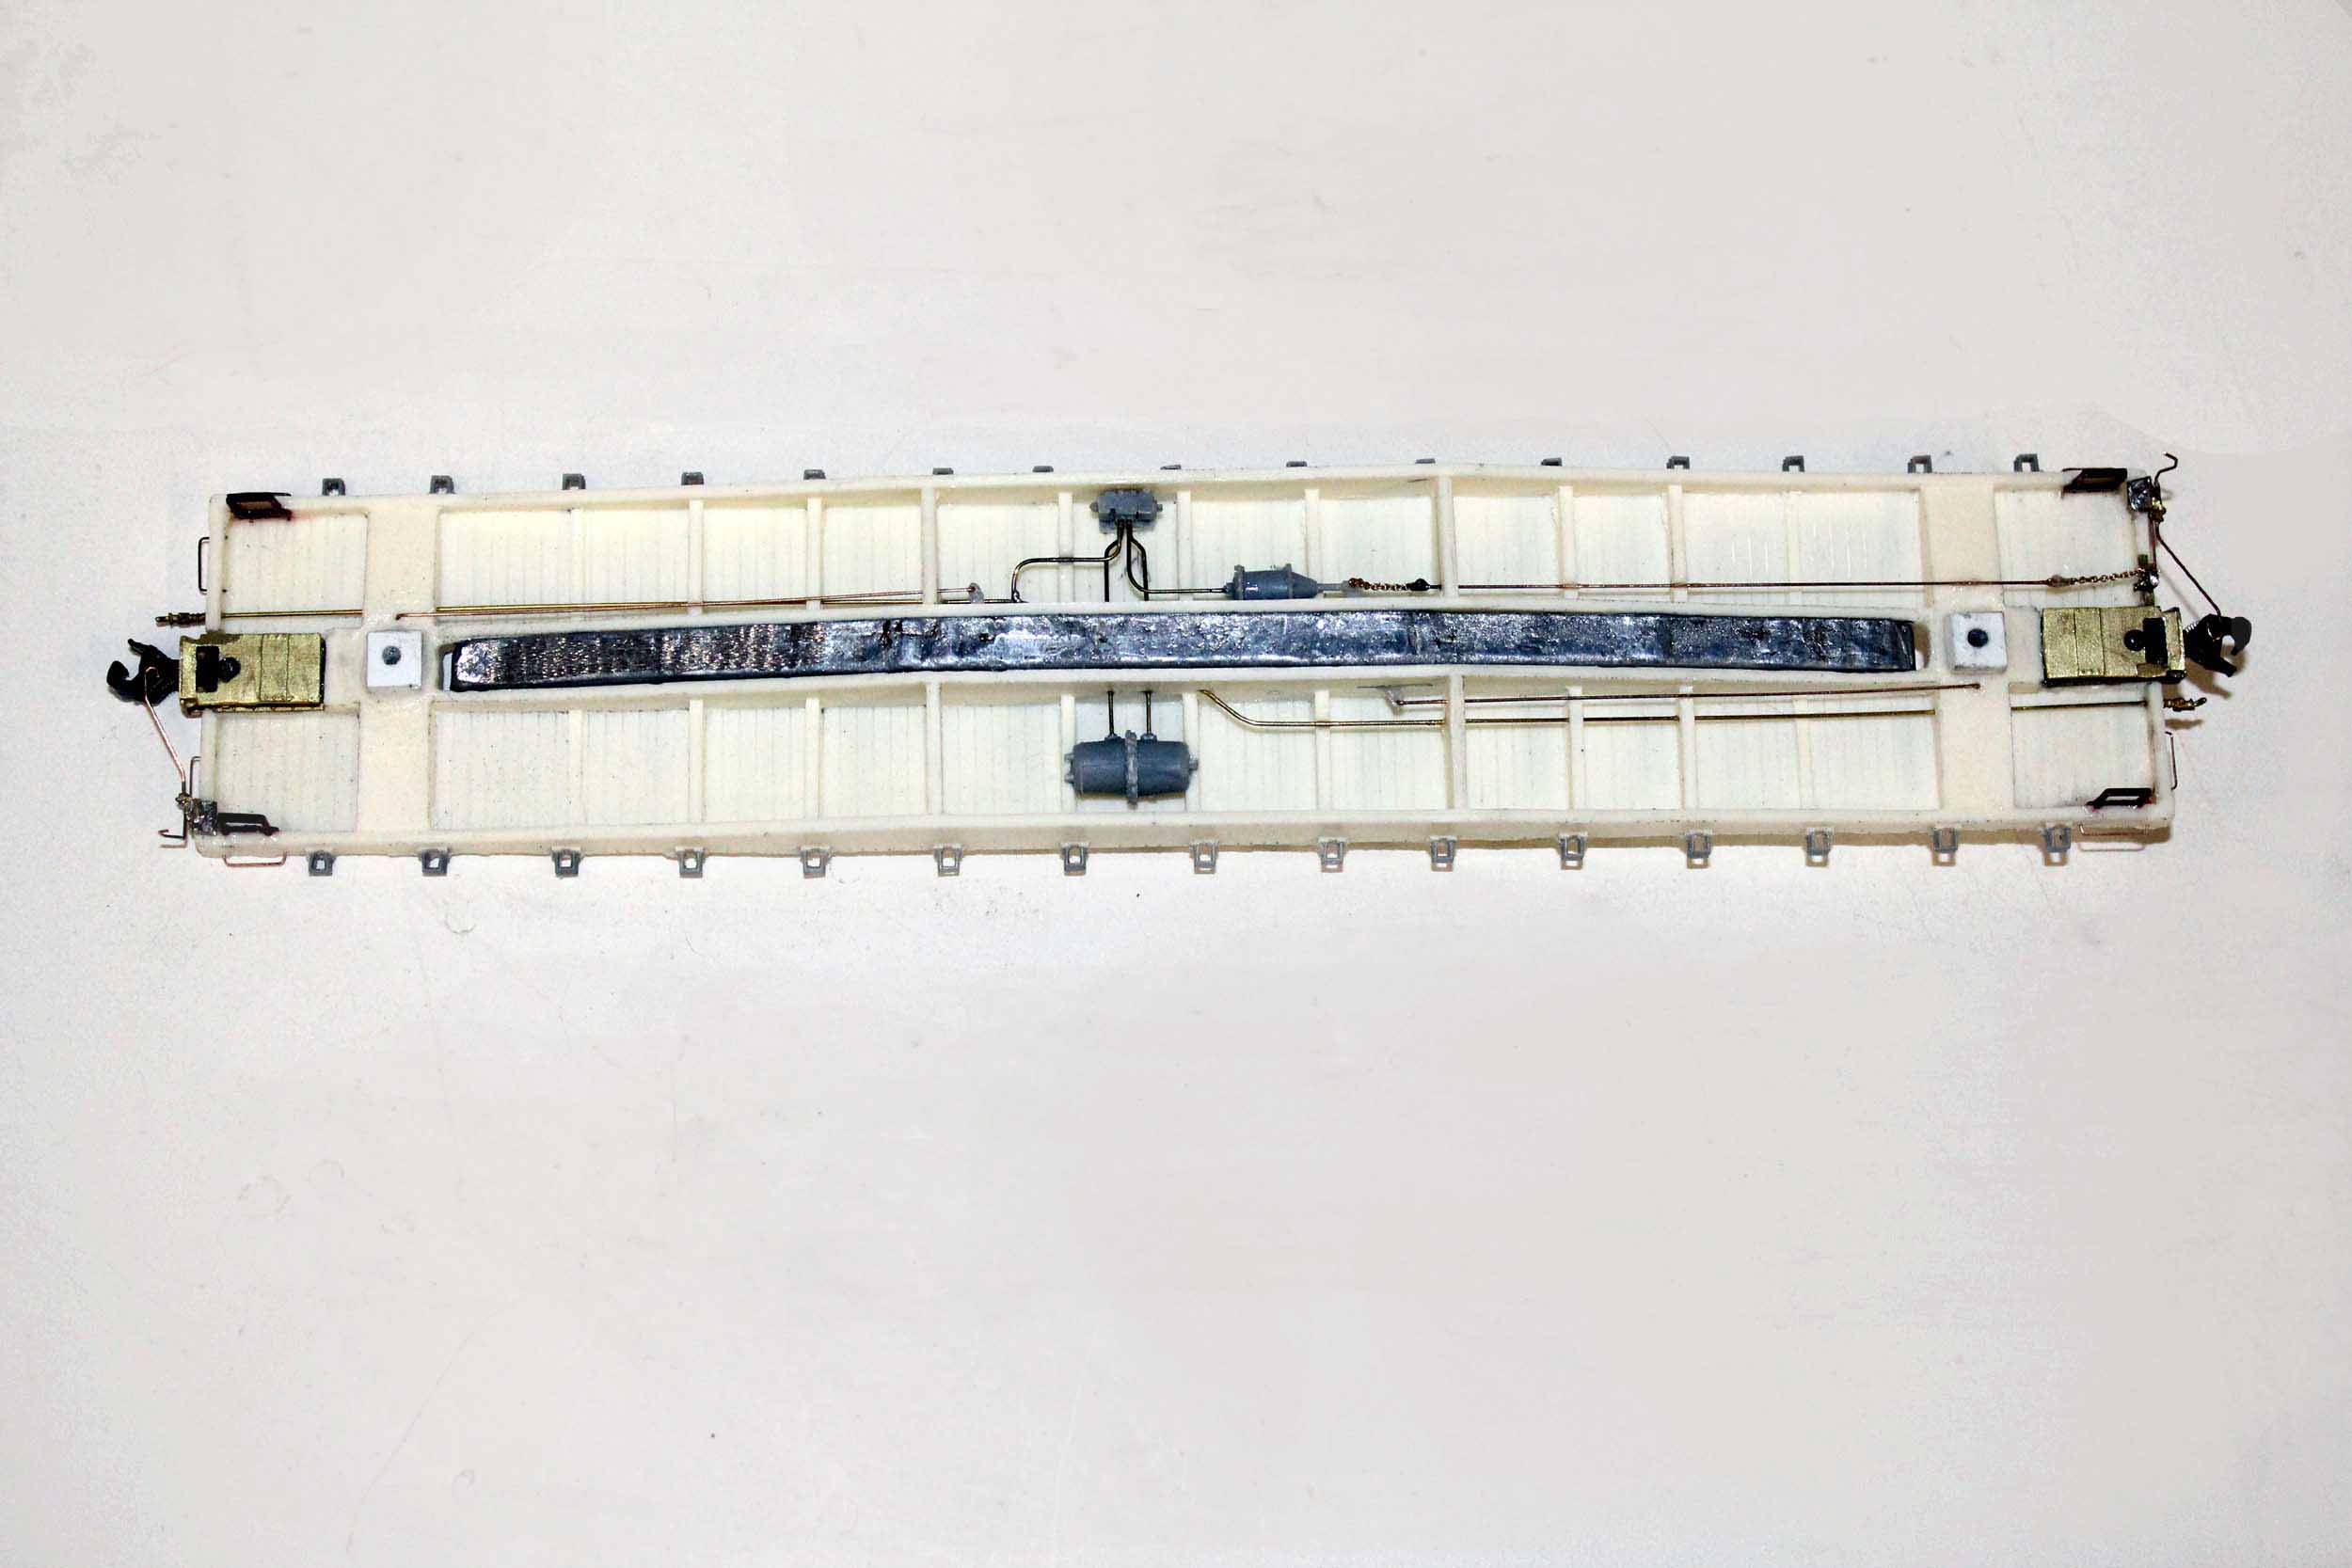
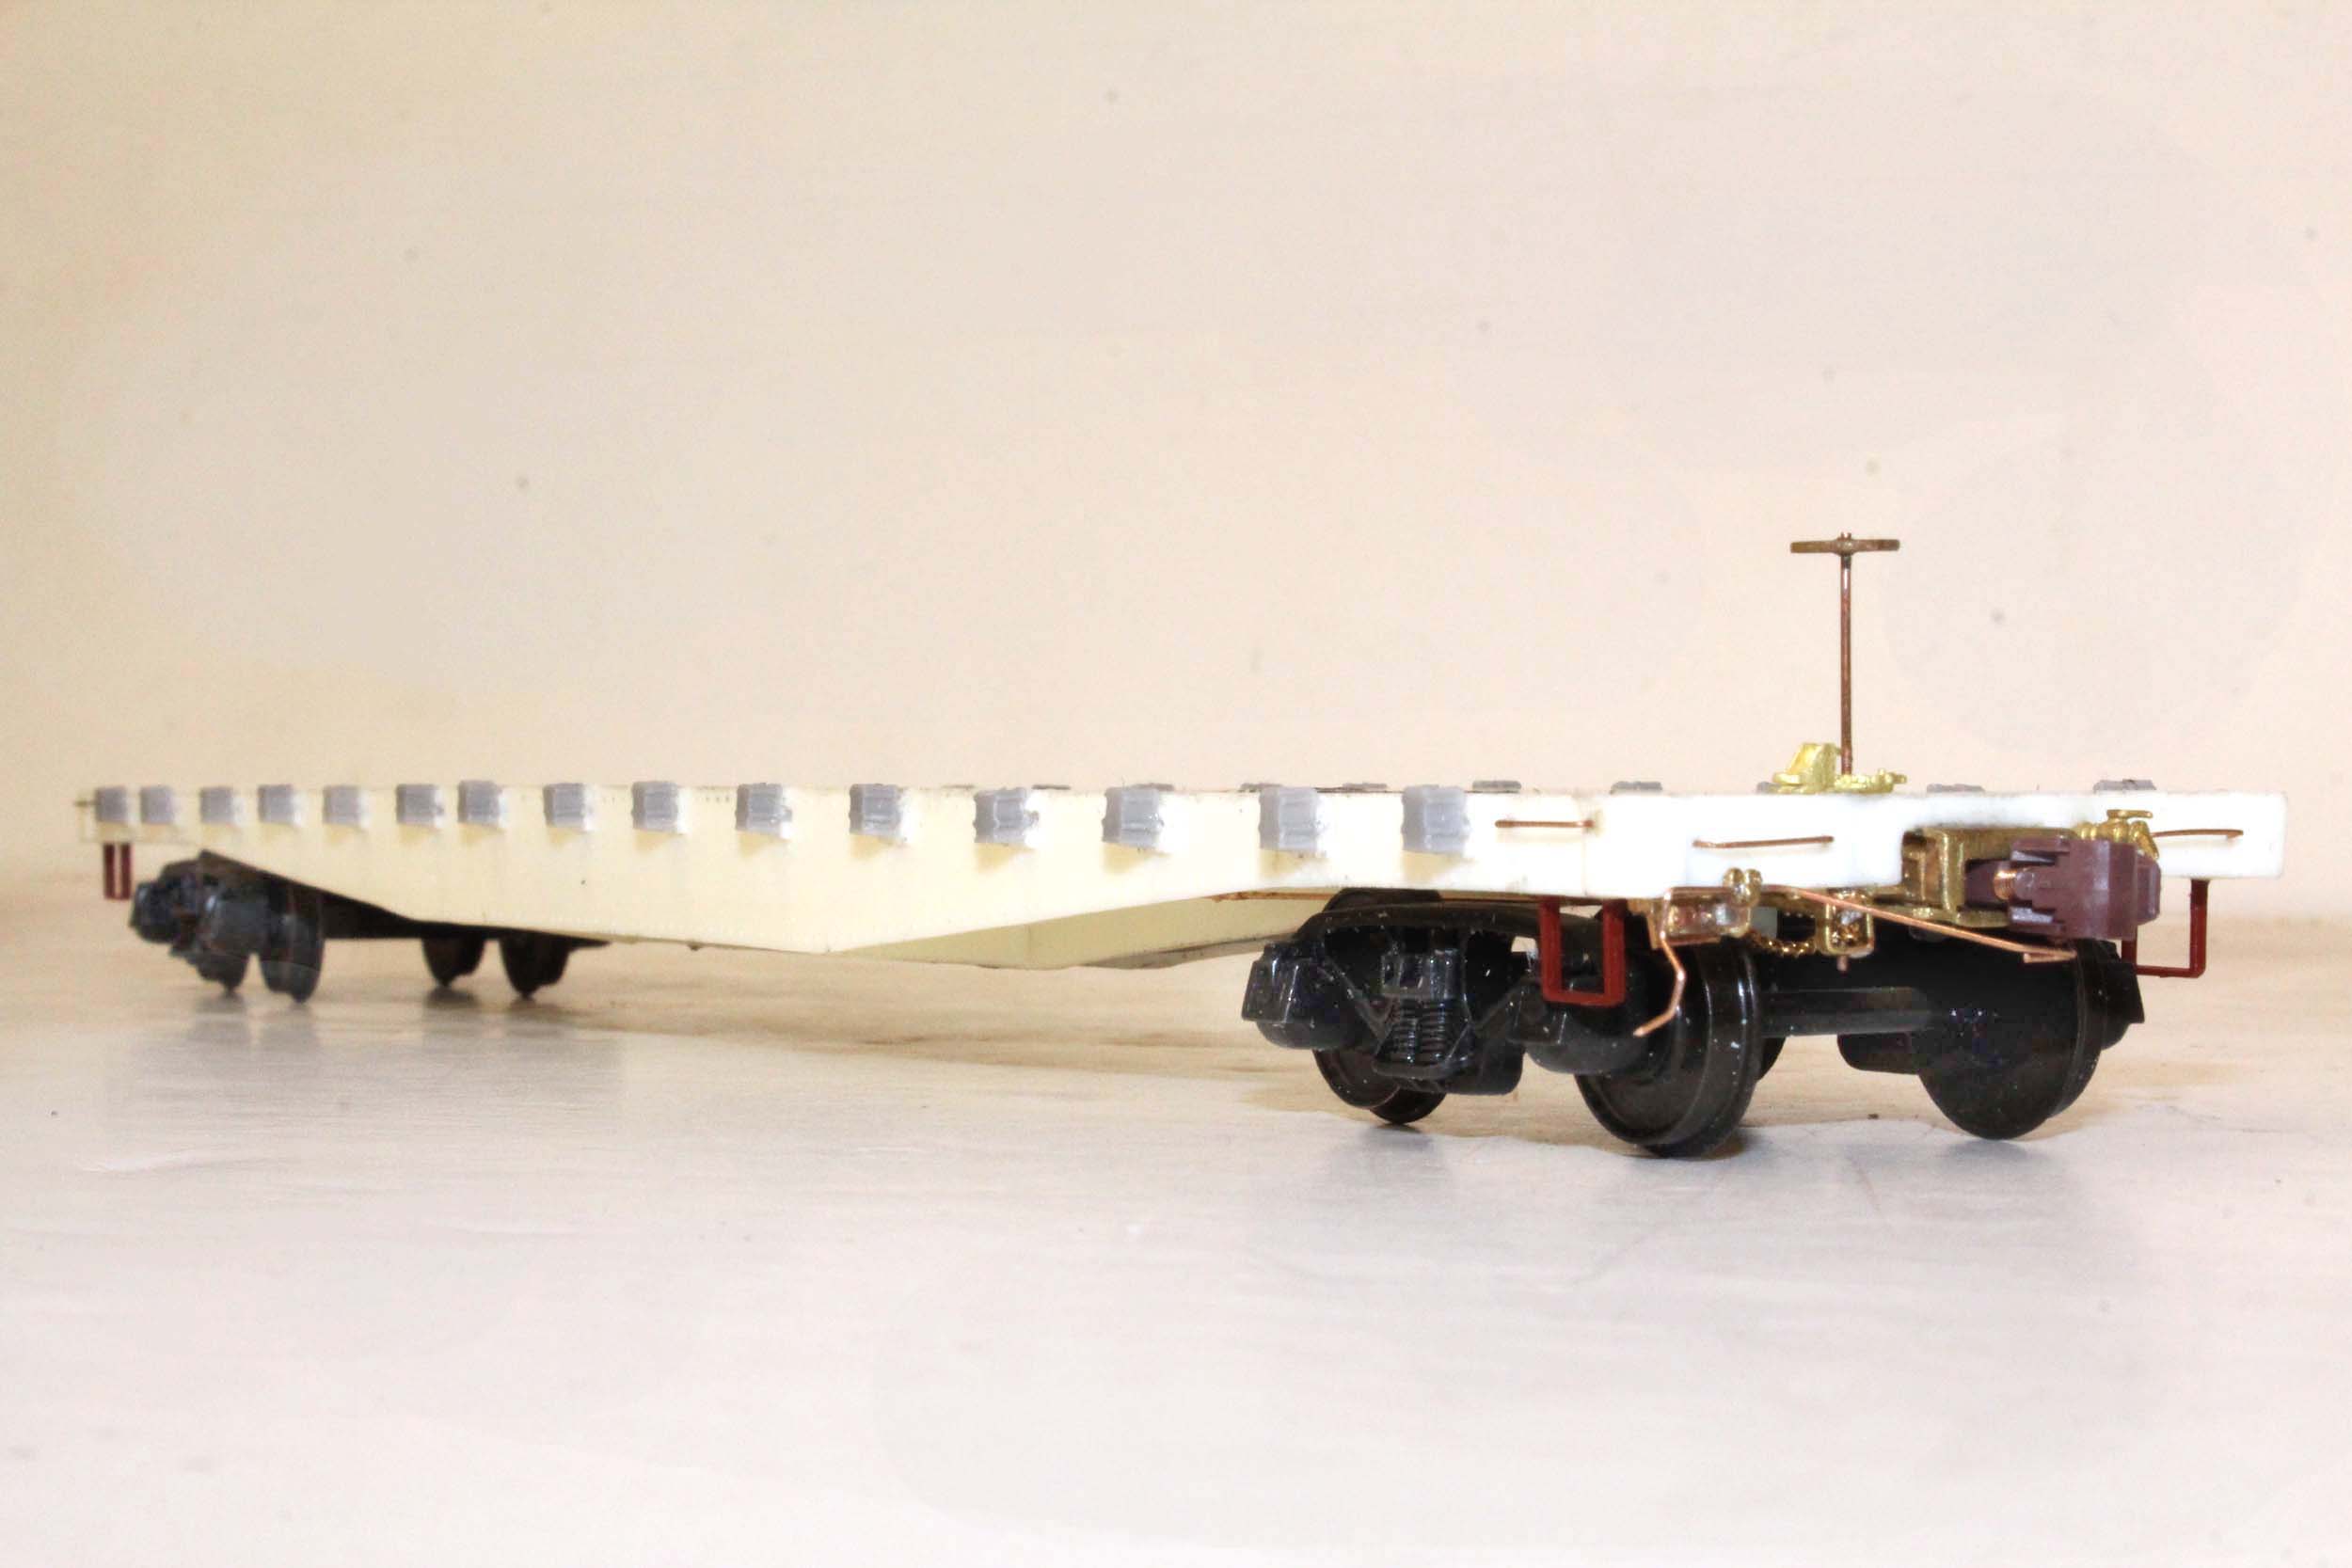
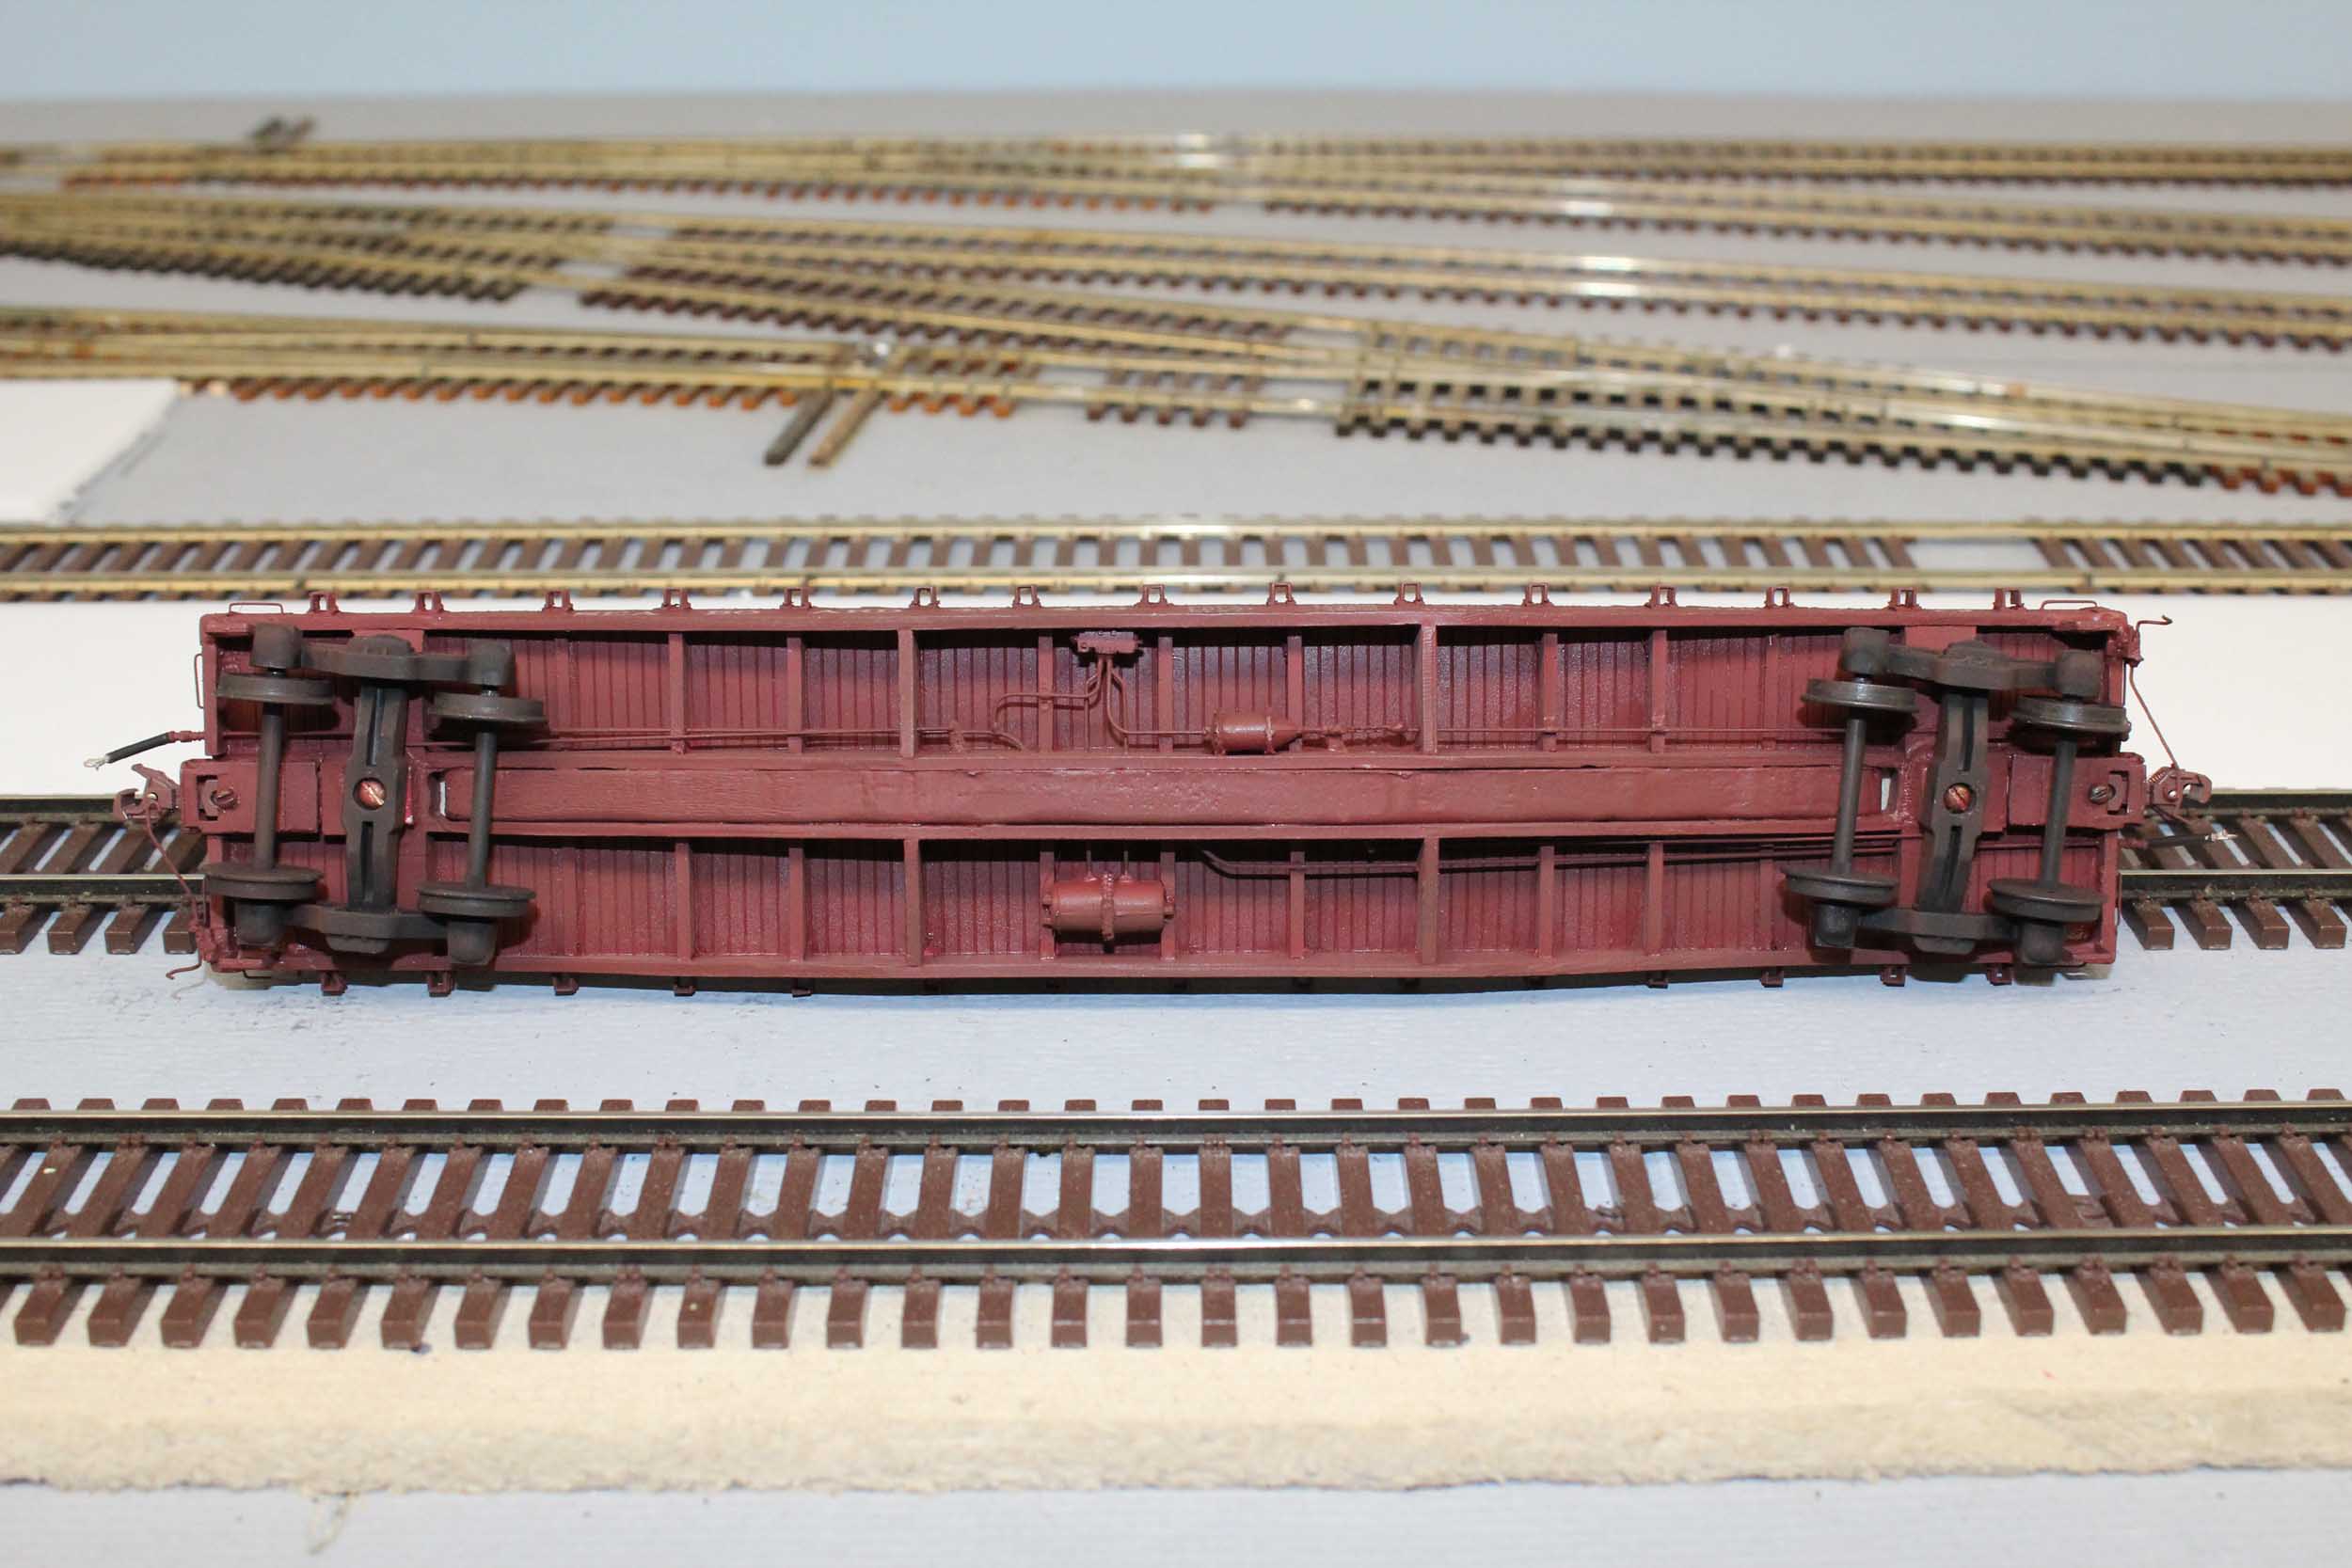
Detailing and Ready for Paint
Significant
effort went into making the underbody have a brake system. I had limited
materials to work from so I don’t claim it is perfect, but much better than the
no detail I had originally planned for this car. It was mostly a Grandt Line AB brake set with various wire sizes. Most of the
wire is phosphor bronze especially the brake wheel shaft.
Other
items needed were S Helper Service trucks, Grandt Line stake pockets, my brass
draft gear, cut lever brackets and brake wheel shaft ratchet, 4 Pacific Rail
Shops stirrup steps, brass train pipe valves, and wire grab irons, some small
pieces of chain and a brake wheel – recycled from another project. The cut
lever brackets were made off the car and glued and pinned in place. But I DID
do some very fast soldering of items while ON the car using my Hotip resistance
soldering unit! I much prefer soldering to any other form of joining 2 items.
It is tricky but no urethane was harmed.
I want to mention about “pinning” pieces together especially if
they are mixed materials. While photos
would be better, for this model I added small pieces of .025 wire
to the back of the draft gear and drilled a matching hole horizontally into the
body bolster. This made it so I only had to use one screw to attach the draft
when used with a liberal amount of ACC glue. The cut lever brackets were
soldered to a piece of brass angle. On the back of that angle I soldered a wire
that went vertically through the end sill. There is nothing that annoys me more
than when detail parts come off a finished and weathered model. This
significant extra work really helps tie the model together much better.

Completed 1-16-14
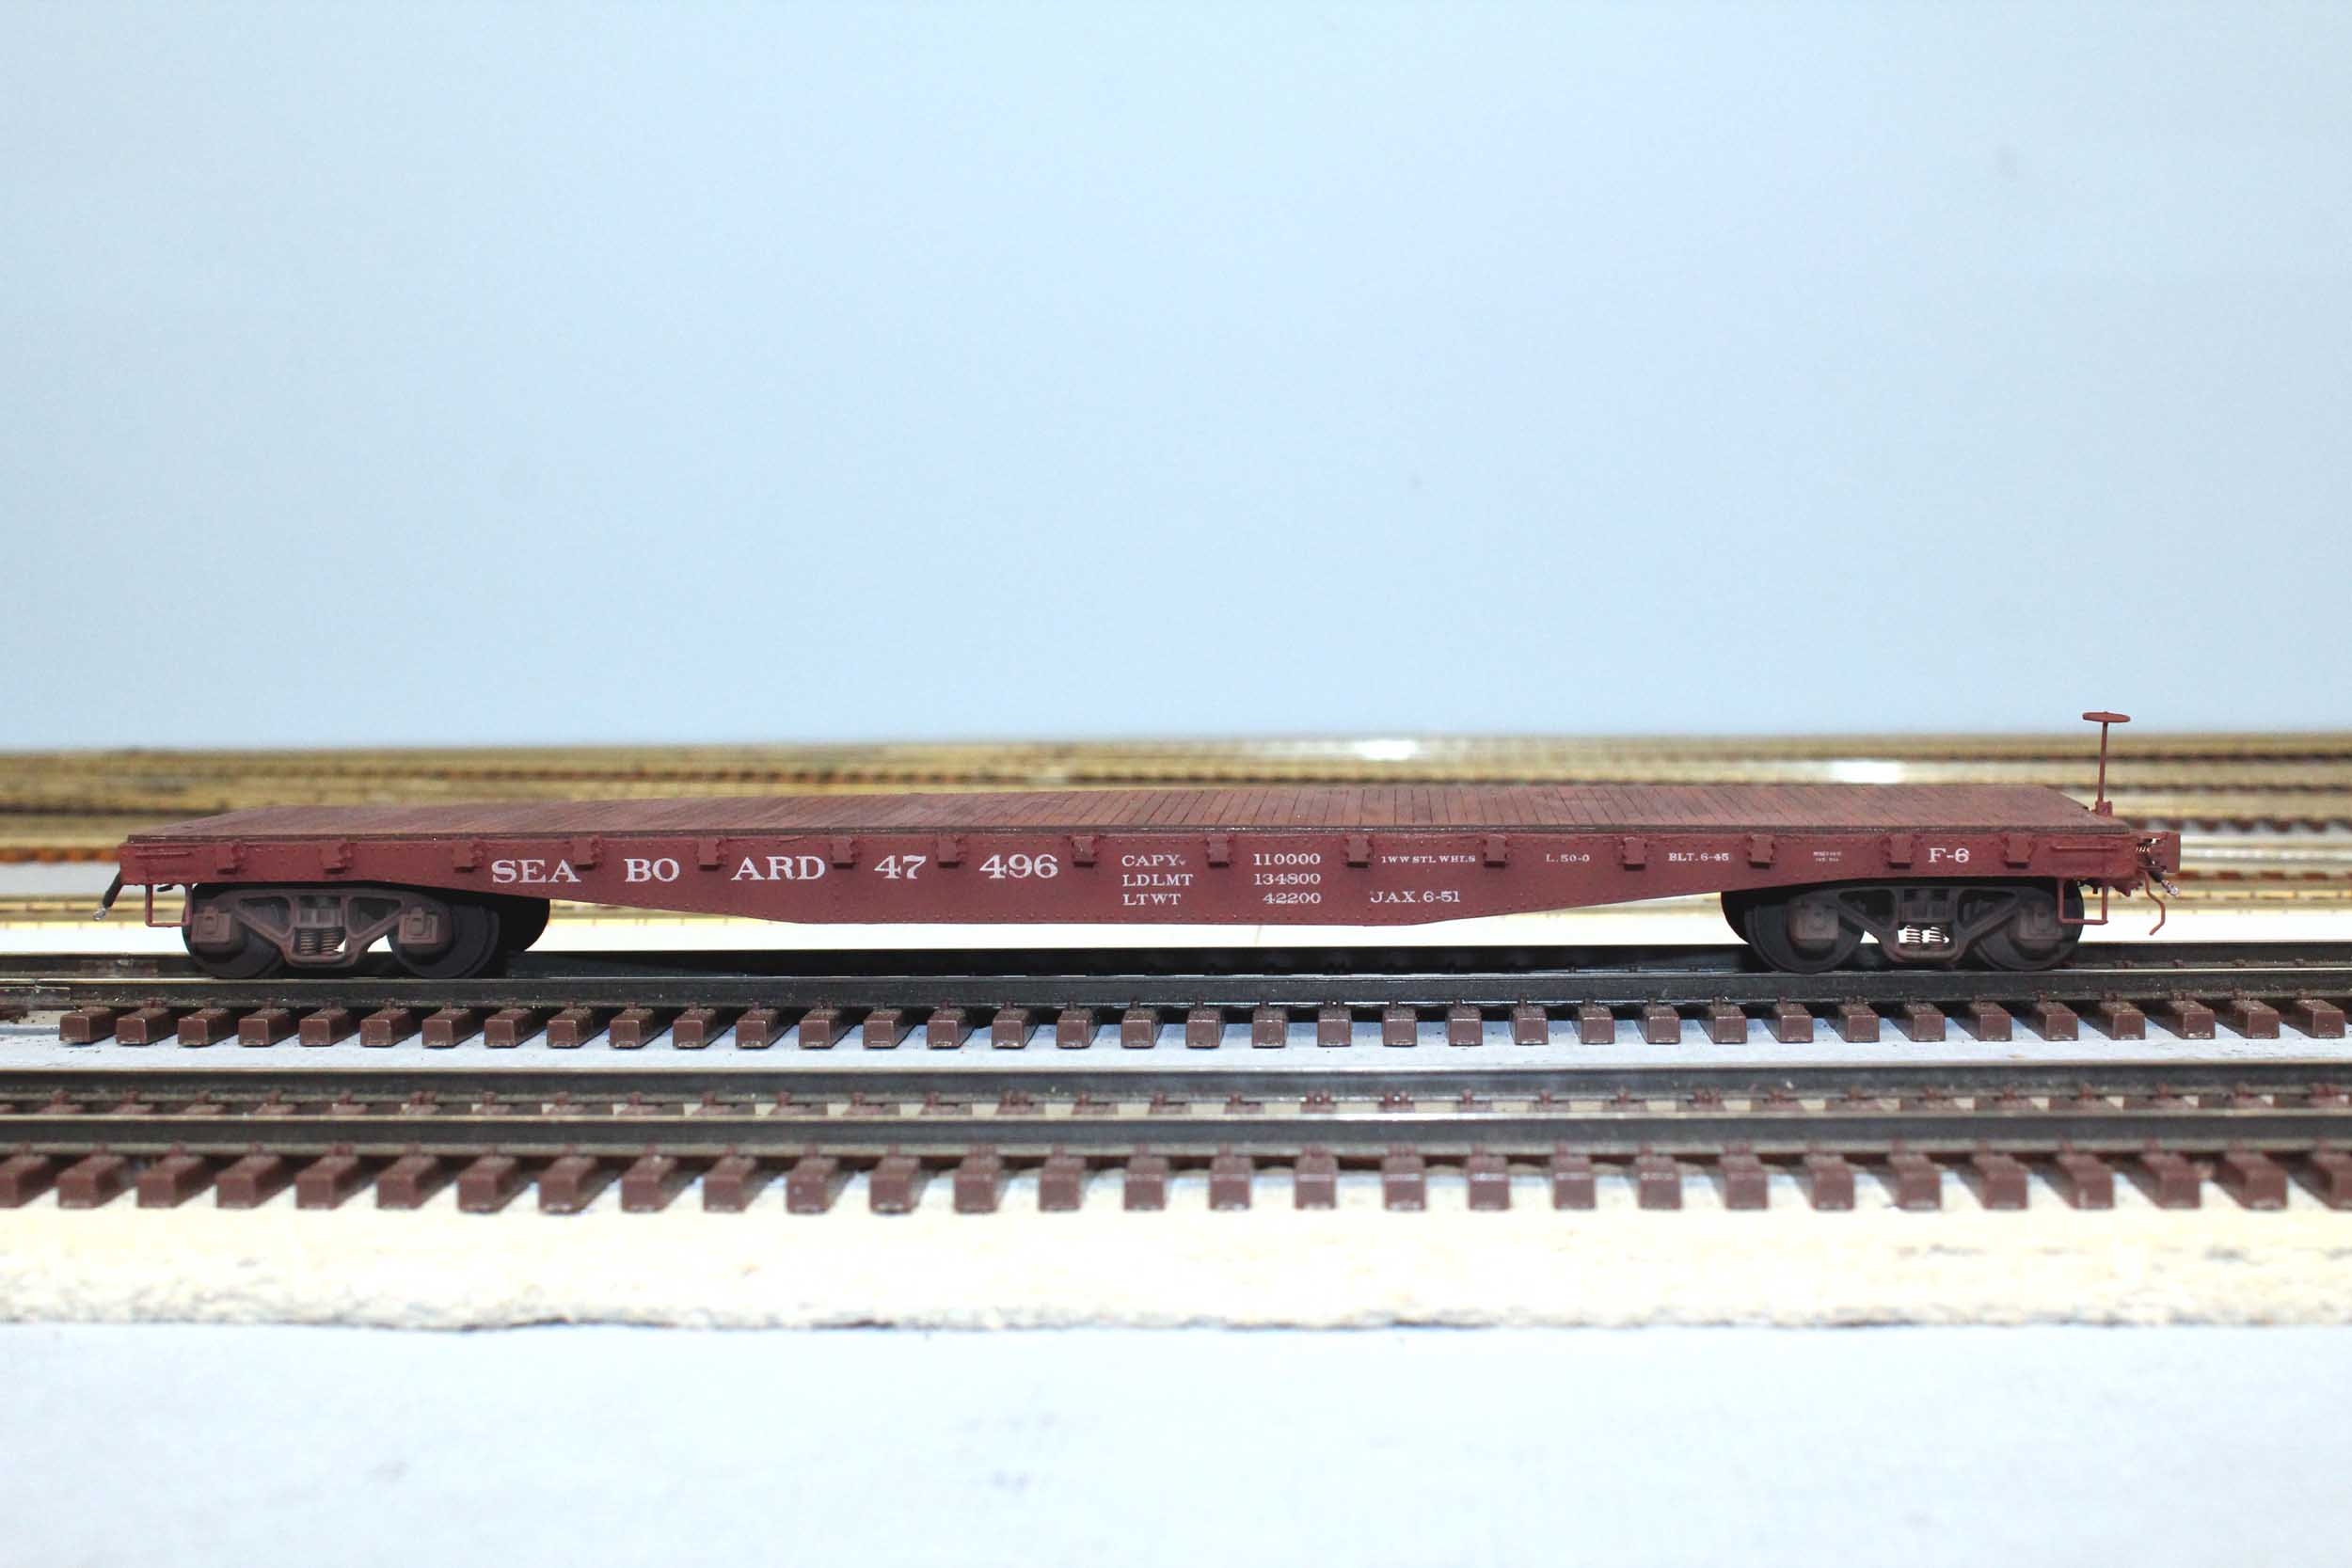
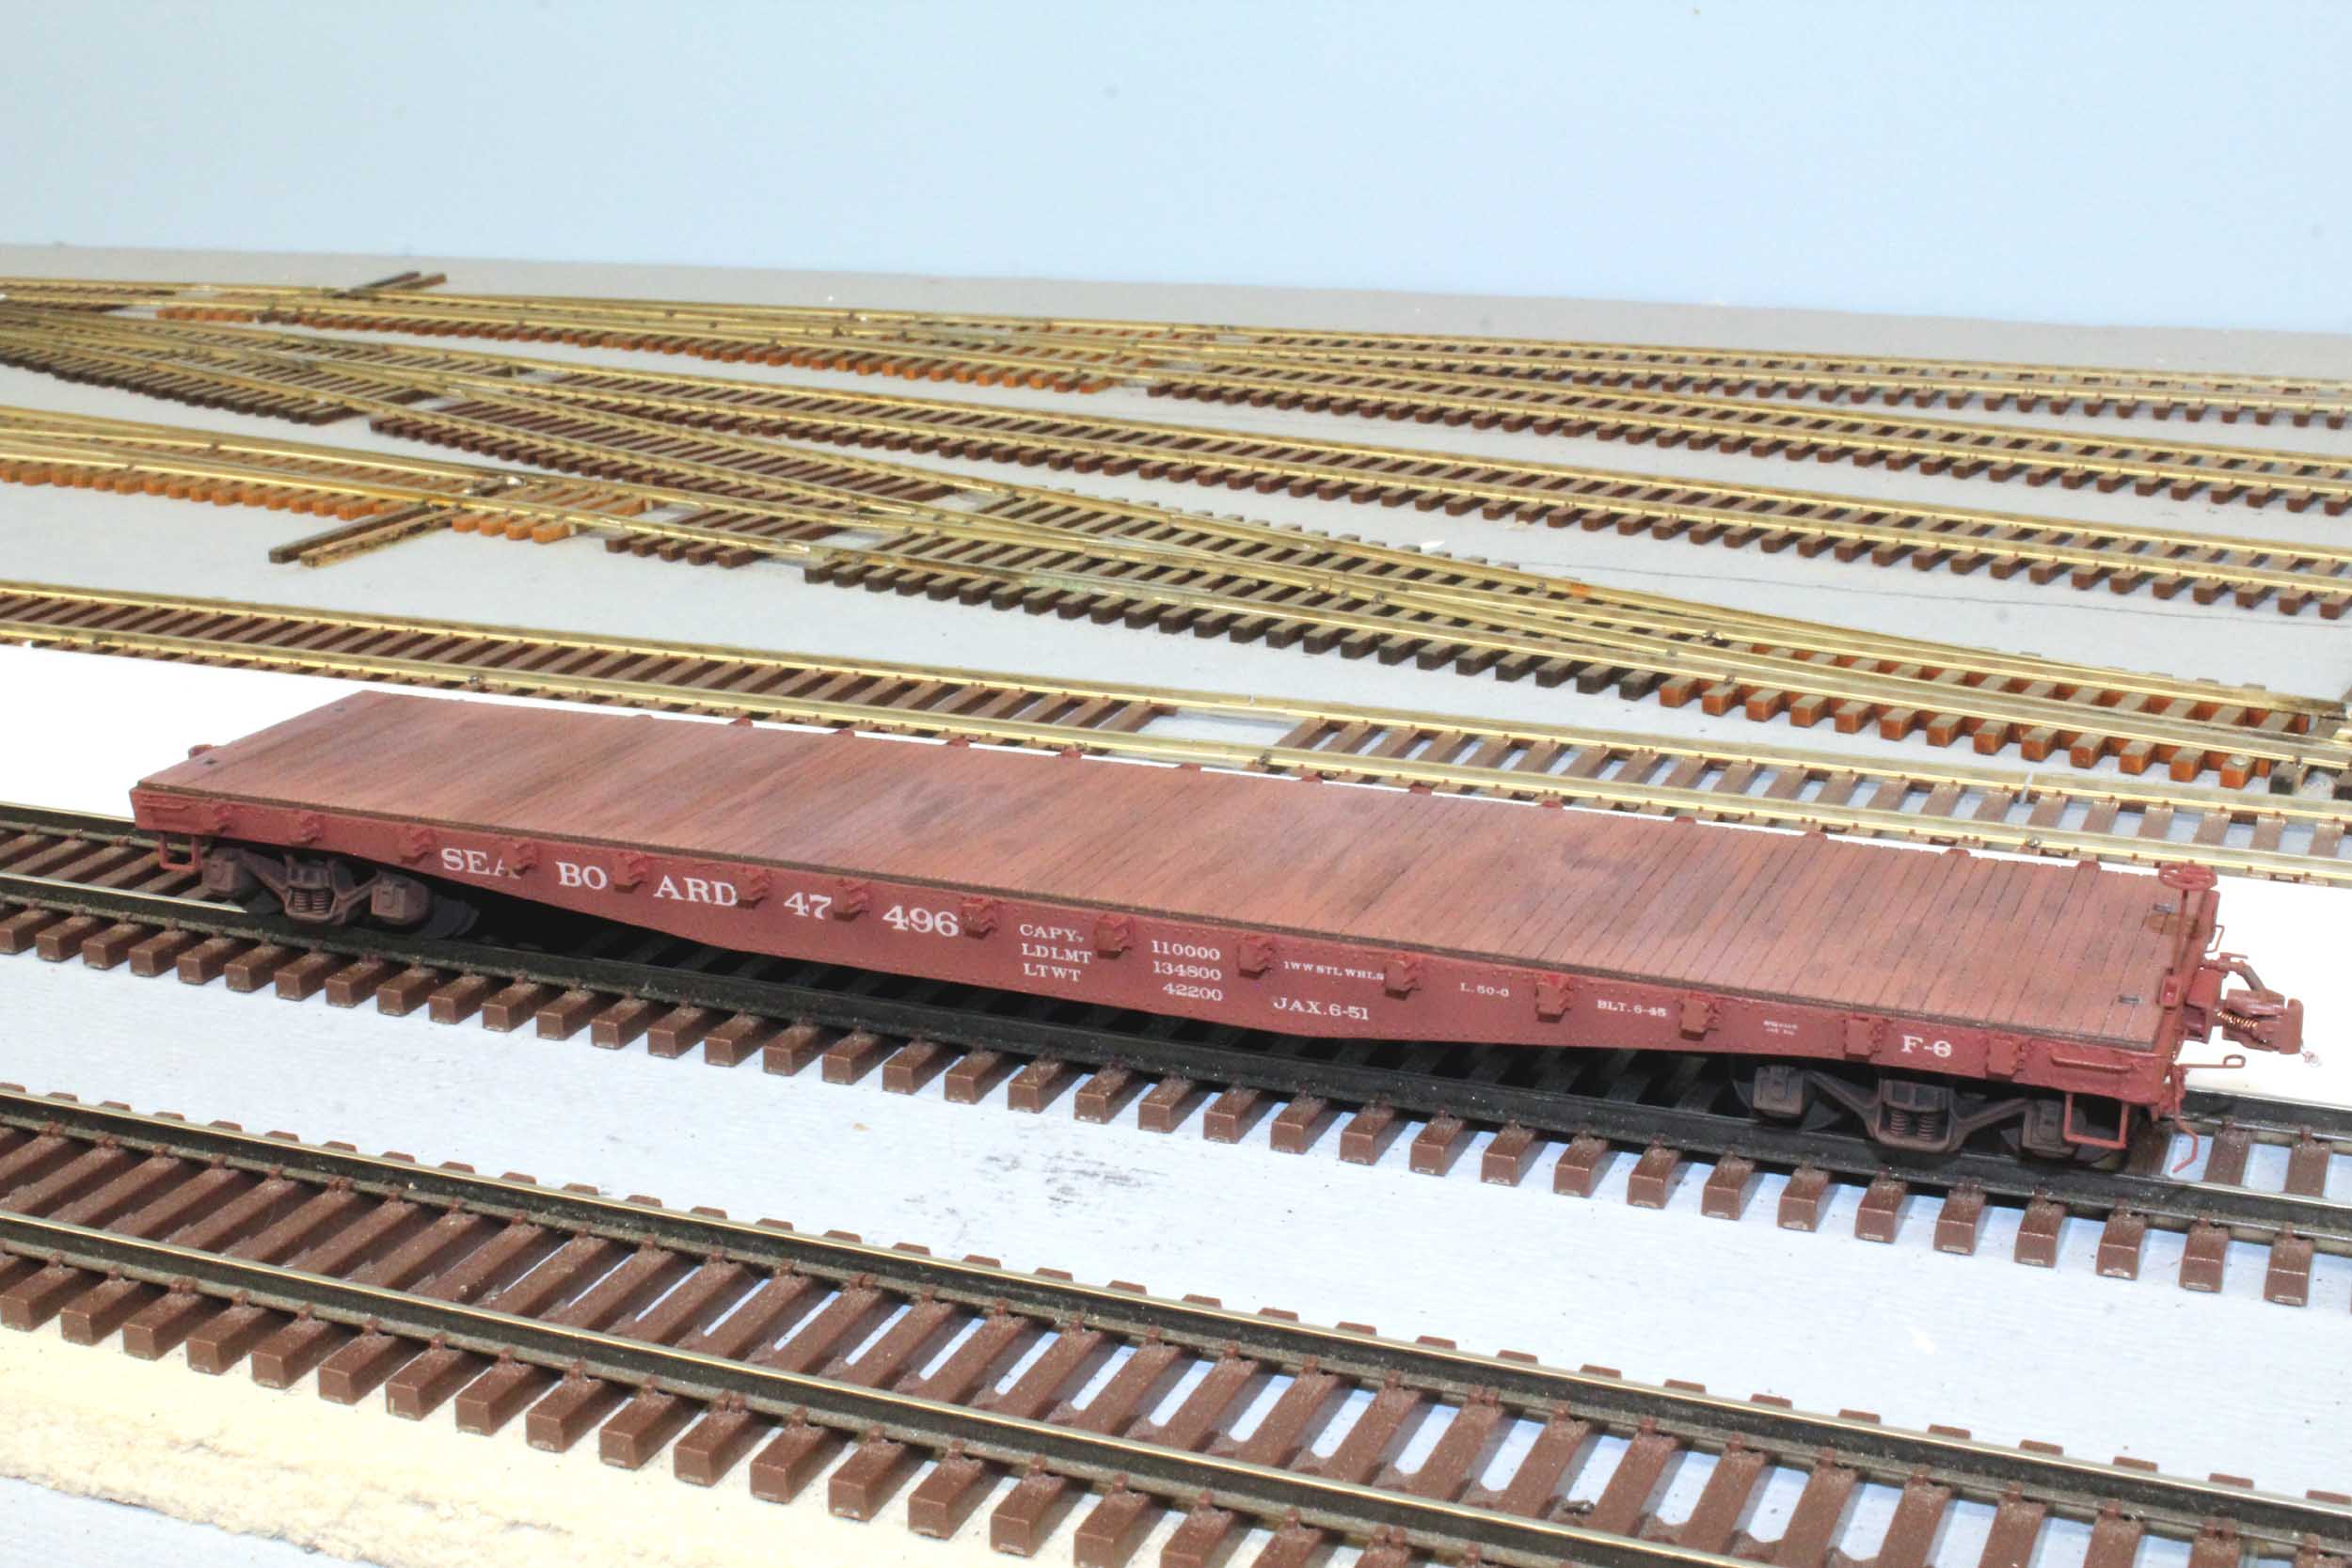
List of materials
Any Google search will find the suppliers
Updated 2-14-23
Jerry Glow decal artwork is now owned by Tichy
S Helper Service was Mikes Trains house which the SHS brand was
bought by ScaleTrains
Flat
car body & wood deck Chad Boas
Decals Jerry
Glow
Trucks
S
Helper Service
Stake
Pockets & AB Brake set Grandt
Line
Tichy
Phosphor
bronze wire
Brass
train pipe valve BTS
(Bills Train Shop)
Tru
Color paint Seaboard Freight Car Red
Kadee 808
Couplers with the pins cut off
That
is the end of current commercially available items on my model but you should
be able to complete a car with them.
Brass
cut lever bracket, brake shaft bracket, draft gear, brake shaft pawl – made by
or for me.
Brake
wheel Recycled
from another car project.
Updated
2-14-23
All
photos and content © Lanes Trains 2005-2024