|
|
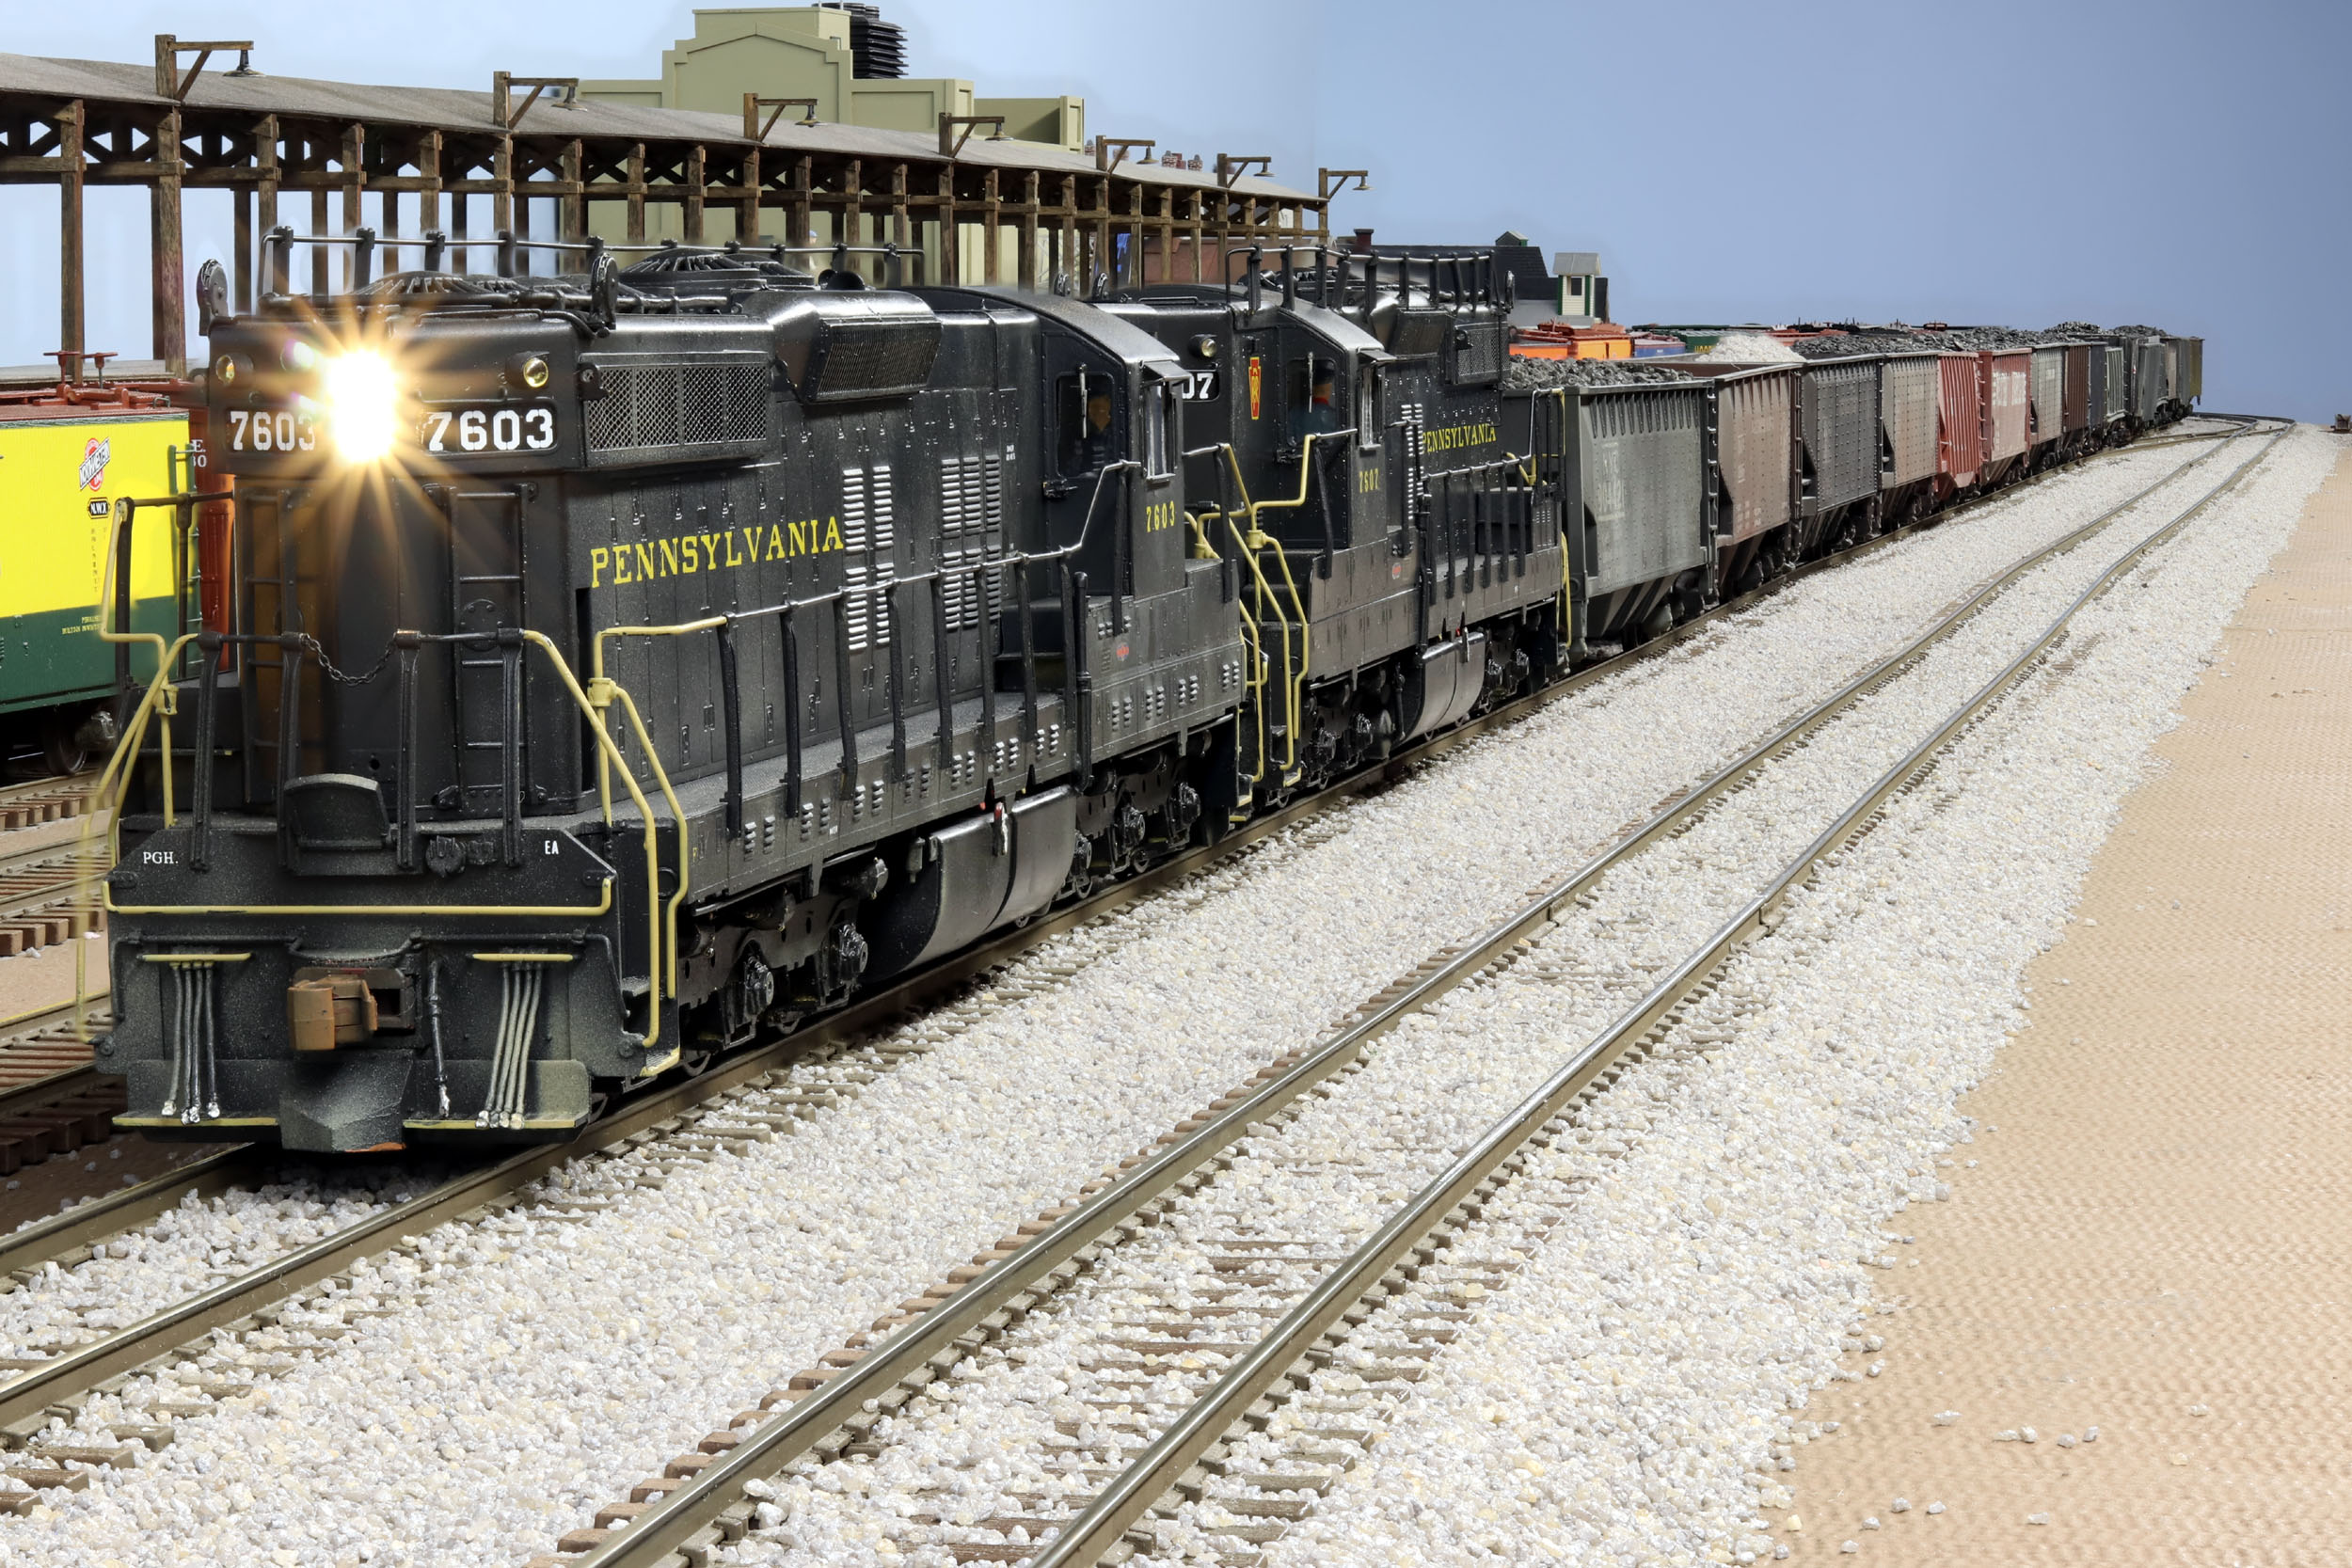
The
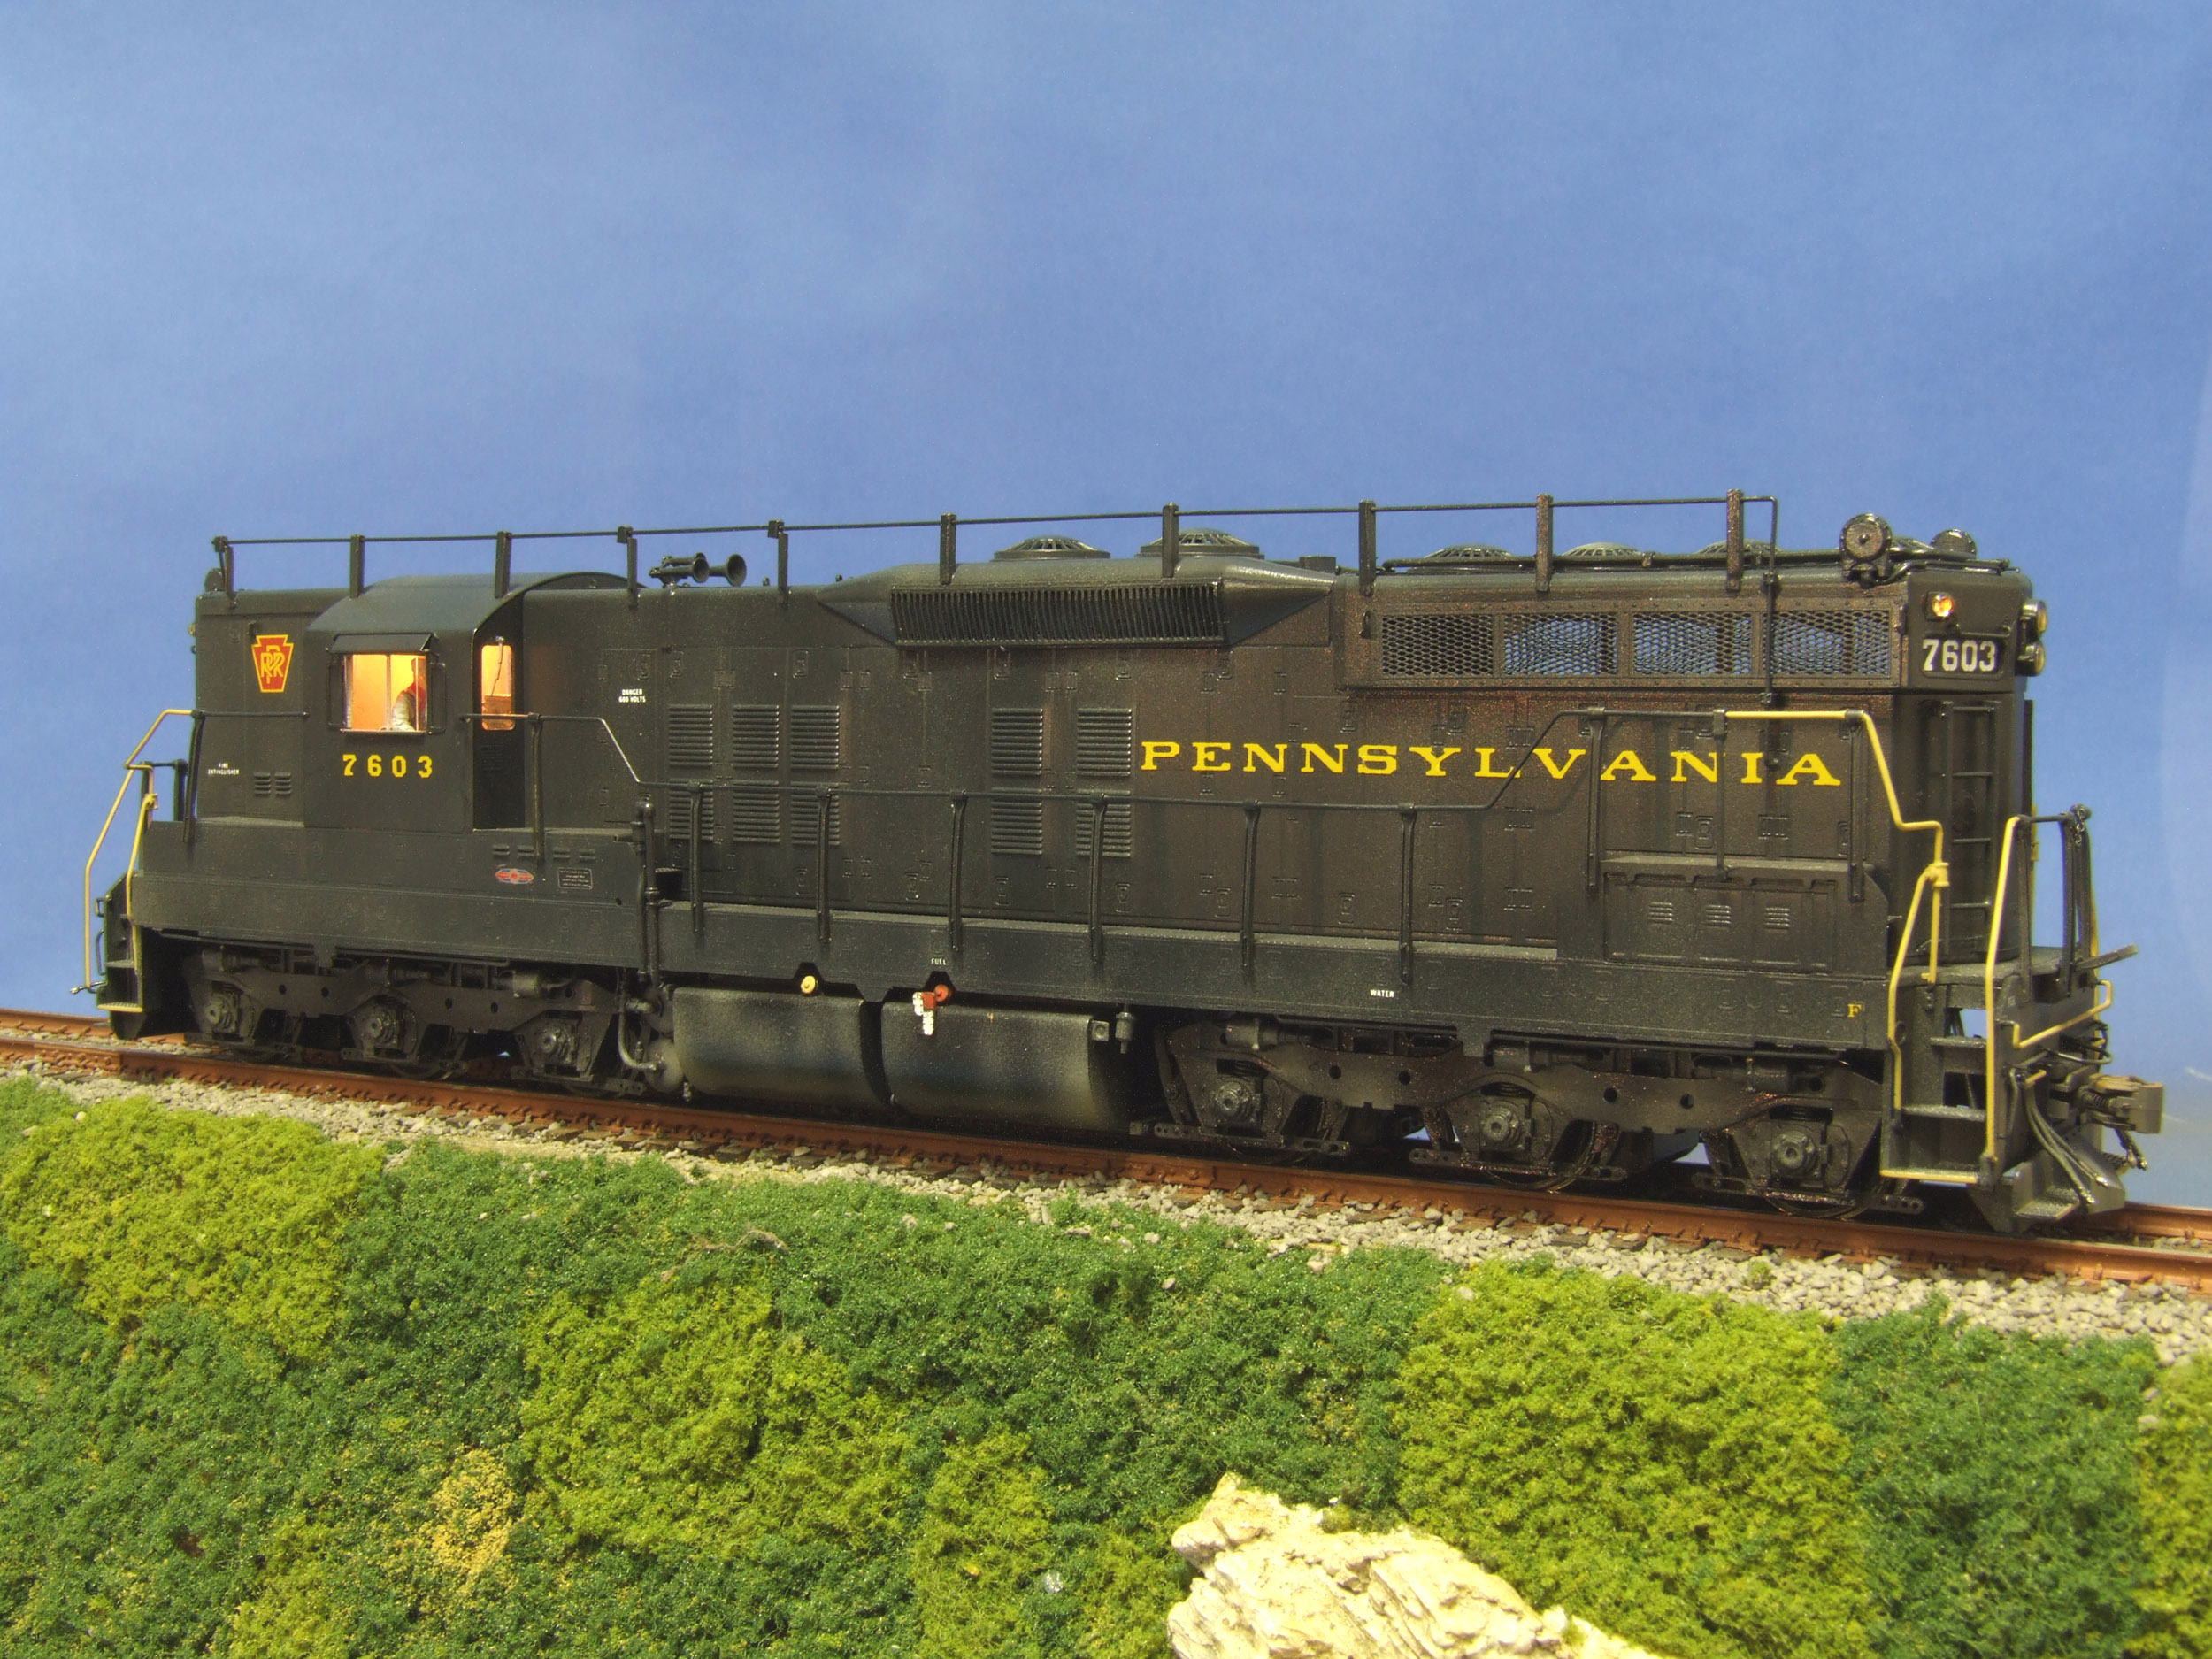
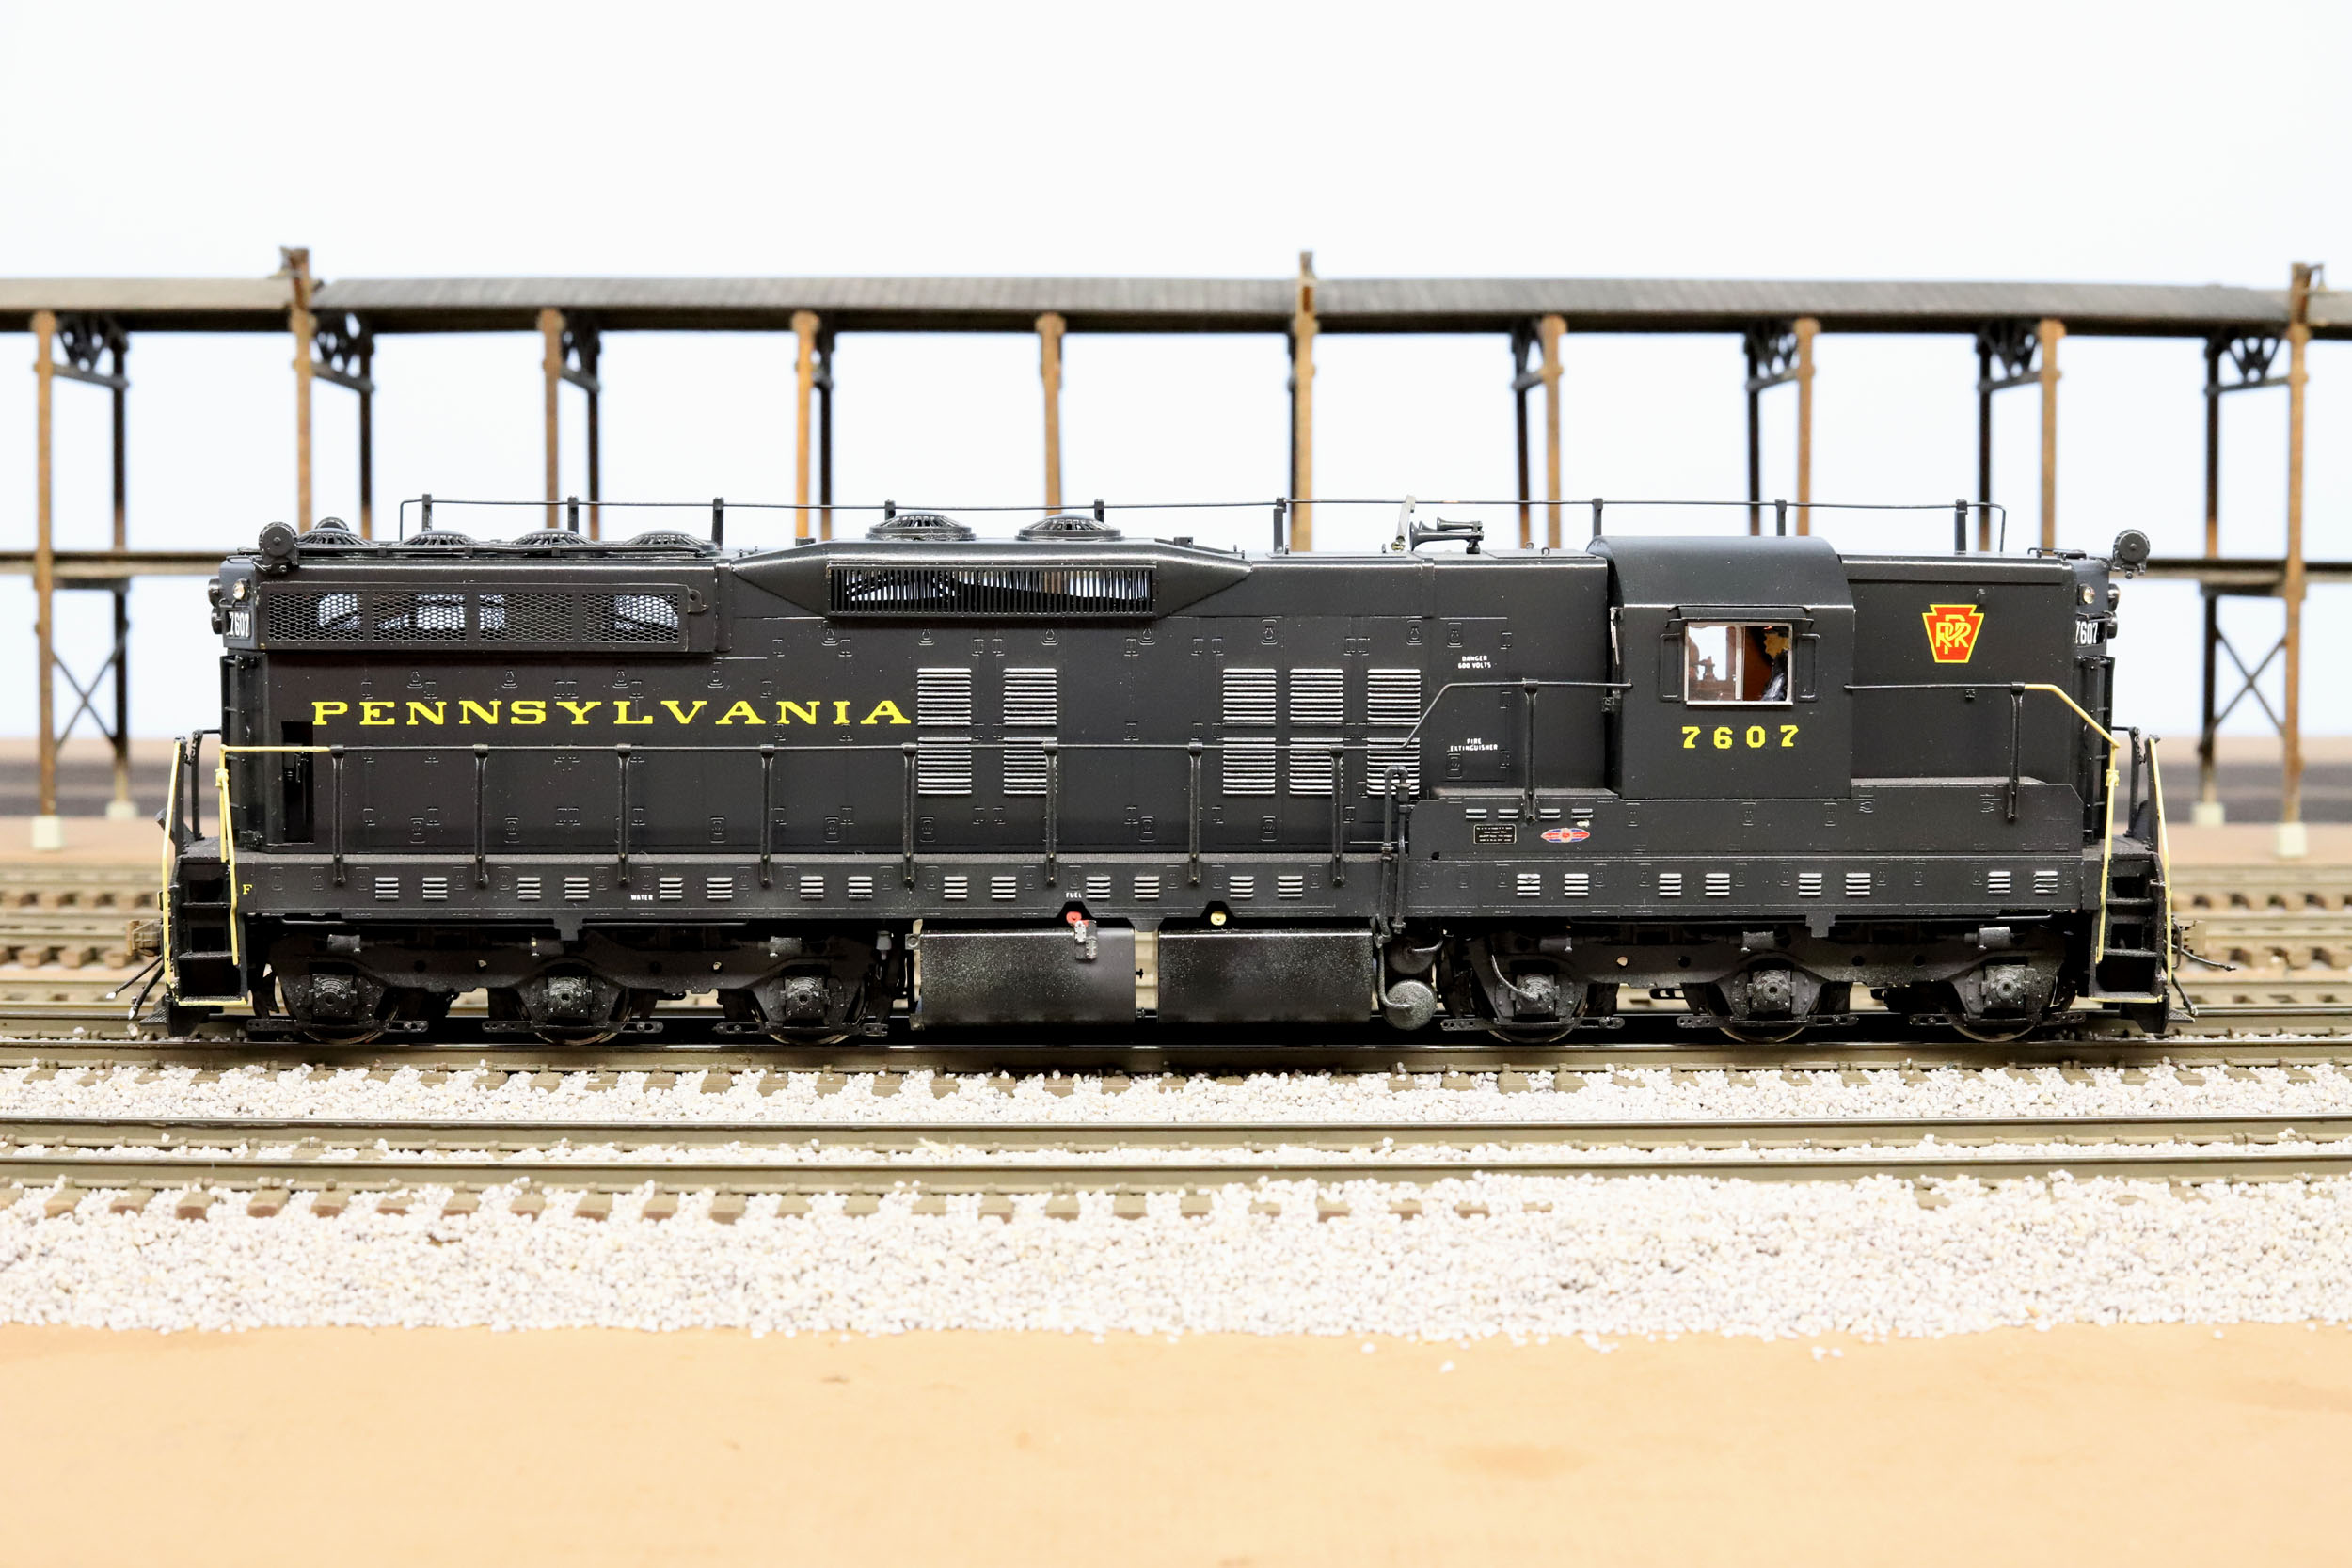
PRR had 25 SD9 numbered 7600 to 7624. The first diesel I became aware of when
I switched to S Scale was the GP9. I liked the SD9 because it was like the
GP9 but was a bit bigger. There
are PRR SD9 imported by River Raisin Models in 1994. River Raisin also made
SD7 at the same time. The PRR only had 2) SD7 that were specially ballasted
and equipped with rail washers to run a steep grade in Madison Indiana, so
PRR SD7 models were not made. There was only 16 SD9 PRR version produced
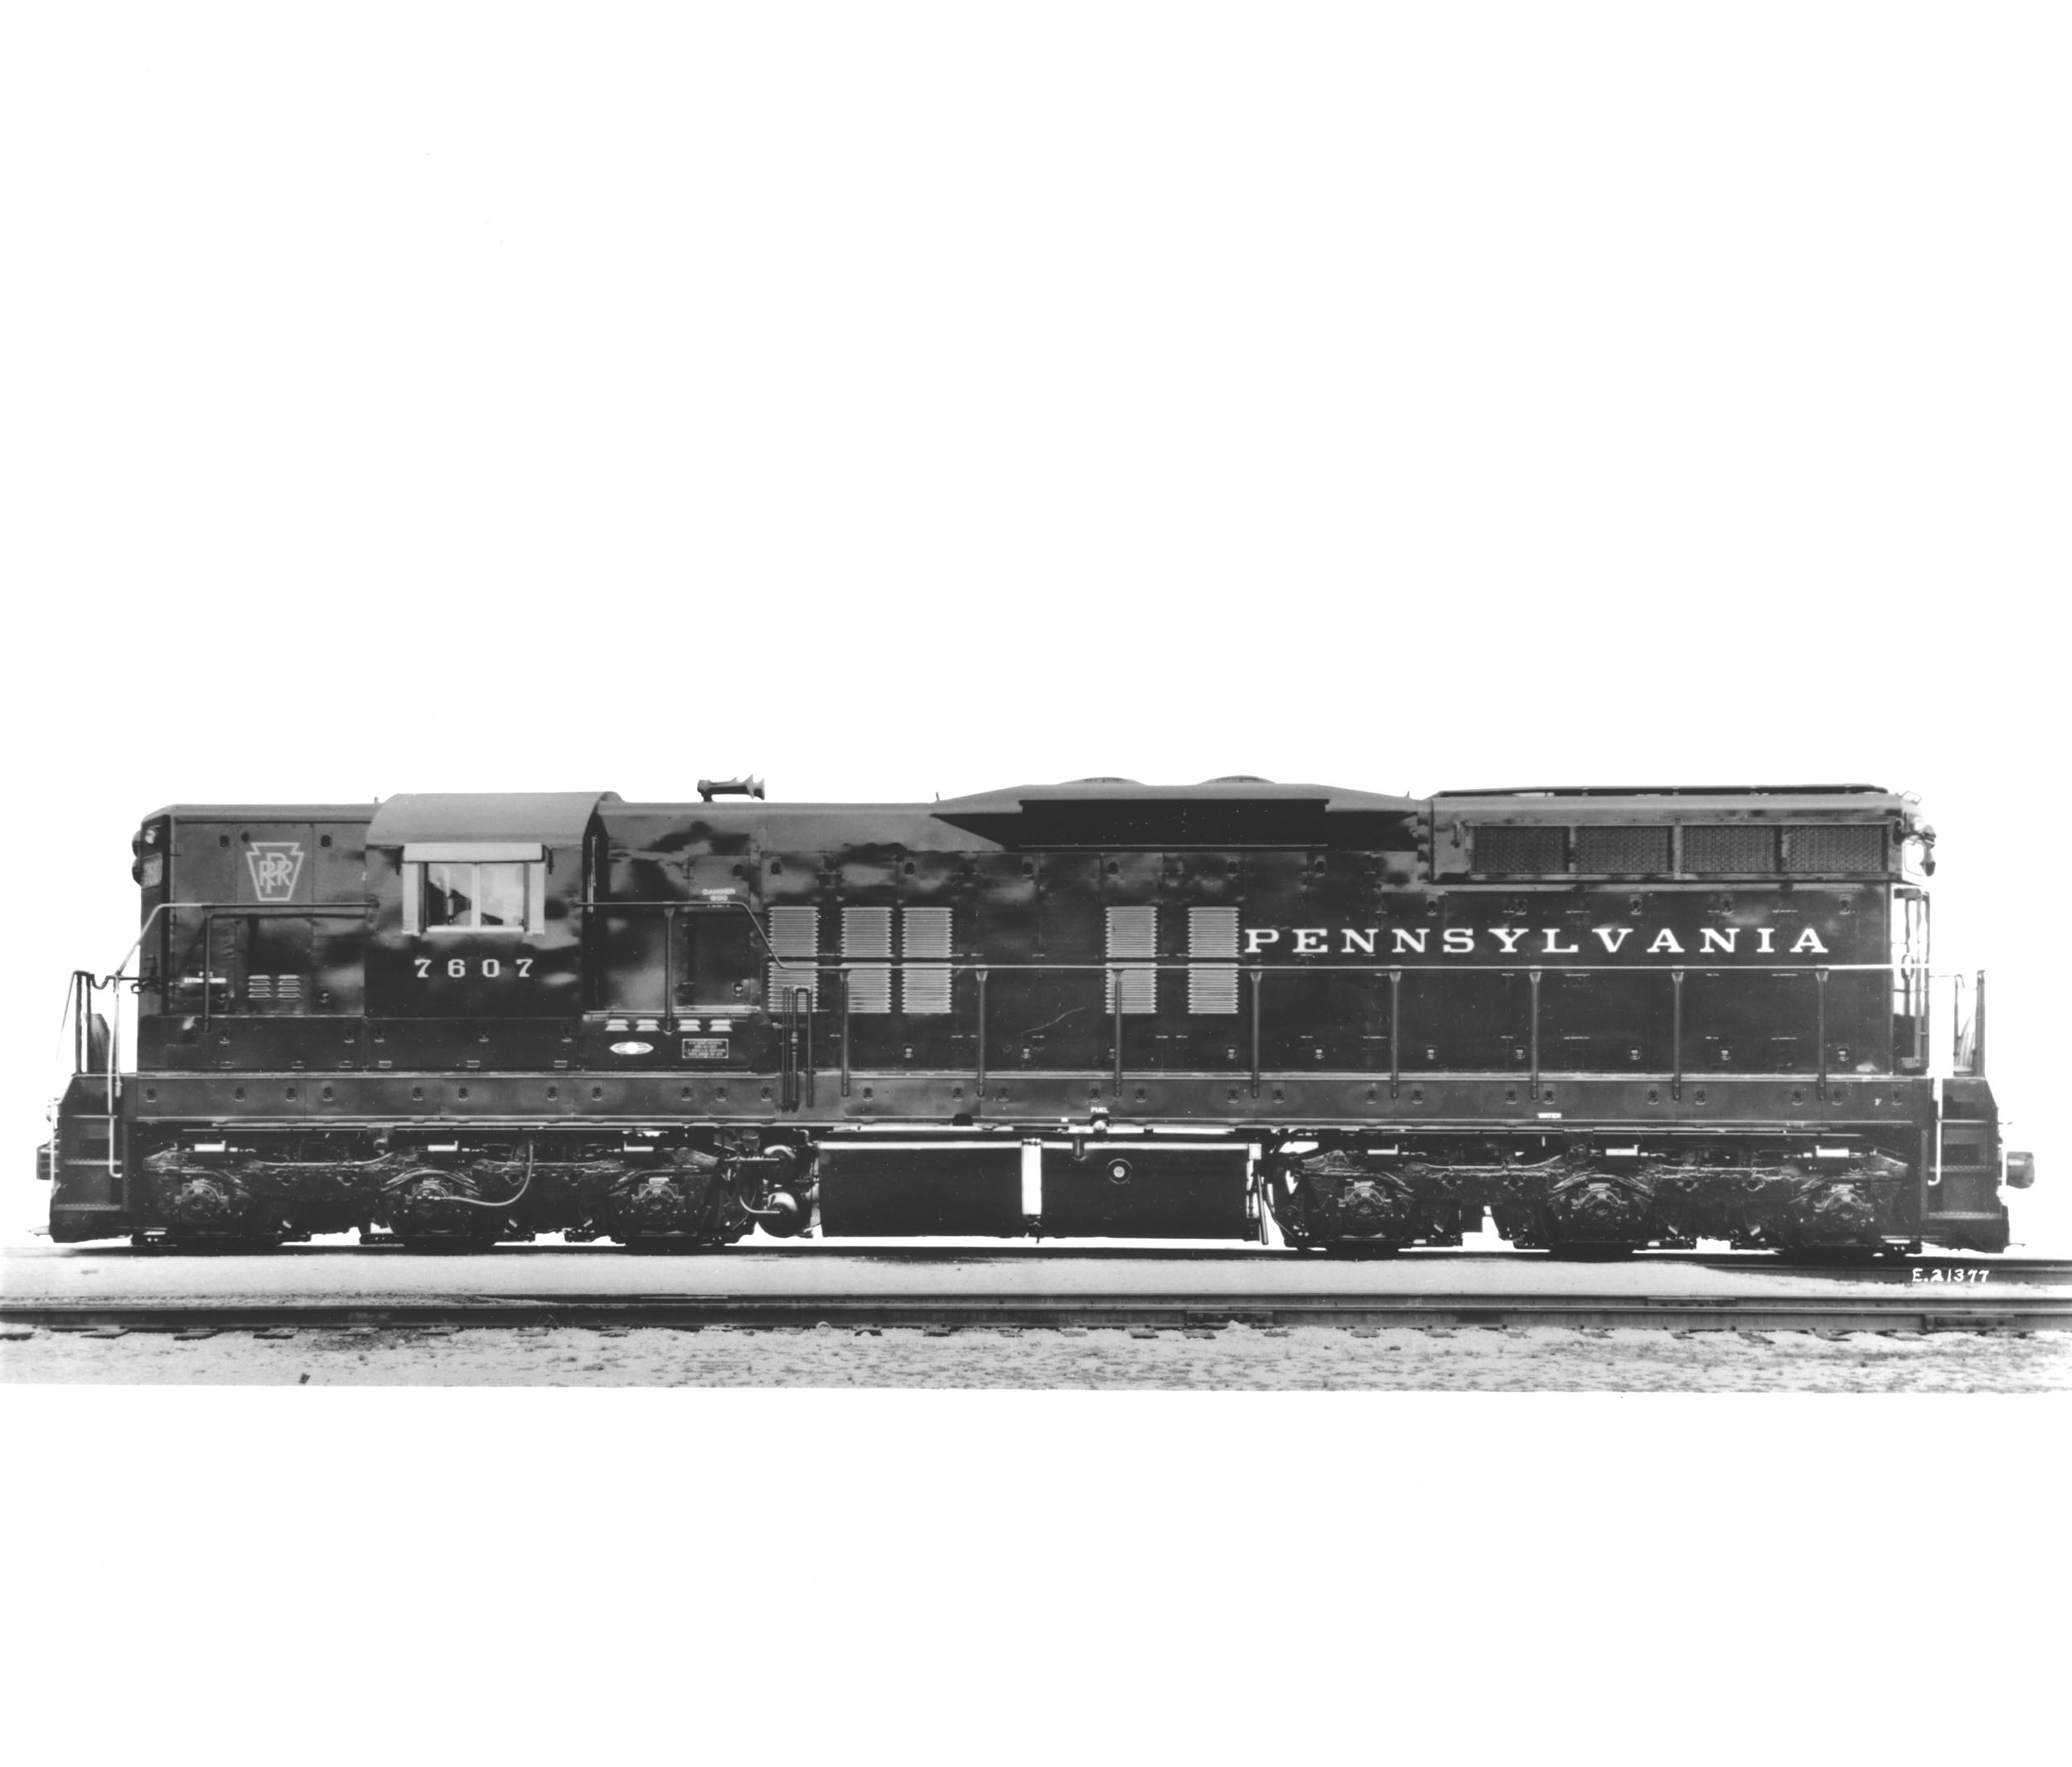
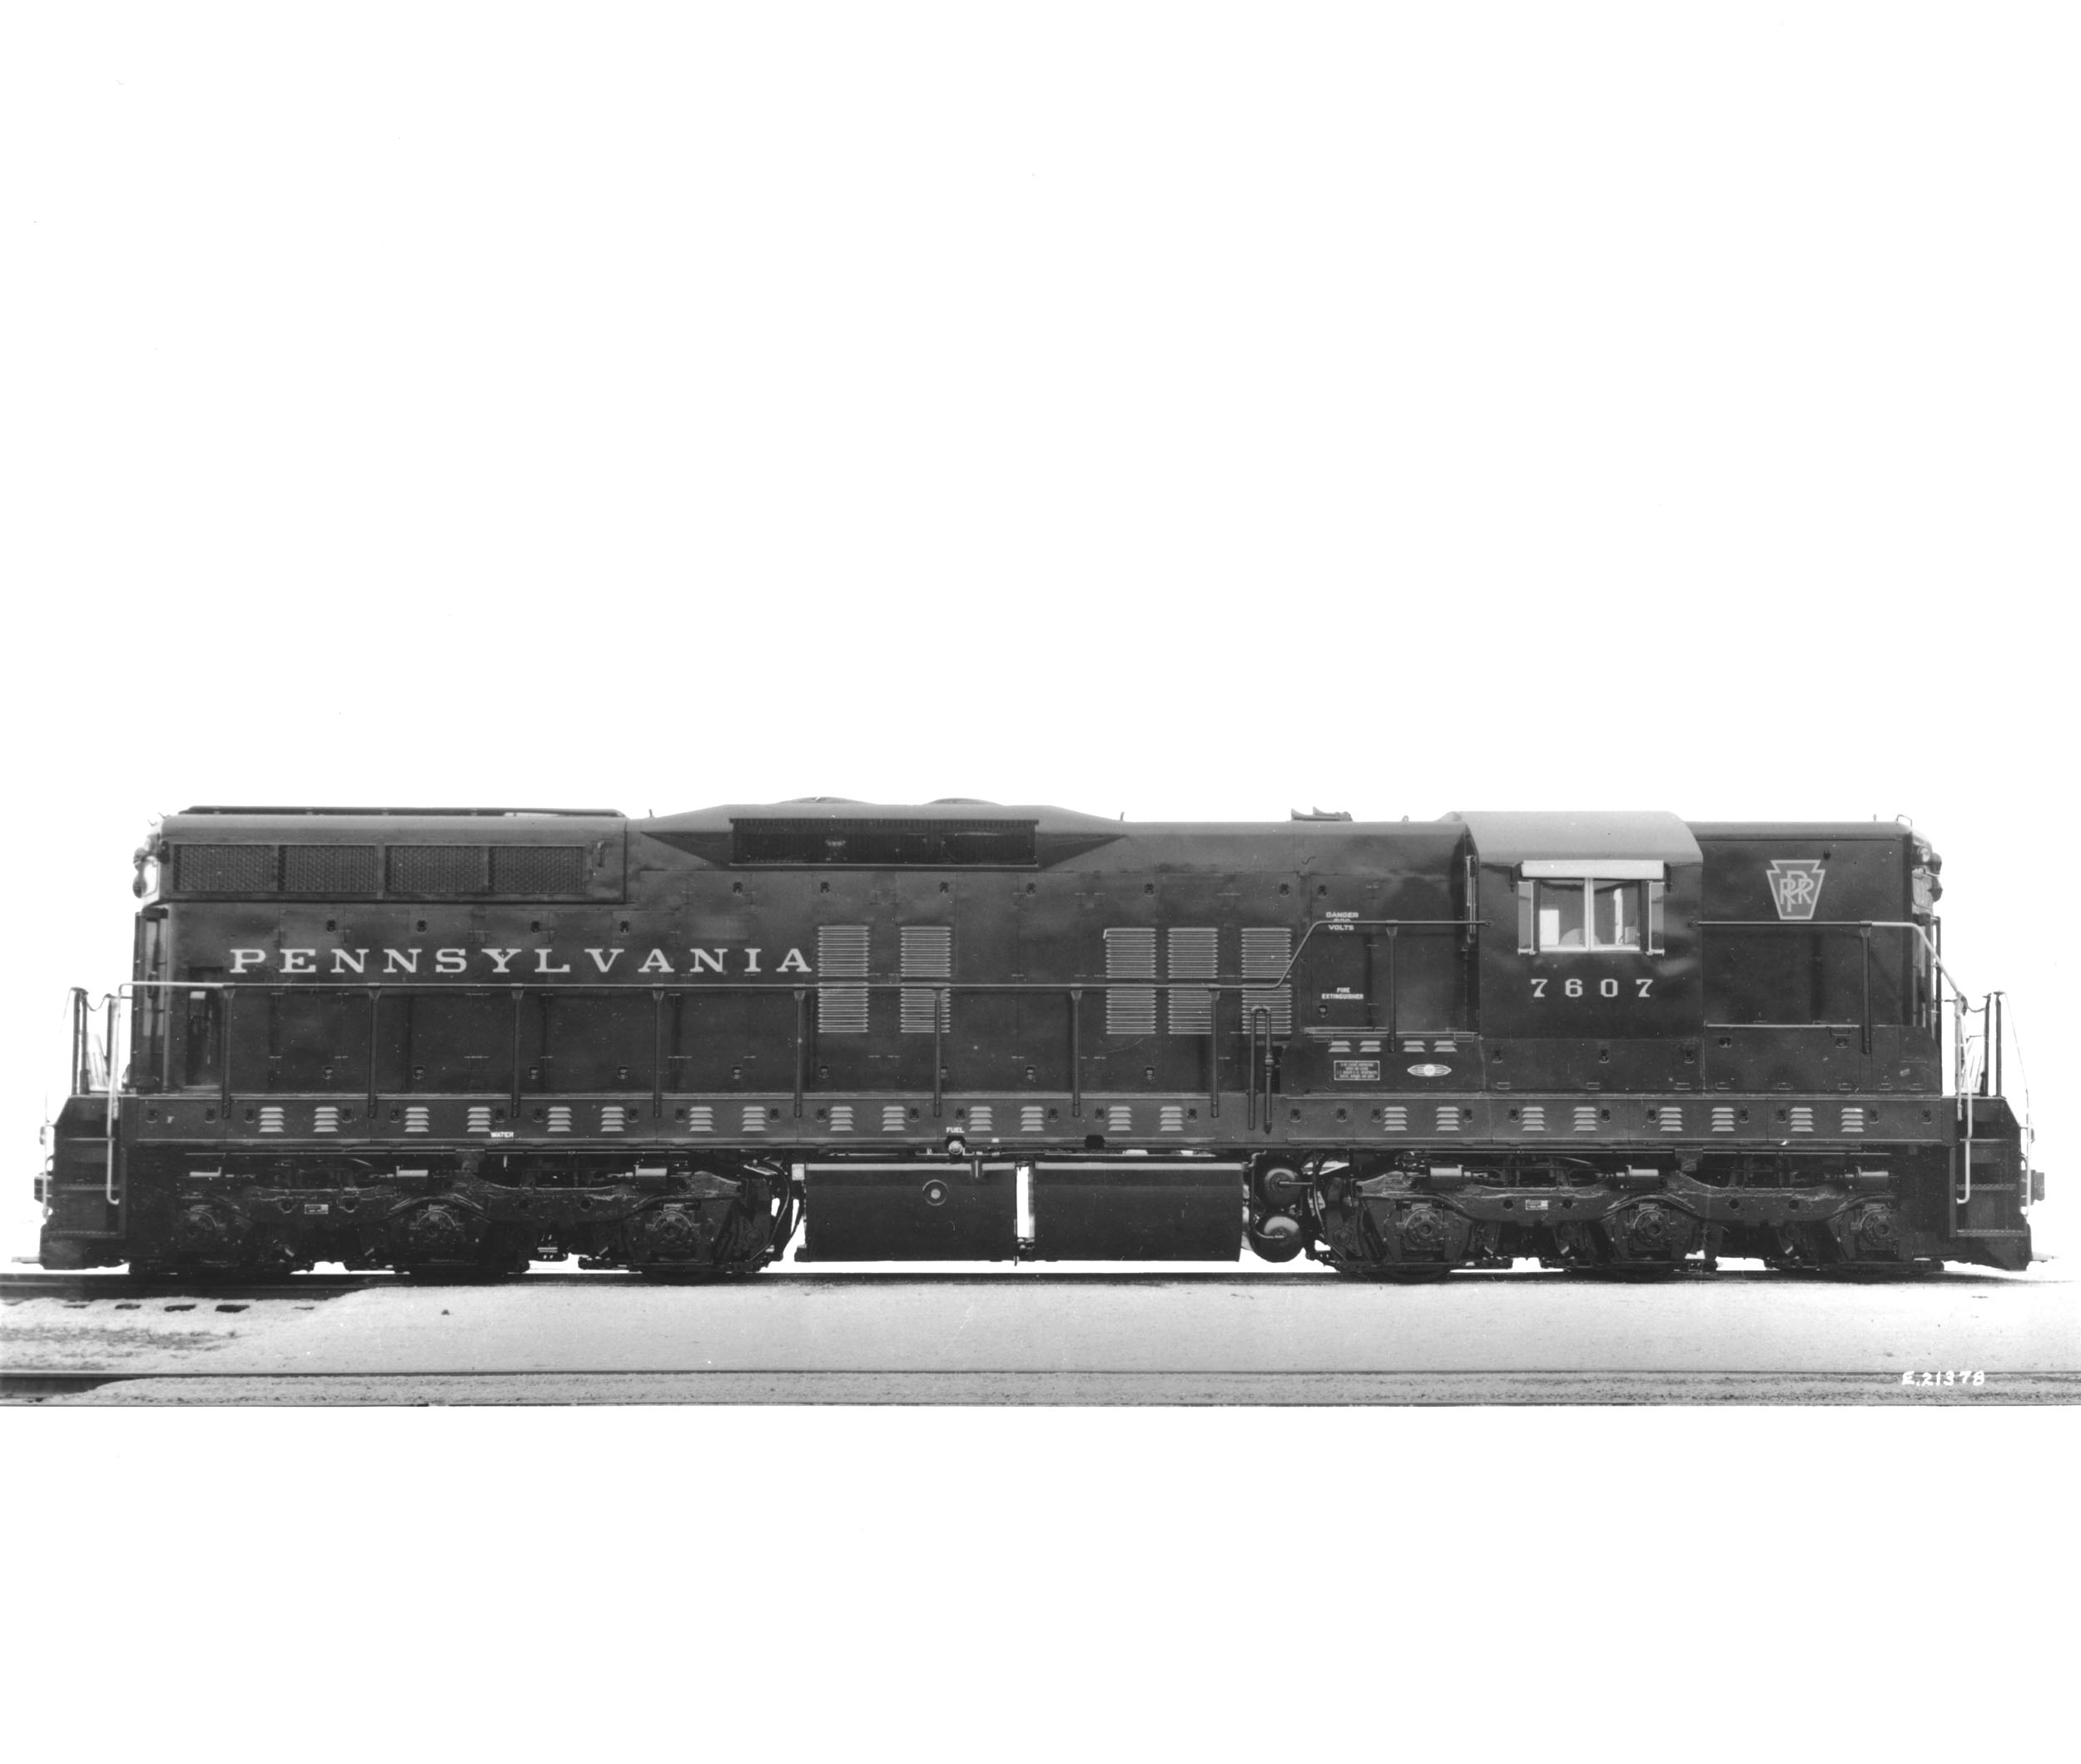
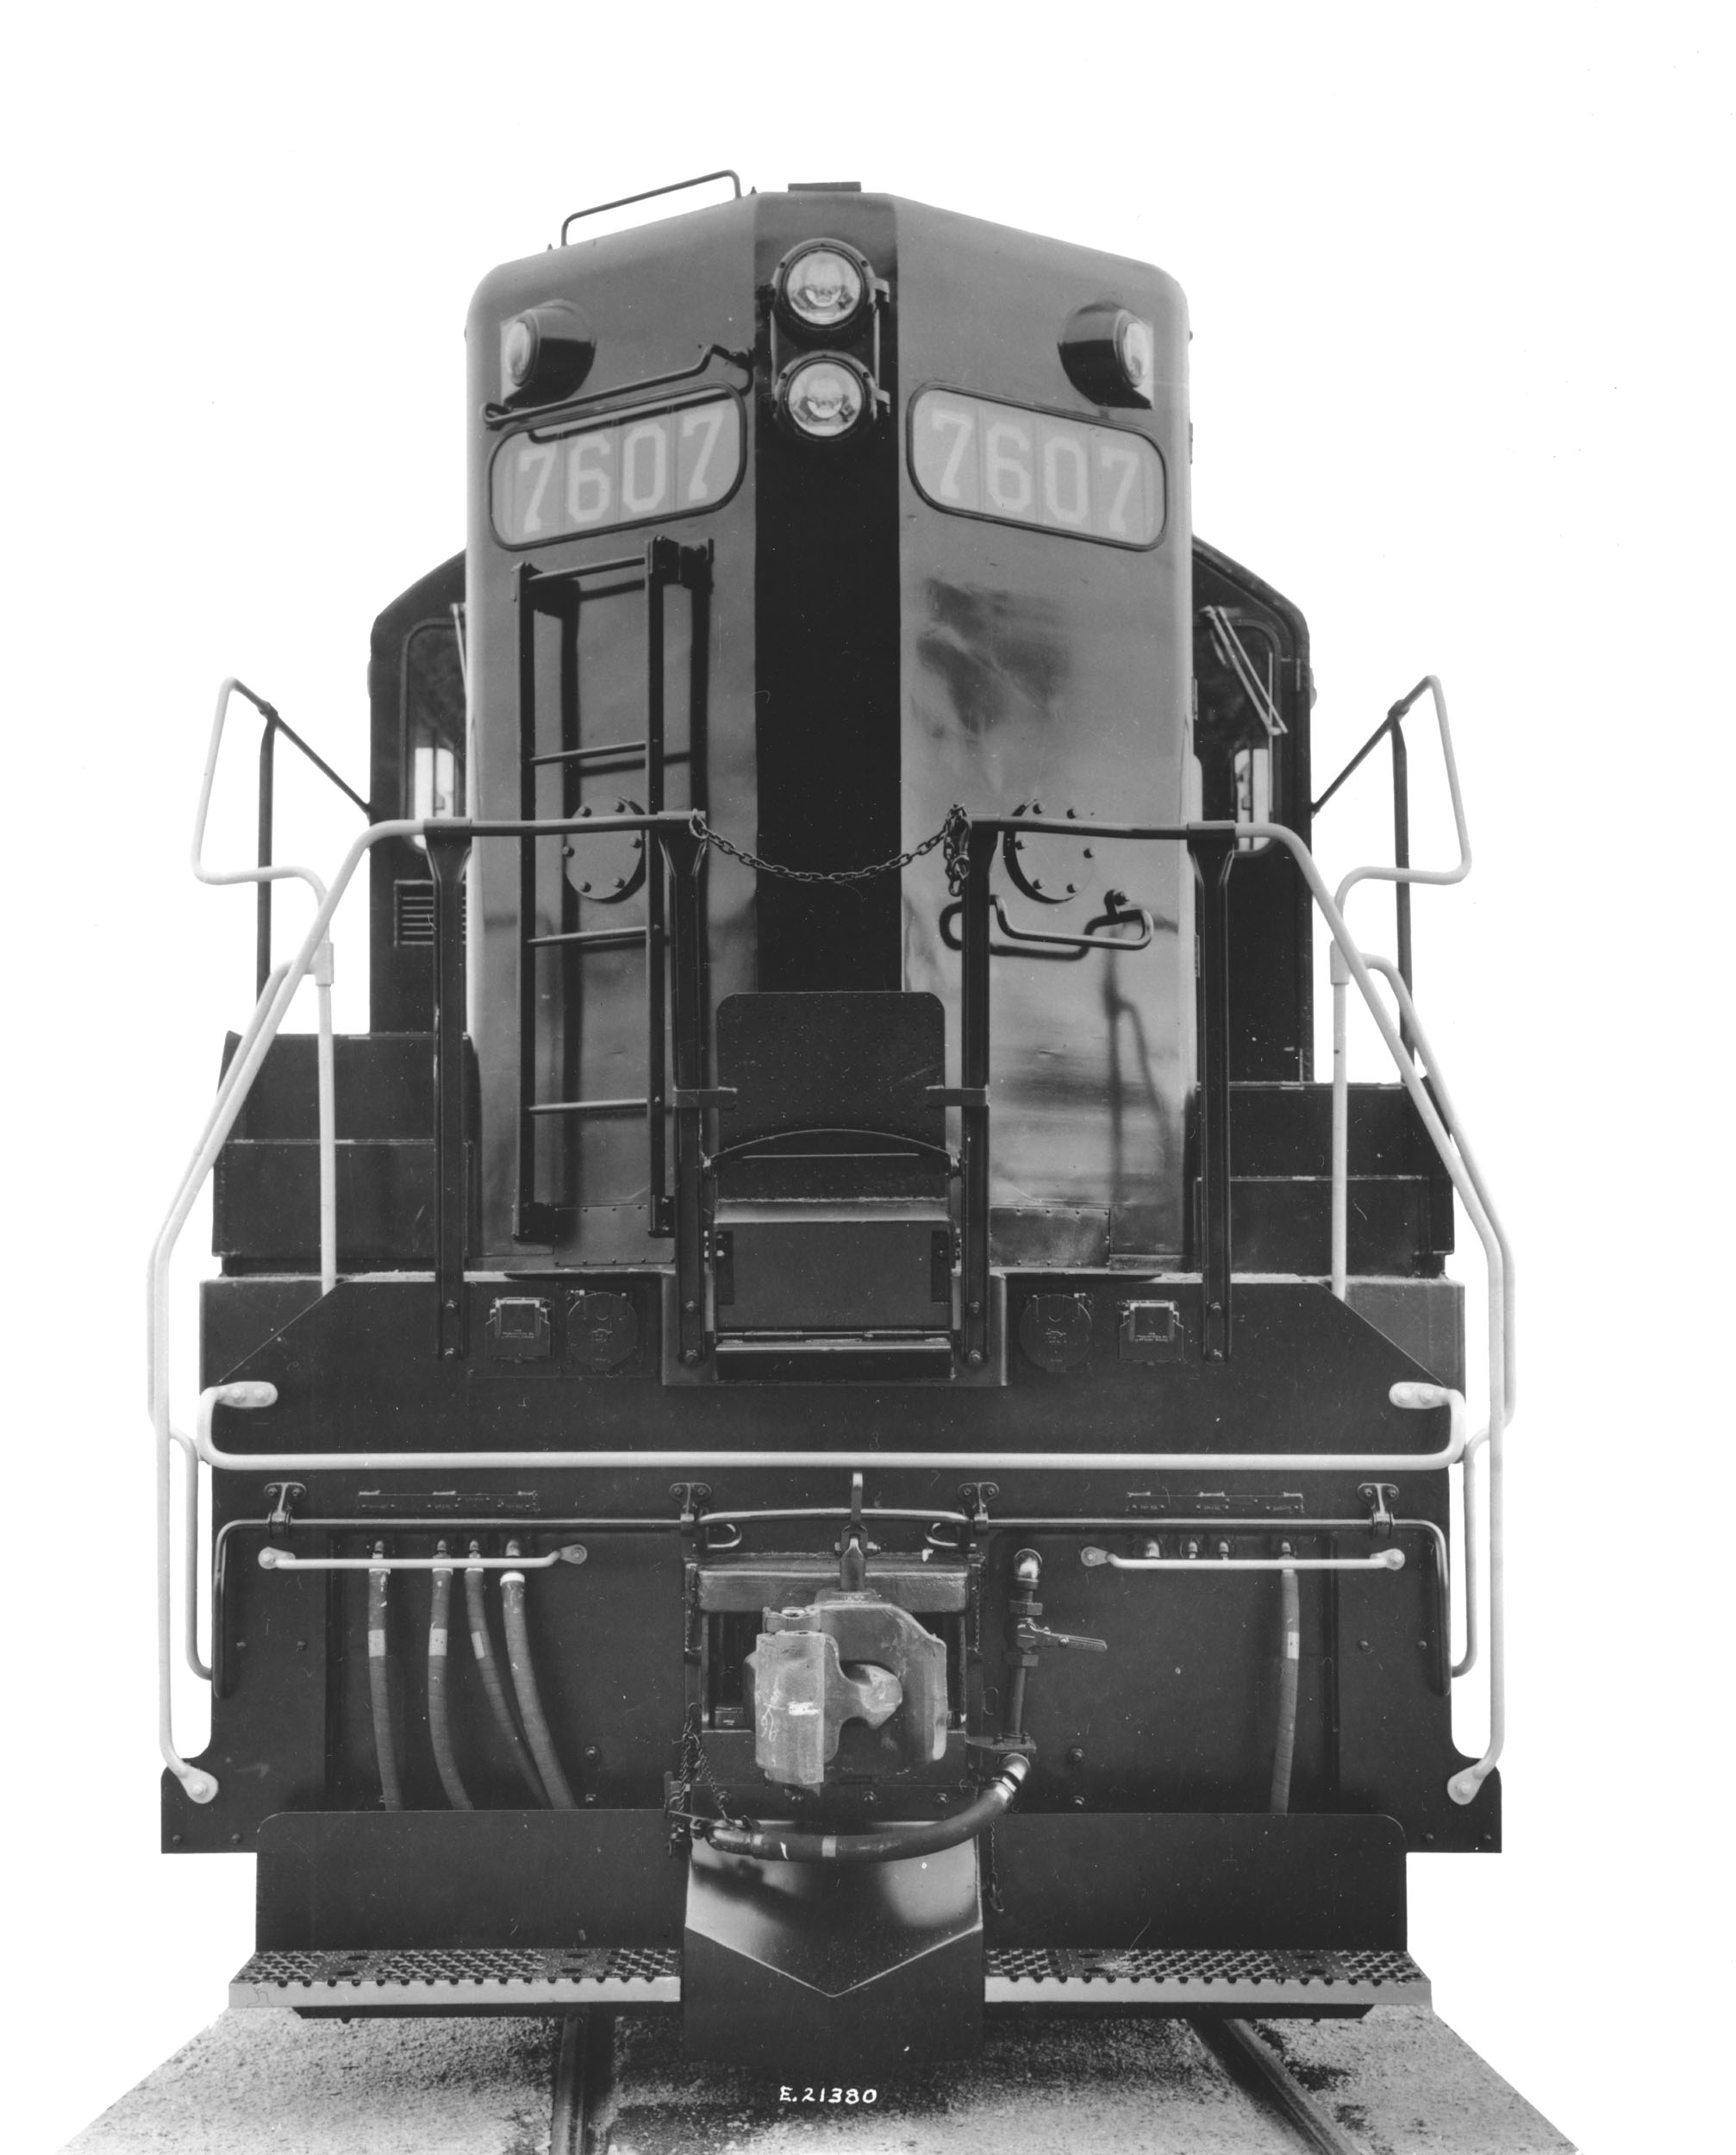
making them a rather rare model. You
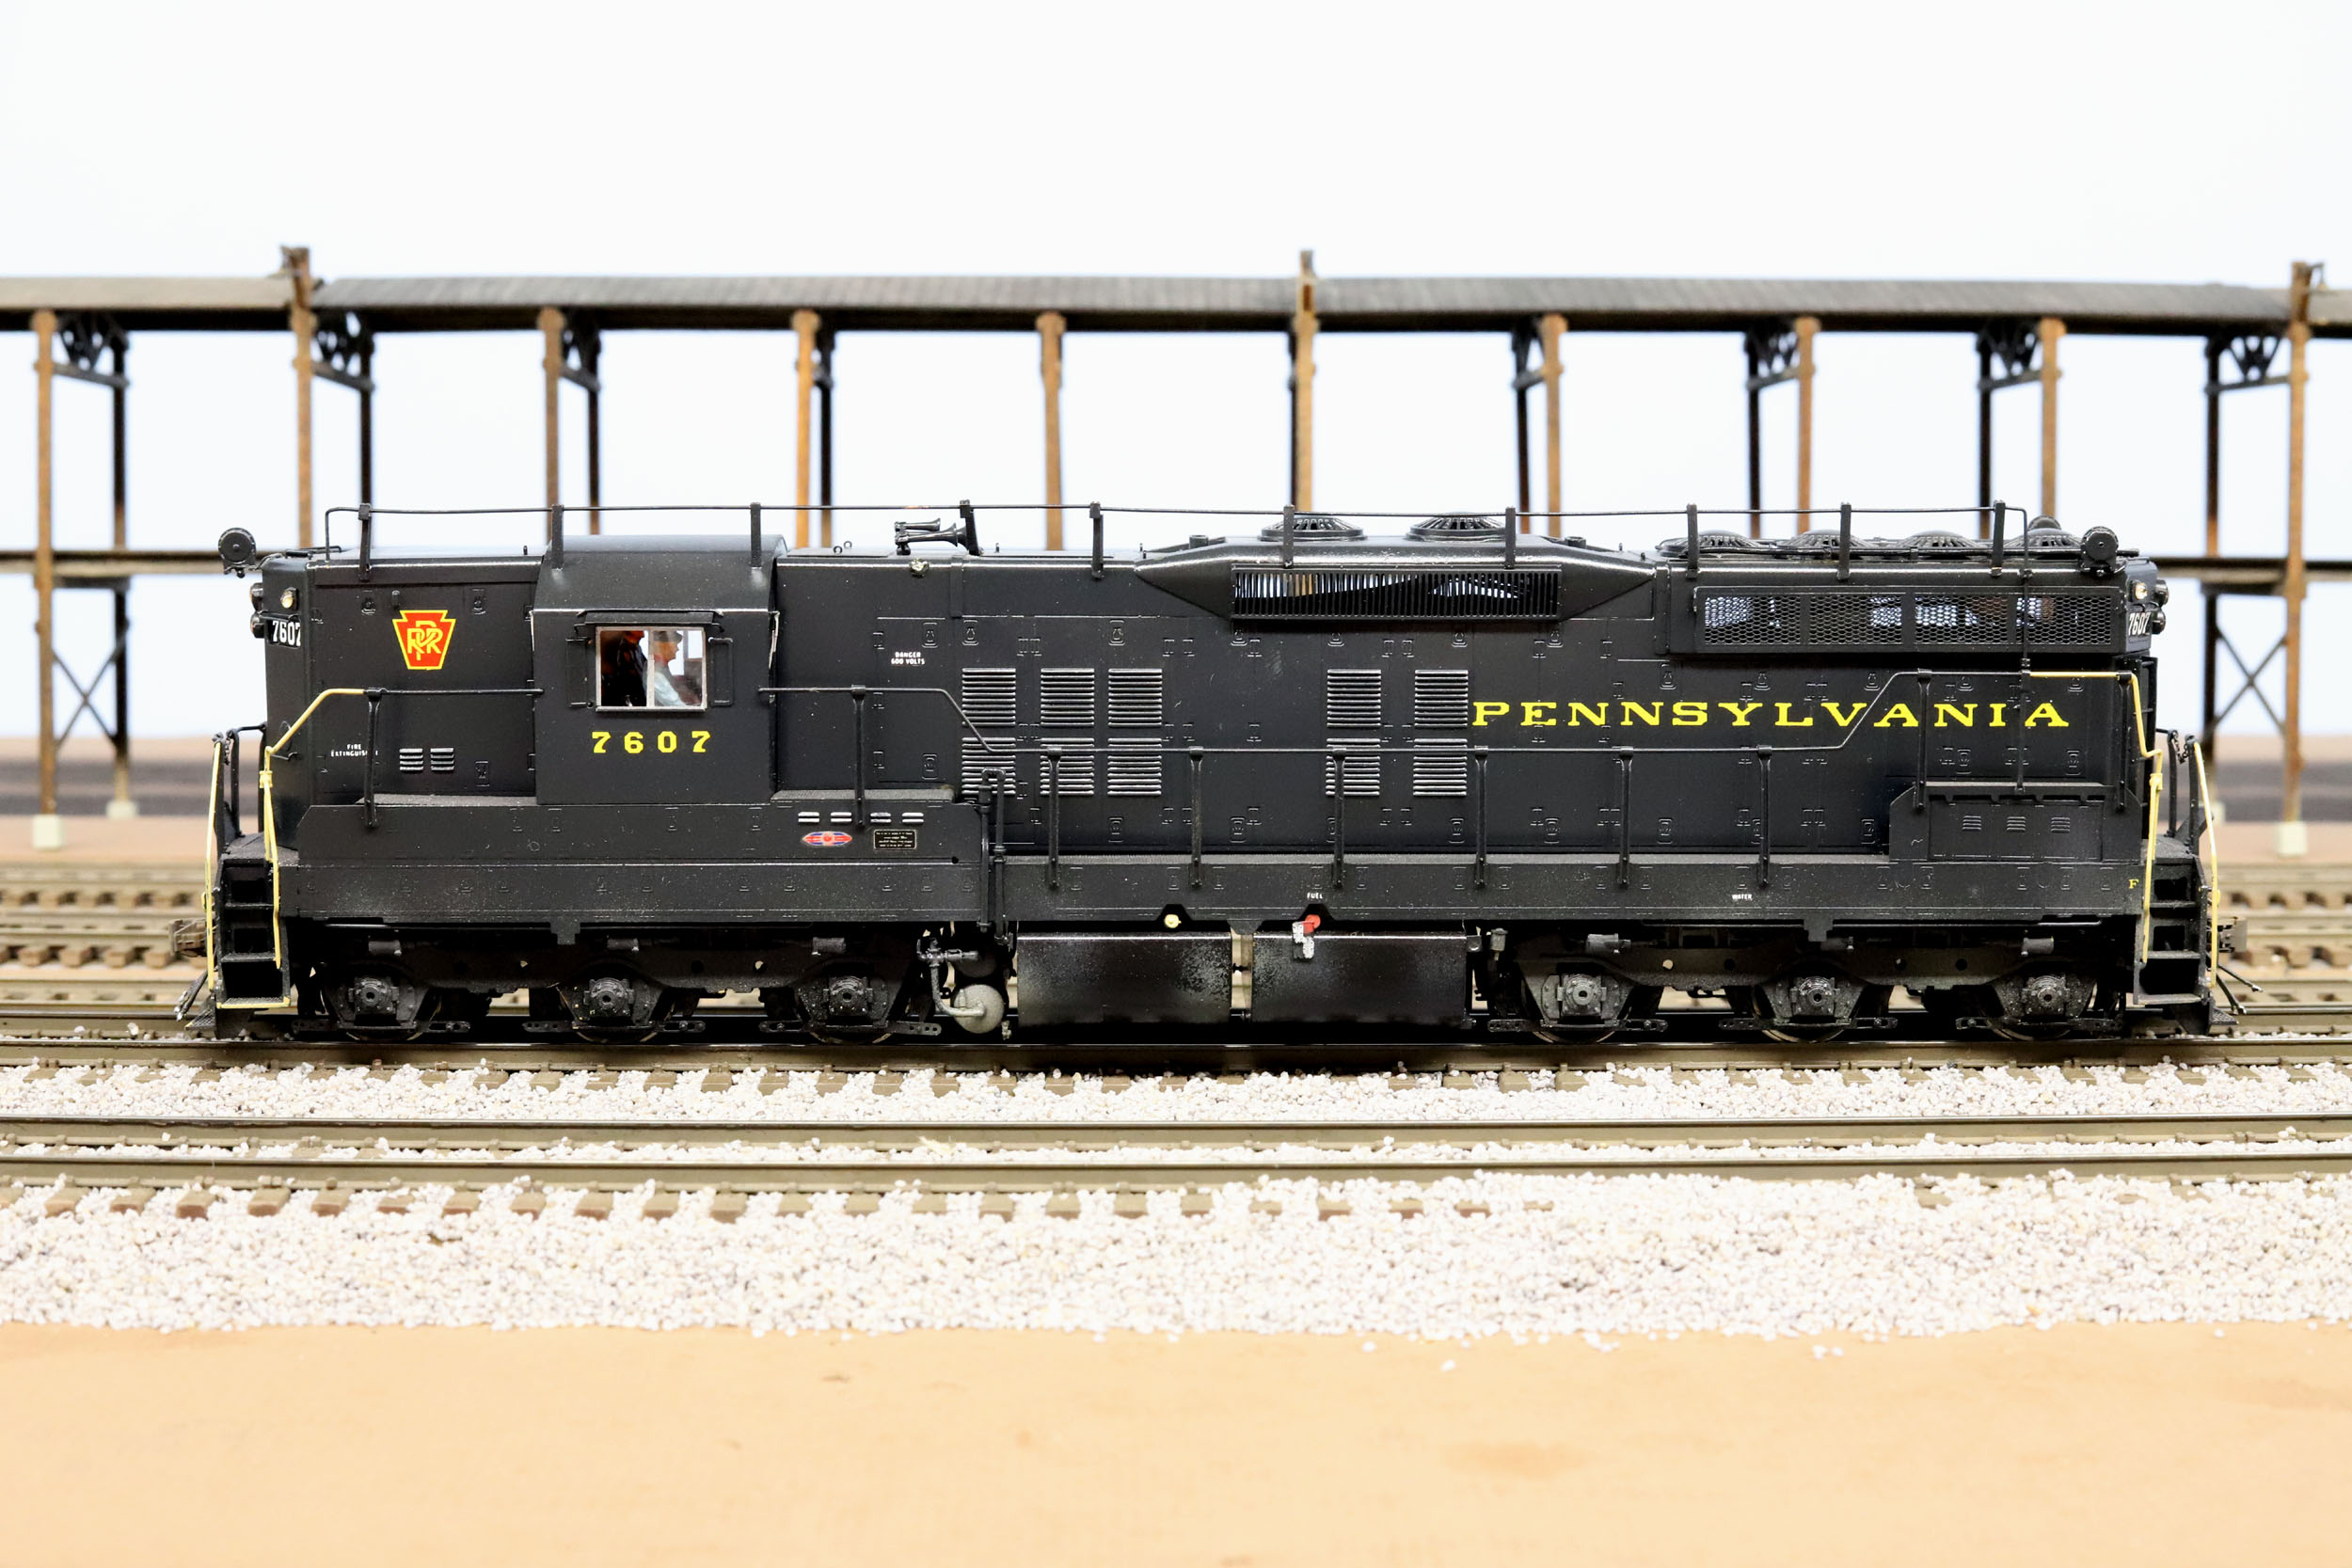
can note the below builders photos taken 1-23-58 did not have antennas. It
was many years later after purchasing the models I learned the antennas were
added to only some SD9 in 1959 making my self
imposed 1957 modeling cutoff date problematic!
|
|


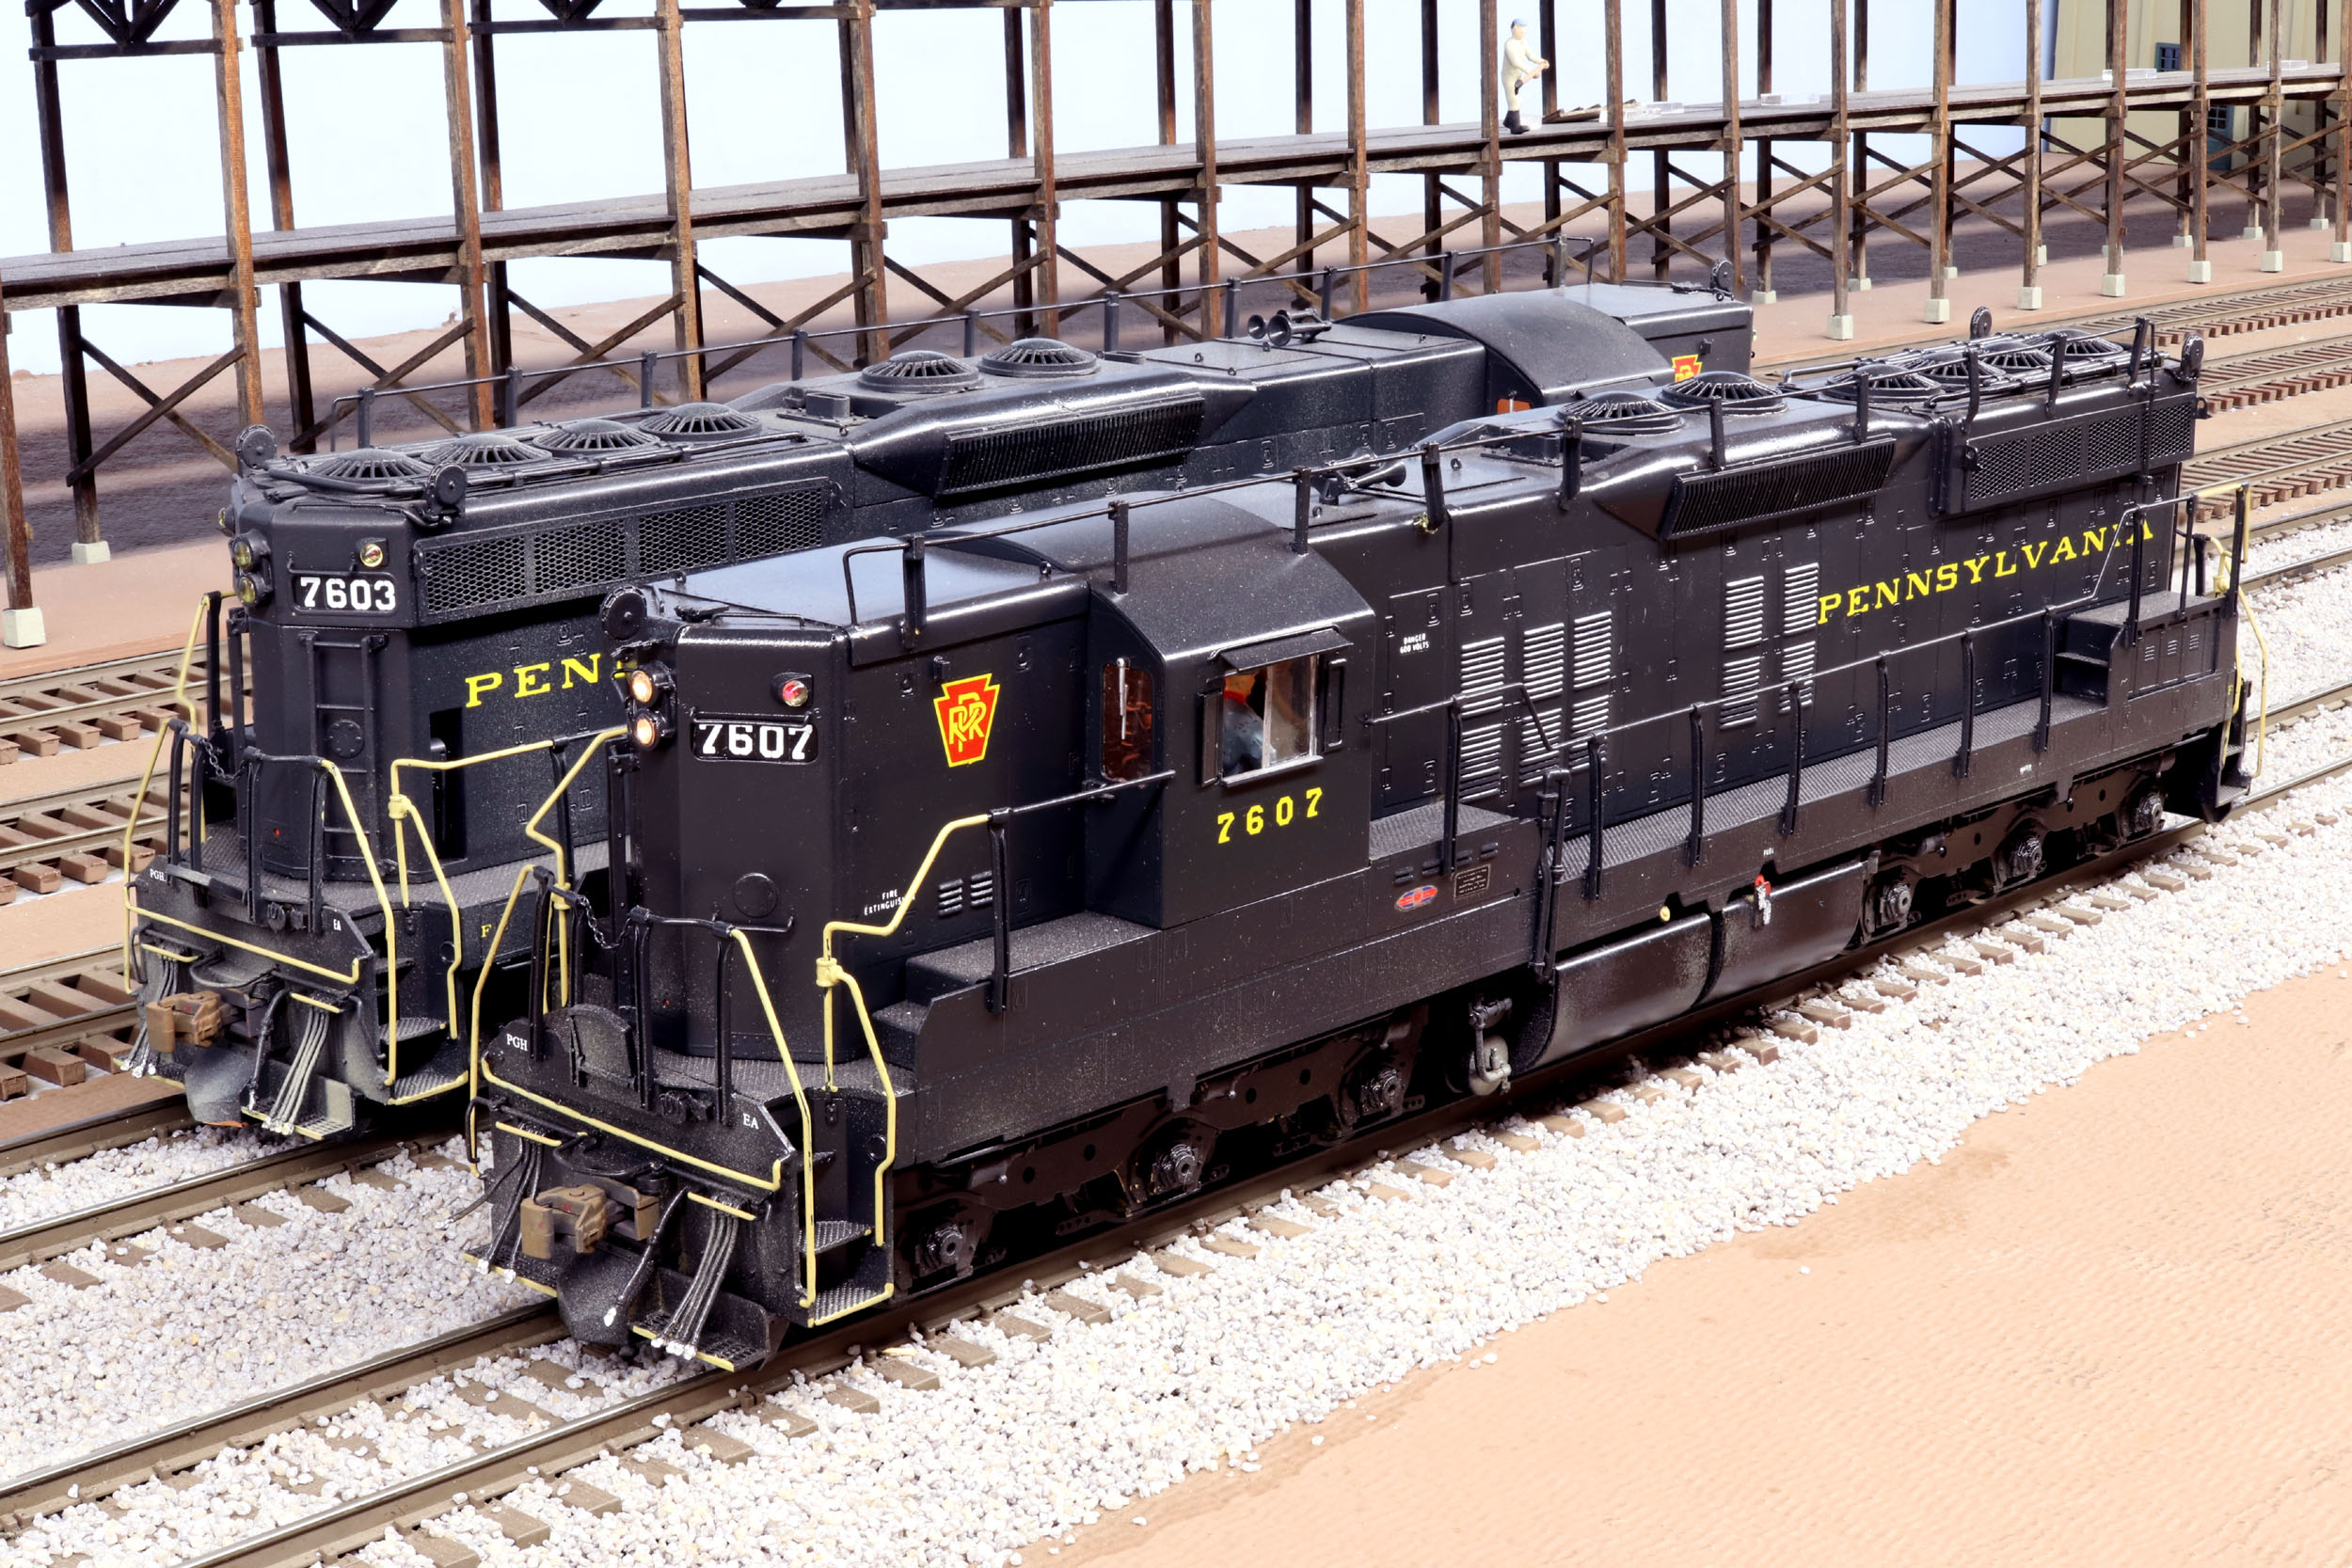
My
SD9 were painted and had DCC installed by my friend the now late Charlie
Carangie. These were my first ever DCC installed locos. DCC was all new at the
time and intimidated me to no end. At that time you needed 2 decoders, 1 for
sound and 1 for motor control that had to be programmed separately. I did not
want to go anywhere near that mess. Since DCC allowed for
constant lighting I wanted ***everything*** lit, cab lighting, numberboards,
corner makers, and even toe kick safety lights on the
pilots. Some of this got done and some did not. That is just the way of
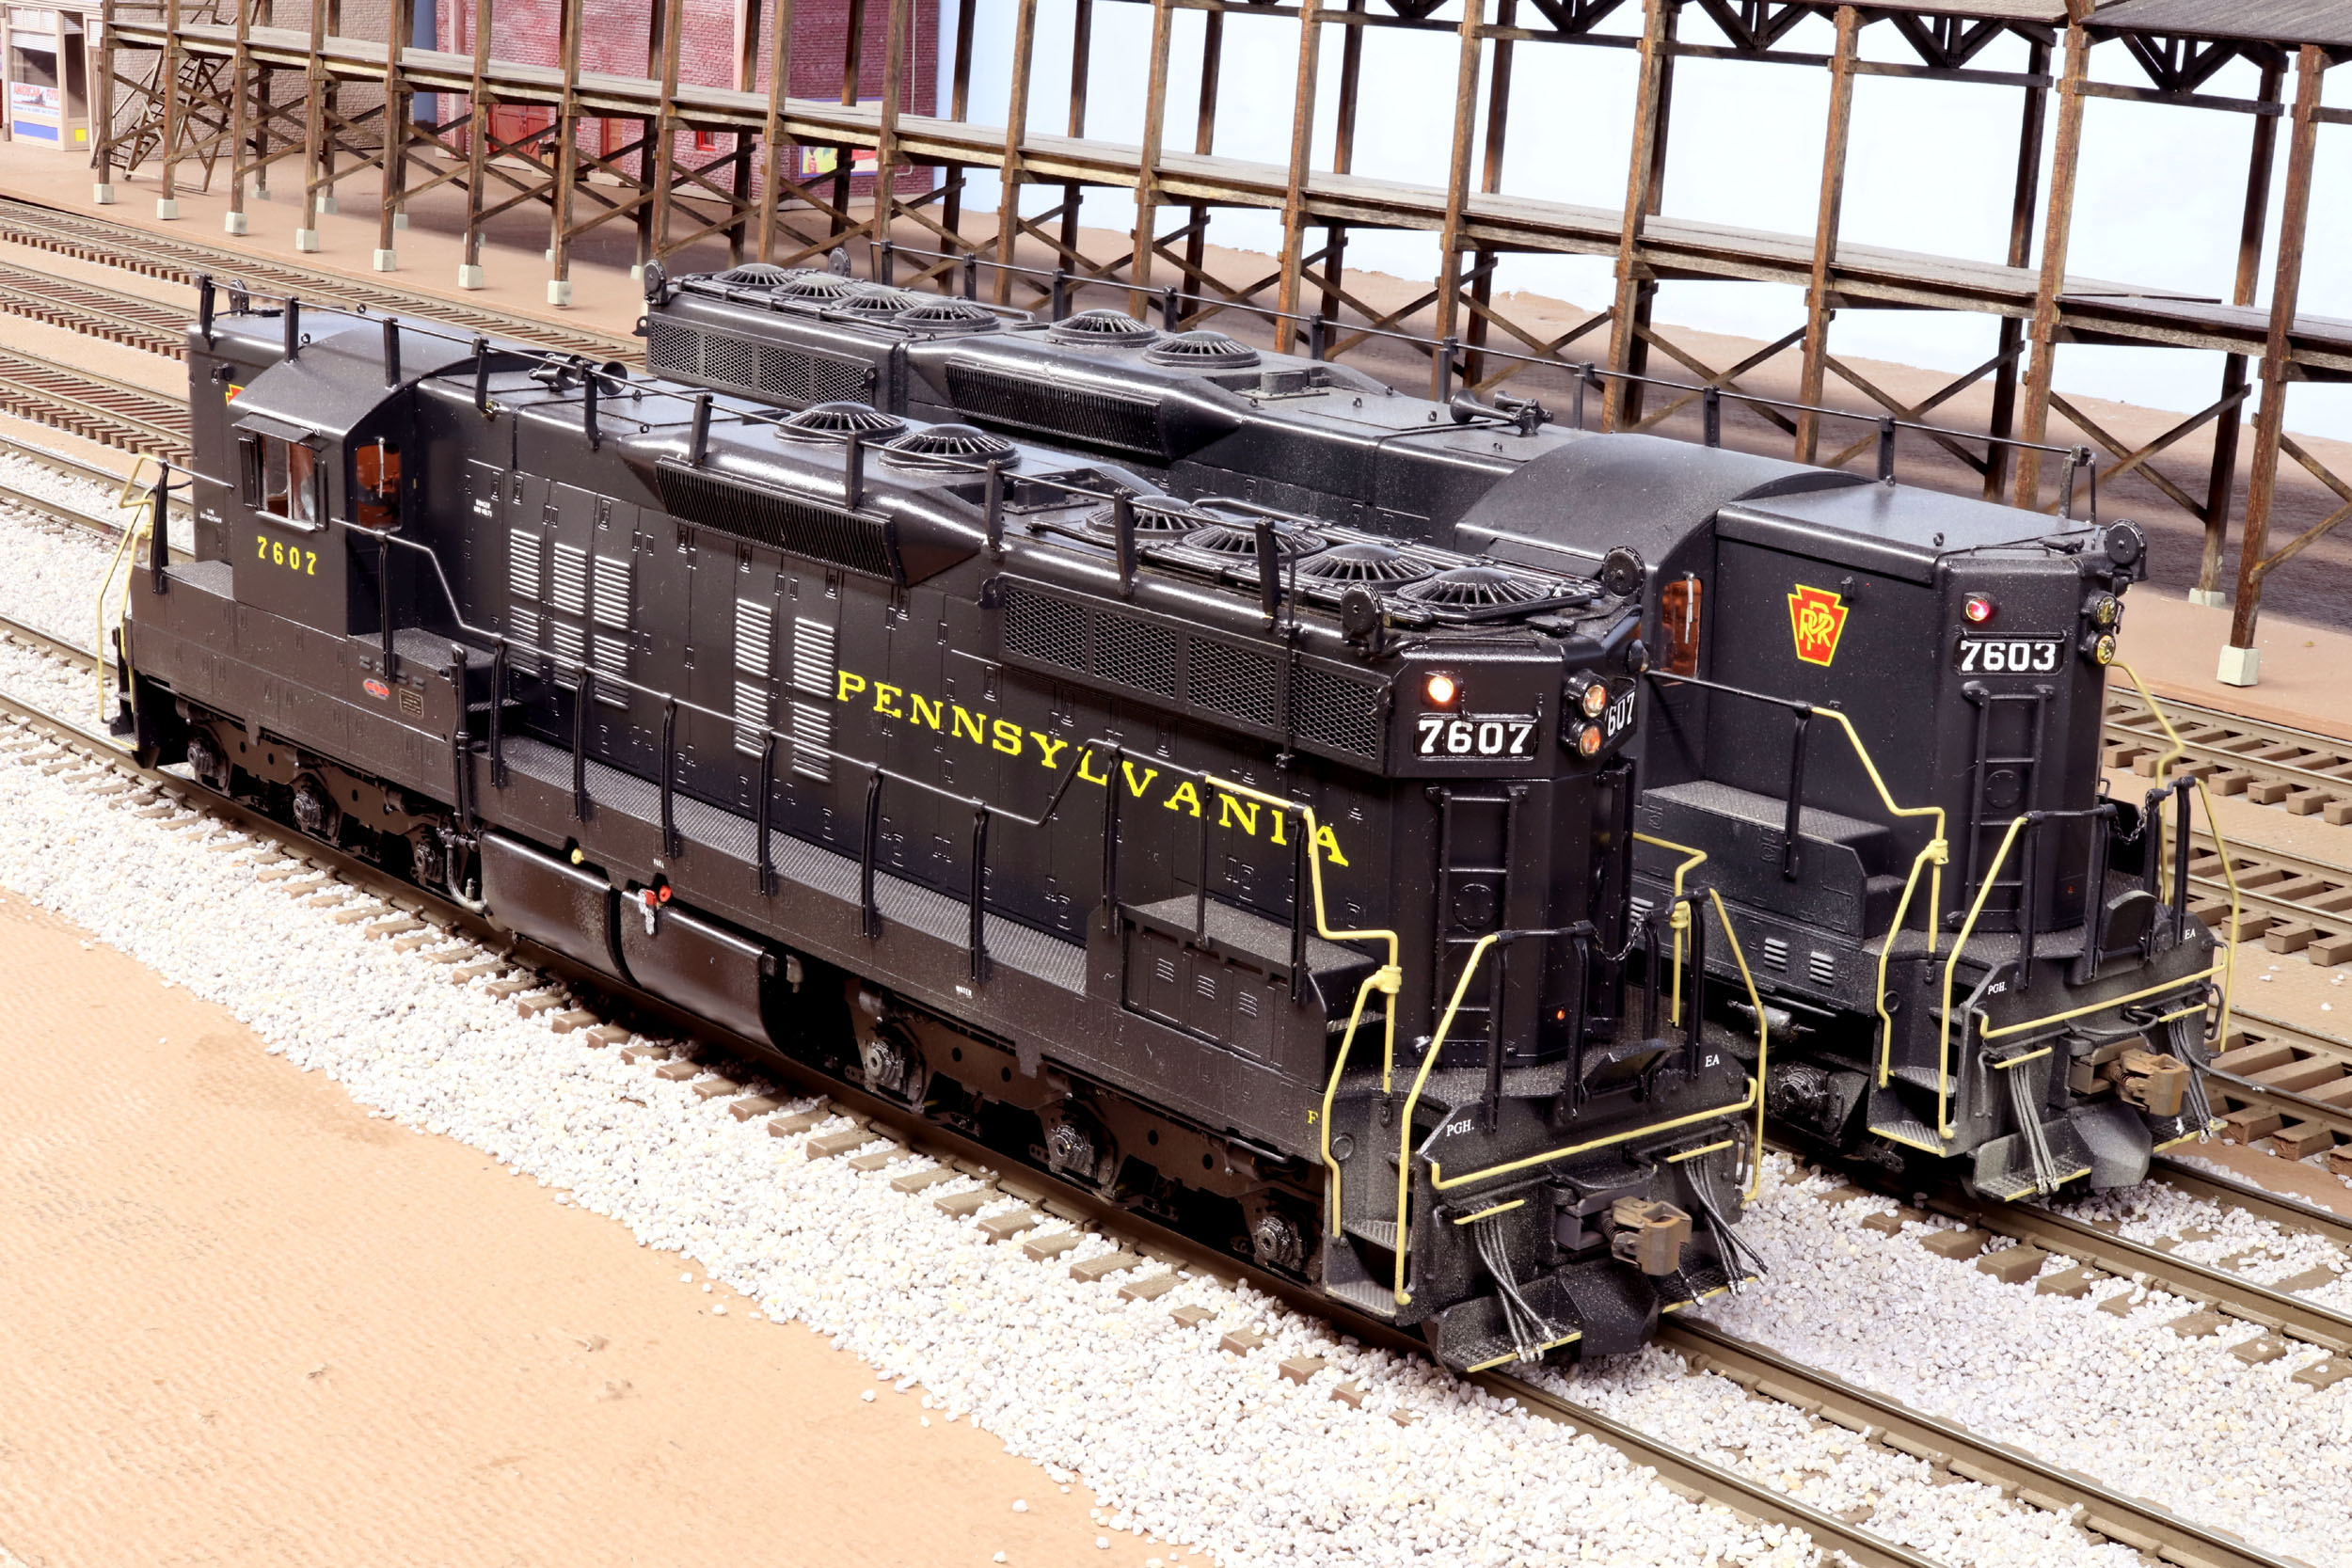
custom painters including myself. Charlie called me 1 day and asked if I was
going to be running them with the lights off. When I said probably not that
somehow gave him permission that the numberboards did not have to get lit,
which was a surprise when the locos were completed and really annoyed me. These
below photos were taken 7-25-07 with my first digital camera - a Fuji S602.

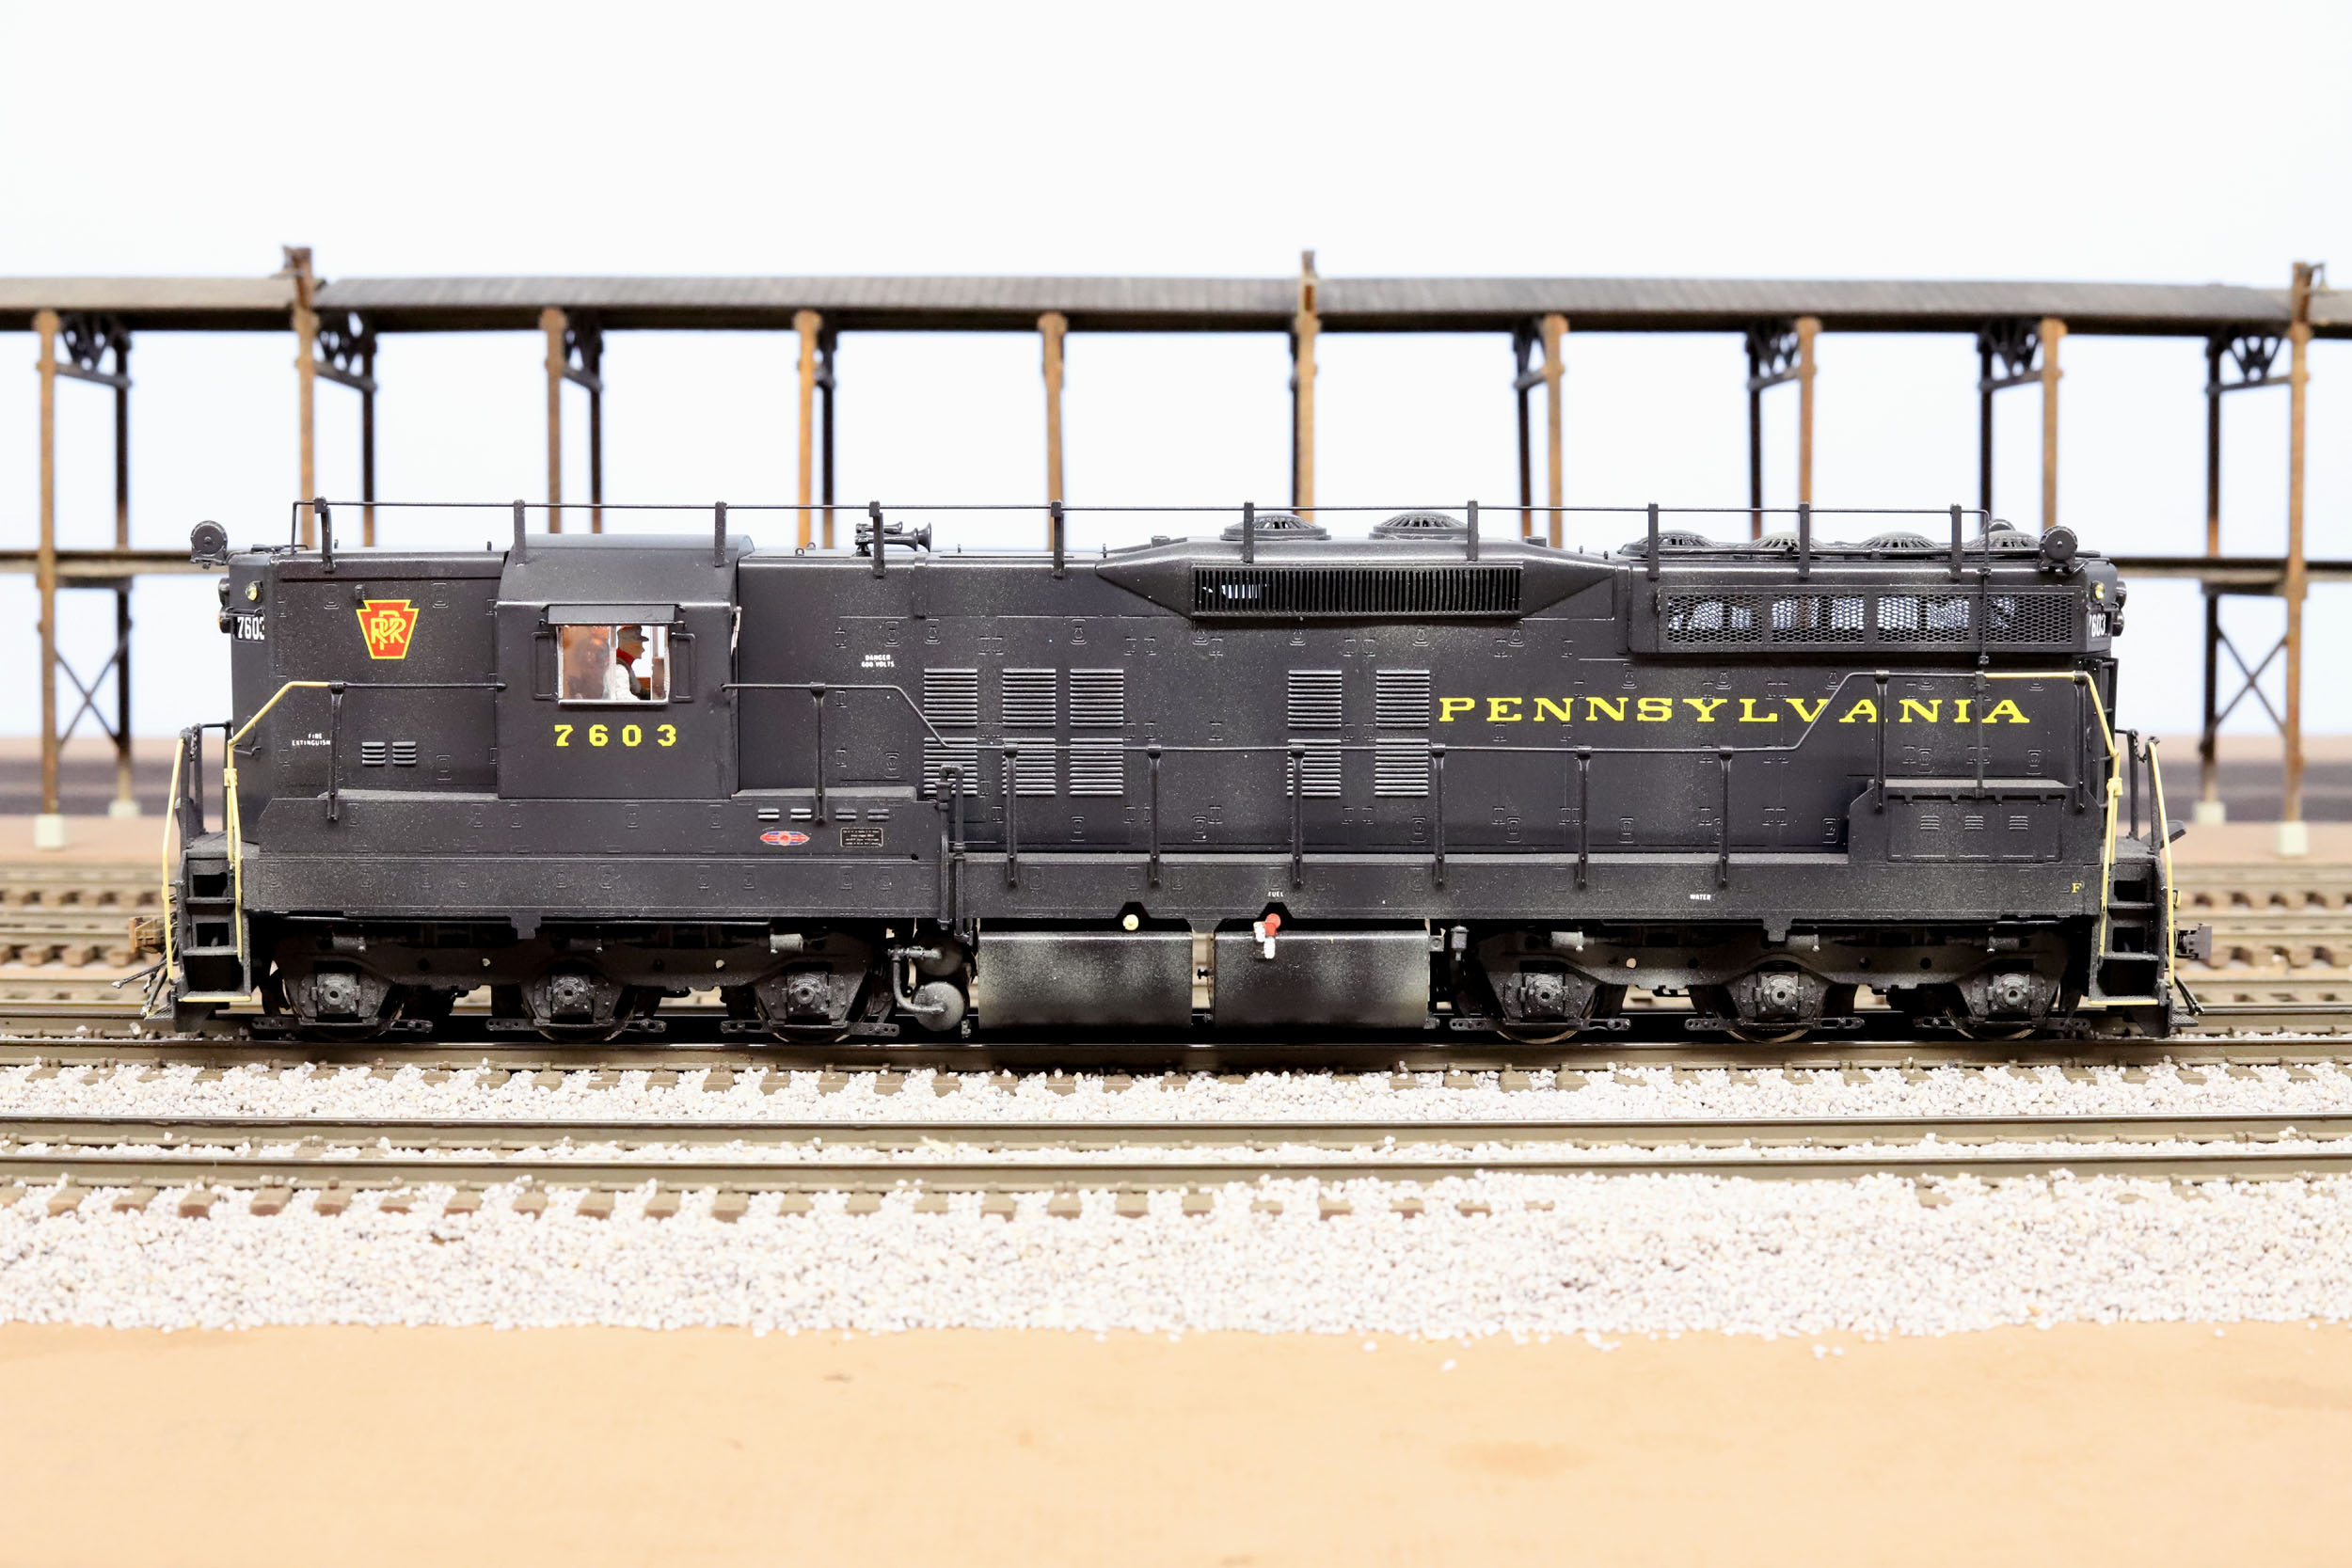
8-25-20 Photos
I
have wanted to upgrade the SD9 for a while. They have very old decoders and
incandescent lights. The antennas need some repairs. I am upgrading to a TCS
WOW4 decoder with Keep Alive and LEDs. Getting 2) 3MM LEDs into the headlight
bezel of a painted GP or SD model is not easy or fun.

This
is the first time I have ever taken these locos apart since getting them
painted. Before sending them to get painted I installed a lot of brass tubes as
bulb holders. They had to be removed for at least the 3MM headlight LEDs. I
will probably leave the rest of the tubes in place but not likely wire any LEDS
to them. There is a LOT of wires and work to Charlie’s lighting system. This
will all be MUCH simpler when I am done.
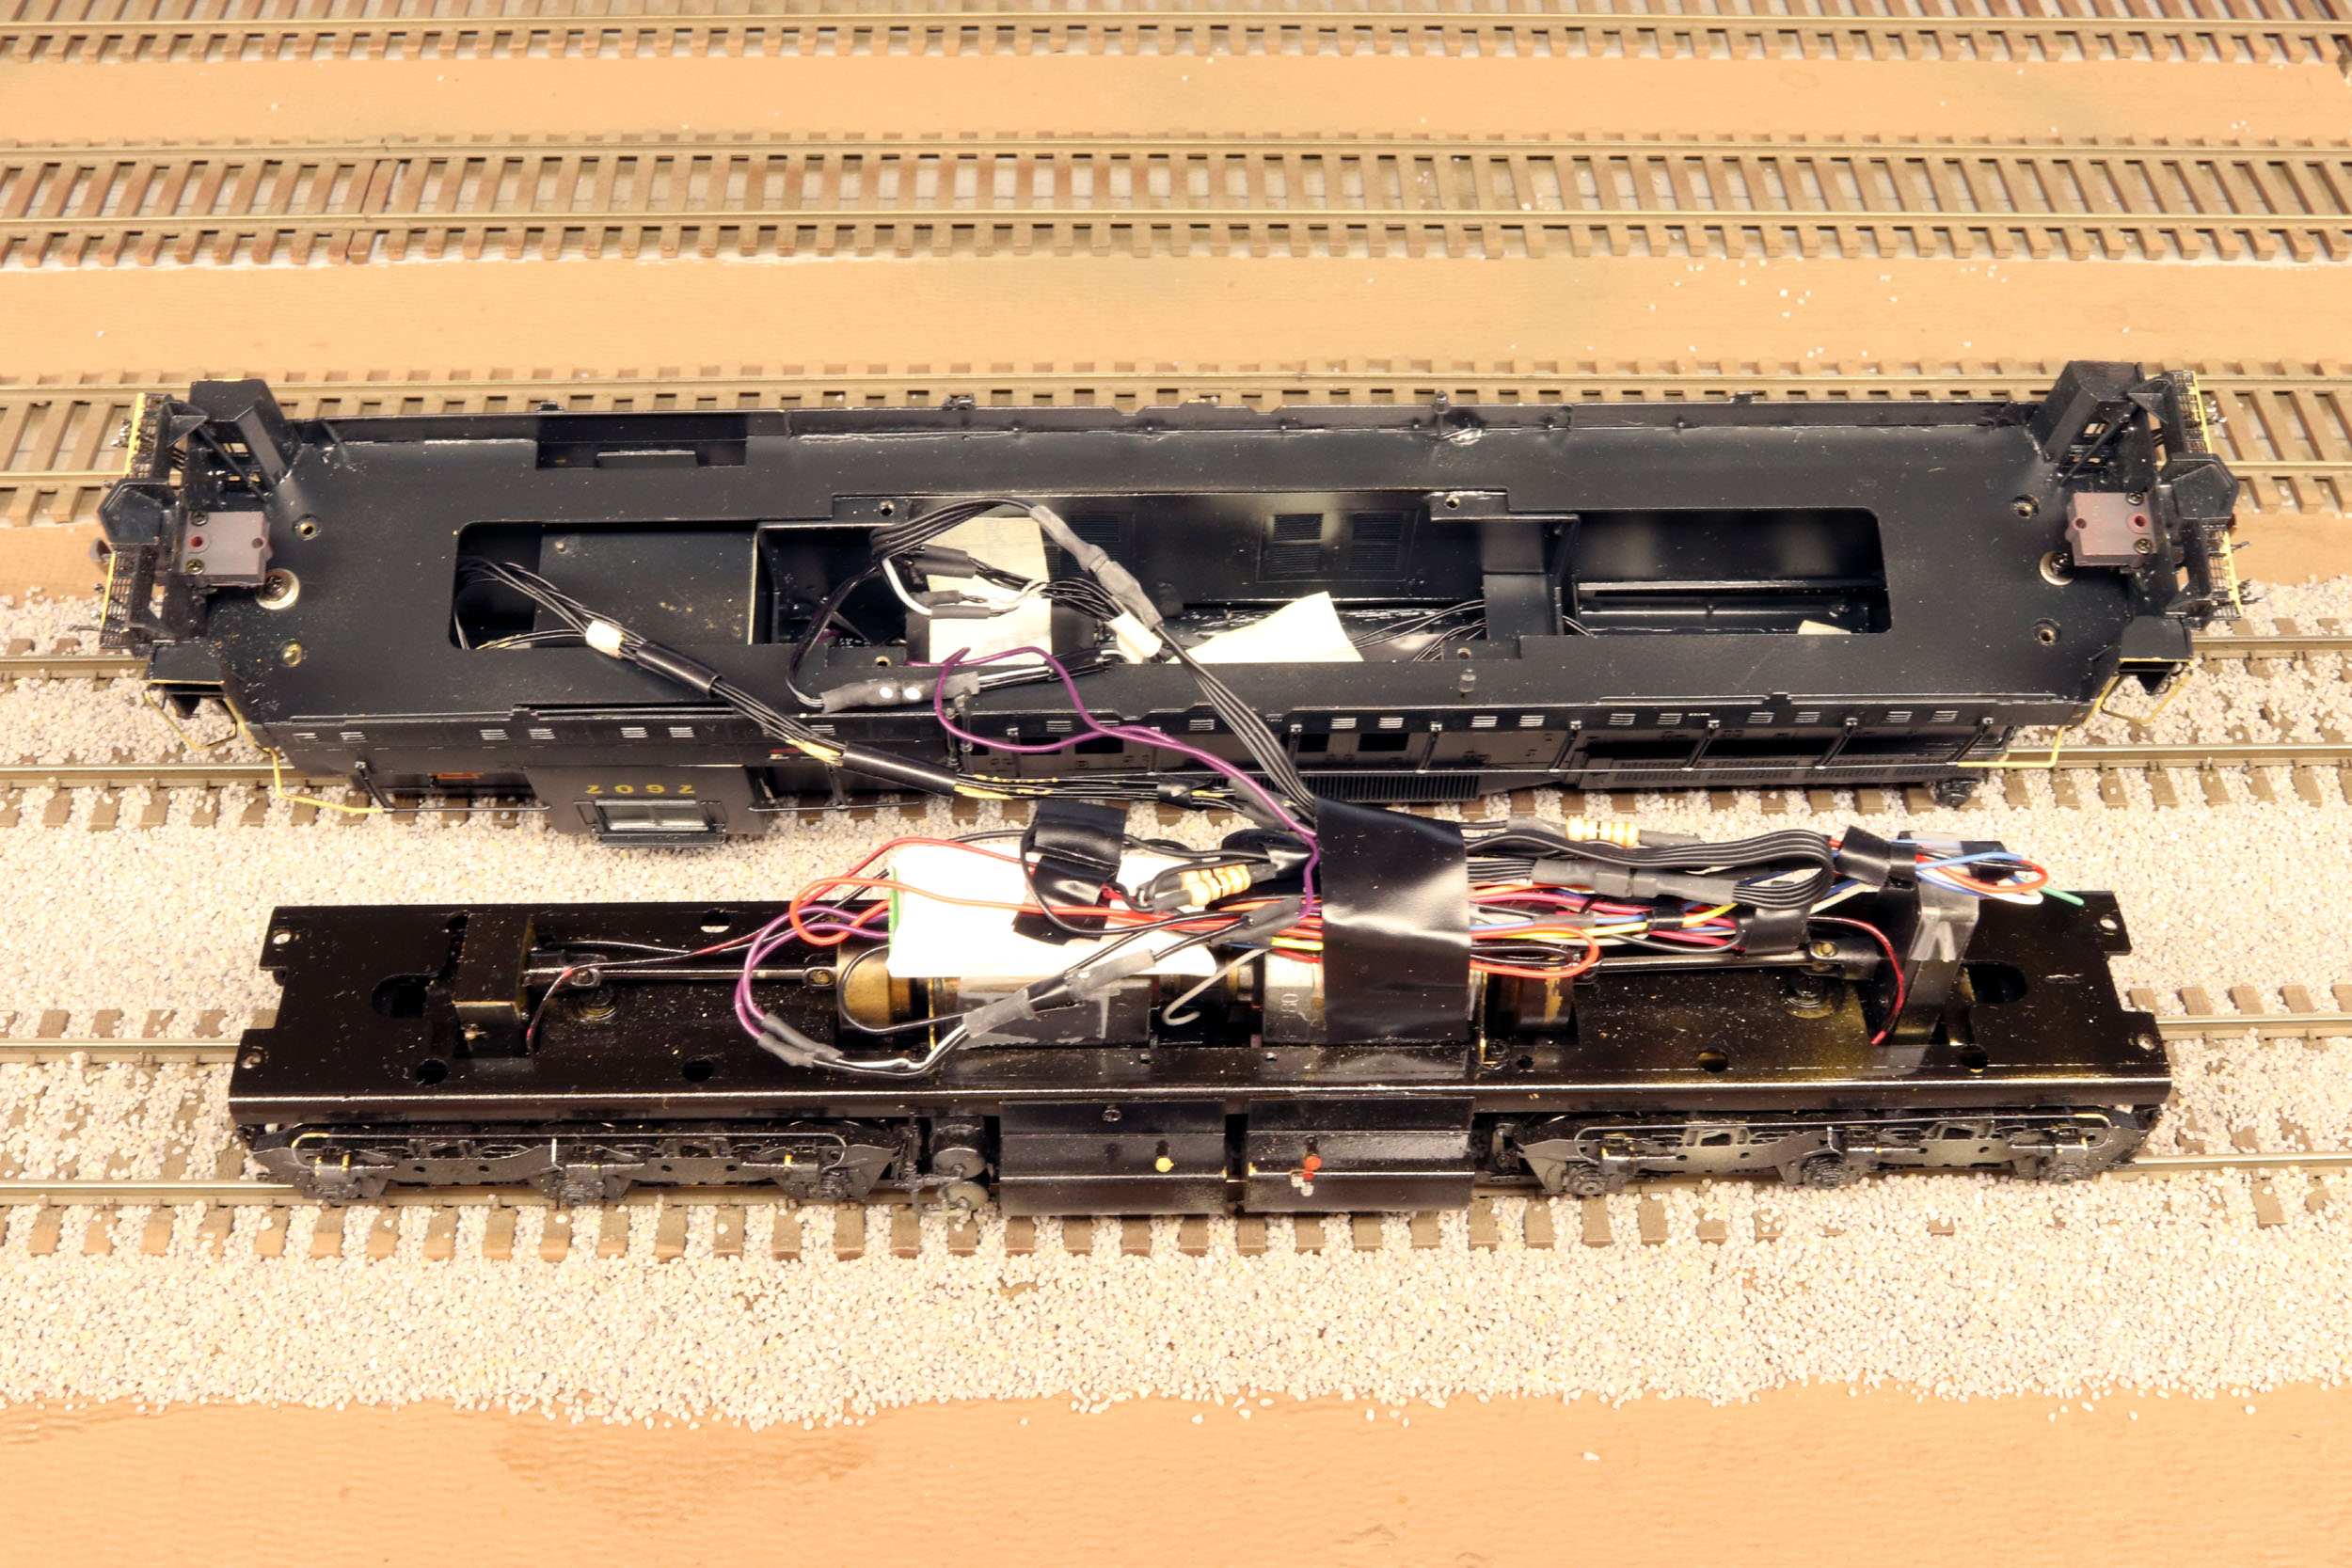
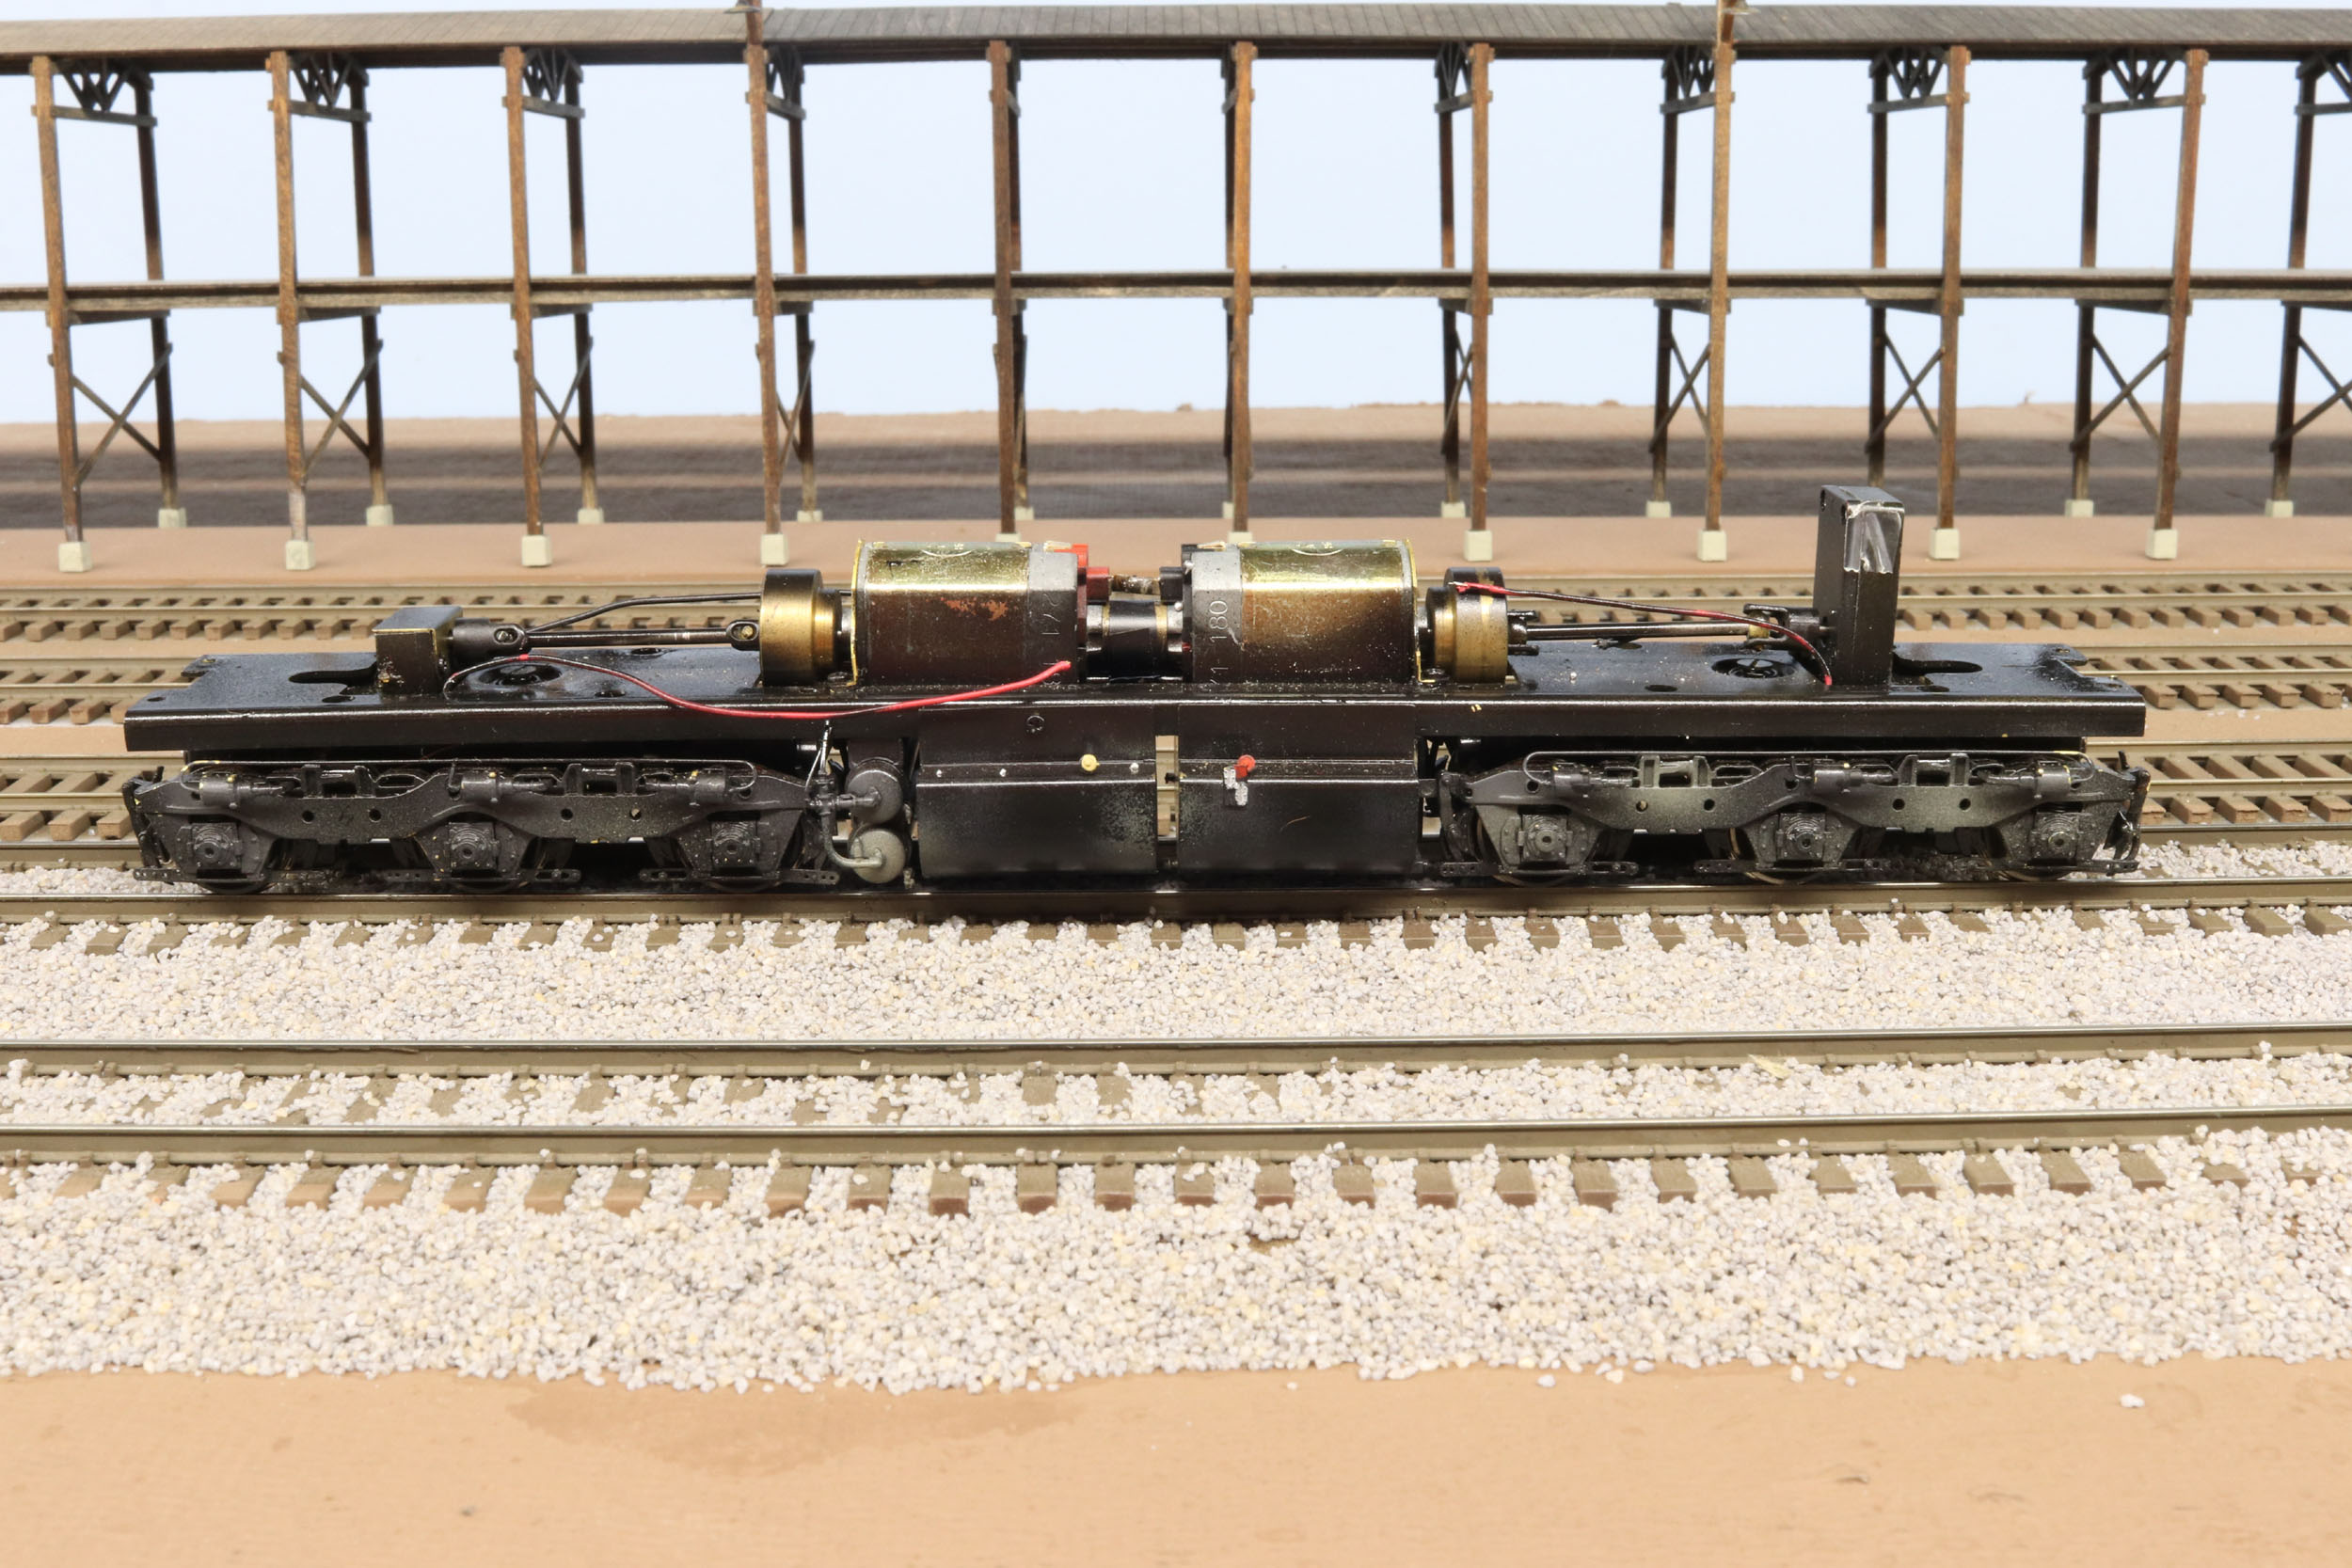
This
is the original drive with the 2 small HO motors. It looks like they are
coupled together but they are not.
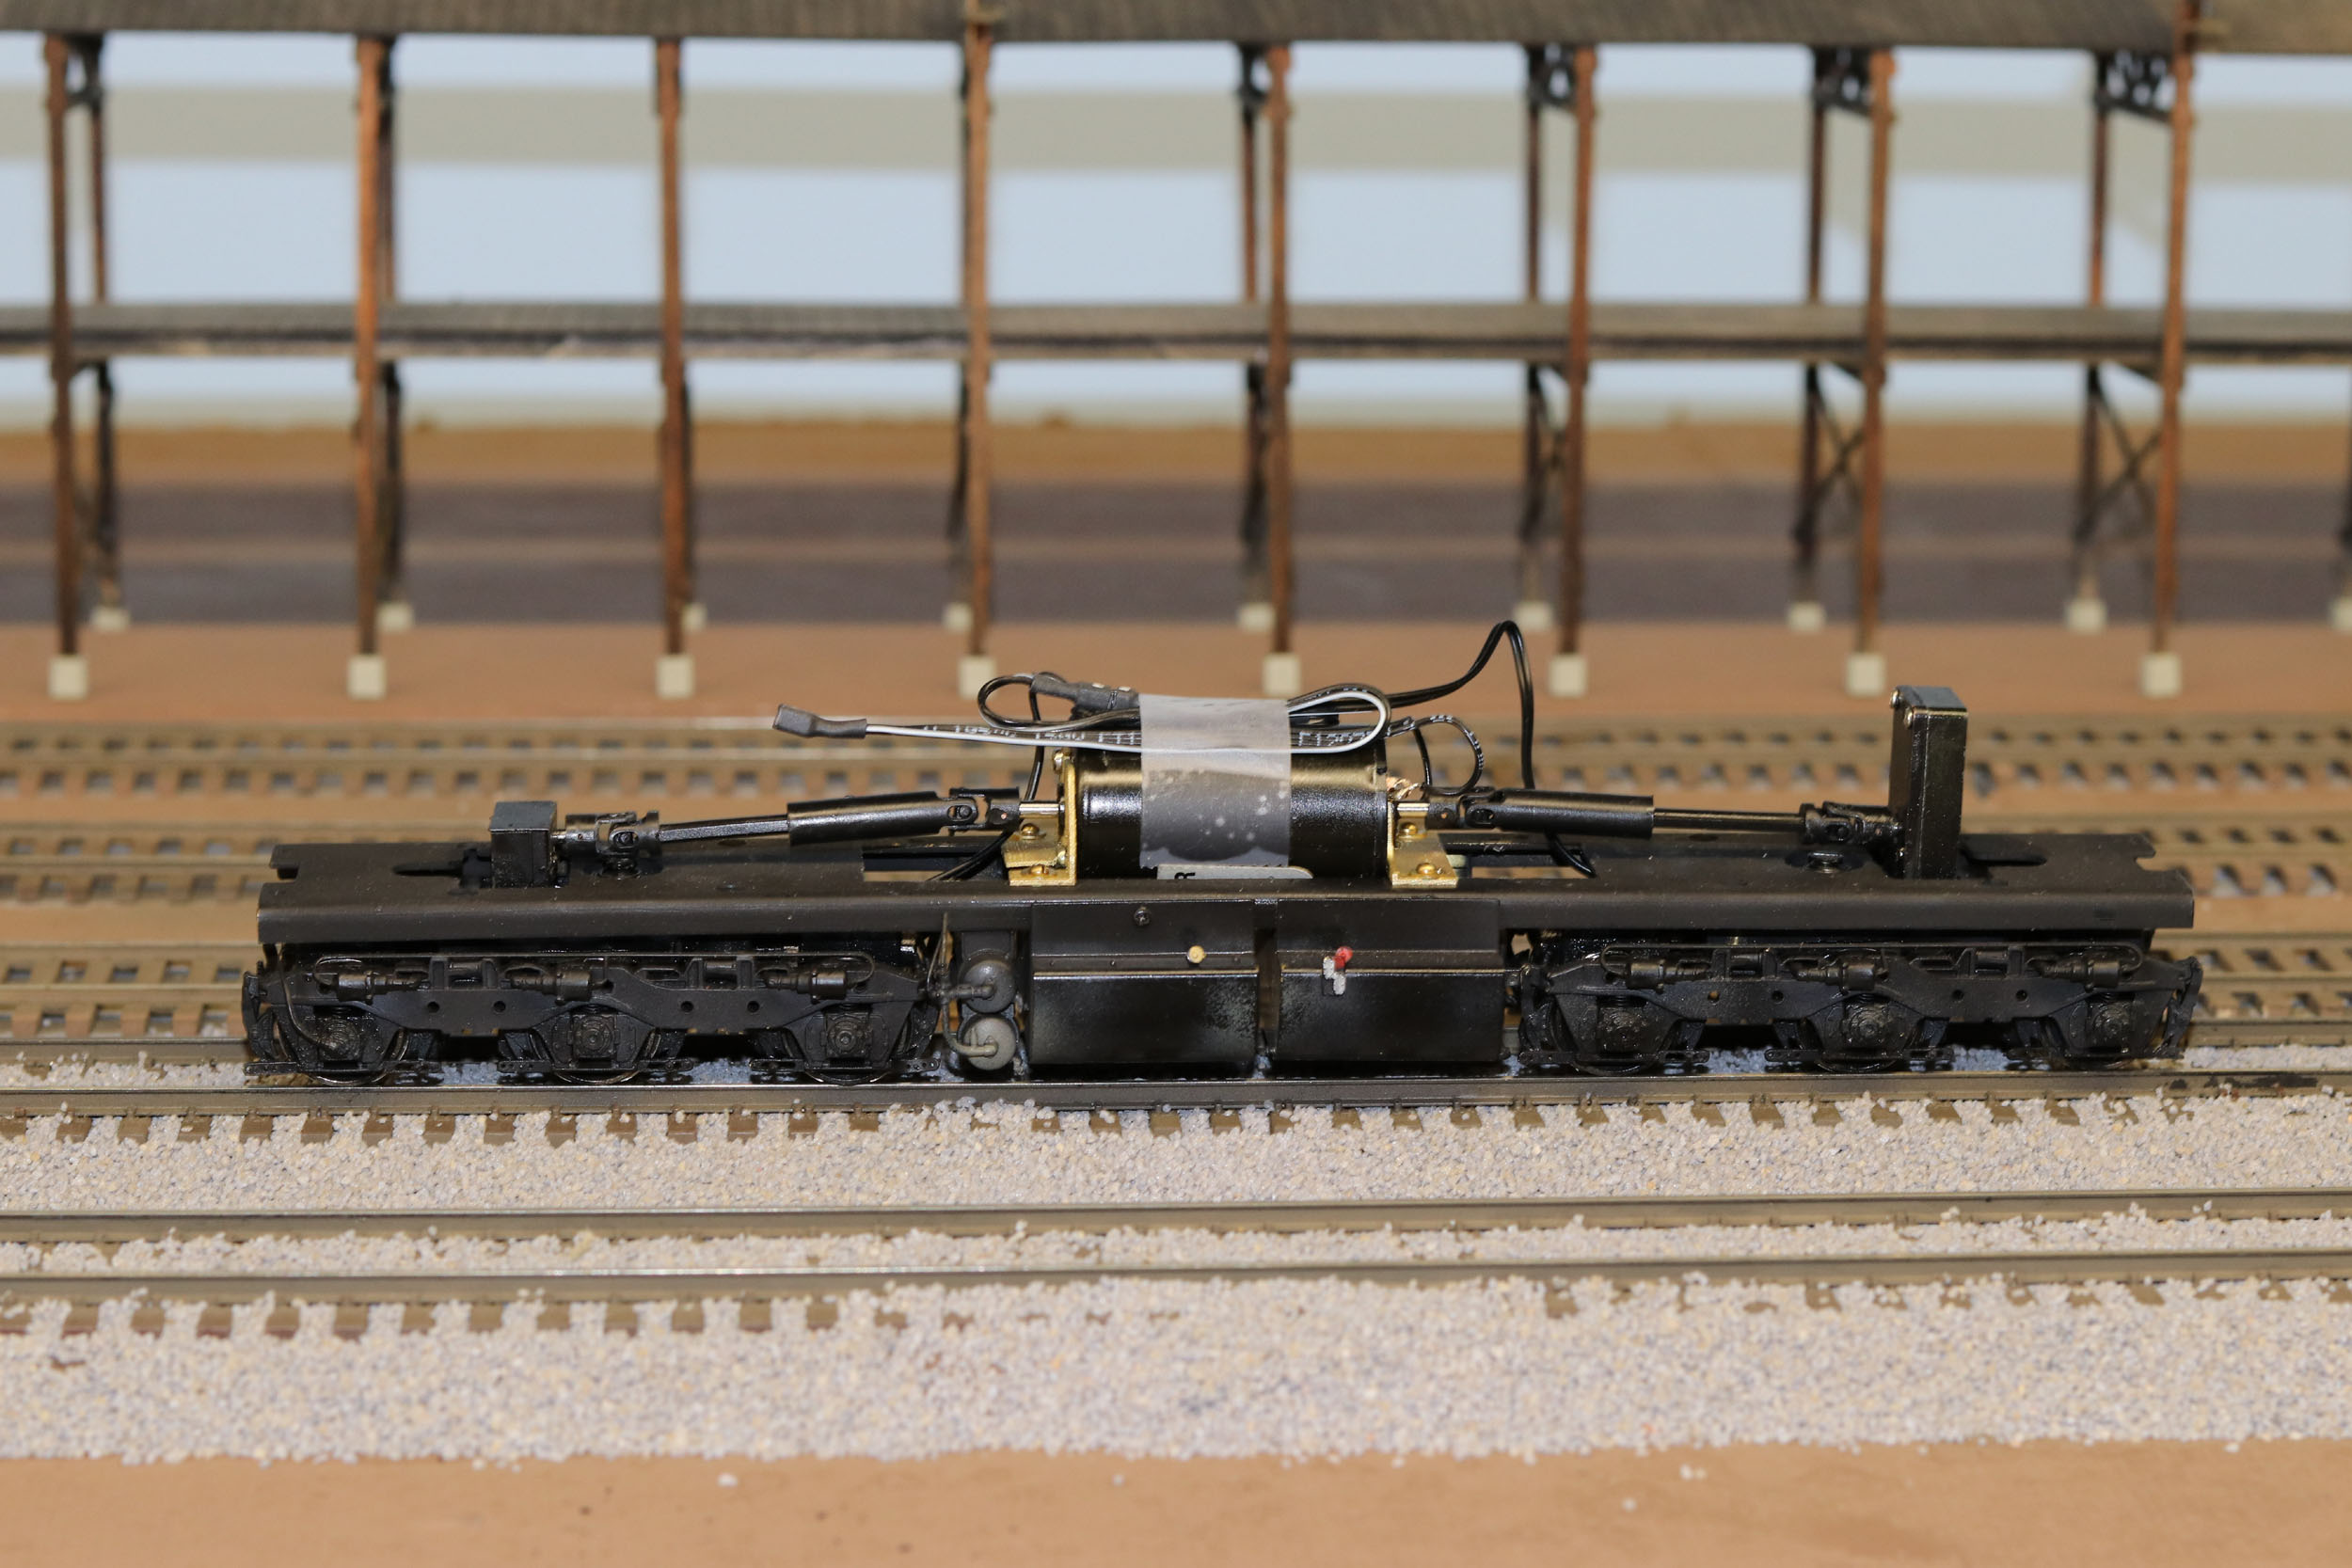
I have removed the 2 small motors and replaced them with a 22mm x 40mm Sagami. The plastic driveshafts are Overland. The motor mounts are mine designed in Solidworks.
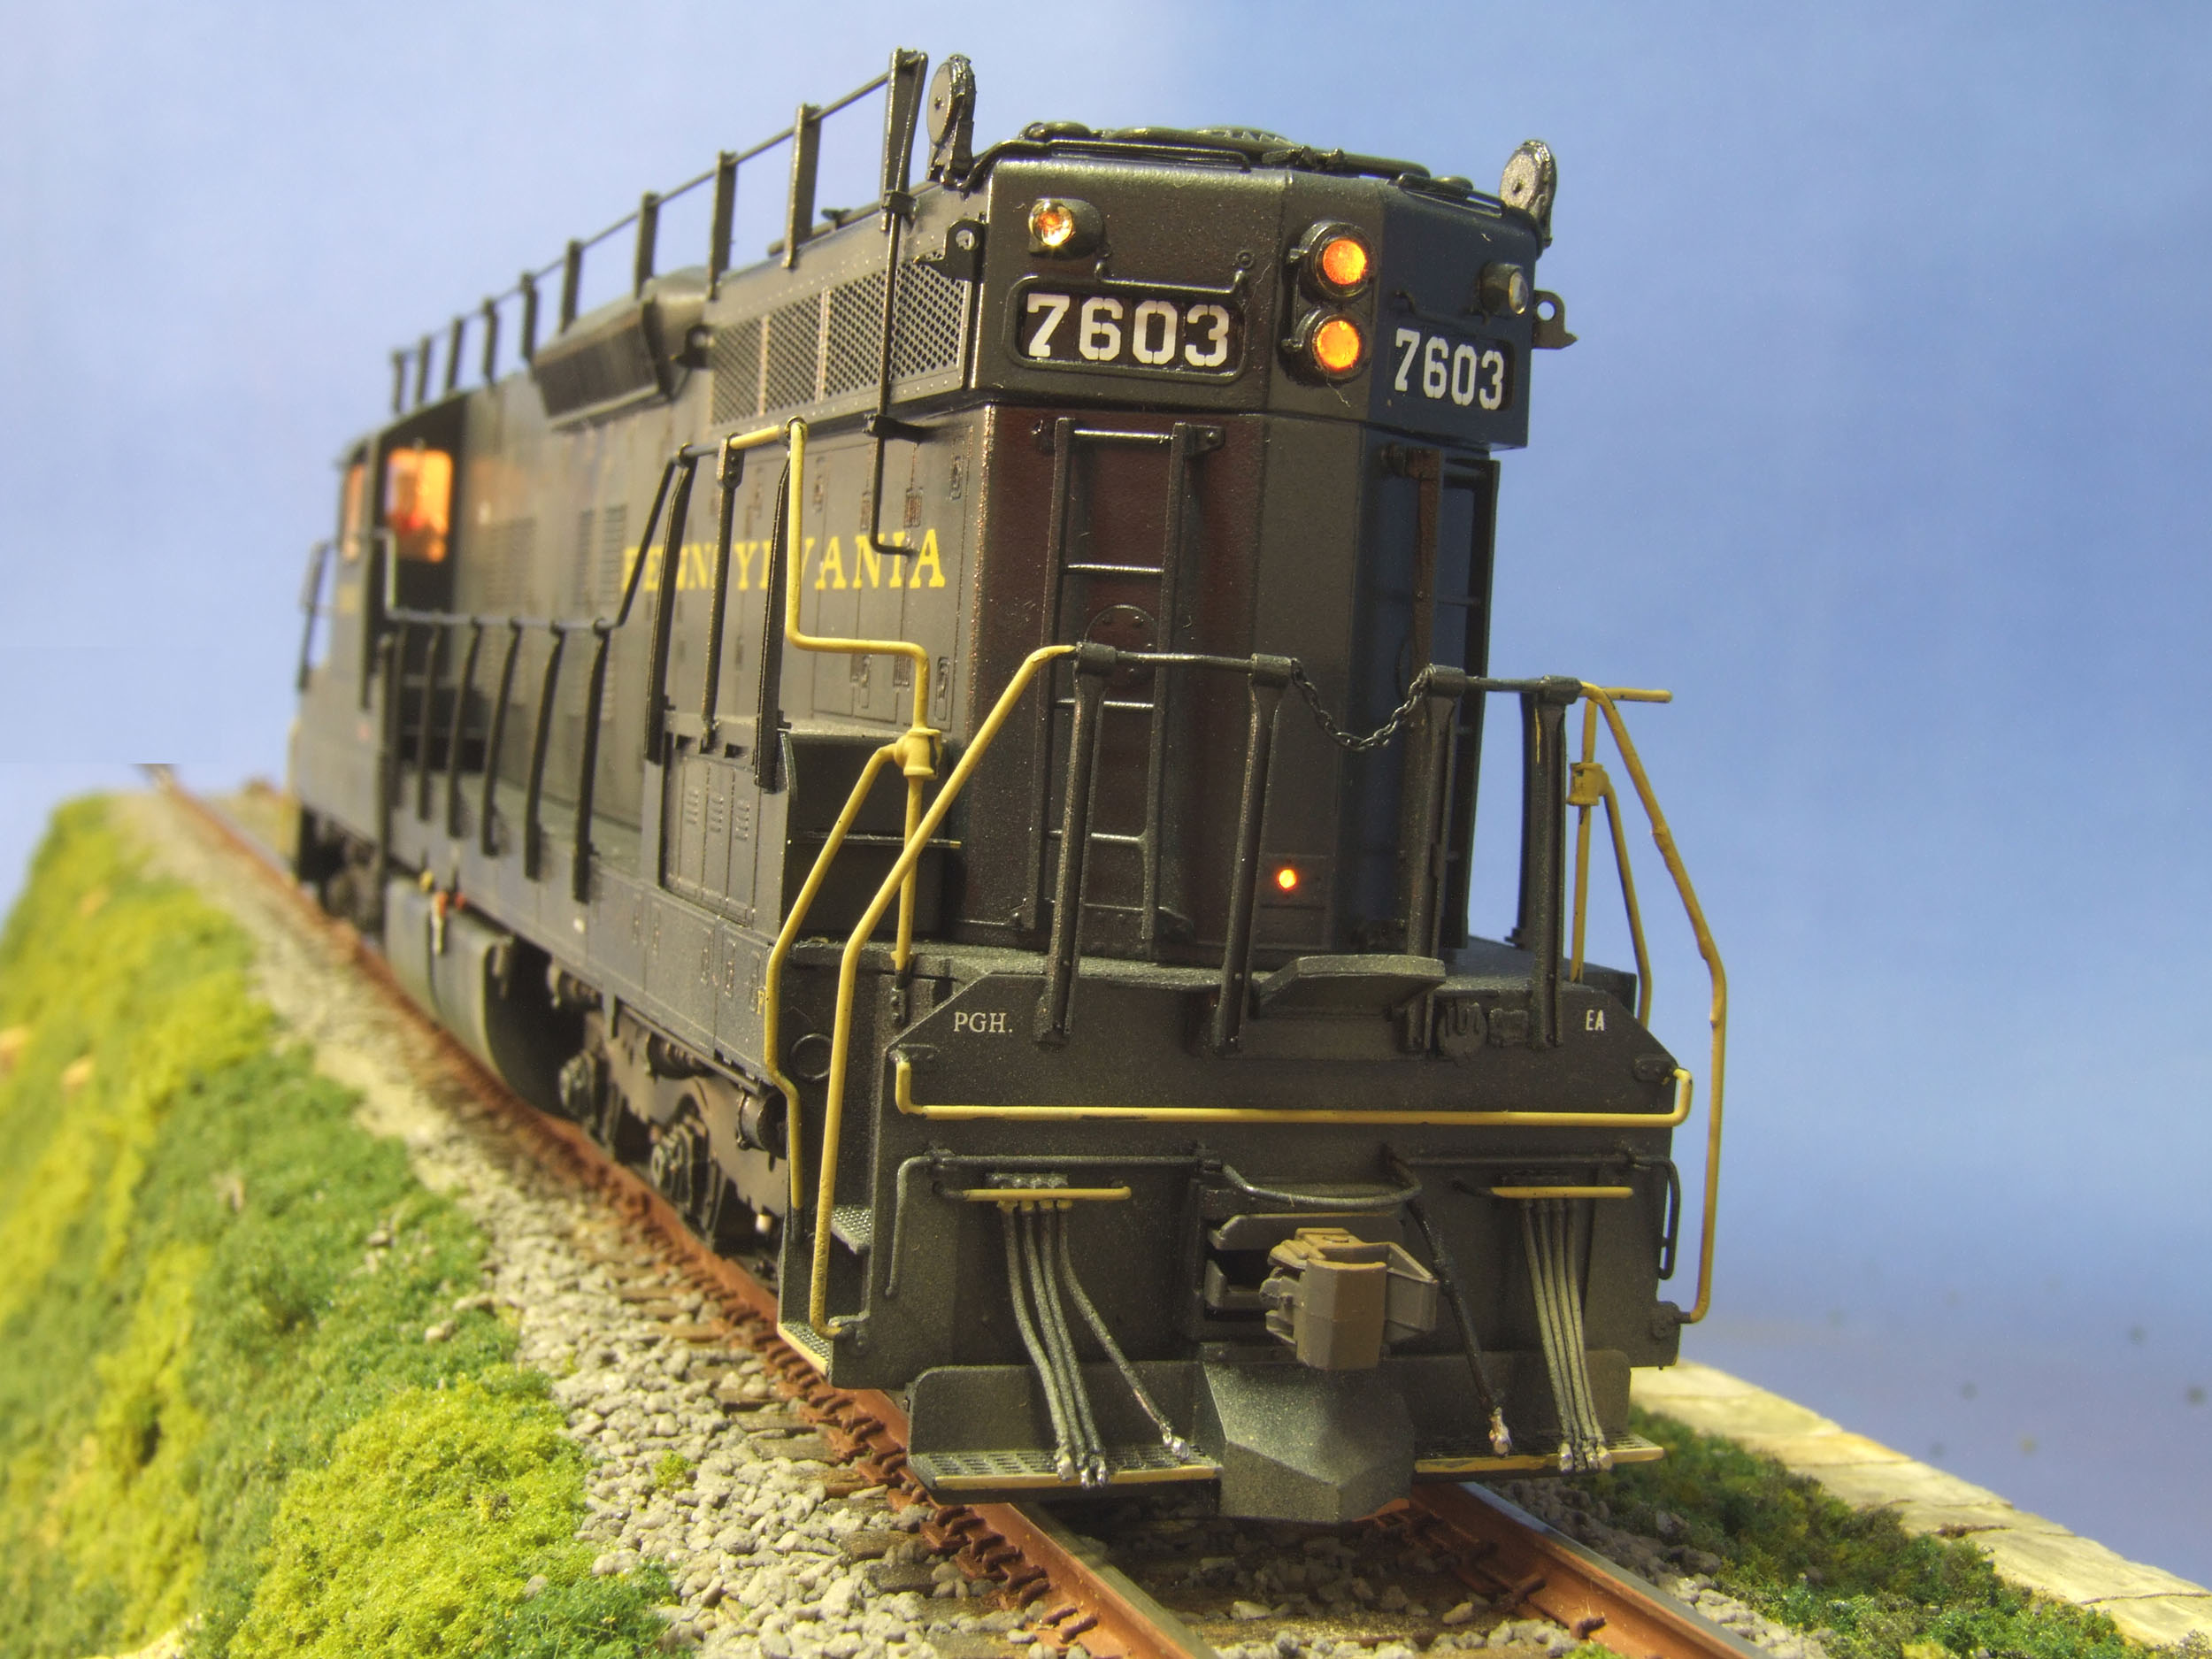
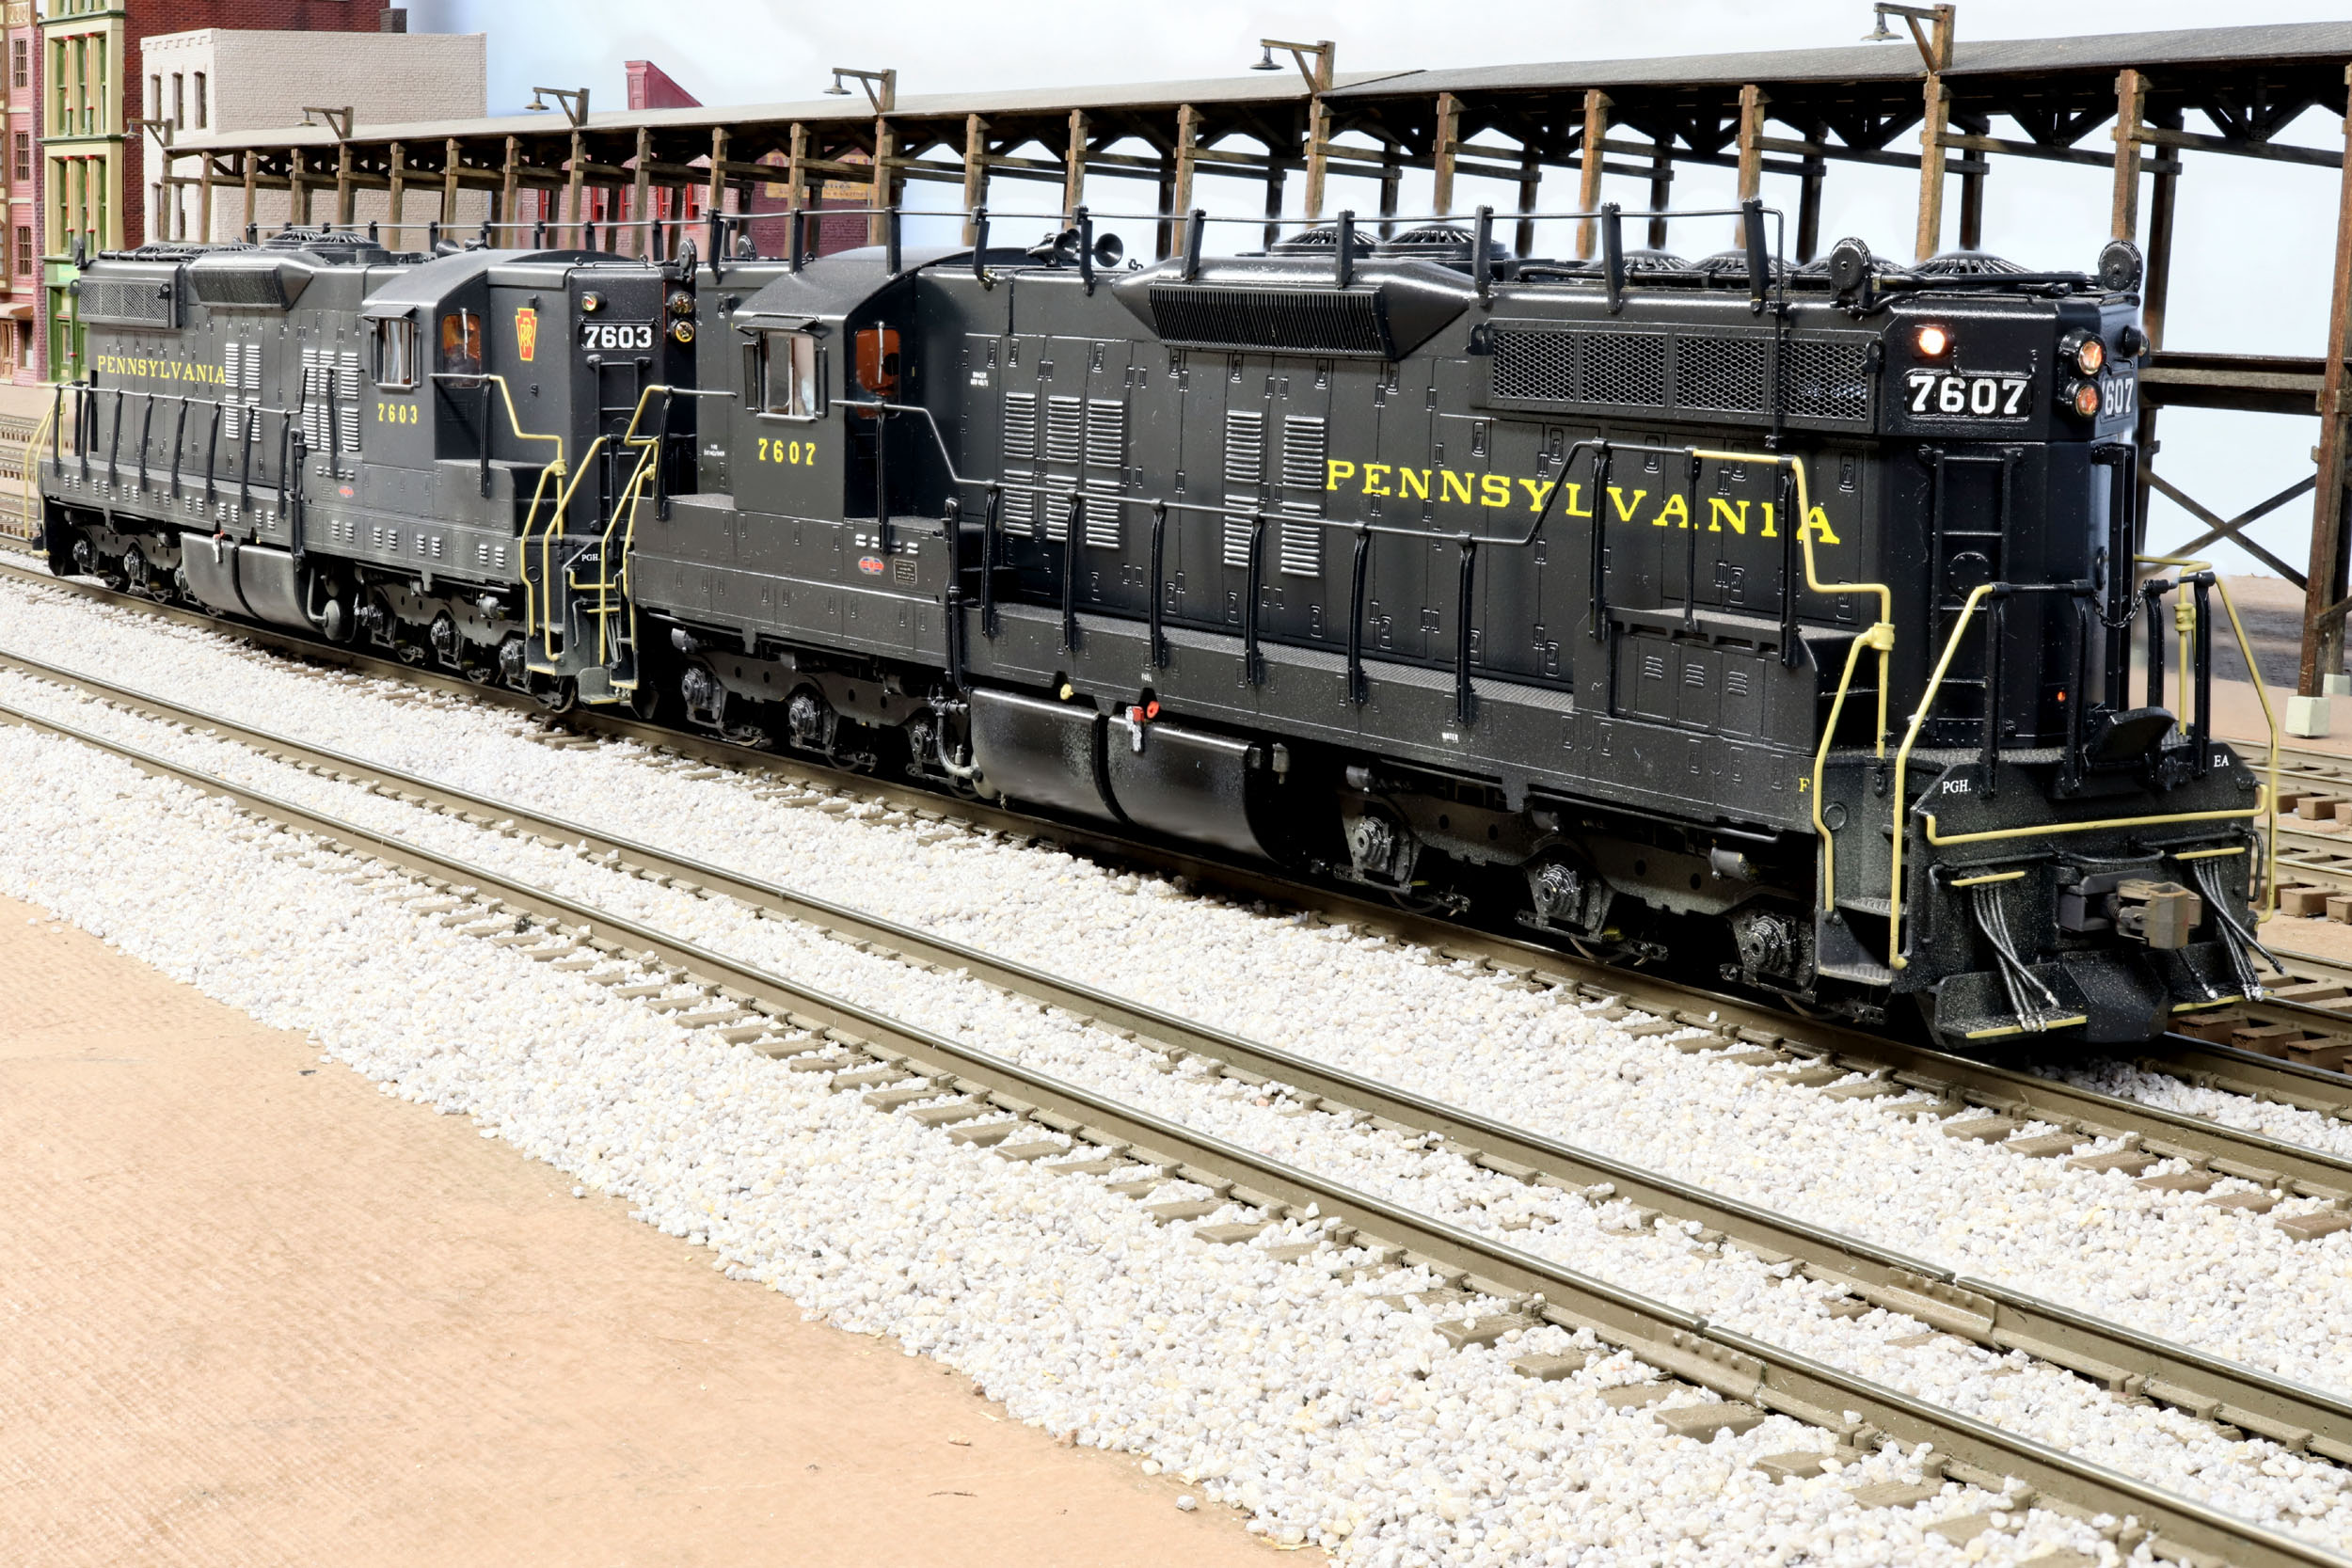
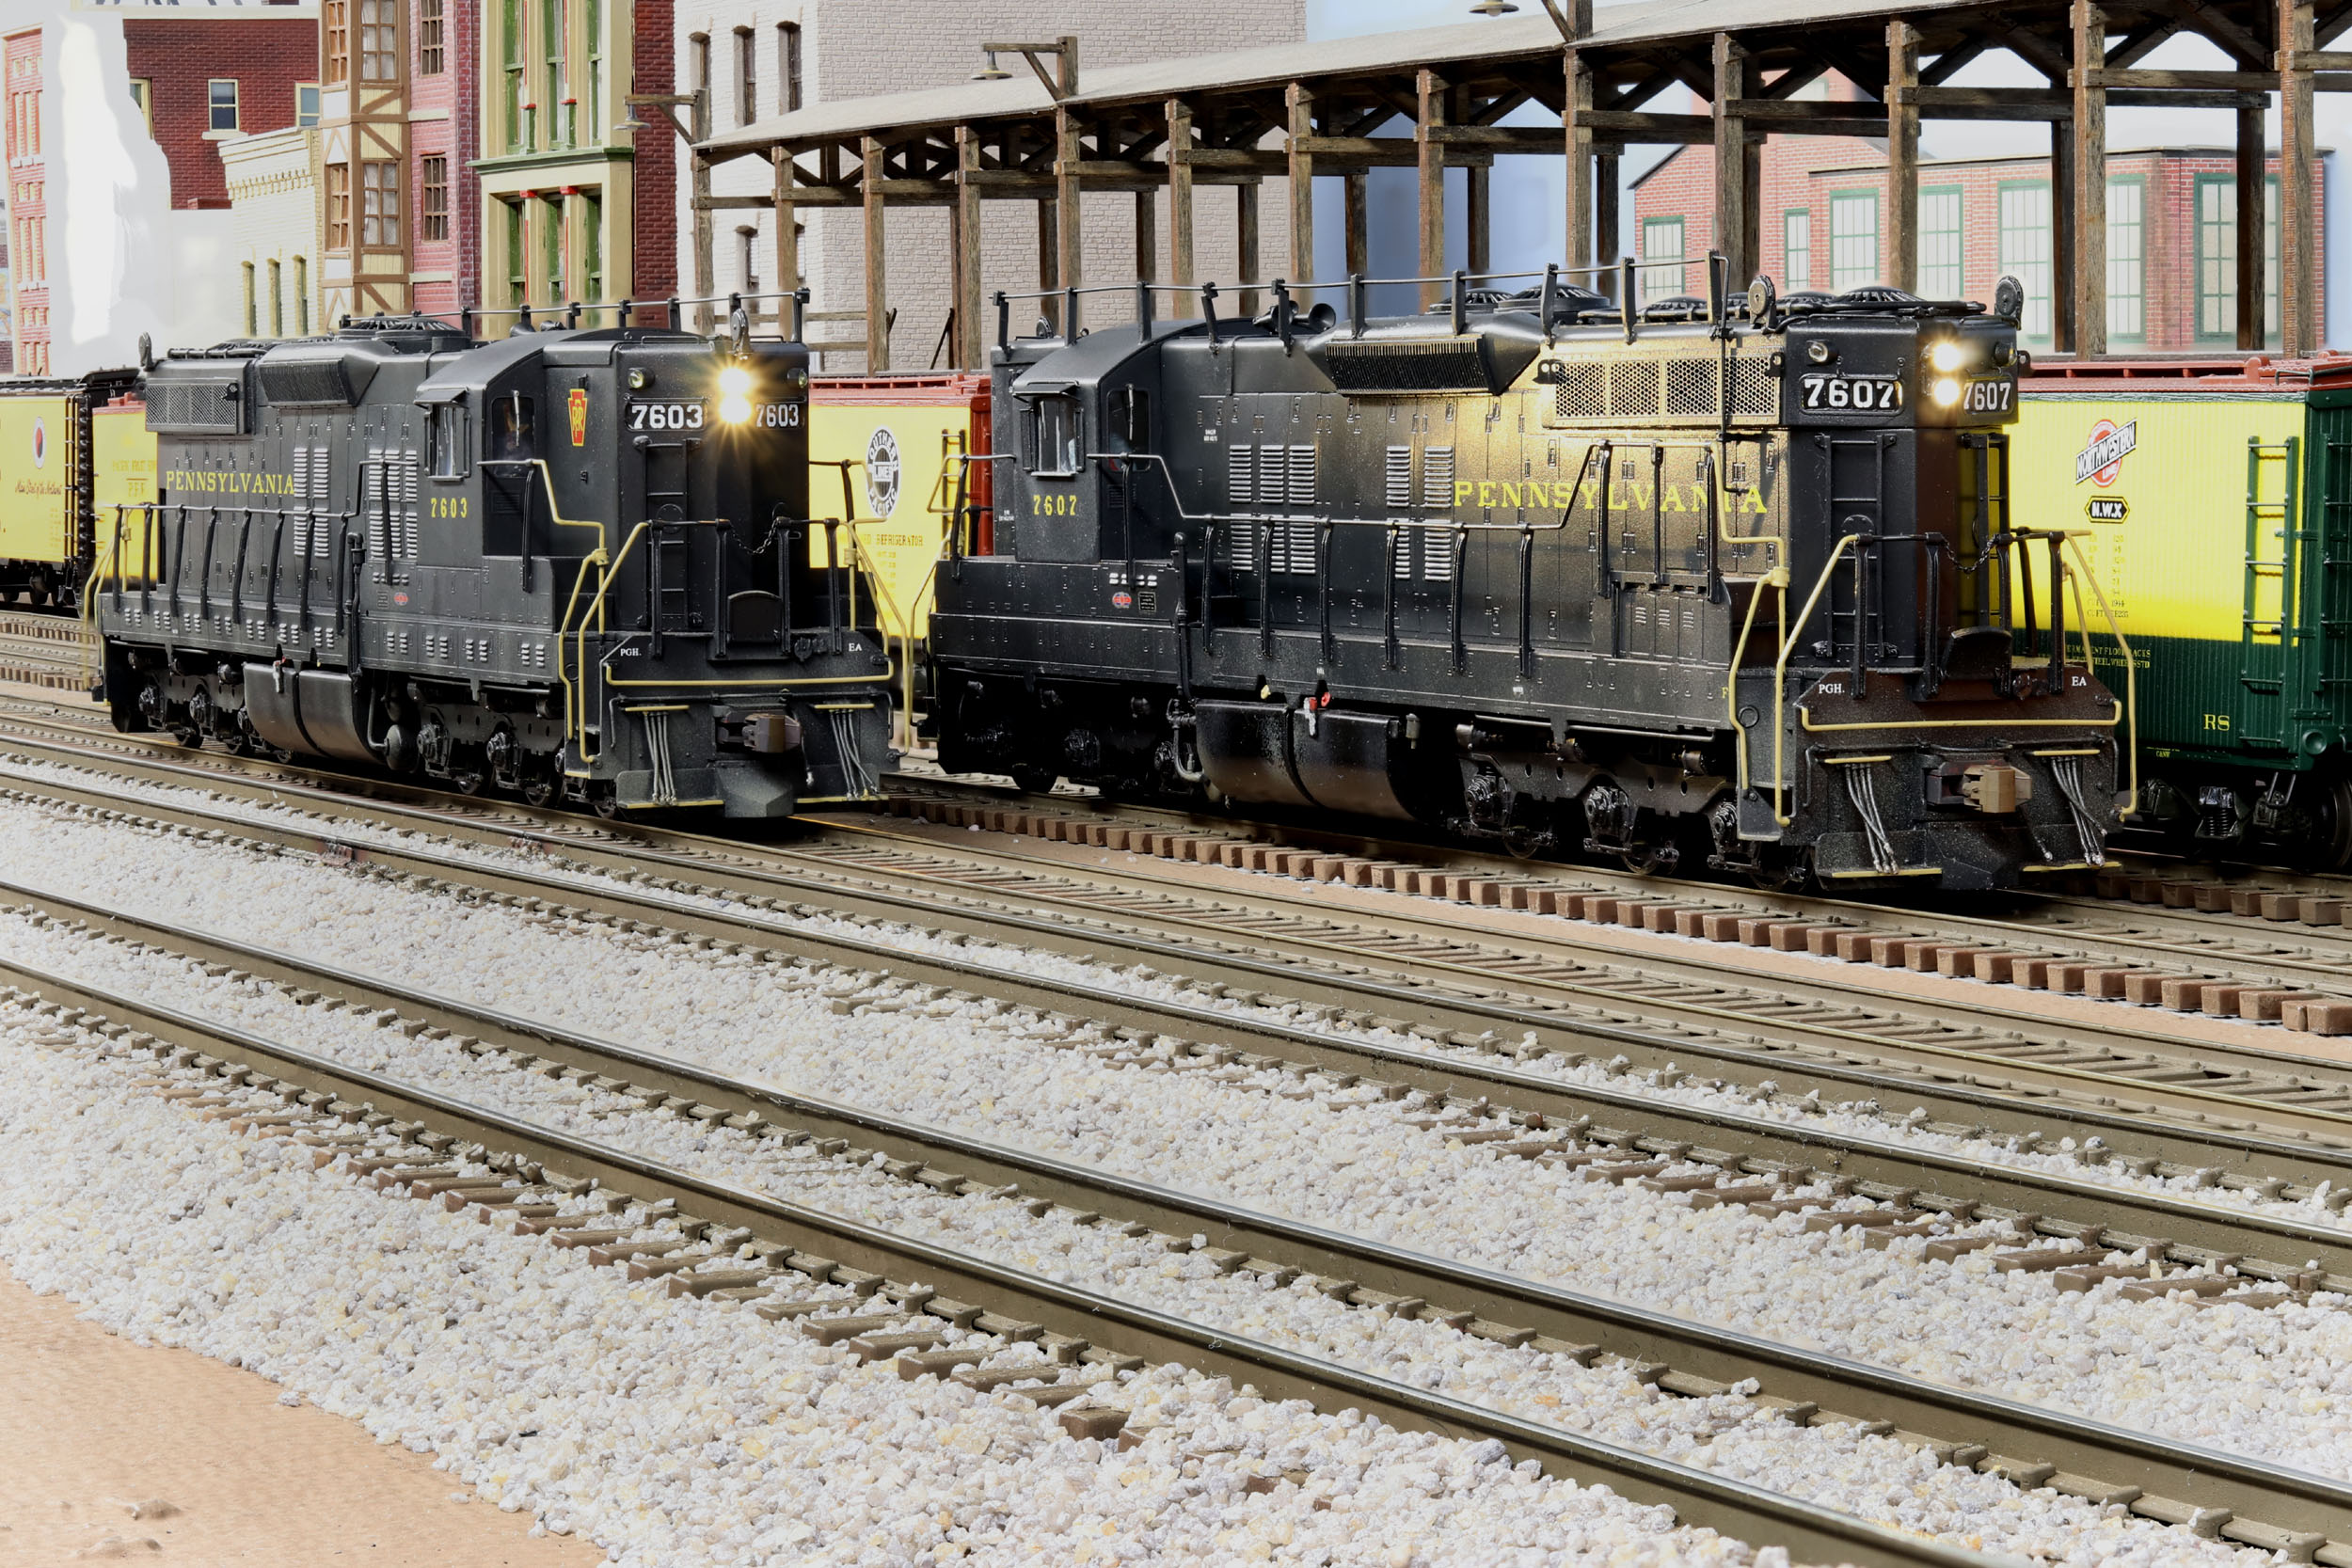
Completed 9-15-20
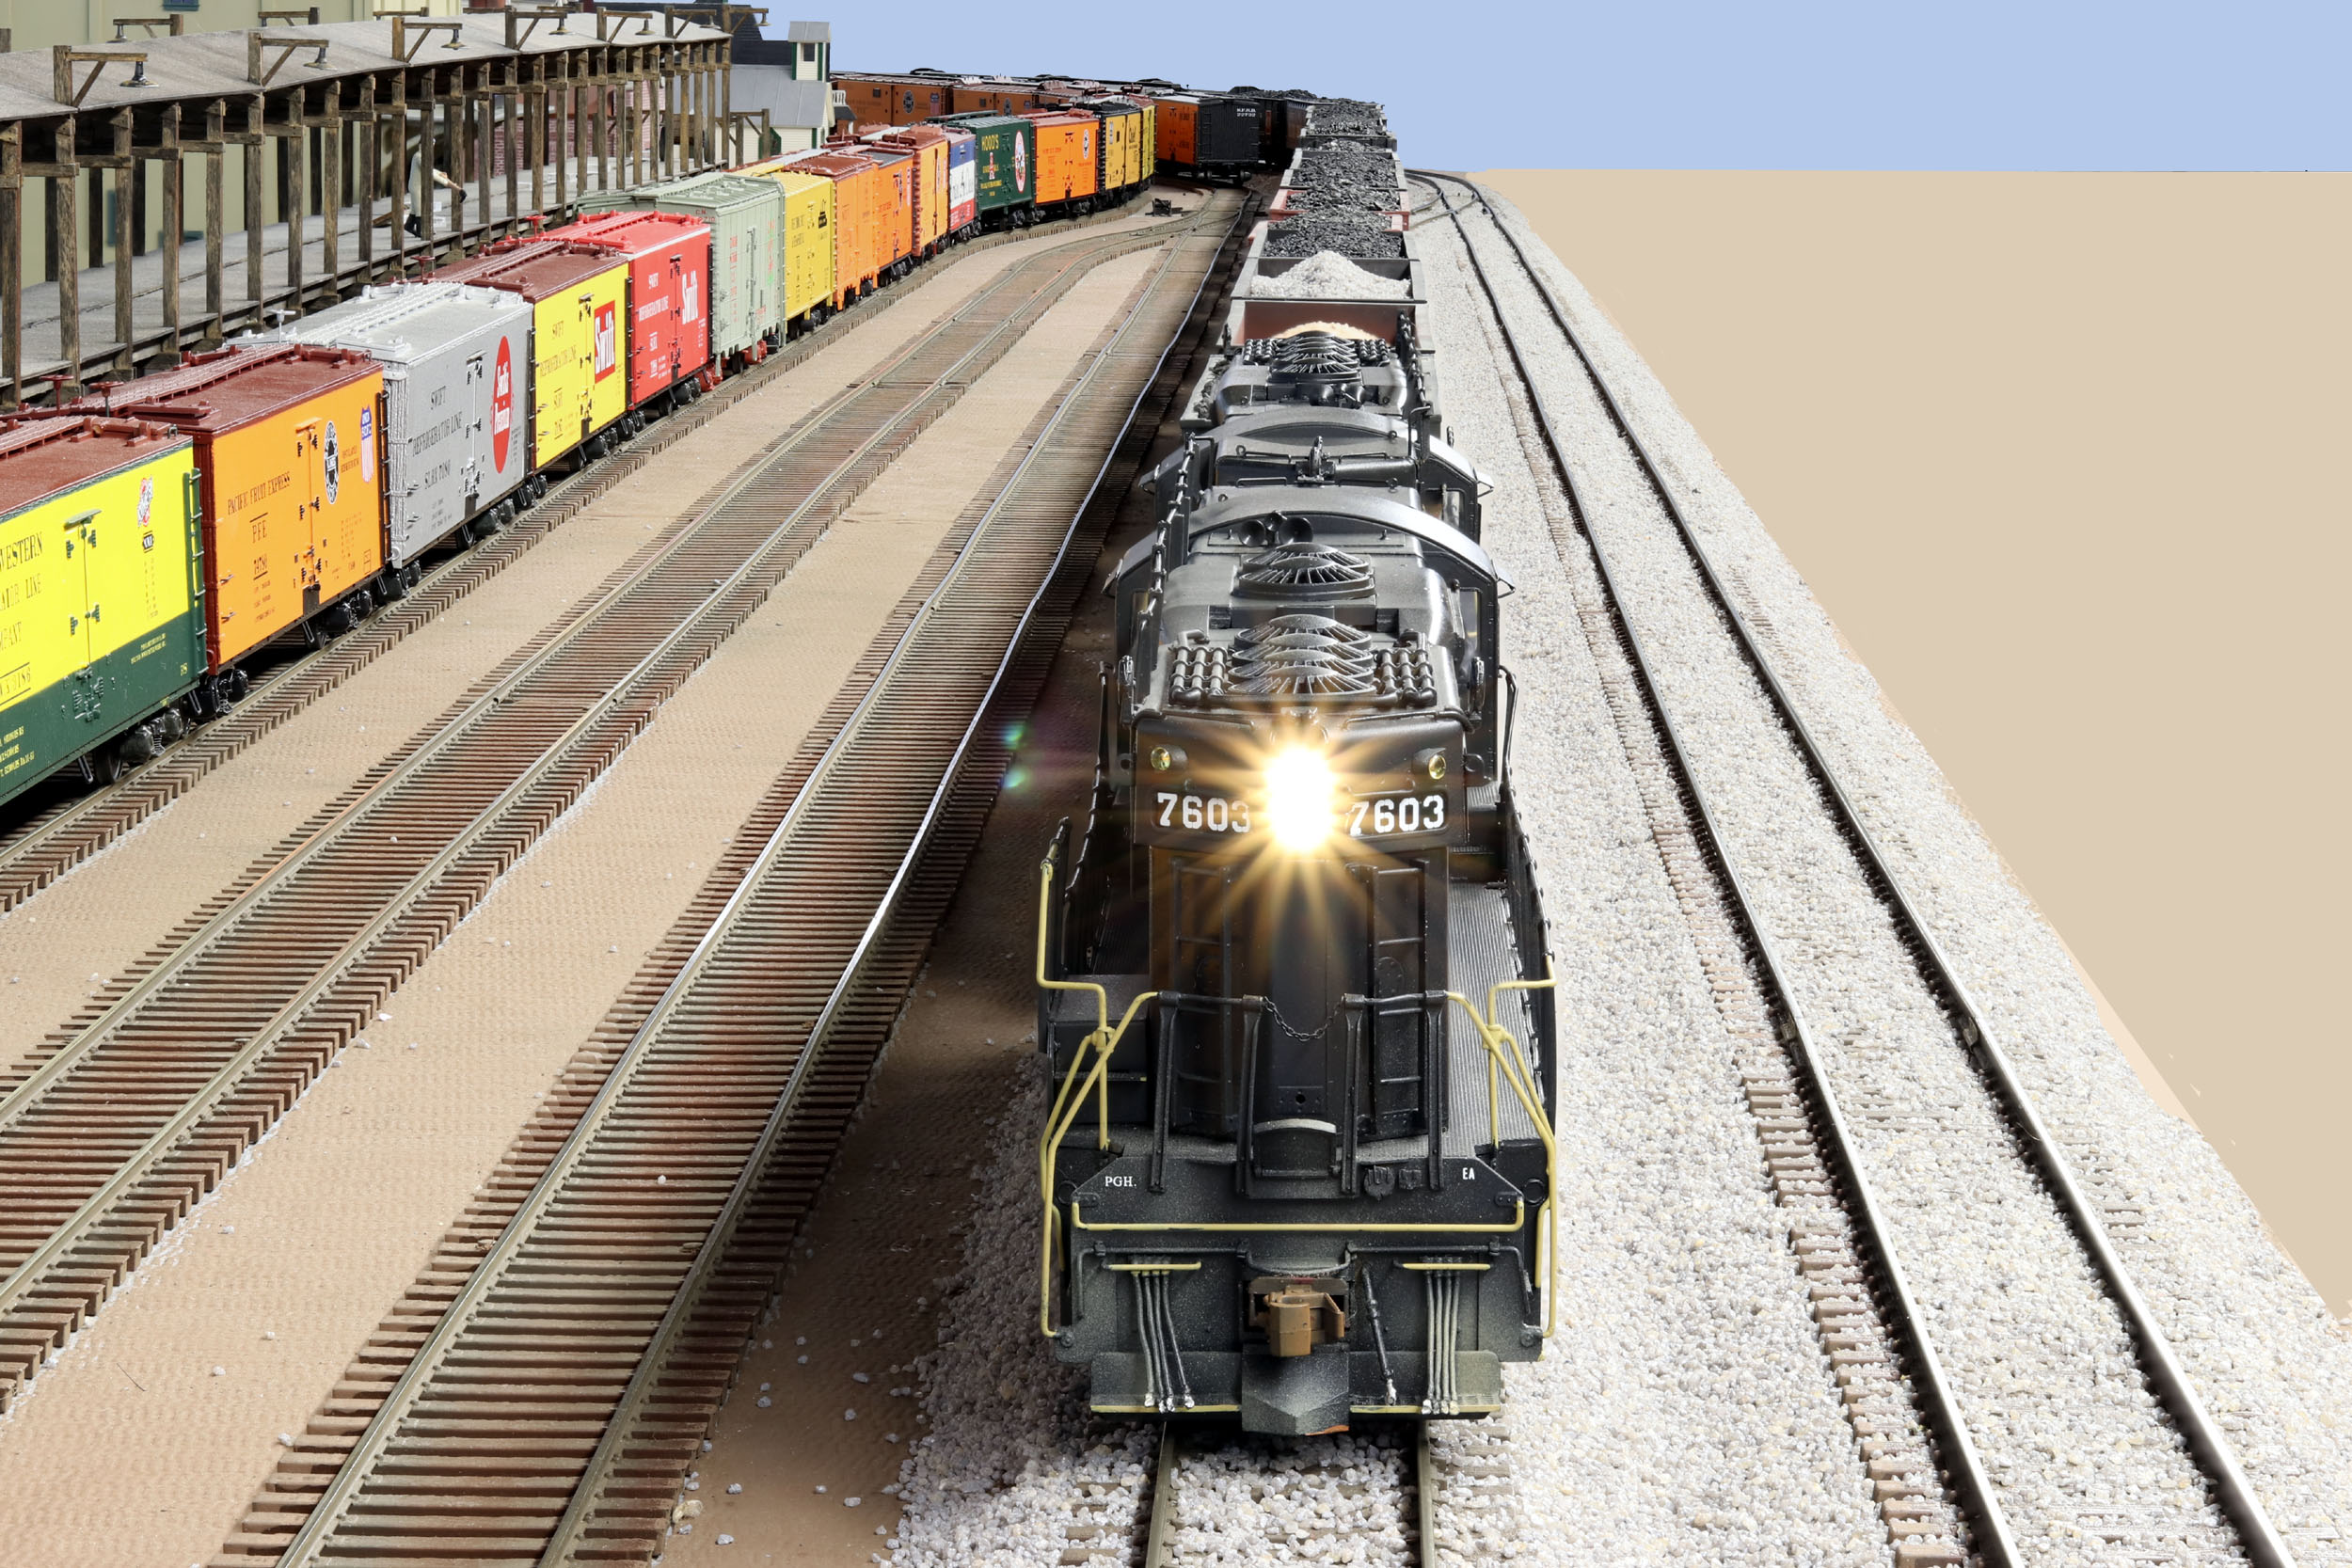
As mentioned
I greatly simplified the wiring and lighting to just headlights. The WOW4 and Railmaster DLG8 speaker are much better than the old decoder
that sort of just made noise. I mostly don’t use the aux lights anyway but good
bright headlights are mandatory. Sorry for the cheesy Photoshop job on the head
on photo. I wanted to get rid of the washer and dryer.
The
paint suffered a bit from all the handling of the upgrade. The only reinforces
my change to Scalecoat clear coats. I was using Dullcoat for many years which I
am sure was used on these locos. This paint was over 15 years old at this
point. The Dullcoat wore off in many places because it remains soft forever. Scalecoat
clear is MUCH more durable to handling. I have 2 airbrushes (colors and clear)
hooked up are all times. I was doing some touch up, grabbed the wrong airbrush
and blasted the roof with auto paint thinner that I also use for paint stripper.
I instantly got the blow off gun and blasted the thinner off until dry before anything
could happen. Luckily there was no damage at all.
I posted a few times during this project about the SD9 drive. I am the original owner of these now 25+ year old locomotives that I never took apart. I went through the gearboxes to find they were DRY of any oil or grease of any kind. It actually caused some minor wear damage to 1 of them that is possibly a little noisy now. If you have 1 of these locos LUBE IT. It is needed! Any new to you locos should be checked for lube.
Updated
9-15-20
All photos and content © Lanes Trains 2005-2020