|
|
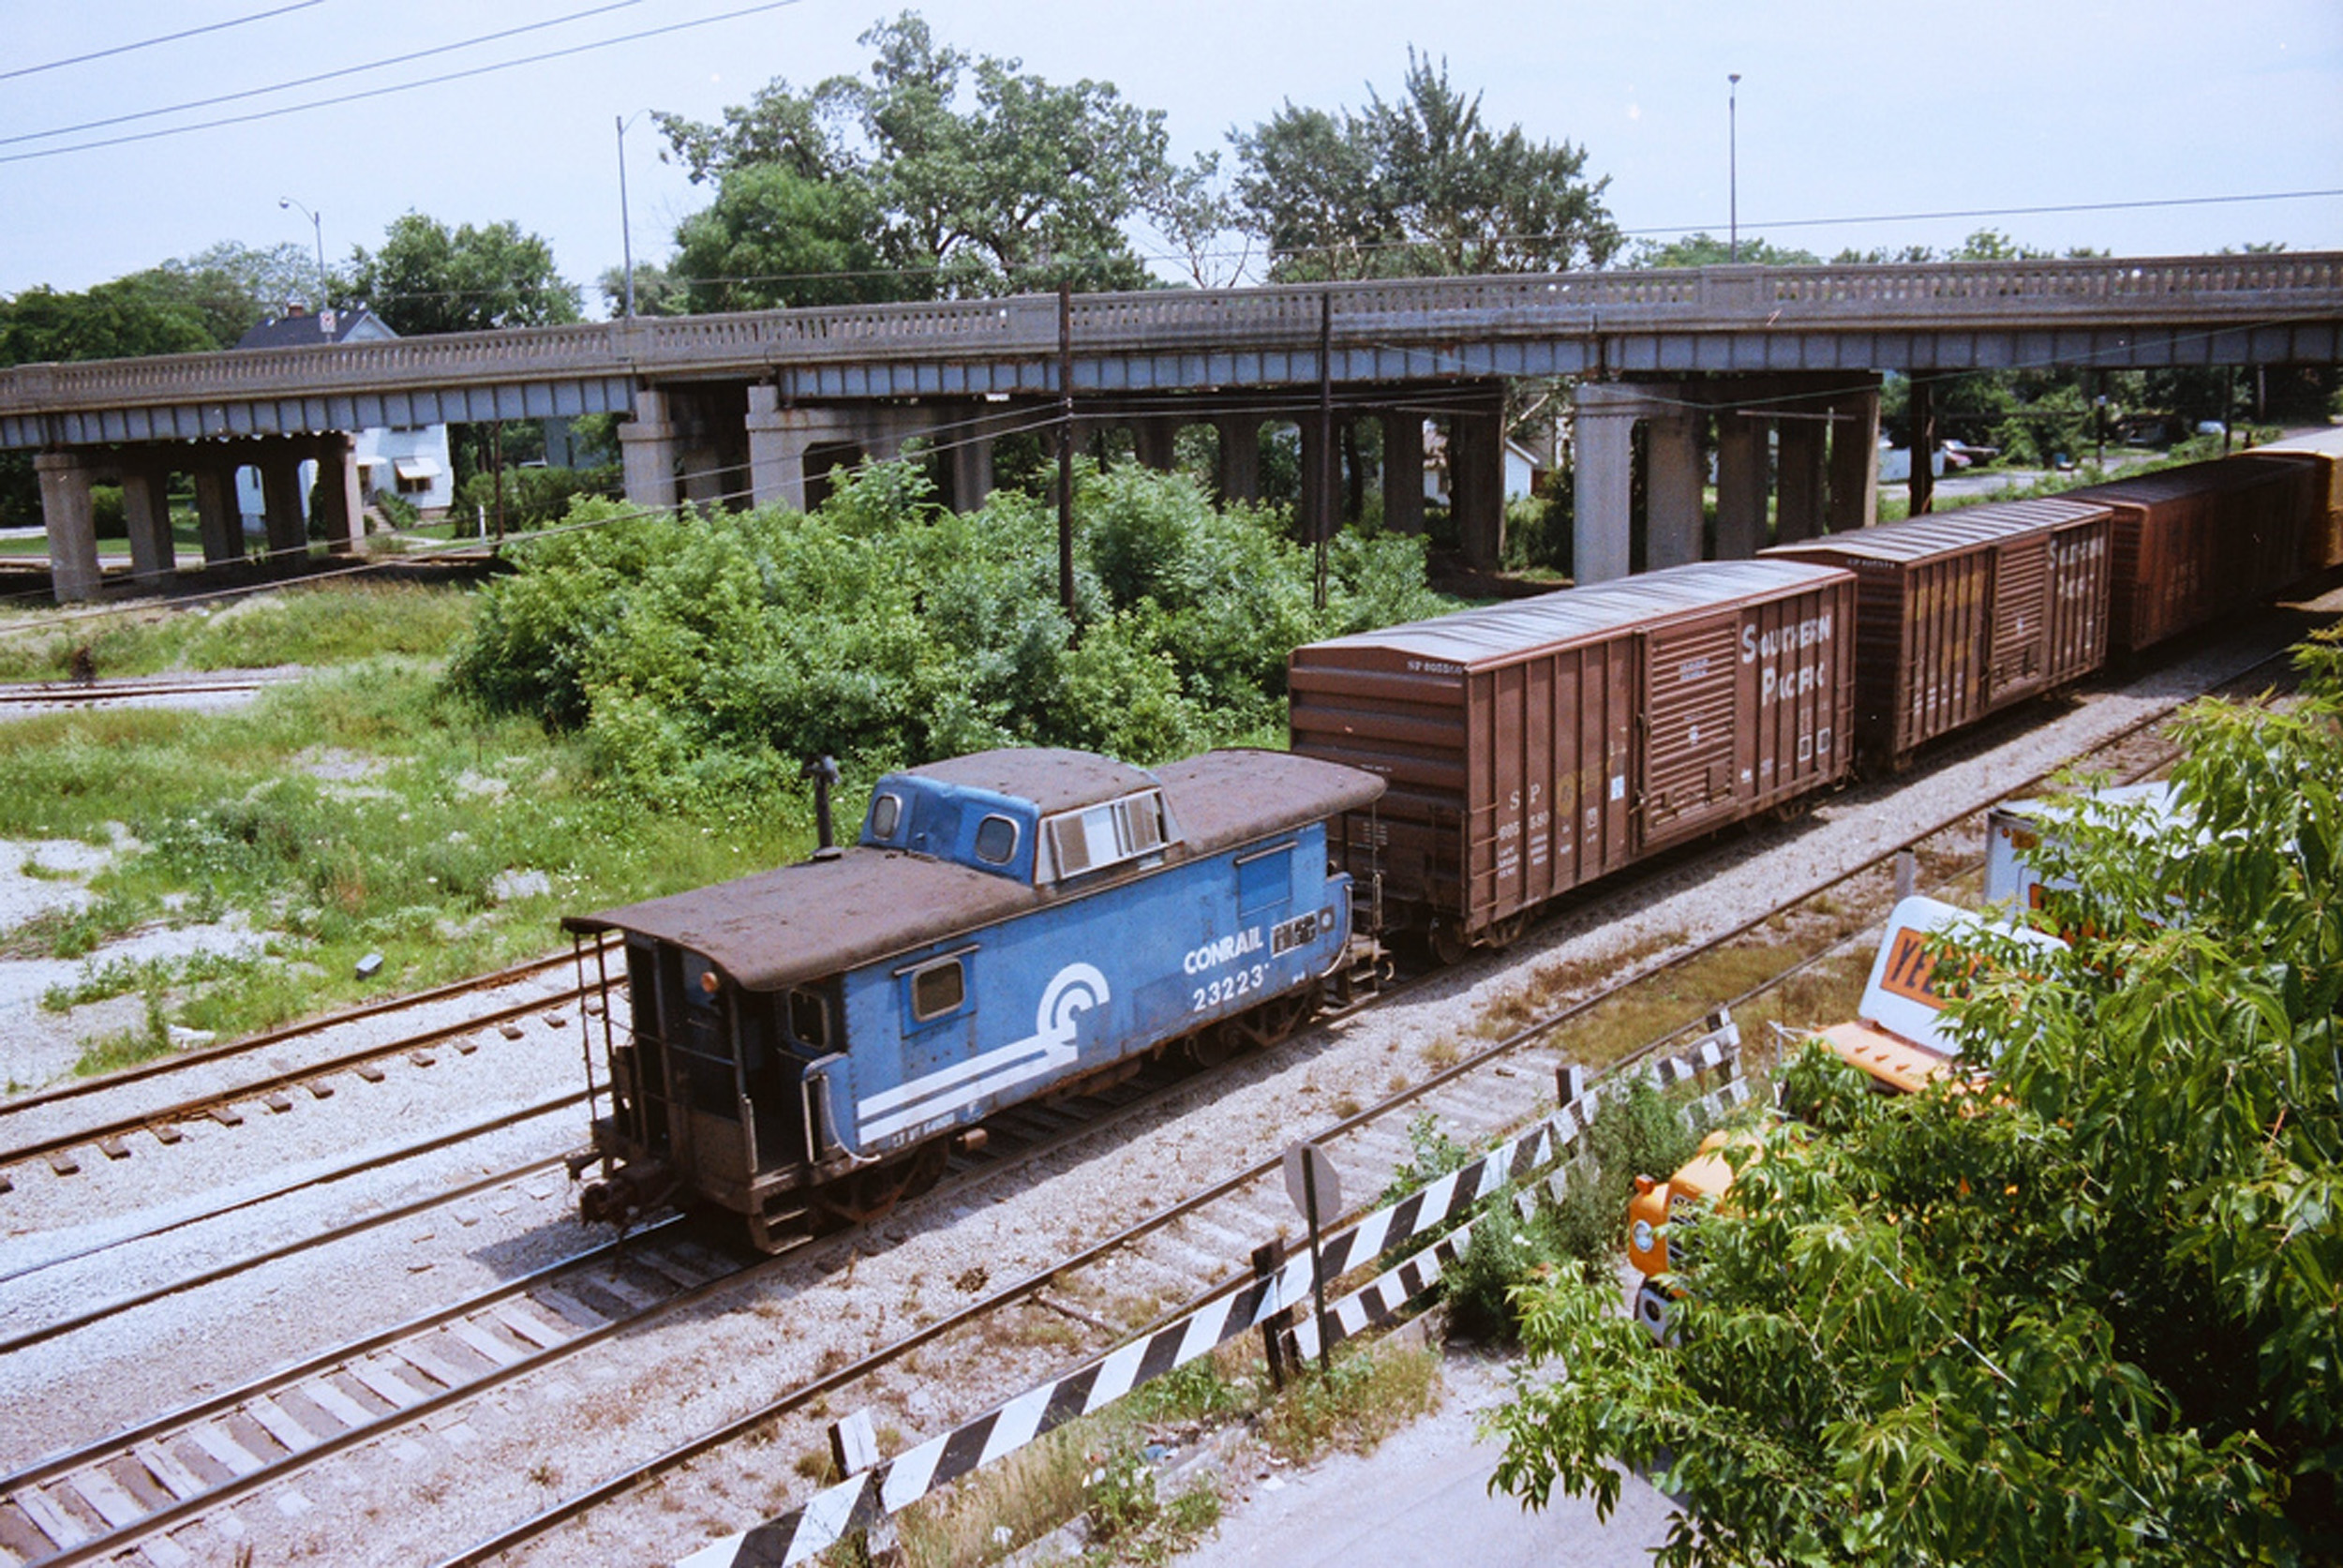
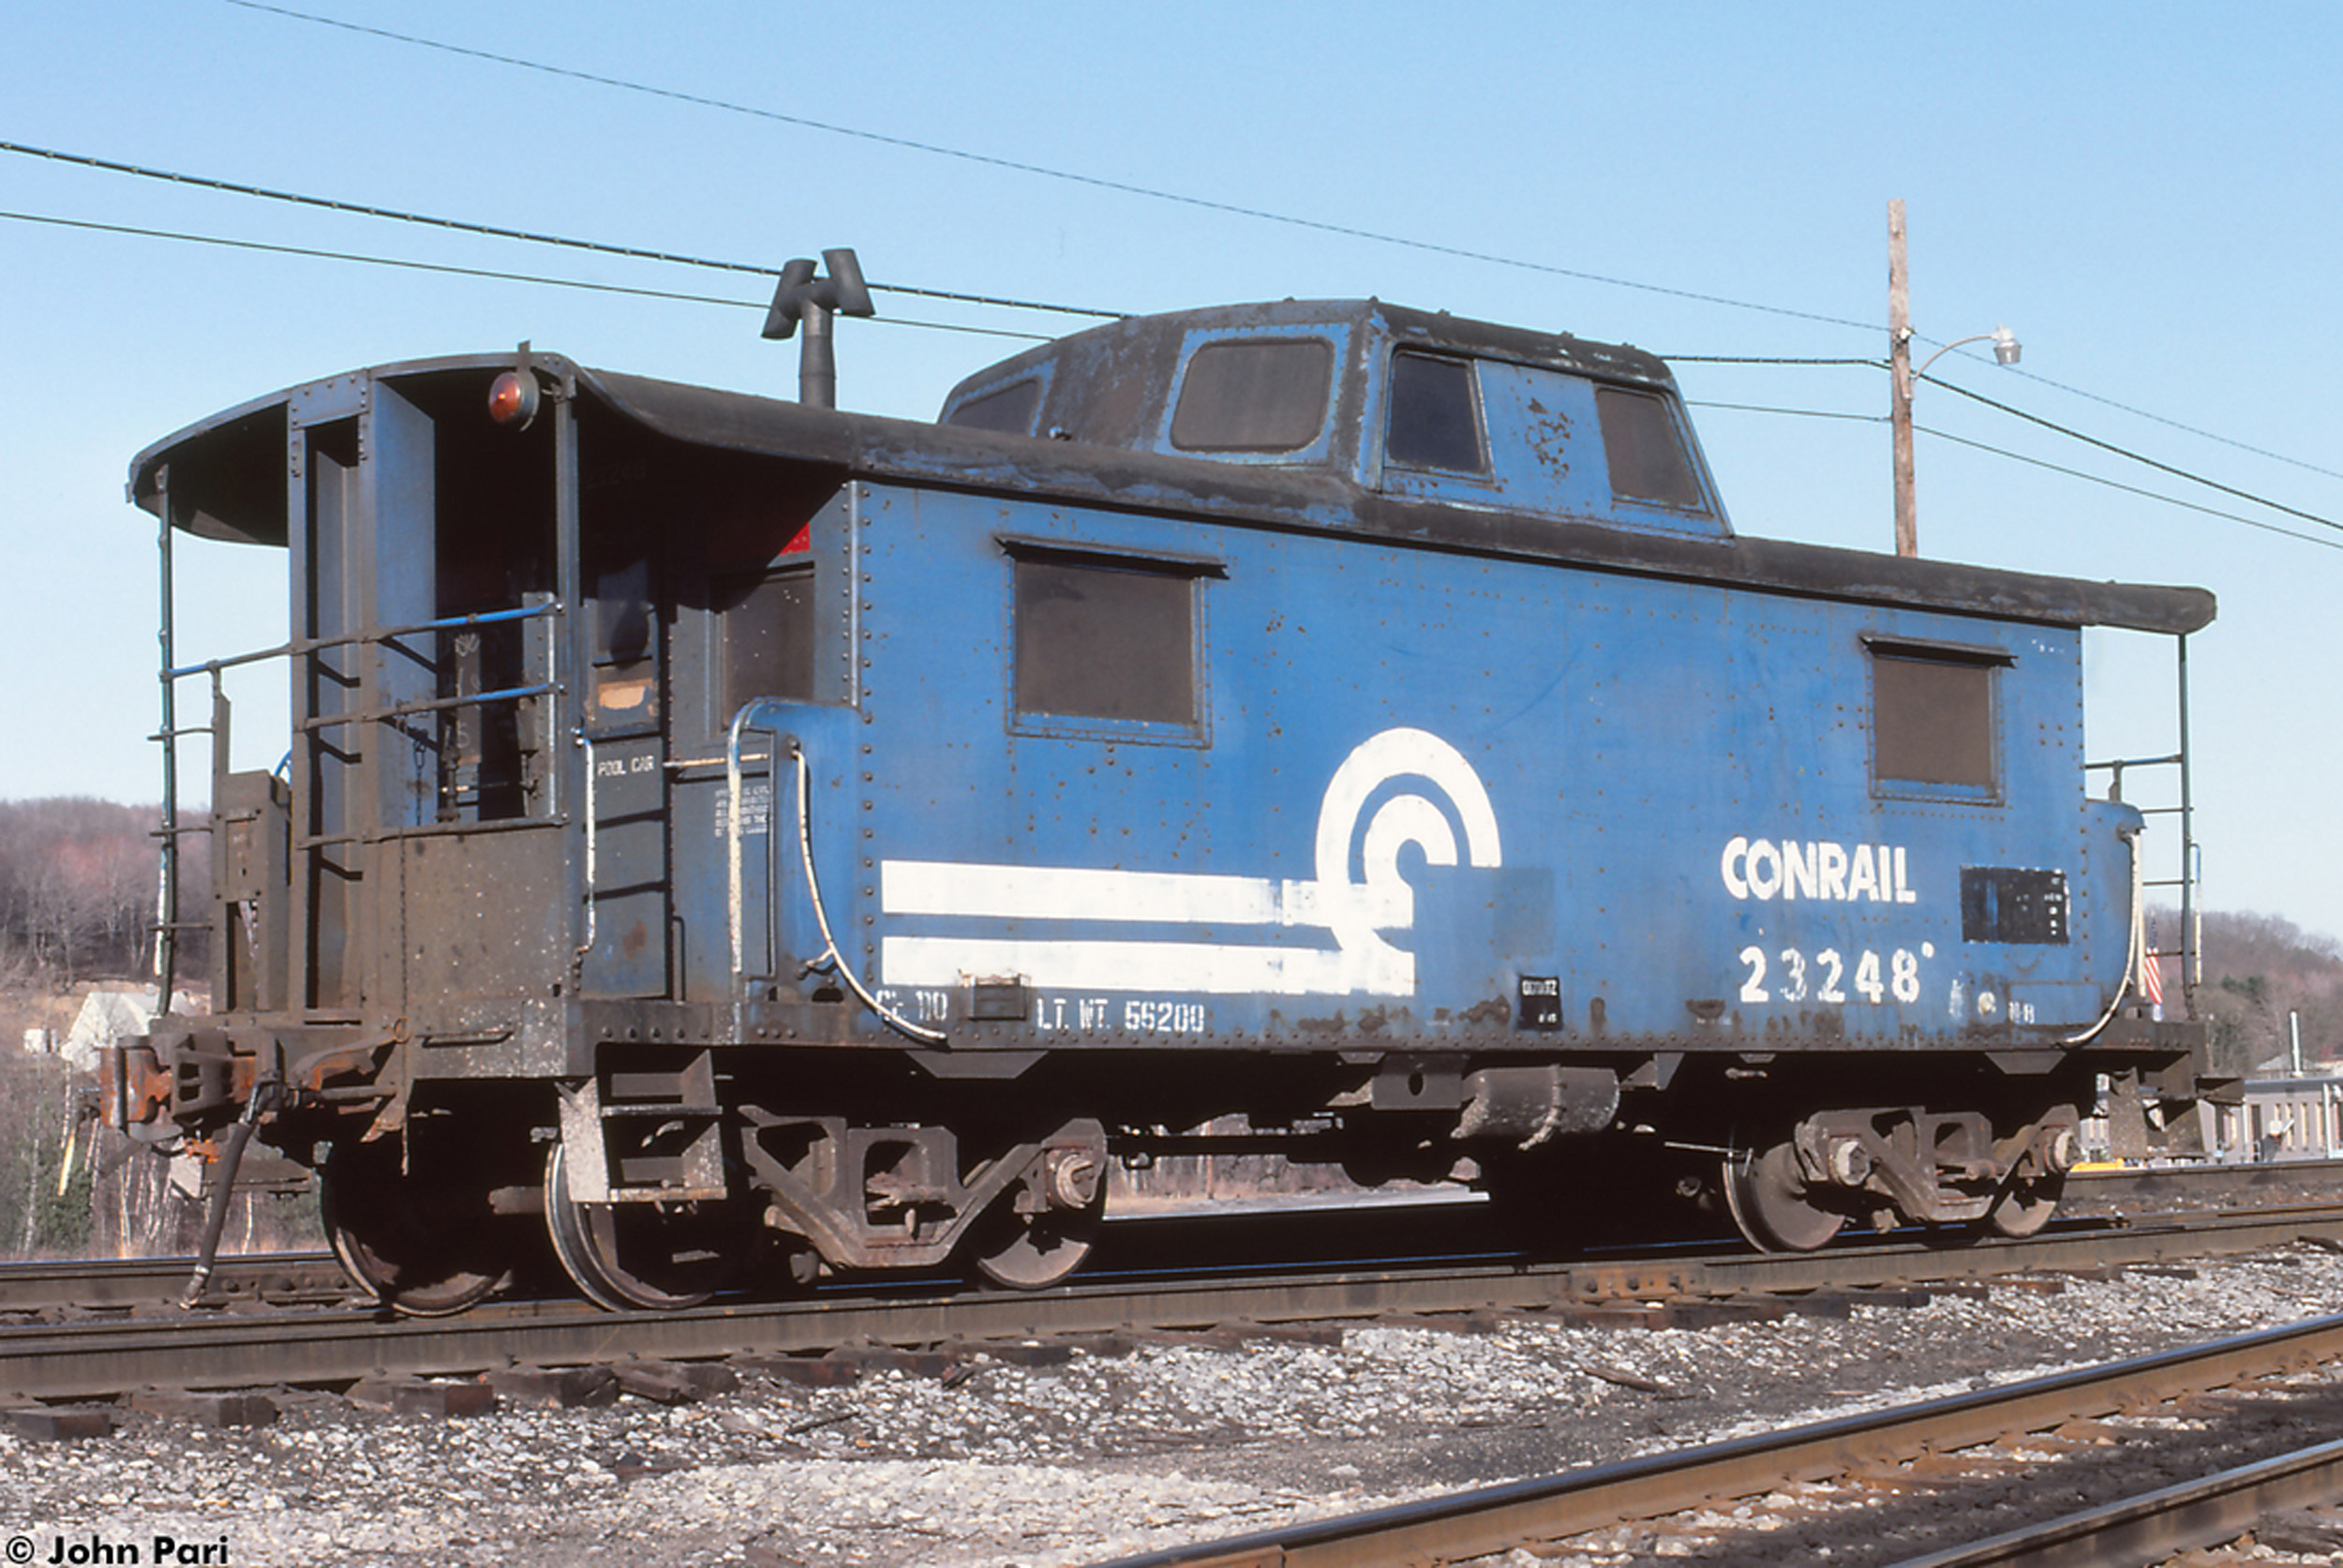
Conrail was a bit loose on standardized paint jobs. They varied
greatly. There is a large Conrail logo version I did not like as much.
|
|


In
spring 2022 a number of Overland GP38-2 and SD40-2 started appearing for sale.
This continued for a year, including the “rare - most correct for Conrail”
OMI1740. I now have 3 of the 15 made. And so became my Conrail and “modern”
modeling binge, which is where the N8 comes in. It only took me 28 years to
want and get another one, to be painted for Conrail this time. Conrail spanned
a long time. I am not that era specific with my modern.
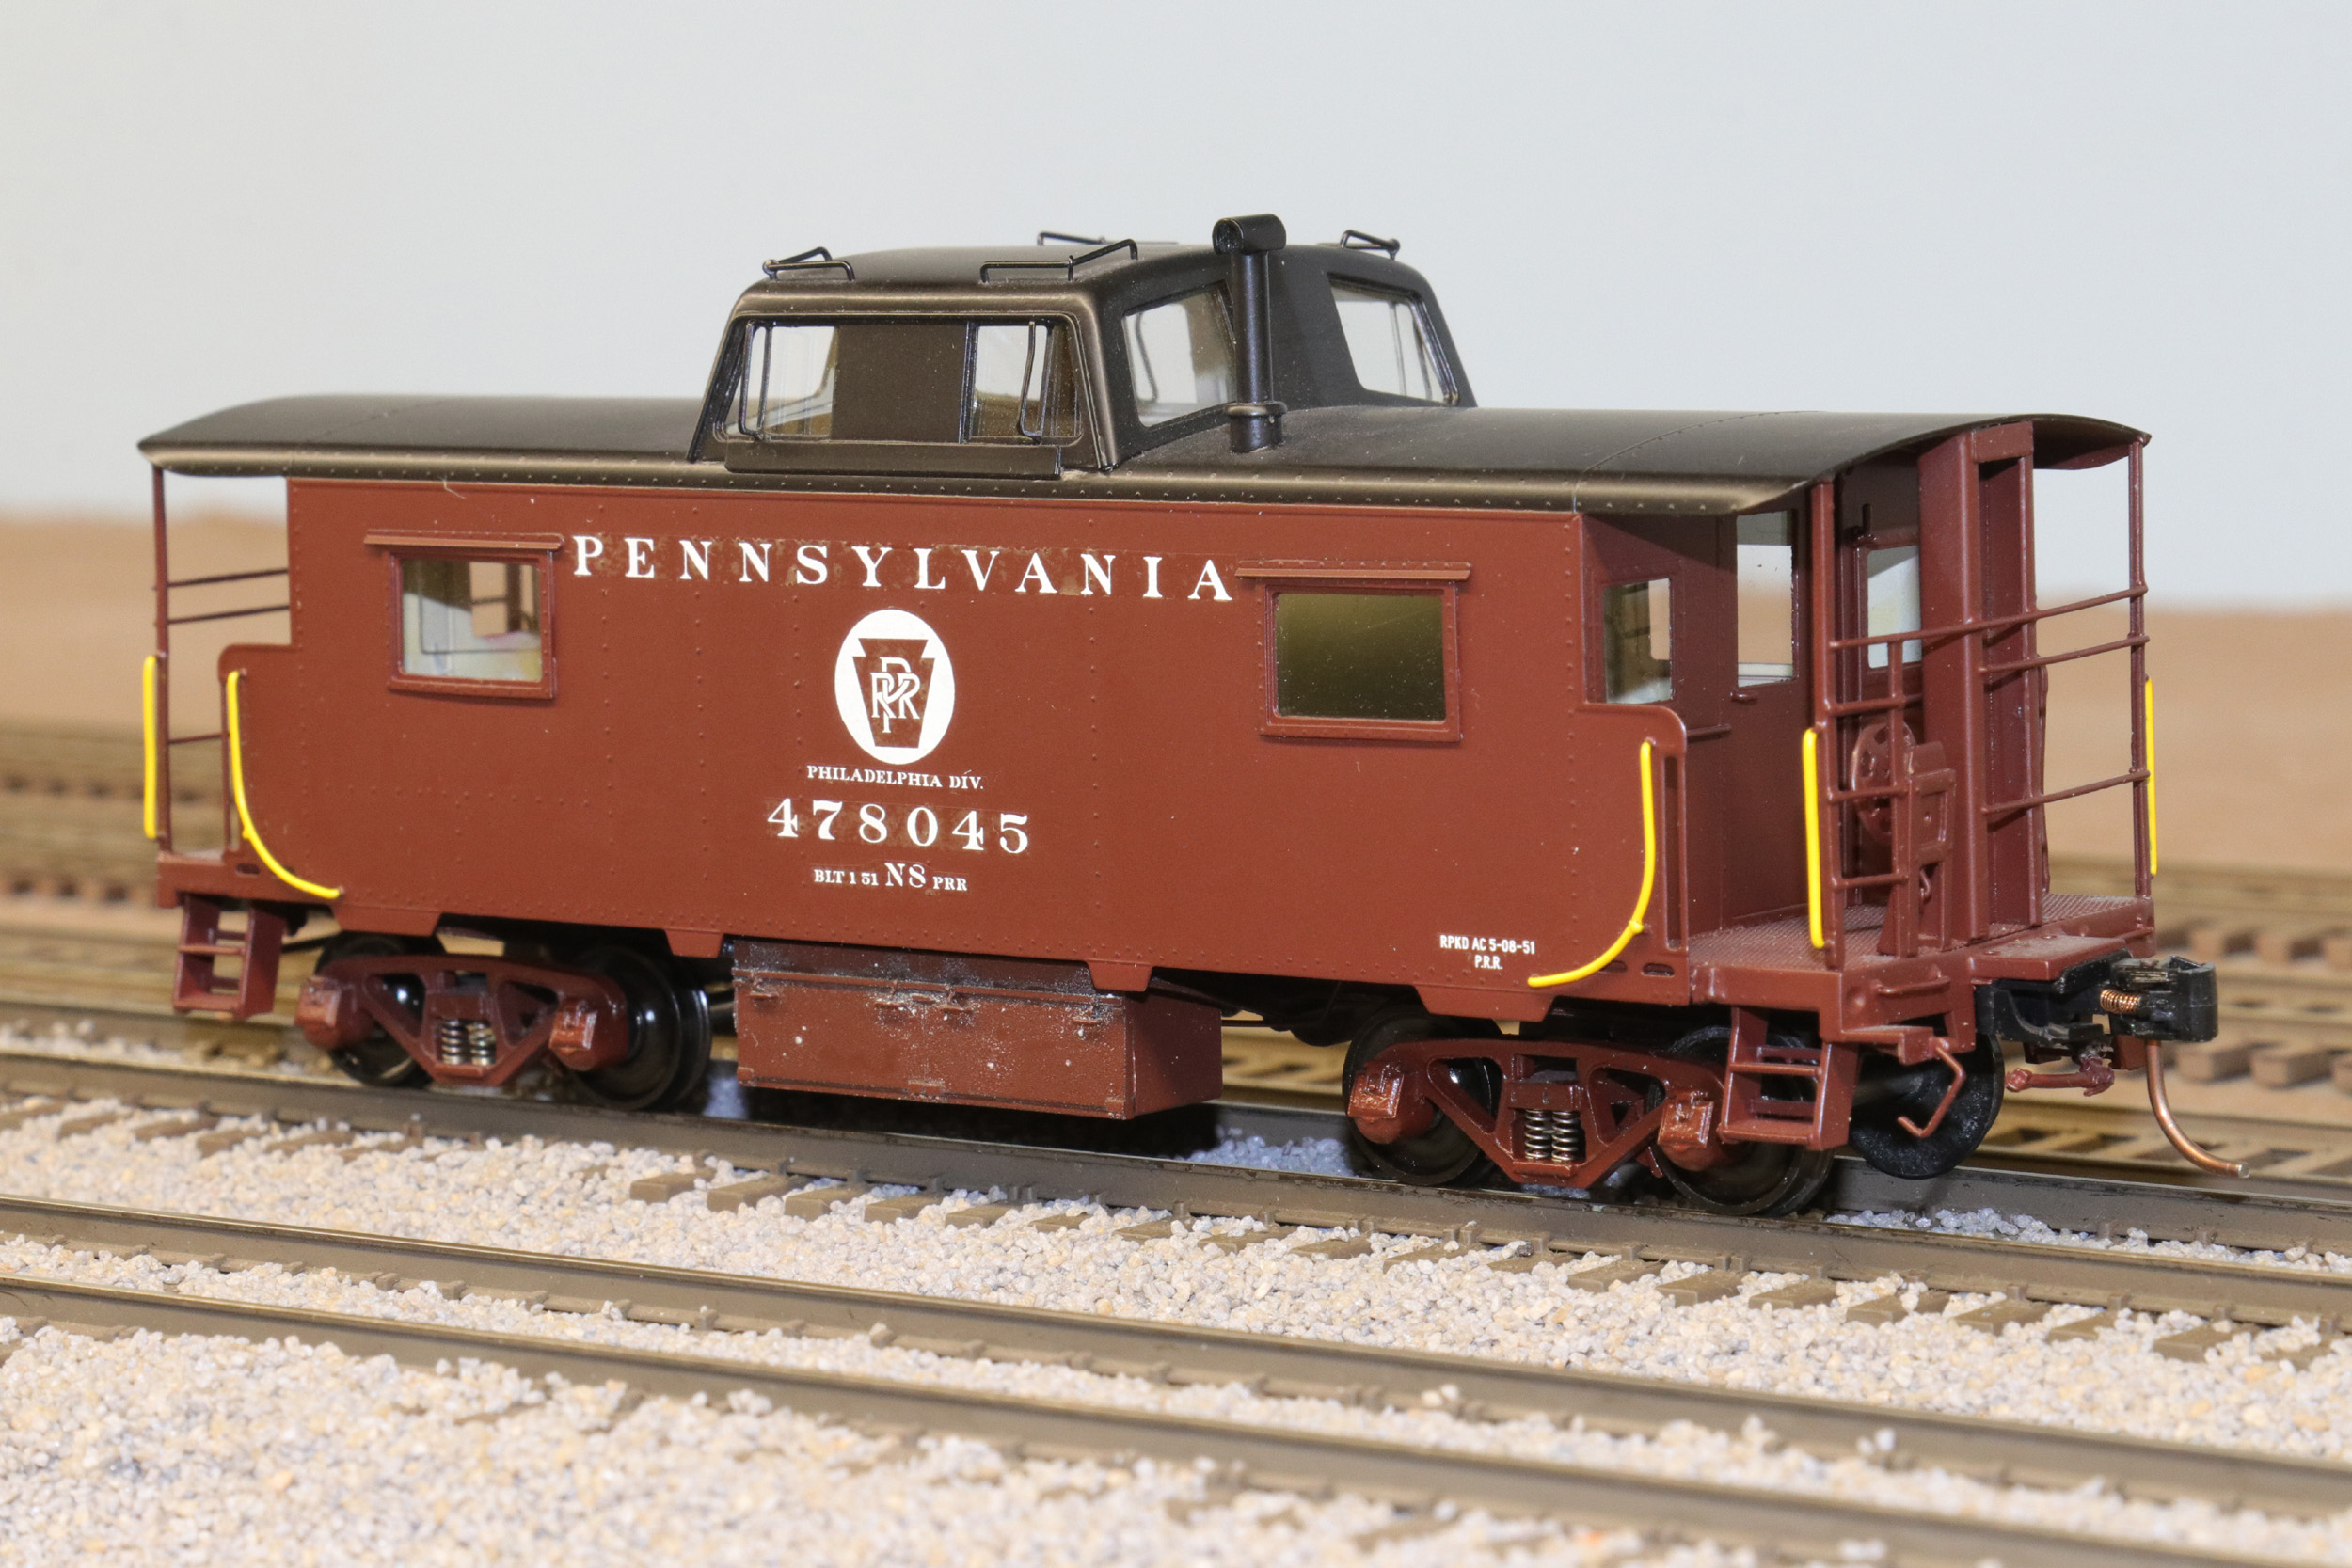
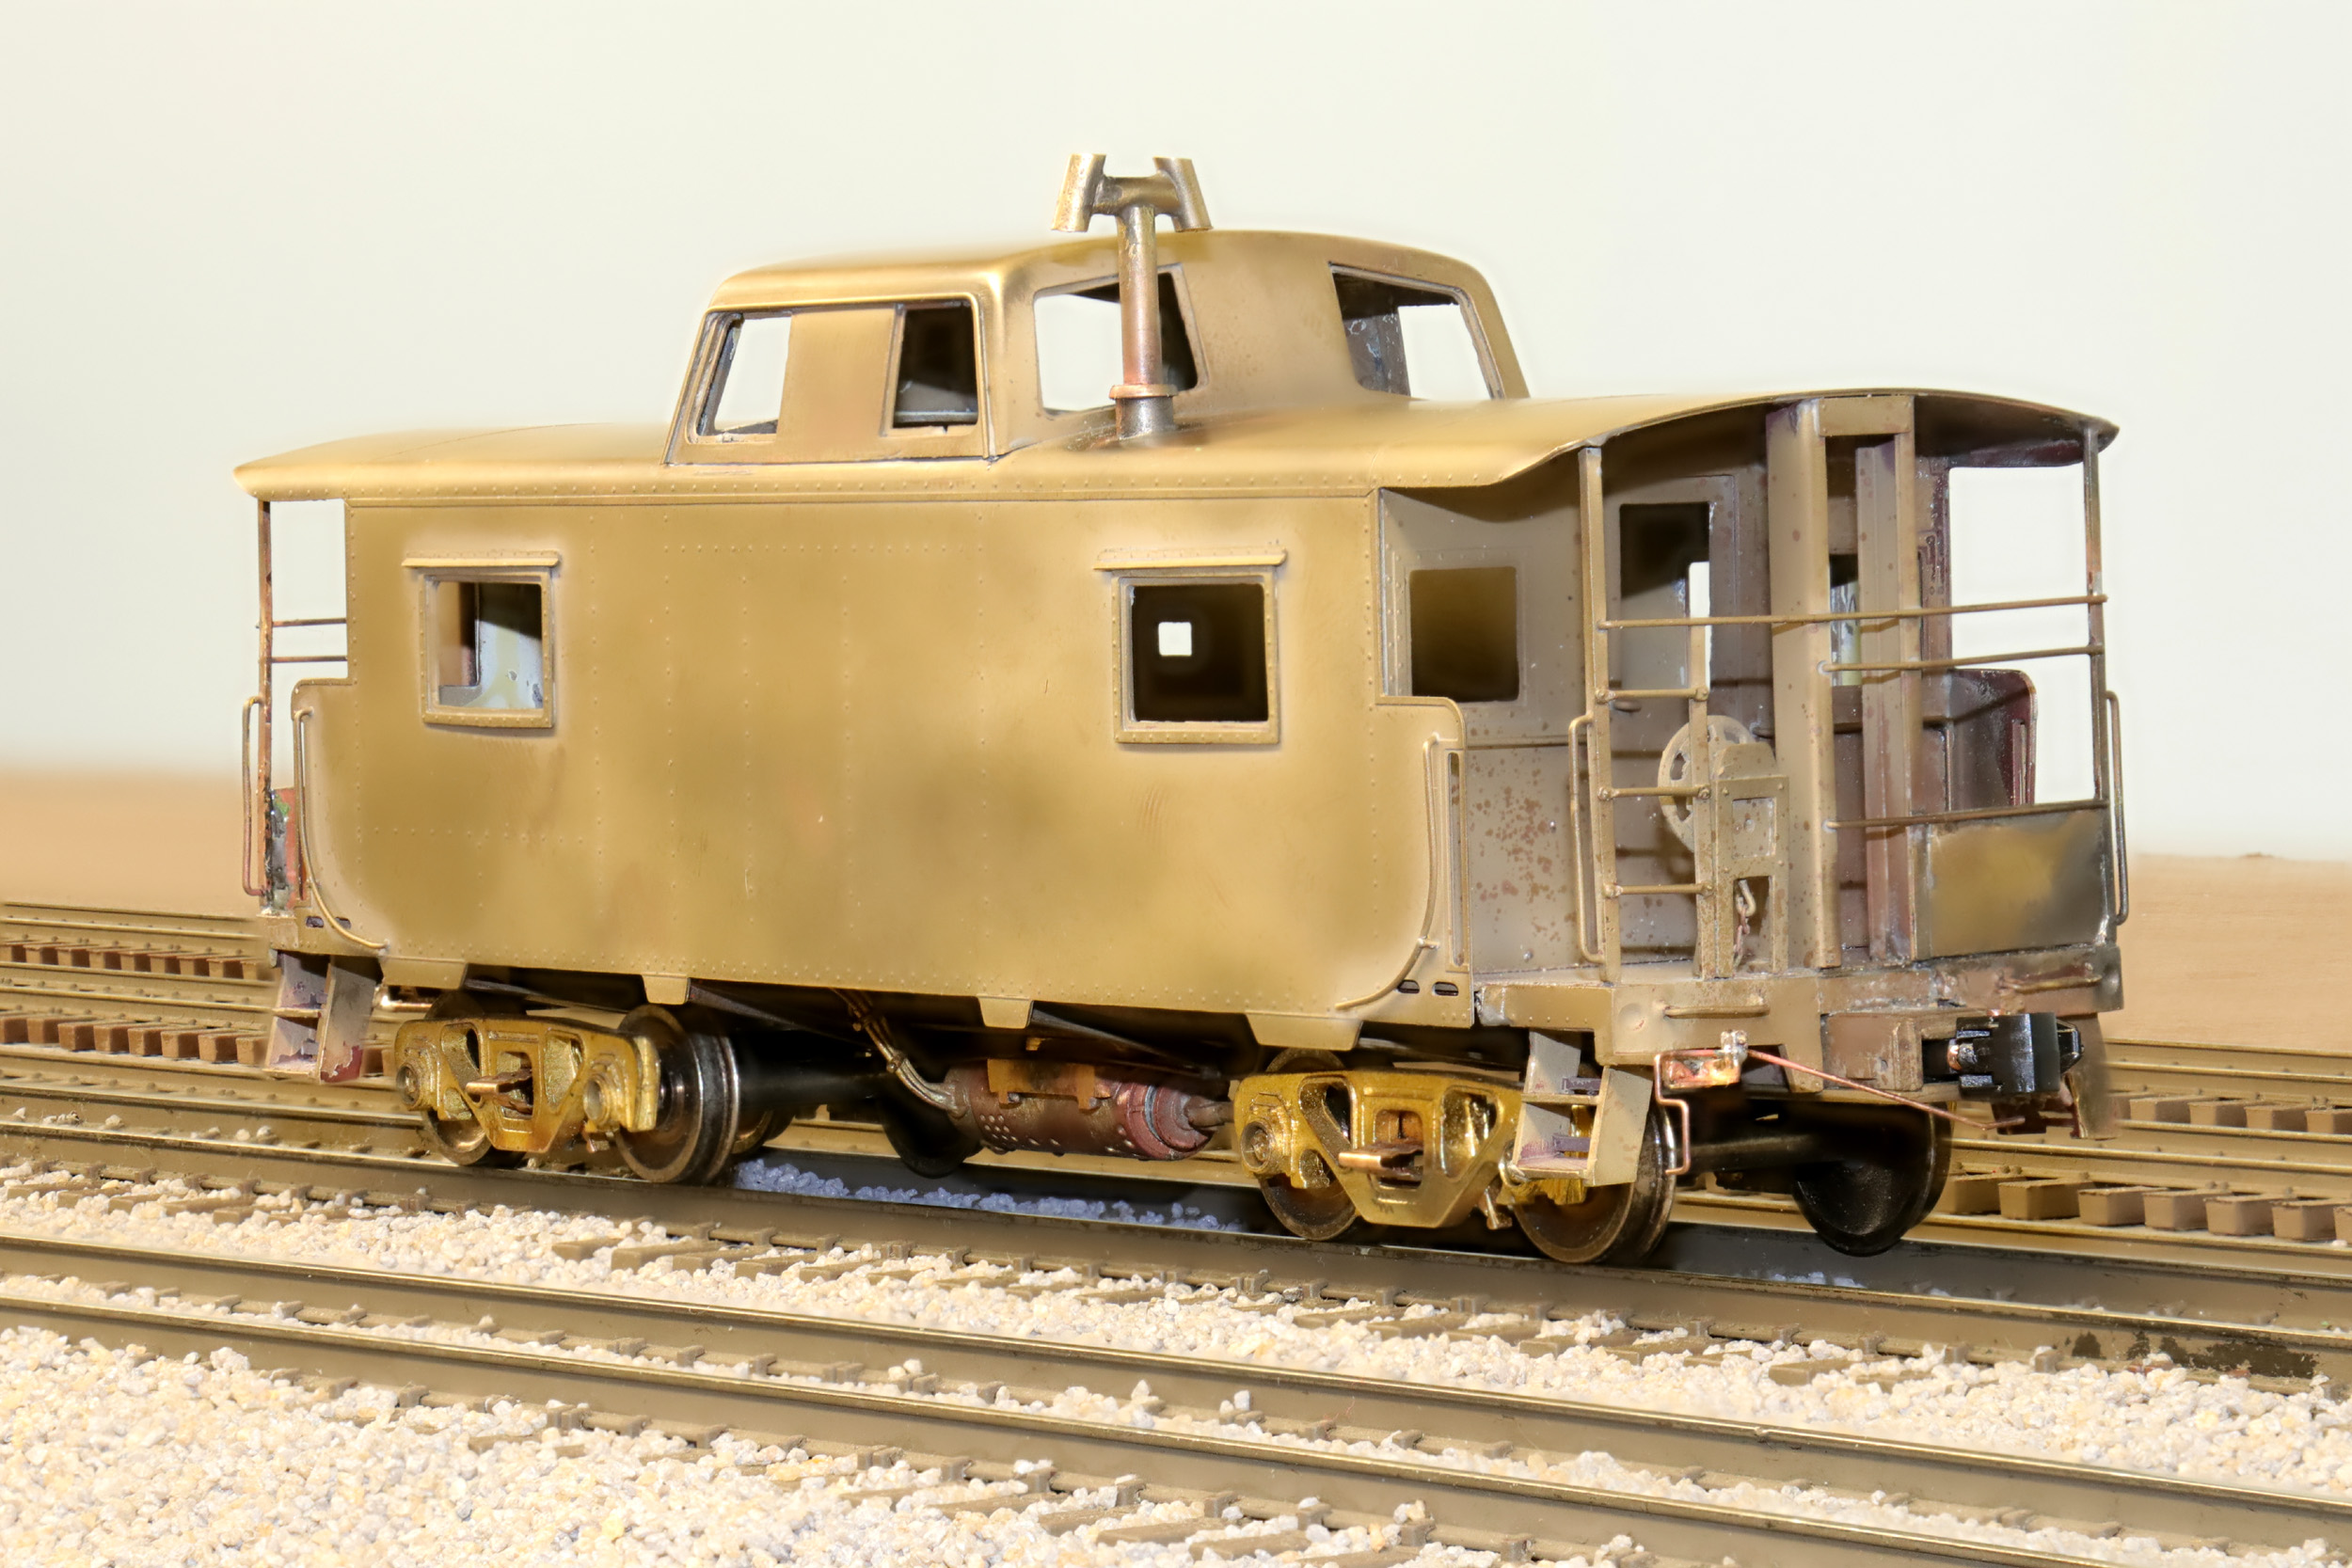
This
is a Southwind Models PRR N8 “Cabin Car” SWM-C6 released in 1995. All of them
made had the PRR Trainphone except for 10 models made without the antennas and
roofwalks for Penn Central and Conrail. None of the 10 should have been factory
painted for PRR but all 10 were. I bought 5) N8 in 1995, 3 of which were
without the antennas and roofwalks. I added the roofwalks back to those 3
models and painted them for PRR. To the best of my knowledge they are the only
S Scale N8 painted correctly for PRR without the antennas but with the correct
roofwalks and full height ladders. So with this Conrail N8 project I now own 4
of the 10 made.
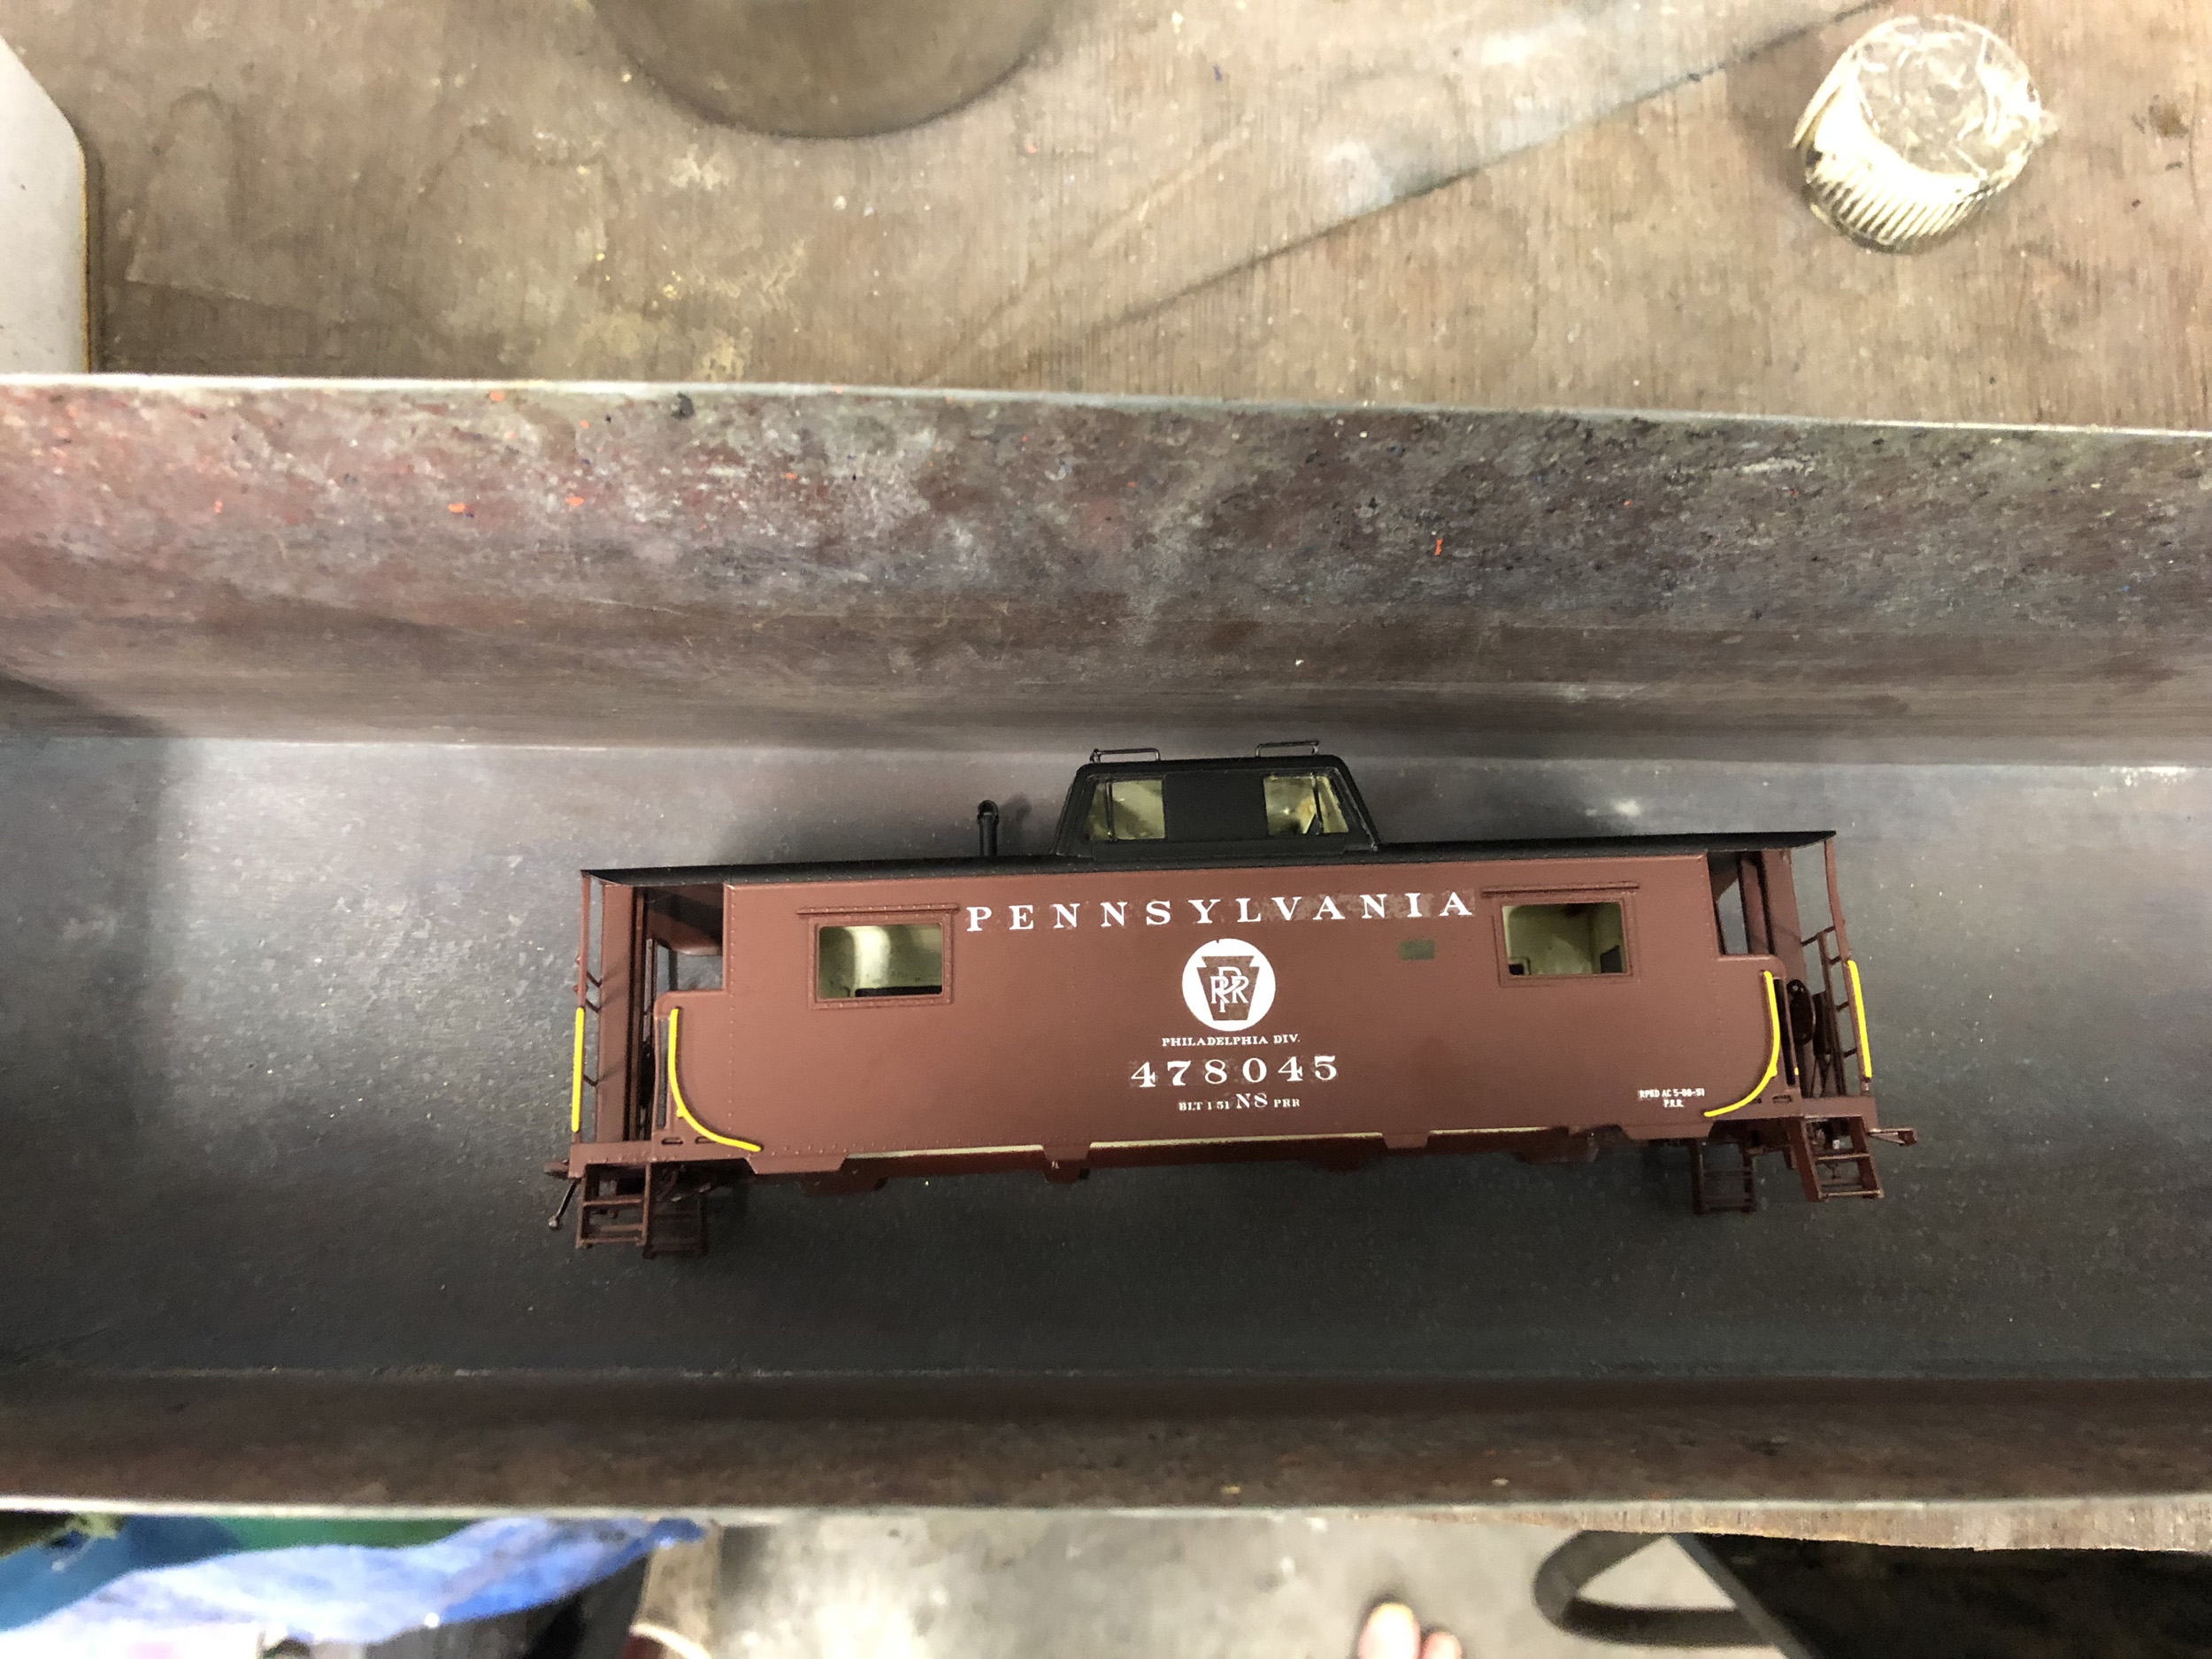
This
is the N8 as built and painted by Southwind right out of the box. It is very
wrong for PRR as shown.

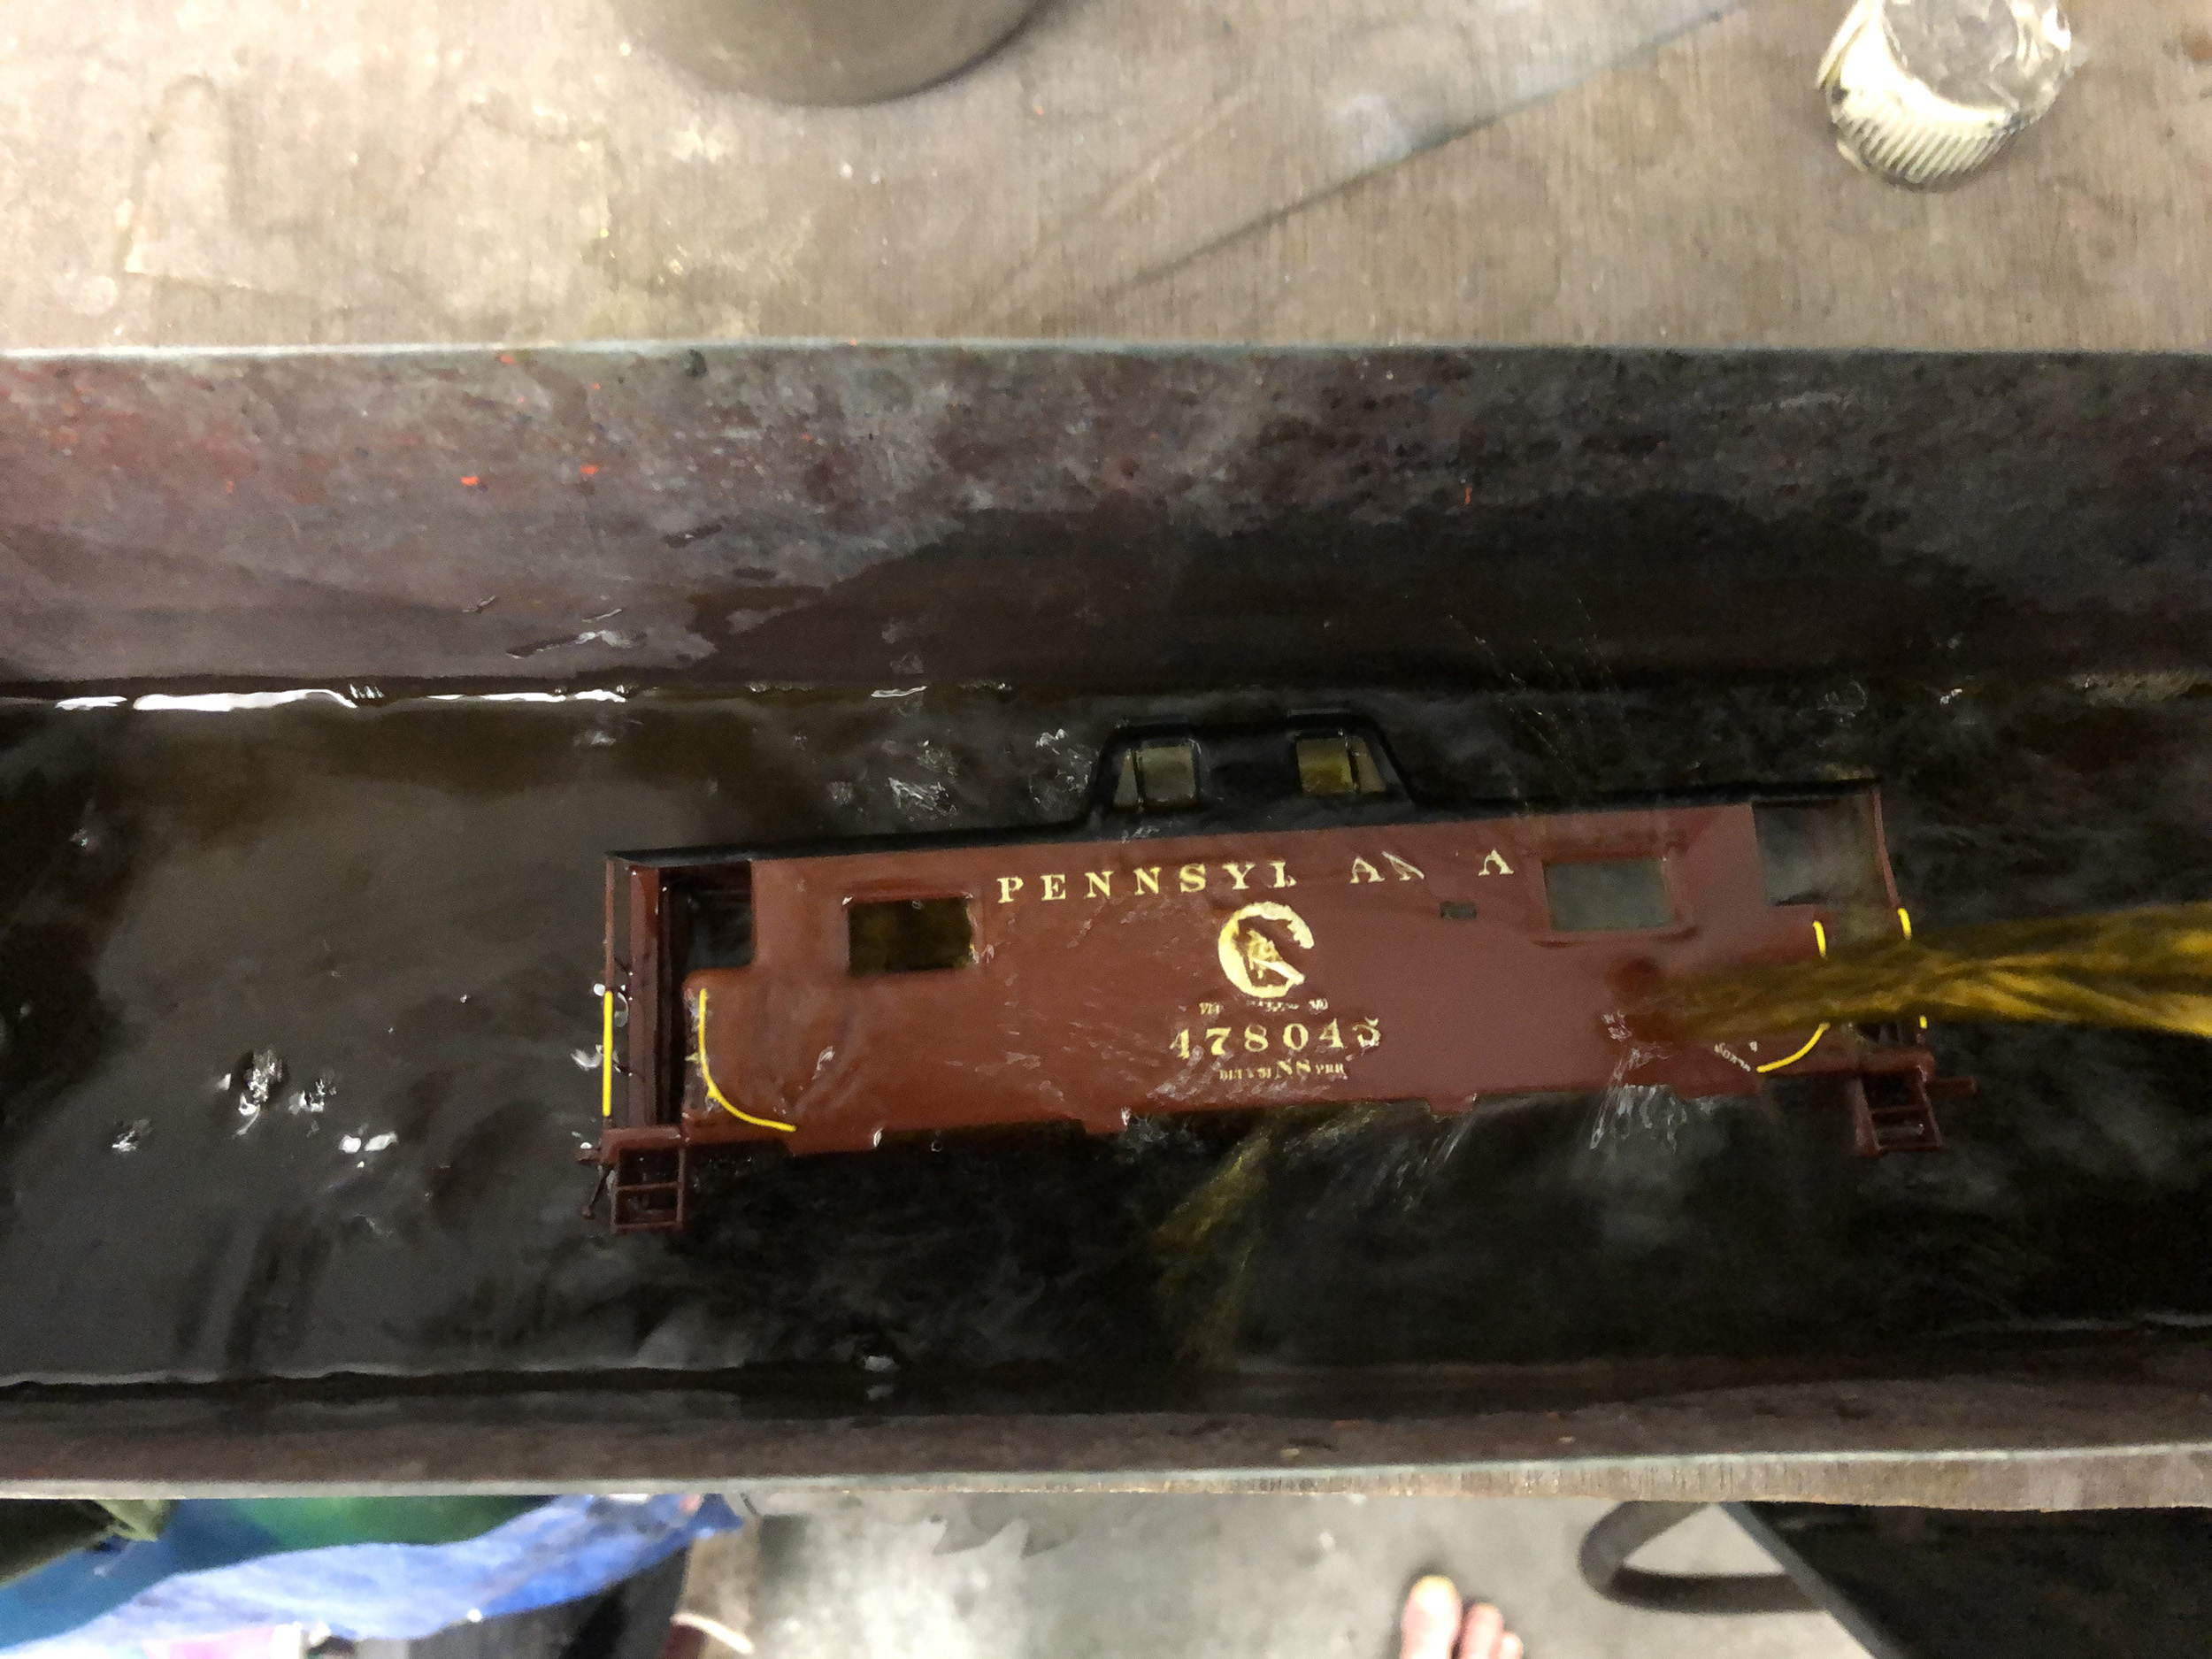
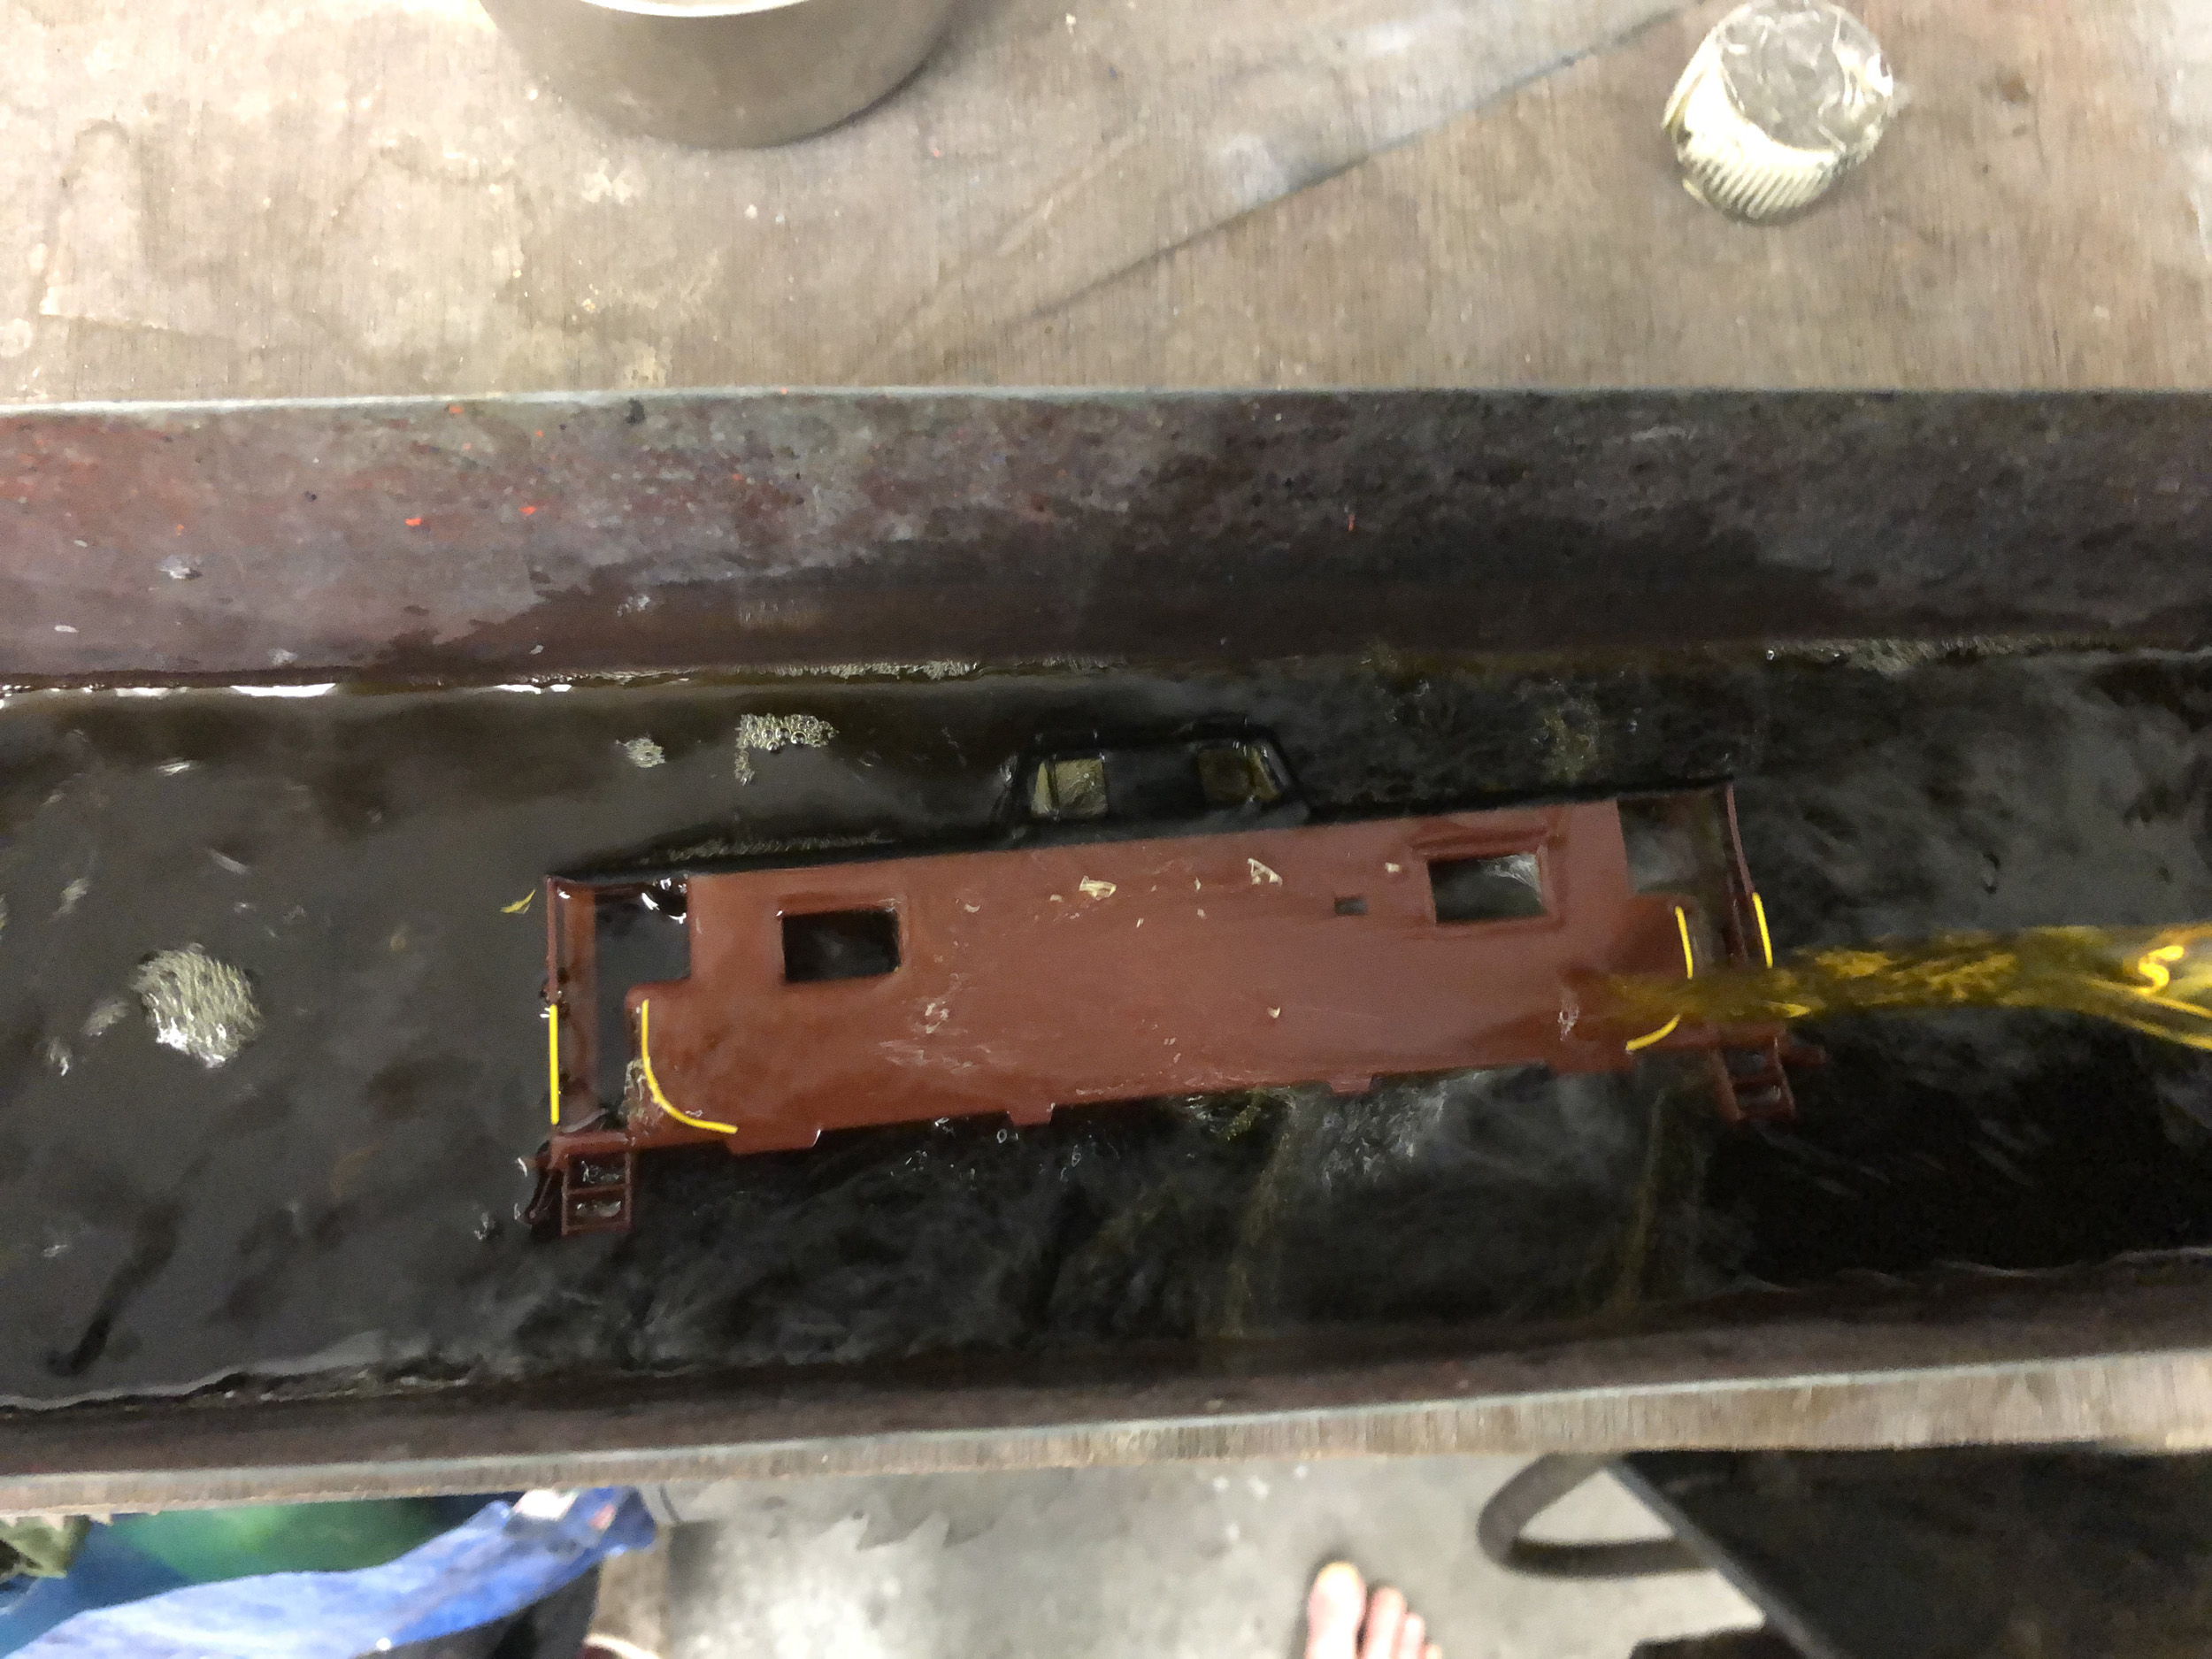
Blub Blub Blub
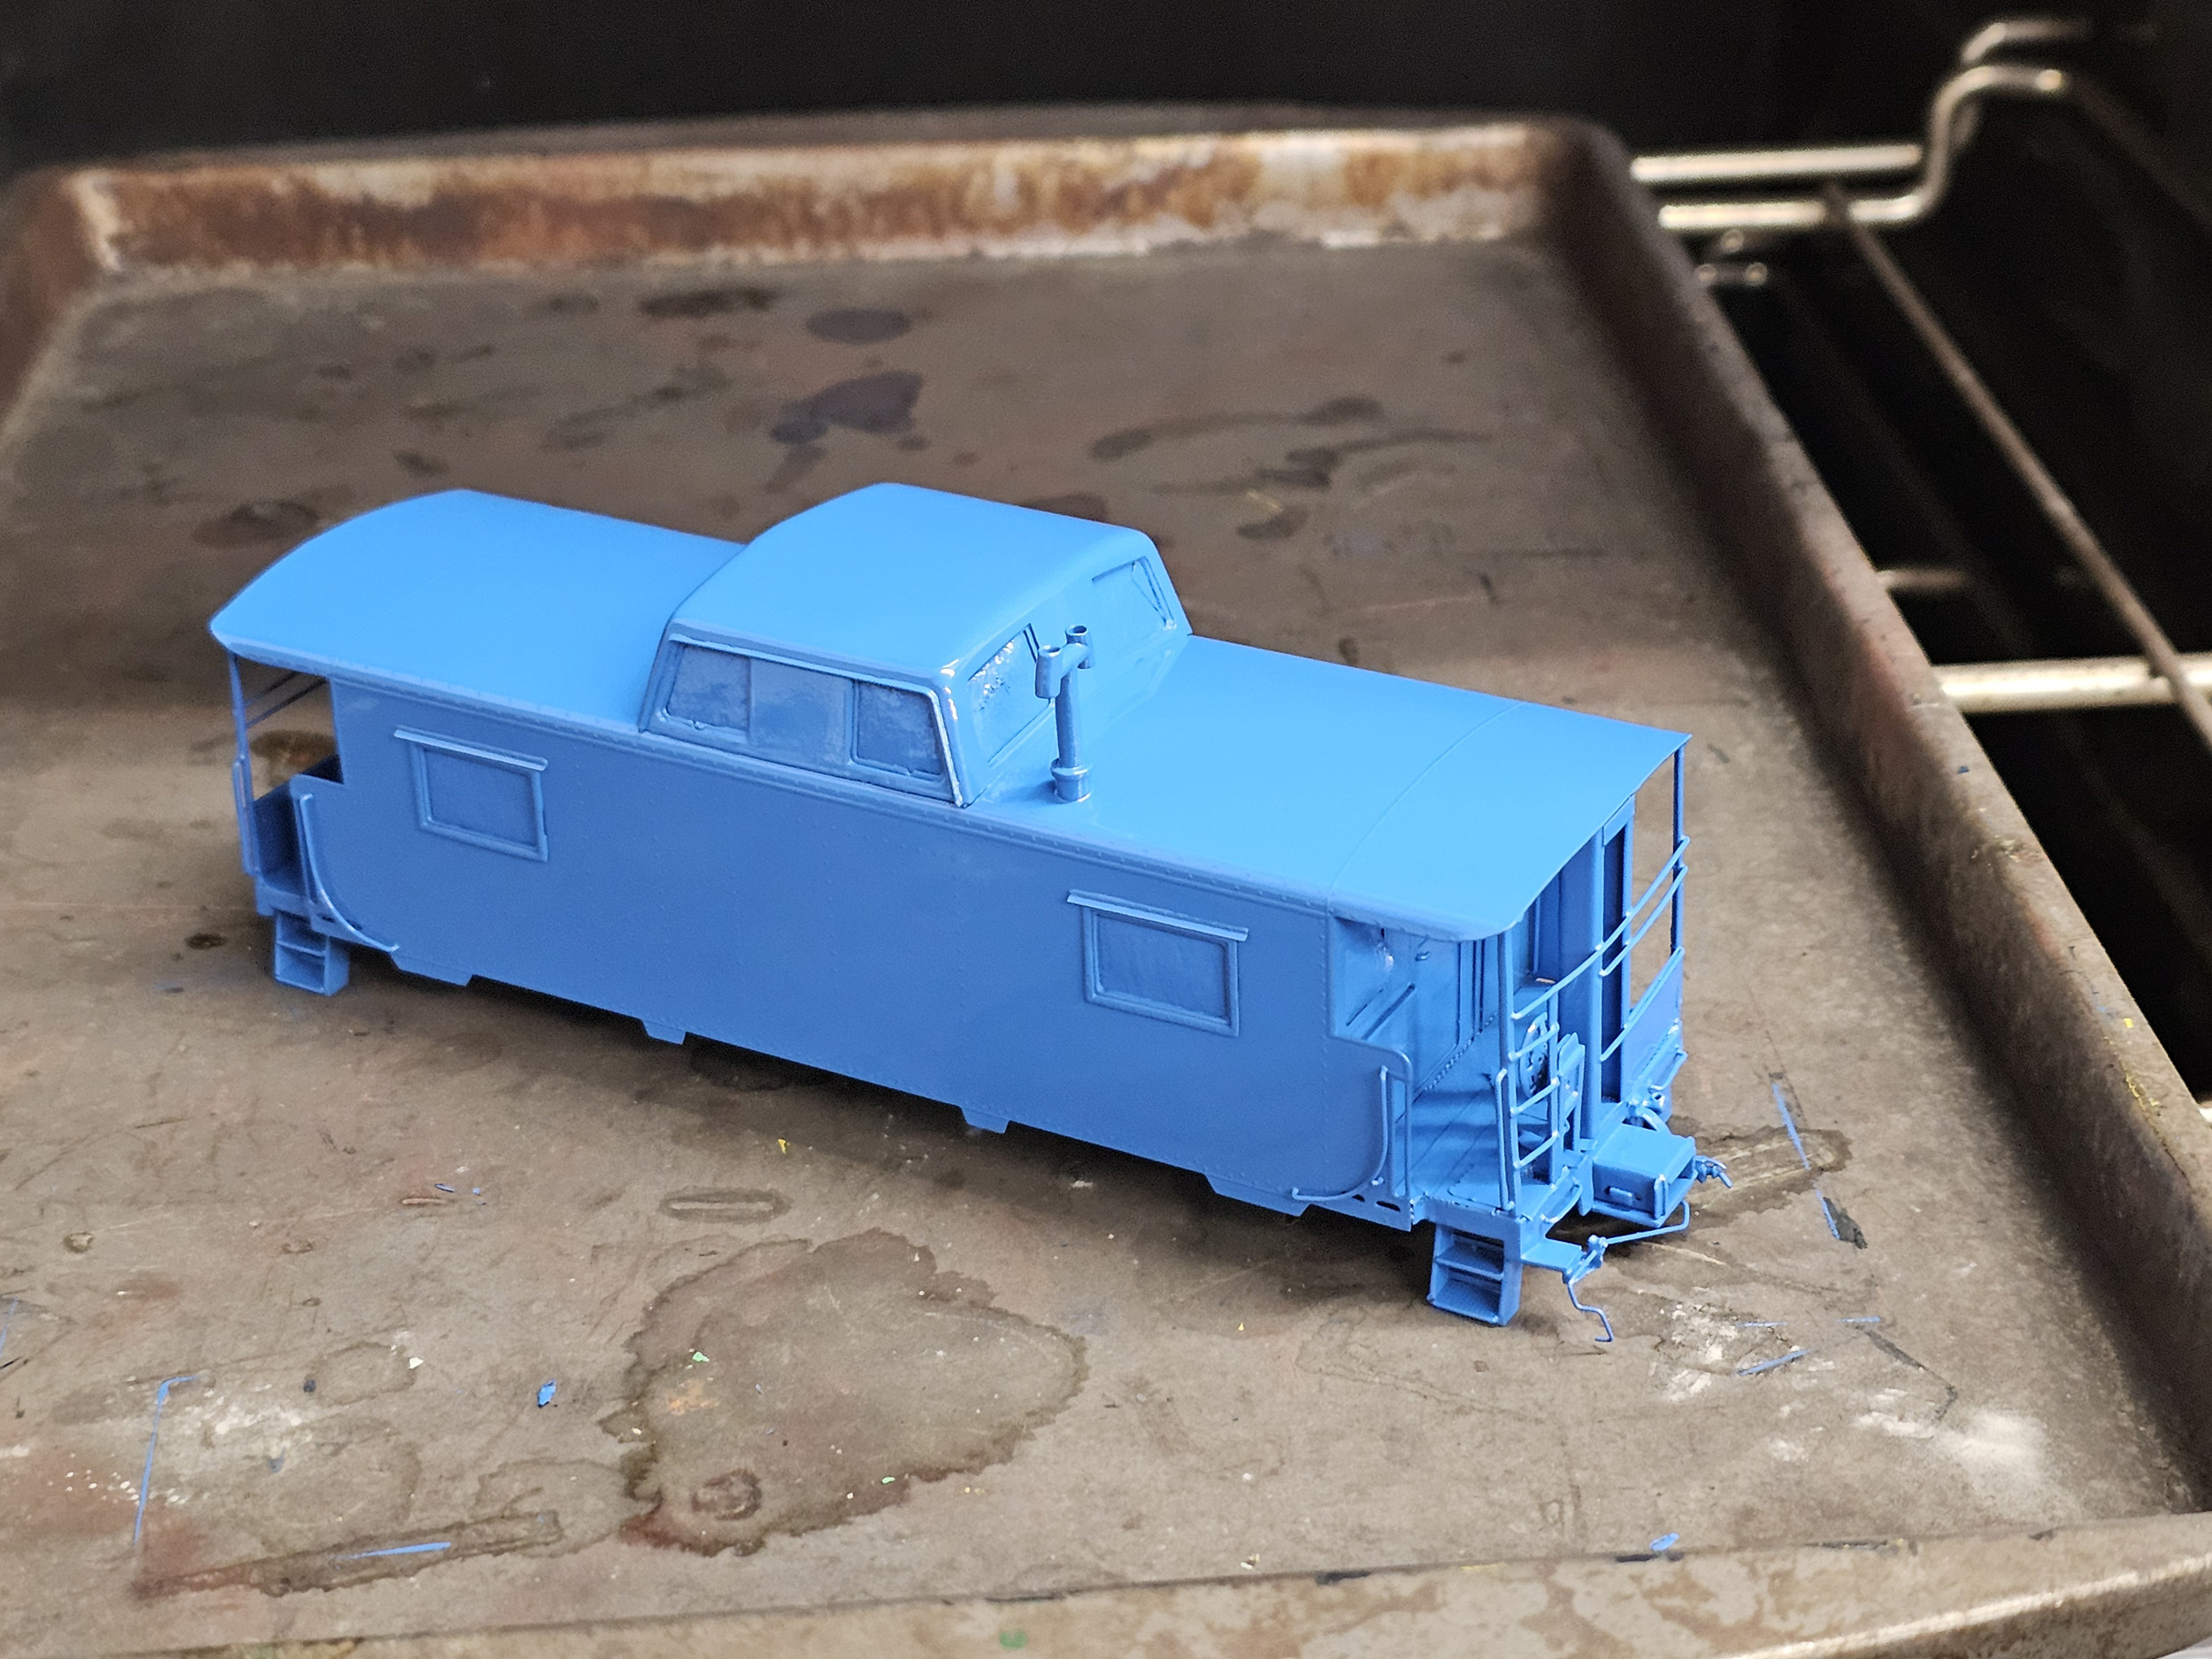
I use automotive lacquer thinner for stripper. It works very well most of the time. I clean out my airbrush with it too.
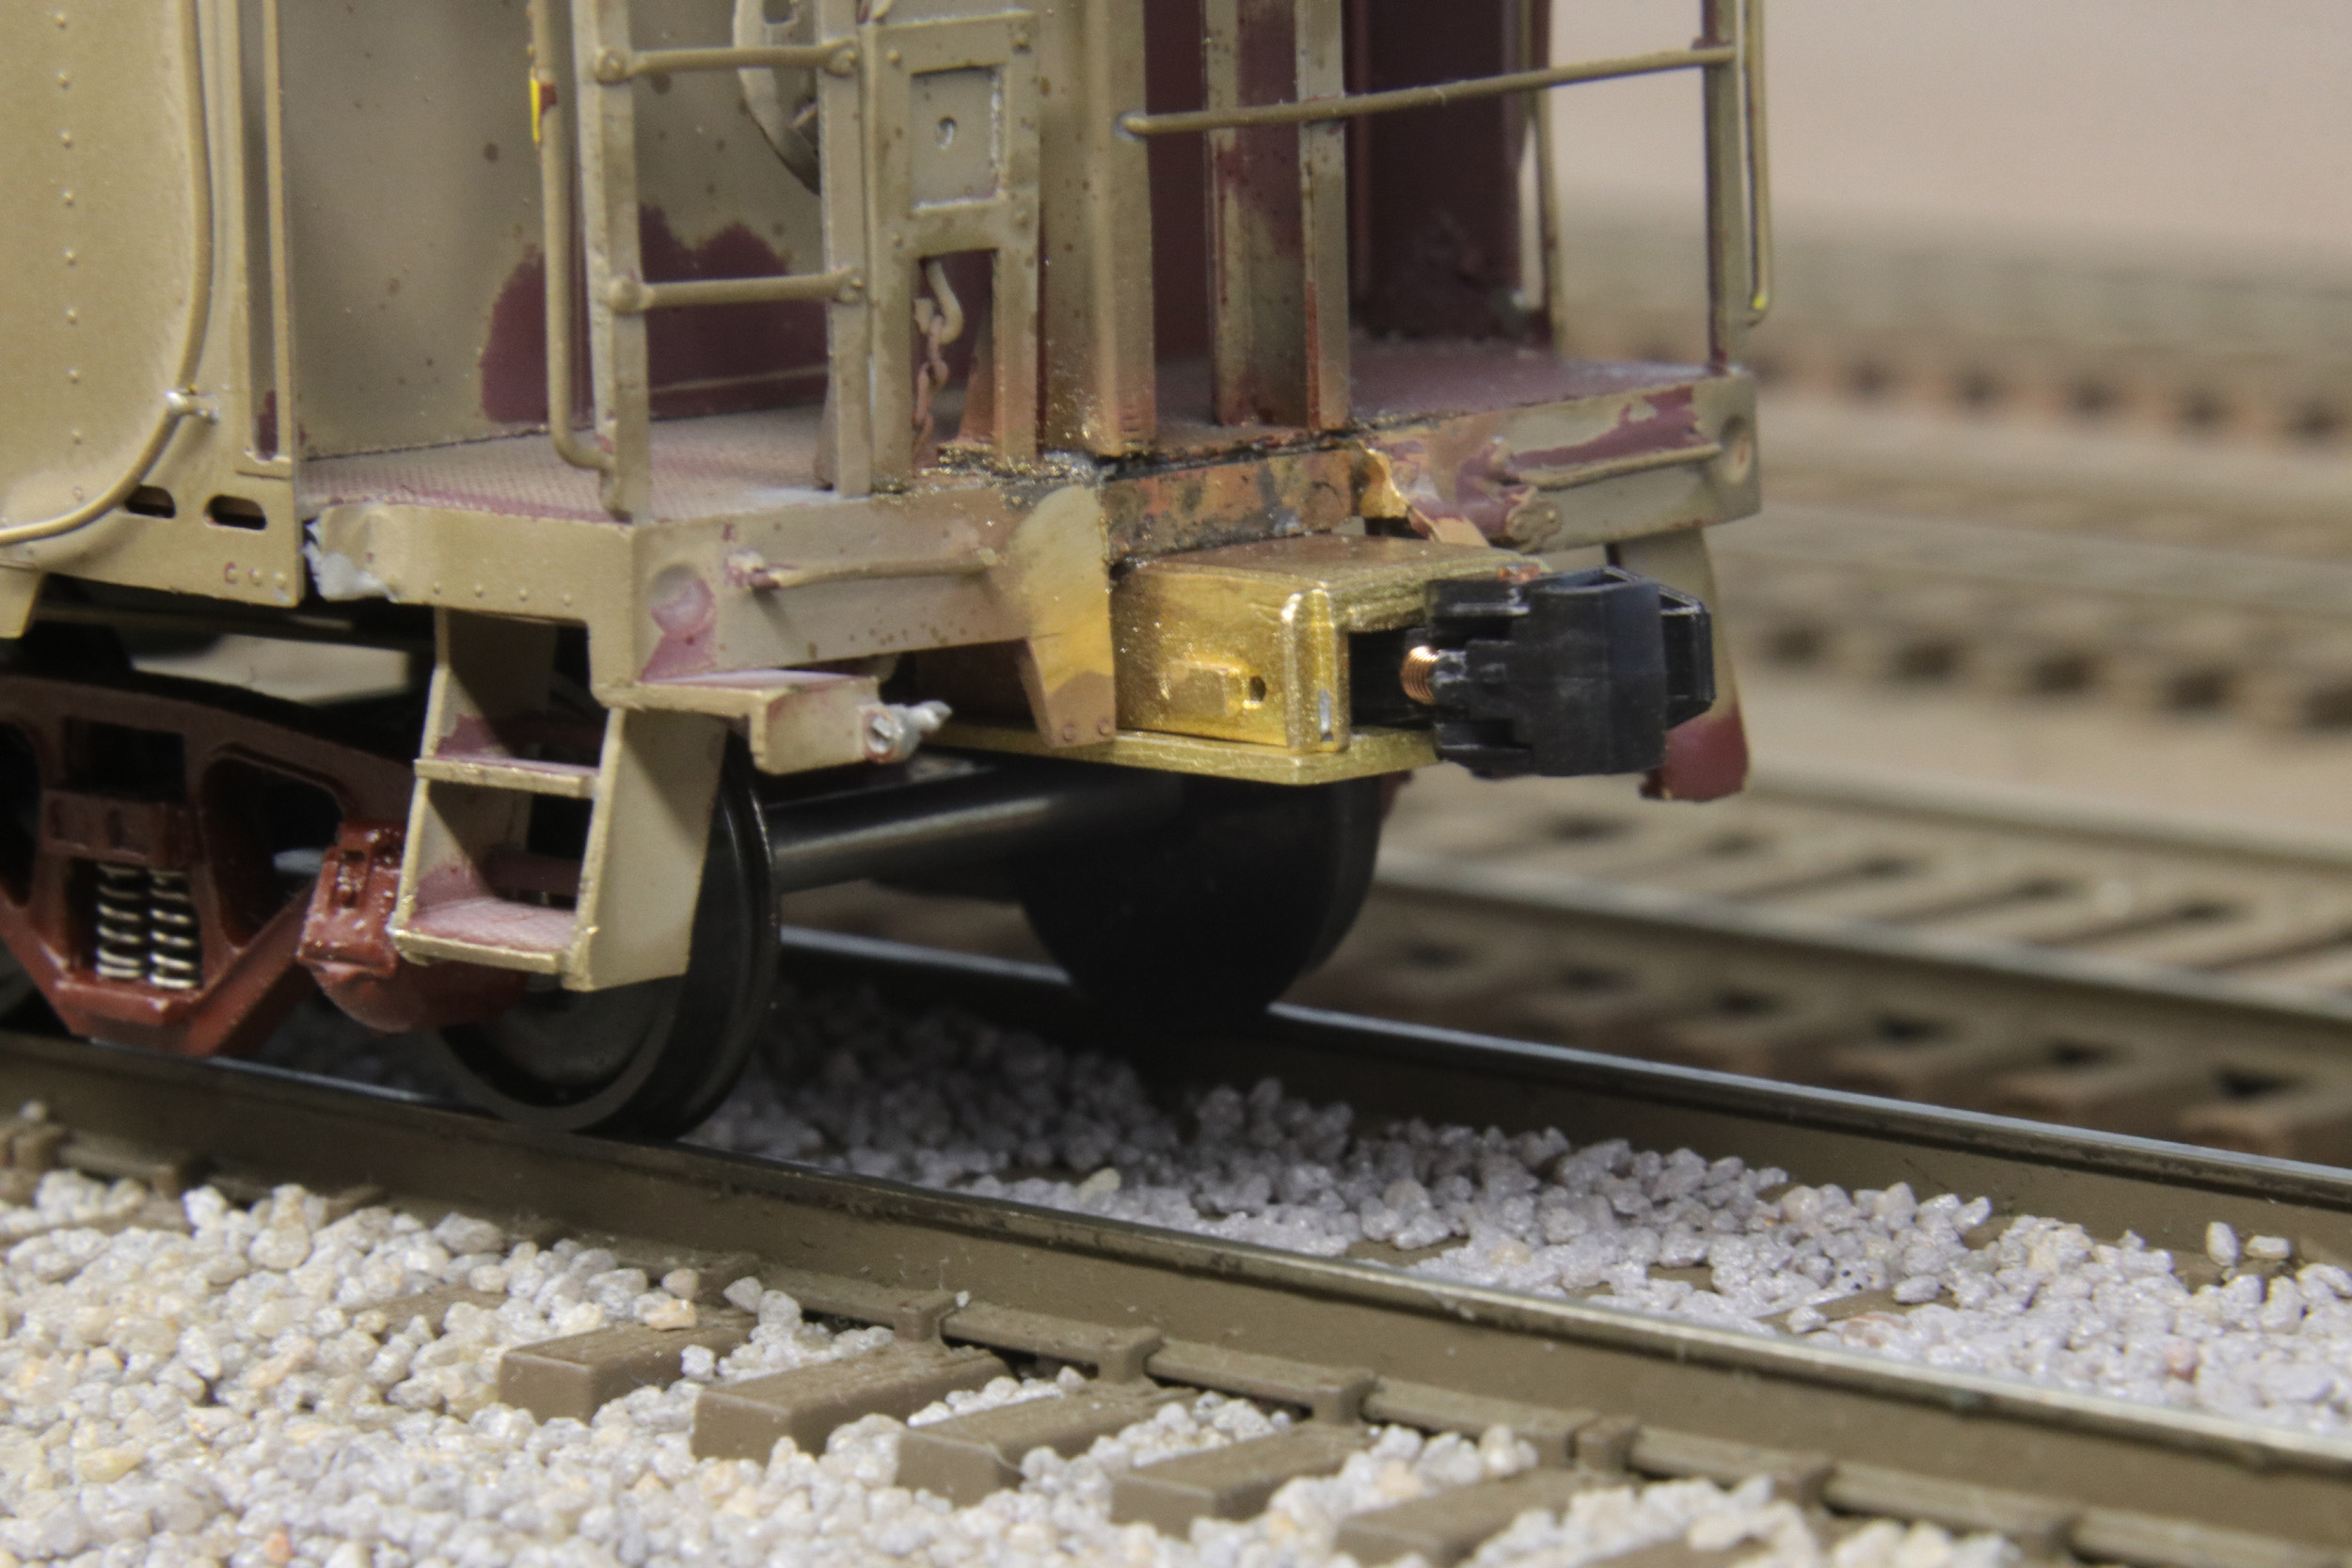
There are a few of my parts added to this N8 including my draft gear. They were made before I was designing in Solidworks. The master patterns were made old school machining the parts. This puts the coupler correctly at 24” away from the end sill.
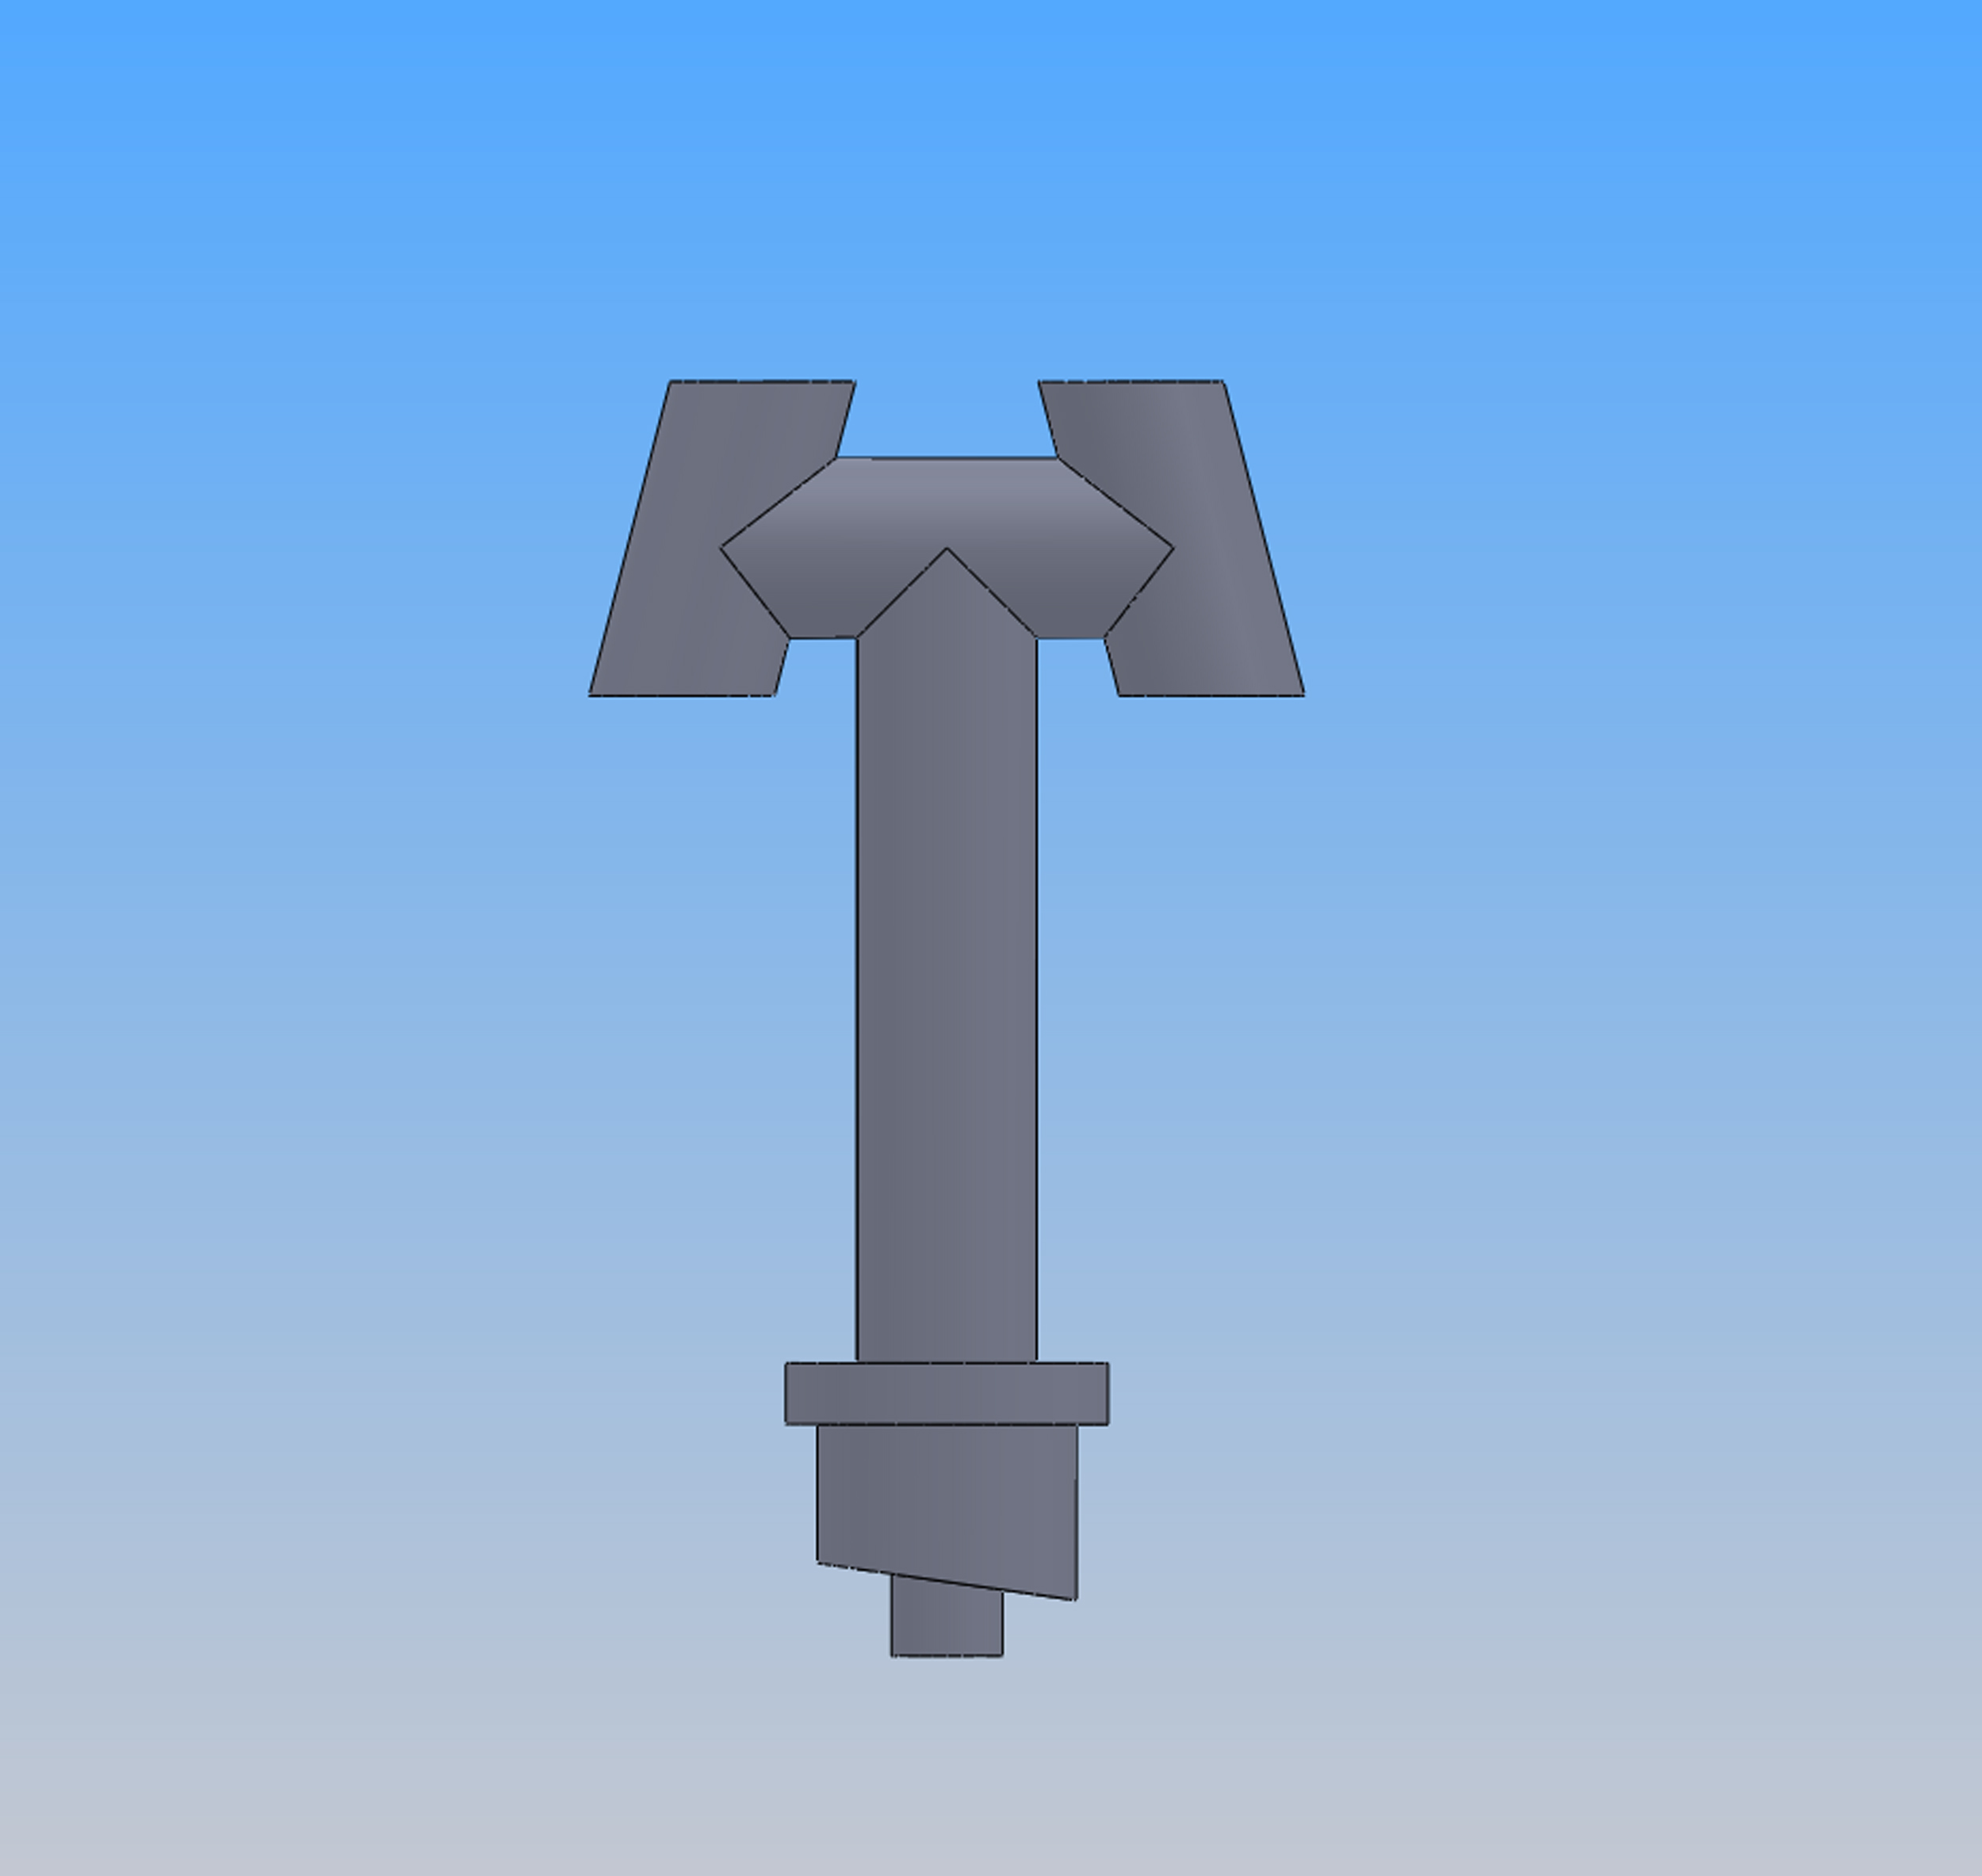
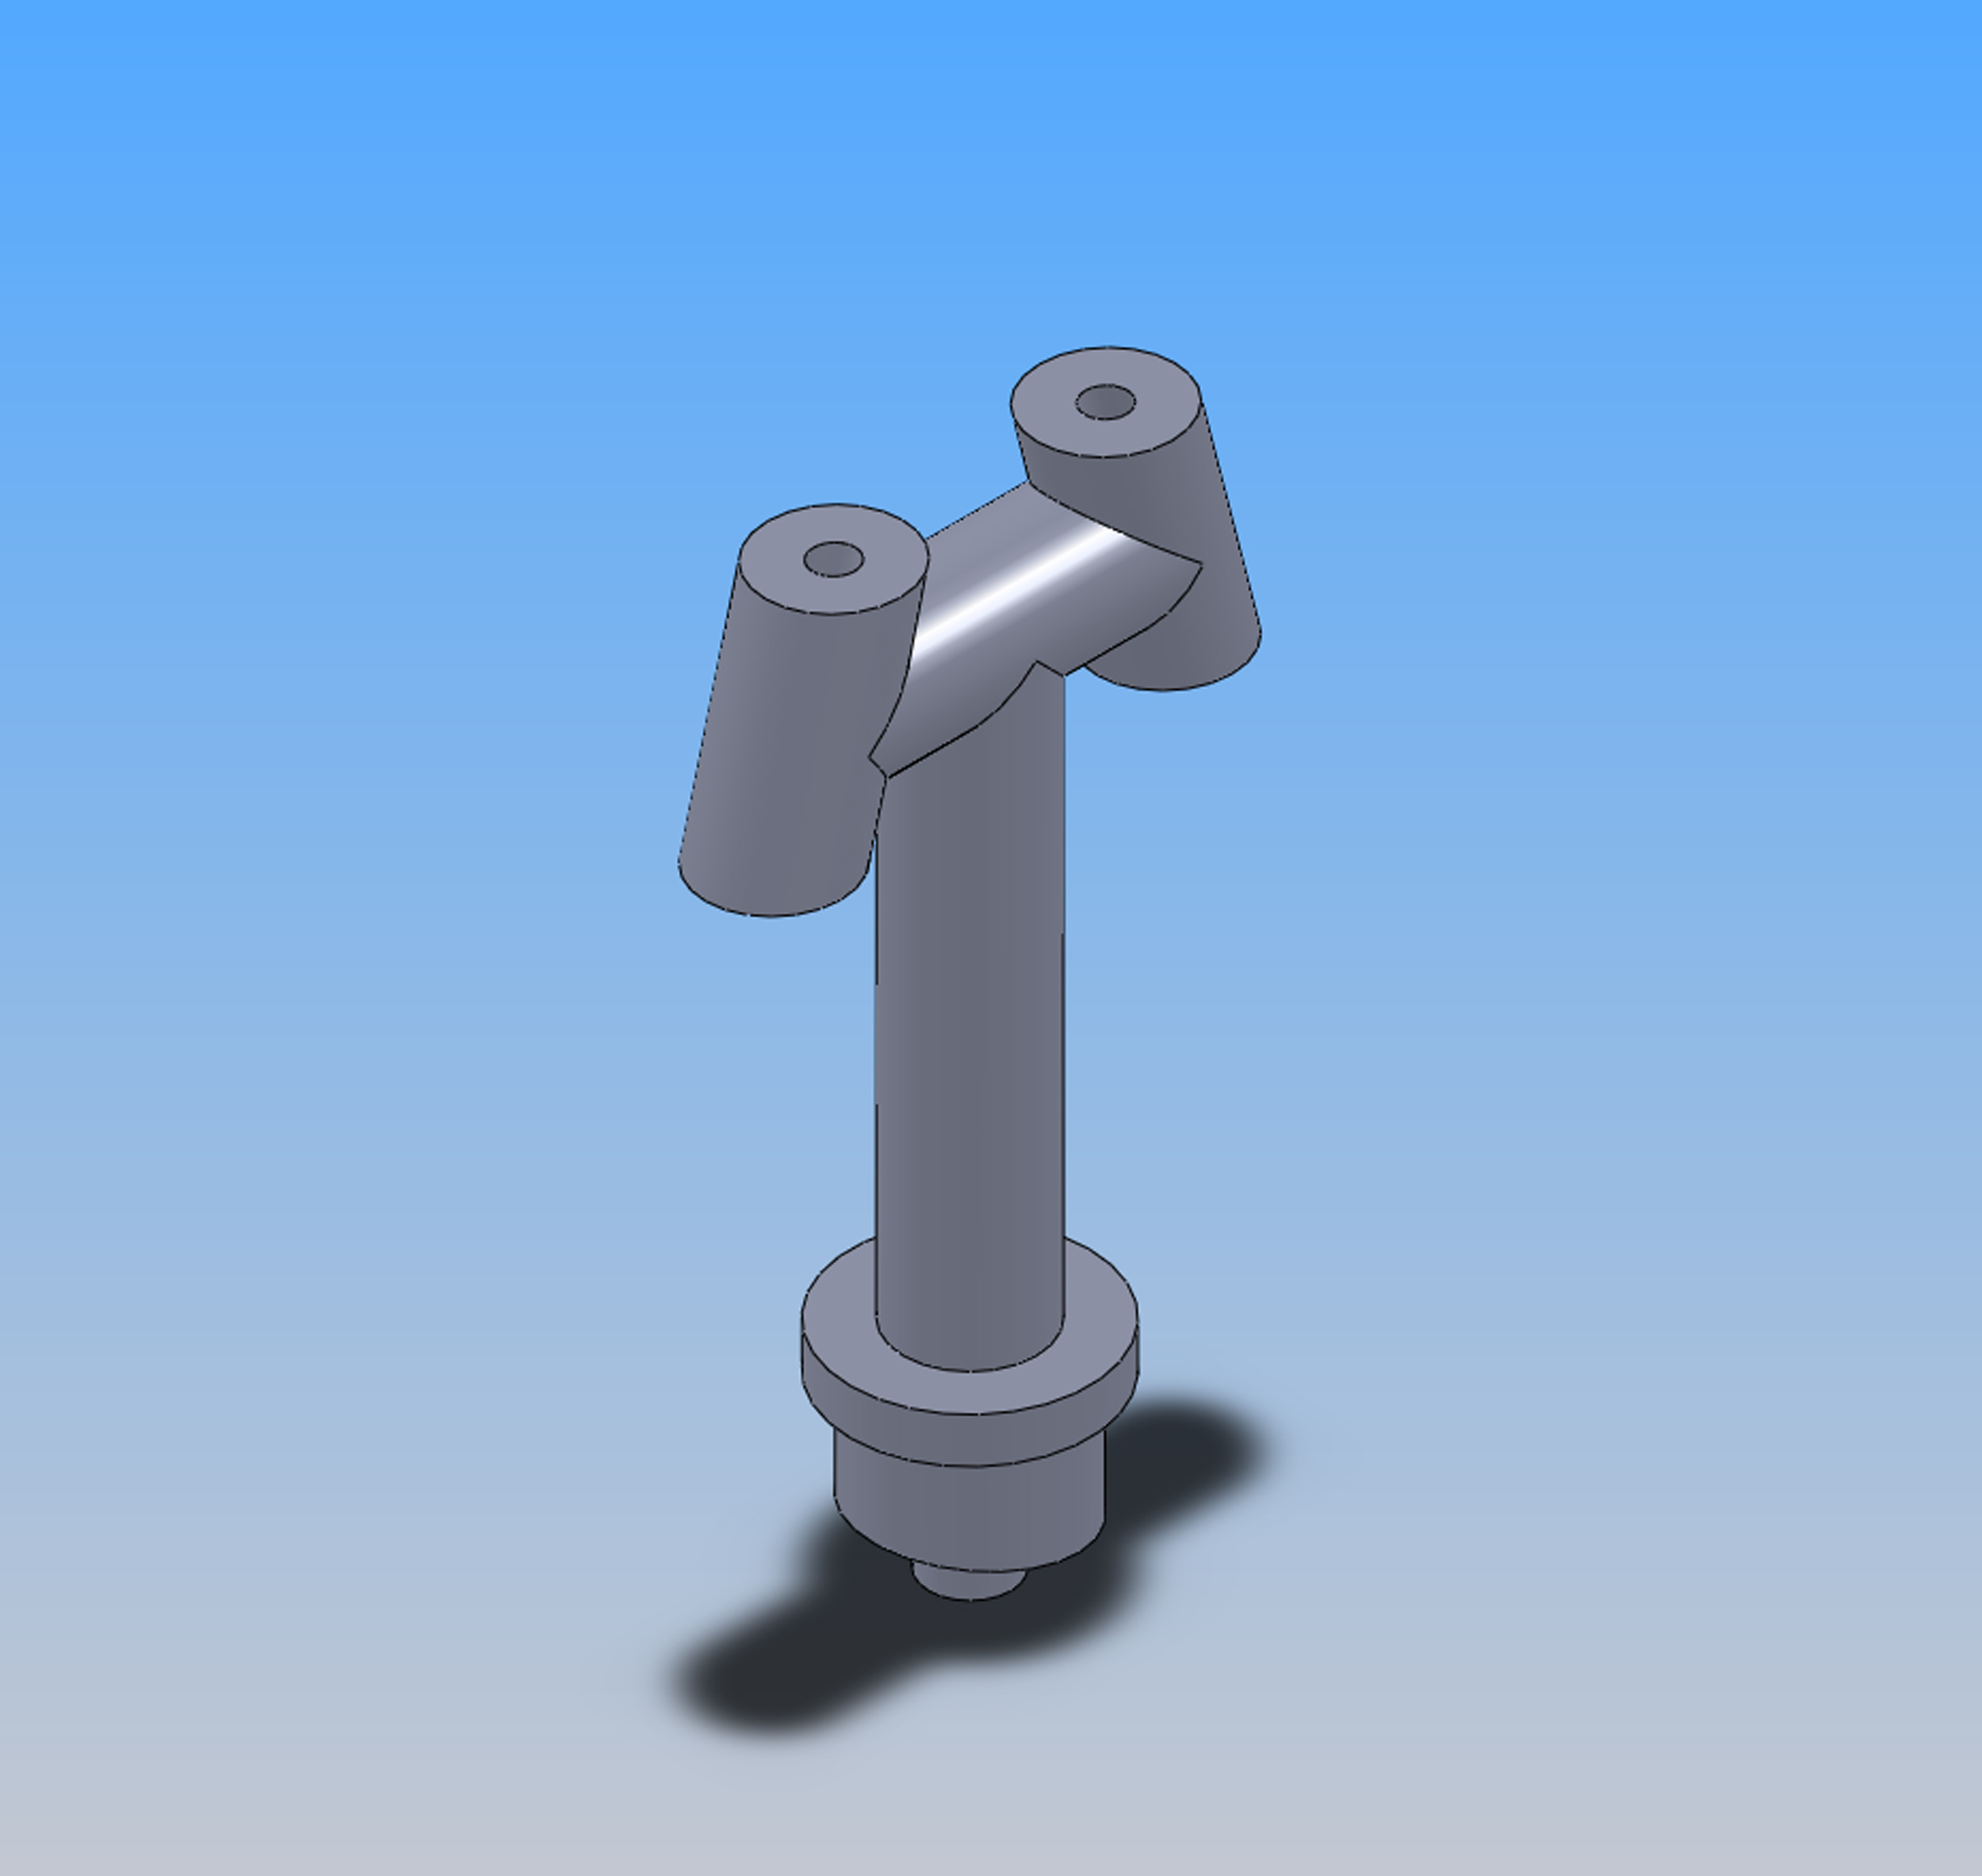
I designed this new stack in Solidworks on 6-3-23. The stack shown below is handmade I will replace when the stack from Shapeways arrives.
Some minor underbody details were removed and added. A signal box for the PRR Trainphone antennas that this version never had was removed. There was a smaller belt driven generator removed. Prototype photos showed a driveshaft driven generator so I added 1. It is probably a passenger car generator that is a bit large but is the only 1 I had. You can SEE it when the car is running. Good enough.
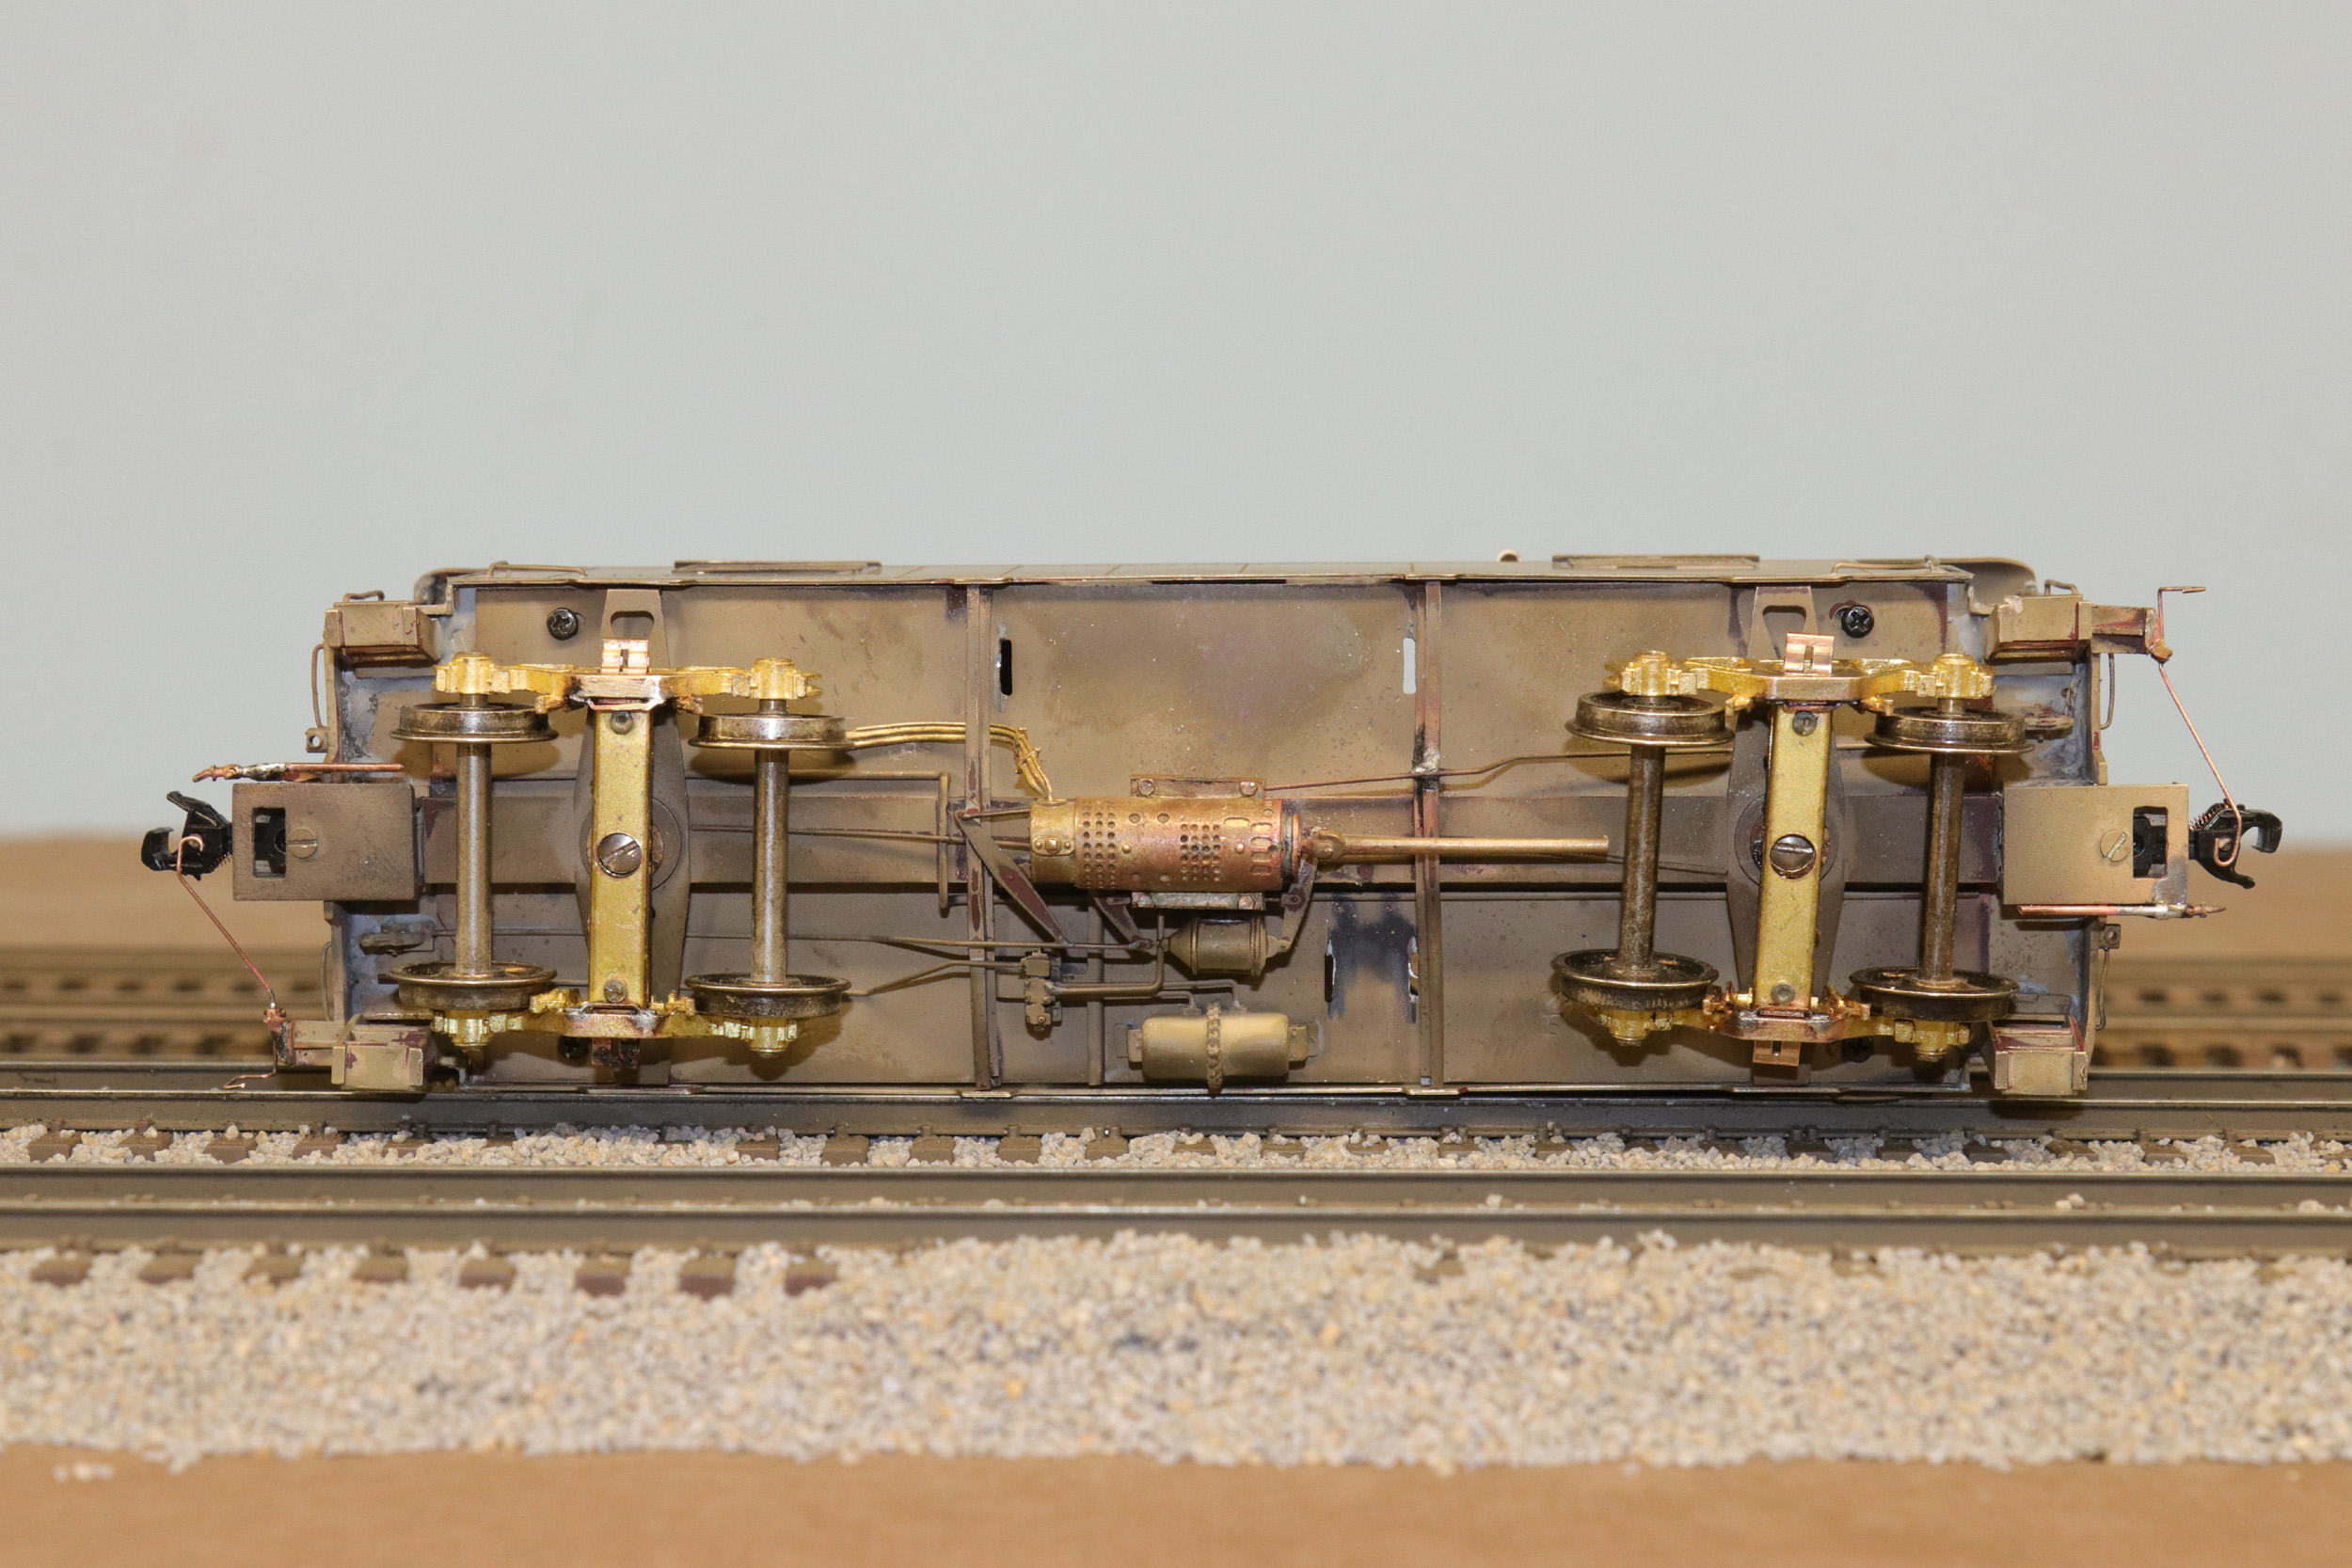
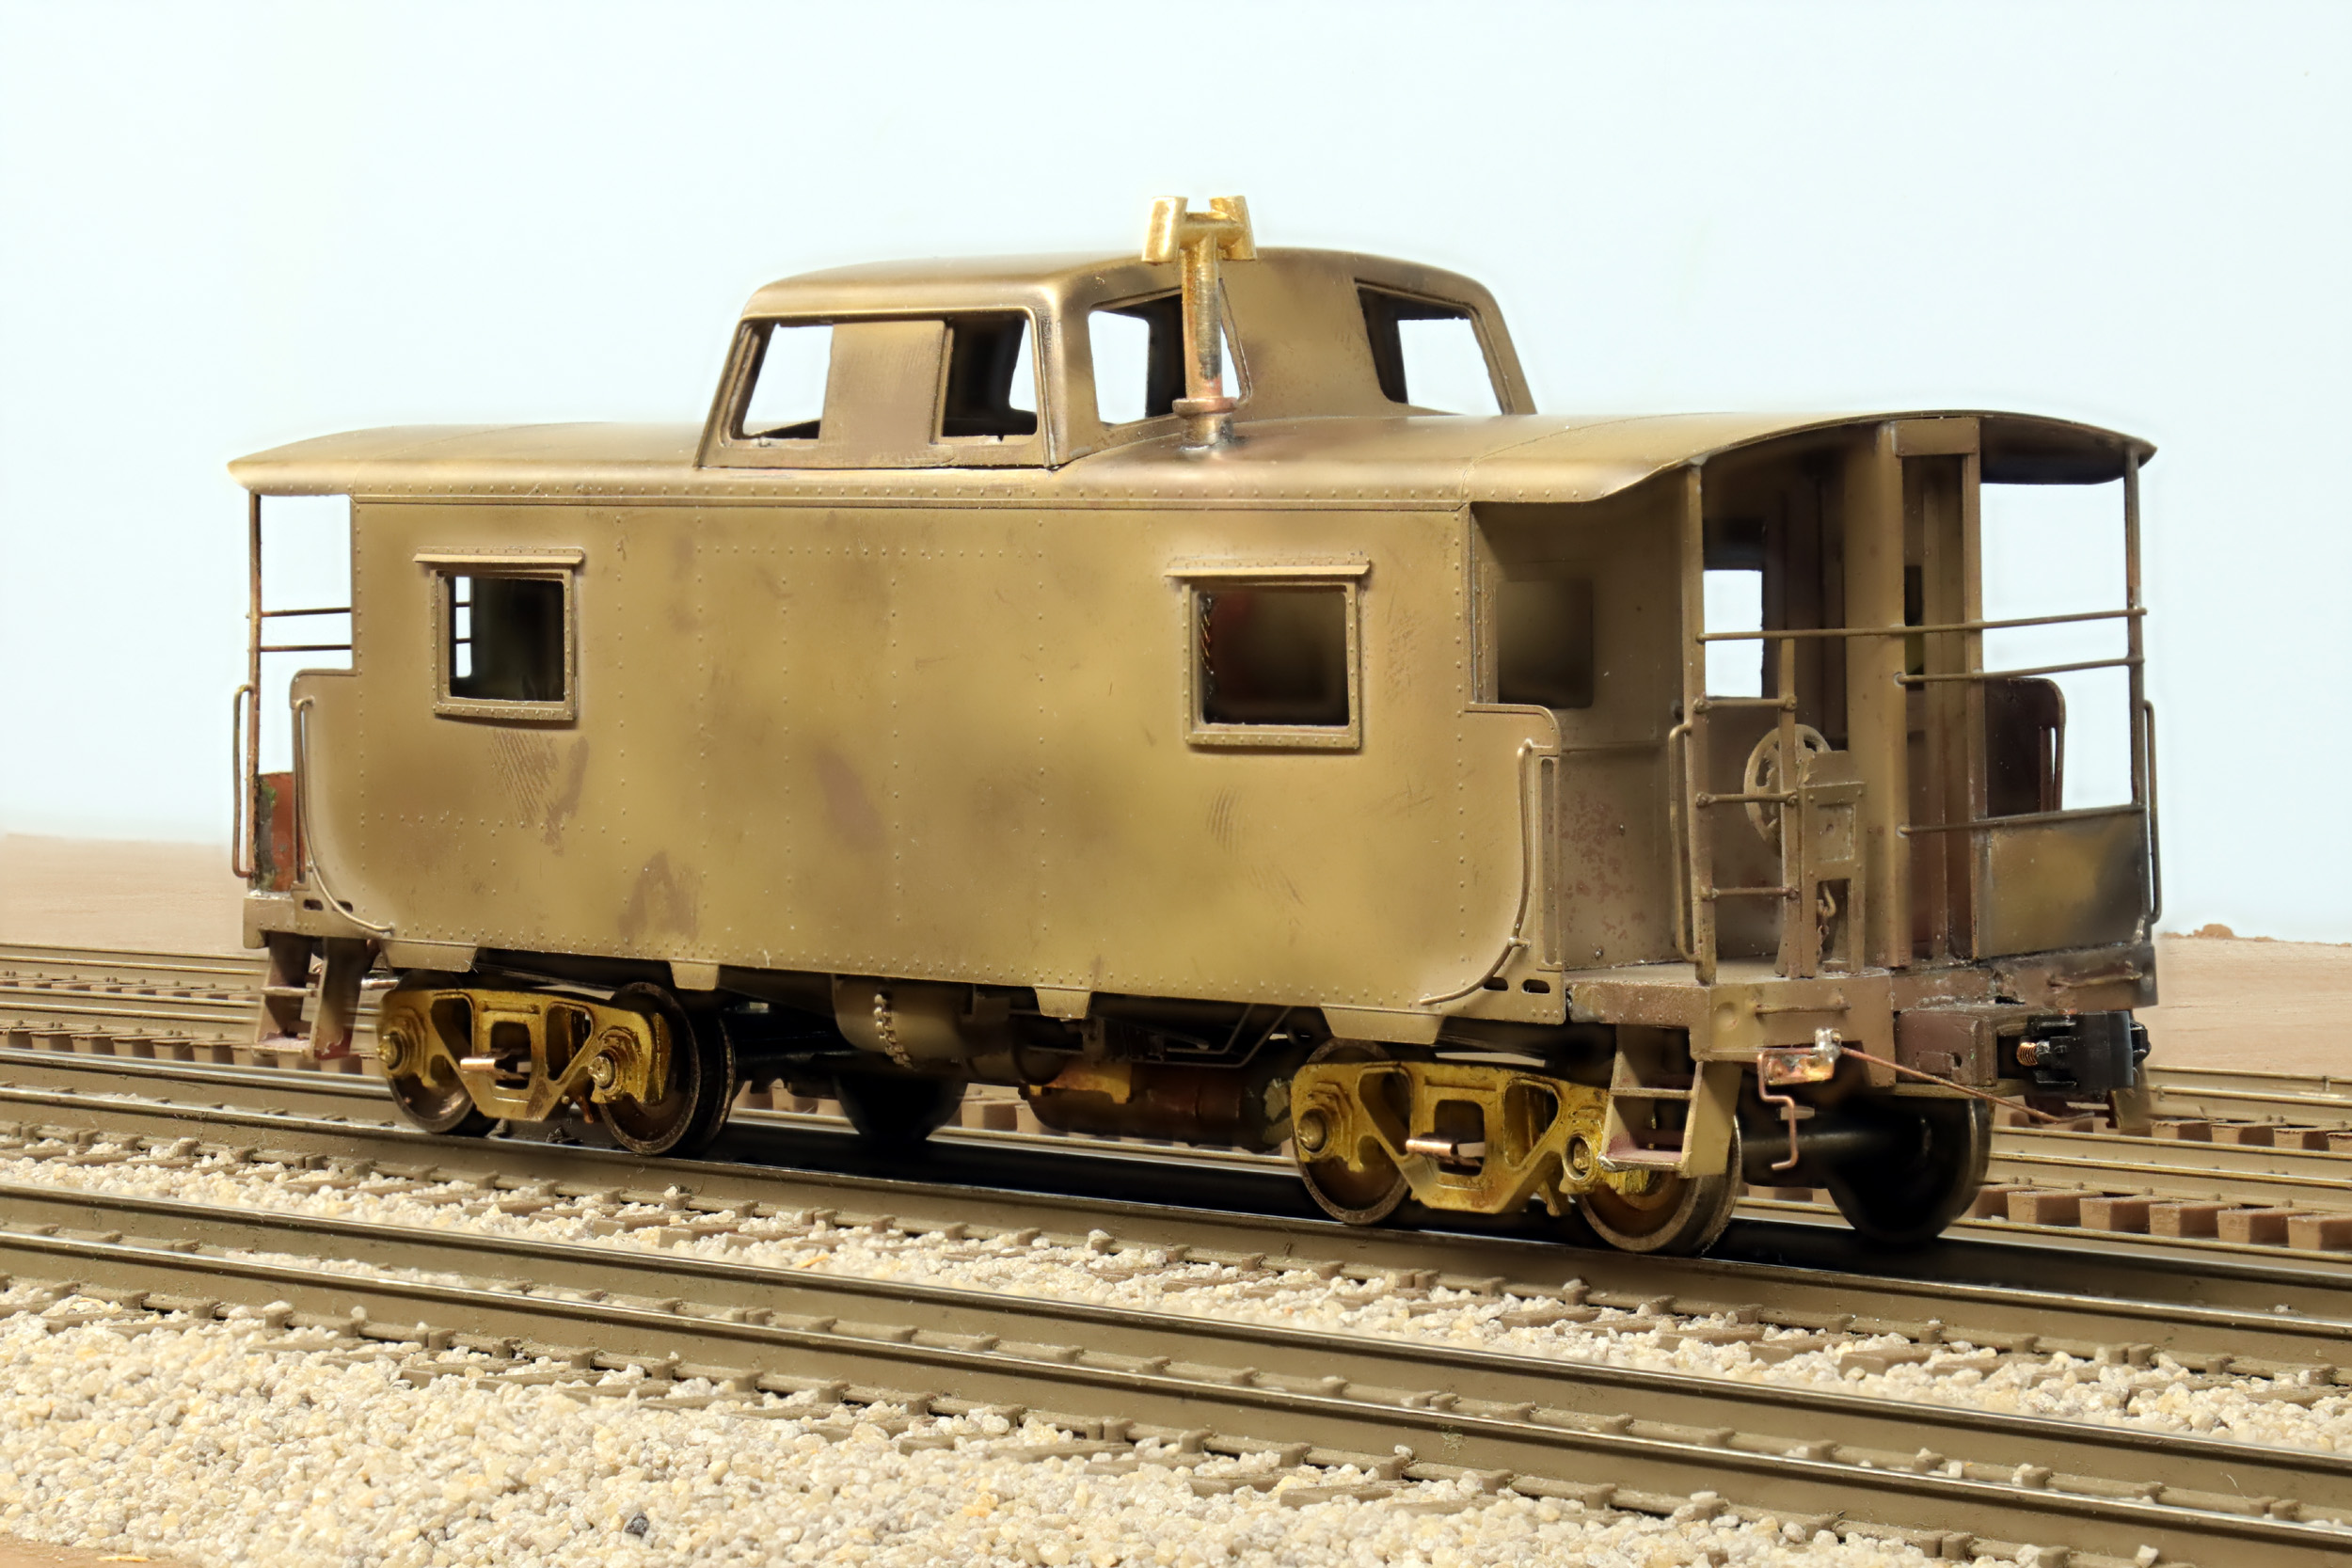
Detailing Done
Detailing
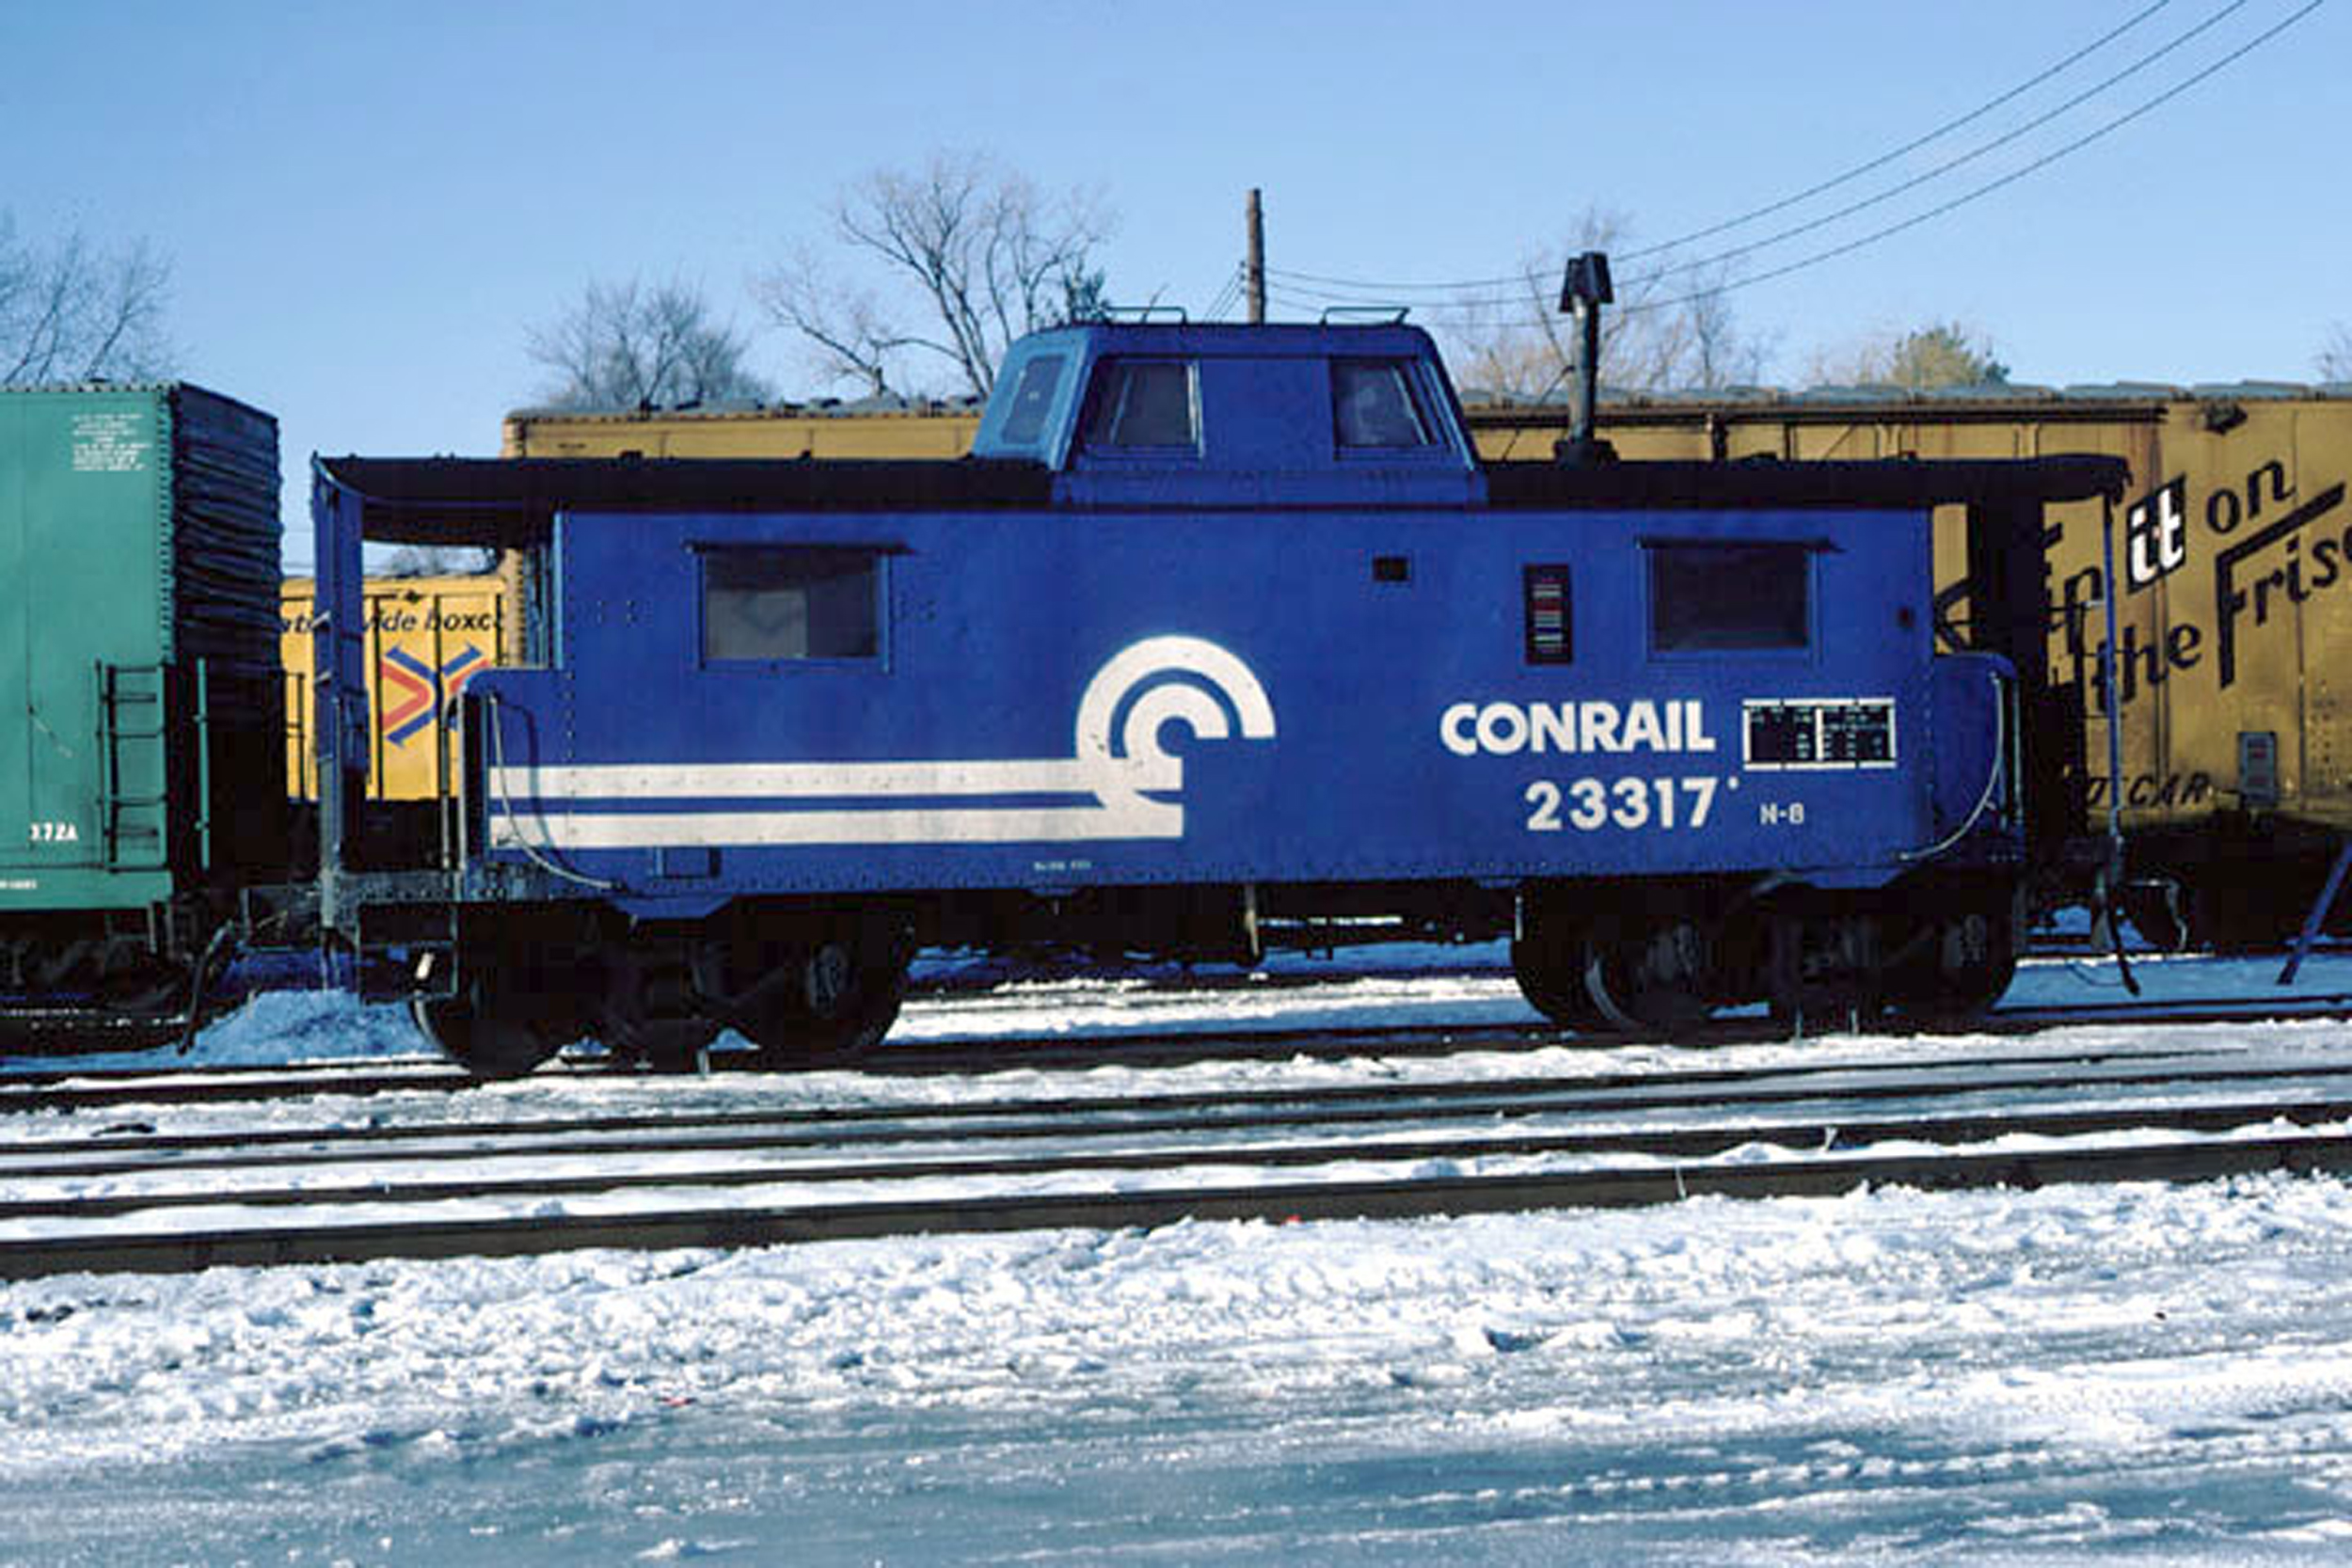
is done except for changing the smoke stack. Note the cupola corner grab irons
were removed. I got the top photo of 23317 2 days after I removed the grab
irons! If there is no roofwalk photos showed the grab irons were usually
removed too. I lucked out and got the last pair of leaf spring roller bearing
trucks from Bills Train Shop that are much closer to the Conrail N8 trucks. The
bearing ends turn as well. I added a safety kick plate to the end railings. I
used my cut lever brackets I first made in 1992. The cut levers are phosphor
bronze wire. It was a fun detailing project – nothing that too heavy or that
involved.
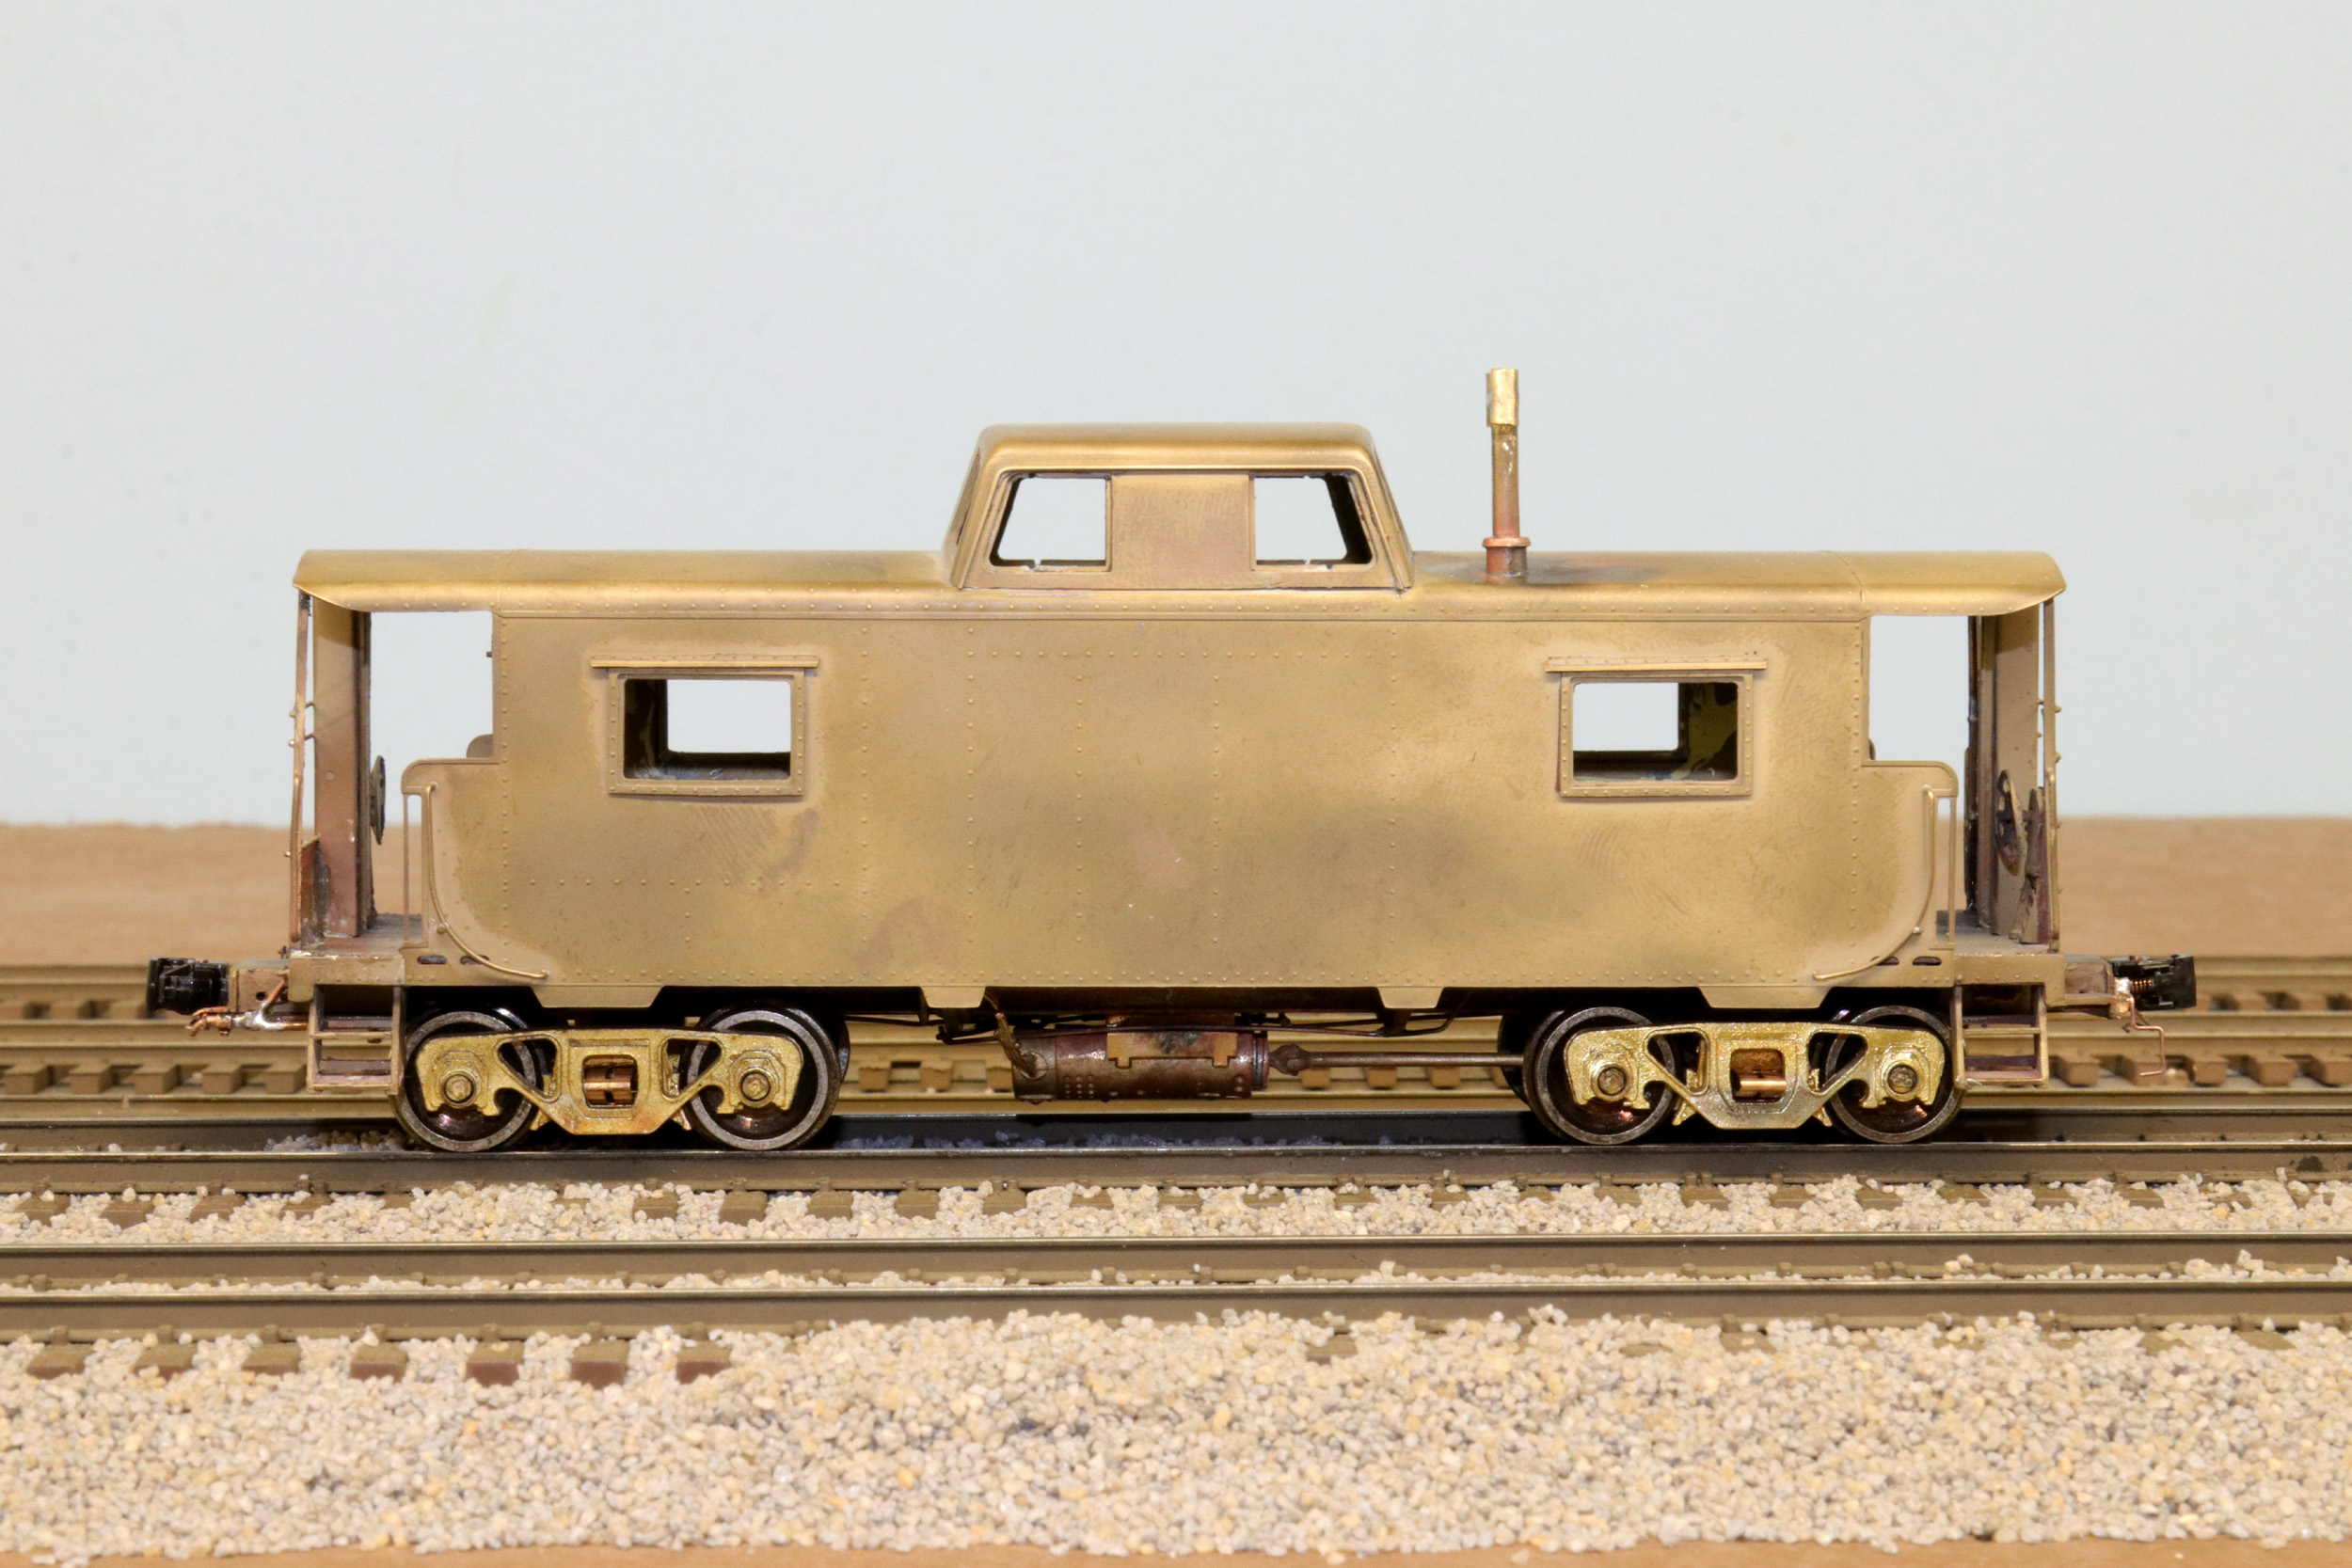
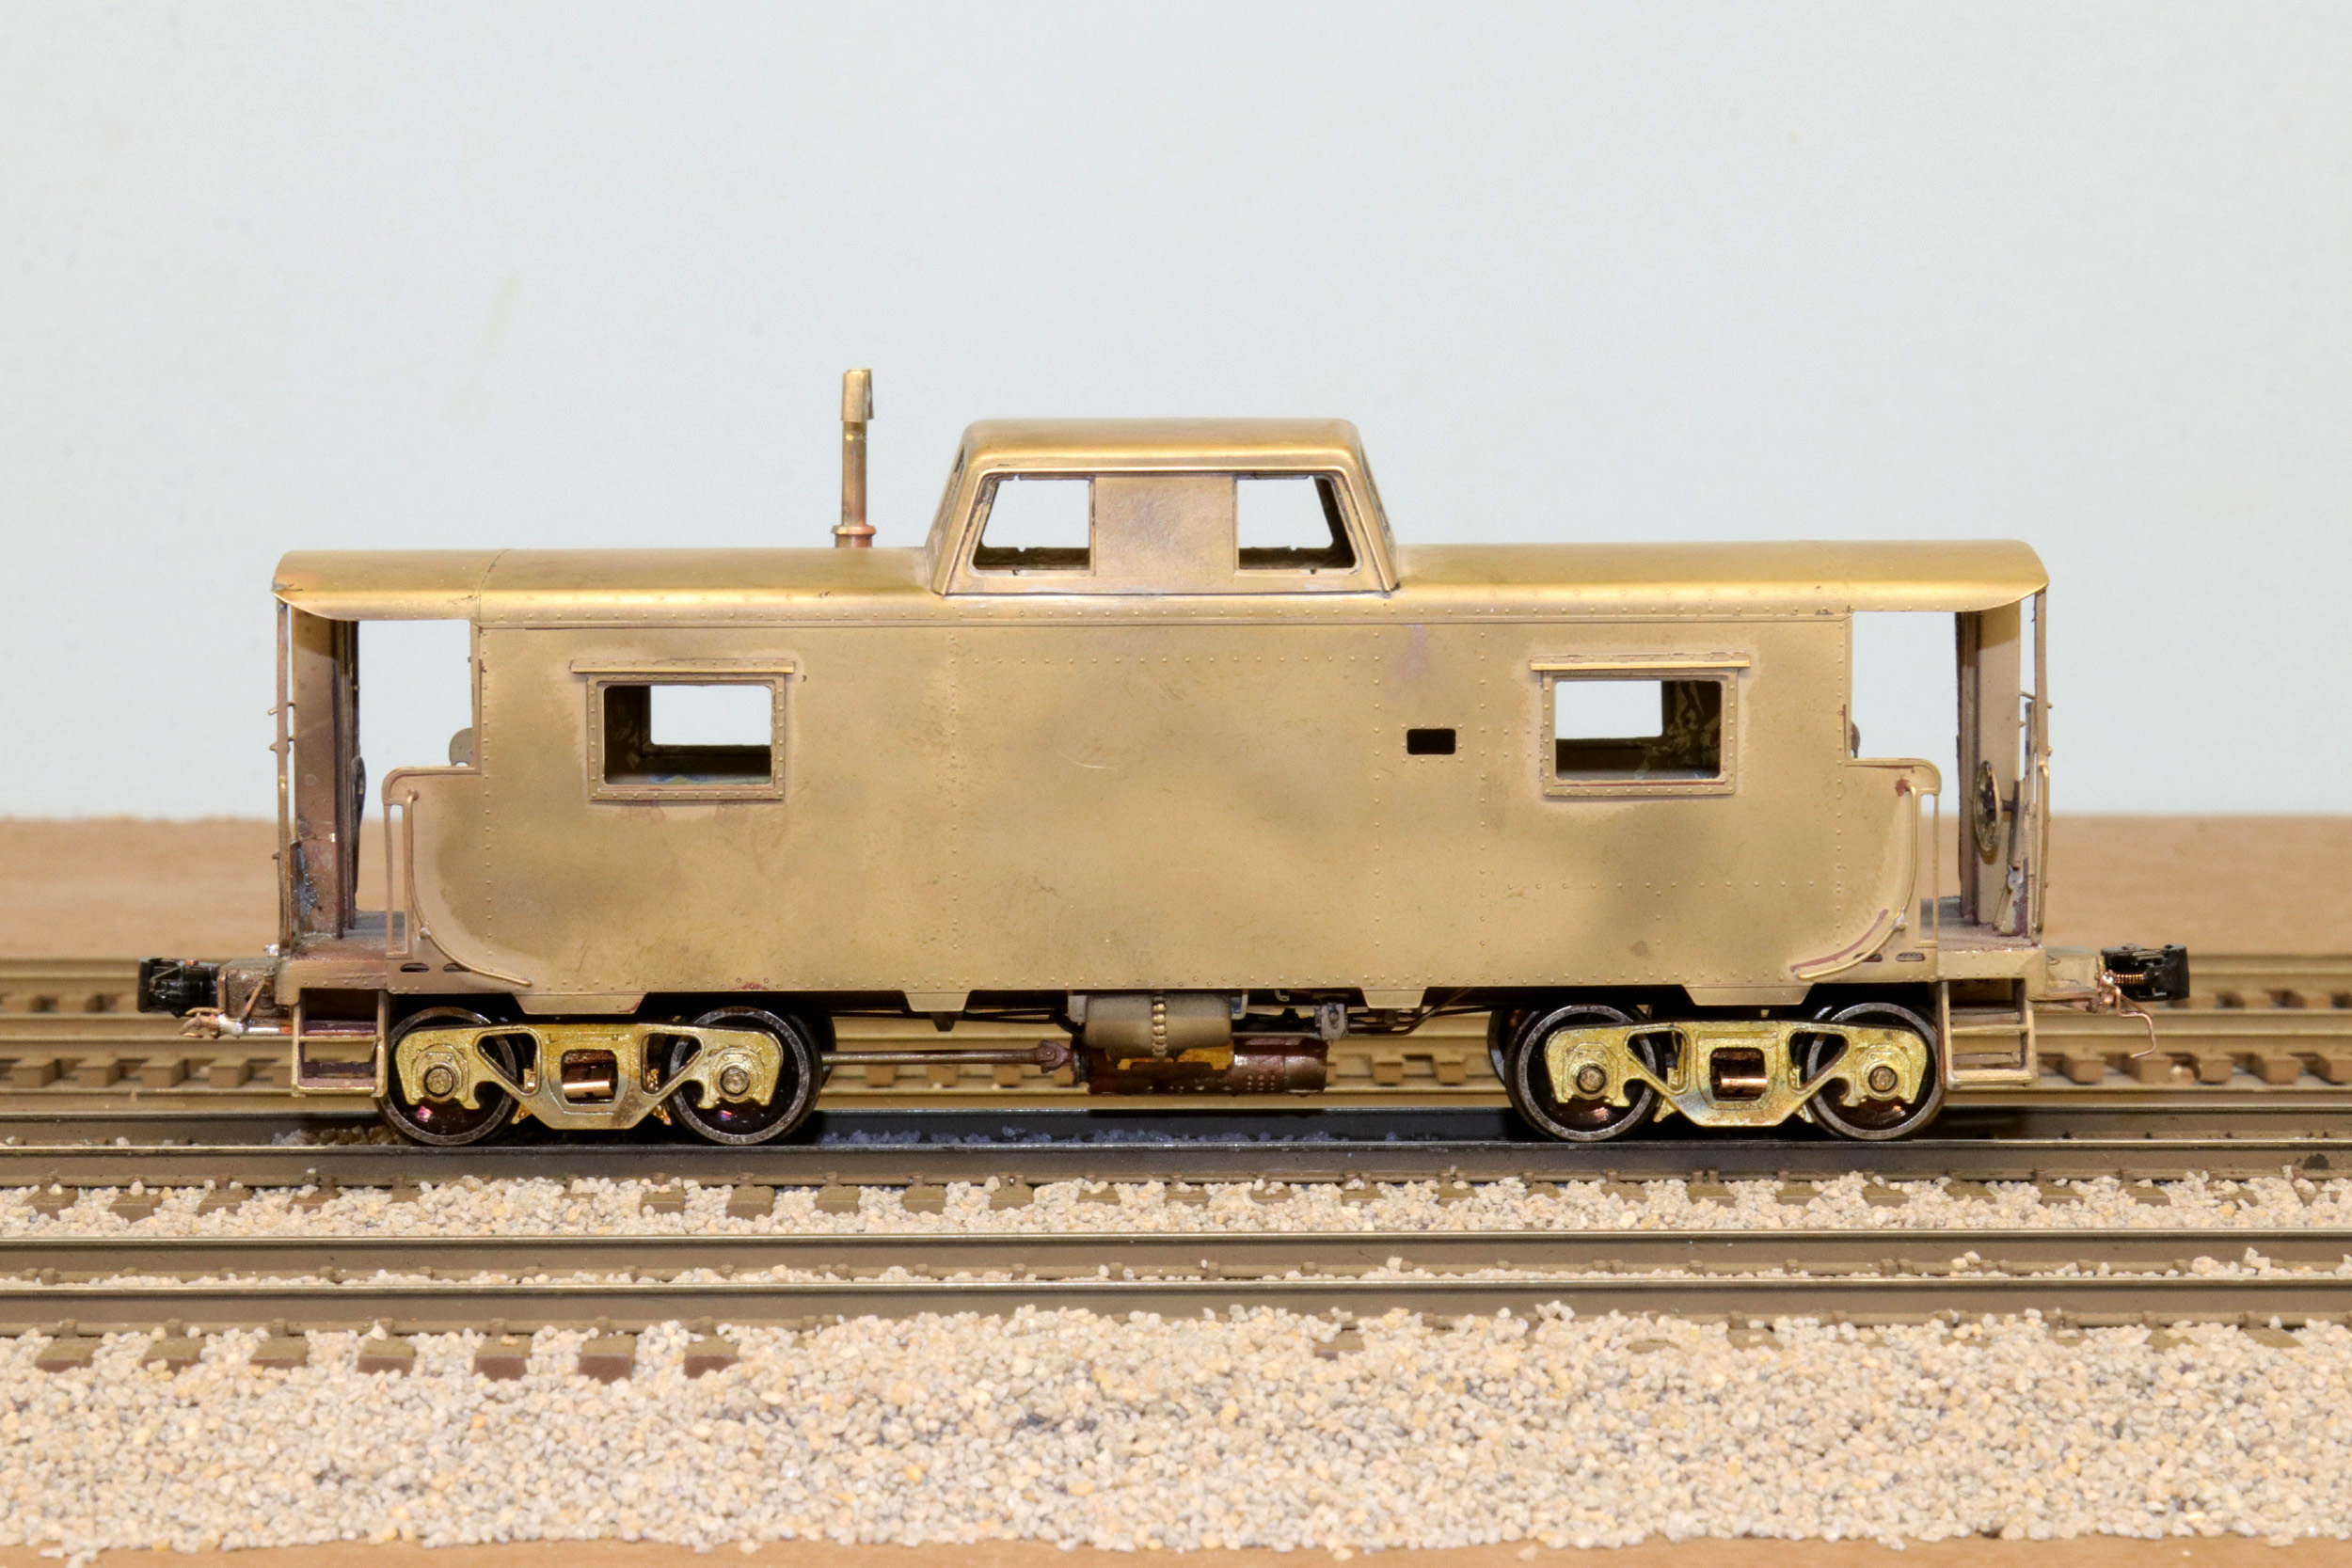
Ready For Paint
6-18-23
The
Shapeways “H” stack I designed fit really well. The difference between my
handmade stack above and the Shapeways is small but I like the Shapeways stack
better. I want to wait until I have some SD40-2 ready to paint using my now
rare sealed bottles of Scalecoat Conrail Blue to paint the N8.
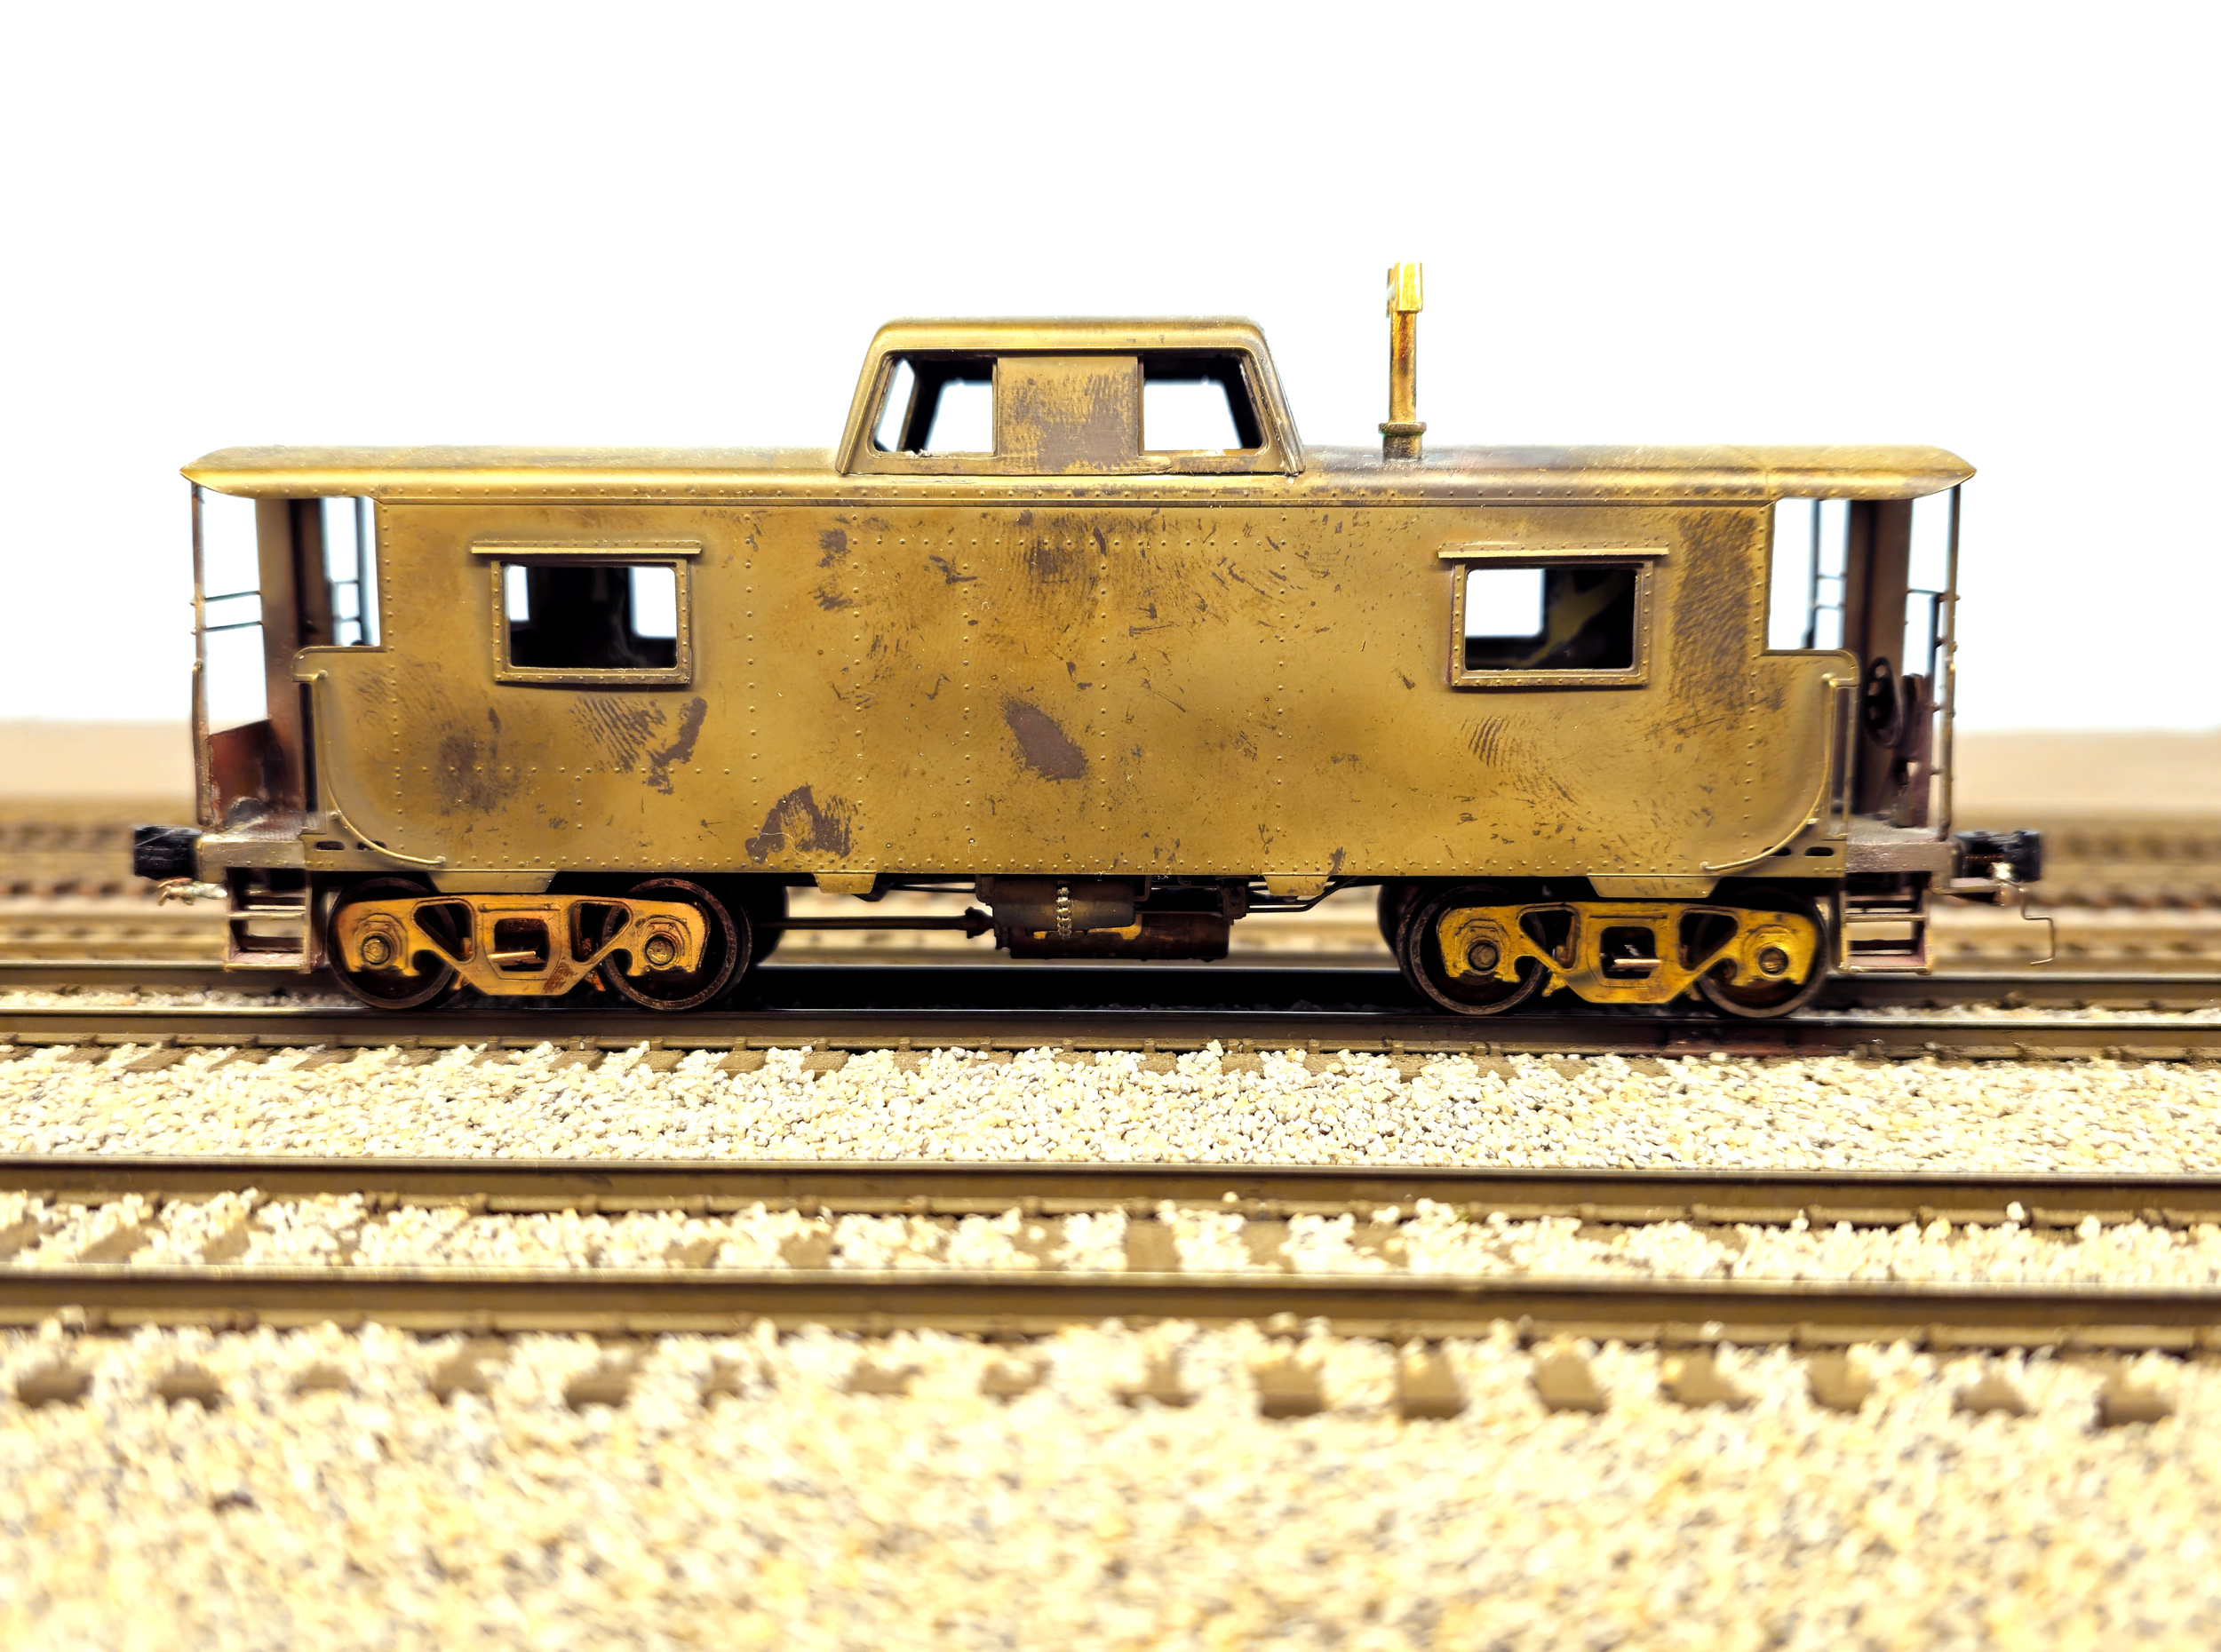
This
is what a bare brass car looks like after being left to sit for 8 months. I got
“distracted” with other projects as usual.
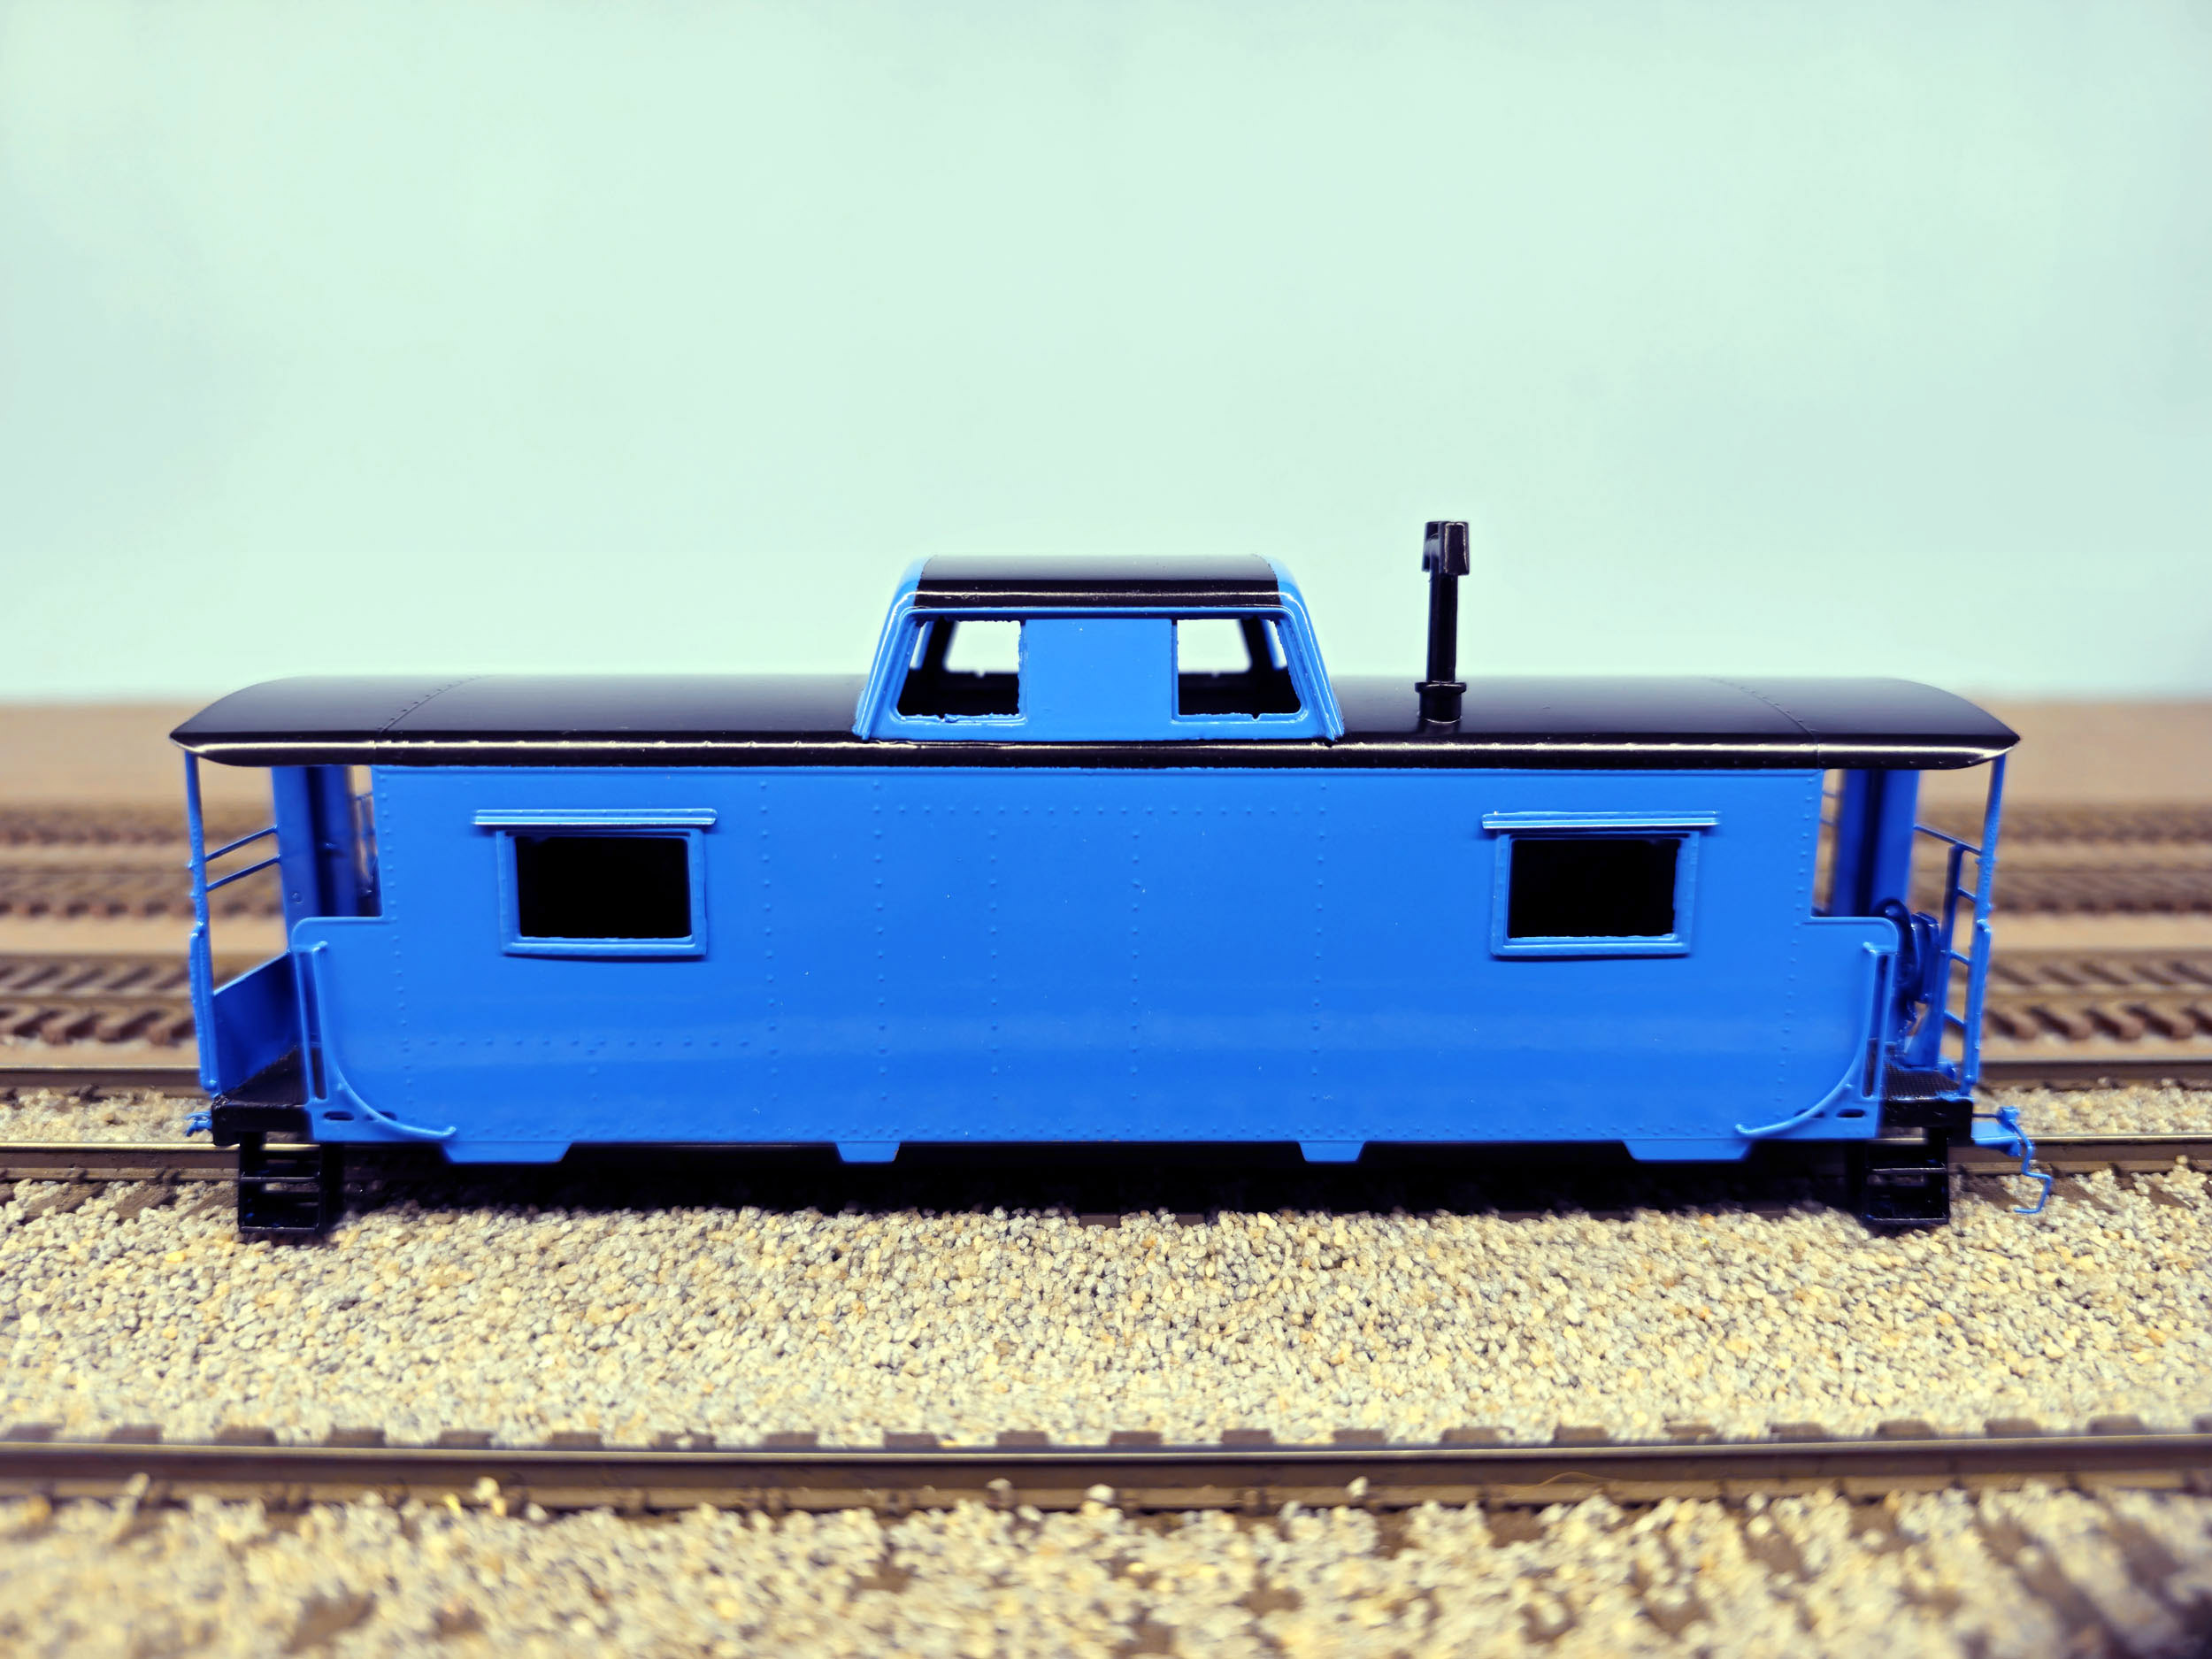
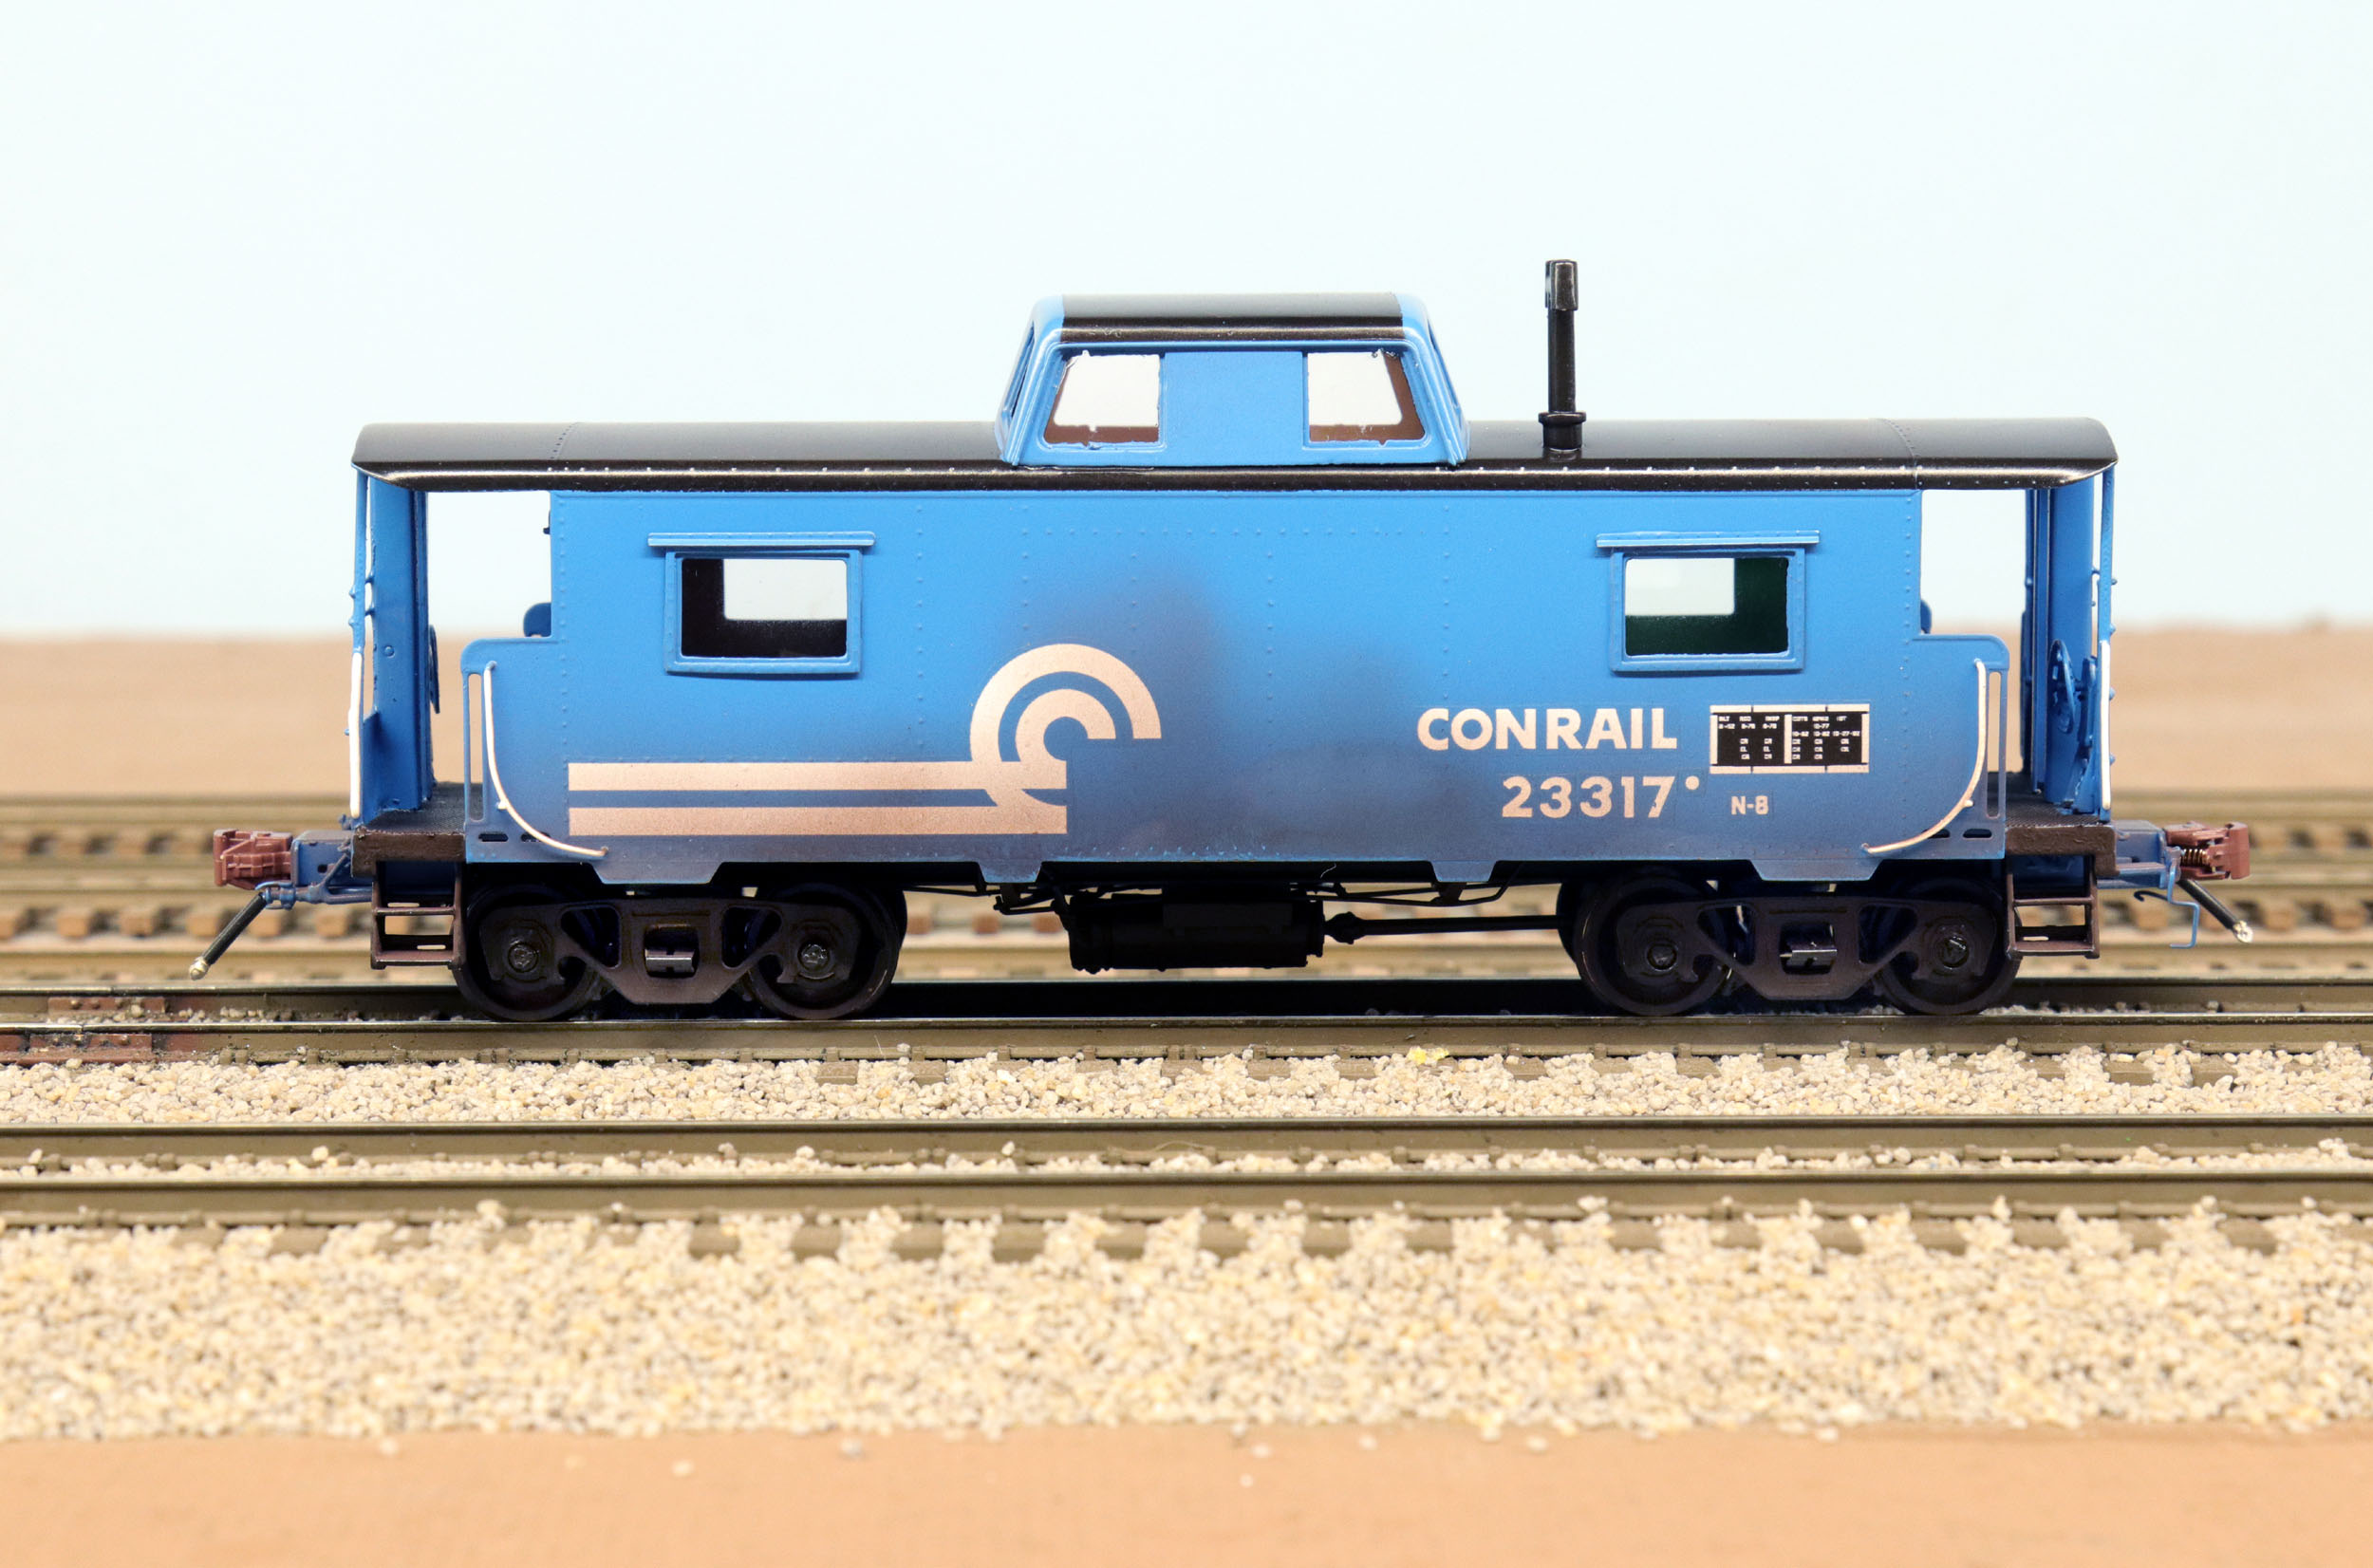
Painted
Added 3-30-24
I had
2 new sealed bottles of Scalecoat Conrail Blue I was saving. I was painting 2
SD40-2 so I made sure I got this N8 painted on 3-14-24 too. There was almost
none leftover. This batch was a nudge on the lighter side but just still acceptable
for me. I normally would paint the roof first as the minority color but I painted
the Conrail blue first. At the last second I decided to leave the Kartrack label off. I don’t have many of them on my other
cars plus it dates the car to a specific time period.
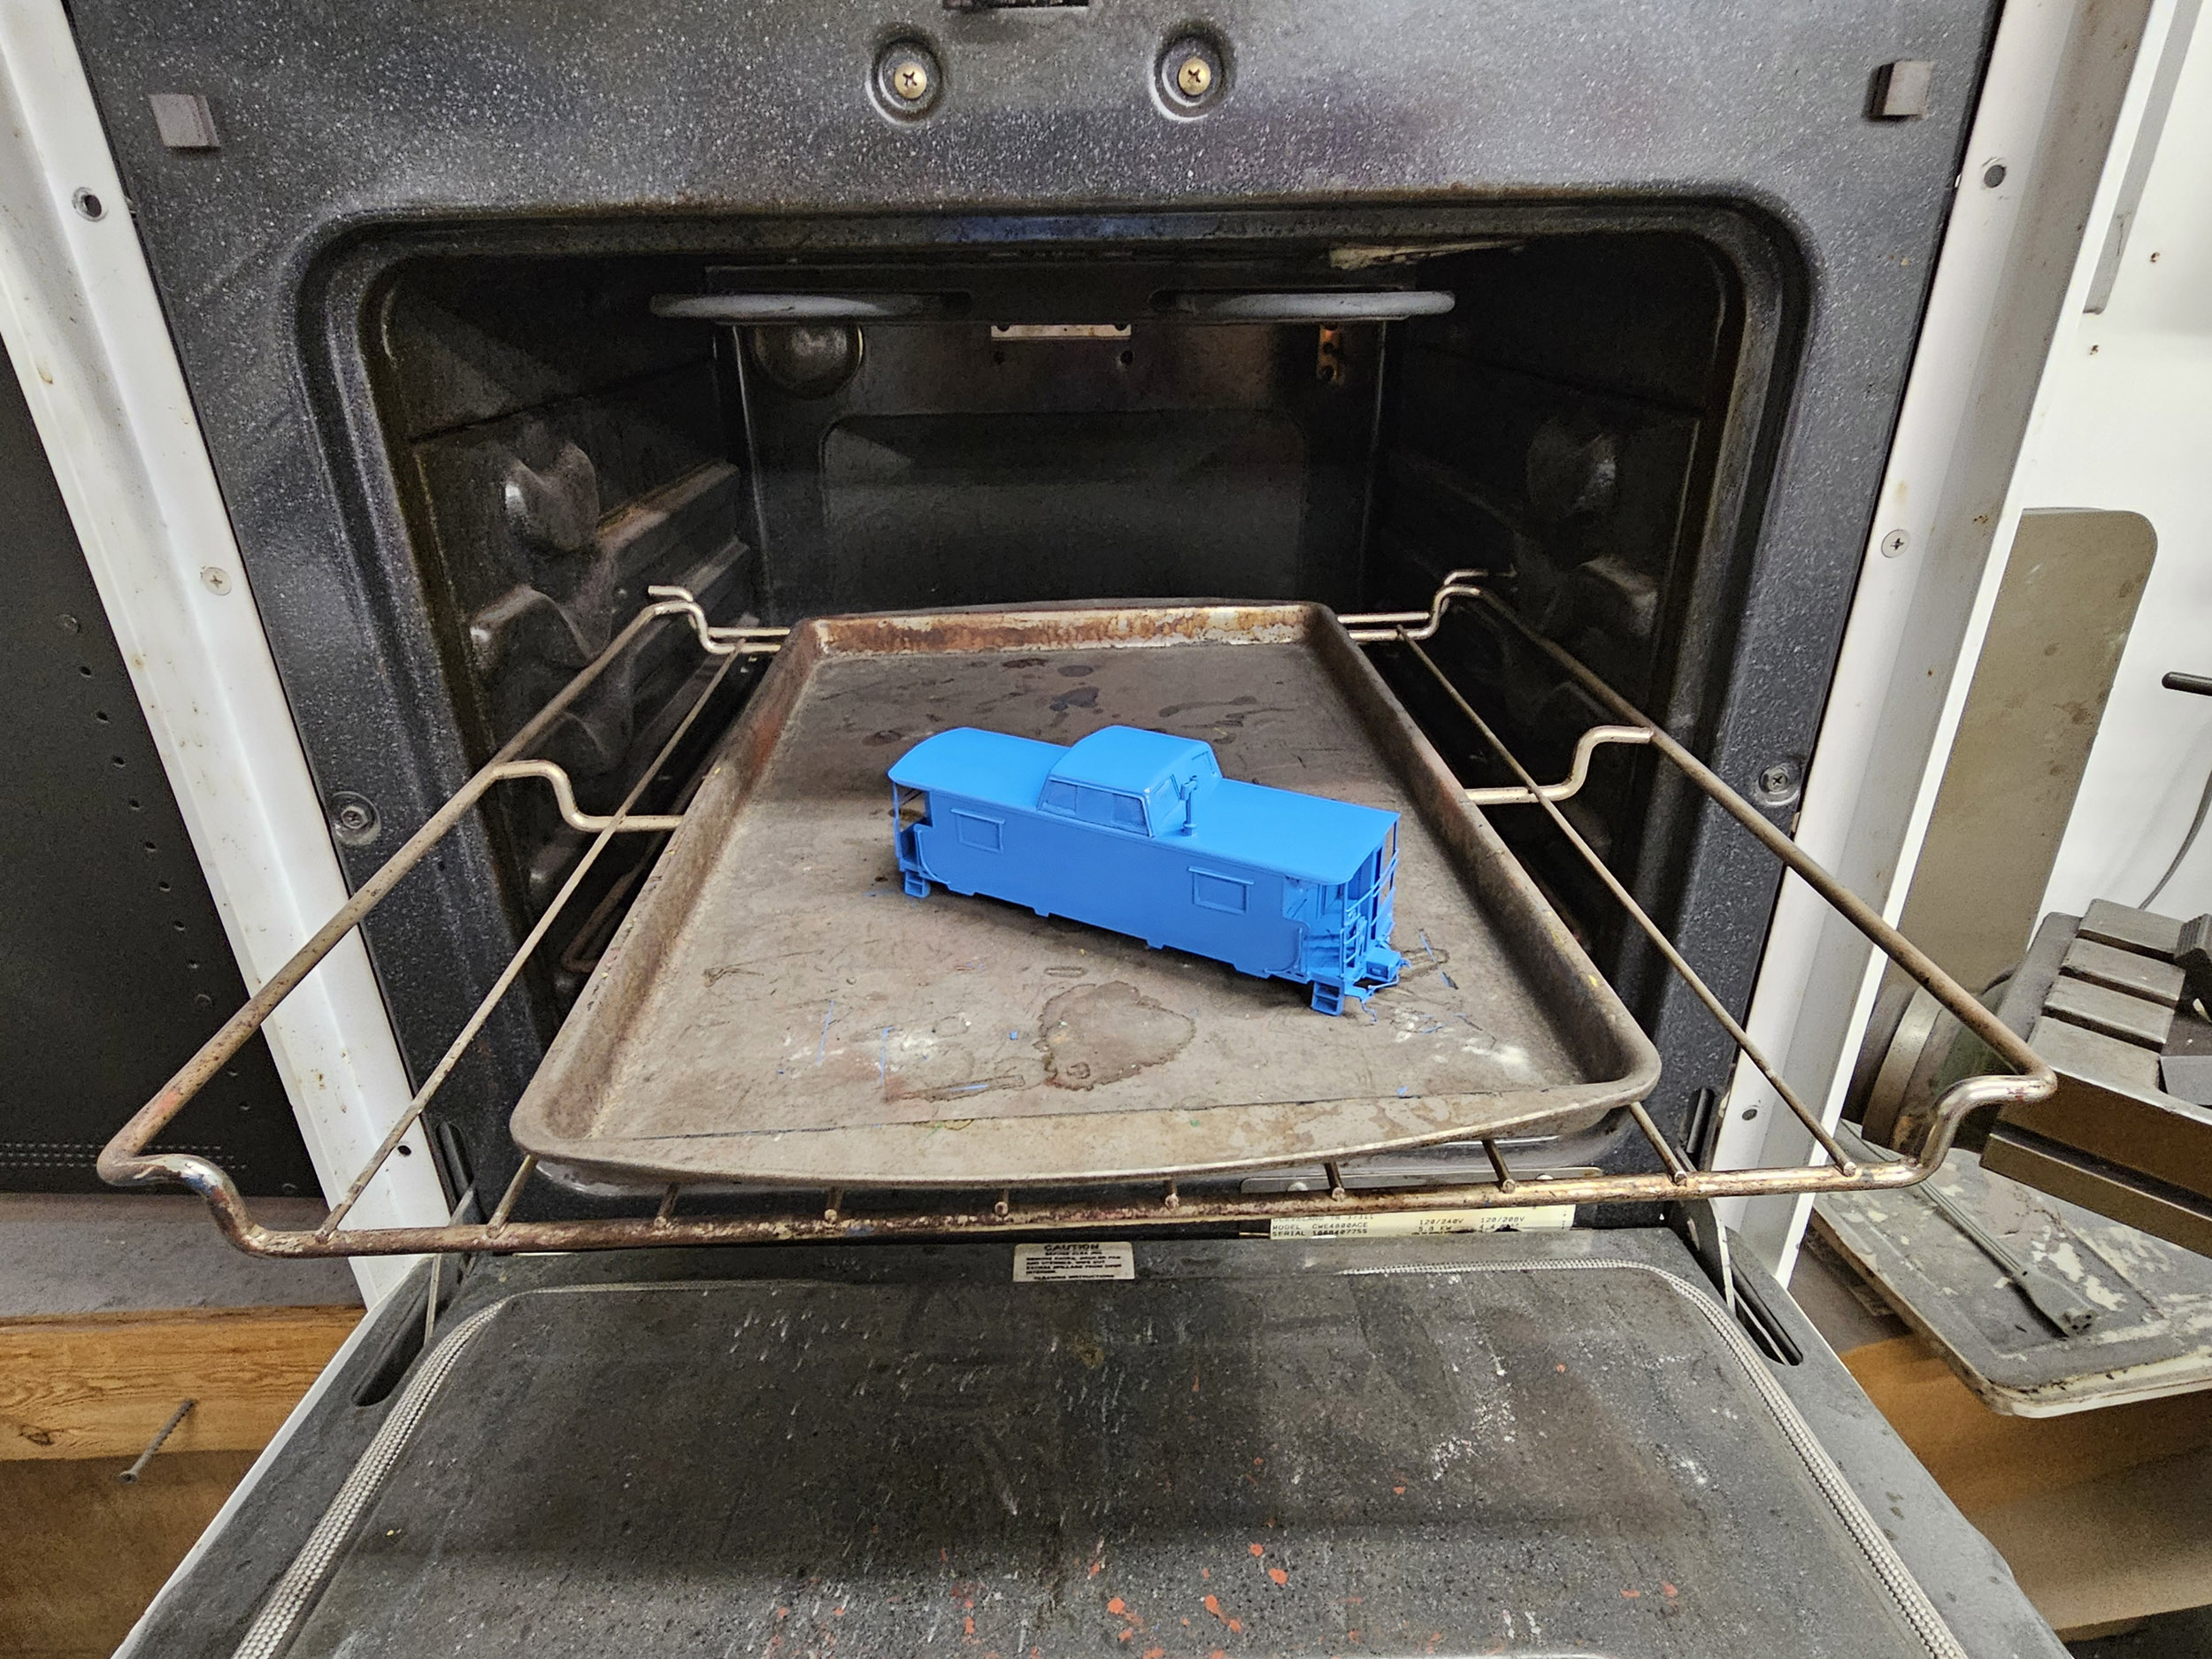
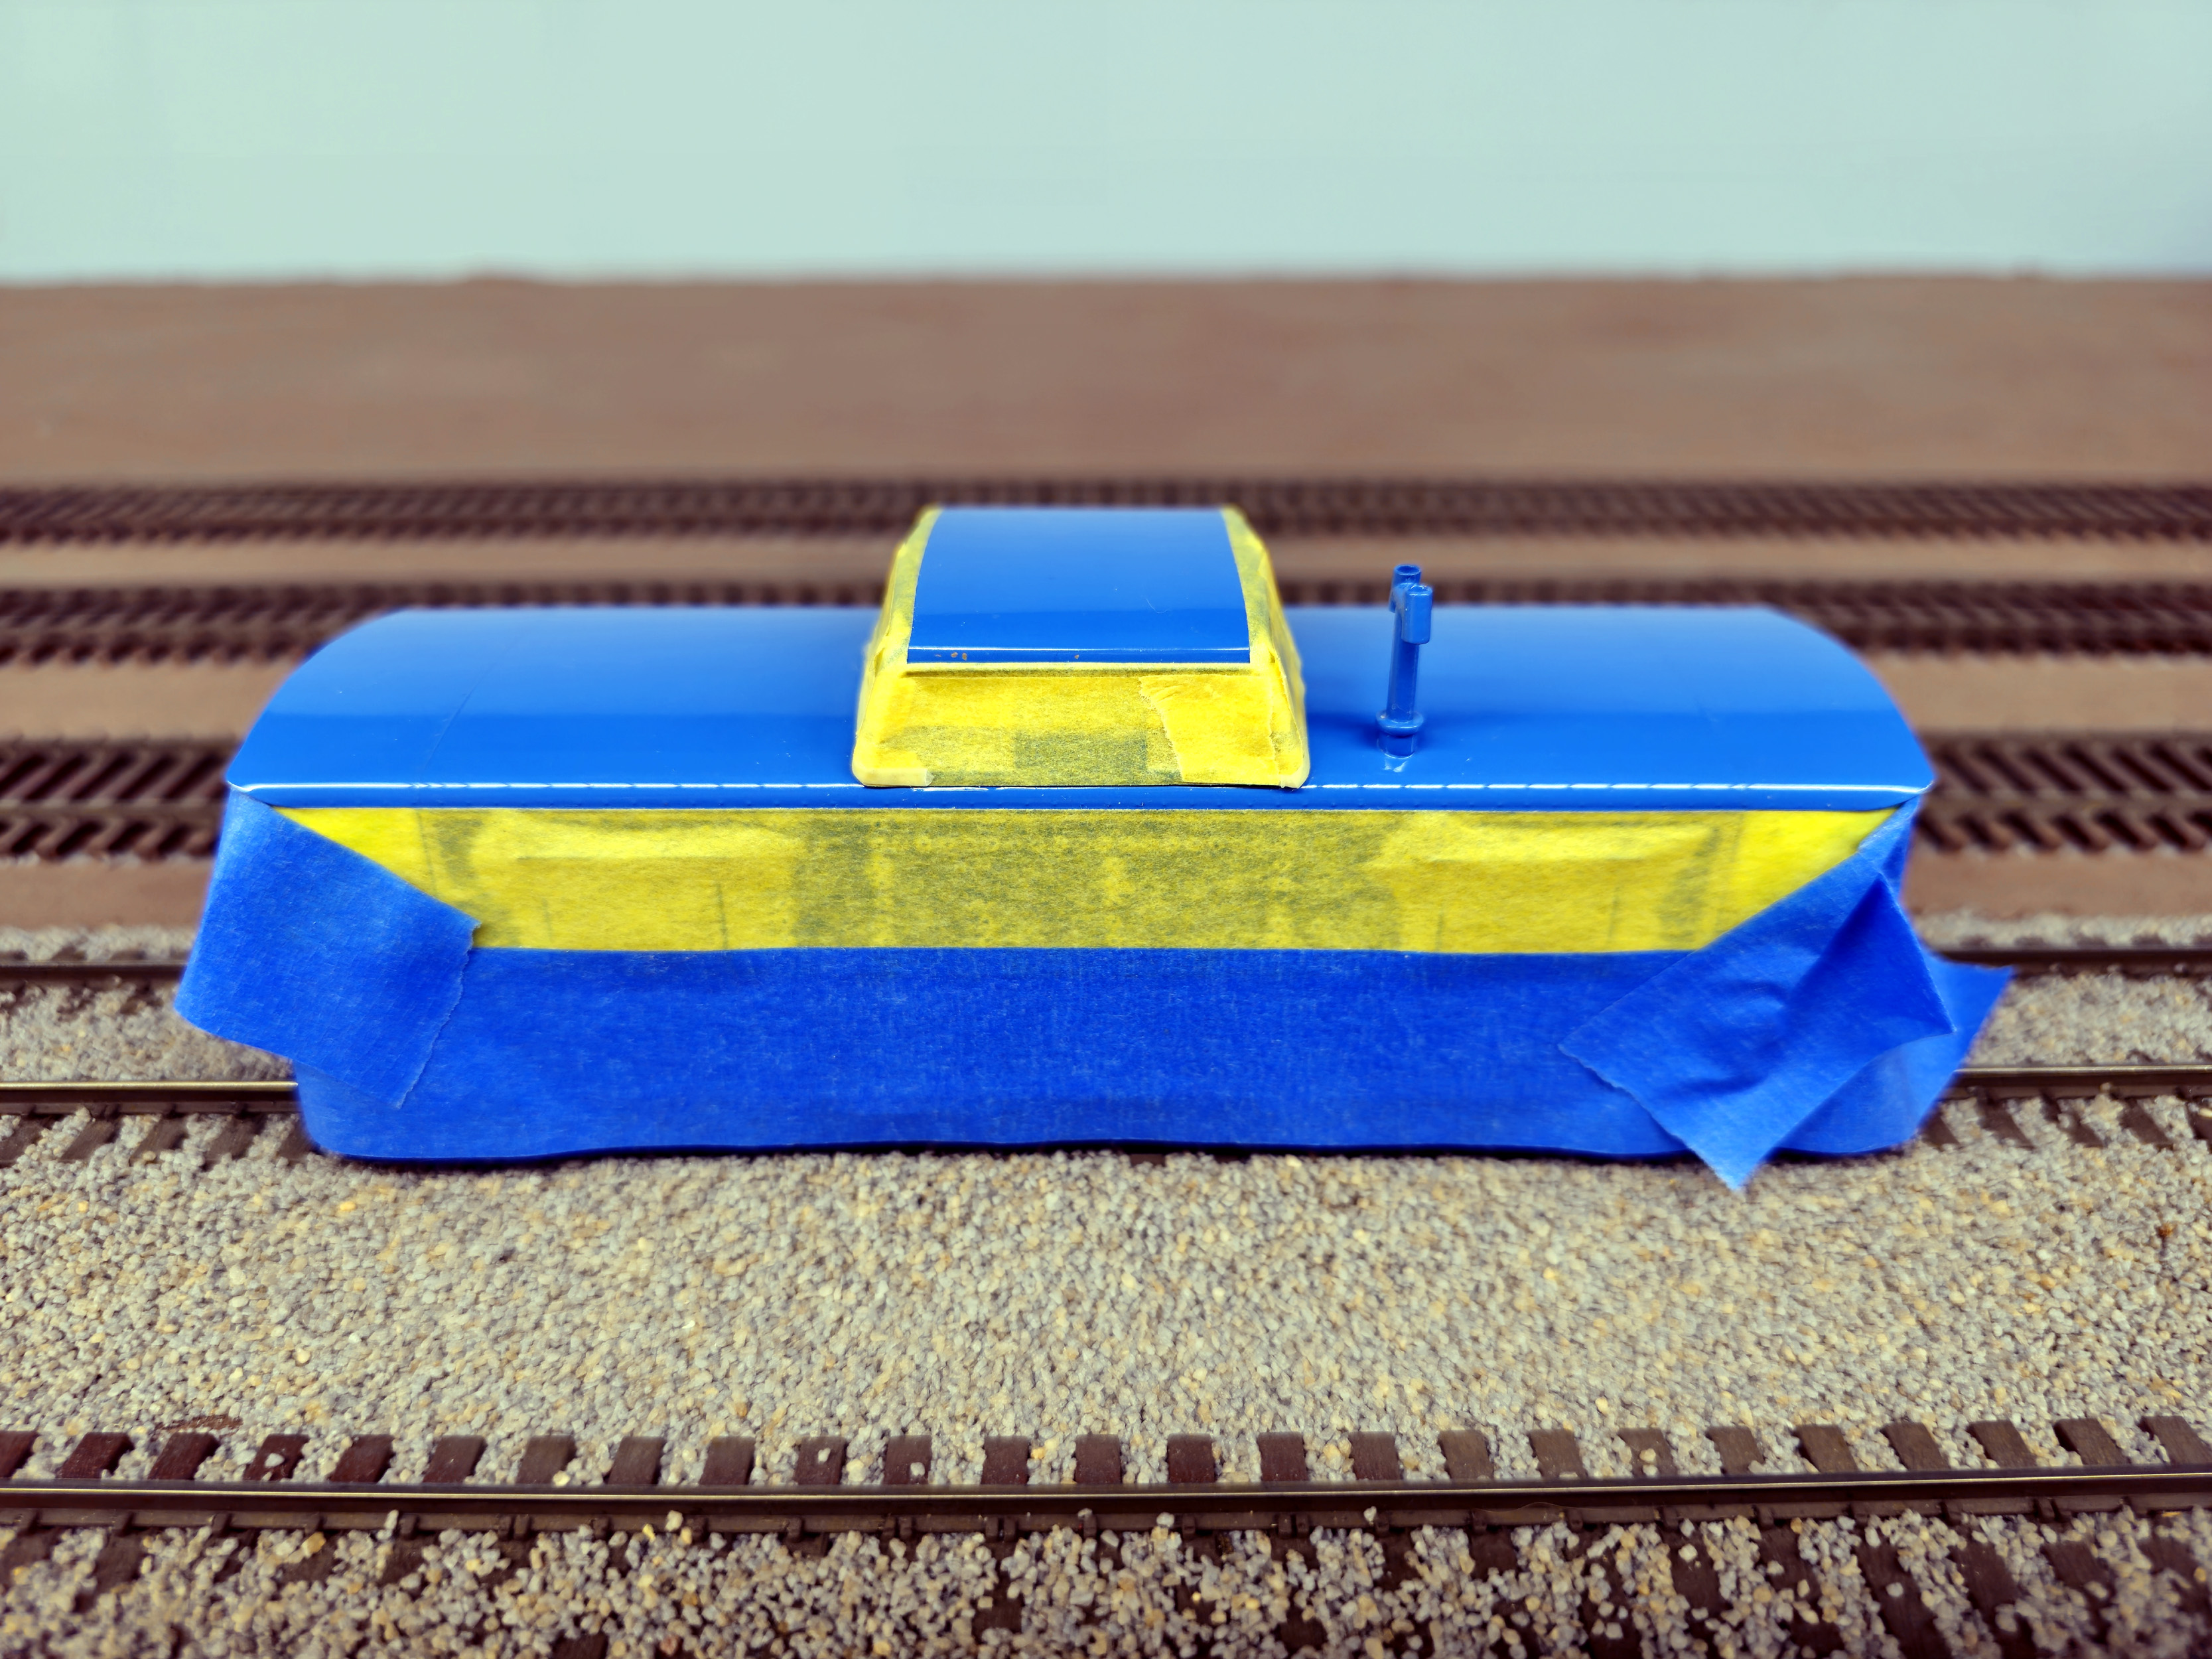
The
masking was rather extensive. New to me this year was using Tamiya masking
tape. That worked pretty well giving sharp cut lines right off the rolls. I previously
would cut a new edge on the tape with a steel ruler and Exacto
knife. I have my own oven in my shop just for baking paint.
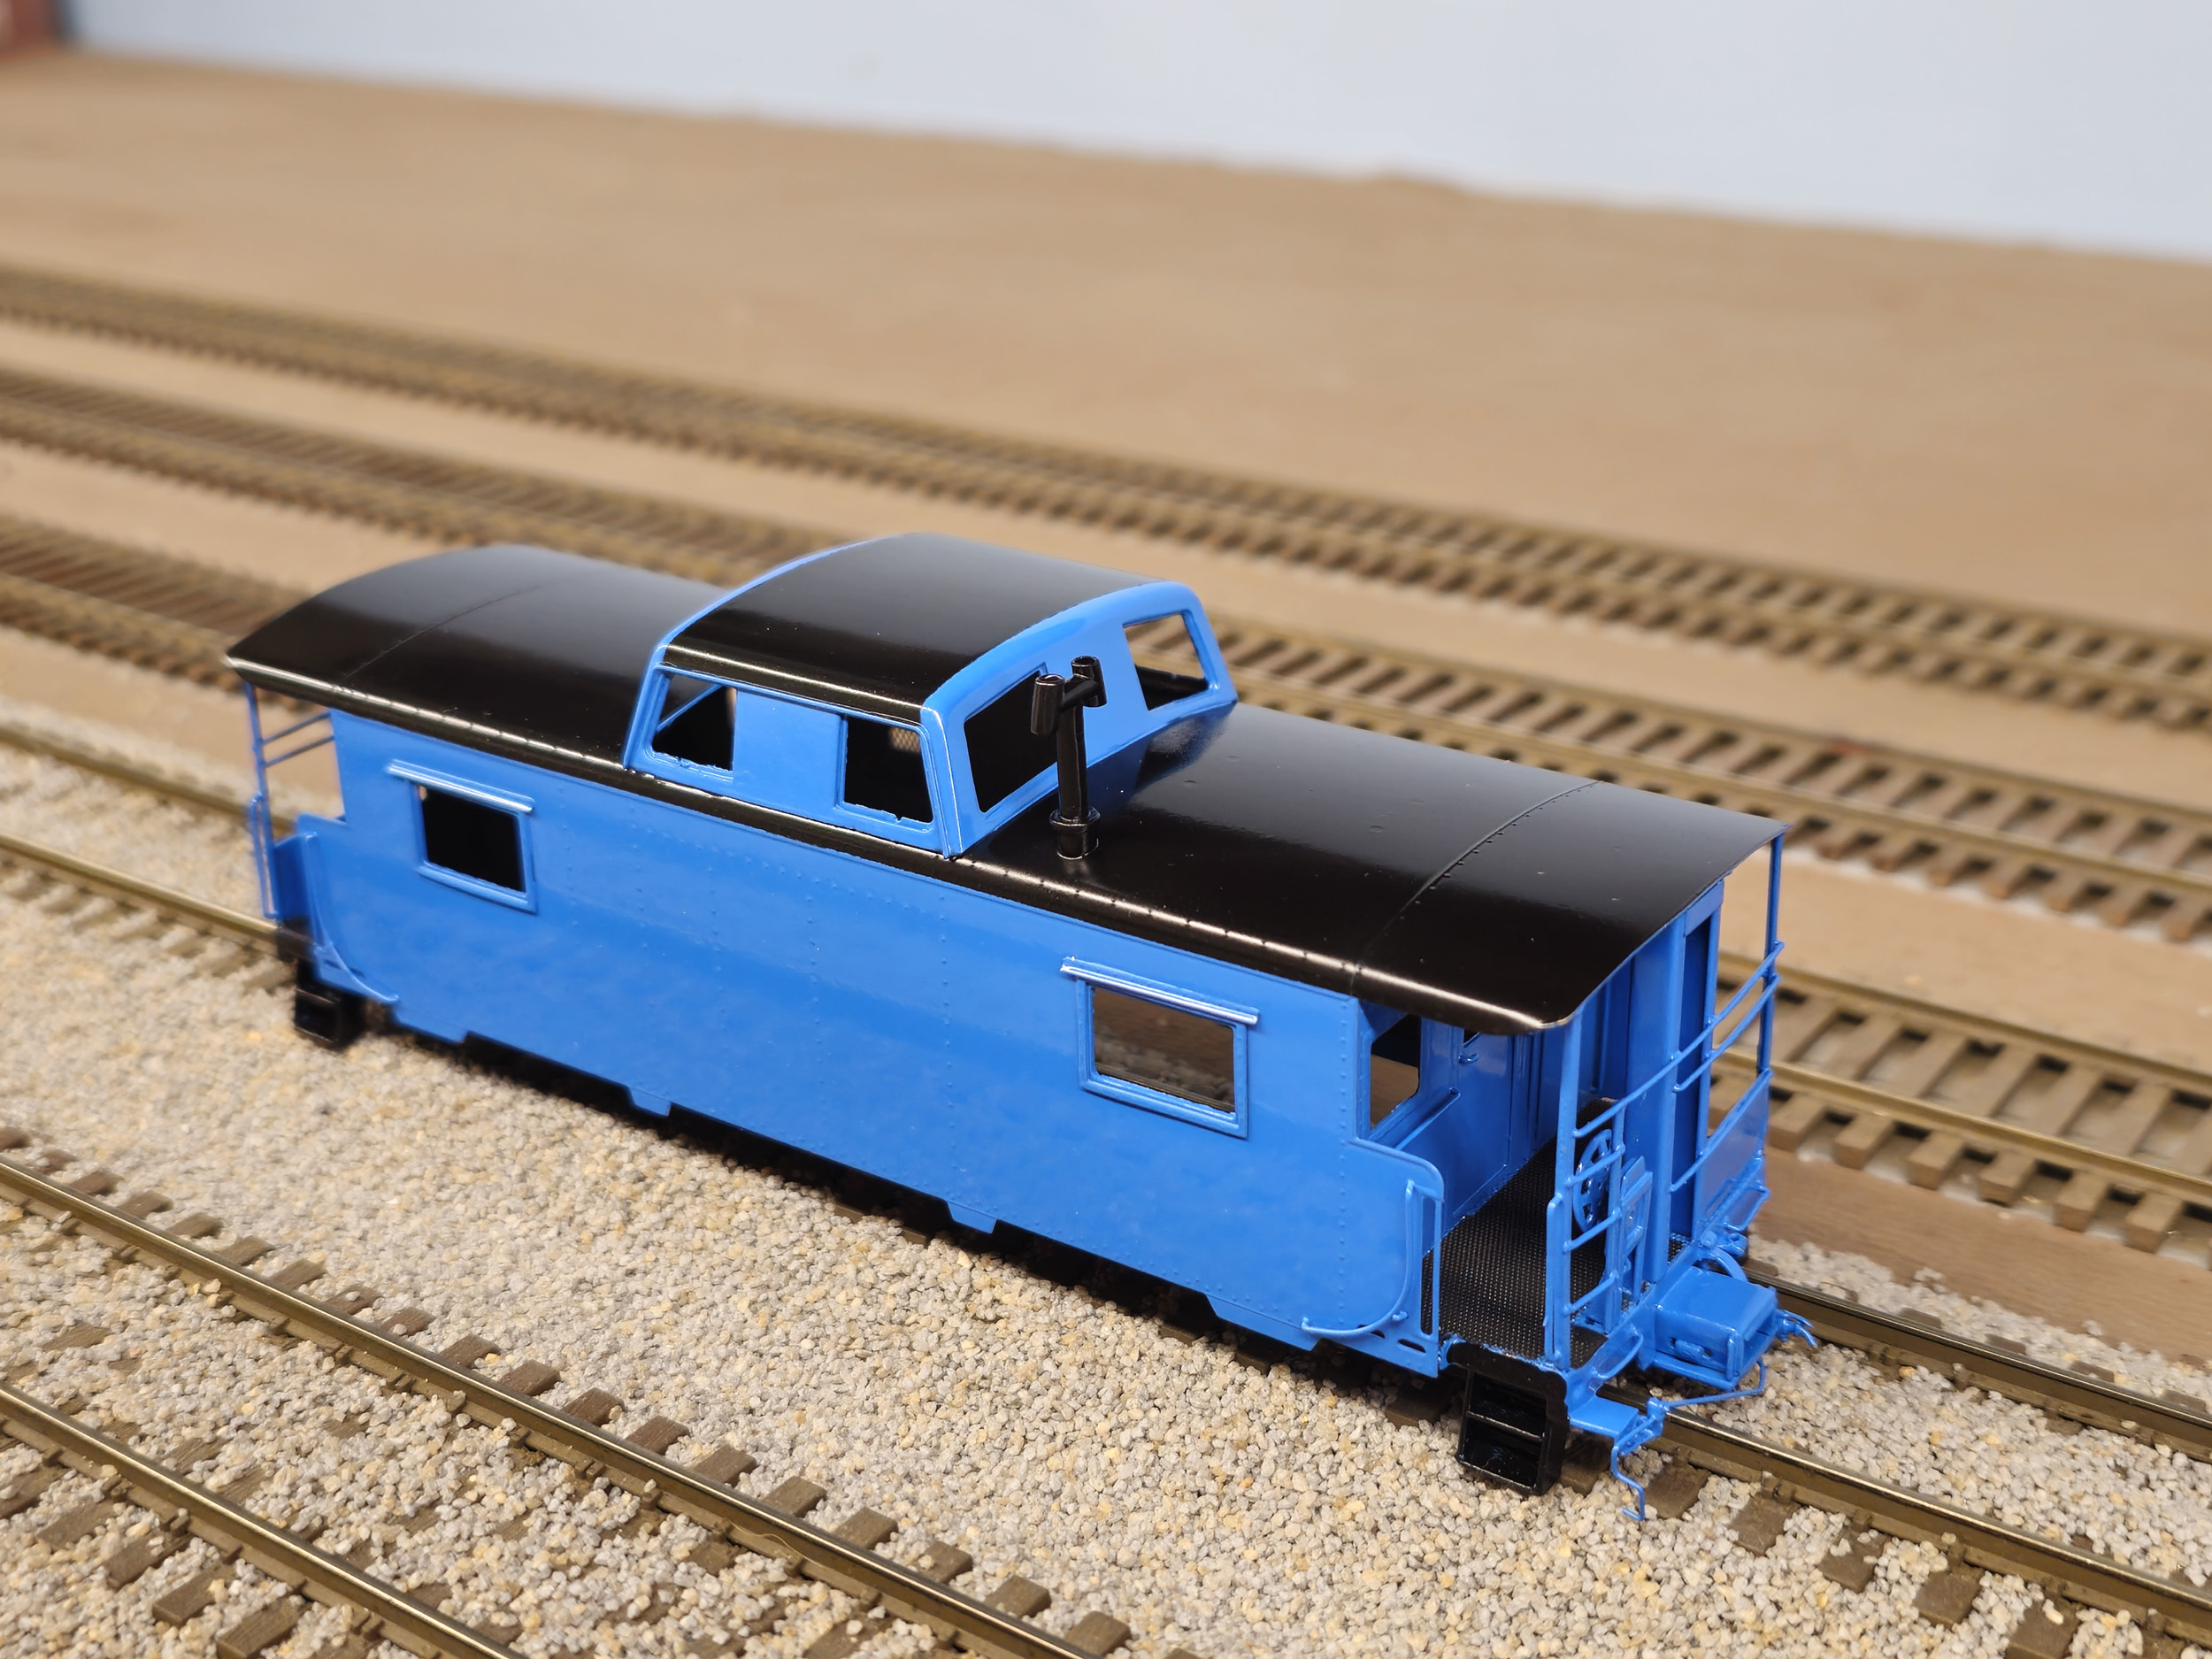
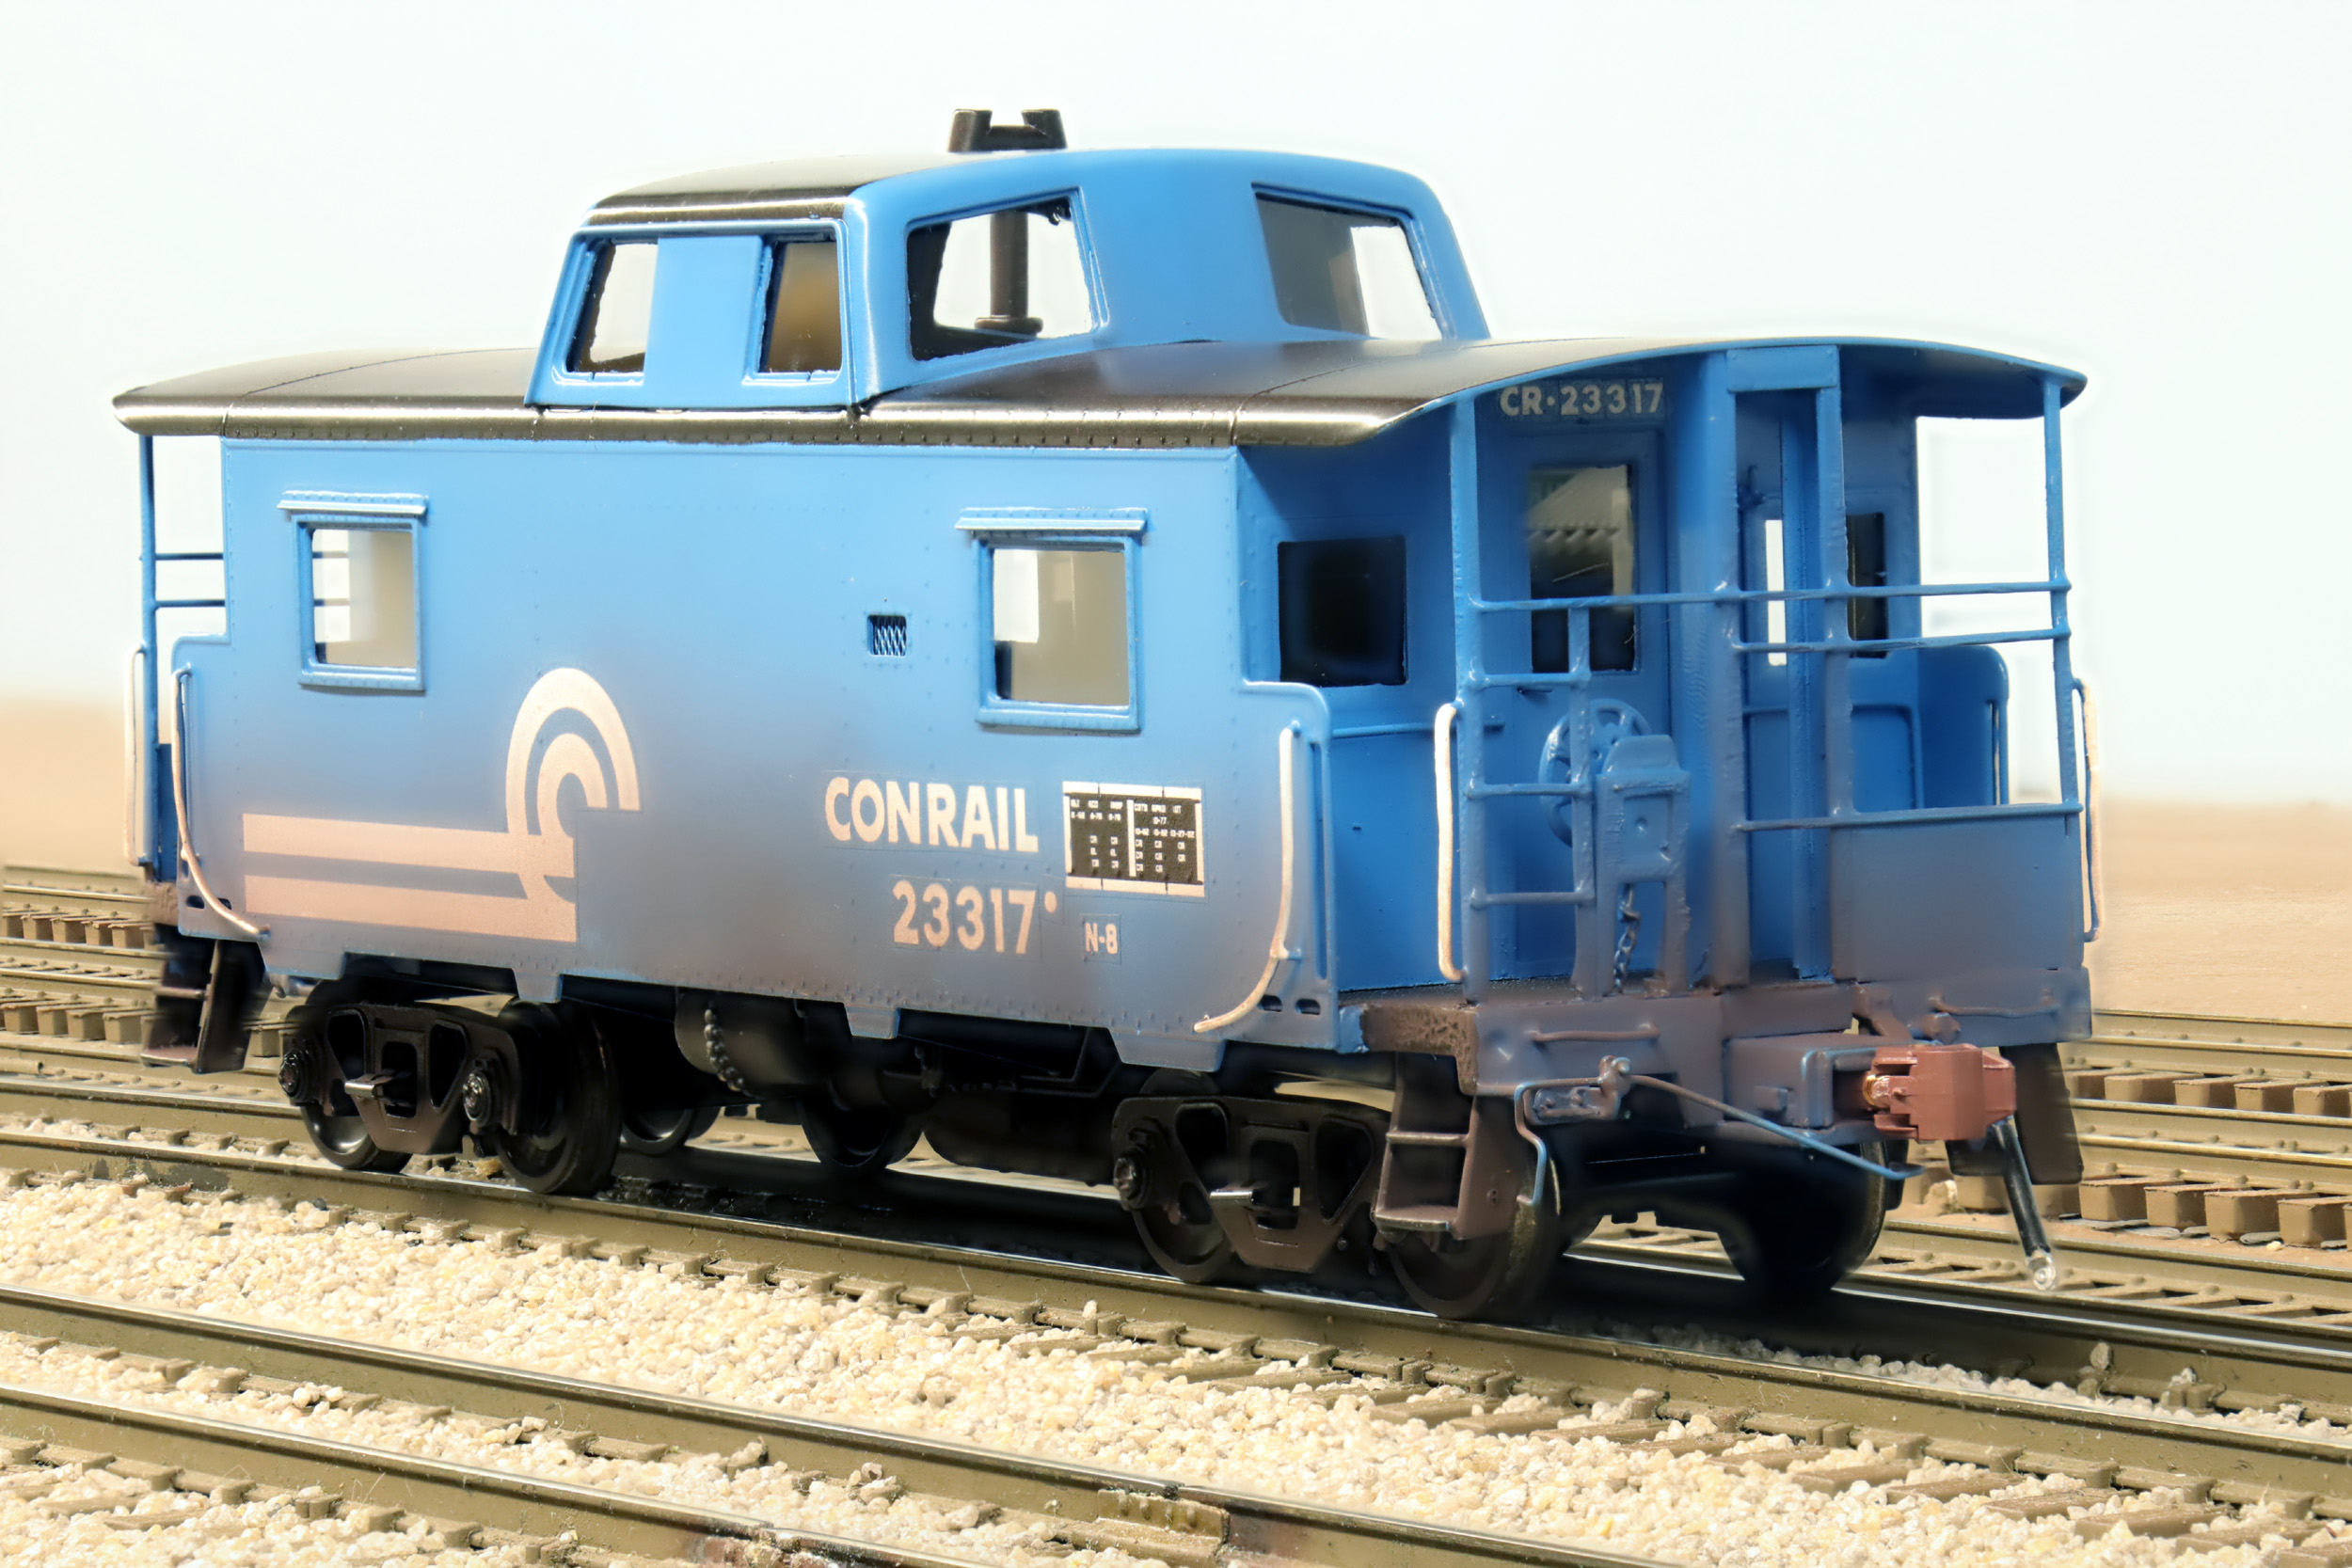
Completed 3-30-24
This
was not as extensive of a detail job as my earlier PRR N8. I thought about
adding marker lights (not lit) but none for this era exist in S Scale. All of
my projects for the past year+ have used Circus City decals custom made for
that project to the exact number I wanted. I highly recommend them. But there
was a CMR Products decal set made just for the Conrail N8 included with the car.
I never used CMR before, but pretty much did not like them instantly. The
decals on the Conrail logo curled up in the shape of the printing. This is not
a difficult car to decal but I stopped. I got a decal set from K4 Pacifc also using them for the first time. It was a generic
Conrail caboose set so not the convenience of just cutting out the correct
number. I had to old school it cutting out individual numbers etc but the
quality was excellent. The decals went on well.
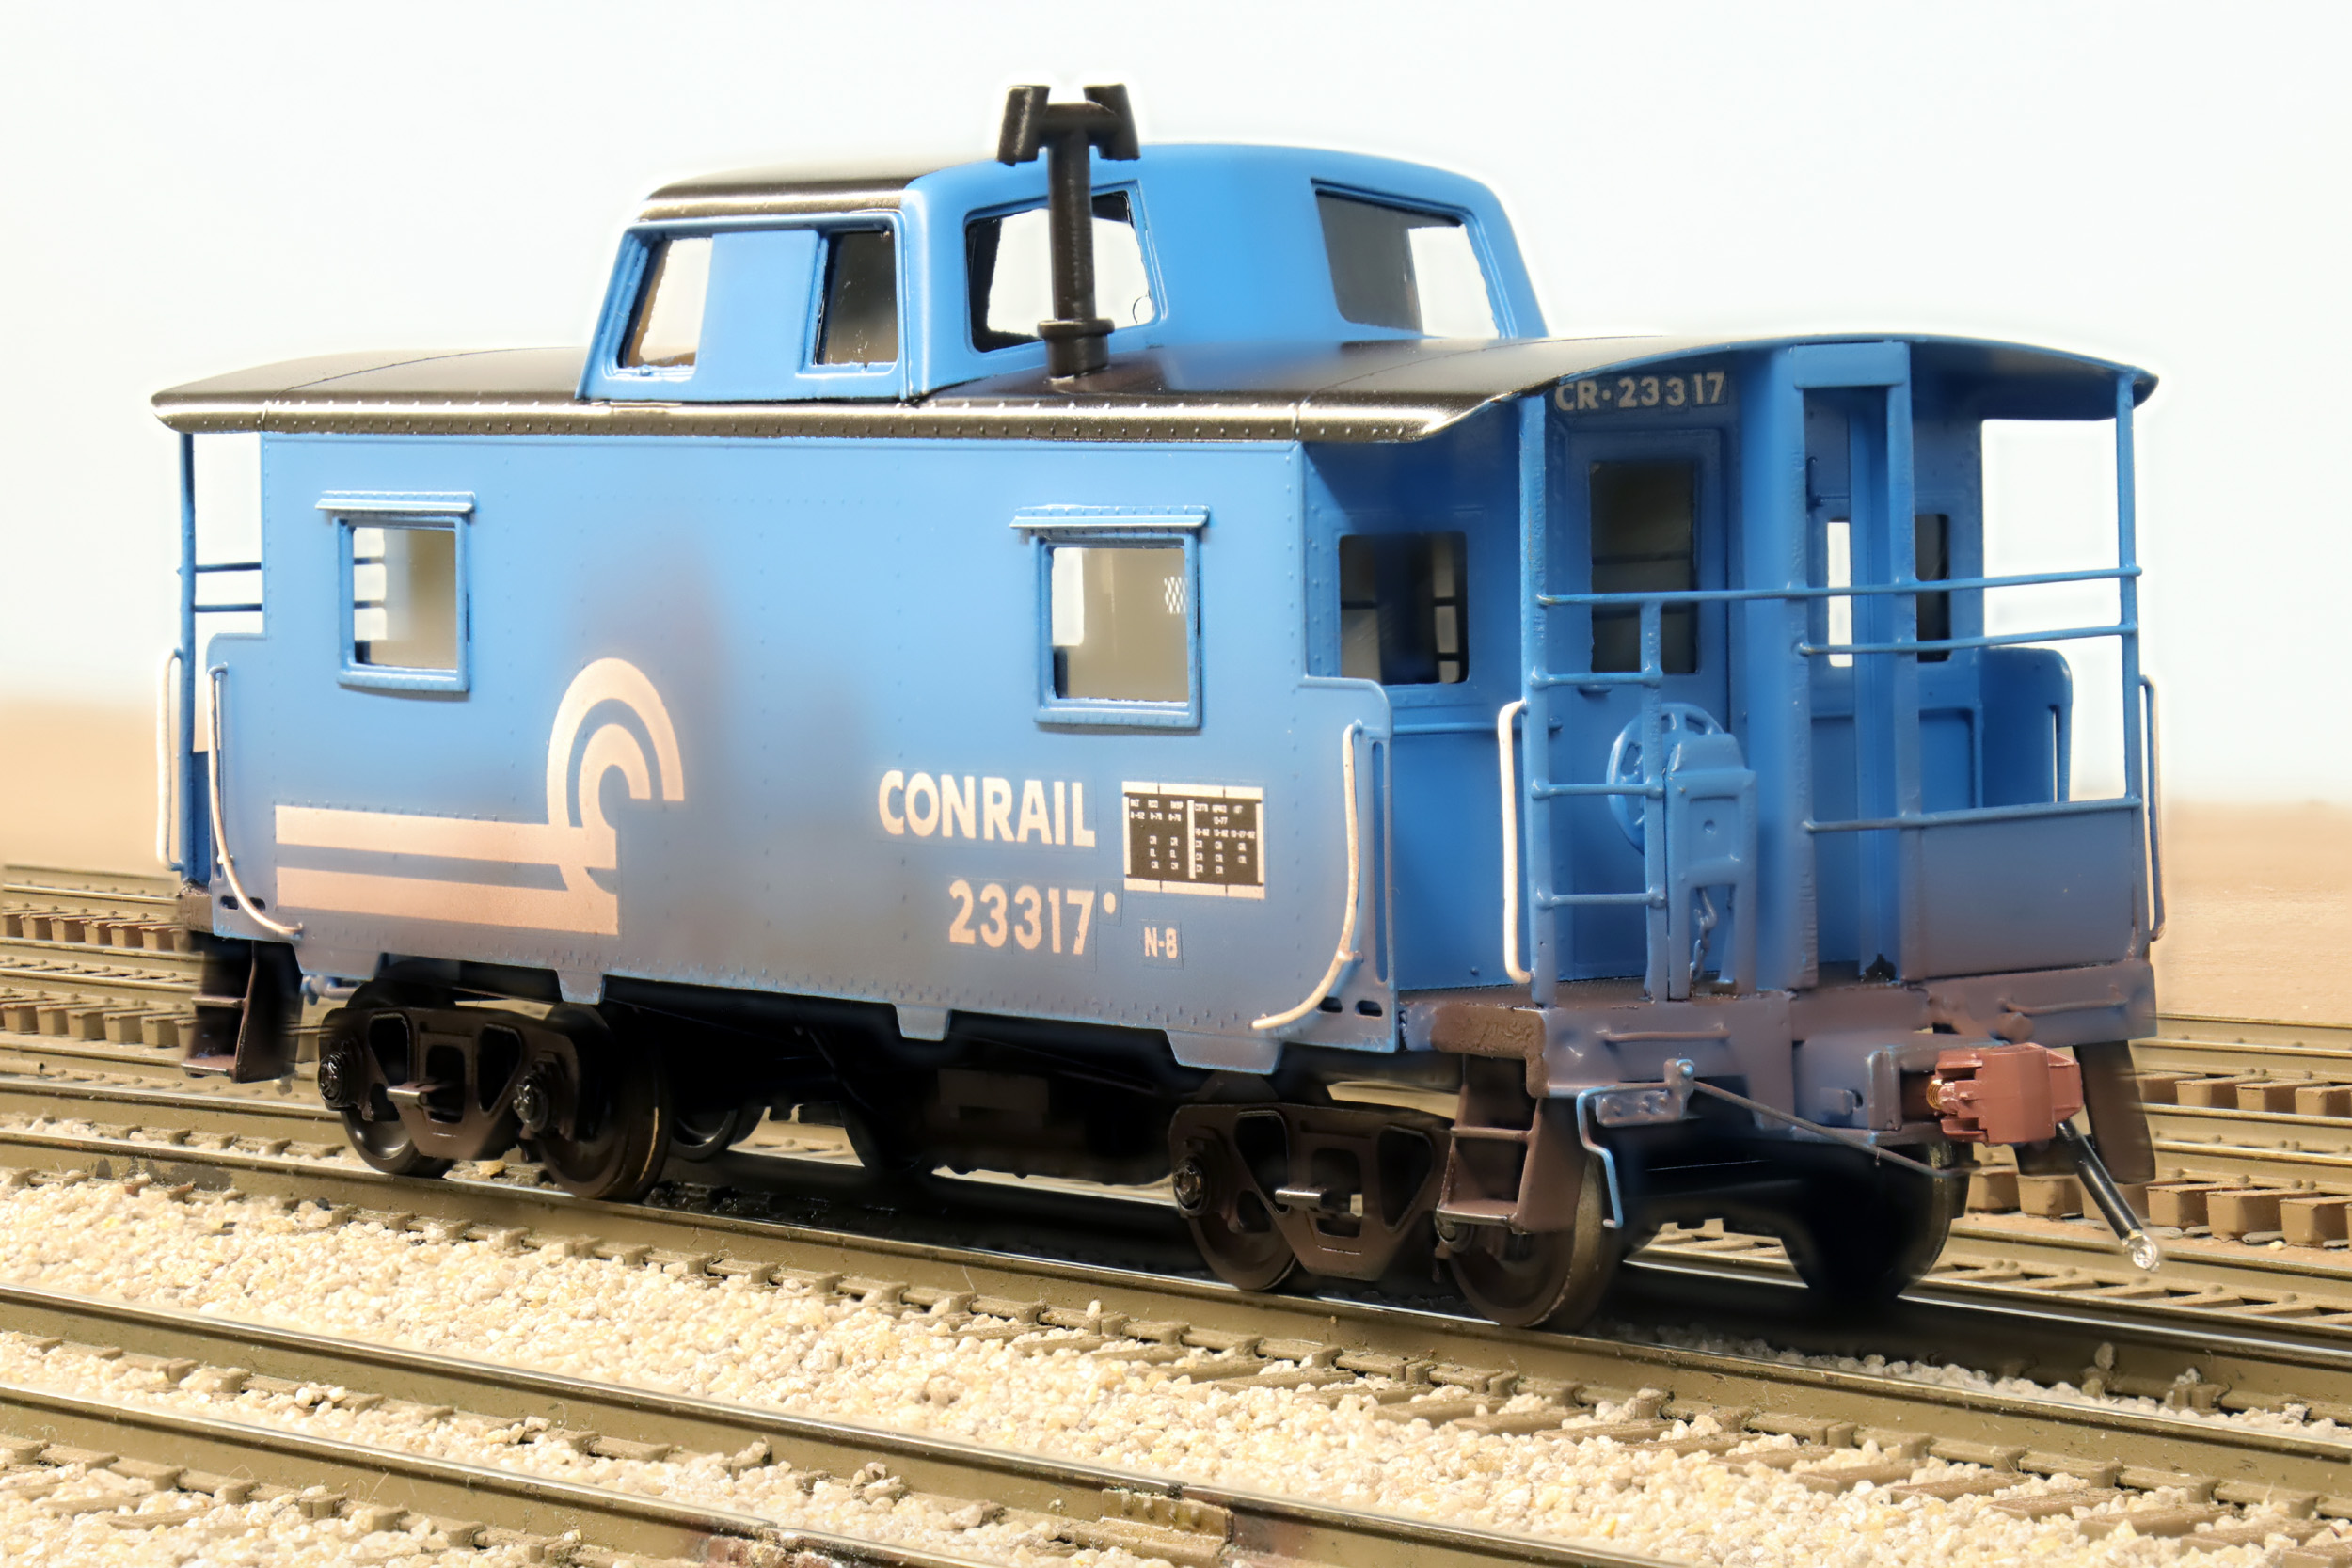
There
are handrails on the end walls that should be white. The handrails go right
into the tight corners of the platform safety walls making access really
difficult. I got those handrails painted yellow many years ago when I first painted
my PRR N8. My dexterity is not what it used to be so they are remaining blue
here. Good enough. I had the weathering dusty as I wanted it but it got smeared
during assembly so I had to add more. It is what it is…. some days you are the windshield
some days you are the bug.

Updated
3-30-24
All photos and content © Lanes Trains 2005-2024